You must be logged in to rate content!
6 minute(s) of a 40 minute read
11-27-2011
The other three pistons are now fitted and the big end caps have beed torqued to 45nm..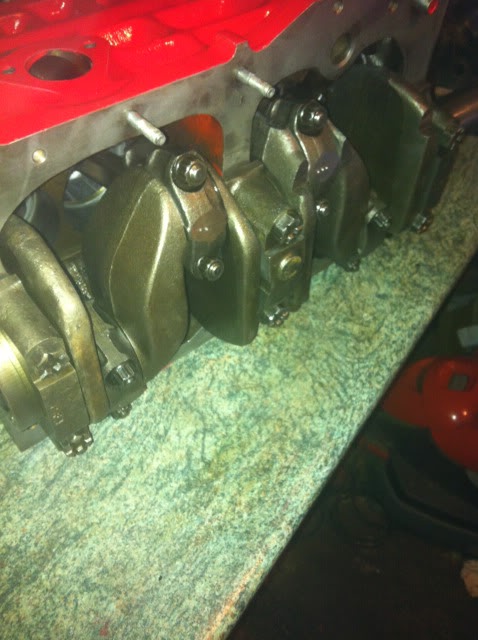
Then I checked the end float on the crank..I set up the DTI on its magnetic stand and adjusted the preload to 3 thou with the crank pushed all the way over to the water pump end. Once the preload was set I zeroed the gauge..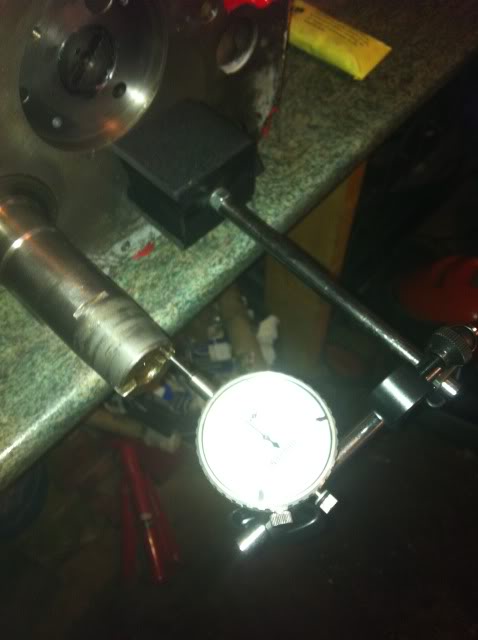
Then with a large flat blade screwdriver I levered the crank back towards the DTI...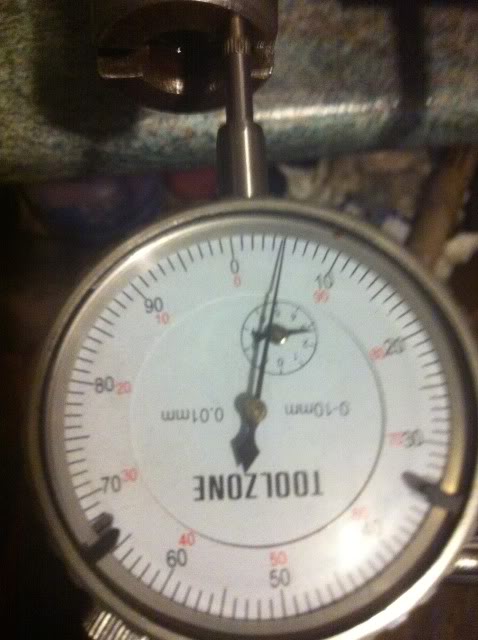
Thats 0.05mm which converts to 0.00197"..Im pretty sure that 0.002"-0.004" is ok...Its as near to 0.002" as makes no difference...so im going to leave it..the crank turns really smoothly with no binding at all so im happy with it..But if anyone has any advice then im happy to adjust it..
11-29-2011
Ok so the bits have not arrived yet so im a bit stuck with the block...however I have been working on the cylinder head...
This bit did arrive today so on it went..Its a blanking plate for where the old mecanical fuel pump fits. Going to fit an electric pump so wont need it,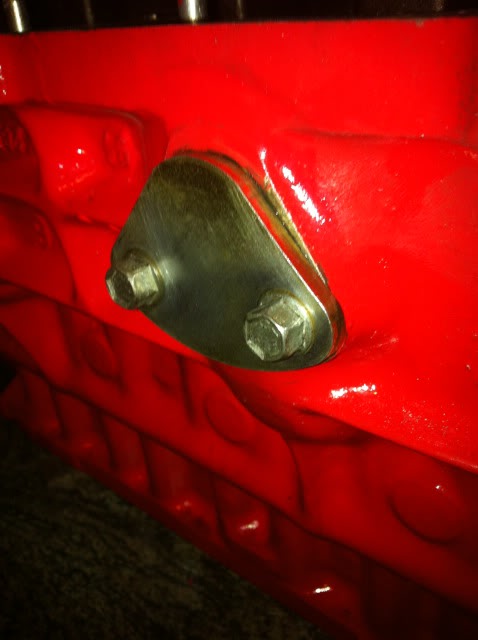
Anyway on to the Head,
12G940 big valve head which has been ported as much as is possible...I can get my whole finger through the valve openings and into the ports...smoooooth...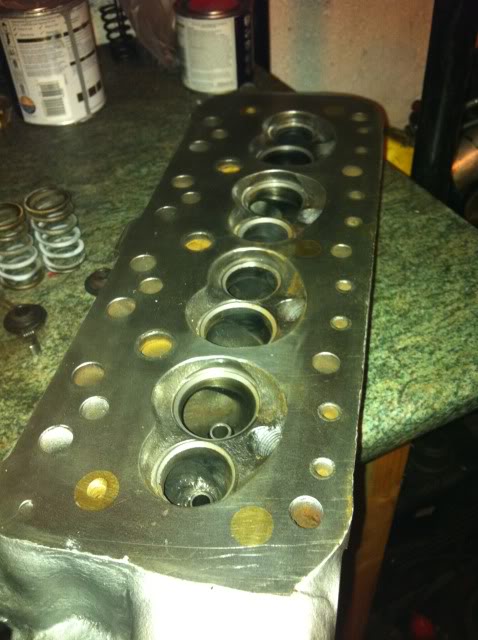
As always everything gets a good clean and a blast of air through the water jacket. I have lapped in the valves and tested them by filling the chambers with petrol...no leaks over night even with the springs not fitted...a very good seal..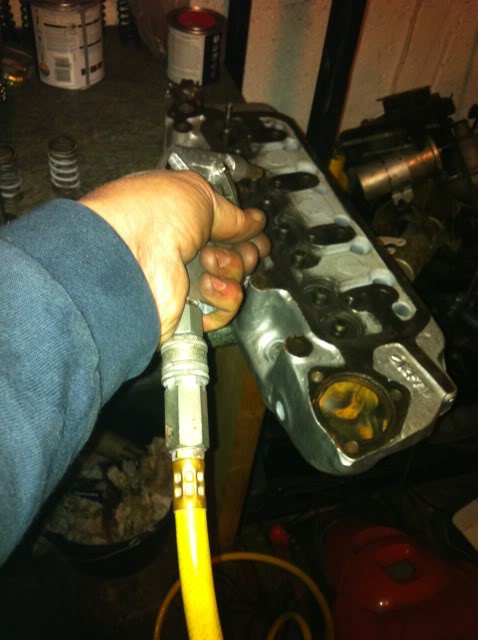
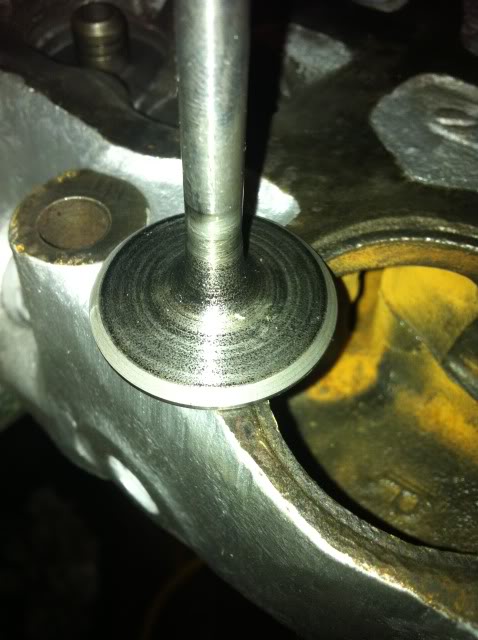
You know when to stop lapping when the valves have a nice grey rim that is even all the way round. the seats should look the same.
I checked the valve guides bu inserting a valve and then trying to wobble it about in the guide...these are spot on as the guides were replaced recently.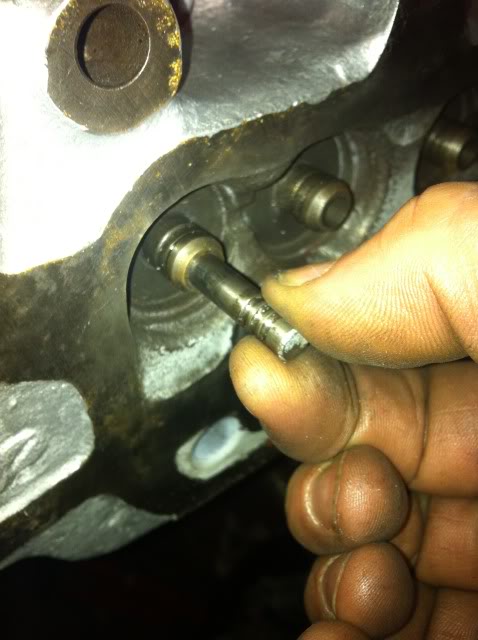
These are the springs im going to use on this head...Cooper S ones...I will fit new Stem seals to all eight valves.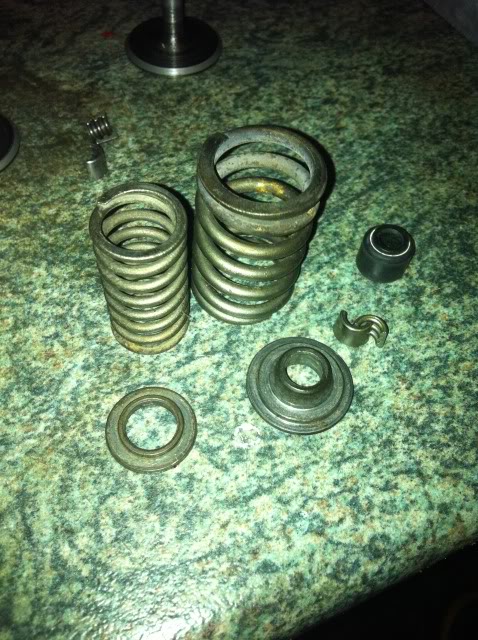
So first job is to fit the guides for the smaller spring. these stop the small spring moving around and binding with the larger spring..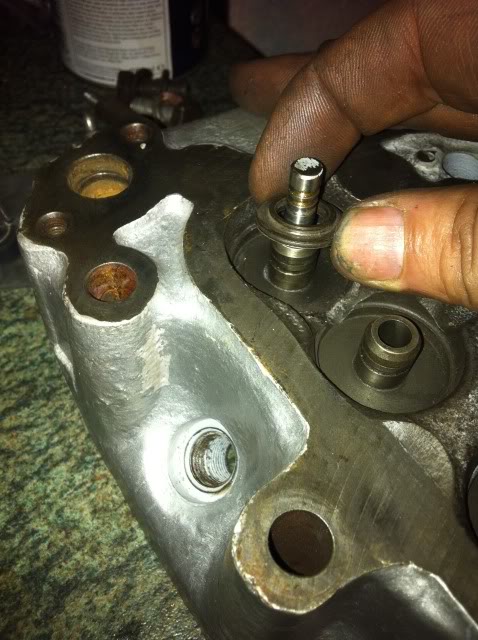
Then the valve goes in and a stem seal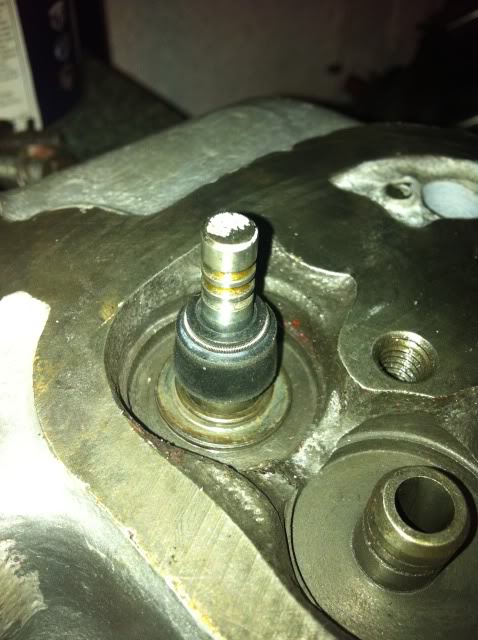
Then the inner and outer springs..and top bit.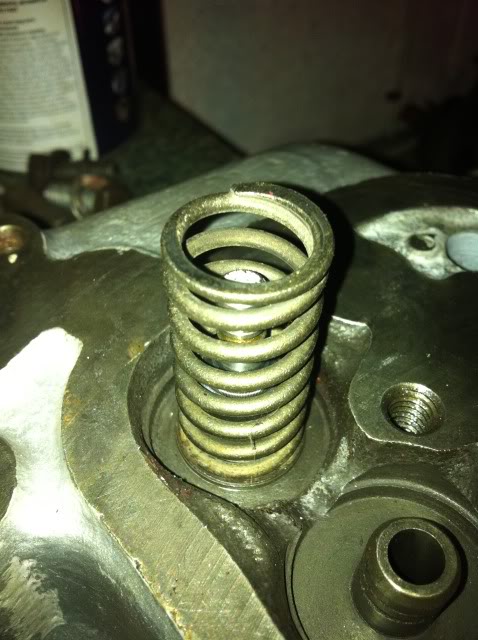
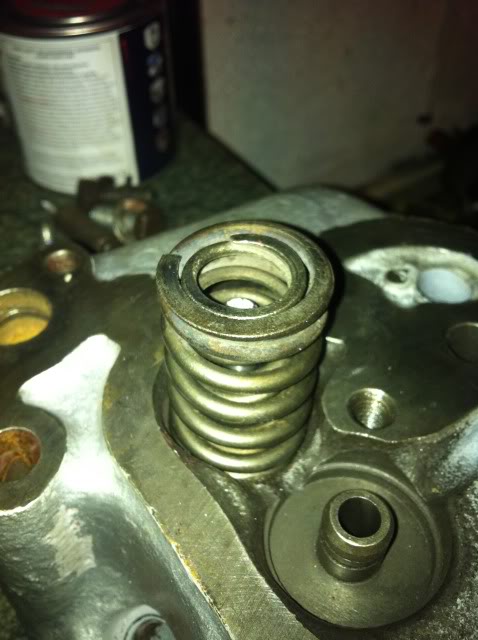
At this stage you will need a valve spring compressor..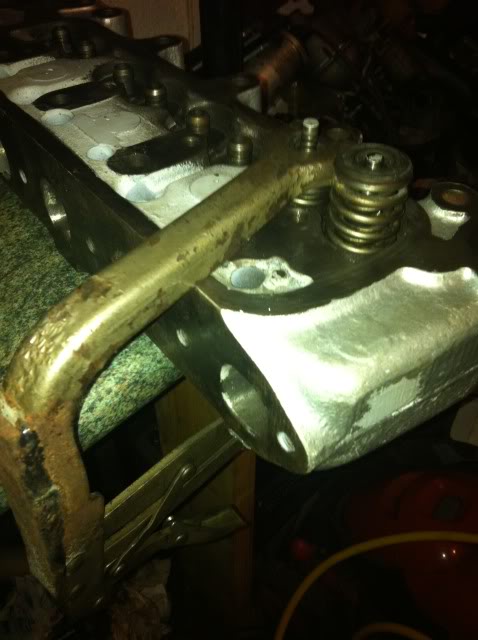
I used a very small dob of grease in the collet grooves..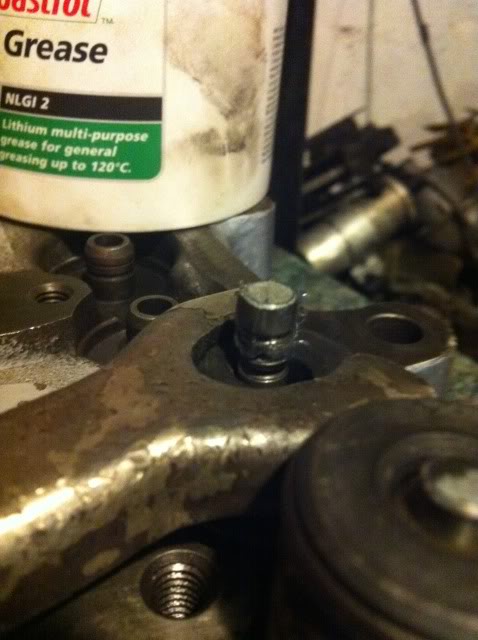
Then stuck the collets in. they are held in by the grease..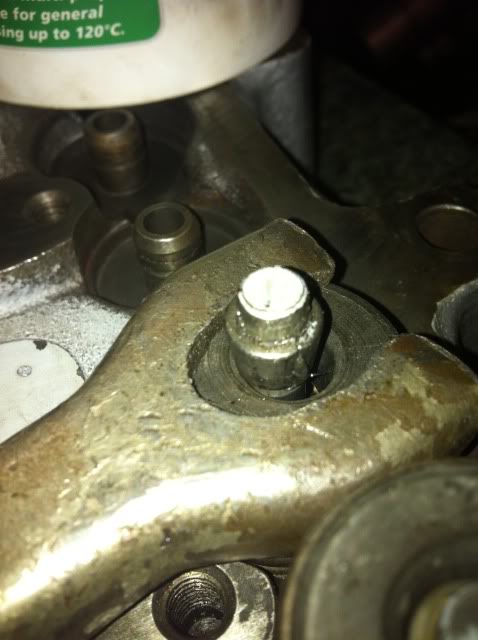
Then I released the compressor and the valve is fitted...here it is with all eight done.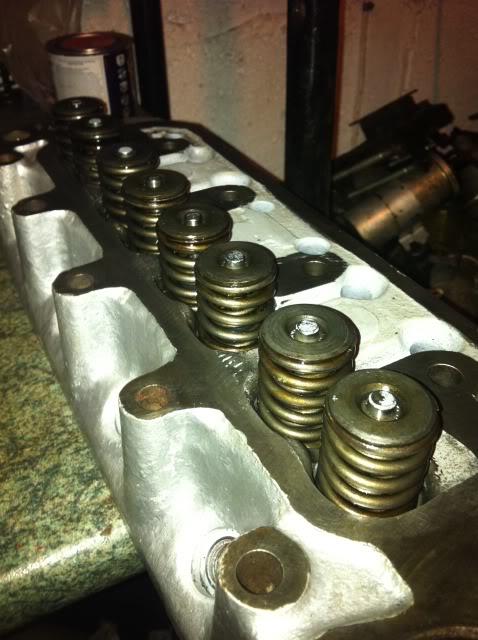
Then I fitted the rocker post rods useing the double nut method to tighten them down.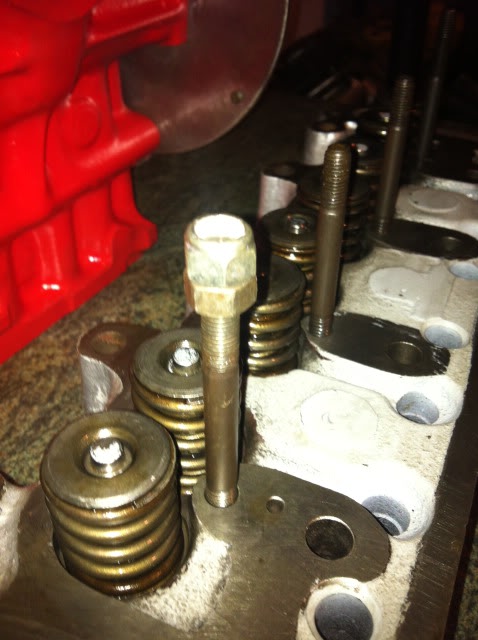
I took the rockers apart and fitted a couple of large washers to the midle two rockers. this put them directly over the valve and will reduce the amount of side load exerted. should help to prolong the guide life.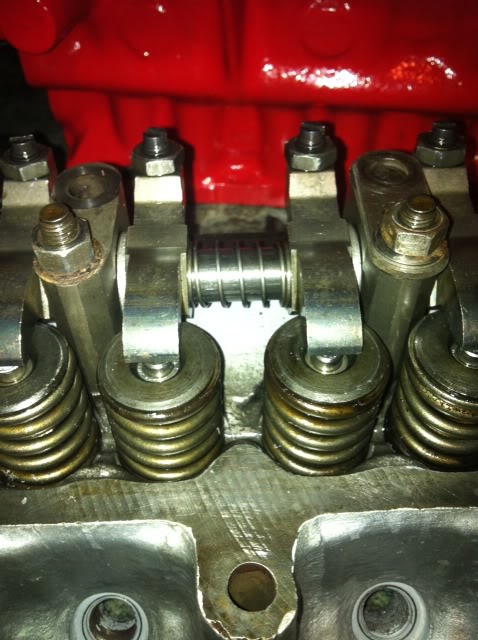
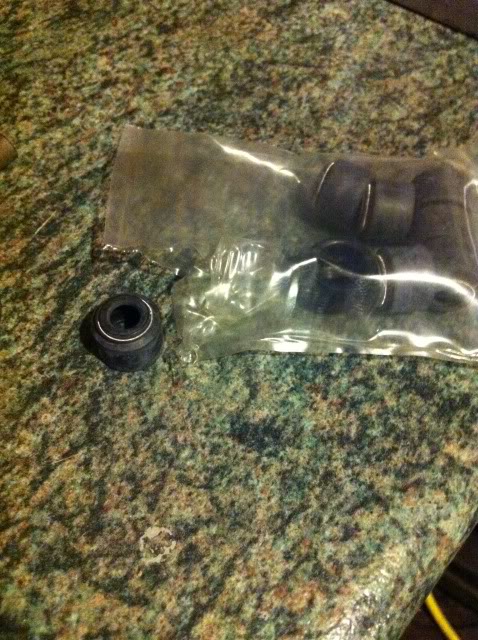
I also got these in the post today..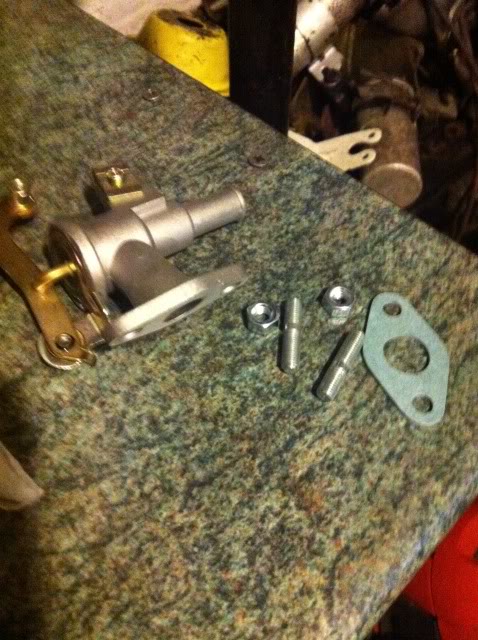
Thats the heater take off valve all fitted and this head is now ready for action..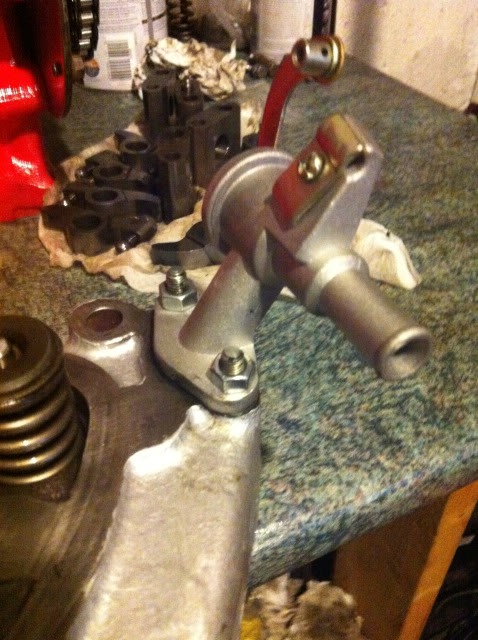

Hope to get my primary drive bearings tomorrow. Ill fit the new core and oil gallery plugs later and post a few more pics..