You must be logged in to rate content!
6 minute(s) of a 40 minute read
12-11-2011
Thanks guys...
Im waiting for some bits from Minispares before I can get much more done..I did get my diff back from Guessworks and this is how I did the preload..
First I fitted the side plate and gasket on the drivers side..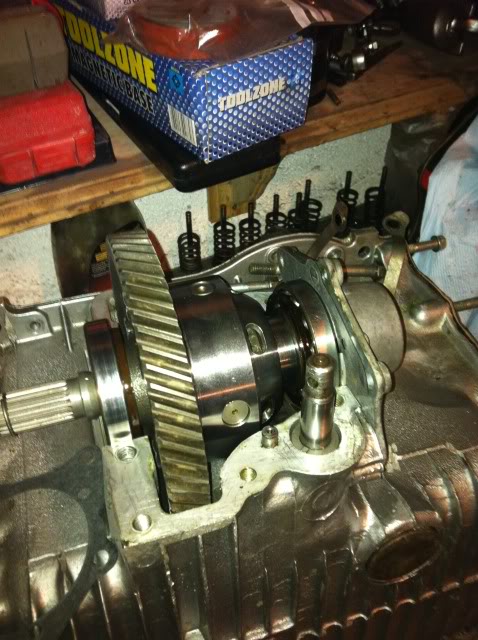
Then I fitted the cover plate on the side that will need to be shimed and pushed the diff over to the drivers side as far as it would go, I measured the gap betwen the side cover and the bearing..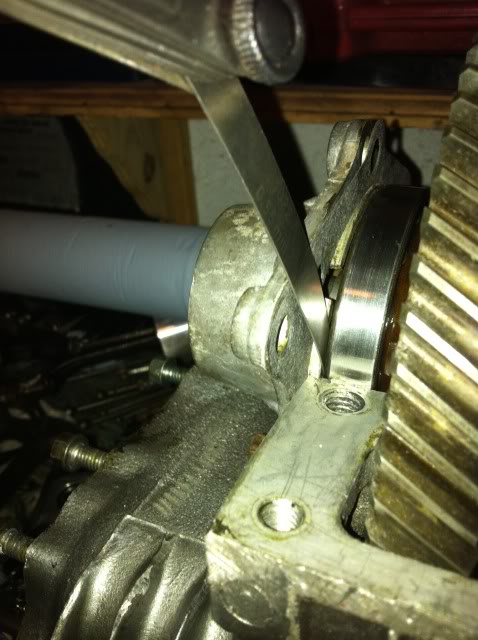
The gap is 0.008" and when added to the gasket thickness 0.002" (crushed) makes a gap of 0.01"
According to Minispares the preload on these type of bearings is 4thou....So by my calculations i need a shim at 0.014"
I dont have any shims that make the exact preload, but I reckon that the hylomar will create the extra 1thou required..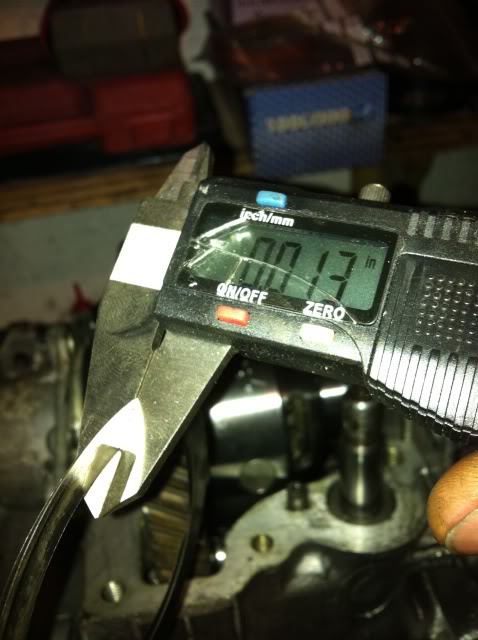
So thats the diff shims sorted....
12-15-2011
Its been a while since my last update on this engine build, Ive been busy building the gearbox for this engine, As this is just about the engine build Im not going to go into great detail about the box...Its a standard box with all new bearings and Baulk rings, Central oil pick up, 3.44 FD. and a cross pin diff.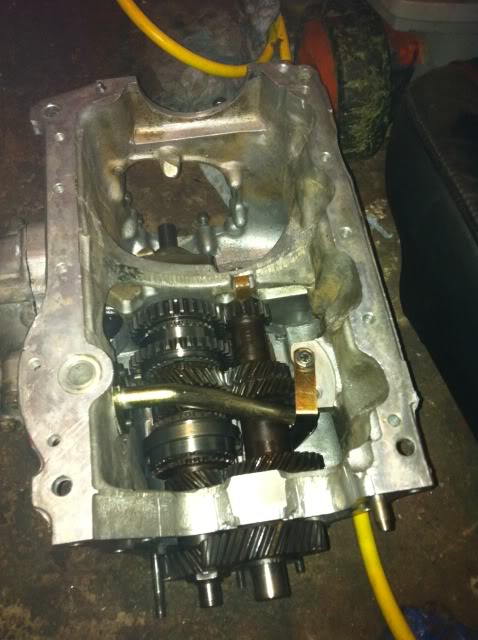
Anyway the next bit was to get the box and short motor joined together, I cleaned the surfaces to get rid of all dirt and oil and then spread a thin layer of gasket sealent onto both the gearbox and block.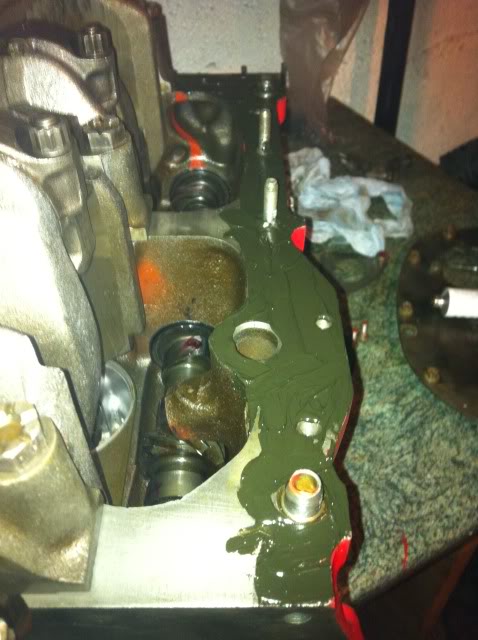

I placed the half moon seal onto the gearbox and did'nt forget to fit the "O" ring oil seal..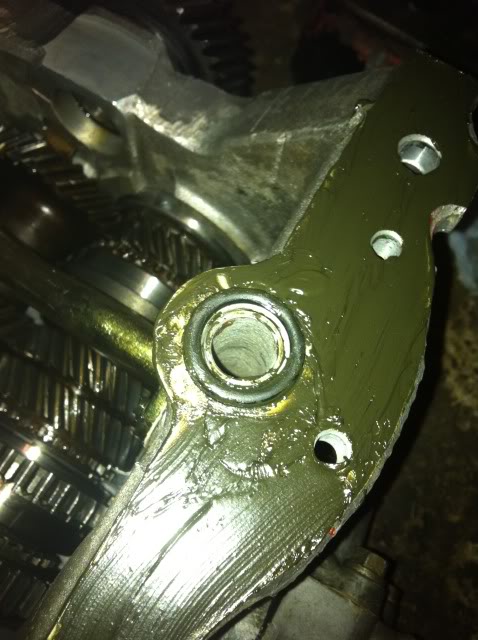
I use Loctite 5922, But Hylomar is just as good.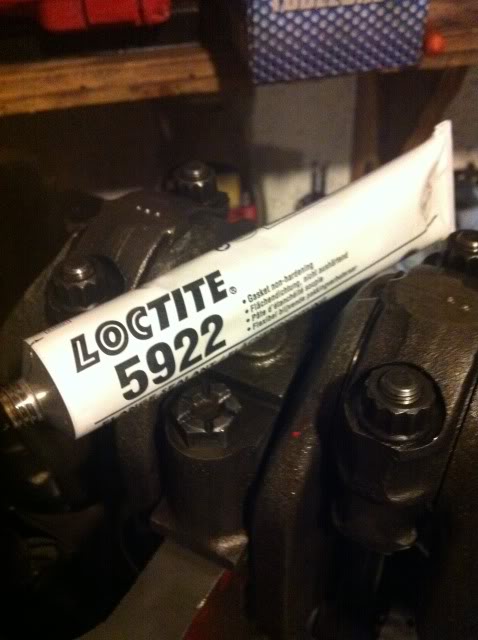
On go the new gaskets and then I carefully lowered the gearbox onto the block..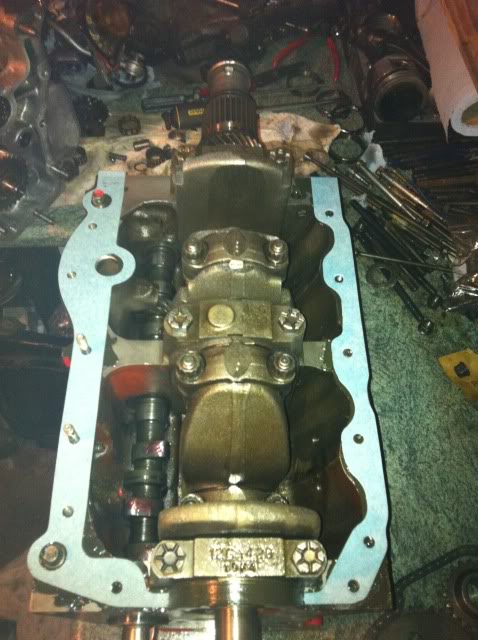
I ordered a new bolt kit from Minispares and tightened it all down..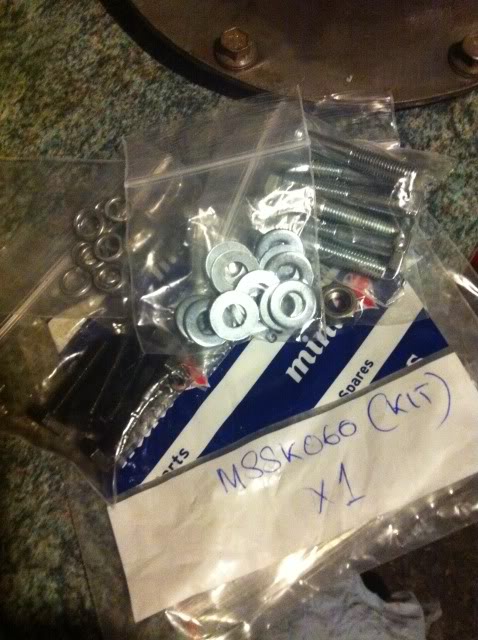
The gaskets are always a bit to long so I trimmed them off once every thing was tight.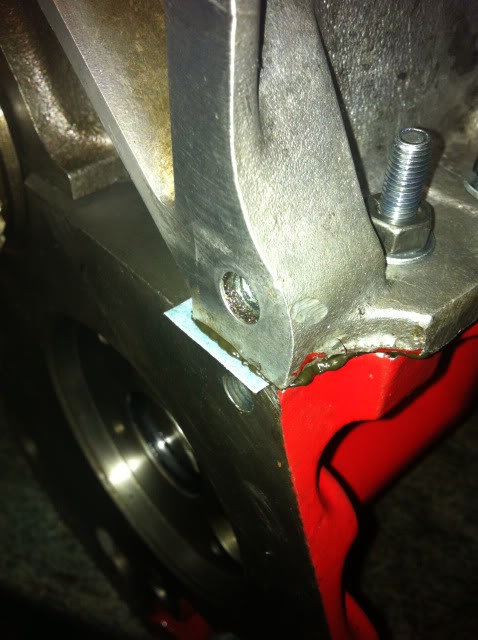
I cleaned up the timing cover back plate and stuck the gasket to the back of it..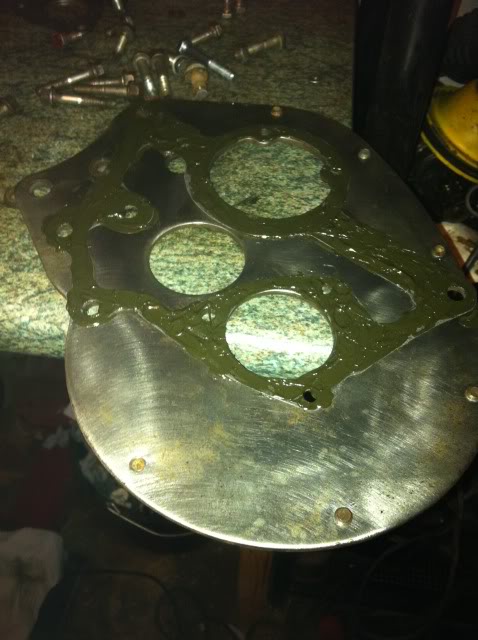
This is it bolted to the block.. I had painted the cam plate bolts so as not to confuse them with others,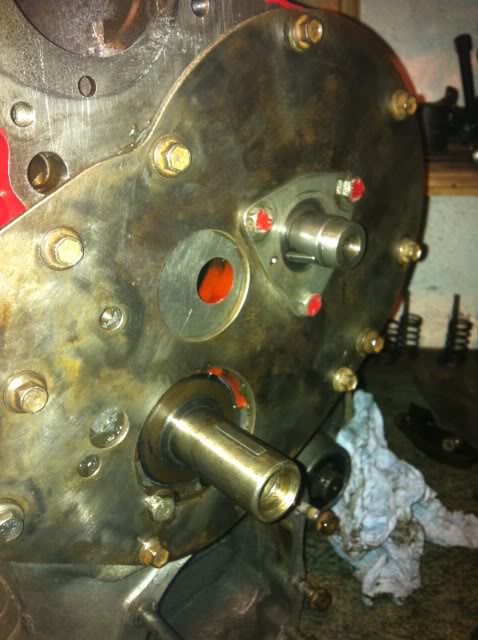
At this stage I realised I had forgotten to fit the Oil gallery plugs so I removed the plate and fitted them.
The next bit is to fit the oil pump...if you dont fit it at this stage you will find it hard to get the timing gear on as it will push the cam out the other end of the block..
Gasket in place...I dont use any sealent on this gasket,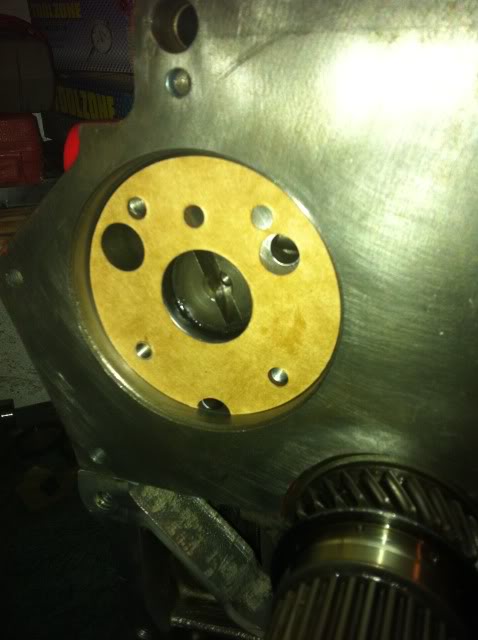
High capacity oil pump Fitted...I filled it with oil before fitting... a lot of the oil will leak out, but it helps when priming the pump later if some oil is in there..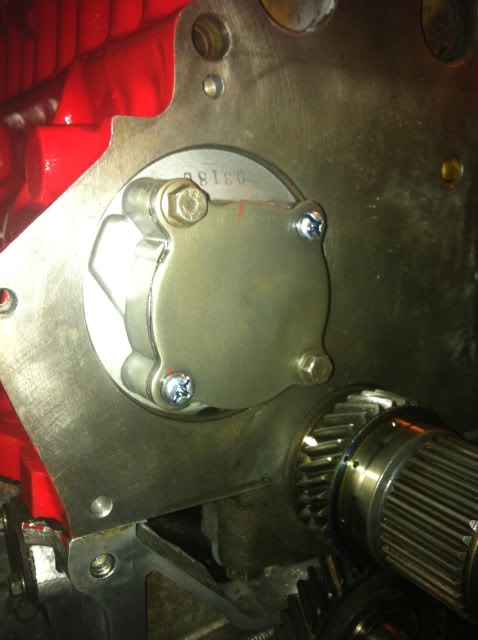
Next was to fit the timing gear..I made sure that Piston 1 was at TDC and pushed the gears on over the woodruf keys..I lined them up dot to dot which will be fine for this engine spec.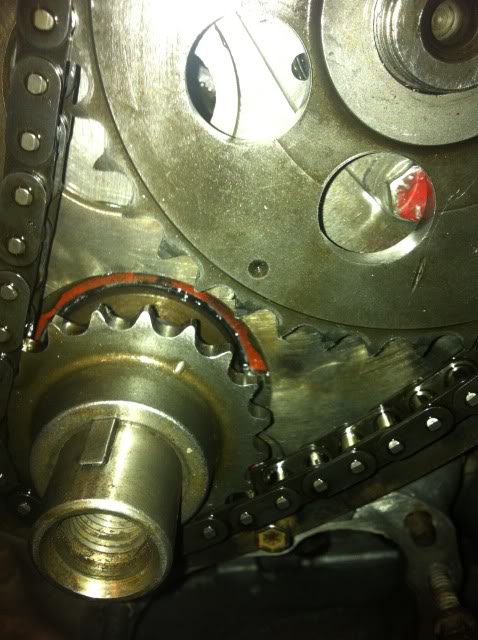
So here it is all lined up and with the tensioner fitted.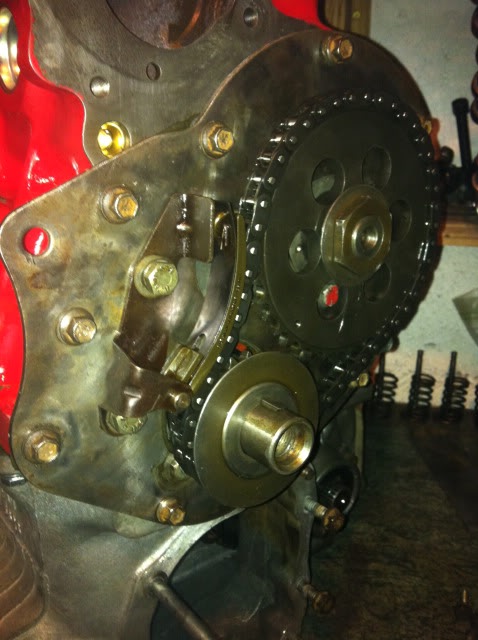
The oil thrower ring is fitted to the crank with the F towards the timing cover.
I cant tighten the cam bolt yet untill I get the transfer housing and flywheel fitted, this will enable me to lock up the engine with an old mains bearing.
So with all that done I fitted the core plugs.. A bit of sealent and then useing a suitably sized socket I hamered them in.