You must be logged in to rate content!
4 minute(s) of a 39 minute read
12-11-2009
That's an awesome story! Thanks for the tip and the offer. I will take a look at it. It is definately out in the open at the moment and easy to get to. One thing I need right now is the plunger w/spring that goes in the end of the camshaft. I haven't been able to locate the set that came out of my son's. It was there, but I guess my brain wasn't.
I would sure like to see some pictures sometime of your project if you took any.
ernie
1-2-2010
I still haven’t found the cam plunger and spring, but I still have half of my garage to go over with a fine tooth comb.
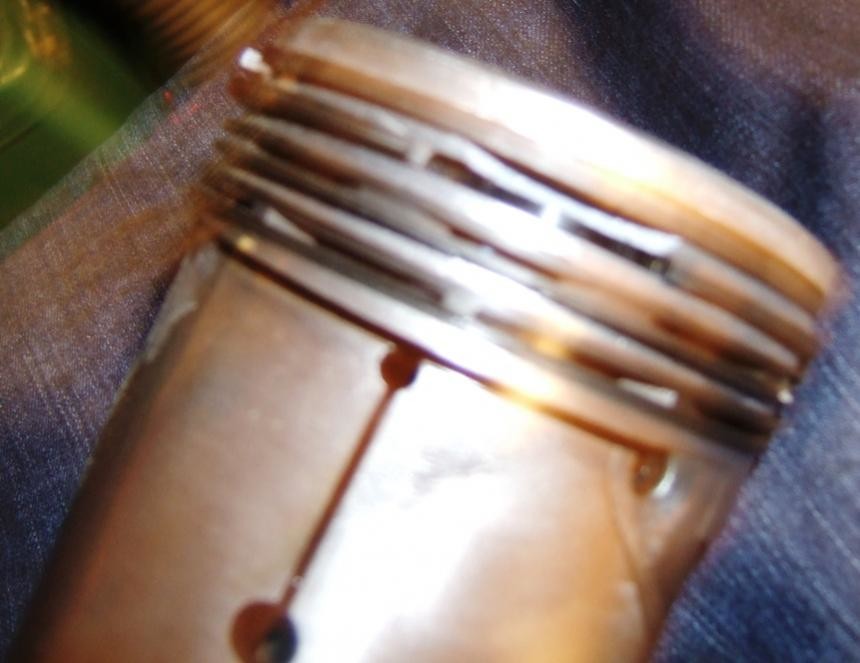
We were putting in the pistons yesterday with new rings and bearings and #5 somehow broke the second land from the top and part of the XS500 compression ring (neat set of “period” rings with special names for their rings). It was my son’s first time installing pistons and I think he may have been a little heavy handed in conjunction with my letting the compressor slip a ring out.
I ordered a new piston from Kanter and I have most of the old rings, so I will substitute one of the old fire rings for the broken one. Since it uses two compression rings and two oil rings I think we will be ok.
Now for my technical question…
While we were installing those pistons, my son noticed that the crank seemed to be sitting a bit to the aft. This morning I applied some pressure and discovered that the endplay on the crank is about 1/8”. The specs call for .004”. The thrust washers are in the right places at #1 bearing; one in and one out and lined up with their pins. The only thing I can think of is that we have yet to install the small timing gear and pulley and cinch them down. I think that will pull the crank in, as the gear rides on the outer thrust washer that sits against the brass thrust washer. Am I right or am I looking at a major problem?
1-17-2010
Nope, it was just as I thought. Tightening up the front pulley pushes it against the timing gear, which in turn presses against a steel thrust washer, which rides on the brass thrust washer, which is pinned in place against the number one main bearing. There is no thrust bearing, per se, as we know them. Different, but it works. After tightening, the endplay is within the .004 specs.
Had a minor setback today. The new piston came and I had changed out the rings, so it was ready to go. I figured I would pull all of the pistons back out to double check them for damage, since the #5 had broken. Also, I was not satisfied with the smoothness of rotation. Turns out that number #4 and #6 both had a broken lower oil ring. The cylinders and pistons were ok, though I had to work the lands where the breaks had occured. Not sure if it was something we did or old metal in the NOS rings. Probably the fact that we were installing the pistons with the block horizontal. Stupid idea on my part. Never did it that way before and never had any issues before, either. I found two of the old oil rings that looked good and got the pistons ready to install. Decided that this was a good time to do things right and drive out all the wrist pins and apply assembly lube, as they had gotten pretty dry over the last 40 years.
We then reinstalled the pistons, checking rotation after each installation, and found no issues. Then, just to be safe, we double checked the torque on the mains.
Installed a new timing chain and verified rotation again.
Tomorrow we will install the head.

Love this build. Got an classic Olds running and a new generation into wrenching. Interested to see where its at now!
Posted by stevegolf on 12/3/18 @ 12:09:43 AM