You must be logged in to rate content!
4 minute(s) of a 50 minute read
8-11-2013
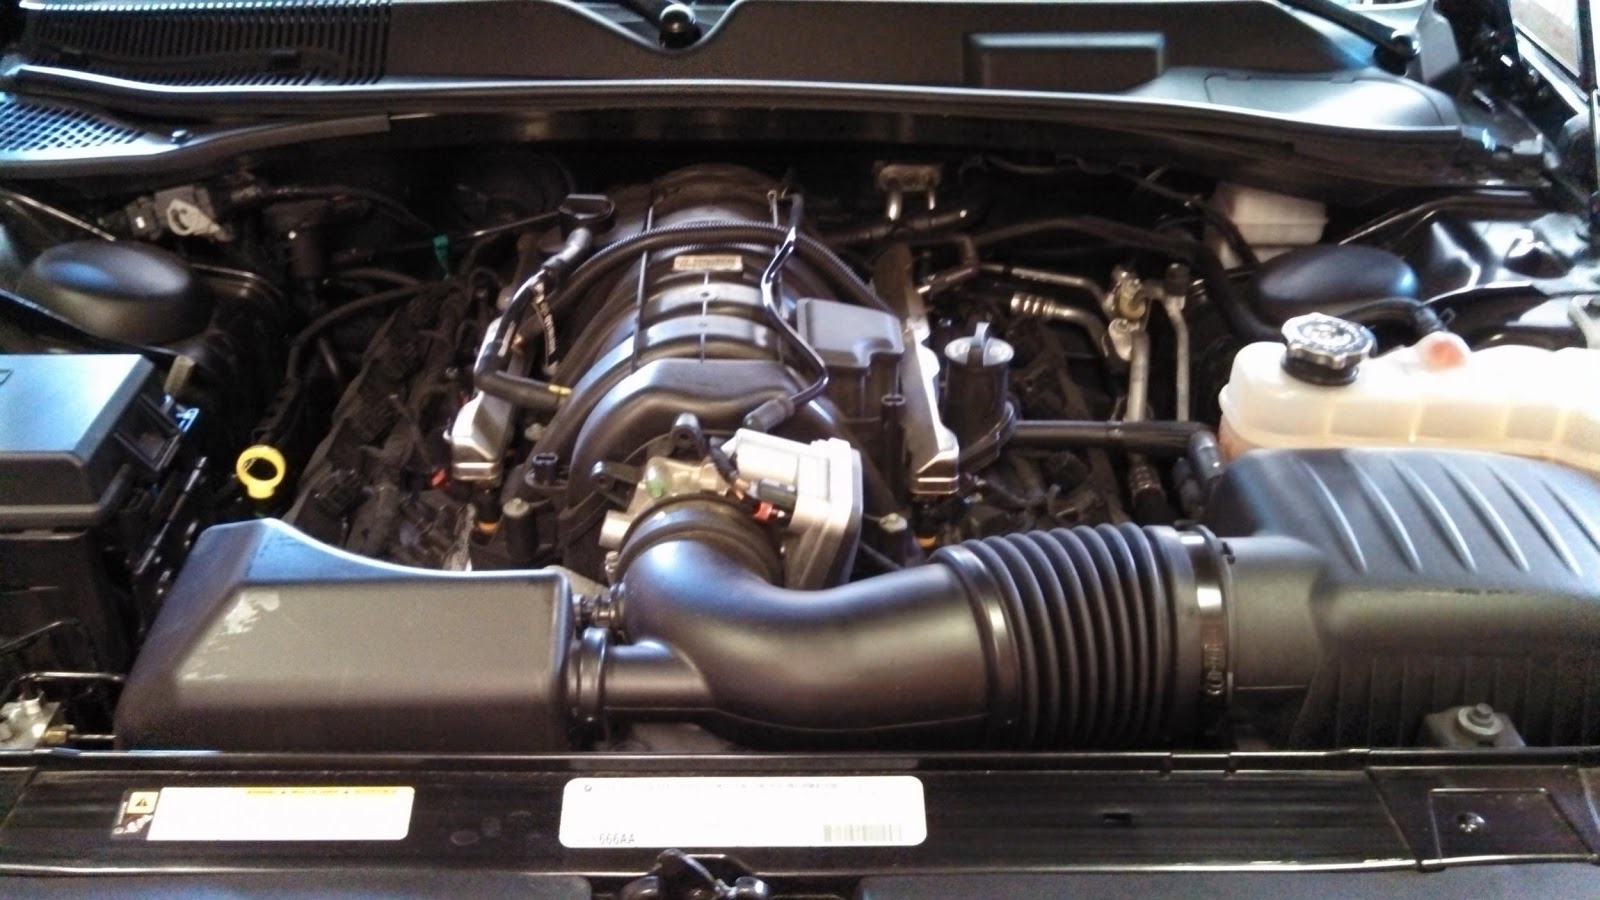
Started maggie install tonight
Compliments of BlackCuda @ challengertalk.com
8-11-2013
I ordered an 8 psi Magnuson kit from Arrington roughly a month ago. I learned it has been shipped out on friday so I started to disassemble the car.
I have about 4,500 miles on it and it is a 2012 R/T 6sm with STP and some other mods that are not important for this thread.
The kit I ordered came with:
Single competition turbine fuel pump ( good for 700 hp)
Injectors
Fuel rails
Tuner and tune
8 psi pulley
Head unit
Intercooler core
Heat exchanger and coolant pump
Plumbing
Idler pulleys
Serpentine belt
Pins for crank
**** Whatever else is needed for install. Most people know of these kits, but if your new to them just know they TRUELY come with everything needed for install. This even includes loctite and things like that.
I also ordered:
Dayco belt tensioner
Billet Catch Can
180 Degree Thermostat
I used SiliconeIntakes.com to make my own fender pull CAI. A HUGE THANKS to WYGOSLW for this list.
4 x T-Bolt Clamp for 4.0" Silicone Parts (CLA000310) = $15.60
1 x 4.0" Silicone Straight Coupler, Black (SIL000437) = $19.98
1 x 4.0" Pump Mounting Kit (CLA000719) = $6.99
1 x Silicone Reducer, 45° bend - 4.0" to 3.5" - Black (BRE000900) = $19.99
1 x Silicone Port System (ANF000500) = $14.99
1 x 2' Mandrel Bent Aluminum 90° Bend, 4.0" (SIL000778) = $29.99
1 x 1' Mandrel Bent Aluminum 45° Bend, 4.0" (SIL000288) = $19.99
I will post later about the Filter I used. I want to make sure it fits before I list this in Inventory. But it is a K&N 4" OD x 9" length.
You will need some sort of 90 degree bracket also to mount this guy down near the fender. Keep in mind things vibrate so some rubber weatherstripping or another sort of isolator might be handy, as well as nuts with the nylon insert so they don't back off. The car will have to be cut a little here too, so it's a good idea to repaint the cut surfaces to fend off rust.
Plan on ordering:
Dogbone DONE!
Green Belt ( whatever in the hell the name actually is) DONE! ( went with a Gates belt)
The best thing to say to someone who is thinking about doing this at home or not is find the instructions. Simply go to Magnuson LLC's website and look up install directions for a 2009 or 2010 challenger. Sure this may not be your year but it will give you a great idea of how simple this actually is.
I am doing this at home in my garage. The only thing that might effect my time table is shipping of my parts. I have been told the SC shipped out on friday, but I do not have a tracking #. I have been told that the fuel pump is not ready to be shipped out yet. I have also been told the tuner was not in on friday so the handheld is also waiting shipment. WHO KNOWS if these items will be here when I need them! I have to roof a house on friday to sunday, so realistically the part need to be here soon or this project will go into next week.
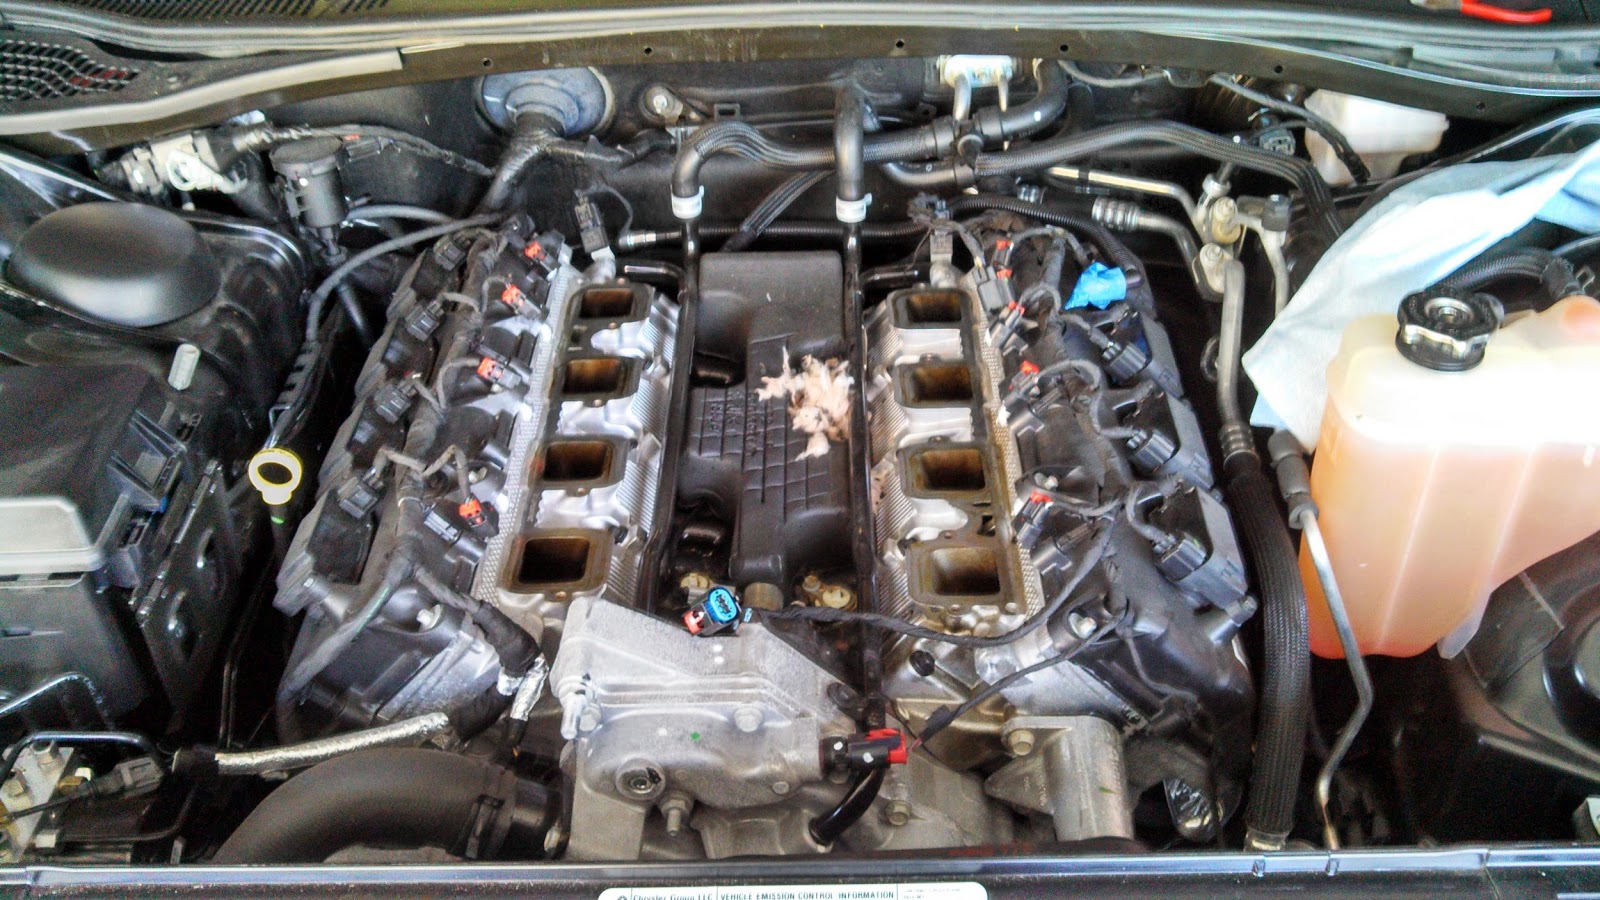
Tried my best to keep the car clean. Think I did a pretty good job except for that damn mouse who decided to make a nest in the valley under my intake manifold. The block must have been toasty one day in the fall and that was that. This is the one drawback of not using a car for a DD.
So far I have three tips for anyone doing this.
1) DO NOT slam the trunk shut after you disconnect the battery ![]() . I knew it right when it shut, but I still had to crawl through the backseat to open it back up.
. I knew it right when it shut, but I still had to crawl through the backseat to open it back up.
2) A 10MM ratcheting wrench will help you greatly, ESPECIALLY when you need to take off the horns. Yes the horns...
3) The fan is a terrible thing to try to remove upwards. If you can get the car high enough to drop it out the bottom that is ideal. If not, you will find yourself using a screwdriver like a prybar just to get this assembly unwedged every two seconds.
I am taking pictures here and there, but once again Magnuson has GREAT directions online. They took a picture every single step so I am not going to do the same thing.