You must be logged in to rate content!
10 minute(s) of a 418 minute read
4-12-2013
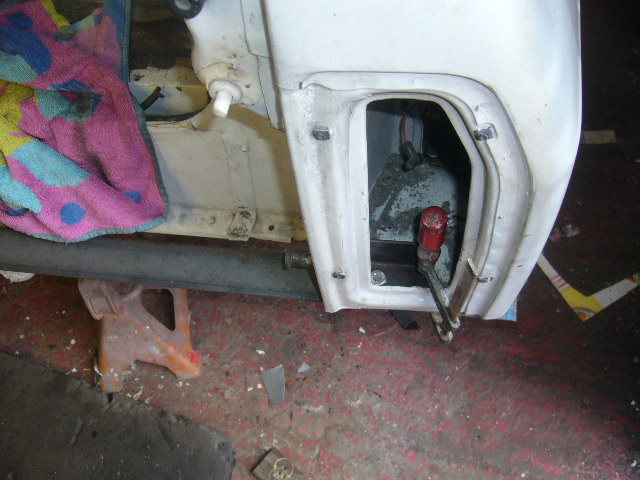
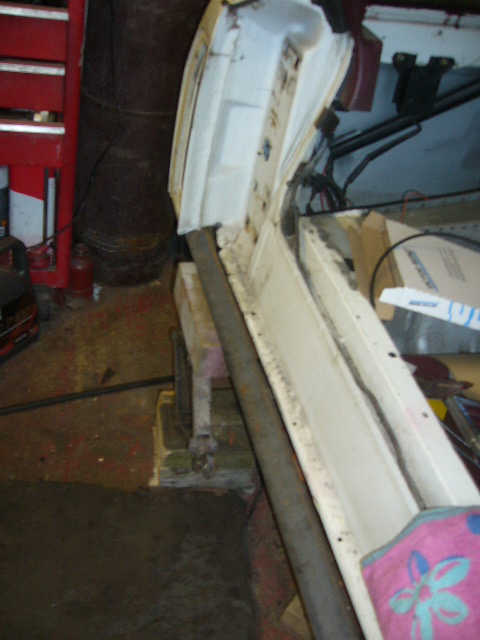
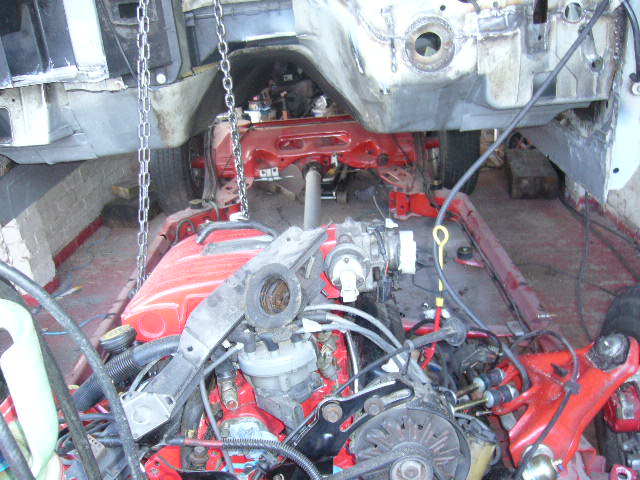
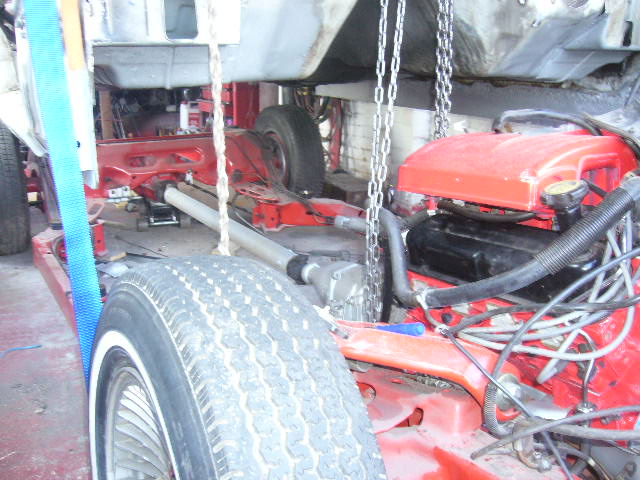
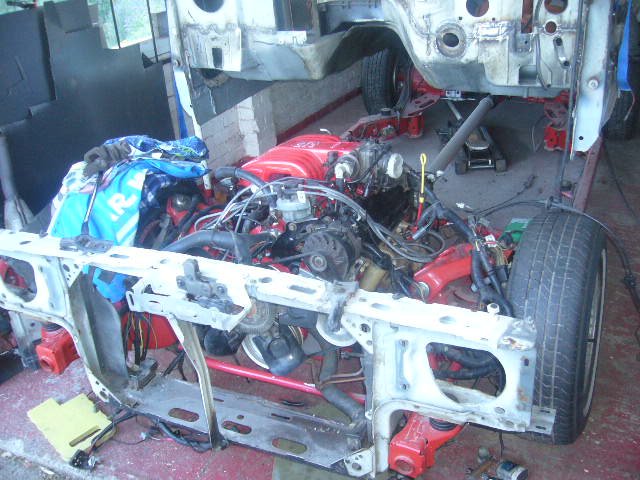
Last few jobs before body is hoisted off the chassis (again!)
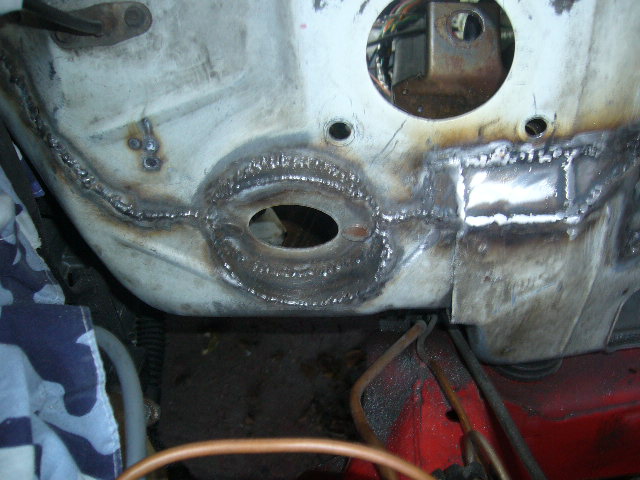
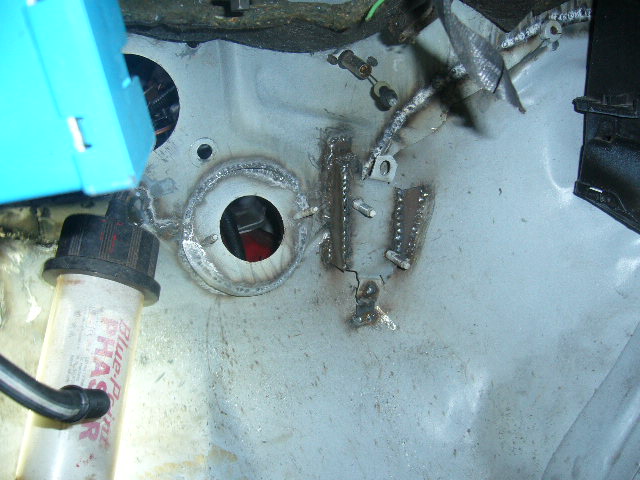
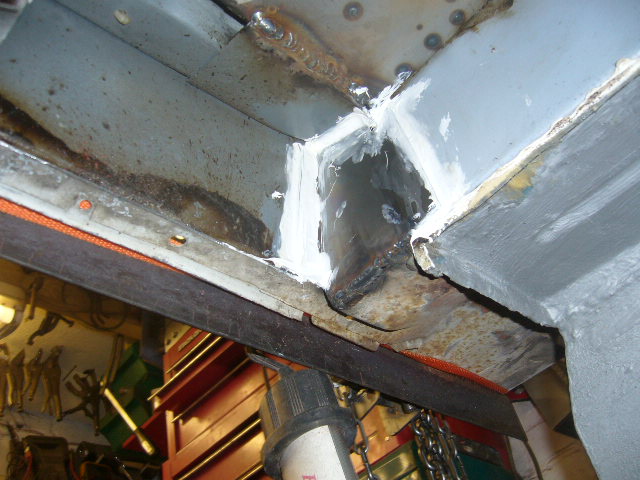
Final welded up the steering column mount through the firewall
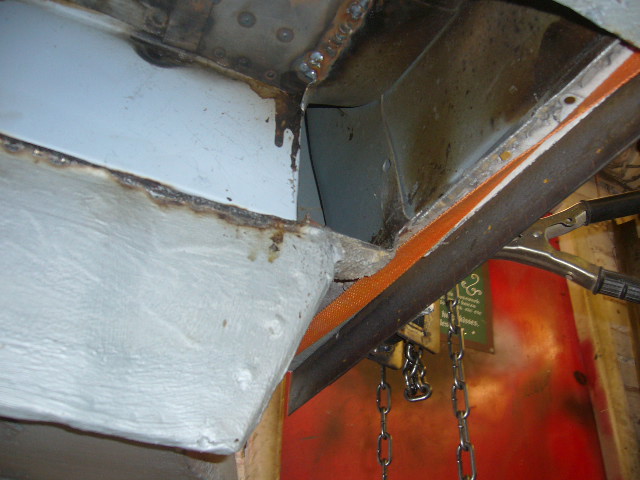
Had a trial fit of the wiper motor but it doesn't fit!! Touches the rocker cover and throttle cable and TV cable are in the sweep
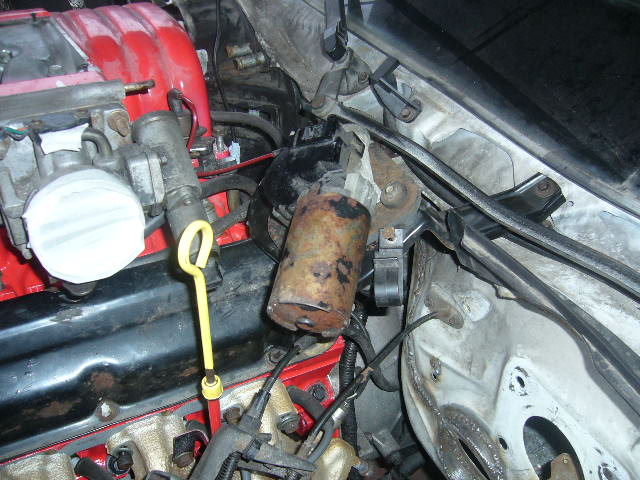
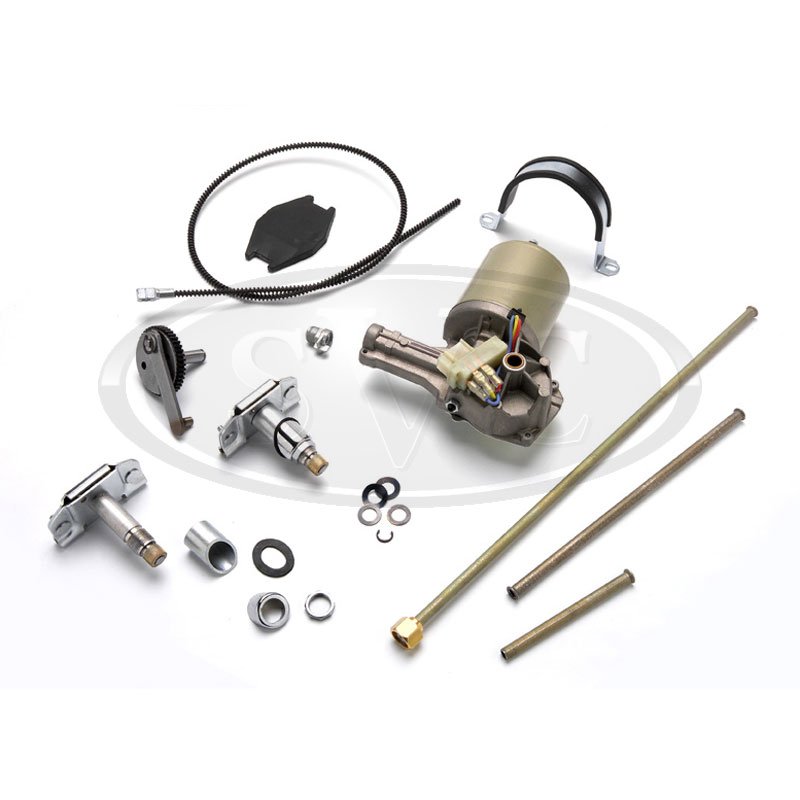
So I will fit a kit car type one in this space
All welding completed on the firewall inside
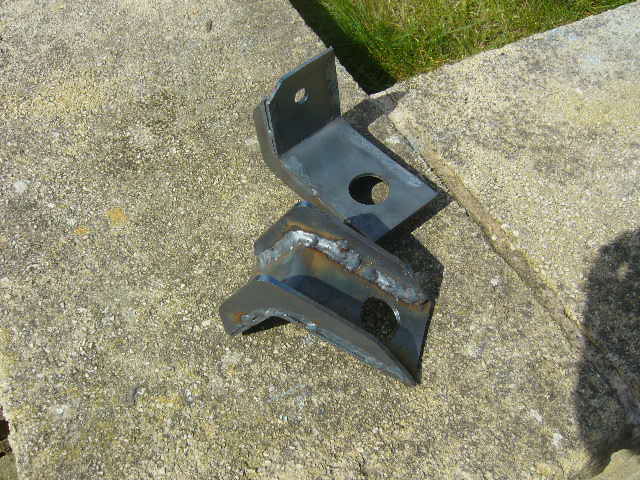
Now its welding up a framework to support the rear of the car when I use 2 hoists
More tomorrow.
4-14-2013
2 brackets welded up to help lift the rear of the car


4-24-2013
Not been on for a bit. Can't believe how painful a nreve trapped in the back is! But it doesn't hurt there, oh no, just down my right leg.
Anyway, doesn't appear to be getting any better so while I wait for an mri scan on monday (cant wait) I'm going to get on with it.
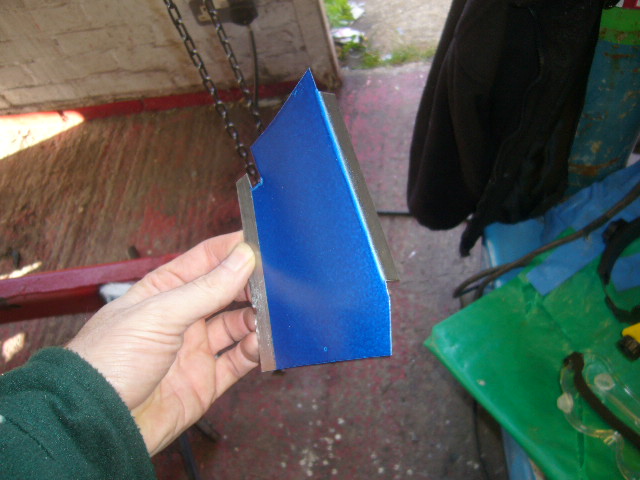
Bet you can't tell what I've done here!


5-5-2013
Got to apologise to you guys - been diagnosed with a herniated disc in my back, so I have had to take it slow and steady, but I'm still going!
Working underneath the body for a few weeks now, so I have designed and built a custom car creeper to get me higher up. Photos tomorrow.
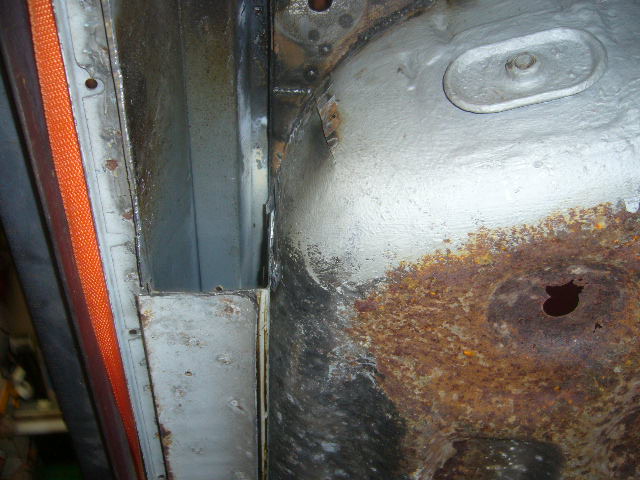
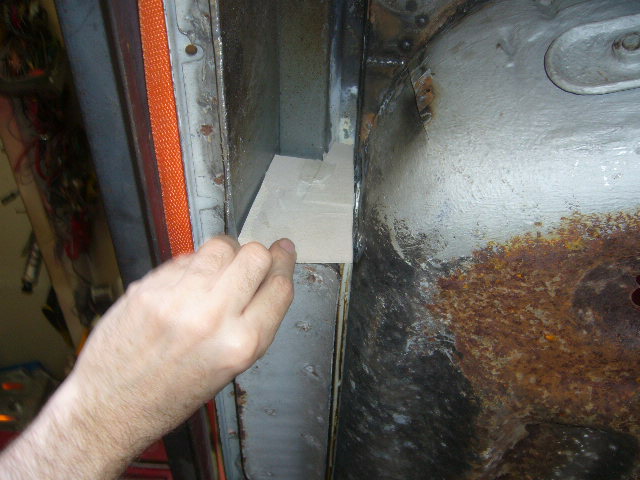
Got to start blocking holes up and reinforce areas under the floor where it has moved up 10cm.
First one here
and another one

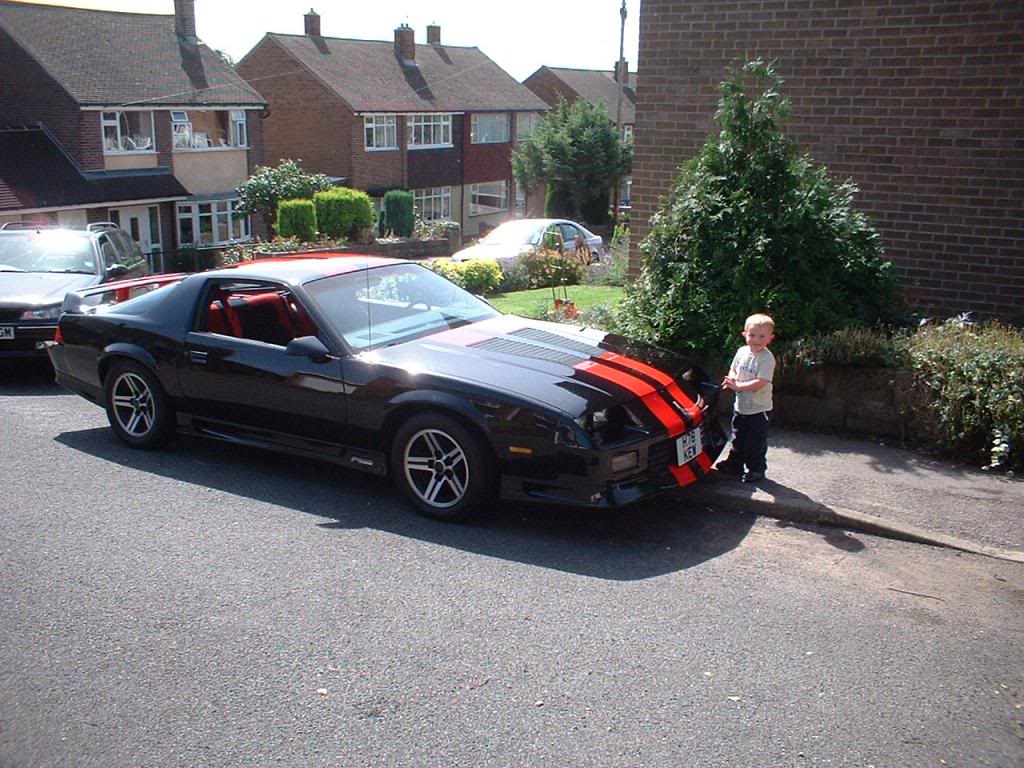
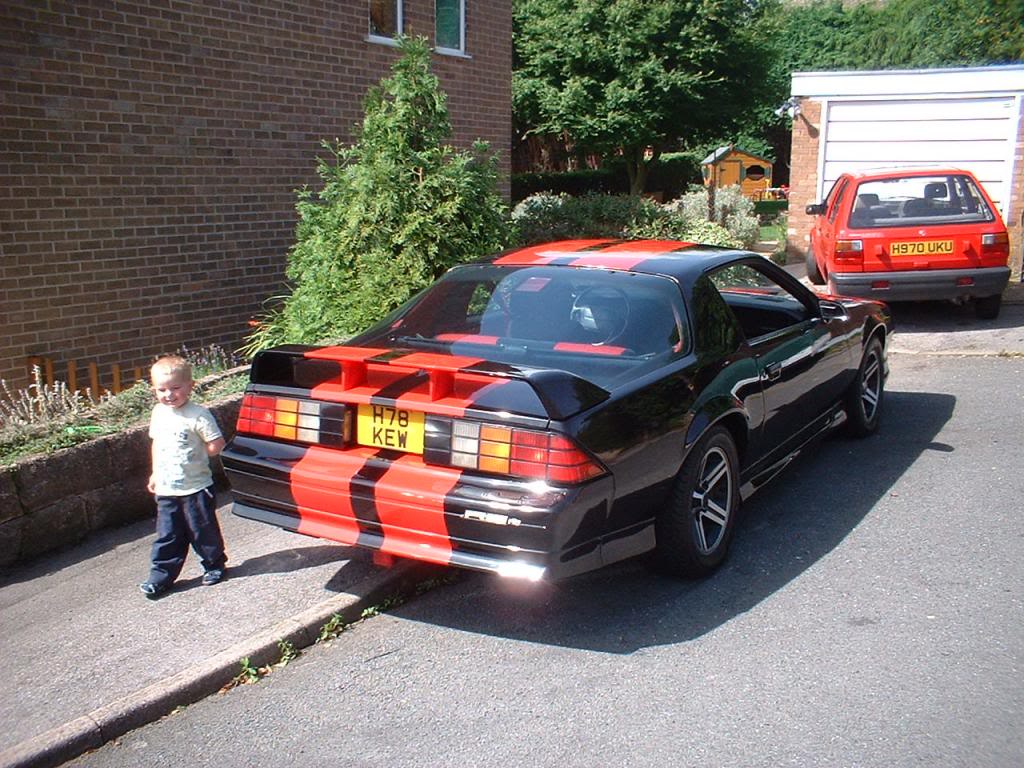
I bought a 1991 camaro in 2001 for about $400 that was wrecked and had a lot of fun ressurecting it but sold it in 2005 for the wrong reasons, (Nearly got involved in a major highway crash that I thought I caused (turned out I didn't) that put me off and scared me to death).
Anyway it went to its caring new owner and I've got the chance to buy it back
Click here for the story
May cause a divorce and the slowing down of this project, but its loads of fun!
5-14-2013
Hi all.
Just to keep you informed that progress is nil due to my prolapsed disc not really improving and waiting for physio to start to give me a chance.
I've been signed off work for 2 weeks but can't do much obviously.
My only chnace of completing the underside work on this car is to design and make a rotisserie that is attached to the ceiling joists and not the floor. In fact, there is so much to do under there, I don't think I would be happy doing it even in my 20's or 30's anyway!!
So, design is under way and I will post up pictures as it progresses. Be warned though, this will be sloooow 'cos my back and leg hurts! I've not actually sat down for 8 weeks now - cos I can't! Driving is darn near impossible.
Keep you all informed.
6-8-2013
Okay, I'm back. Well sort of!
My prolapsed disc is improving but I am still having to take it steady. Lost confidence I think they call it.
Anyway, onwards with the engine fire up wiring and plumbing etc.
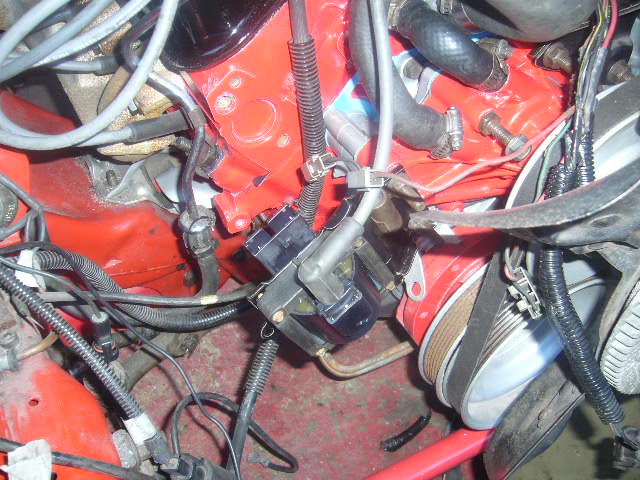
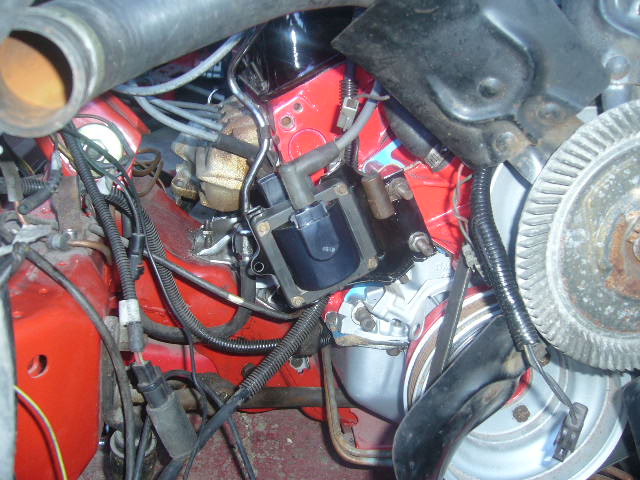
Bought a new coil and redesigned the mount and placed it here
Front rad panel replaced temporarily
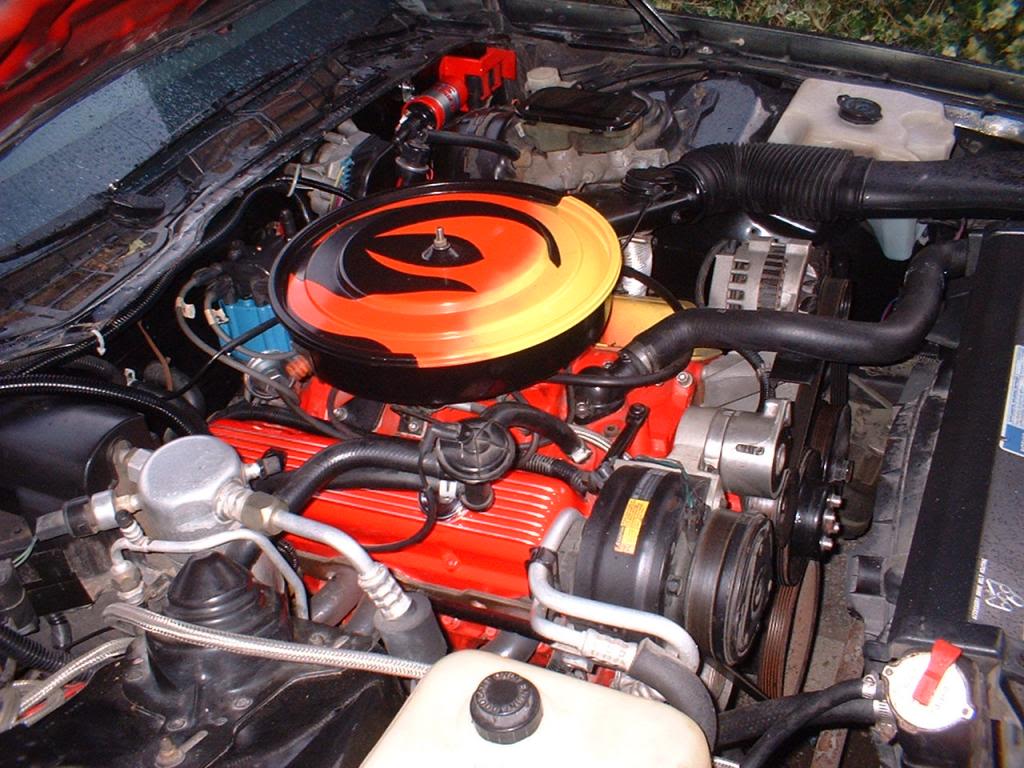
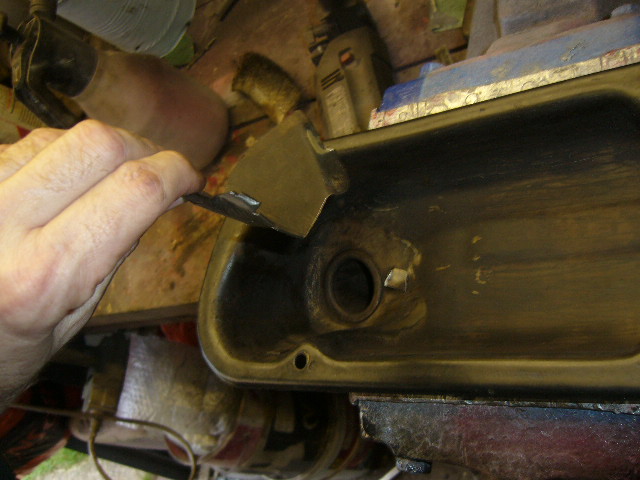
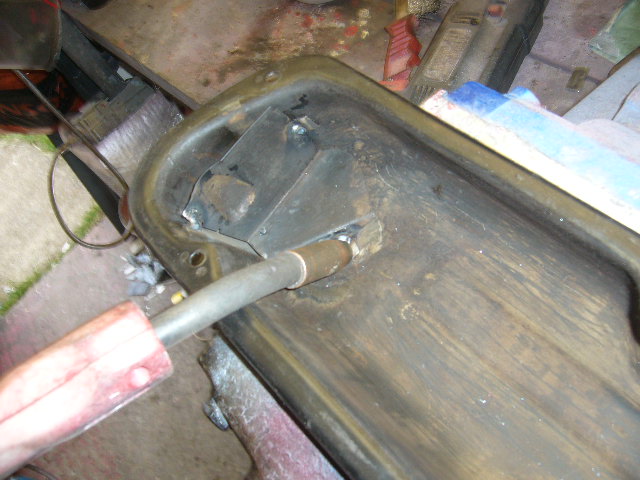
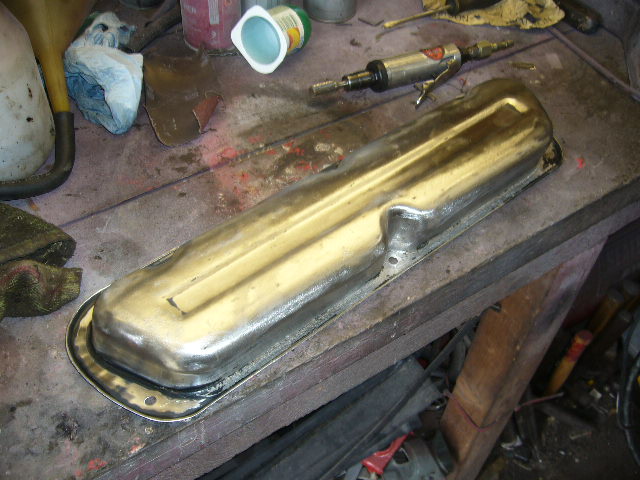
Oh, forgot. Stripped and repainted the valve covers, even going to the extent of cutting out and rewelding in the internal baffle to make sure all the old oily residue/carbon is removed
I am going to temporarily fit these horrible things
and try to fit the fuel tank on the frame to enable the fire up.
I'll struggle along the best I can but without compromising my improving back.
Keep you all informed guys.
6-13-2013
More progress!...
1990 Crown Vic Airbag Deployment - YouTube
Andy.
6-24-2013
I'm Back!!
Didn't think i would recover from that back injury. Took 3 months but I'm 90% there. So, its back to work on the lowrider wagon.
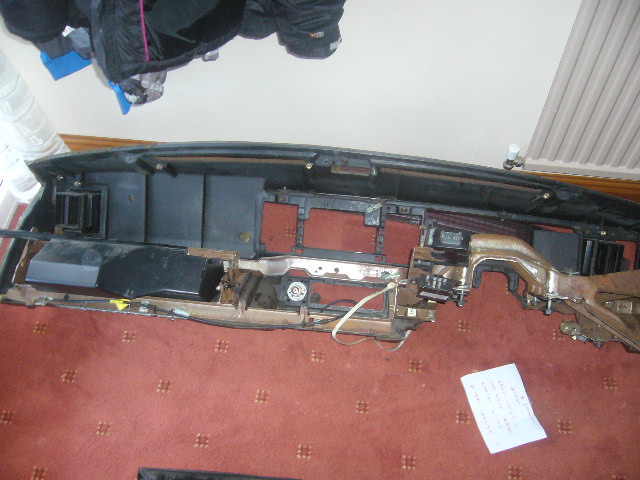
Here's the back of the dash stripped of wiring because its not going back in, and I want to wire the engine to start for the very first time after an extensive rebuild!
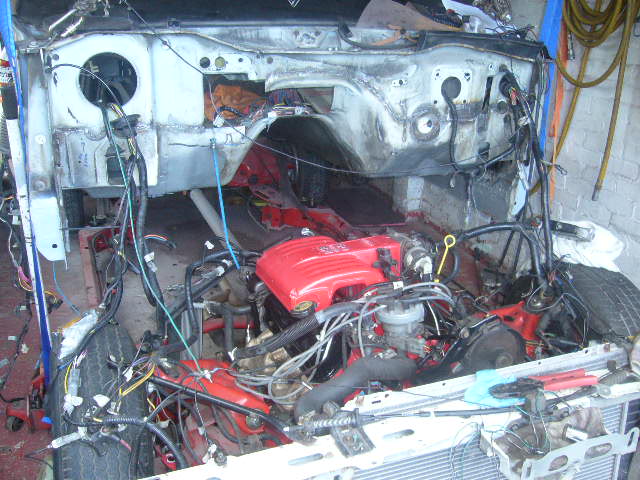
Here's the engine all wired up with the harness going into the car through the heavily modified firewall
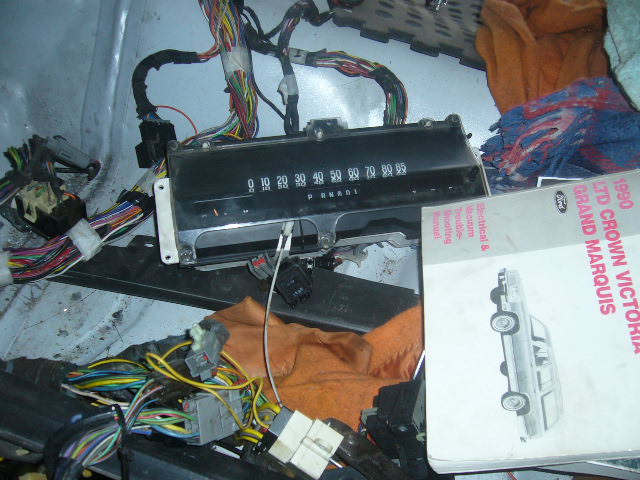
Here's my instrument panel
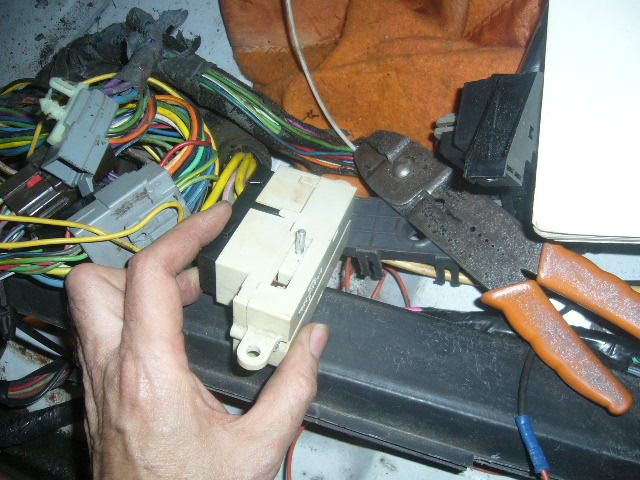
and my ignition switch!
So, tonight after more than 2 years and a full engine rebuild, blood, sweat and tears, I went for the start........And it fired first time!!! Sounds fantastic. Forgot how that V8 burbled away to itself. I know its only a 302, but its MY 302 and it works!
Timing adjusted and its as smooth as a babies bum!
Now, inbetween waiting for my back to recover, and needing a fix (and a possible profit) I bought these 2 foird fiesta zetec s cars
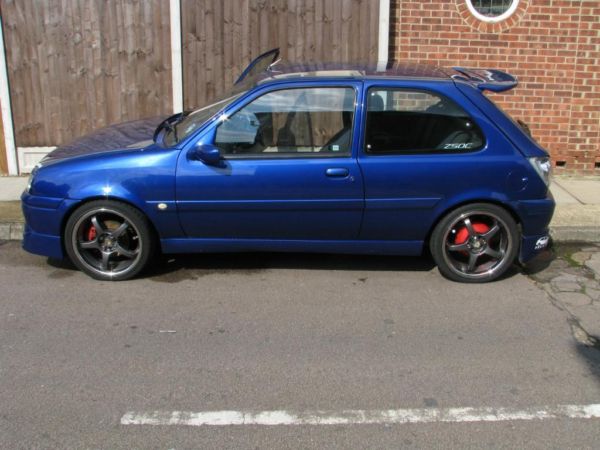
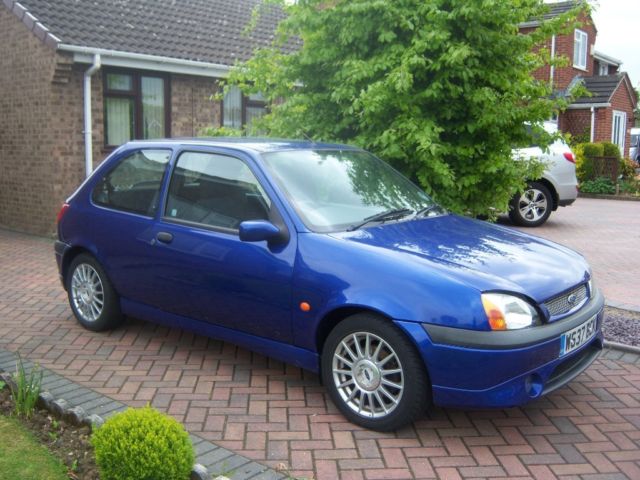
The first is heavily modified and may sell on for a small profit. The second is a reshelled write off that I will use as my everyday car.
Yeah, I know, the first one is a bit fast and furious for a 52 year old but I don't care!!
6-24-2013
Anyway, more interesting news. I have decided that after 30 years of teaching teenagers, enough is enough. So I'm going to open up my own shop where I can build my wagon in peace (with 2 post ramps etc) and do custom work for anyone interested. So, exciting times. May take a year or so to get up and running but I can keep teaching during that time.
6-25-2013
Thanks Bert! I'll try my best. You'll all be the first to know of any "happenings"! Really excited to do this. But 1 step at a time.
Now the 302 is running, its time to scope some components as an intervention method to reduce the chance of a breakdown in future.
Here's the fuel pump waveform when running
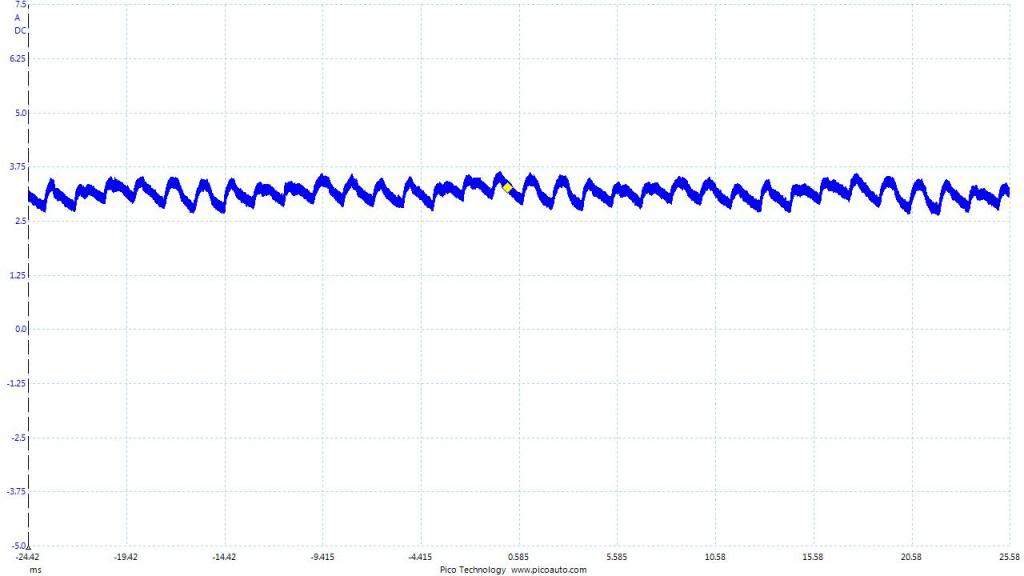
And, I don't like this at all.
Current is only about 3 amps or less, but the overall shape is good, with no commutator segment drop-outs. If I'm not mistaken, it should be between 6 and 8 amps, but I will have to confirm.
But, I have no record of it ever been changed, and the wagon has done about 241 000 miles,so it damn well deserves a new one!
Here's the voltage waveform for injector number 5
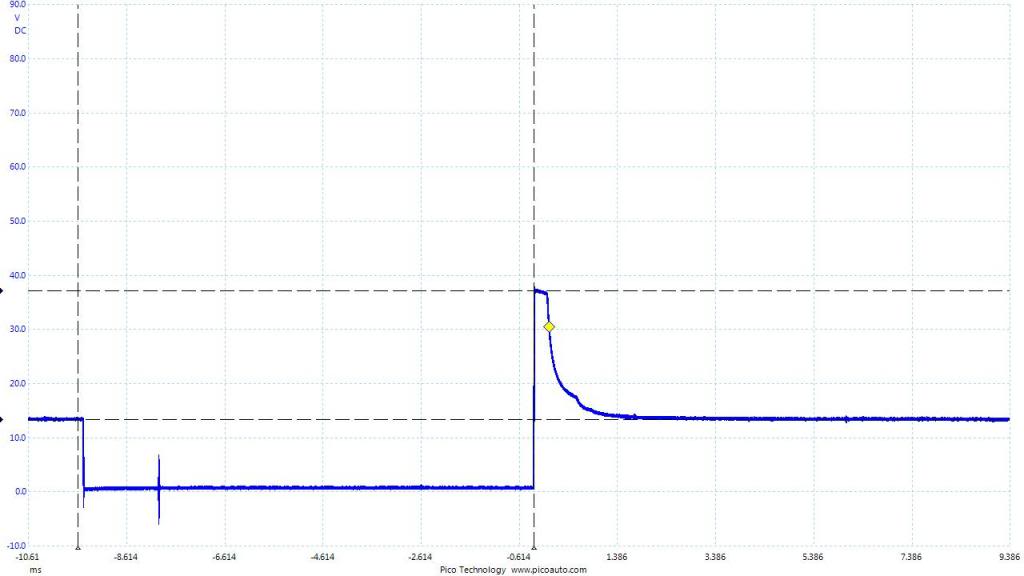
Shows a good injector turn on and I can plainly see the injector pintle closing (the hump on the downward slope). So the driver in the ECU looks good and the injector itself also. Peak voltage is about 35V which is perfect. Then it ran out of fuel! Better get used to that.
So, next job is to disconnect the wires again in to the shell and build the rotisserie so I can tip it on its side and finish the welding underneath. Then its a good coat of paint on the underside and back on the frame it goes. And its then going back together!!
Luckily my new shop is right next door to the chap who is going to paint it for me!!
More exciting times!

Love this build, so much work!
Posted by diyauto on 1/21/21 @ 1:46:55 PM