You must be logged in to rate content!
8 minute(s) of a 418 minute read
8-24-2013
Not been here for a long time! Been building 2 other cars in the meantime, while the wagon waits!..
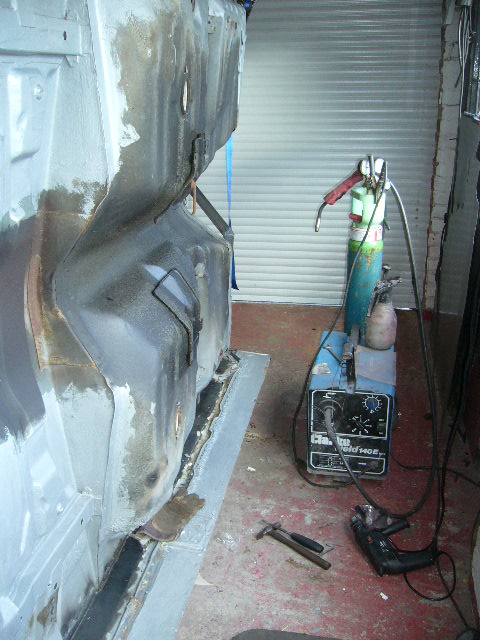
Now they are just about done, I have spent a few hours in the garage welding up a rotisserie that is suspended from the roof.
And here it is
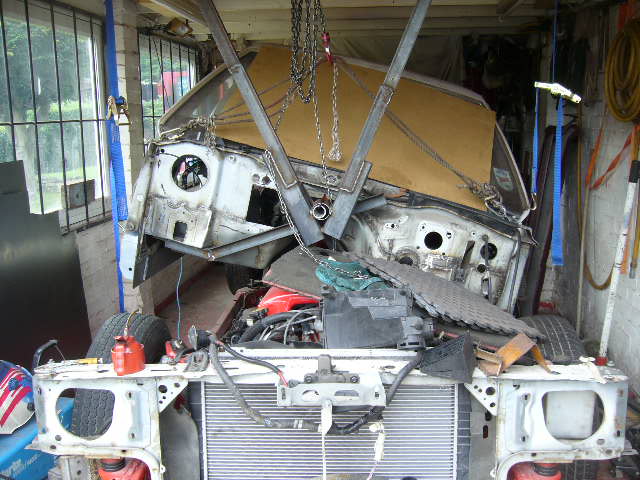
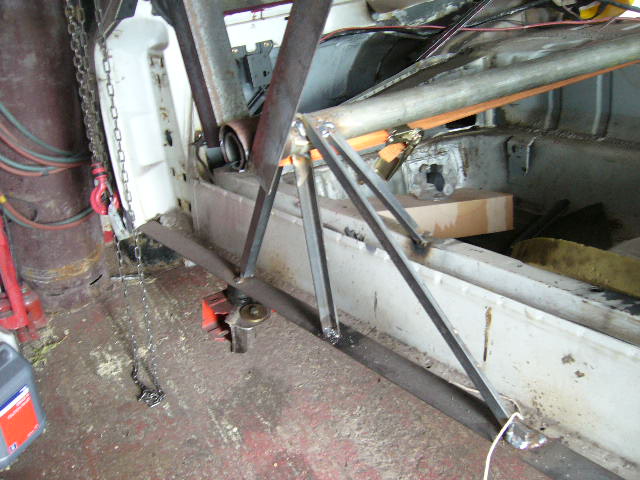
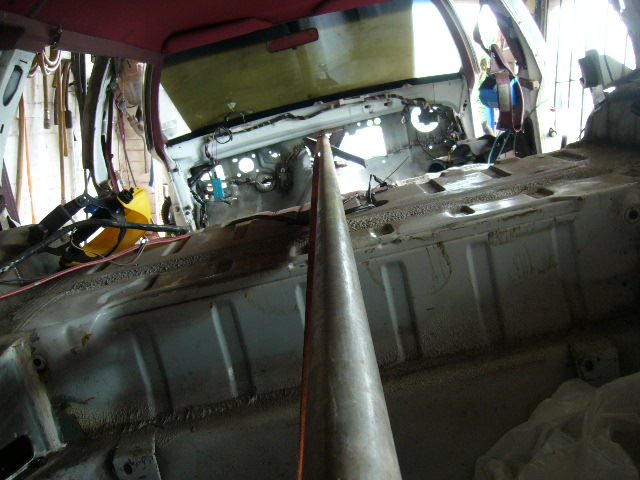
and a view of the scaffolding pole that goes through the car!
I have a week and a half before I am back at work to roll the chassis out, pivot the car at 90 degrees, Finish weld the underside and paint it green. Then its back on the chassis and off it goes down to my new workshop onto my 2 post ramp (posh eh?).
Then perhaps it will get finished for next summer.
8-29-2013
No problems, good to be back.
Today was an amazing day! after hours and hours of welding cutting grinding drilling and fitting a 12V winch, it was first rotate day!
Heres the chassis rolled out of the garage,

and.................
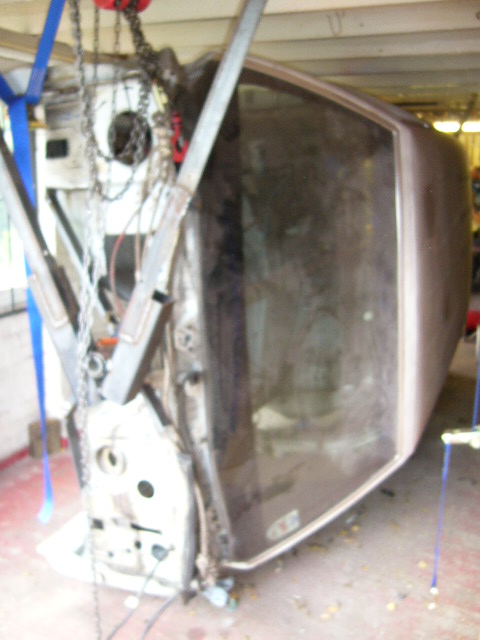
here's the country squire turned on its side!!!!

You can see how far the floor has moved in this shot
Bit of a crap photo this (must have been a bit shaky after watching my pride and joy turn in mid air!!
More tomorrow.
8-30-2013
Certainly does make it a lot easier. Lot of work to get the framework builtthough, and my garage probably will never be the same again - especially the roof!!
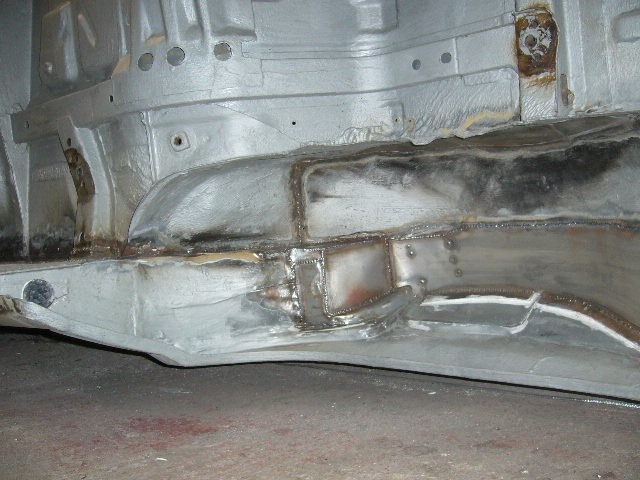
Loads of welding and fabrication today on the passenger floor and rocker.
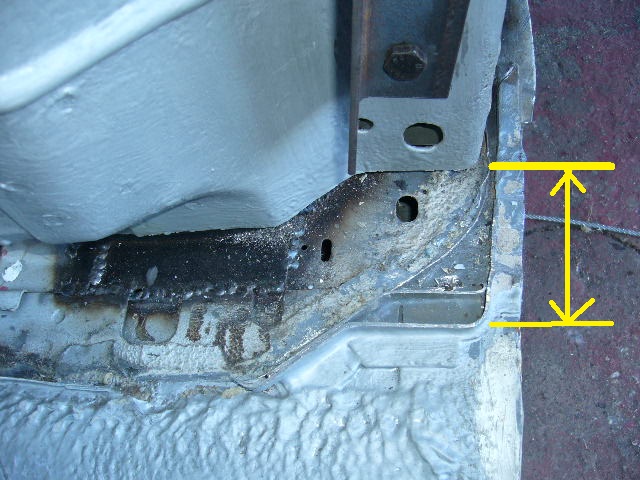
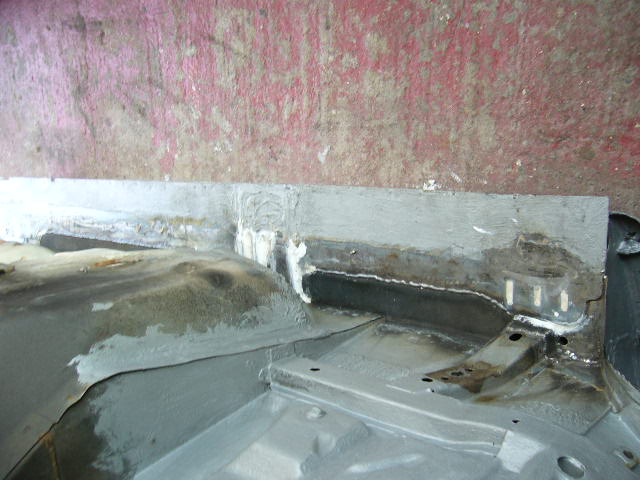
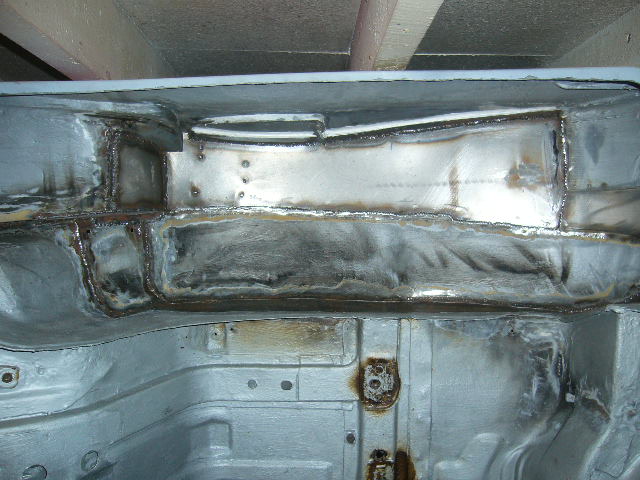
This is the box section under the rear seats extended to the new inner rocker
Heres the complete floor reinforced section under the seat belt mount
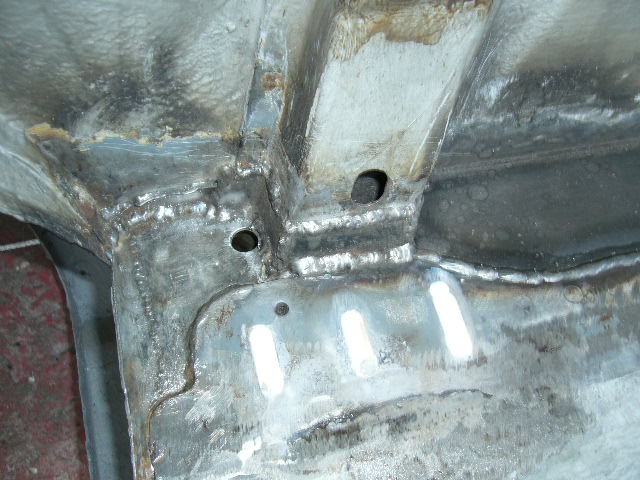
More welding on the inner rocker extensions.
Completed rear frame mount
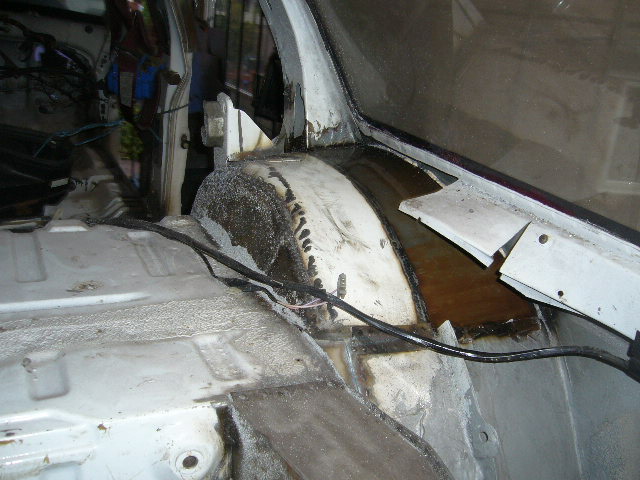
This is the sad looking rear floor area! The only rust left on the car. This will be cut out and redesigned to take the air tanks and/or nitrogen cylinders for the air suspension.

8-31-2013
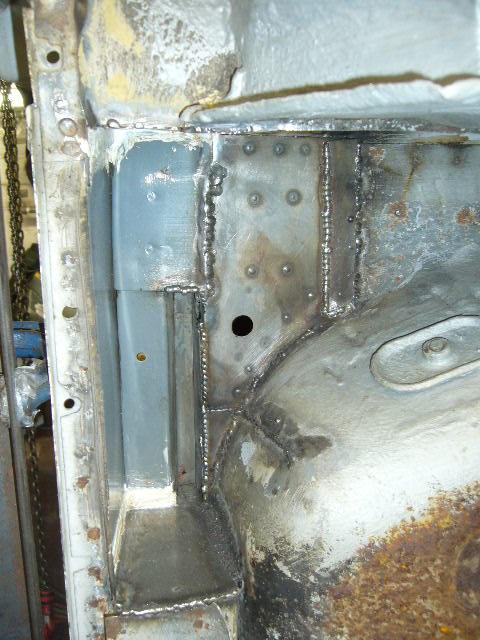
Today was about finishing the inner rocker and making it as smooth as possible. This includes welding up the seat belt reinforcing panel and closing in the lower corner of the firewall.
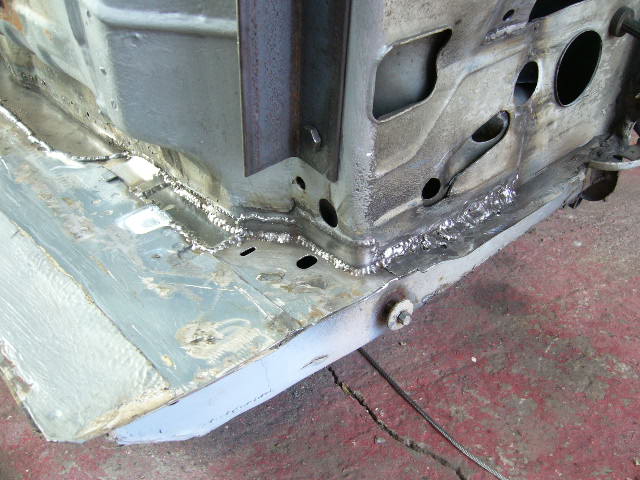
Took a surprisingly long time. Didn't relaise that the lower firewall corners have 3 metal thicknesses and they all have to be done one at a time. I'll photograph it when I do the other side. Got too involved this time and forgot about it!
Rear inner wheel arch tomorrow and its on to the other side.
9-23-2013
Hi all. Still here!!
Have spent a massive amount of time on the final welding. Rear wheelarches, rockers etc.
Finally finished the rear arches, now waiting seam sealing
Here's the welding penetration through into the C pillar.
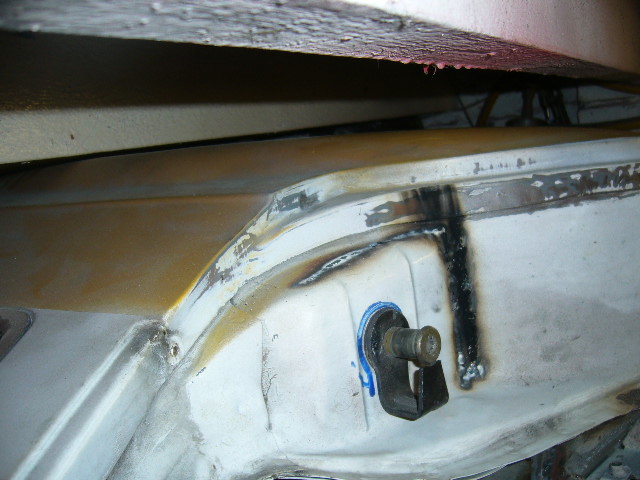
Just noticed that the rear quarter is seriously close to my garage roof!! Dont forget it is on its side!
Heres the front seat reinforcing plate on the underside removed because I didn't like the rust stains around/under it
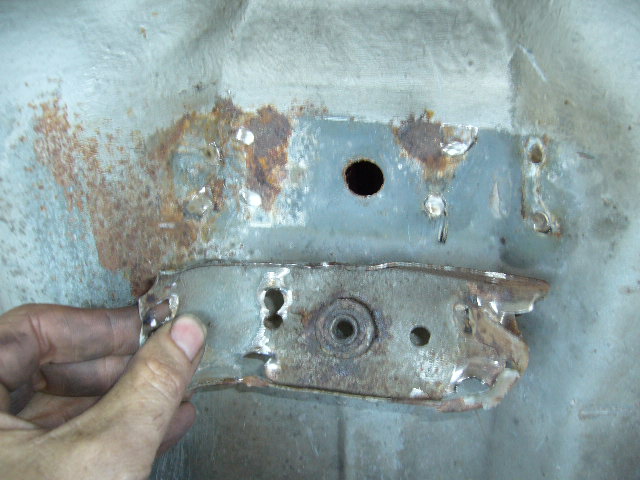
And heres the new 3mm thick one bonded in and sealed Actually didn't weld for more than 10 minutes!

Rear floor and battery holder in next, then I'm going to prep and paint the roof while it is on its side and its easy.
12-28-2014
Hi all.
Sorry for the serious interruption to this thread!
Kids, elderly (95 year old) Mum who is causing big problems, gone part time teaching, opened my own restoration business, bought and fitted out a workshop, 2 full time restorations on for customers (84 trans am and 85 country squire!), bought my 1991 camaro back after 9 years away, megasquirting that, and,.........well my poor custom squire gets left behind!
Well I have started this again. Haven't fired my brand new rebuilt engine up for over a year, so its time for a wire up again. Not easy when the body is separate from the chassis, suspended up in the roof of the garage still.
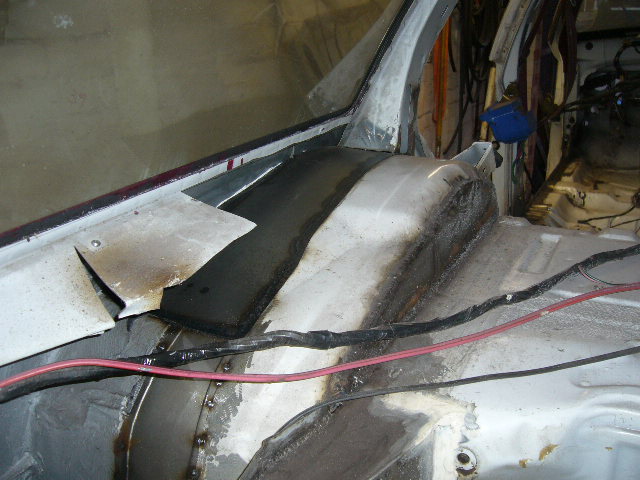
Heres the fuel pump wiring connected
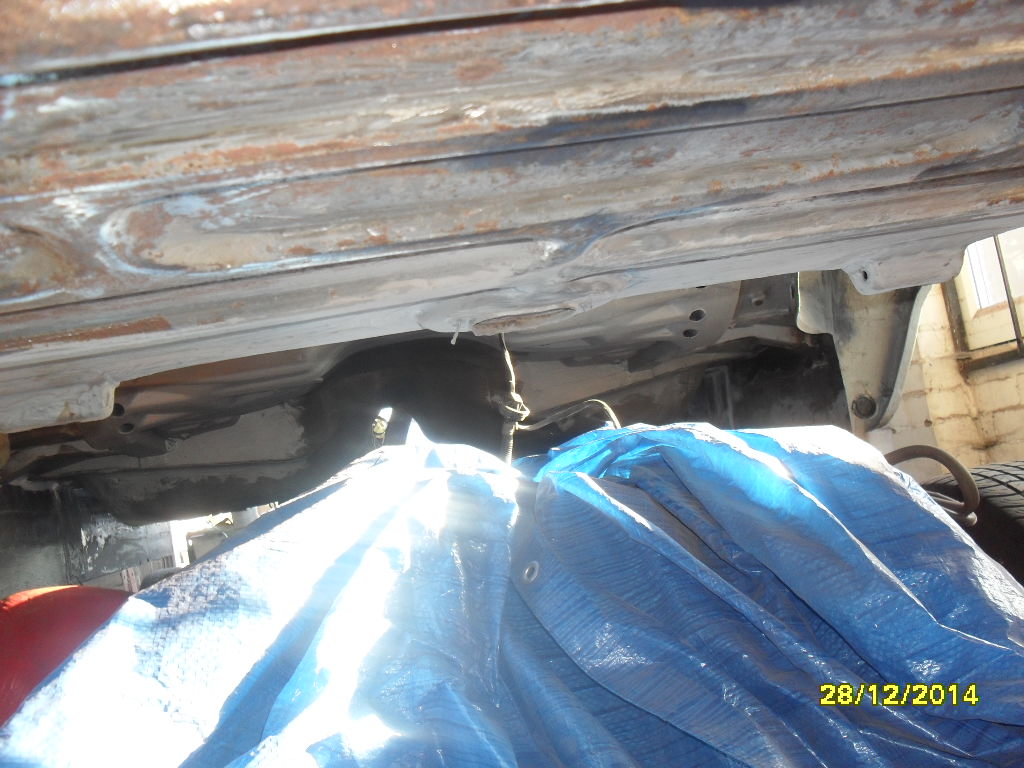
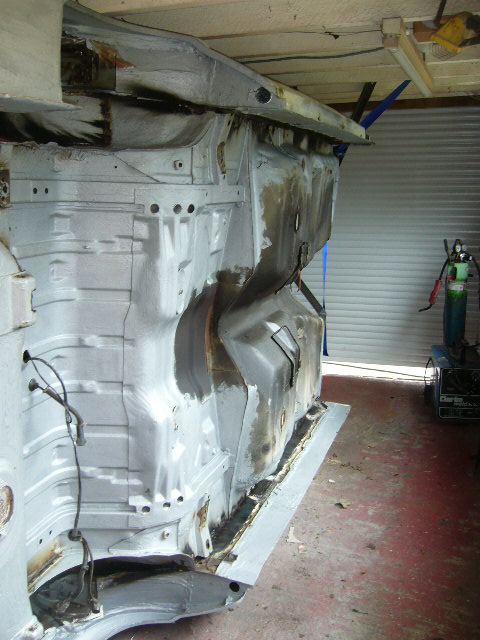
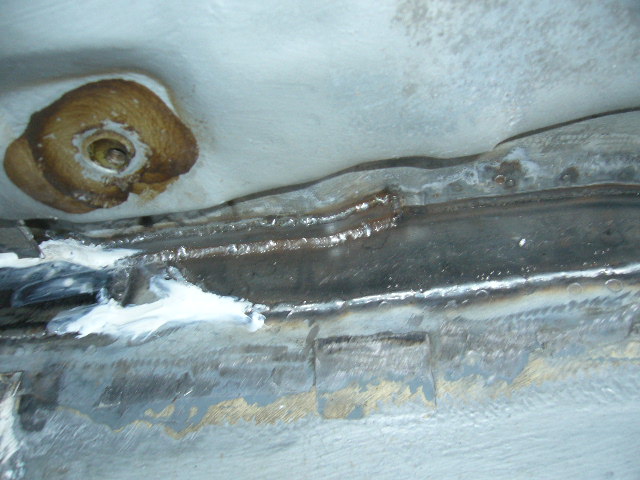
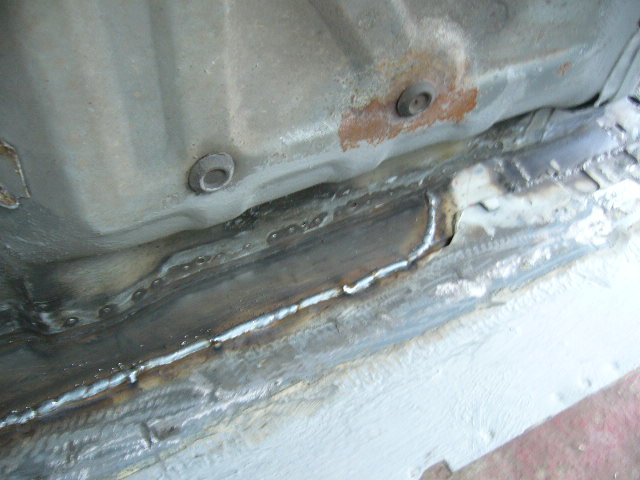
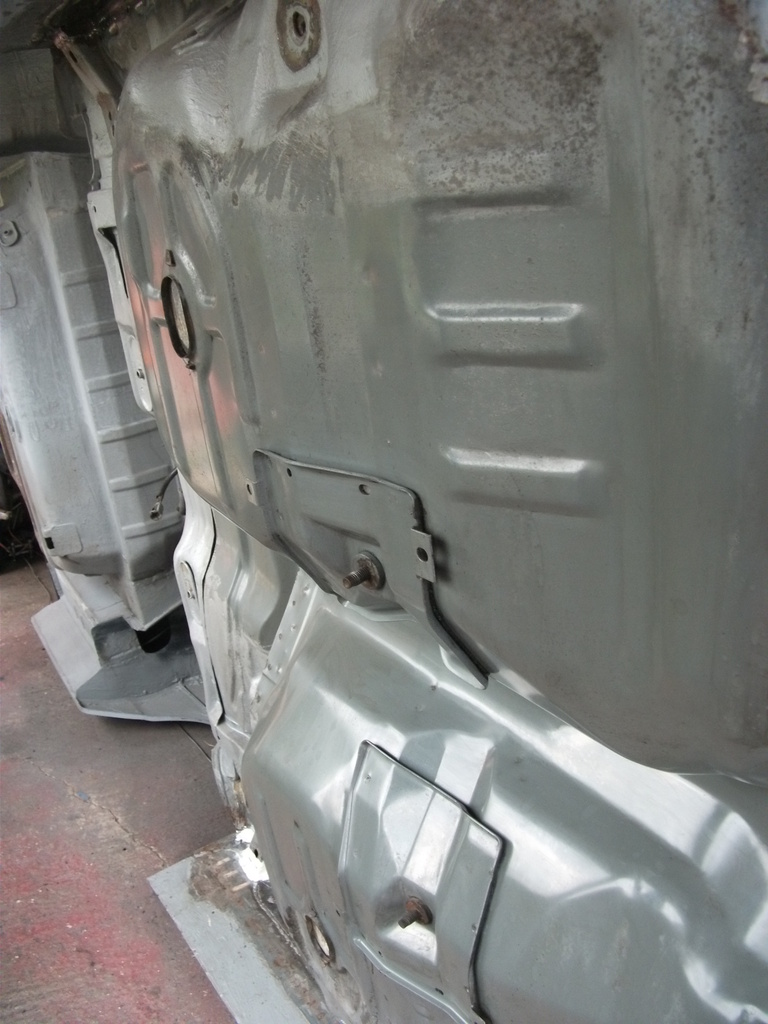
Heres a few photos of the bare metal underside after over a year exposed to the UK air
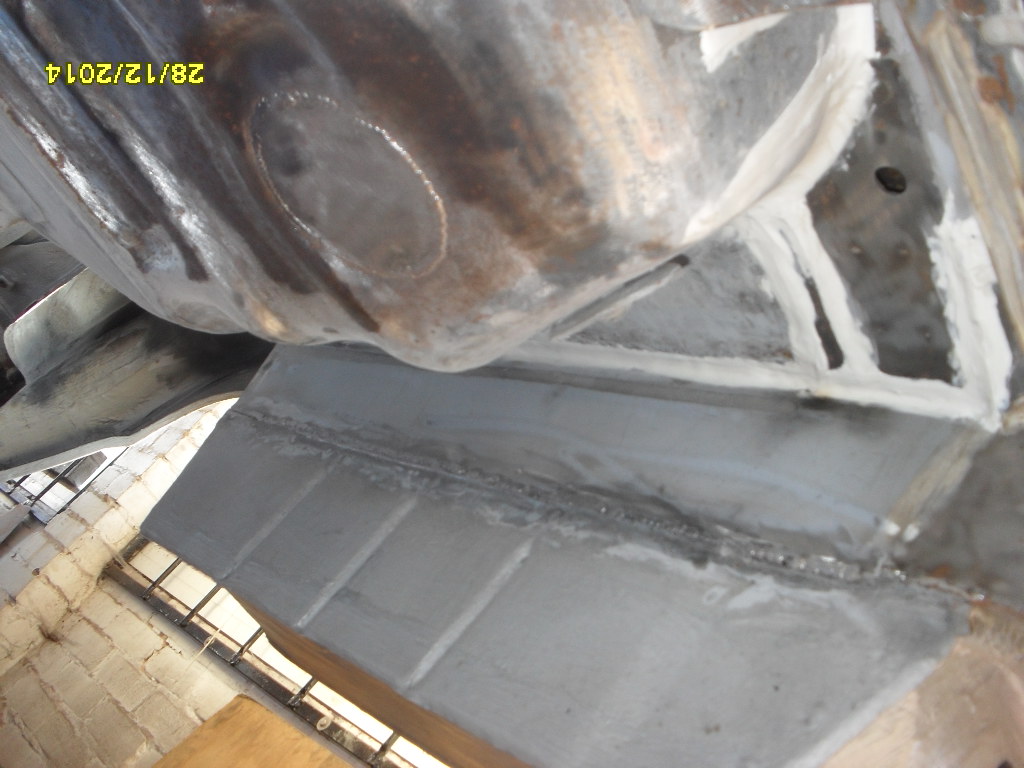
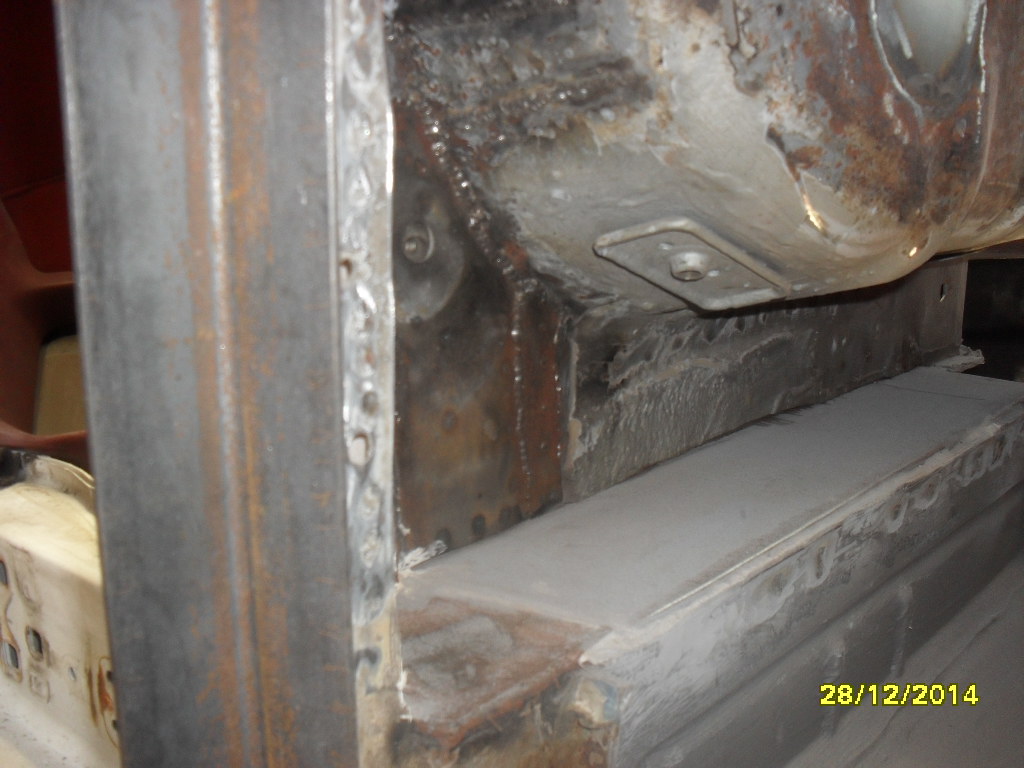
Going to get this engine fired up tomorrow, then get some of the underside prepped for its green epoxy paint which I have already waiting!
Really sorry for the interlude, but sometimes life gets in the way!! Hope I can remember how it all goes back together....
And, I still really want to make it into a 2 door!!
12-29-2014
Thanks guys
Hopefully, here is a video update of the car so far, since I have been disappointing you all!!
More to come.
6-21-2015
Okay, time to get this build back on track. Thank you for the welcome back.
Wagon put back onto its side and the underside needs prepping for paint.
Its covered in oil and grease and generally filthy. So out with the solventsand a few hours scrubbing!
Heres the before and after photos
BEFORE

AFTER
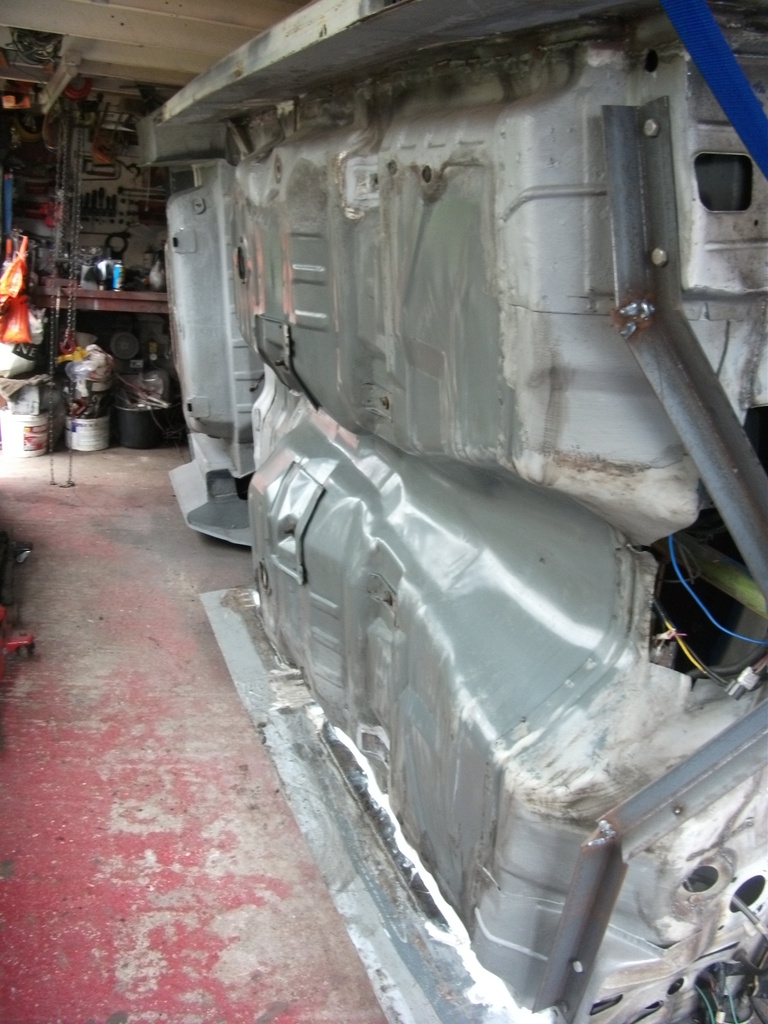
BEFORE
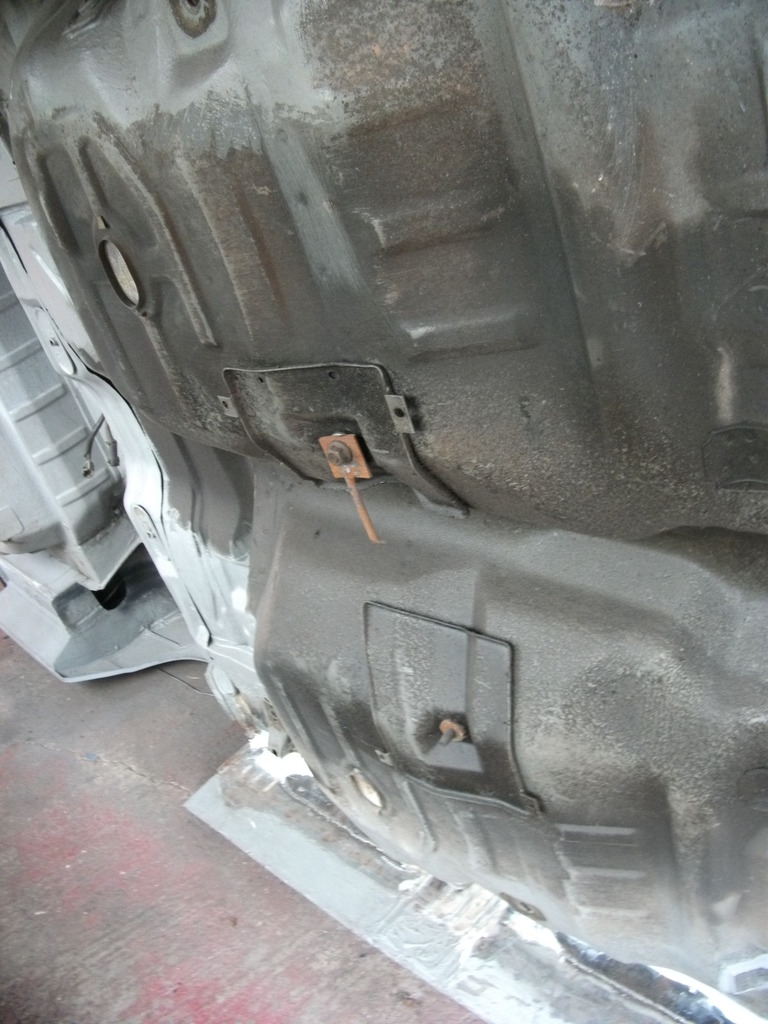
AFTER
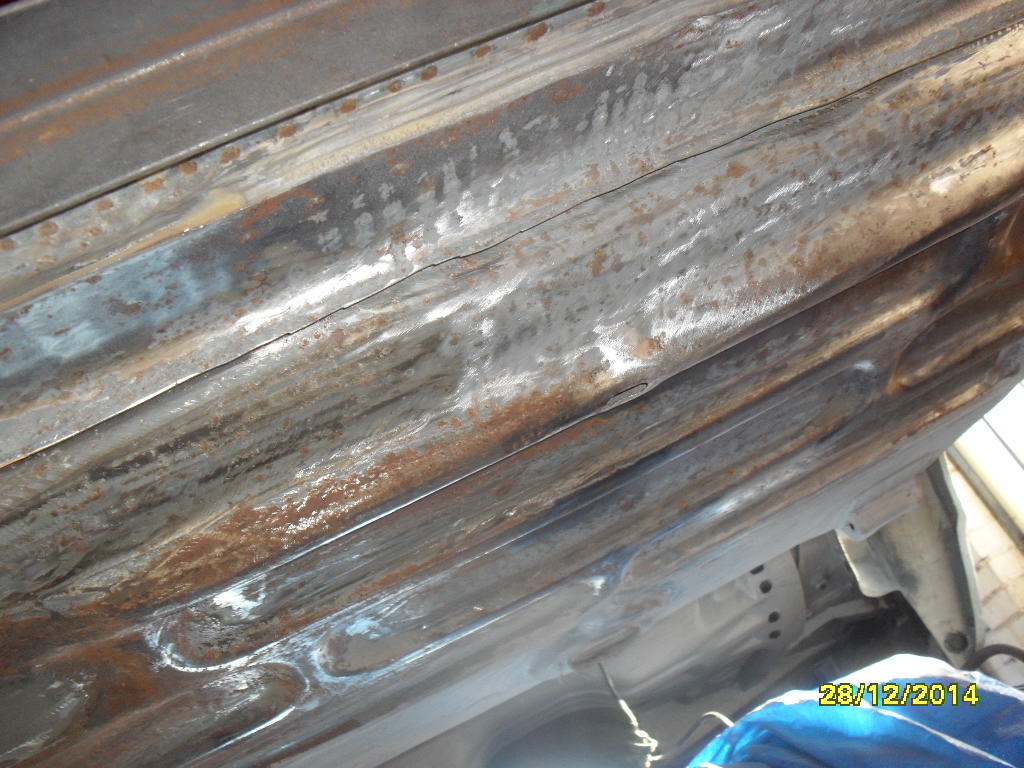
Here's a stick in the spokes. When I replaced the inner rockers, there were a few rusty thin areas on the outer rockers that were a concern. Here's a spot
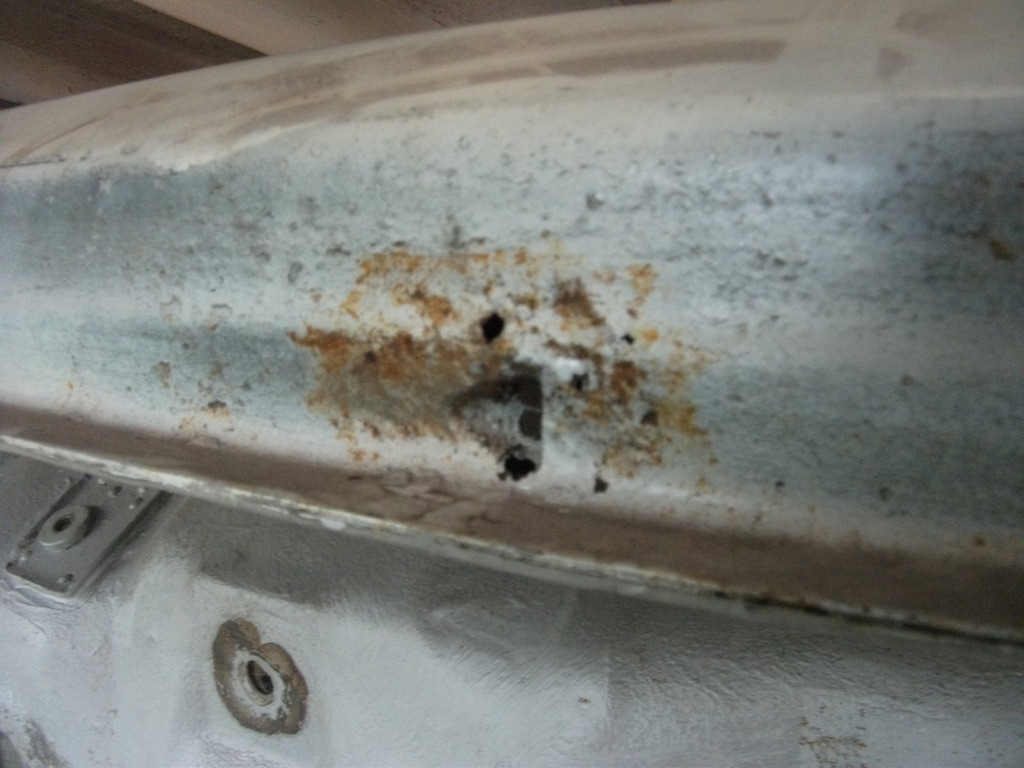
So I'm going to replace them both and then paint the entire underside green at the same time.
Comments
Agree! Tons of labor went into this
Posted by bdub on 1/21/21 @ 1:48:34 PM

The Country Squire was very popular! Great work!
Posted by Diggymart on 1/19/21 @ 5:12:09 AM
Love this build, so much work!
Posted by diyauto on 1/21/21 @ 1:46:55 PM