You must be logged in to rate content!
8 minute(s) of a 17 minute read
2-27-2013
'33 Ford Tudor Sedan build
Compliments of sedanbob @ hotrodders.com
2-27-2013
This is my first complete build, started a little over 4 1/2 years ago (time flies when you're having fun). I'll try to keep this organized, but no promises.
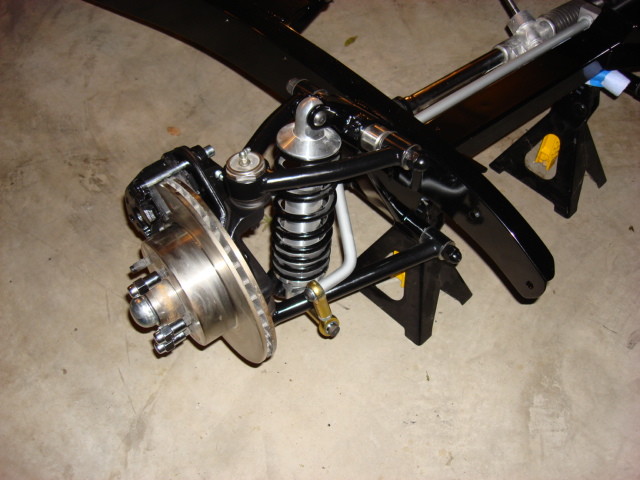
I bought a rolling chassis from Pete and Jakes in Kansas City, MII front end with rack and pinion and sway bar, GM disc brakes. Rear is a parallel 4 bar with panhard bar with a Ford 9-inch rear, 3.50 to 1 ratio, 11-inch drum brakes. Coilovers on all four corners.
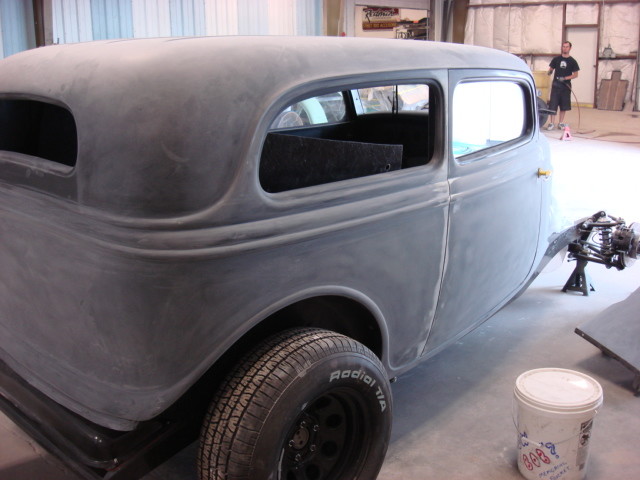
The body is a fiberglass sedan from Redneck Streetrods in Lamar, Mo.
I'll fill in more info as I post pics.
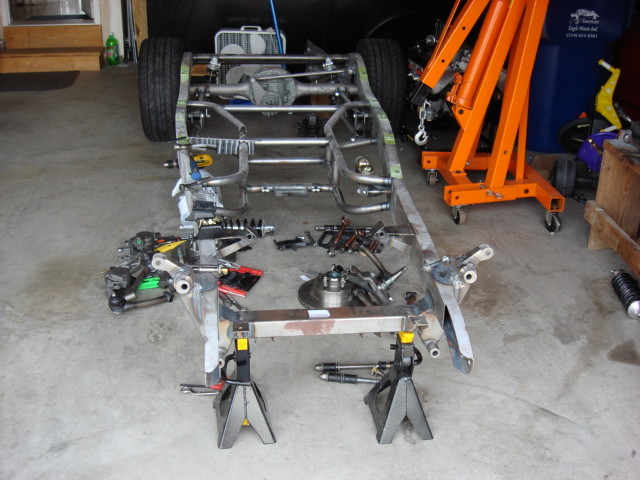
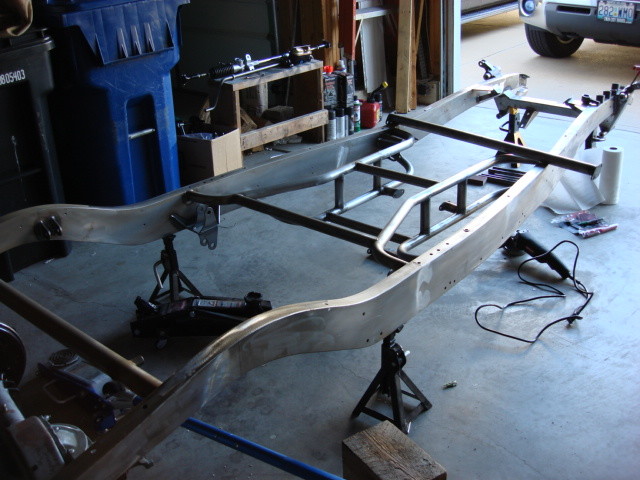
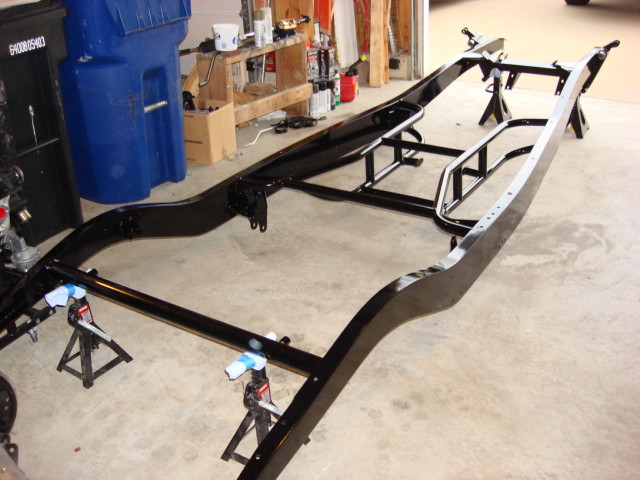
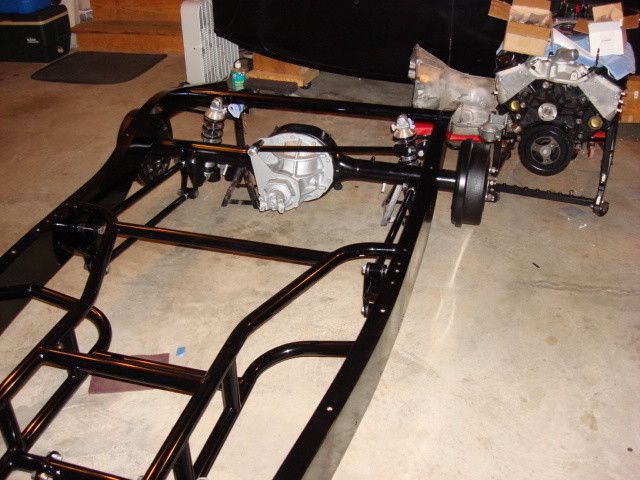
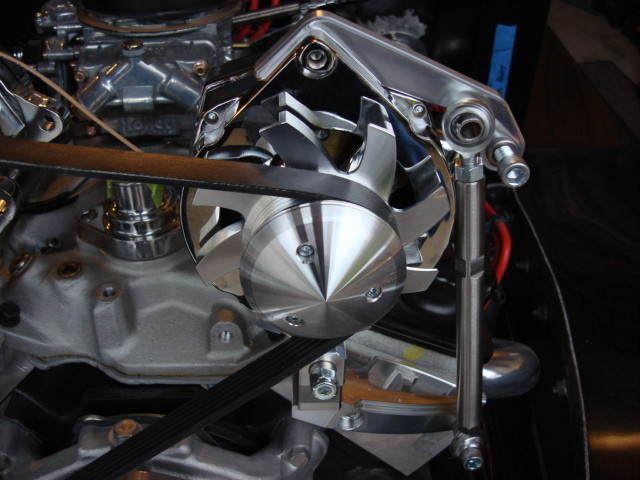
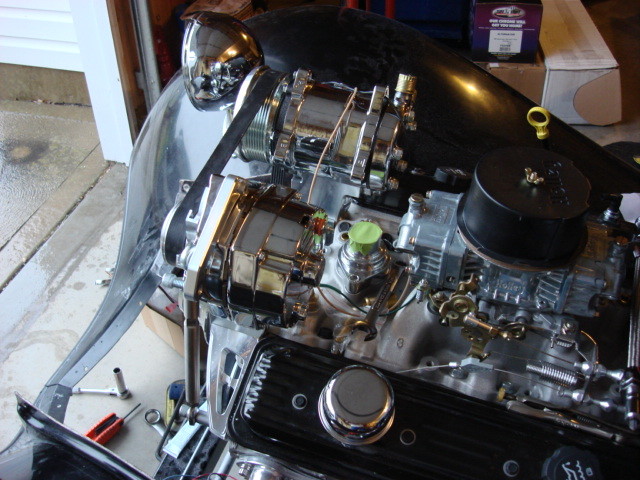
I pulled everything apart, had the frame powder coated, and painted some of the components. I found a deal on a 350 crate engine, a ZZ4 turn-key. Engine came with everything, include accessory drive and all components, carb, starter, plug wires, air cleaner, everything. Unfortunately, there isn't enough room in the front of a '33 Ford engine bay for that accessory drive. Managed to sell that for almost enough to pay for a March Performance bracket set, alternator, A/C compressor, and short reverse rotation water pump - almost.
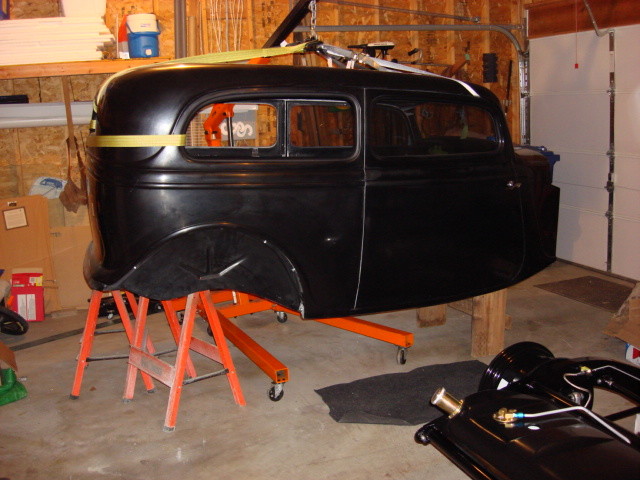
We put chassis, body, engine and trans together at Fast Eddies Rod Shop - sister shop to Redneck Streetrods, to make sure all the mounts were in the right place - minor adjustment to the trans mount, then we loaded it on a trailer for the ride home.
Pictures won't upload - I'll try again later...
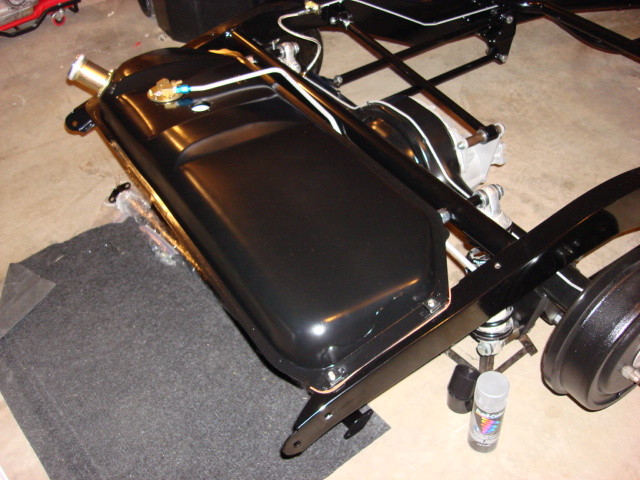
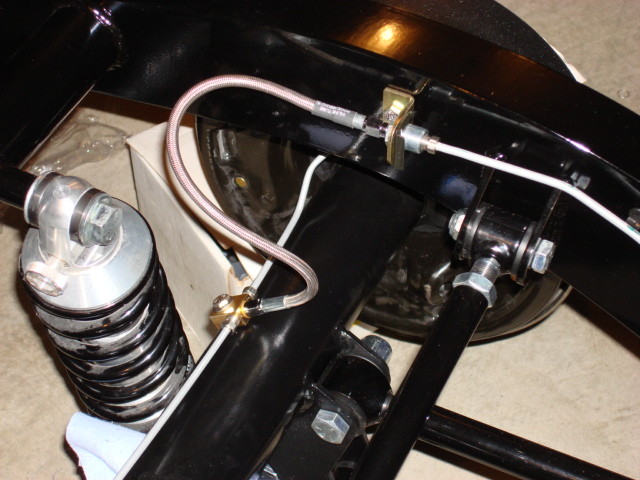
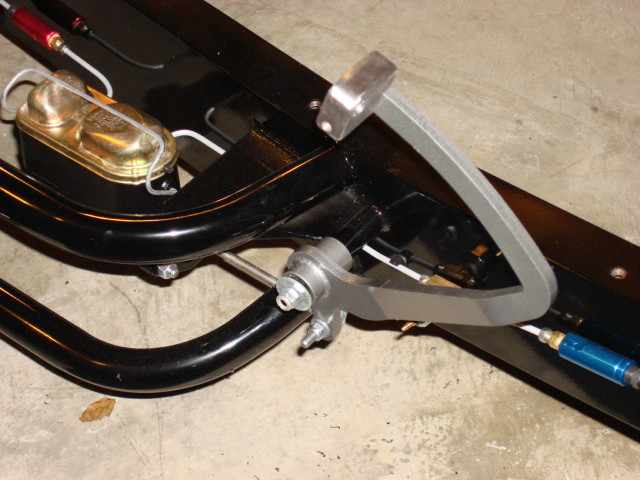
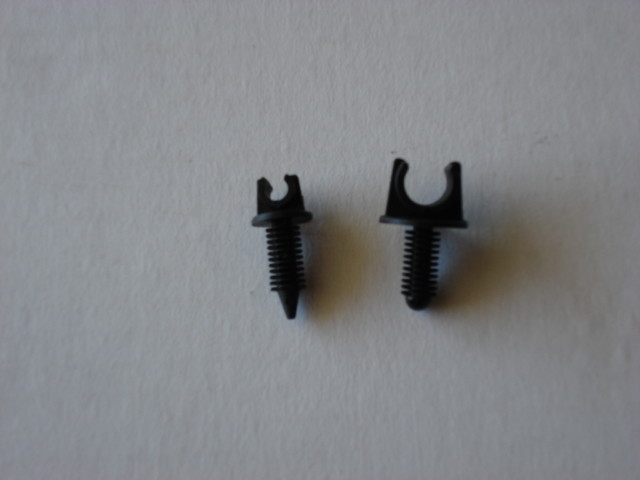
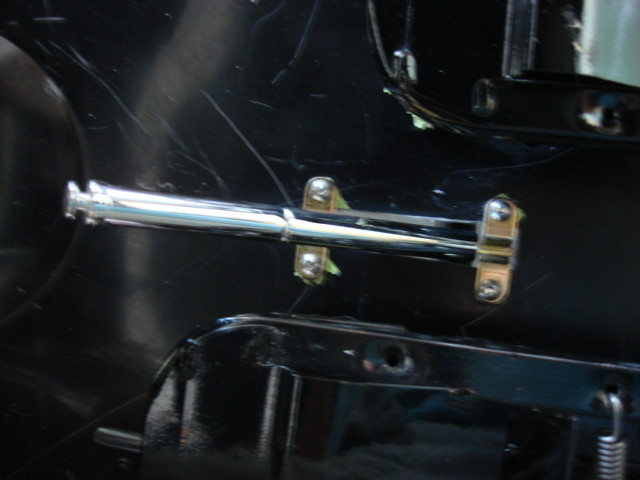
Plumbed the brake lines, added a 'Tanks' gas tank, plumbed fuel line. Found some cool clips to keep all the lines in place.

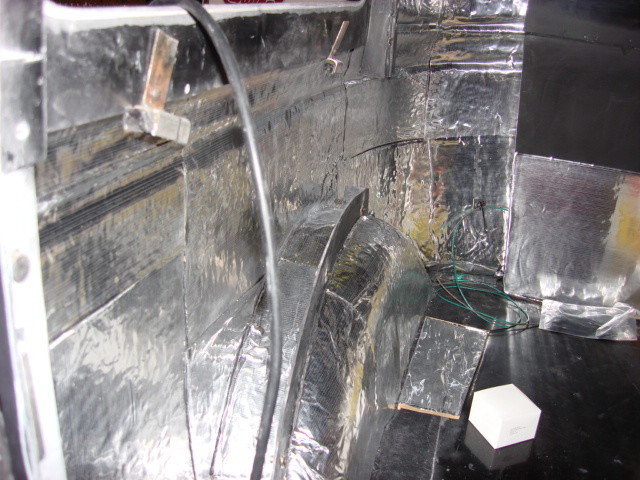
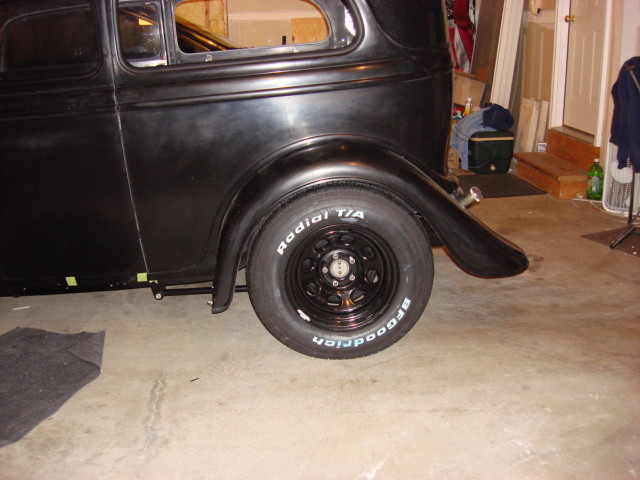
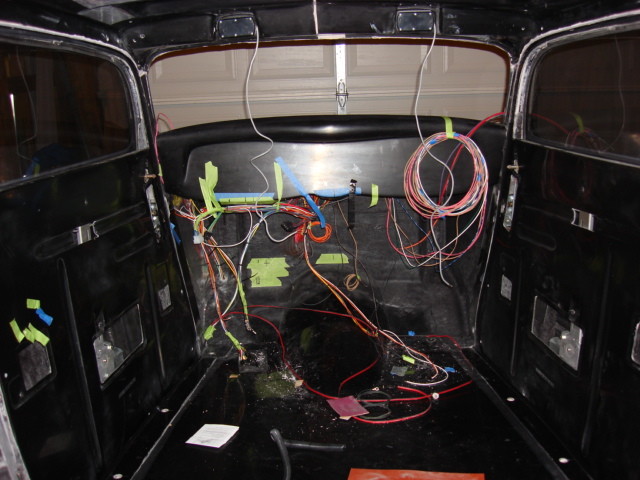
The Redneck body came with the doors hung, latches and handles installed, power windows installed, and the optional 'interior' package - fiberglass panels for the doors, side panels, rear panel, headliner. I lined the inside with Hushmat for heat and sound control. The wheels are steel 'Soft 8s' from Cragar - for rolling around and test fitting the size/backspace. These wheels are available in a number of bolt patterns, diameters, widths, offsets, and at the time cost $40 a piece. Good way to make sure your wheel/tire combo fits the way you want it without spending a fortune.

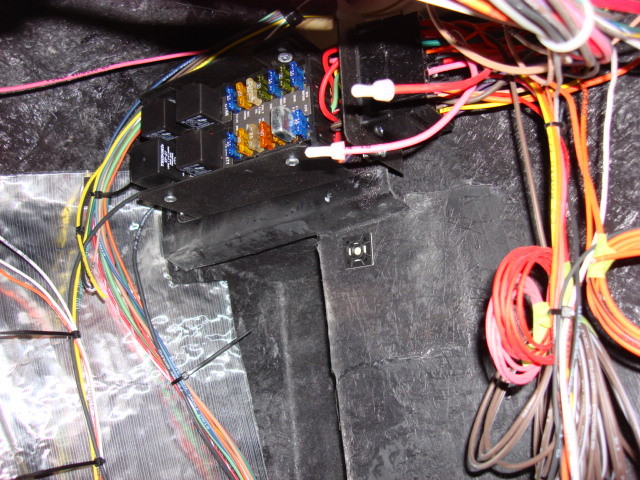
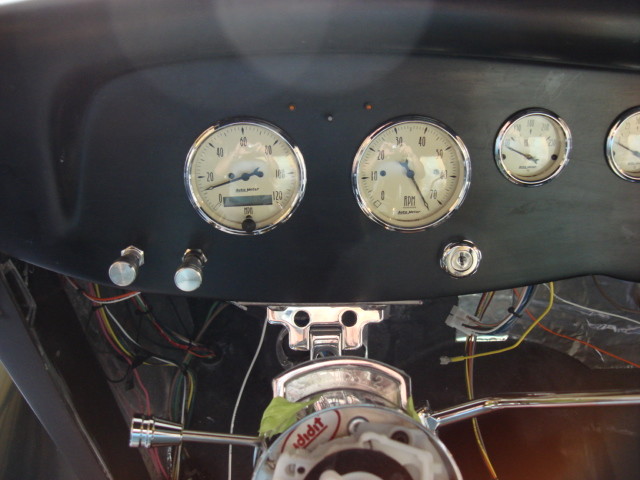
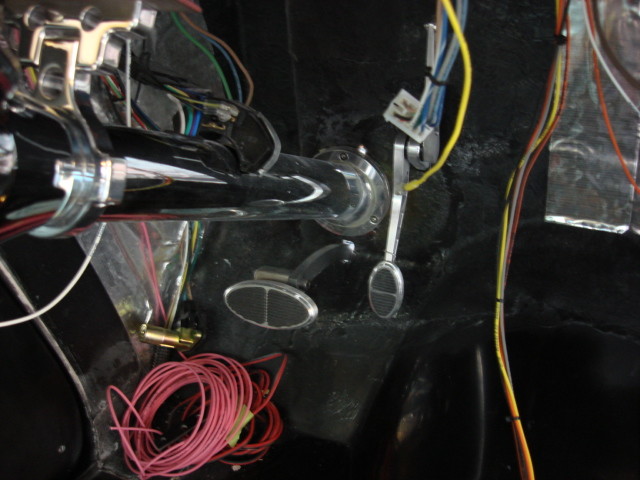
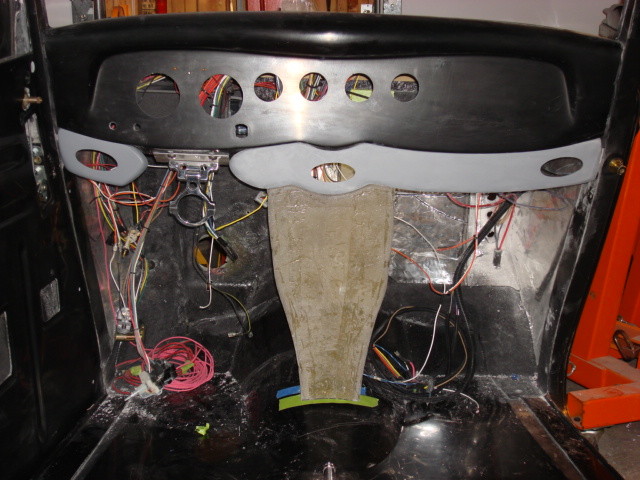
I got a wiring harness from Haywire - good kit. All the wires are labeled and the instructions are simple. Since it's a fiberglass body, I ran grounds to terminal blocks and then to every circuit. Gauges are Autometer Antique Beige. The dash was smooth with allowed me to pick my own layout. Nervous time drilling holes for each gauge in that pretty gelcoat. I laid out each hole with a compass using a point to scratch the gelcoat marking exactly the hole I needed. Used a hole saw one size down then a sanding drum on a Dremel out to the lines. Overlap on the small gauge bezels was 1/16th inch - not much room for error.
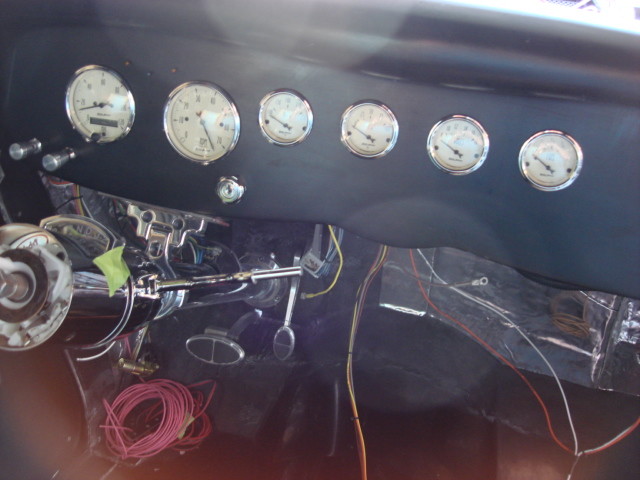
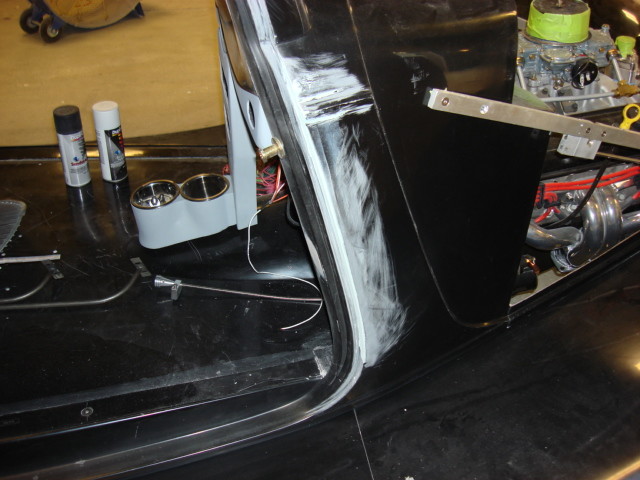
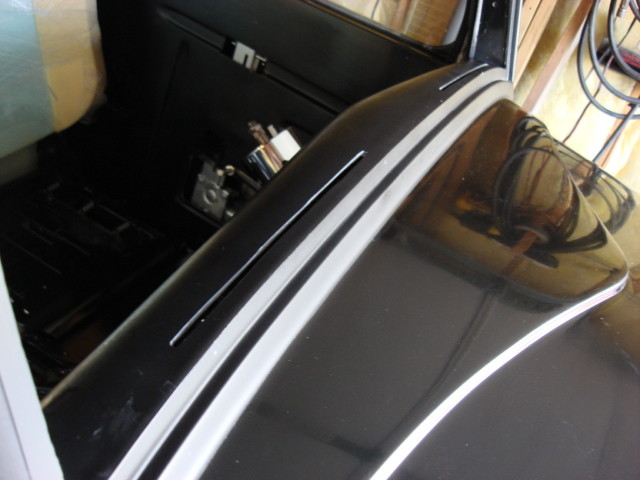
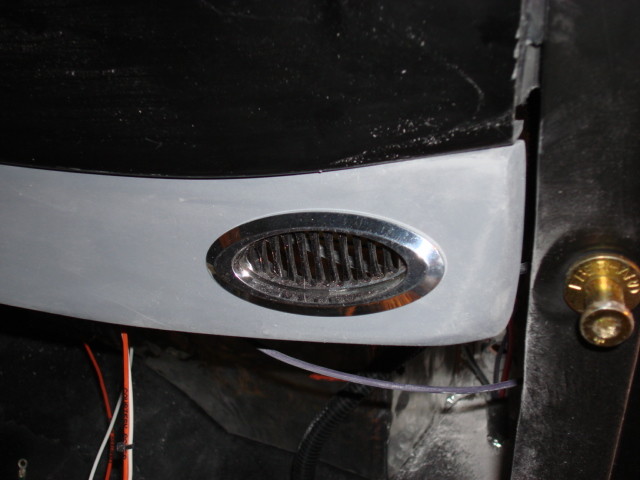
Redneck builds in the dash vents, but you have to cut the top of the dash to open them up. I hung the steering column, an Ididit GM tilt column shift. Column drop is from SunSpec. I splurged on the billet ball mount for the firewall, then immediately had to grind on it to get the angle I needed. Also got the hole in the firewall in the wrong spot to start with - had to glass it back in and re-cut. Exhaust header interference. Pedals and e-brake from Lokar - pricey but nicely built. I sent them an e-mail with a couple suggestions - they actually had a meeting to discuss my suggestions, and adopted both of them. Cool company!
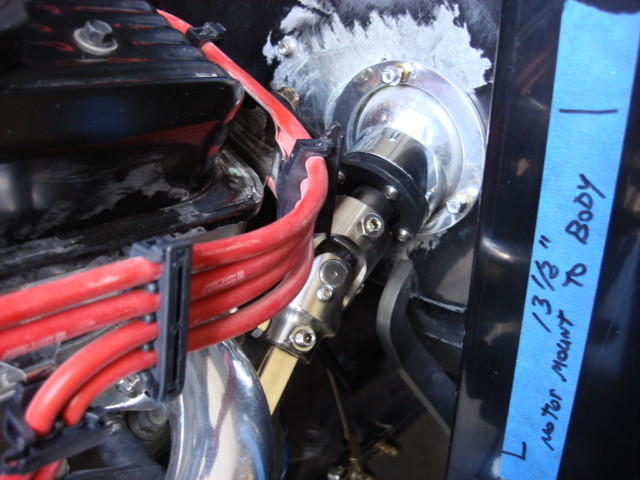
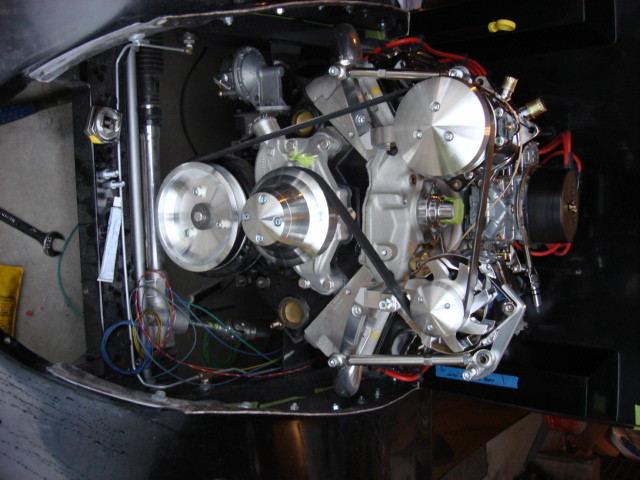
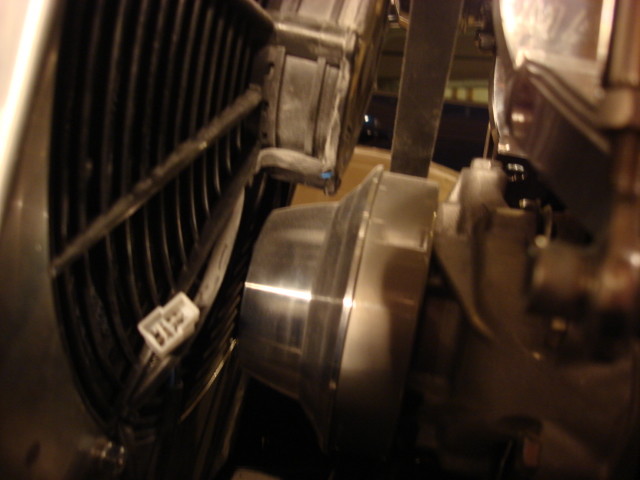
I used the March Performance accessory brackets for a serpentine setup. Alternator and A/C compressor from Tuff Stuff. Had to switch to a reverse rotation short nosed water pump. It fits (barely) with the electric fan and shroud.
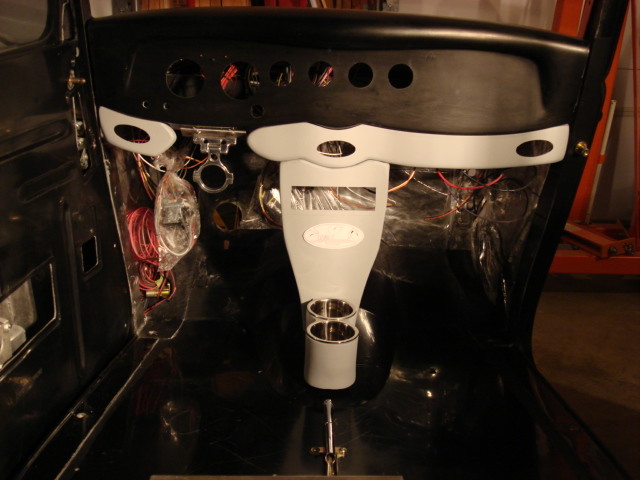
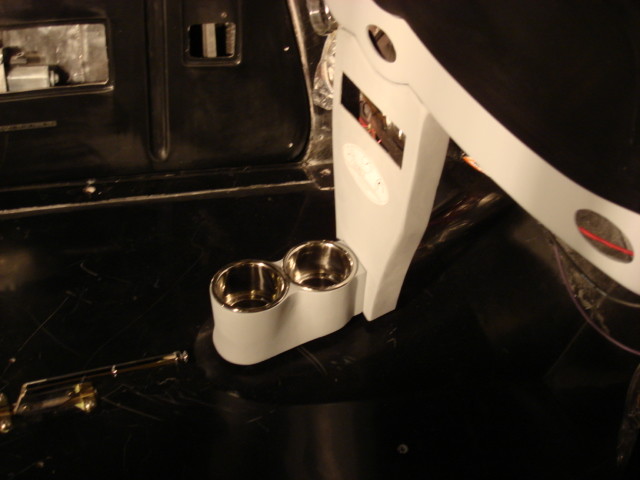
I needed a dash extension for the A/C vents, and wanted a console for the stereo and A/C controls, and while I was at it, cup holders - you gotta have cup holders!
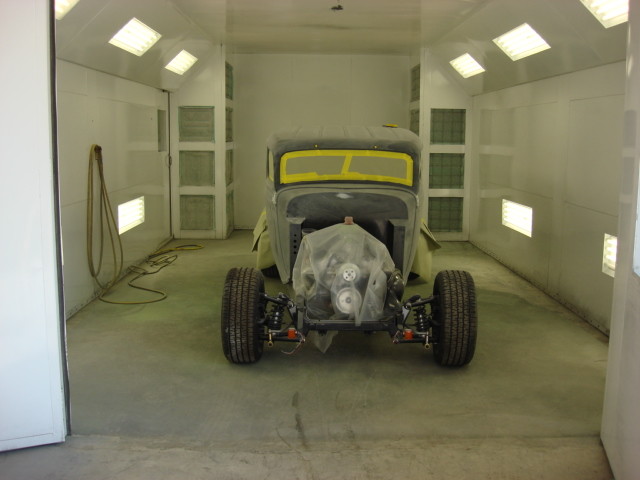
Took the car back down to Fast Eddies - under their expert tutelage I worked there two weeks on getting all the gaps right, and addressing any low/high spots, and getting the body, fenders, grille shell, et cetera ready for epoxy primer. Got it shot then turned it over to them for color, clear, cut and buff. In the midst of that, we discovered that the Rootlieb hood I bought was too short from beltline to beltline - no easy/cheap fix, so I sold that hood, and had a custom one made by Hagen (oddly enough the same cost as the Rootlieb). For those of you who have done this sort of thing before, a side note: There is less than one quart of filler in this entire car - it was that straight!