You must be logged in to rate content!
7 minute(s) of a 17 minute read
2-28-2013
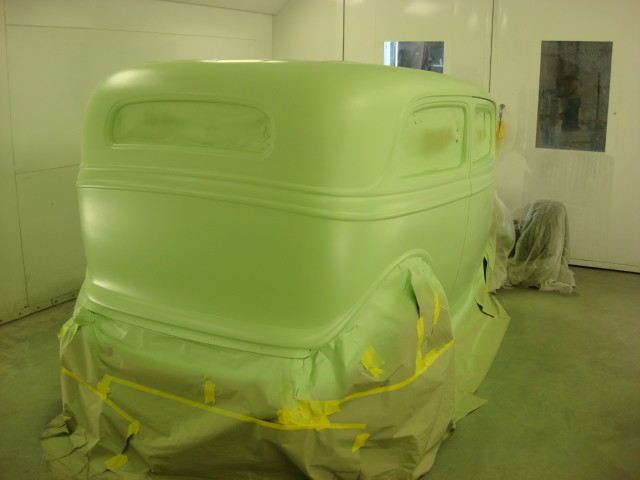
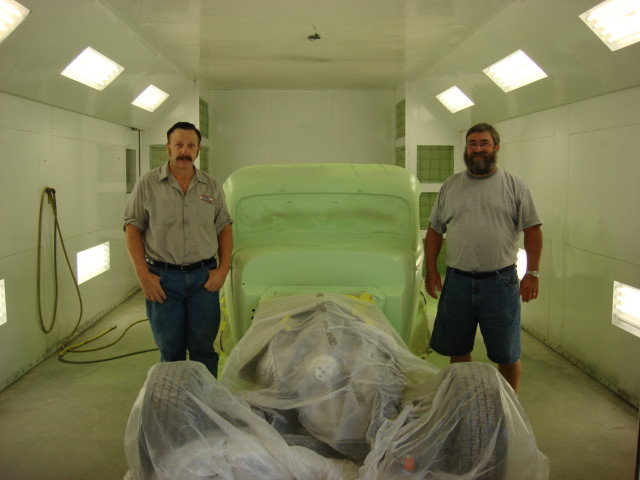
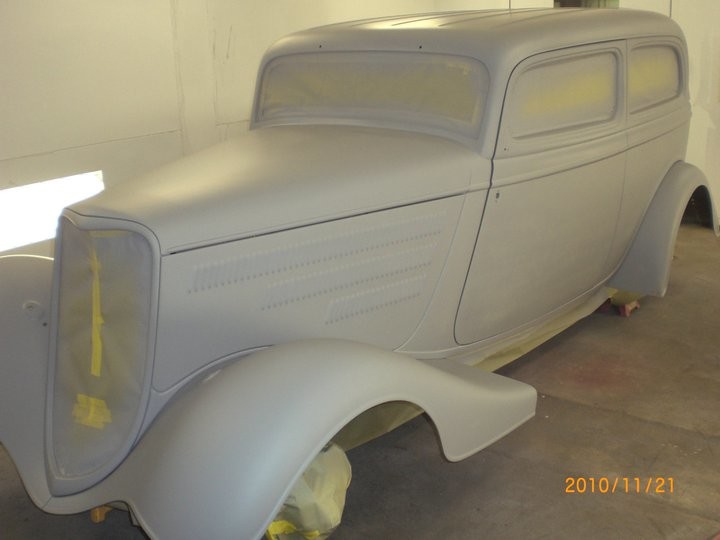
Master painter/bodyman/all-around good guy Mark Beard shot the epoxy while I tried to stay out of his way. Nice to see it go from scuffed to nice and smooth, even if it is an ugly yellow/green!

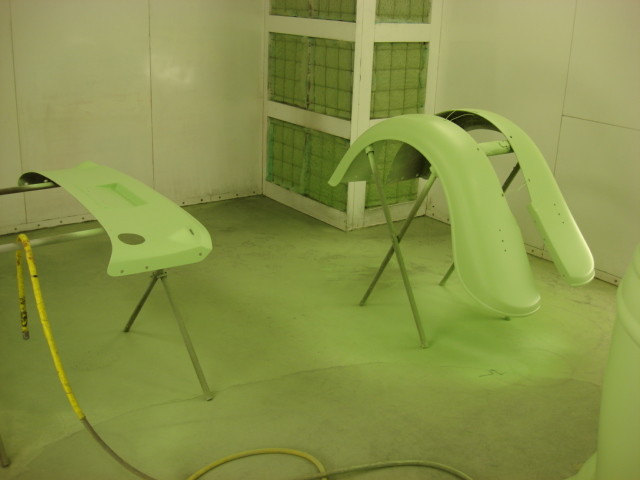
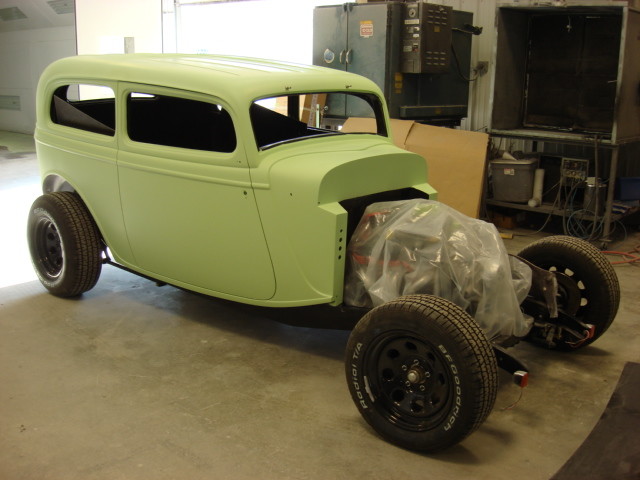
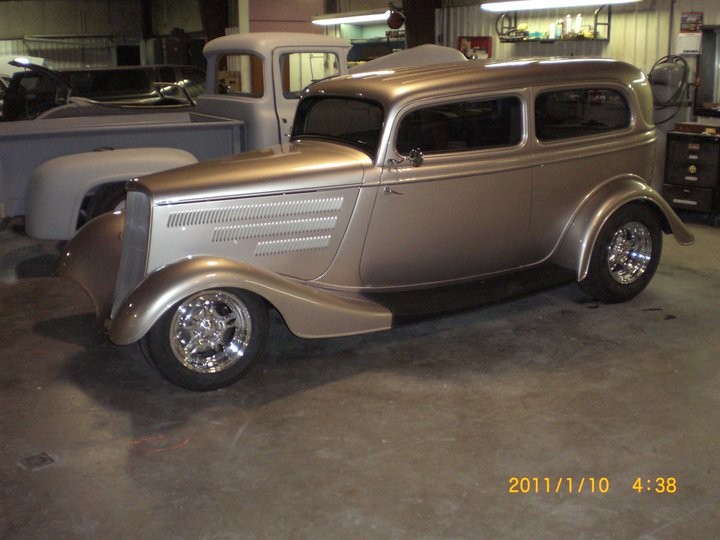
Fast Eddies took it from there to finish the paint. They also had to fit the new hood from Hagen - not hard since it was custom made from the pattern we sent.
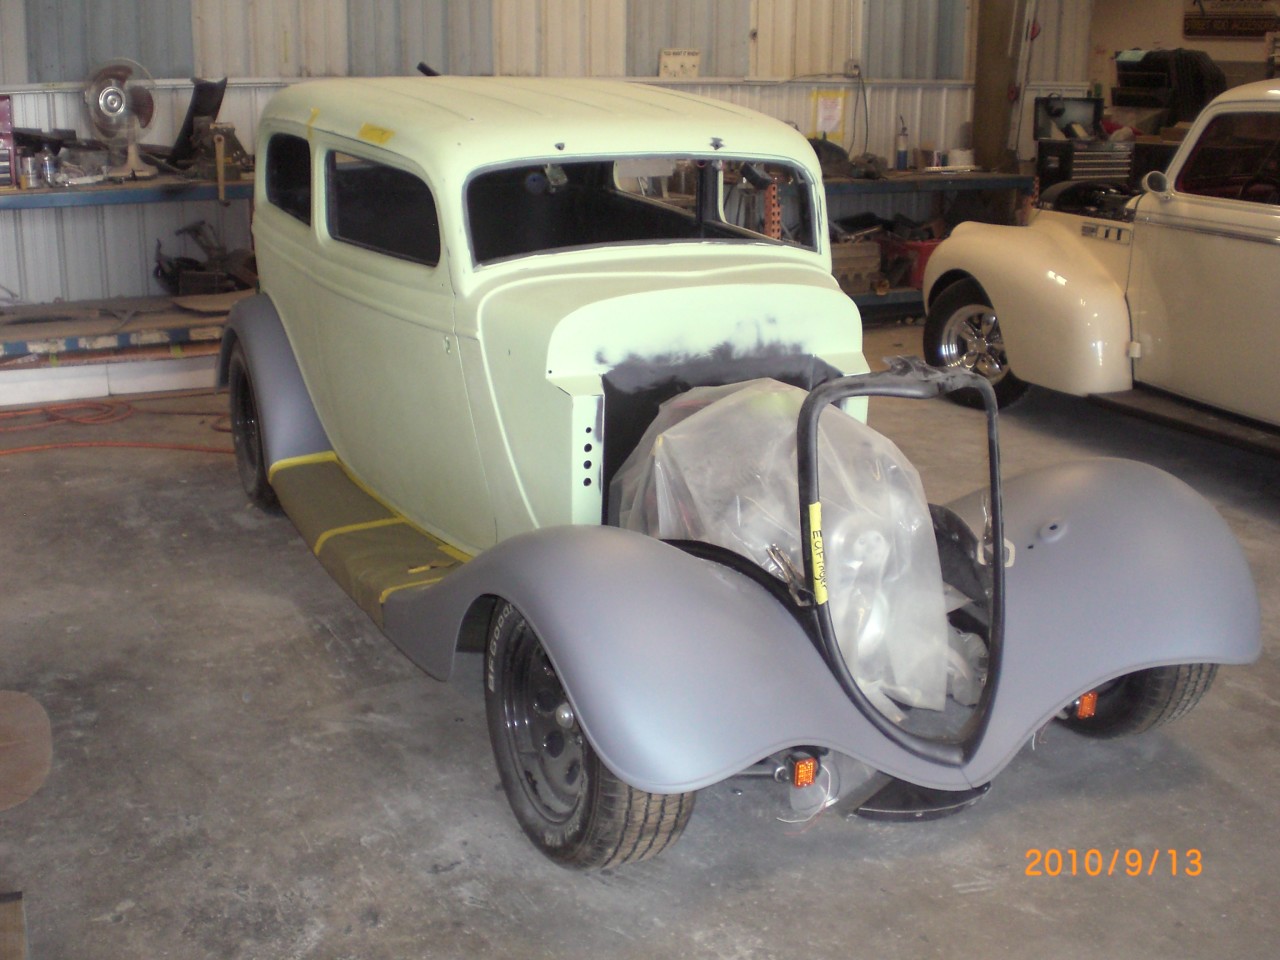

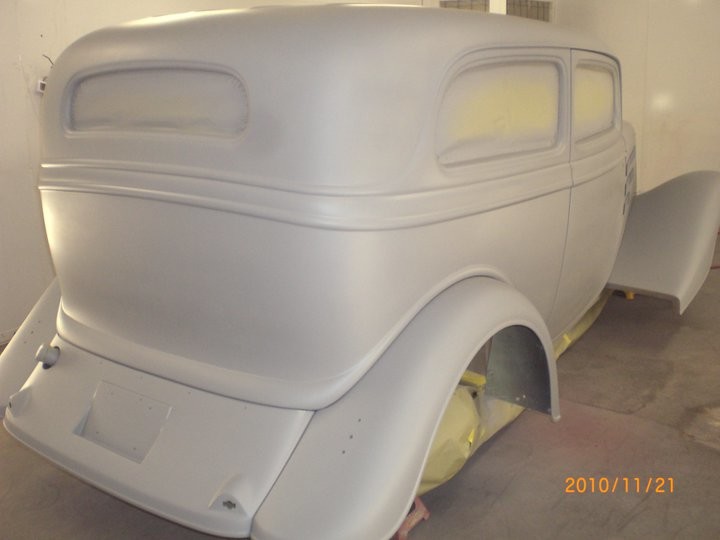
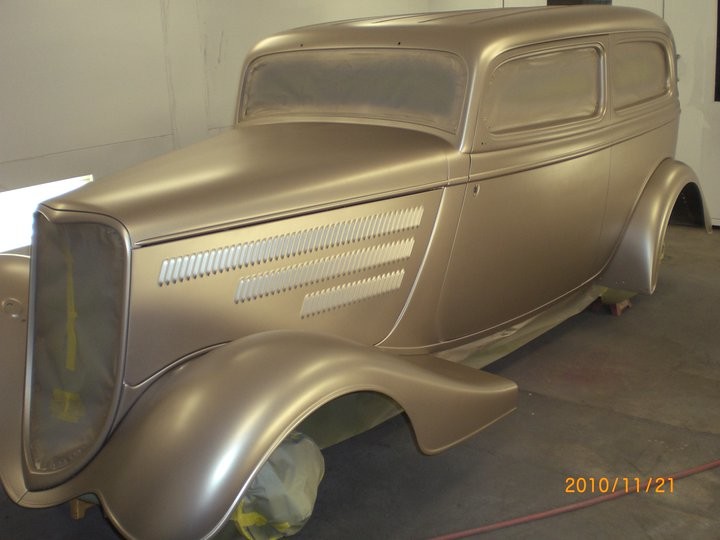
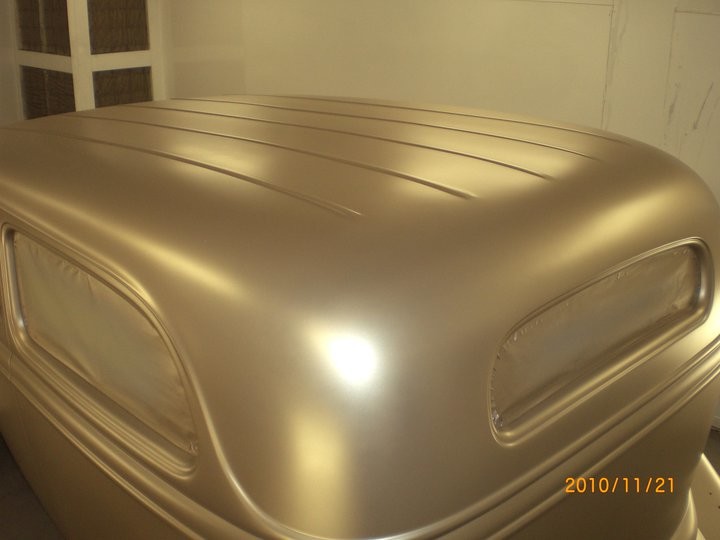
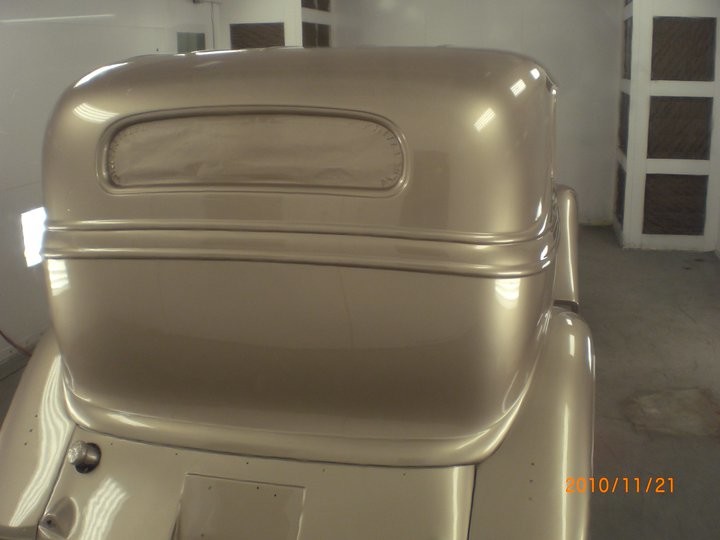
More paint pics:
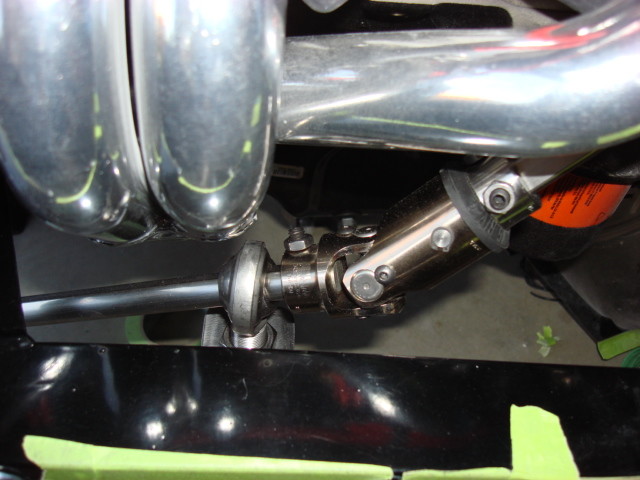
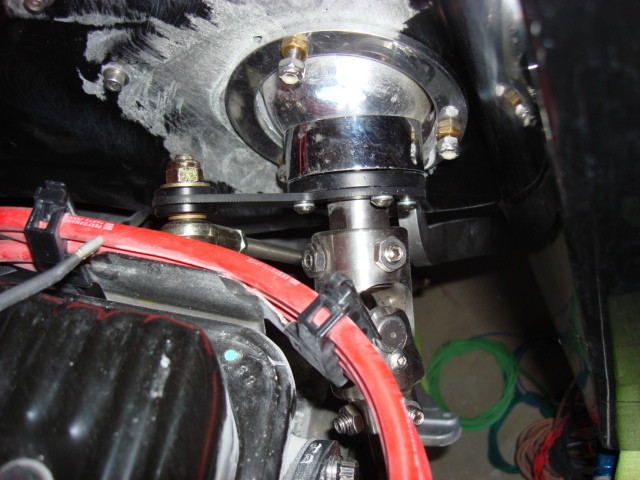
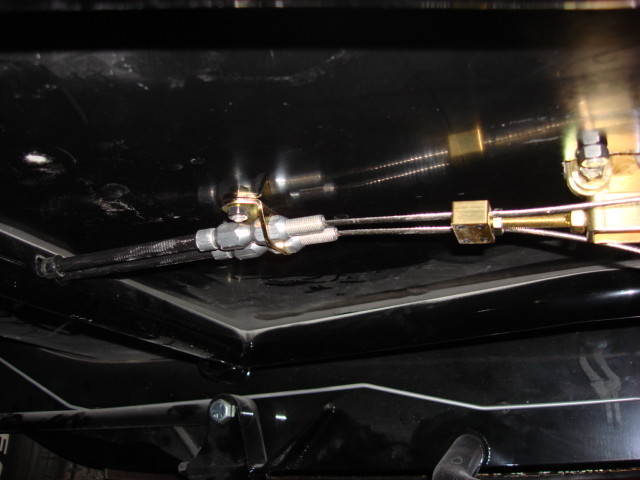
Out of sequence, but here's the steering linkage. Had to add a pivot in the middle to clear the exhaust. Fittings are mostly from Borgeson, one from Flaming River - stainless double-d shaft. Don't cut them until you know exactly where your steering column will be mounted. Especially if the shift leverhits the head in Park, making you move the column 1/2" in - thereby making your freshly cut double-d shaft 1/2" too short! Or so I've heard... Each section is assembled, jamb bolts snugged enough to mark the shaft, then drilled to recess the jamb bolts into the shaft. That makes it an interference fit, not just friction, to keep that all together. Locktite on the bolts and their locking nuts to make sure it stays together.

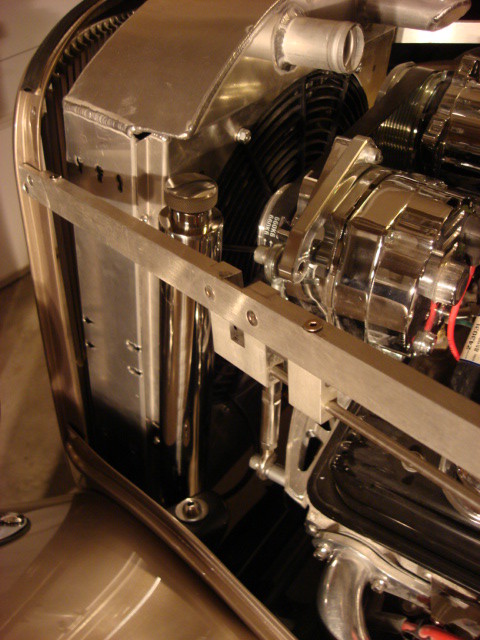
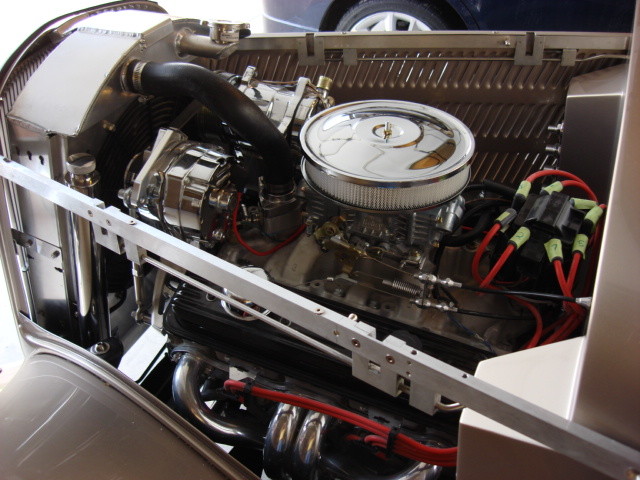
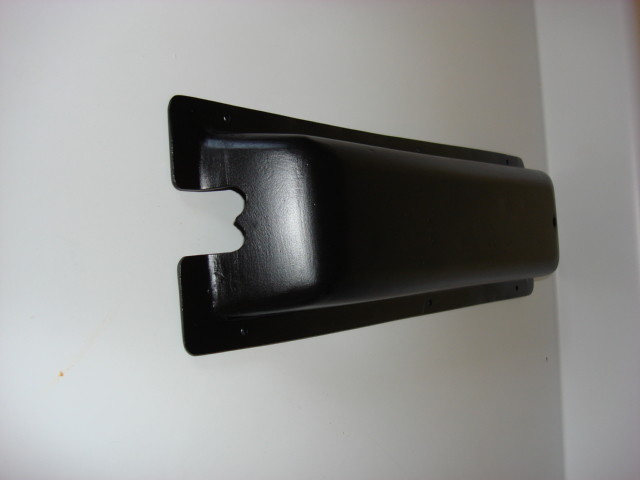
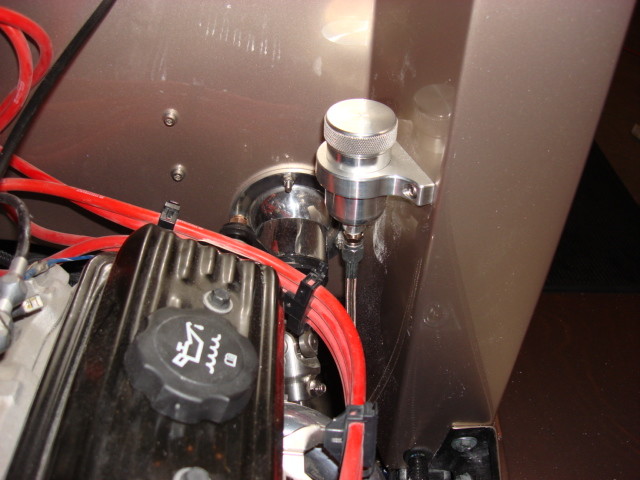
Some miscellaneous stuff - coolant recovery, hood hinges, remote brake reservoir. I made a cover for the e-brake mechanism that hangs under the floor - simple fiberglass laid over a block of pink foam - hopefully will keep all that cleaner.
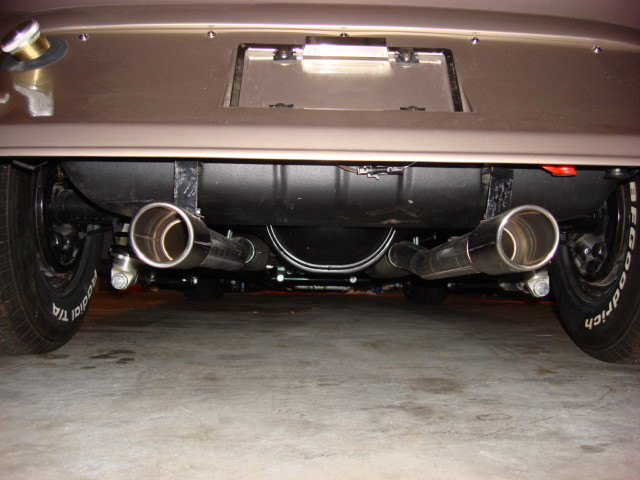
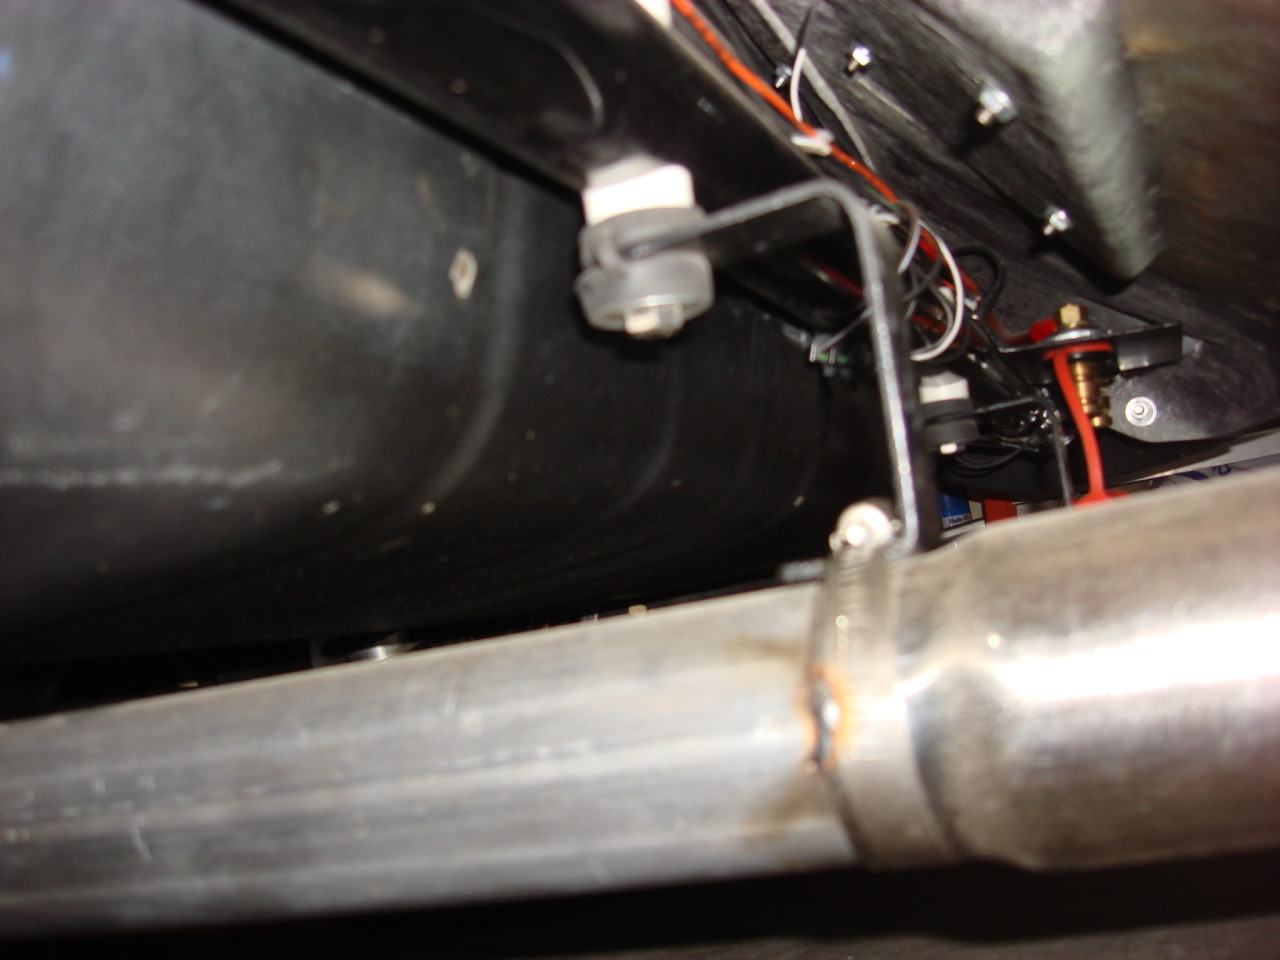
Battery box behind the back seat and remote charging terminals mounted under the gas tank cover. Made a fiberglass bracket that hooked over the rear spreader bar - cables go up through the floor next to the battery box. A local exhaust shop ran the pipes. We reduced from the 2 1/2" coming out of the headers to 2 1/4" to make the turns a little easier, then back up to 2 1/2" for the Hushpower mufflers and out the back. Got these grommets from Street Rods by Michael, and made my own brackets to hang the exhaust.

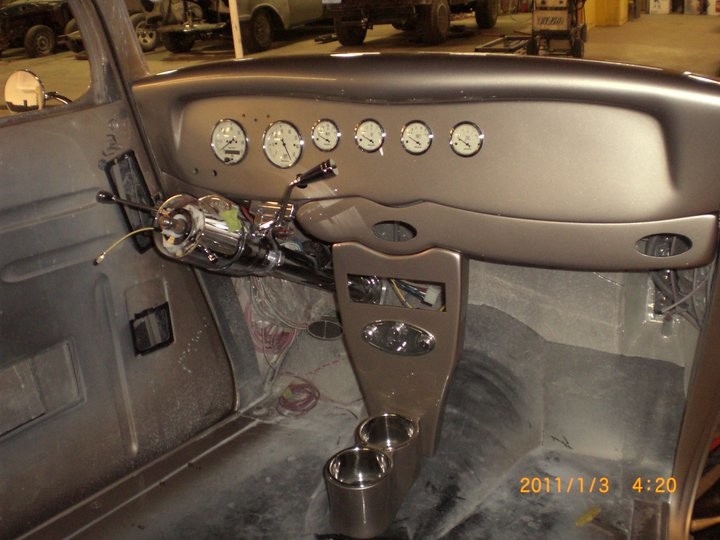
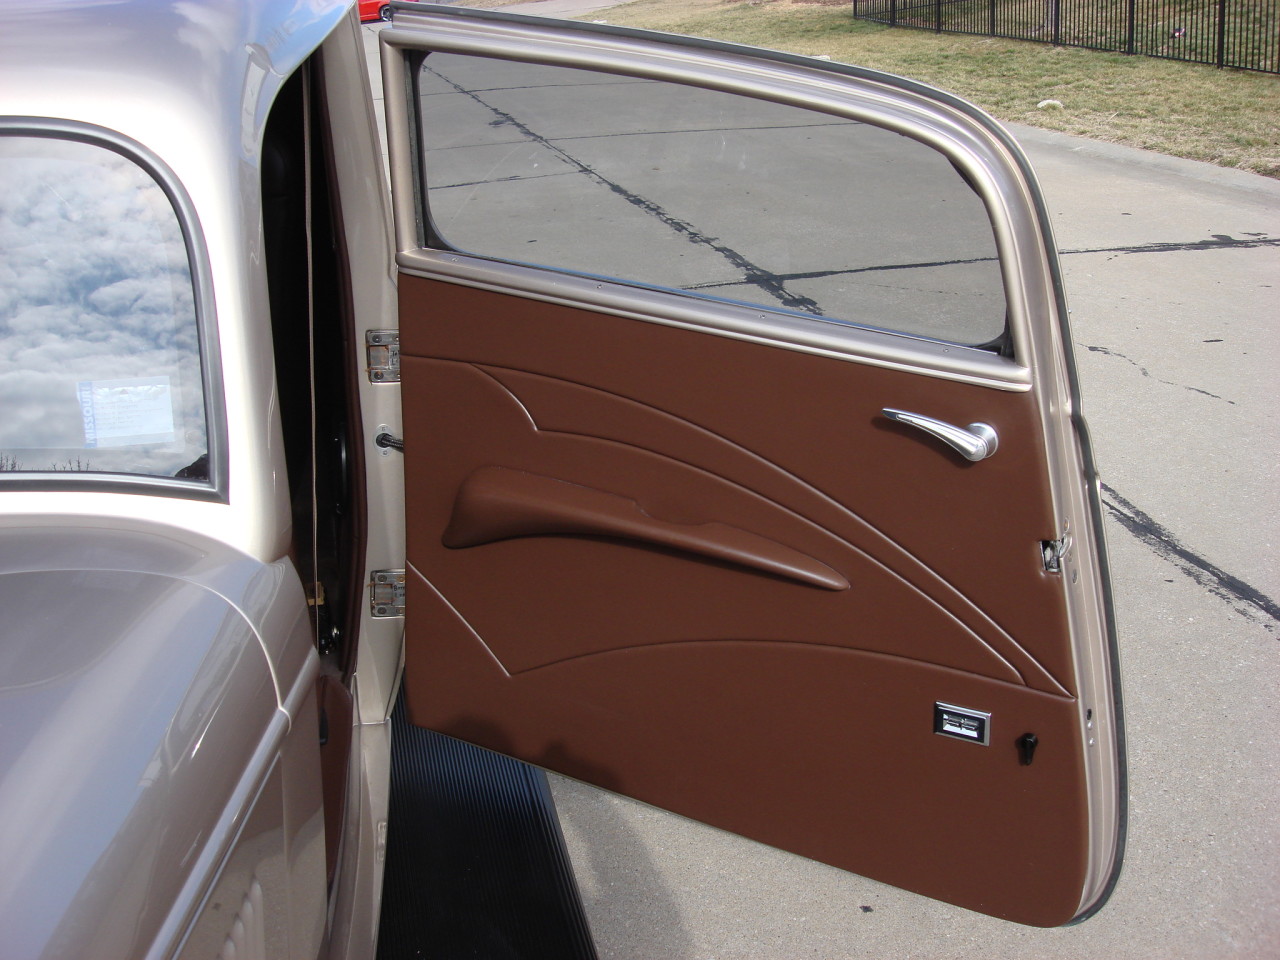
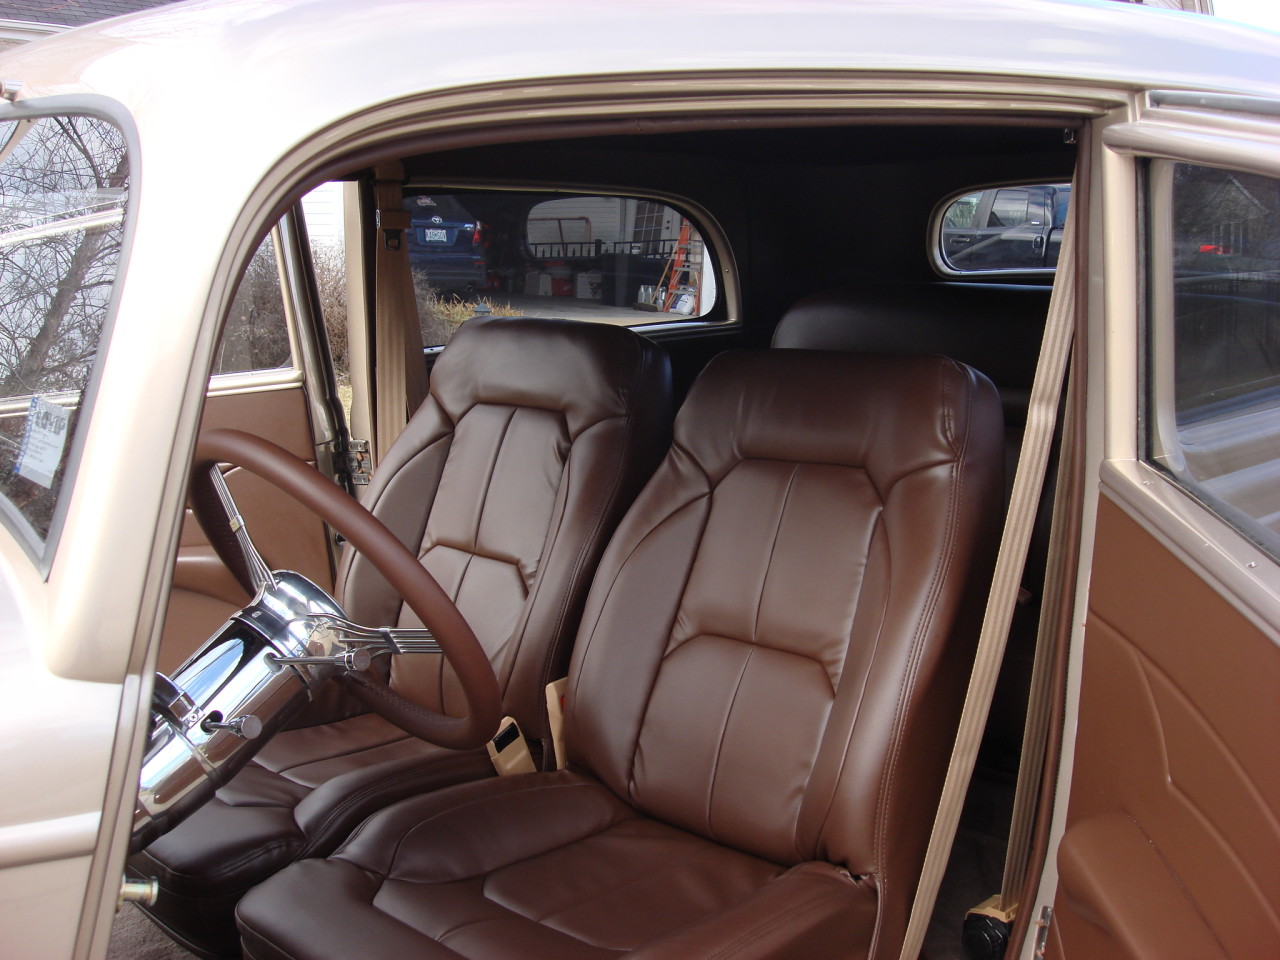
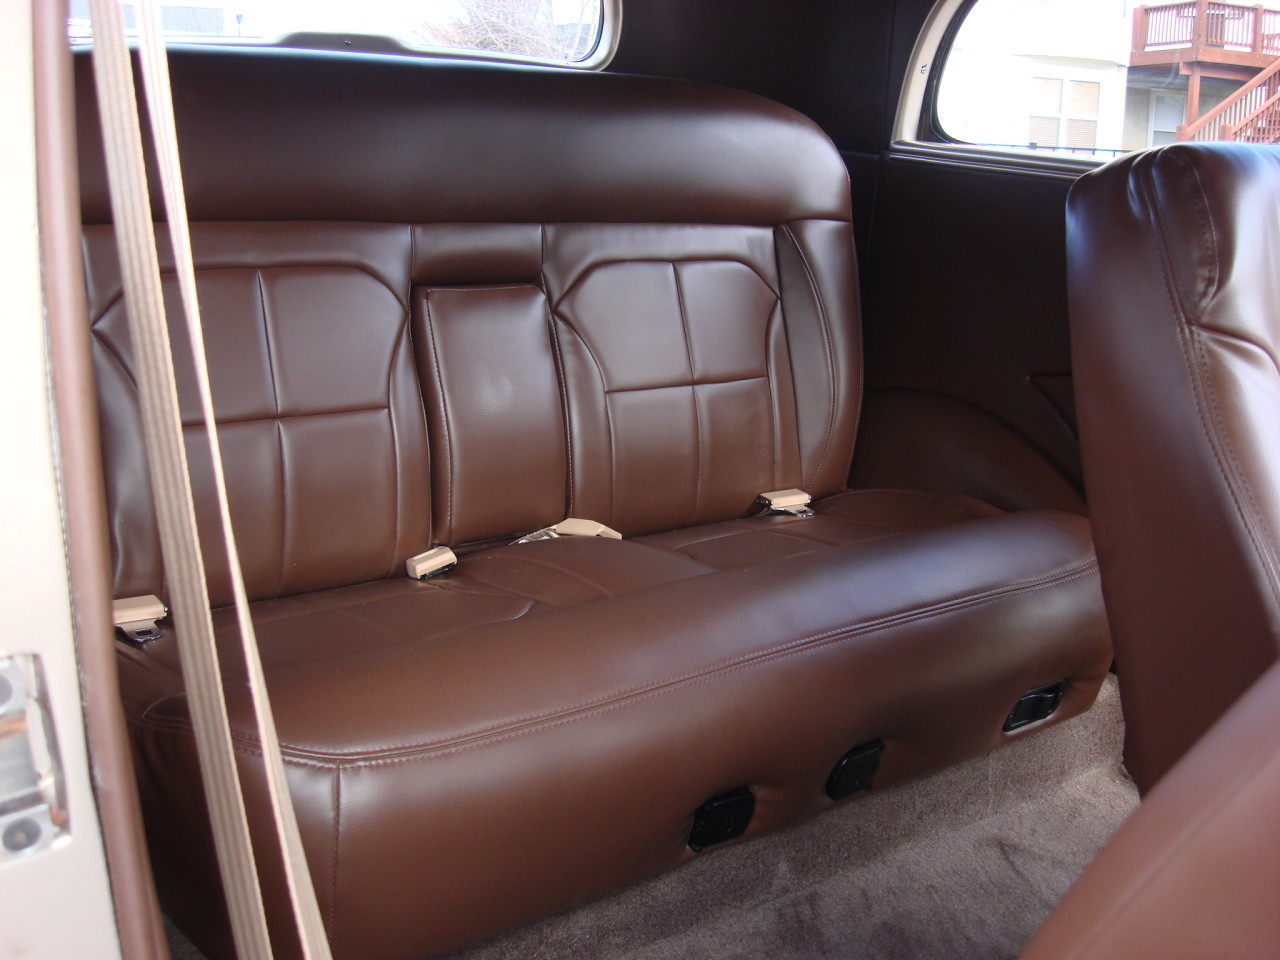
Interior was posted recently, but I'll repeat some of it here. Seat frames and foam came from Wise Guys. We sent them the fabric and they made the covers as well. Rear seat is a front seat from a coupe, which gives me a tilting/reclining back. My battery box is back there, and some room for storage (probably a toolbox).

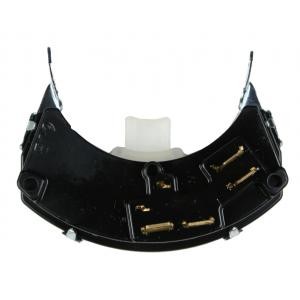
A couple of tips: Factory steering columns with shifters usually have a neutral start switch built in. These are usually missing on aftermarkte columns. Although they don't advertise it, Ididit will add a neutral start switch to a column for not much money - just tell them how high/low you want it on the column. That switch also includes a terminal for backup lights, should you want them (I did).
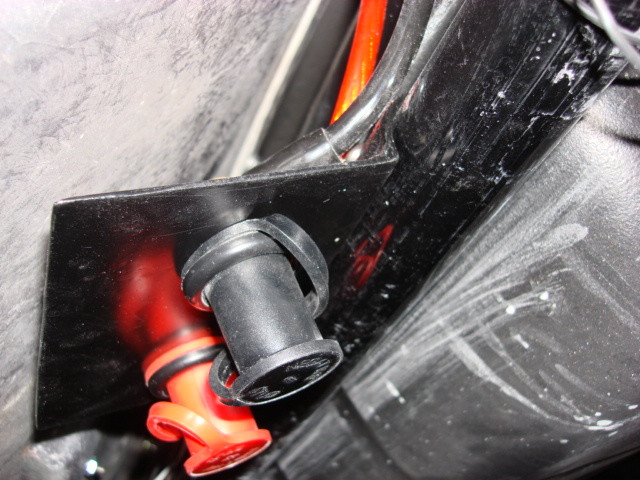
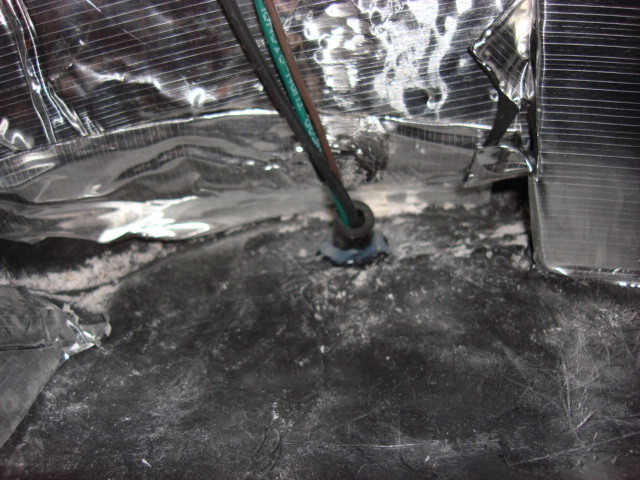
Grommets for passing wires through a panel are usually designed for thin sheet metal - when wiring a fiberglass car, often the panel is much thicker and not always even all the way around. A short section of rubber hose glued into the hole makes a good grommet and provides some strain-relief at the same time.
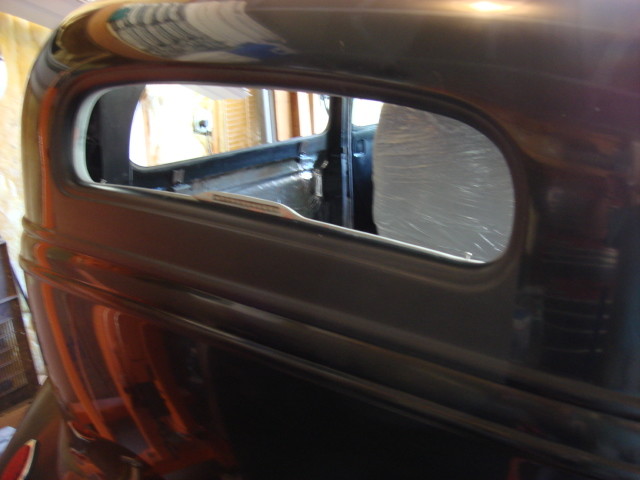
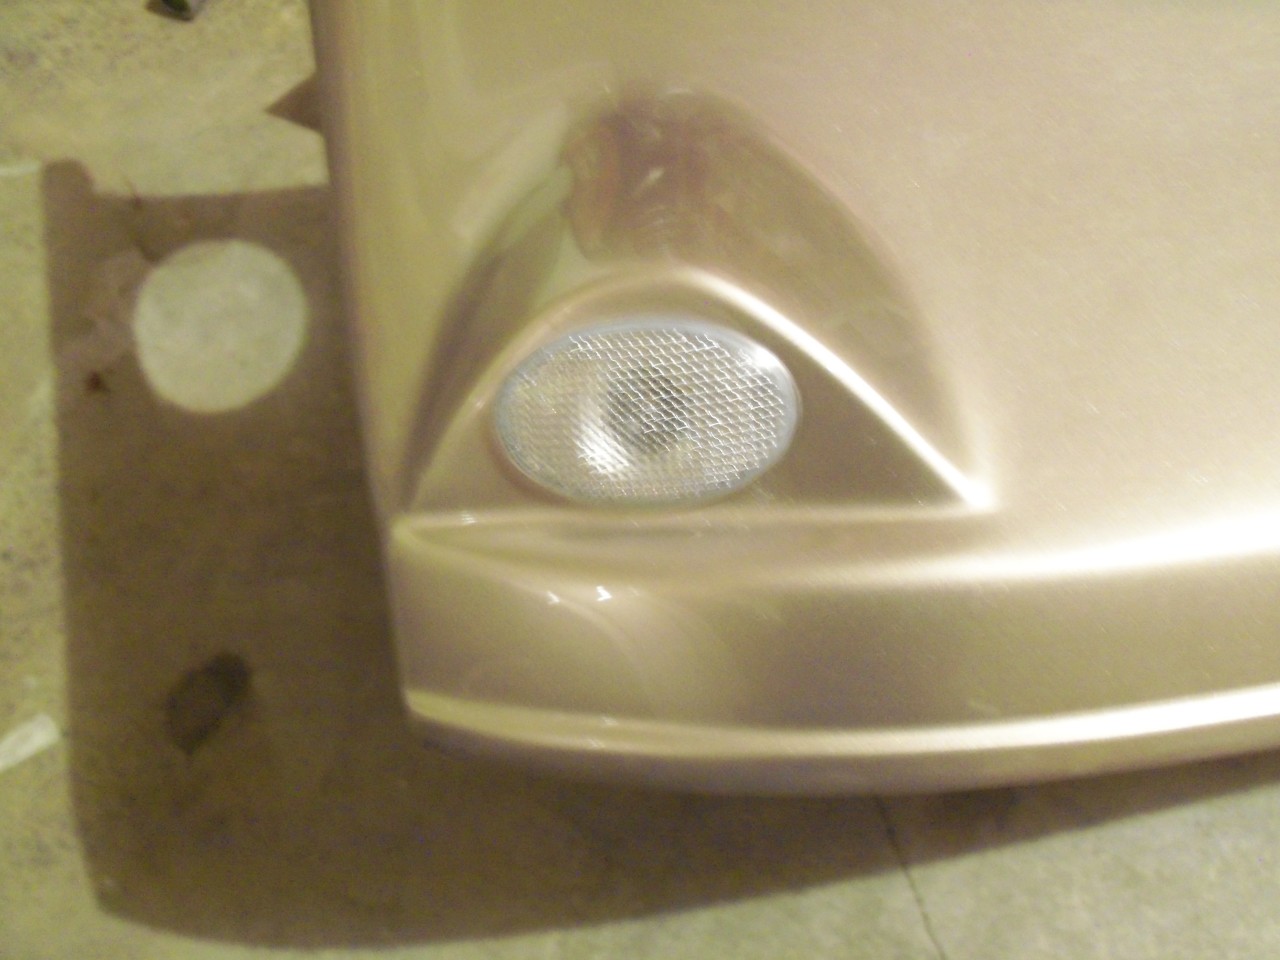
Another couple pieces - I added a 3rd brake light. I molded a bump on the rear window garnish molding to hold a strip LED. It shows at the bottom of the read window, but doesn't show when it isn't lit because of the tinted glass. The gas tank cover I had was intended to mount a rear bumper, but I didn't want bumpers, so I mounted oval back-up lights on the 'frog eyes' where the bumper would have mounted. I used side marker repeater lights off a Ford Explorer, swapping the yellow bulbs for clear.