1930 Ford Roadster From the Subrails Up! by Flop

By diyauto
( 3 )

8 minute(s) of a 35 minute read

10-4-2012

thanks first born !!

thanks durant!!

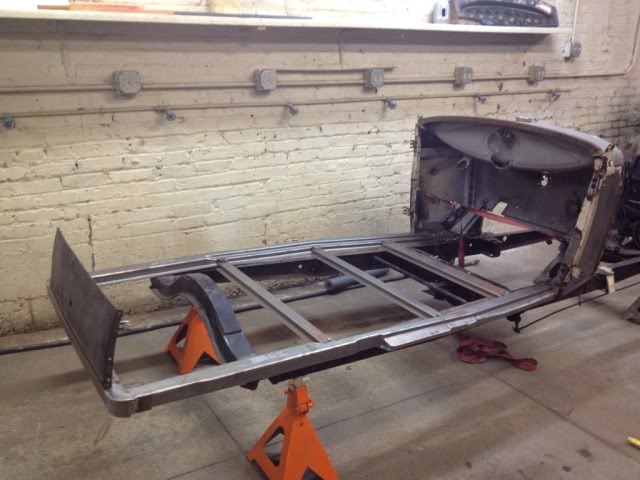
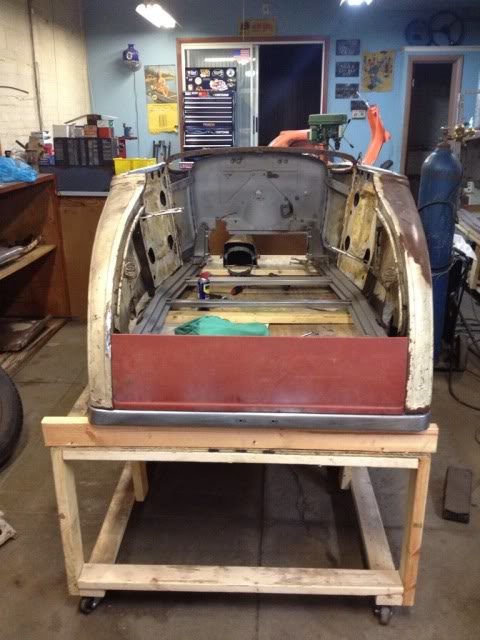
had to put it all back together after the move .. soon its going from the frame to the body cart 

D2CF0EAA-6E4C-4A4B-AEC4-D35D5F7775BB-3558-0000046B5EE12423.jpg

28D8DEAB-1E48-4686-84DC-F02F2B3D6946-3558-0000046B62D0F82D.jpg

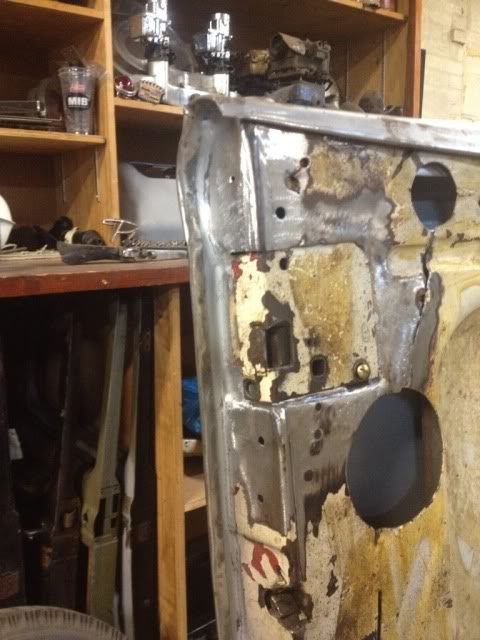
onto the drivers door!!
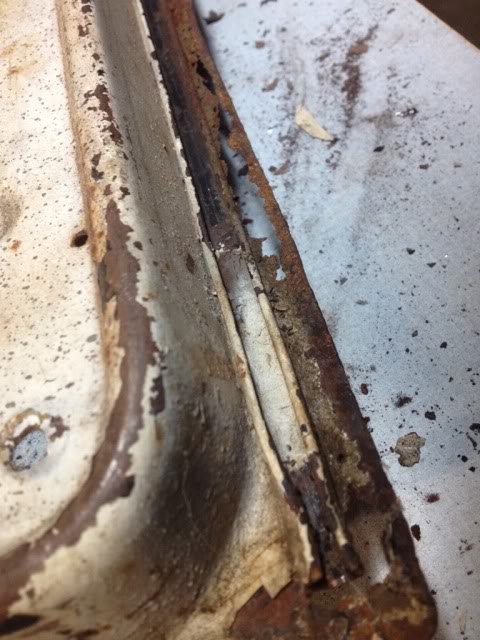
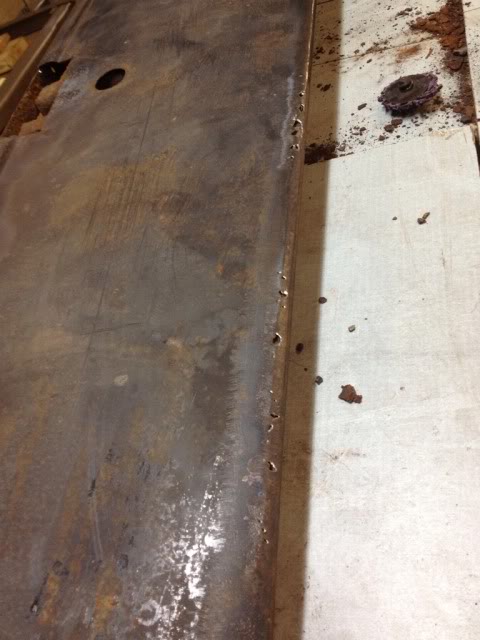
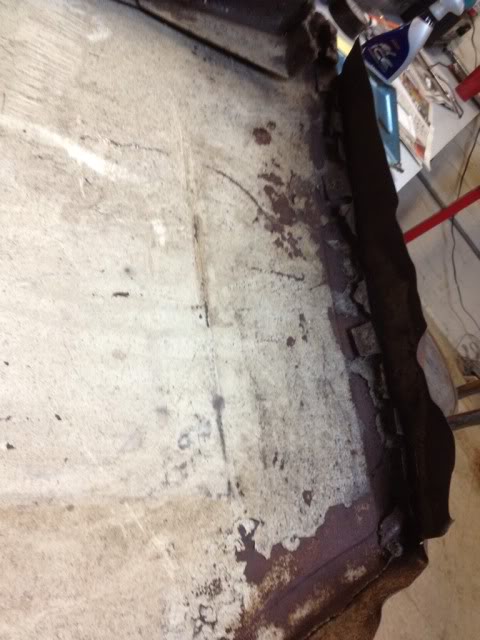
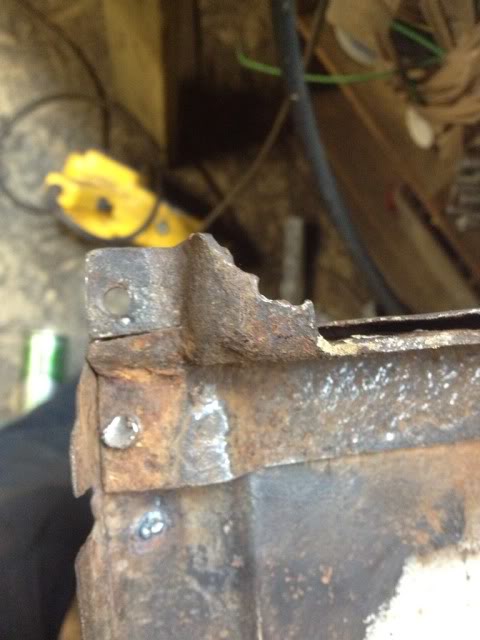
a mess

6242152E-F31F-443C-9BFA-9F42C1B6458C-4779-000005156E0BE69A.jpg

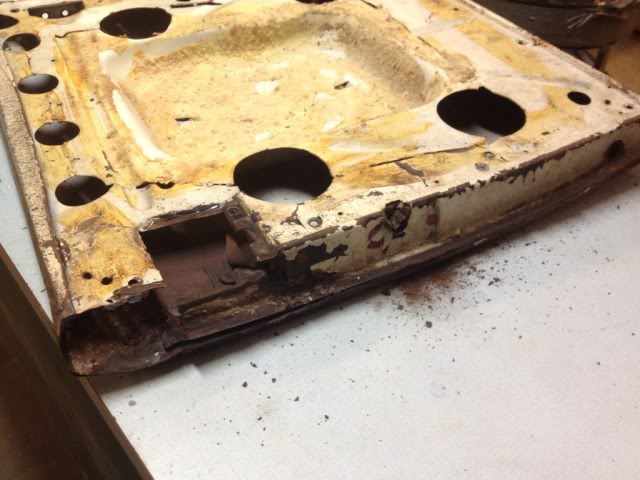
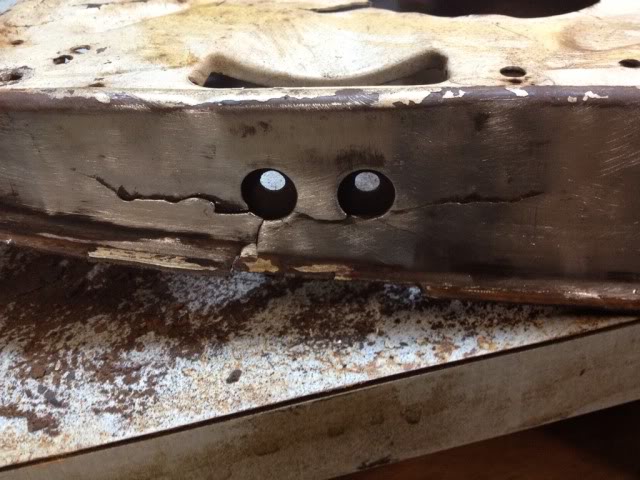
cracks in the hinge areas
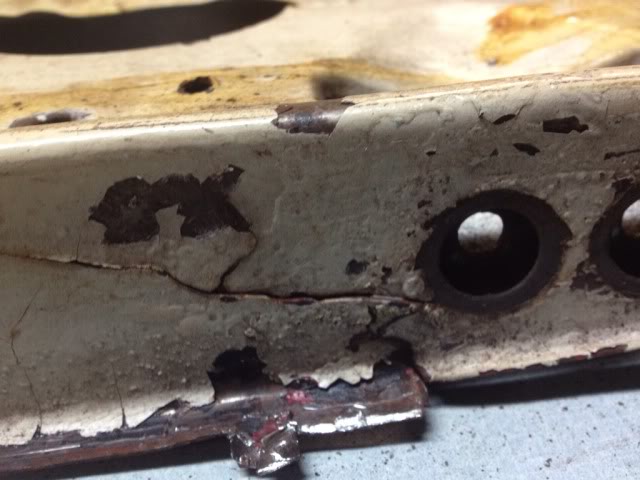
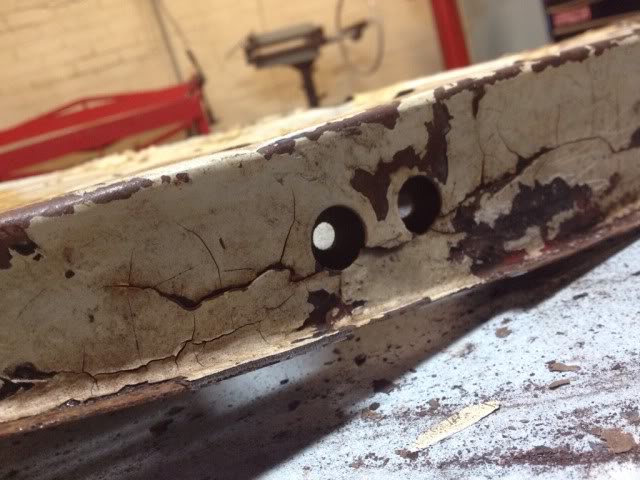
7105825C-467D-4186-8C7F-15D359C91C7A-4779-00000515719E4490.jpg

53446901-A595-45A5-B25B-98289D7ACADF-4779-0000051578399B38.jpg

annnd some rot!

A98A9501-7FCE-46E2-860F-DF04F8D1BA0F-4779-0000051574A19A40.jpg

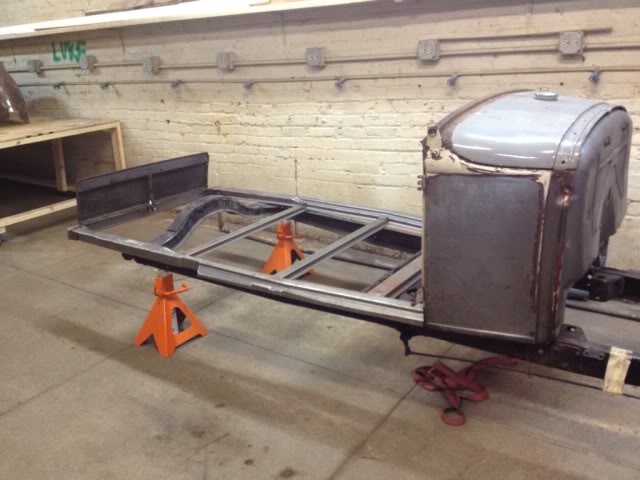
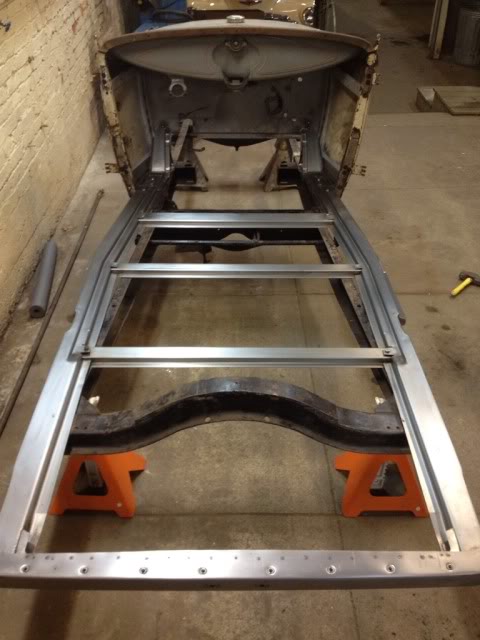
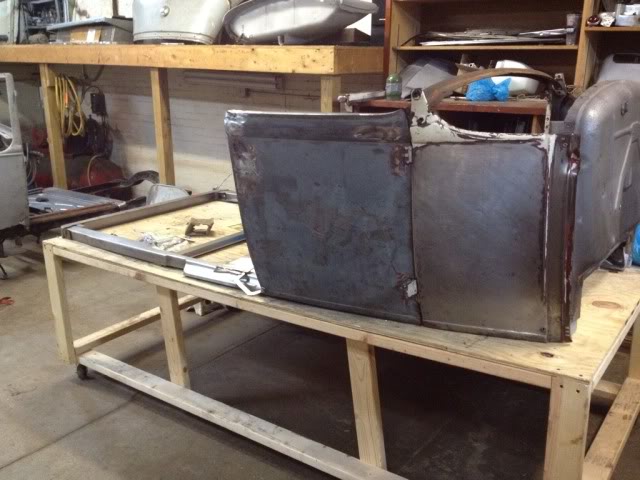
the roadster is all subframed up!!
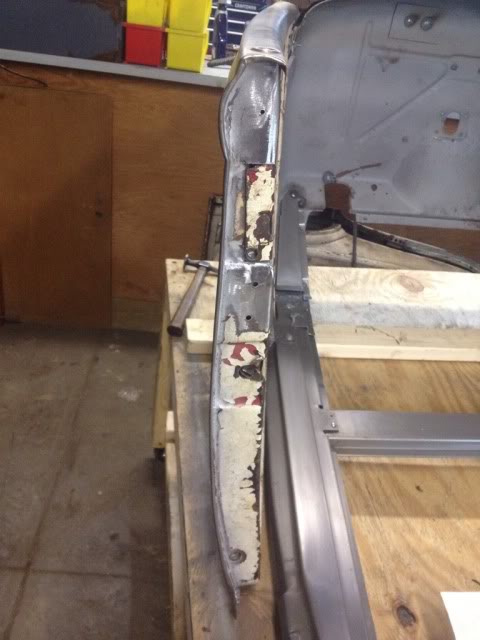
544FFB16-44C4-47AA-B27B-7495A8E641AD-6012-000006F26EB1C39C.jpg

cracks stripped

0D628366-D671-465C-A0EB-FD3249F32996-6012-000006F27369094D.jpg

6AE2BEDD-A46A-493A-AFB3-8124C23F3DBA-6012-000006F276E9CEE8.jpg

tiged and smoothed

45FBF809-74C6-4807-917A-8776D5D364DB-6012-000006F27D831CF7.jpg

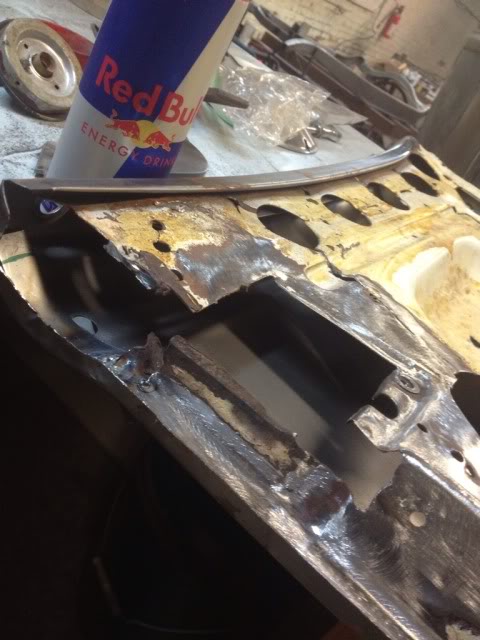
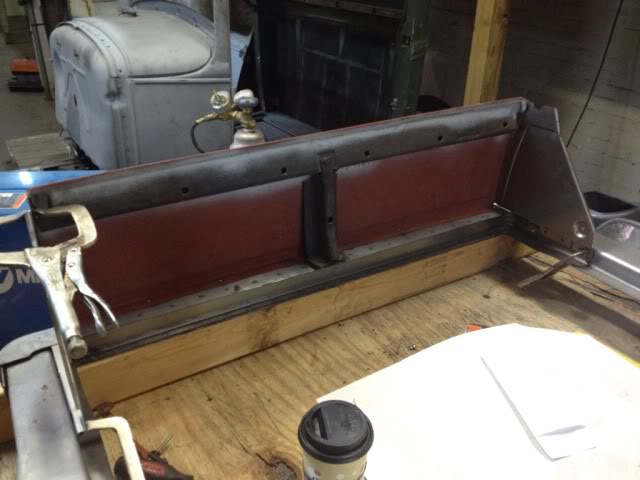
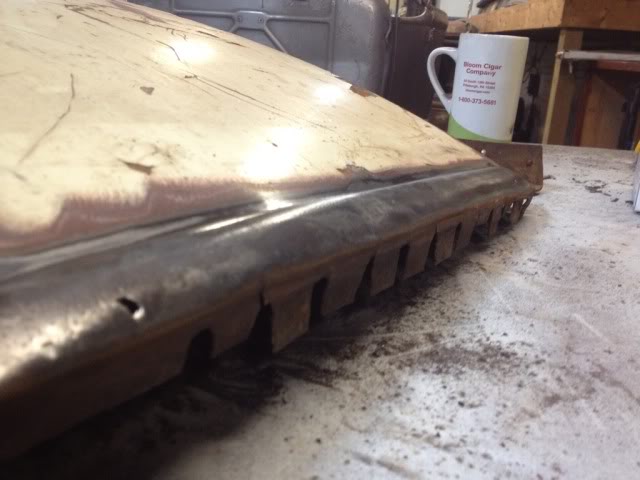
on the fence about using this panel under the decklid pinholes everywhere some rot i cut out . i think its gonna be easier (time wise) to re skin and use the orig inner structure. I already chased some pin holes around while trying to weld them up .
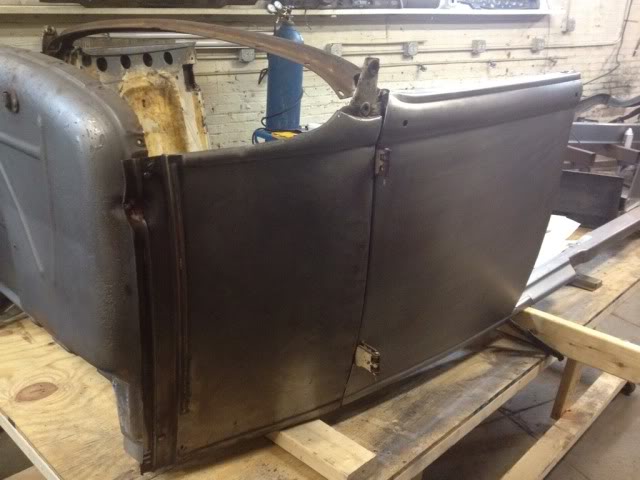
A88E2044-84D5-456D-909F-DD2663BA581A-1086-000000844BECA0AA.jpg

put a door on 

456CC1E7-6CAB-431F-BE78-0E31B04413AF-1086-000000844FCDA356.jpg

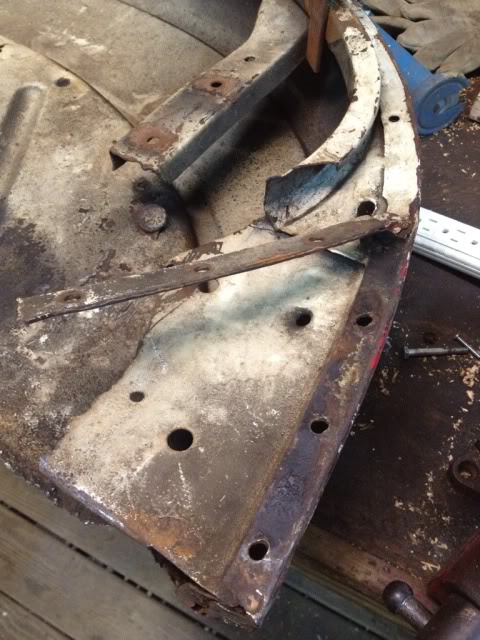
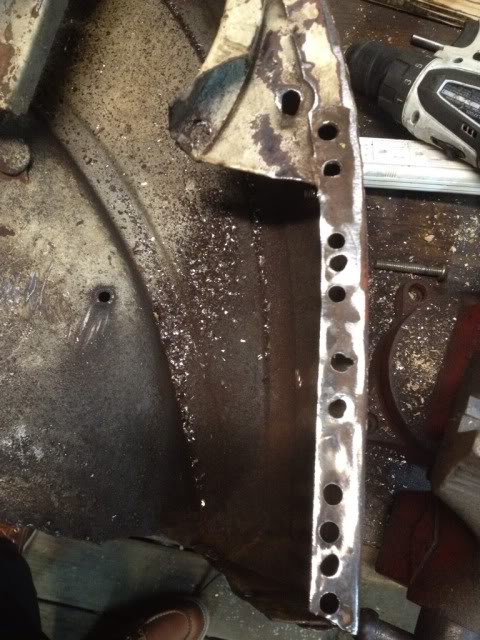
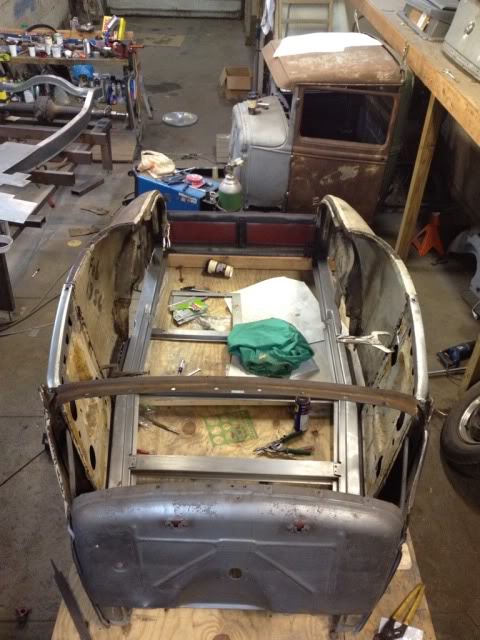
next onto the triangle pieces onto the rear quarters

C2590AE8-26E4-42E1-AE50-8542247987D0-1086-0000008457D41027.jpg

A7A6CC96-E28D-4D55-852F-05A6A16A59DE-1086-000000845FB96C9F.jpg

and how much the repops are off compared to orig ones

ABEDCDE9-FD4D-4CC9-AB52-A5954B3D45A1-1086-000000845C02D764.jpg

5E29461A-1074-4486-A4E3-4B0649E94DE2-2238-0000024F6B8EFBE1.jpg

once again removing the triangles

AF68D554-4BBE-4EA4-AD11-CC6608F6AE20-2238-0000024F6FF6510E.jpg

and how much this side is off

48DE10F1-7FFF-4E6B-9665-FD6441166C3C-2238-0000024F73B0F22B.jpg

just realized there was a patch panel here as well . I dont know how i missed it .

938C3A4A-CD2E-4F0F-8DE6-0ABB4DA28DB3-2238-0000024F76F71BB5.jpg


there is something missing .

1C878D8C-C1CE-4198-85F7-641B730E875D-764-00000076CA9B4B23.jpg

filled in some blanks . gonna grind the welds tomorrow

D6CA731E-7262-4978-9FB0-67FB90B60545-764-00000076D21722D6.jpg

epoxy primer on the inside of the new skin 

C7690F16-3429-42B3-9608-6C9F30557B07-764-00000076D8CD35A4.jpg

tomorrow they get stuck together!

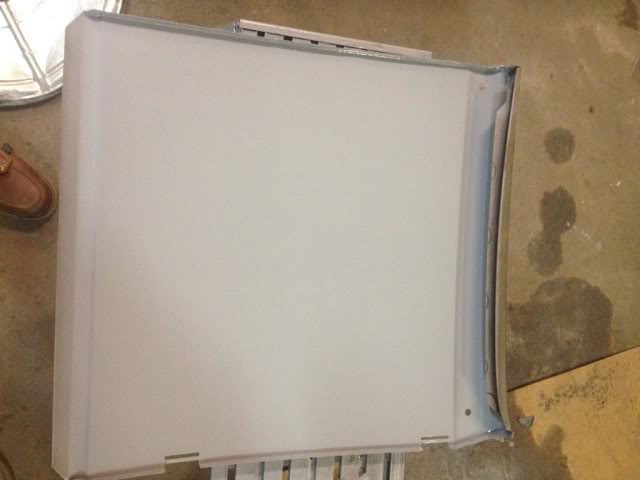
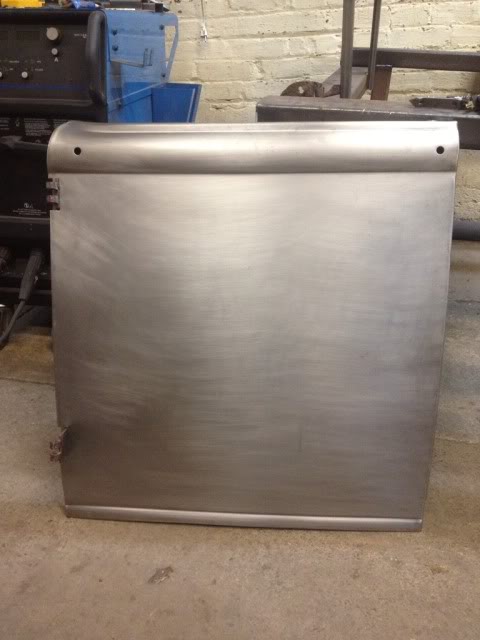
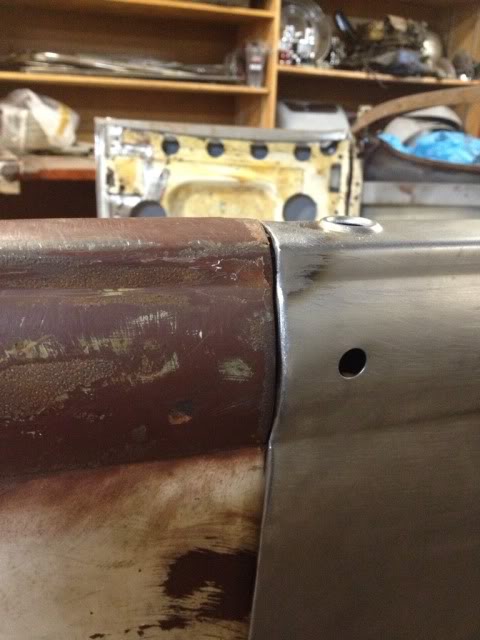
its like a new door!

CE4F8A68-66A8-4687-96C1-ADDADF78BAA9-1593-000000EB9E5E8CFD.jpg

20A839E1-8B2E-4118-94DB-DB1E9F895FA0-1593-000000EB8A951EA3.jpg

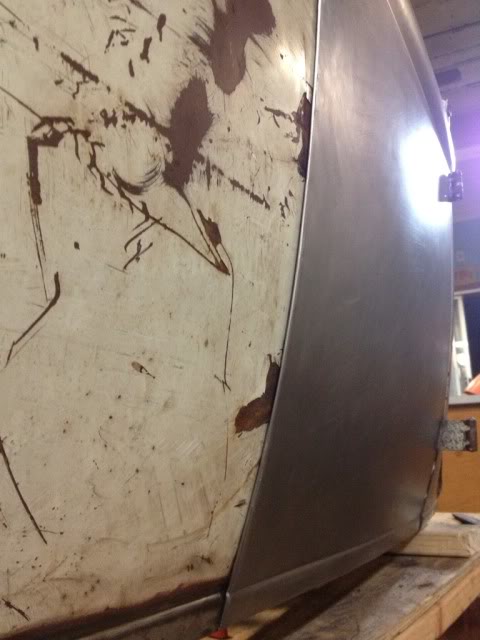
and the new skin on !

2FE43038-319D-4C63-B90B-270D7621D40E-1593-000000EB7F9061C1.jpg

now we are getting somewhere

3A620F24-8FFB-45D0-8FD8-6B6C56968553-1593-000000EBA9C89AE1.jpg

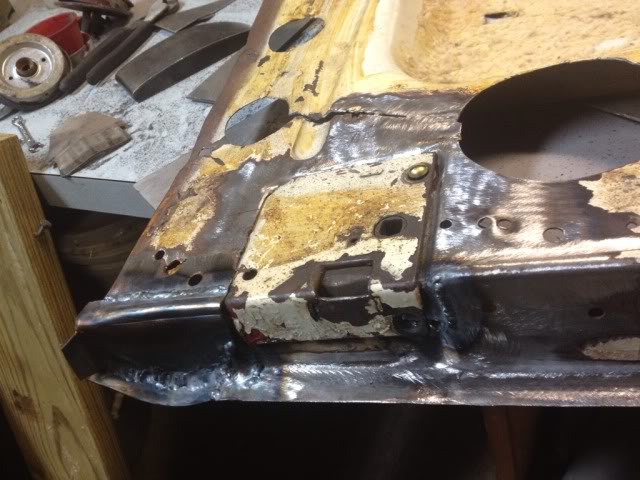
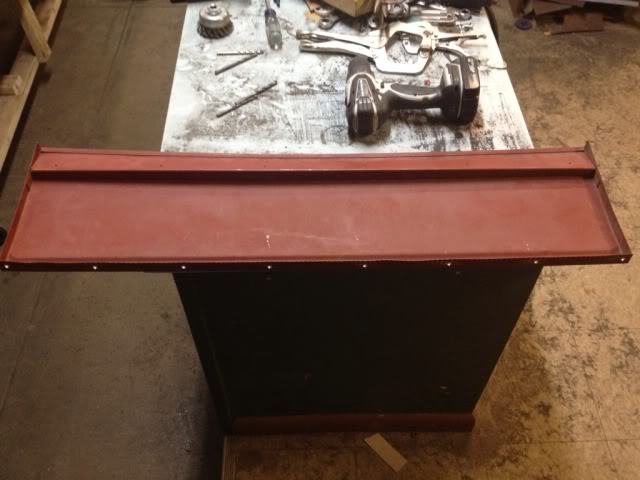
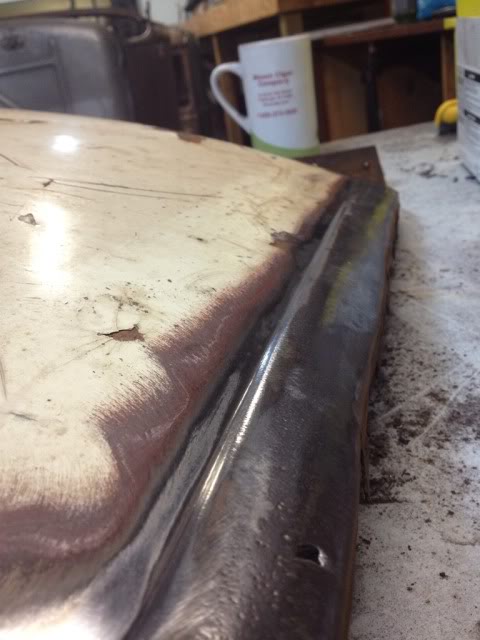
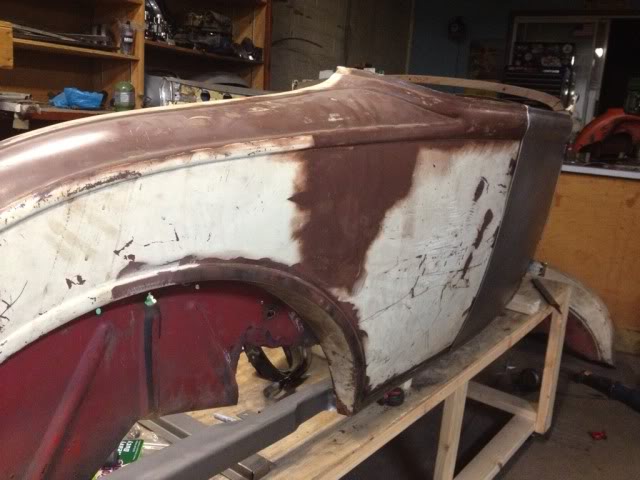
also deskinned the panel under the decklid and got it in primer 

E783C72F-666E-4D83-B10D-0CFBBA88AE9E-1593-000000EBC5D65166.jpg

an older repop panel for below the decklid . not anyway like the ones they sell now 

D5625564-24B5-4246-80C4-DFBDECA77888-6661-00000593DDF3DF2A.jpg

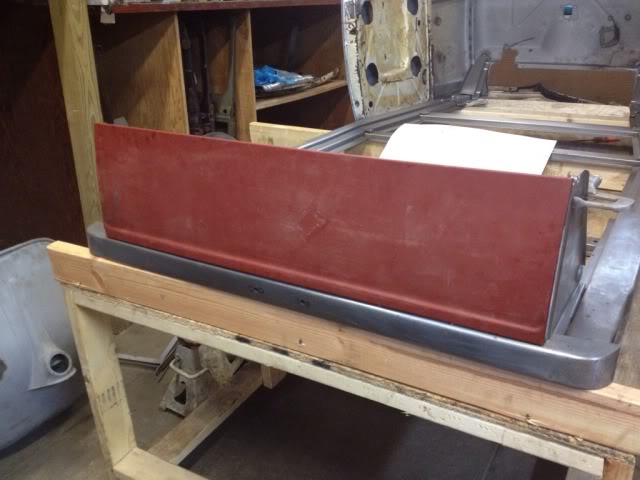
i put Jeffs orig inners in it and i think this ones gonna fit like a glove!!

C5BA44D6-BCC0-43A8-8D57-F0786B4547C2-6661-00000593E61817DC.jpg

no weird twists or turns and an even gap on the bottom of the subrail im excited!1

273F43B6-C9C4-45A6-B626-B06E8496D435-6661-00000593E241BA37.jpg

well i put a door skin on the passenger side today as it would save about 6 hours of work total in the end betwen metal work and body work .

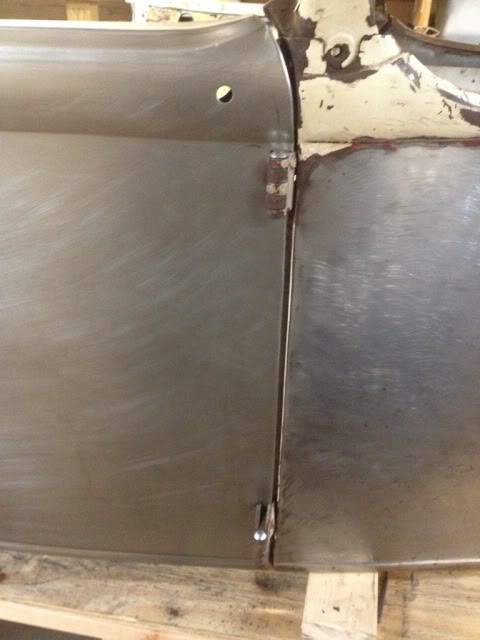
turns out jeff had a badly bent hinge as well if you notice the gap

A1837220-ABF8-4672-A3EF-A5495CAD5FC6-1503-0000012E5805498B.jpg

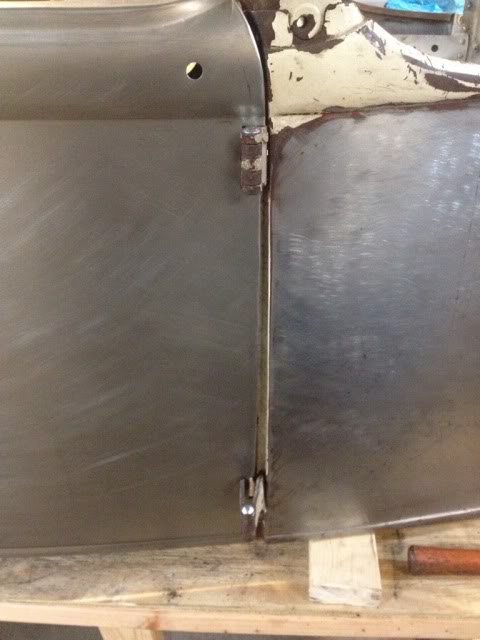
notice the gap after a little work with a big pair of channel locks 

68D5F4BA-057D-4EAD-A7E5-995AC5B7528C-1503-0000012E6E924260.jpg


this roadster is solid!!!

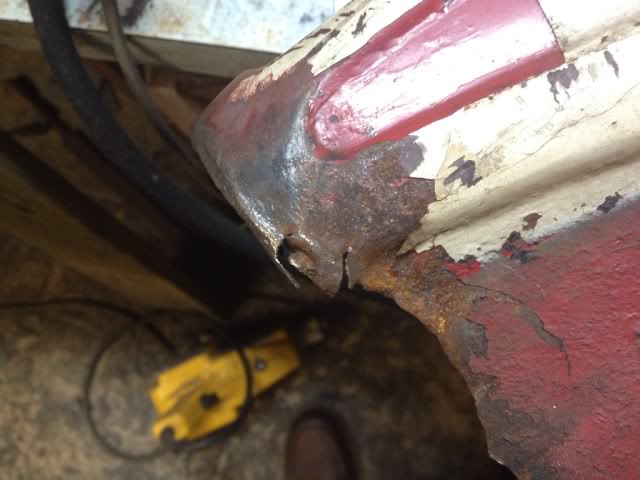
2 pinholes and 3 stres cracks !!

7D2092F9-3A19-4326-9FDD-FE3536D5D547-10835-000007F8A4C43B7E.jpg

A4451D45-E079-4D8D-8060-7C4A085E8EF0-10835-000007F8AA52A2AB.jpg

a little mess from the old channel job 

3622EA61-A34A-4D94-B965-B2CF64790121-10835-000007F8ADC8E901.jpg

patch seems a little big!

6AA12EBC-0002-4B67-9D65-0AAFCC0AE333-10835-000007F8B1D31491.jpg

70C8D7D8-262A-4A15-8272-C761B6F21596-10835-000007F8B88287C4.jpg

nothing exciting here 

343DF1FA-9029-48D8-8369-107E9991A87C-10835-000007F8BCD2C70C.jpg

got it filled in but forgot the after picture

before

DB707AC2-D164-4666-9616-524C4B2994B5-10835-000007F8C061EC3A.jpg

a little after action 

7A9CD74B-D758-47B1-BEFC-8C63B68002CC-10835-000007F8C6FD76FD.jpg

i love the way this car fits together 

4C78F68D-6078-43C9-A74E-A296B4CED45E-10835-000007F8CABE2B7E.jpg

943F9360-D7D3-44D4-BE4D-D8448796E72A-10835-000007F8D7A0E802.jpg

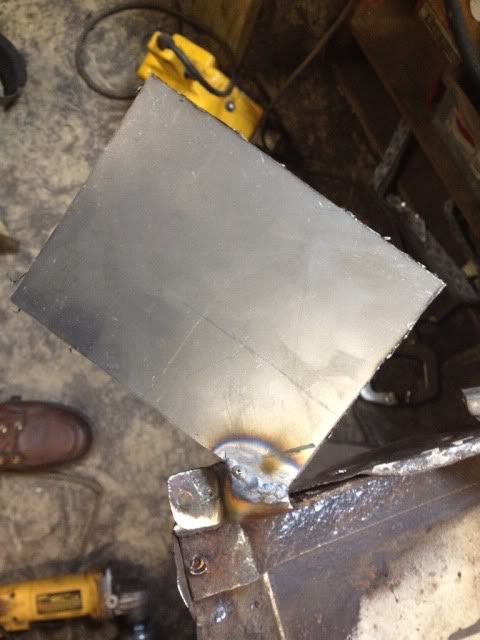
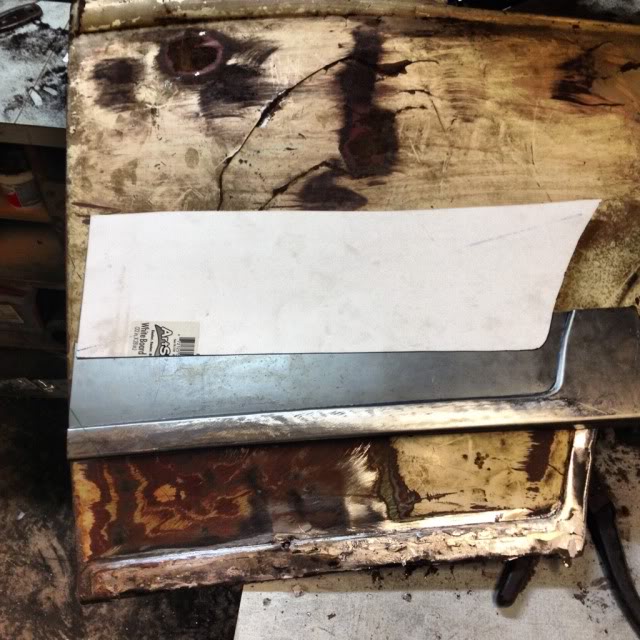
a little arts and crafts here today . i wanted to make a patch panel for the passenger side quarter 

A51D794E-7AC8-4FCB-824F-8A30AFE7FE35-12780-000009475C1D81AB.jpg

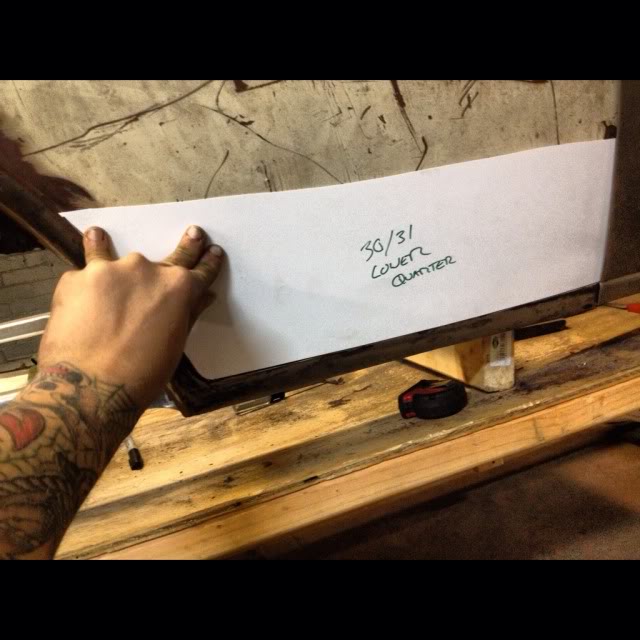
heres what i can up with after a little work 
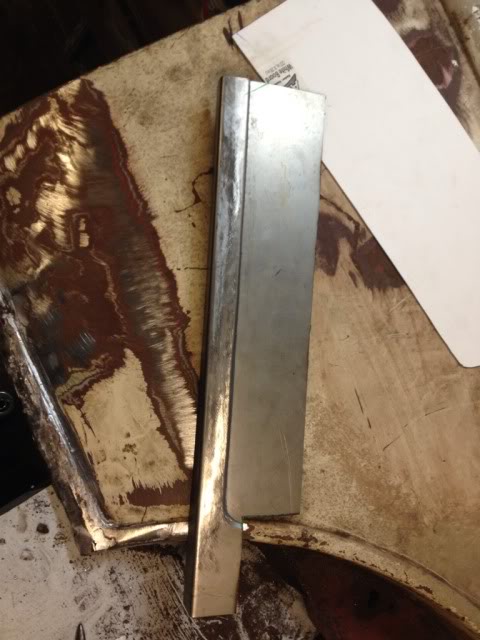
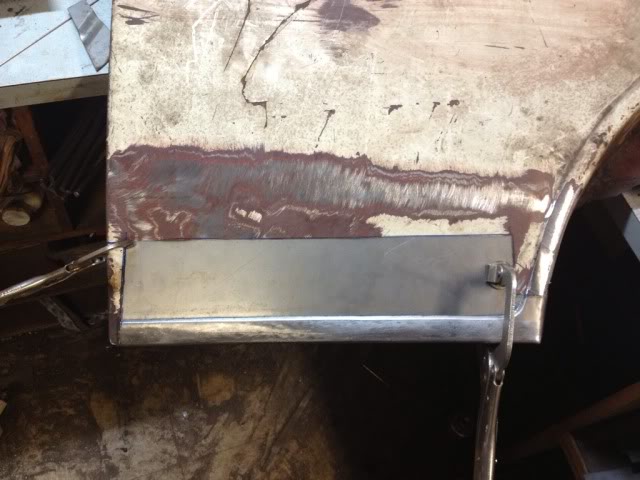
CEE95A08-6847-4135-B12C-E35B37AA693E-12780-000009475EEB0C11.jpg

17F924DF-B045-4E6F-968D-133D74662AD8-12780-0000094761E4F800.jpg

fitted up !!

0313820B-D003-4107-9018-81225579F356-12780-0000094765E03836.jpg

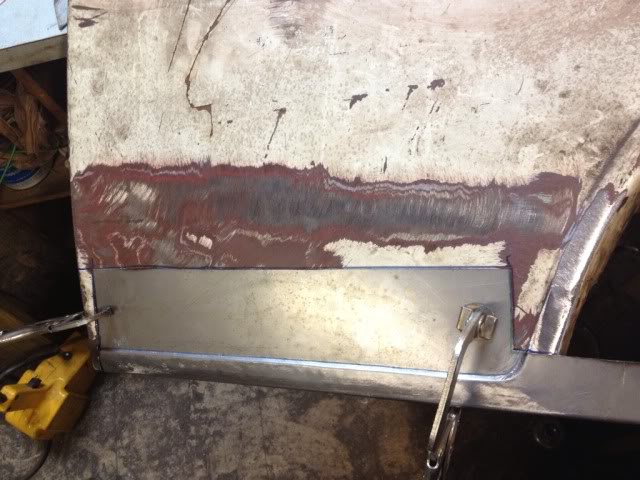
now i gotta fire up the tig 

E76CF200-0DB8-4D64-B0BD-C759EDA9FA04-12780-0000094769CC228C.jpg

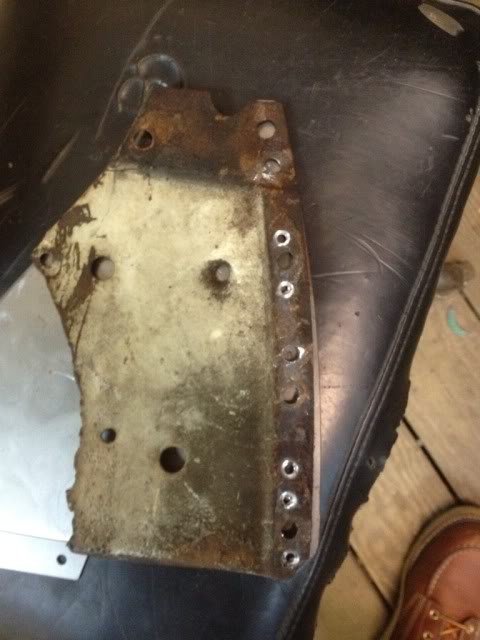
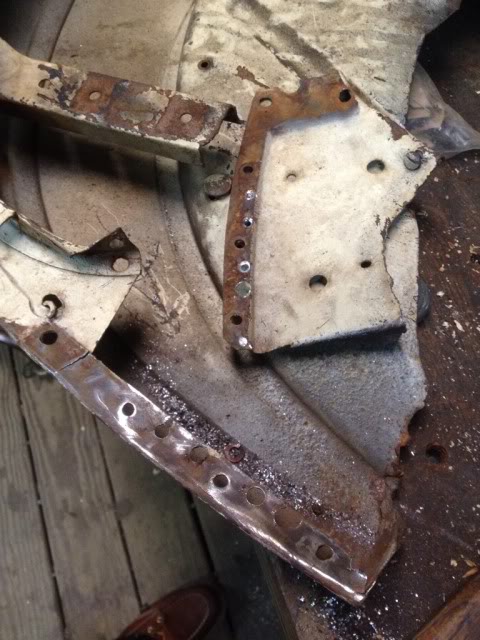
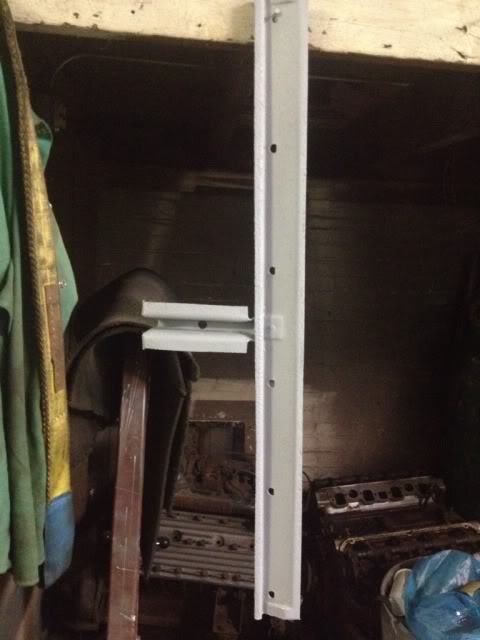
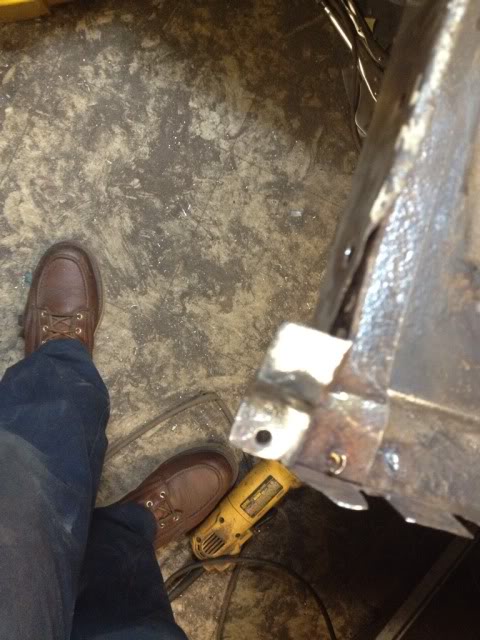
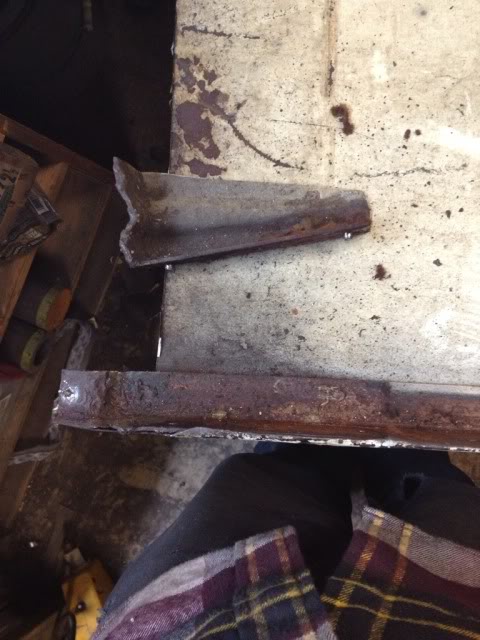
took the bracket off for that rivets to the subframe

3A2C09EE-9CBC-405E-9DC2-A7B3F16205A3-12780-000009476DD07FA6.jpg

now its getting there!!

24EECC84-56A6-47BB-A355-276106B598A2-12780-000009477228F733.jpg

6235EA38-9705-4225-89A6-DB1444BBC5C8-12780-0000094775589B21.jpg


Comments

Wow great build! Details and photos ????

Posted by Diggymart on 10/5/19 @ 1:52:45 PM

Wow great build! Details and photos ????

Posted by Diggymart on 10/5/19 @ 1:52:44 PM

Wow great build! Details and photos ????

Posted by Diggymart on 10/5/19 @ 1:52:40 PM