You must be logged in to rate content!
8 minute(s) of a 35 minute read
8-7-2013
Well it wouldnt be complete with out the beads on the sides !. I needed to figure out a way to end the beads like ford did on the sides of this panel so I made a simple form out of wood !
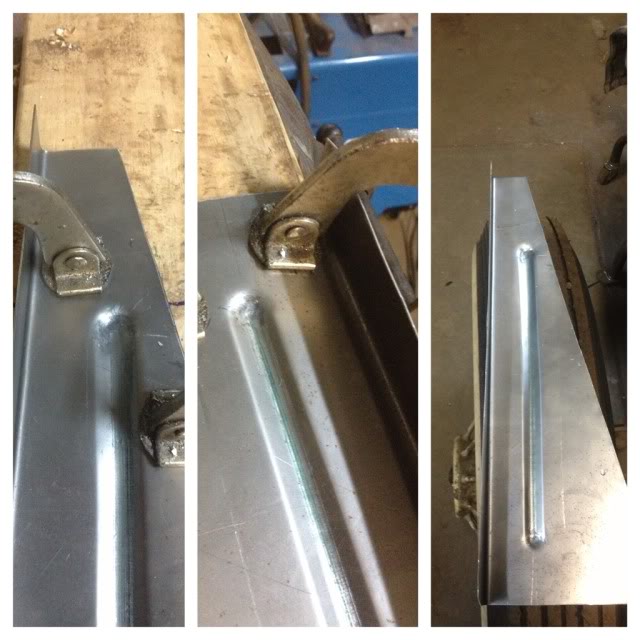
and here is my end result
hopefully it gets riveted in today !!
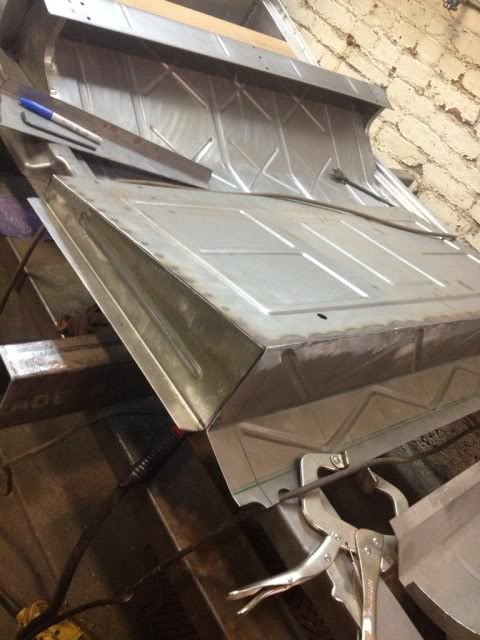
A bunch of working making the repop parts look better but now we are getting somewhere!!
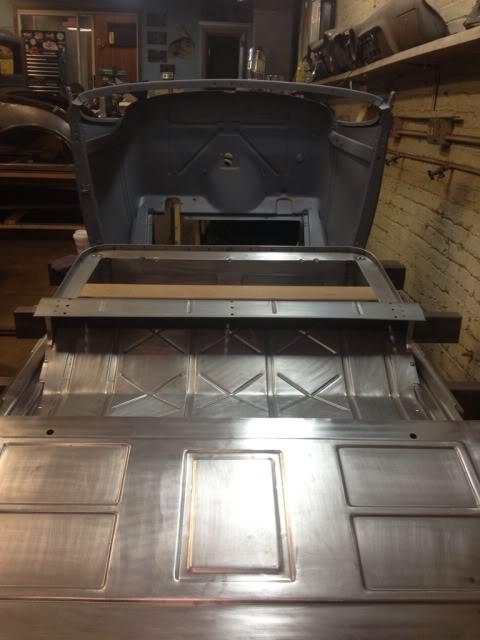
well the subframe is pretty much finished up ...minus a few brackets ... thats next !!:)
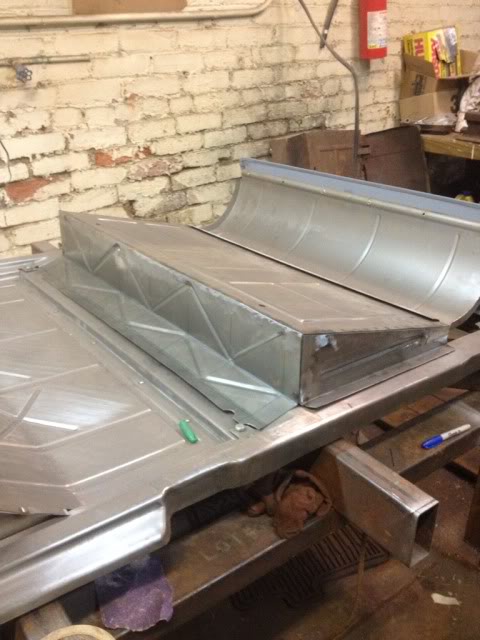
well i got ahold of a nice henry bracket that rivets to the curved panel and bolts through the spare tire holder!

sometimes you have to use some odd pieces to align the panels !!

and the curved piece in place with the bracket riveted on


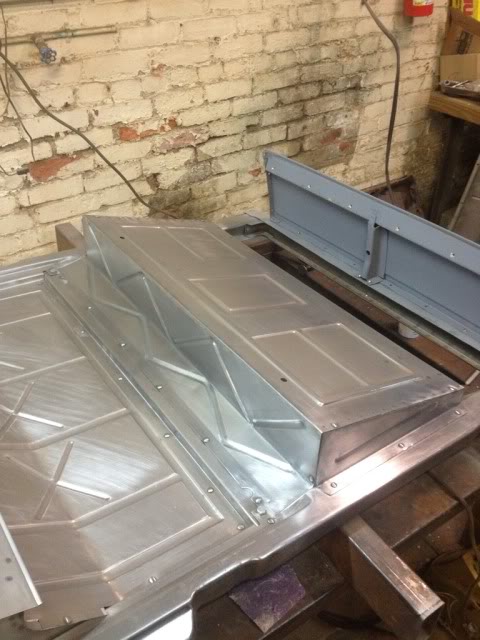
the whole deal !!


into epoxy primer


the curved panel isnt bolted down thats why the lip is in the air

all one color !

stanchions gotta fit right ! kinda look sloppy here


with a little work

gaps gaps gaps


setting a few last rivets

a single color and its starting to resemble a car!


so i did a little tapping to get a better fit of the corner...she was thin !

also trimmed a little more to get a nicer fit


:eek::eek:
moving along now !
well it took a little battling but it fit in its hole relatively well.


getting everything lined up


they are not the ovals ford had in them but they served their purpose. well at least the top and bottom holes


dash rail . had a pretty big dent so that came back off


curved panel with rumble stops installed

package tray sitting in place . also borrowed some door handles to set the holes and d nuts!


also faced the bolts to remove marking so they look more original .

does anyone know why Henry used some square nuts and some regular nuts ? or some square nuts been replaced?
frames here!!

frame is within an 1/8th o an inch of square and no noticeable sag !

a few tiny messes


and some screws

first time on a frame and completely together is 40 plus years !!

cleaning day with the giant was today !!


Comments

Wow great build! Details and photos ????
Posted by Diggymart on 10/5/19 @ 1:52:44 PM
Wow great build! Details and photos ????
Posted by Diggymart on 10/5/19 @ 1:52:40 PM
Wow great build! Details and photos ????
Posted by Diggymart on 10/5/19 @ 1:52:45 PM