You must be logged in to rate content!
7 minute(s) of a 35 minute read
11-10-2012
scotts I do work by myself. its a 1 man shop with 5 cars in right now . I appreciate the kind words and if you are ever in the Pittsburgh area you are more then welcome to stop by .
thanks luv2wrench!!
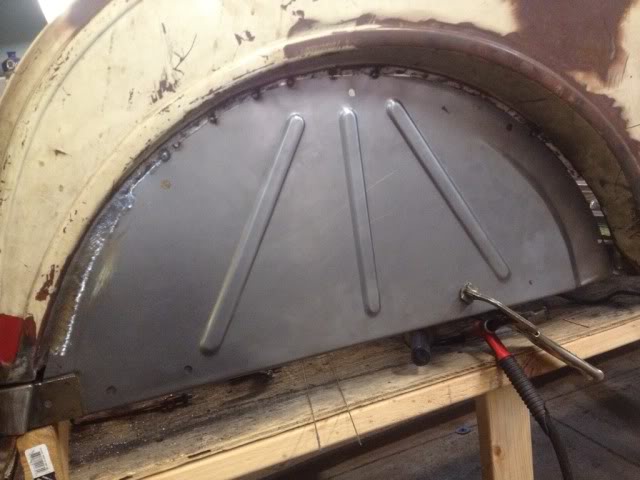
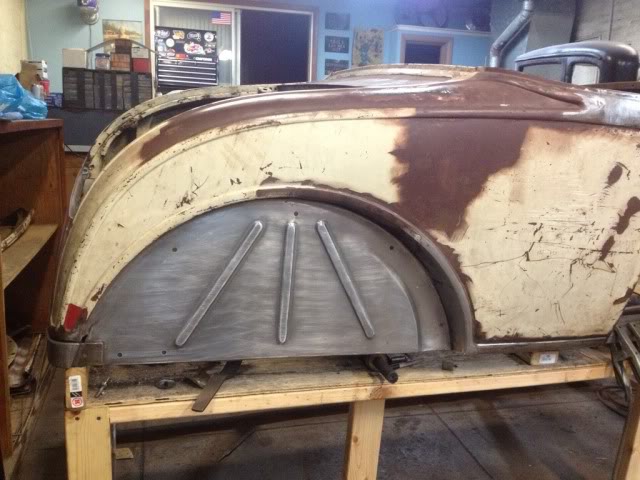
wheel wells
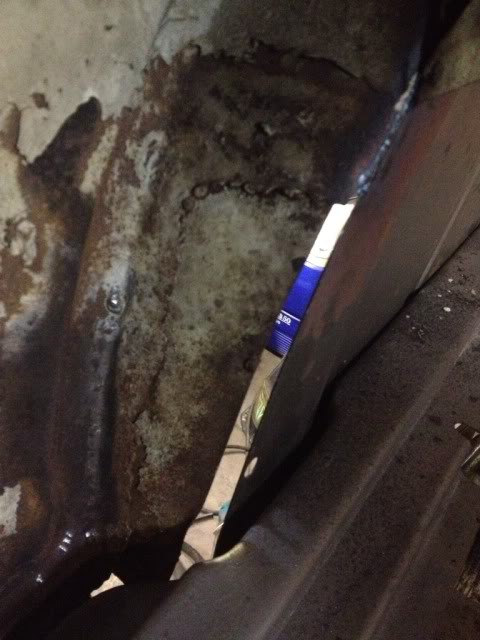
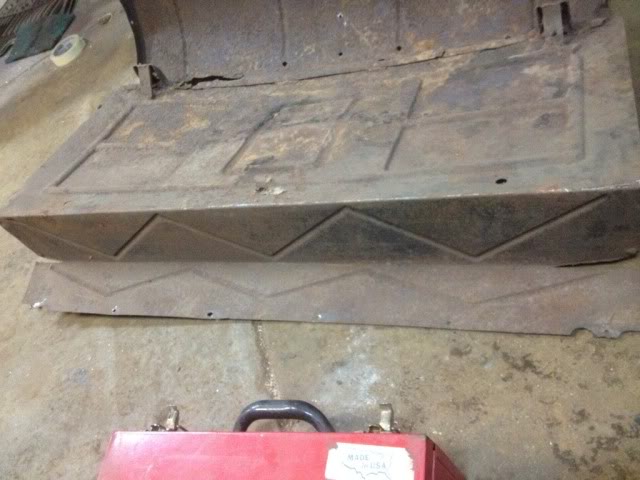
old rot
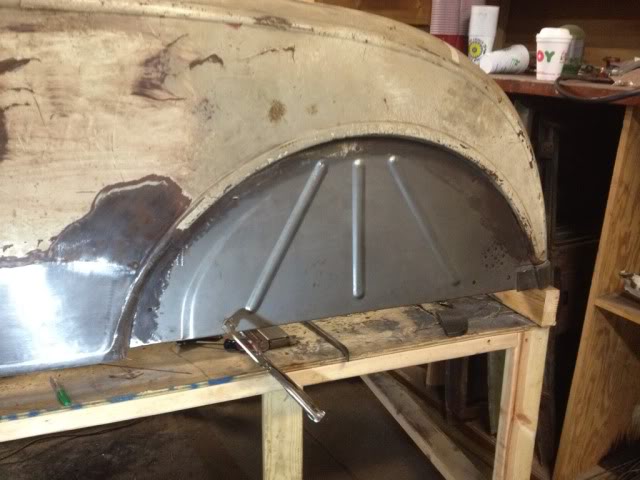
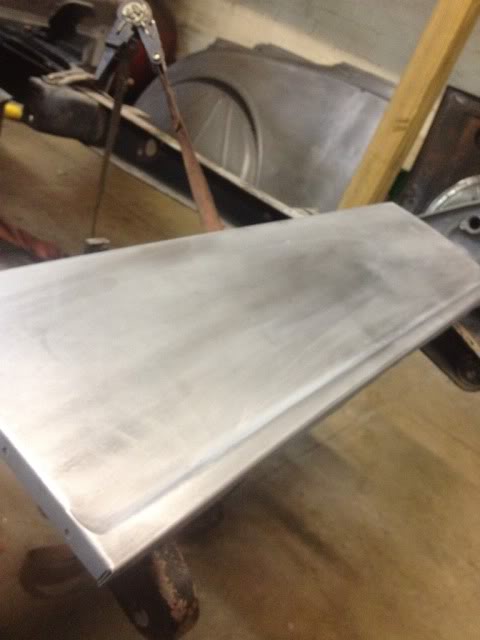
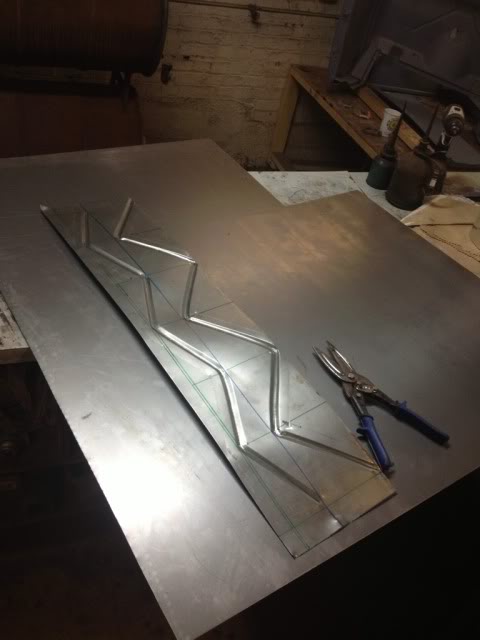
a little shrinker work has a new panel made up in no time
gonna finish the welding up today and put the break on the bottom !
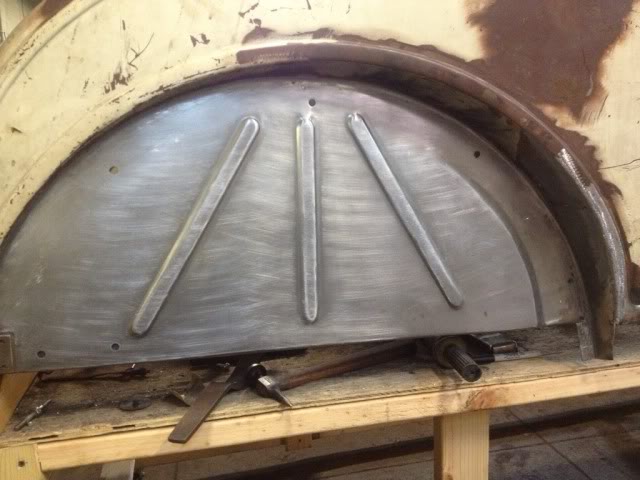
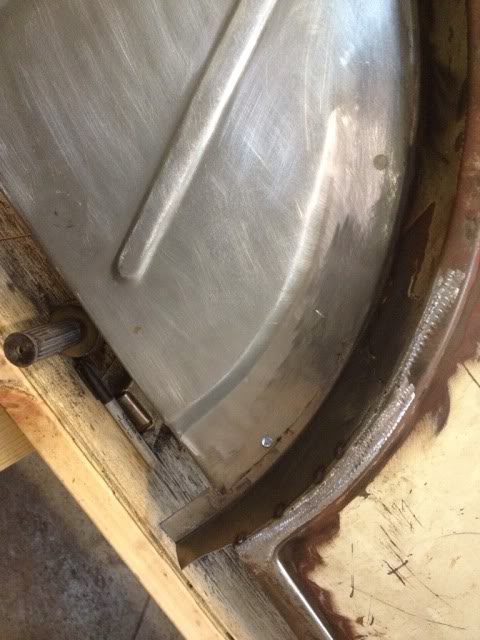
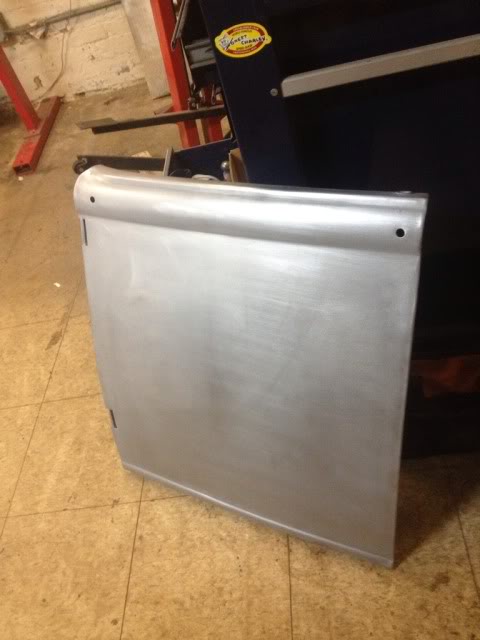
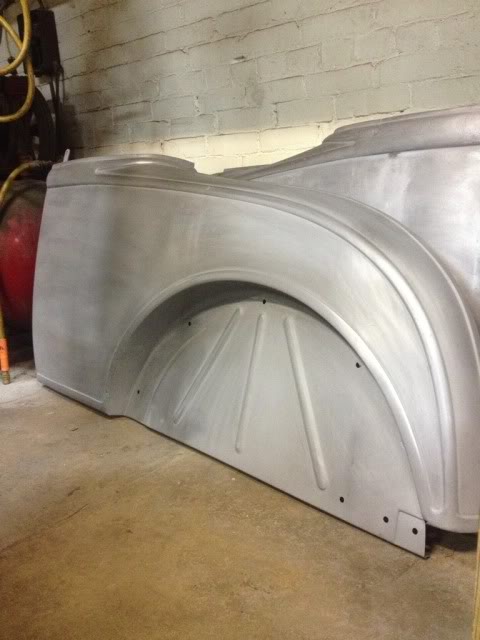
wheel well finished up !!!
3-25-2013
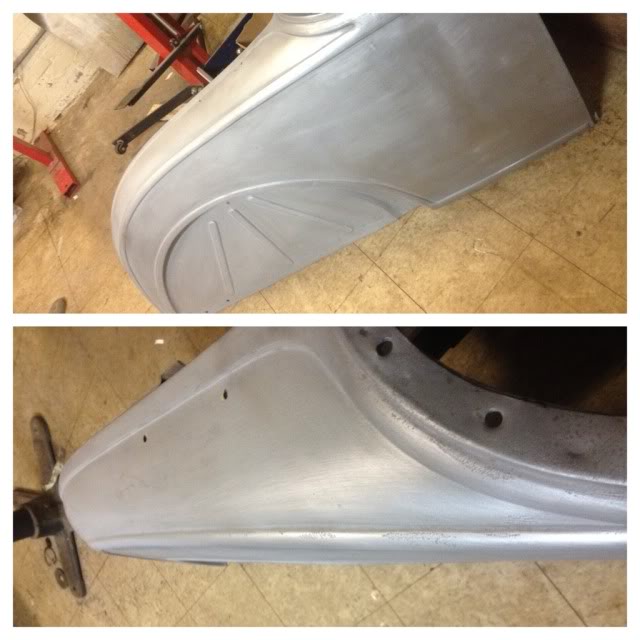
drivers wheel well done !
still needs sanded out though

soon to the sand blaster!! then primer!! then a little surprise!!
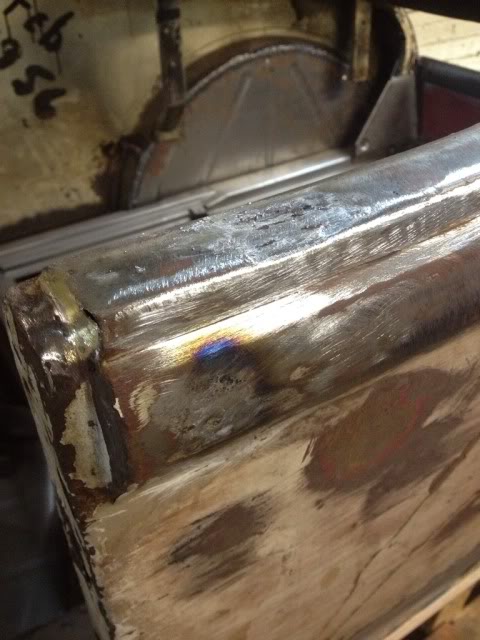
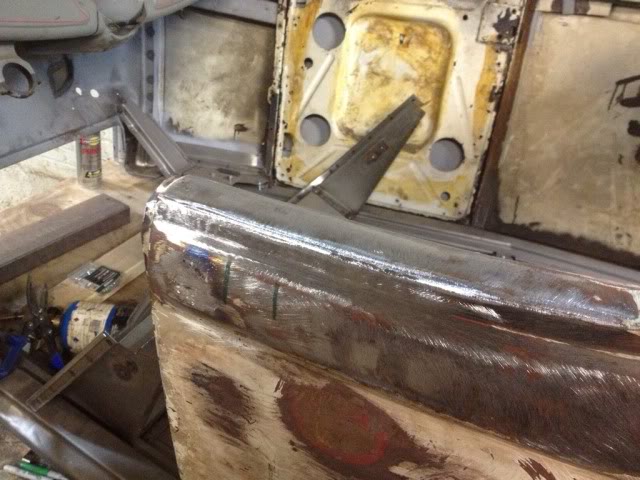
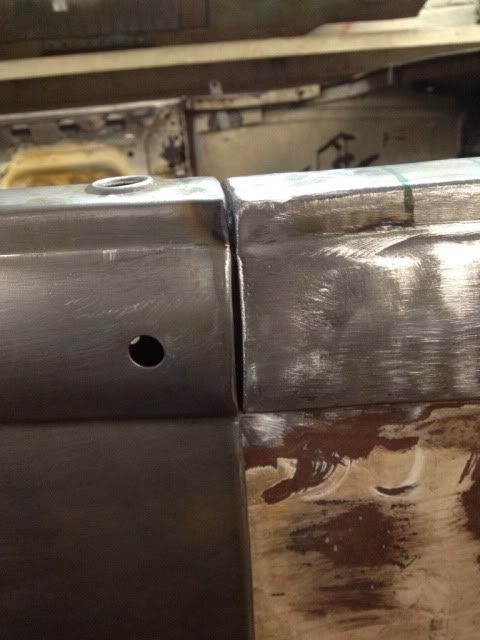
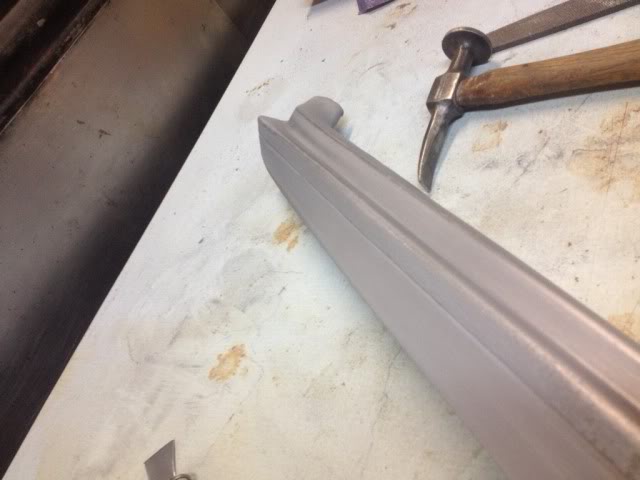
once again shaved top mounting tab and hole
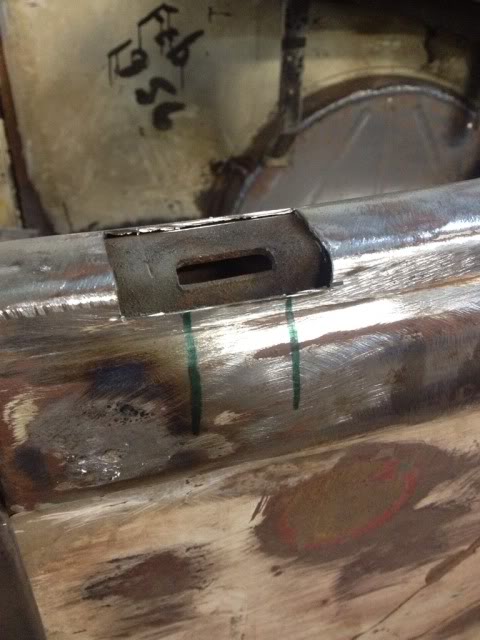
the patch .
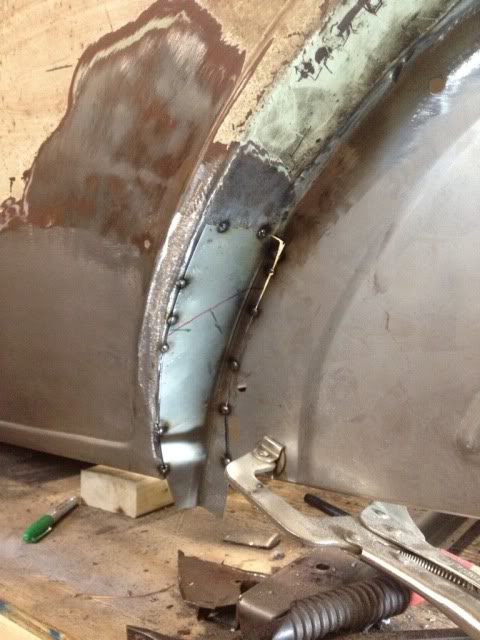
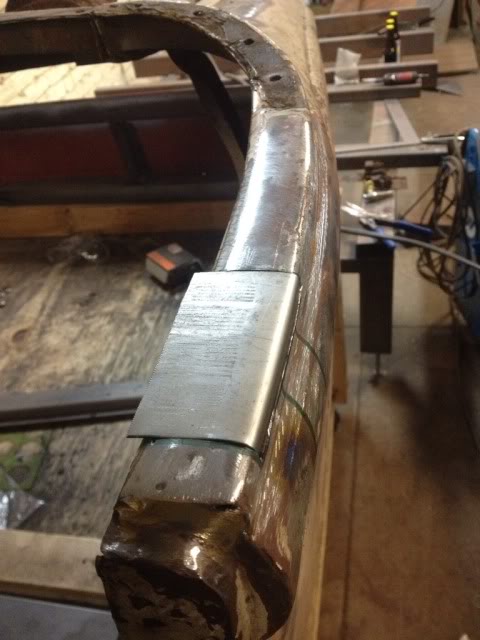
cant get away with a straight piece you have to shrink it a little to get the curve
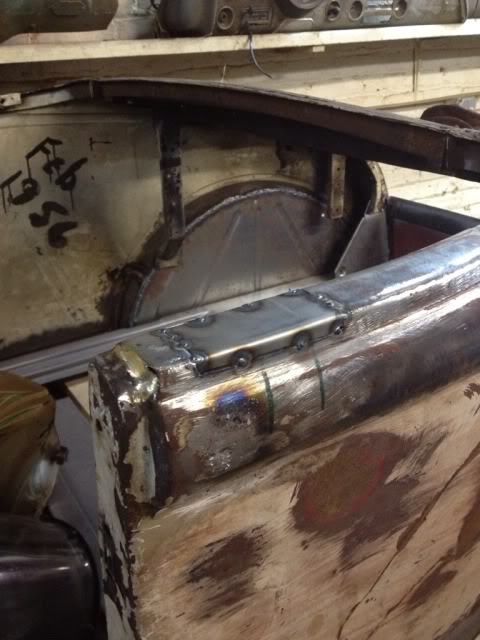
and all welded up / didnt finish it off yet due to having to work on the area below!
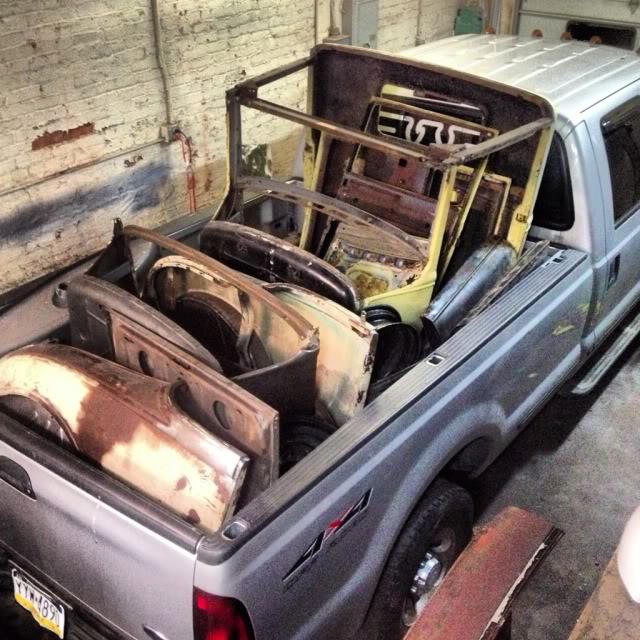
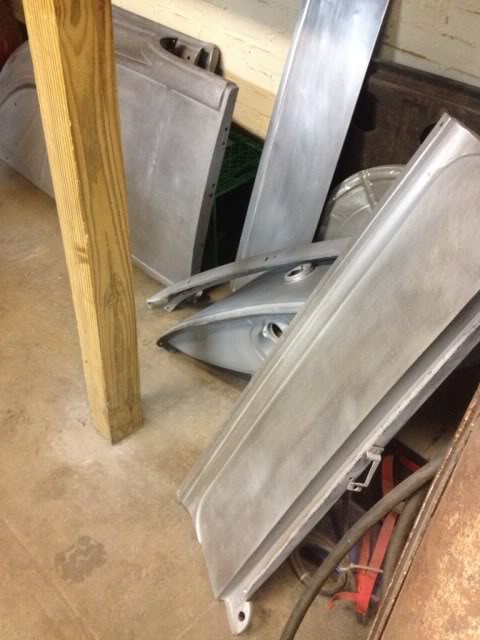
thats a whole lotta ford!
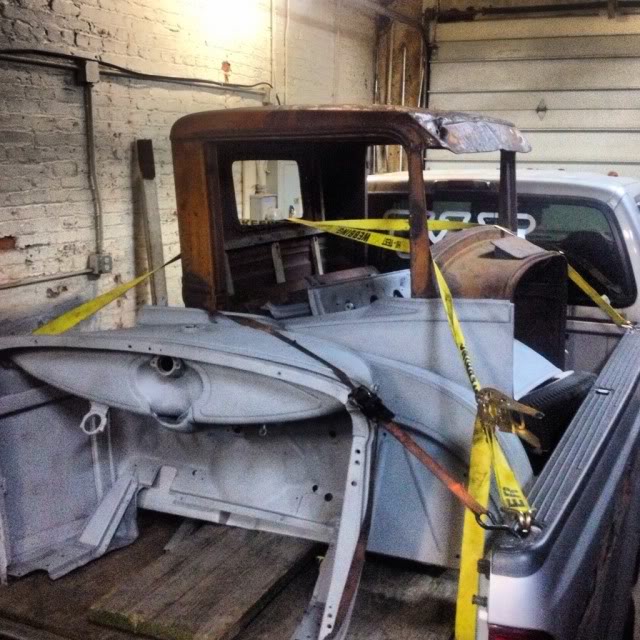
the roadster is back in a pile!!
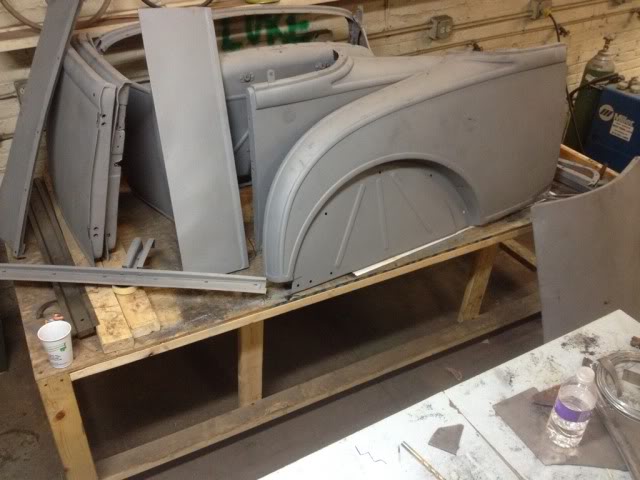
clean clean clean metal
and we couldn't erase history!!
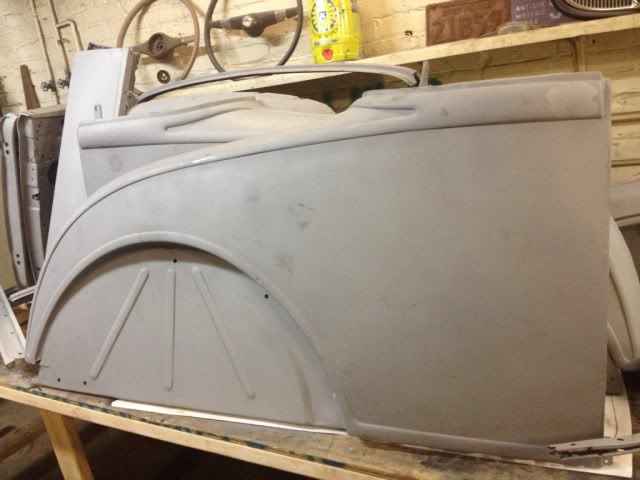
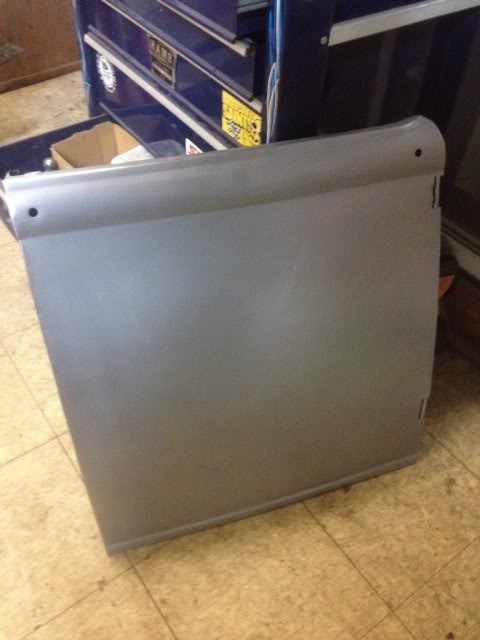
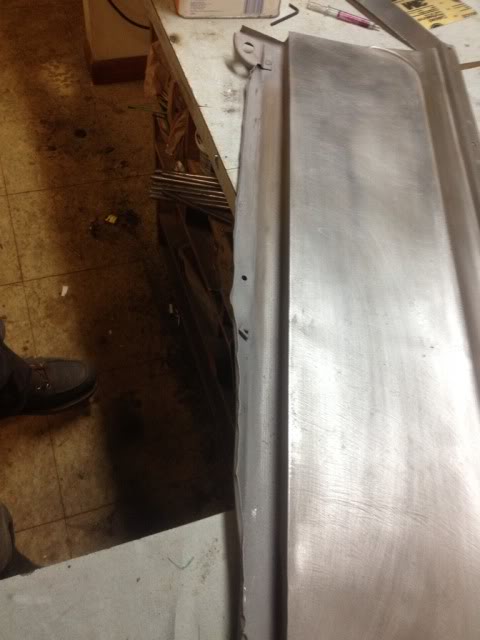
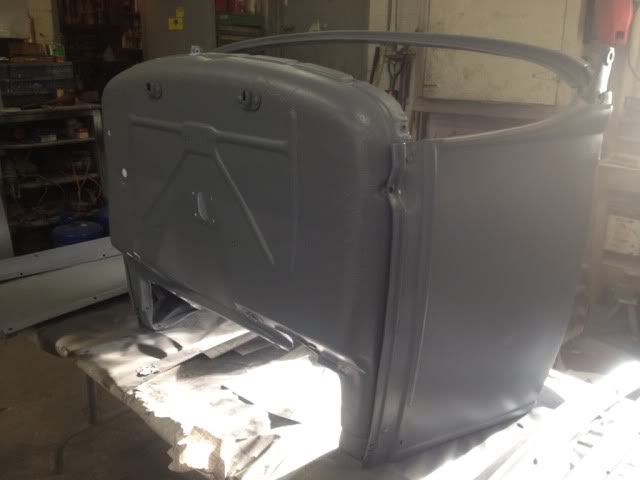
and the doors
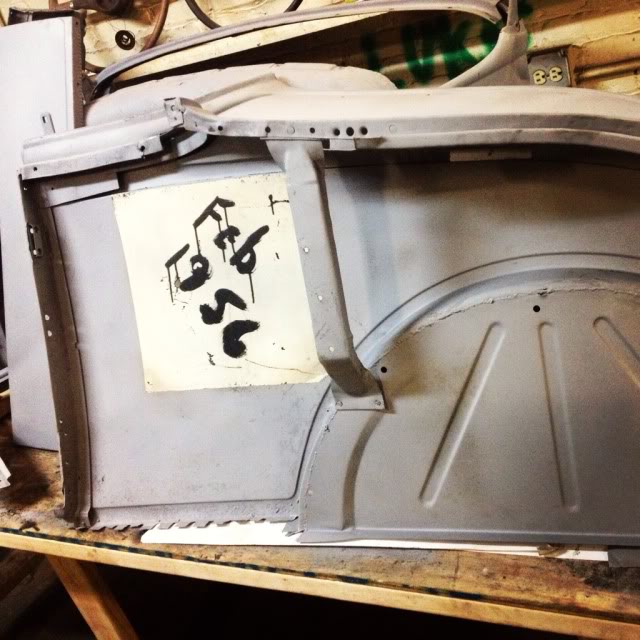
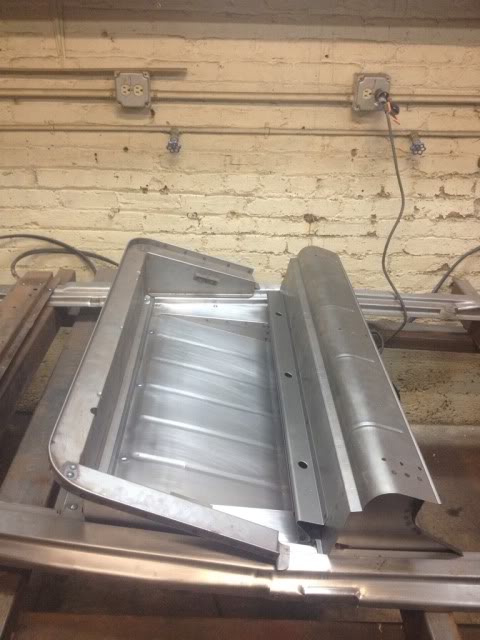
panel under decklid
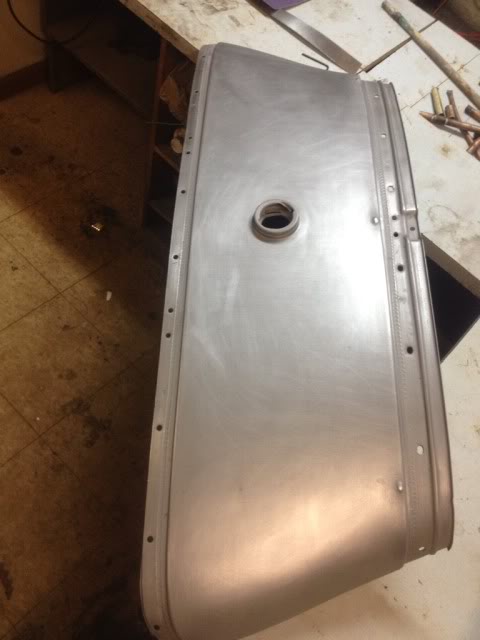
and the quarter!!
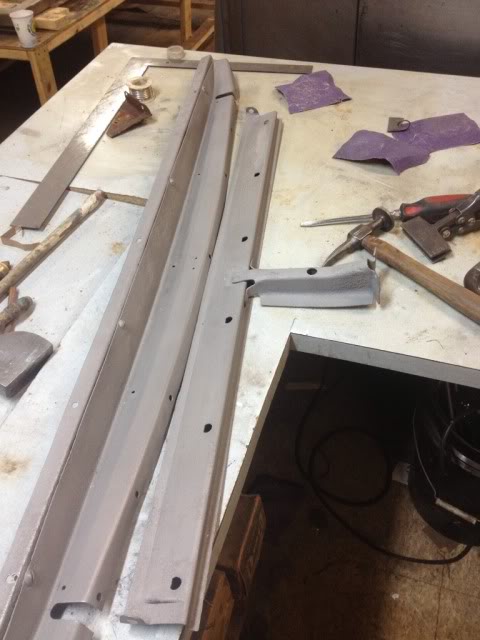
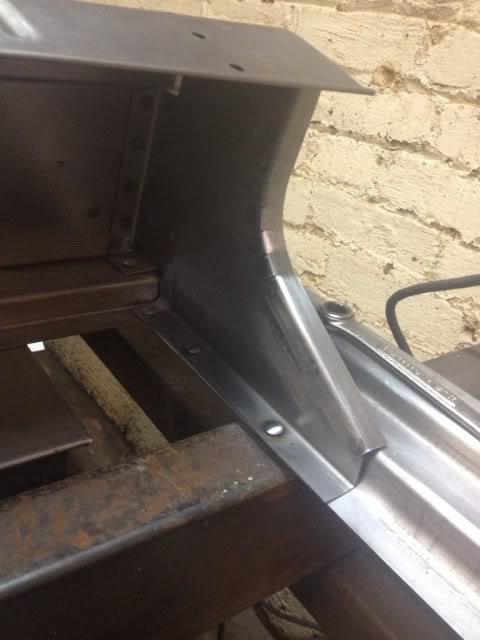
dash rail
i always try to get all the heavy hitting out of the way before primer . so the lip needed to be put back into place!
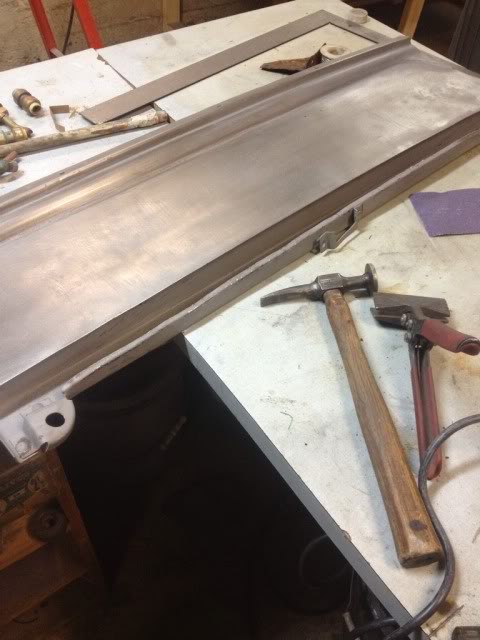
package tray and inner bracing for the panel under the decklid!
and some more quarter action!
cowl and decklid will be finished up tomorrow!!
ts nice to see it an actual color ..well its still grey but atleast it has some shine!!!

it was a welcome break . I feel refreshed and even more excited about work !!
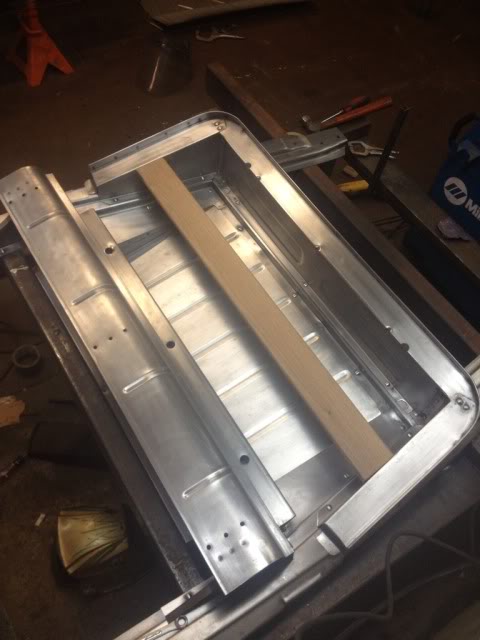
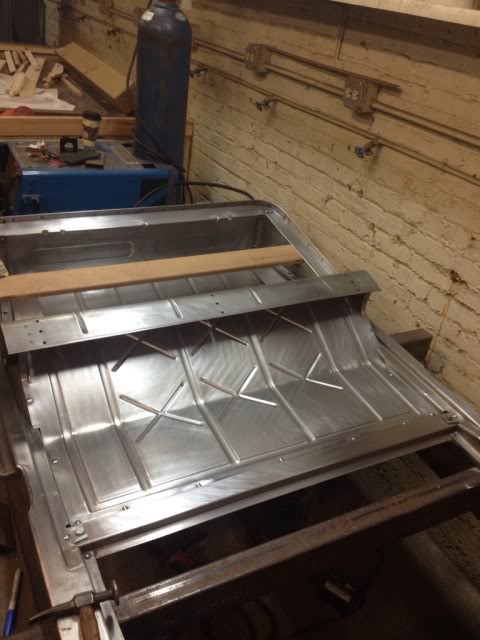
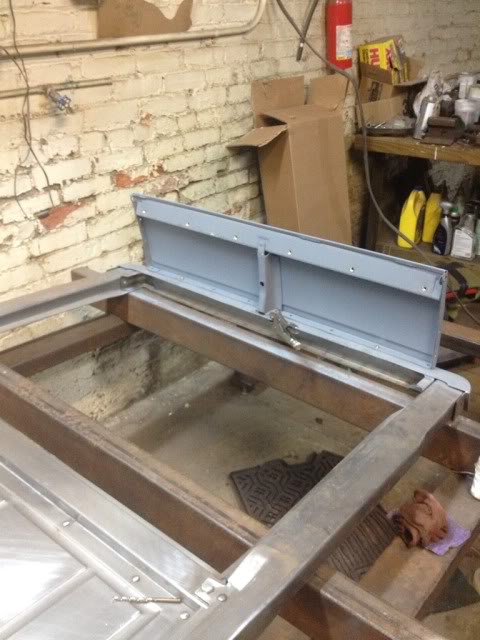
starting to get the subframe back together
rivets in but now actually riveted !!

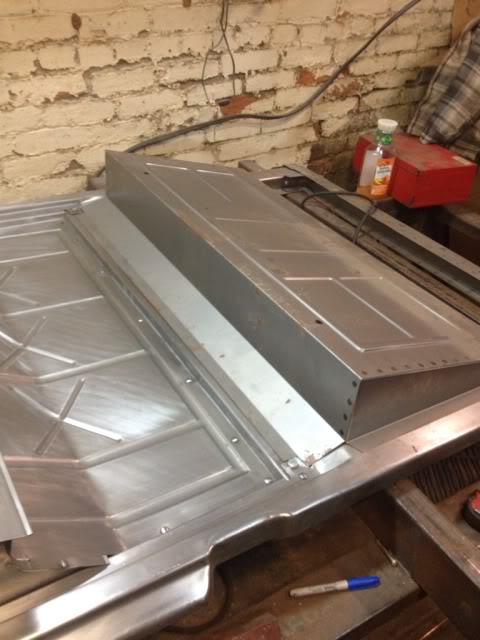
comparing repop stuff to orig roadster stuff to see what needs modified !
back of the rear seat riser
the whole shebang!!
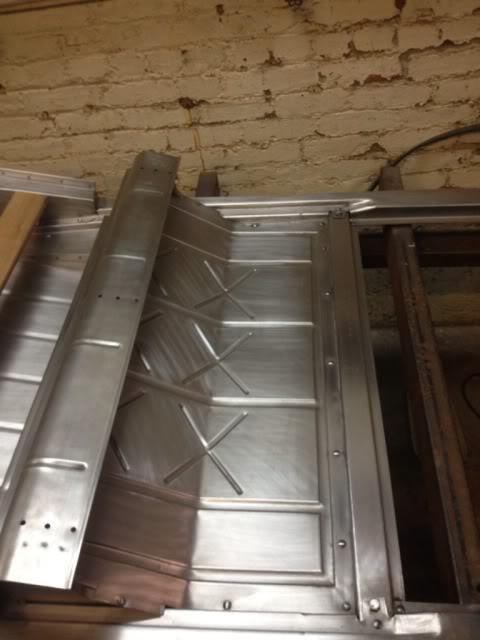
really coming together now !
:D:D:D
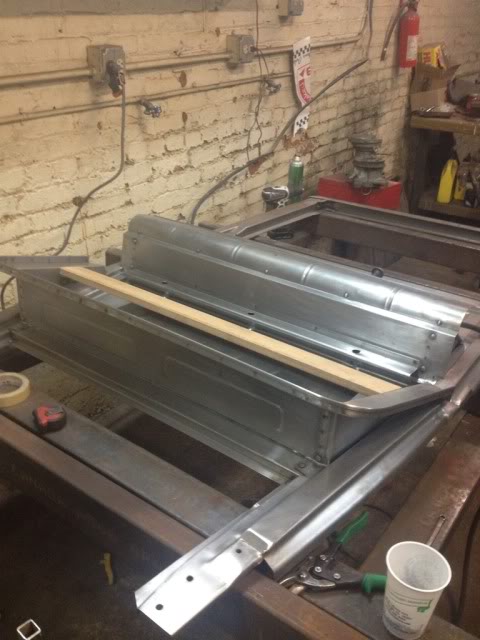
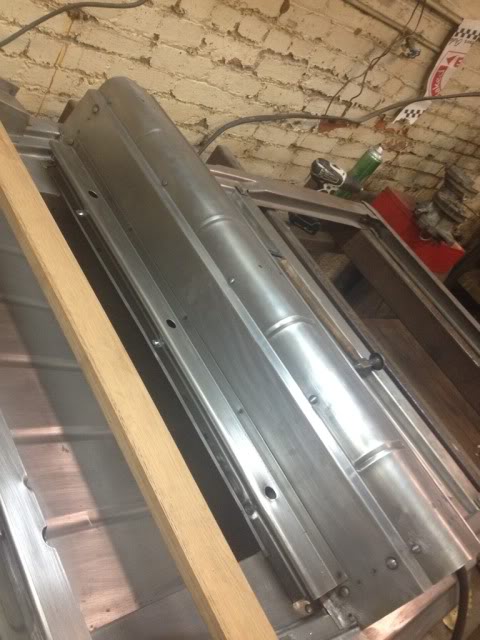
got a little more done on the subframe!!
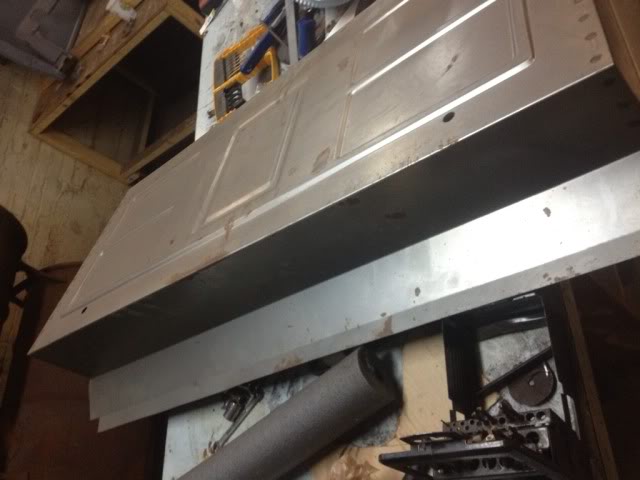
next to make the last panel look the part
well something seems to be missing here!
how could they have forgotten these!!??
since i couldnt straighten the repop pieces break out i decided to make a new piece to weld it . i will put the breaks in it tomorrow and start welding!!
uhhhoh!!

Wow great build! Details and photos ????
Posted by Diggymart on 10/5/19 @ 1:52:45 PM