You must be logged in to rate content!
9 minute(s) of a 78 minute read
2-13-2013
Chipping away...
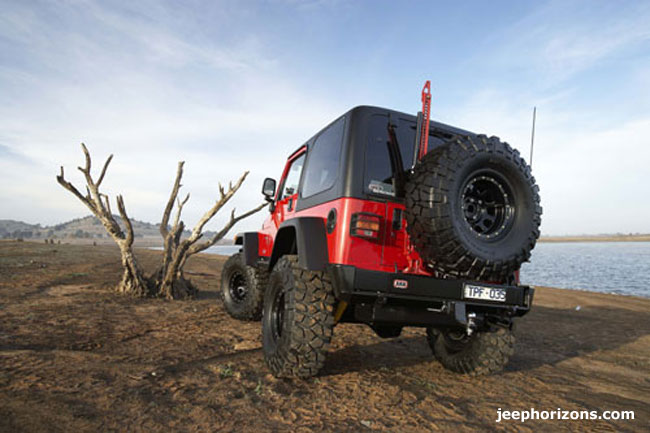
So I pulled the trigger today on the ARB rear bumper, should have it delivered in the next few weeks. I am super excited about this rear bumper but now need to find a way to mount a new air storage unit in the rear of my rig. I have no plans for the front bumper and that will remain one of the air supply sources but I really want a tank in the rear as well. Another option I may look into is a custom rear mount for a gerry can on the rear carrier. I plan to stick with 35" tiresso I will be able to use the stock third brake light on this tire carrier to keep it legal.
Stole this pic off Jeep Horizons
I have tracked down one AEV non highline Heat Reduction Hood so hopefully I can make that happen. One piece at a time and hopefully I'll be able to paint next winter!
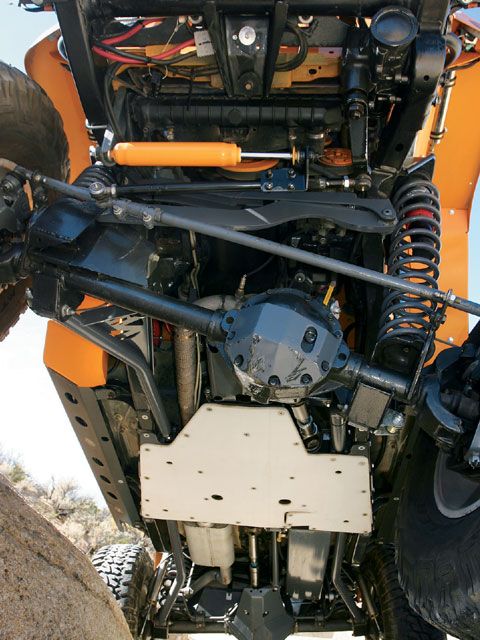
Also on another note.. I spoke with All J Products today and it looks like I may be able to put together a 5.5" stretch with all Nth products (and possibly use a Genright tank). The stinger boom and rear LCA's will be replaced with longer versions so I think this is the easiest route for me to go. Jim made a few of these kits back around 2006 so there are not very many out there.
Here is a pic of the setup with a custom skid
3-2-2013
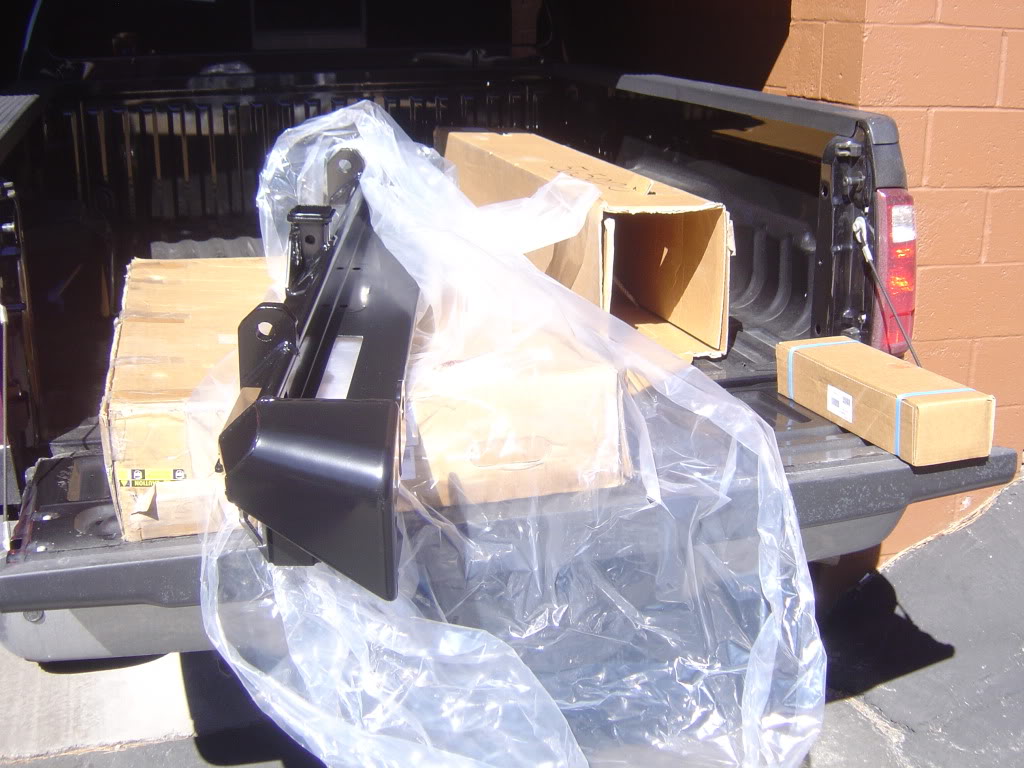
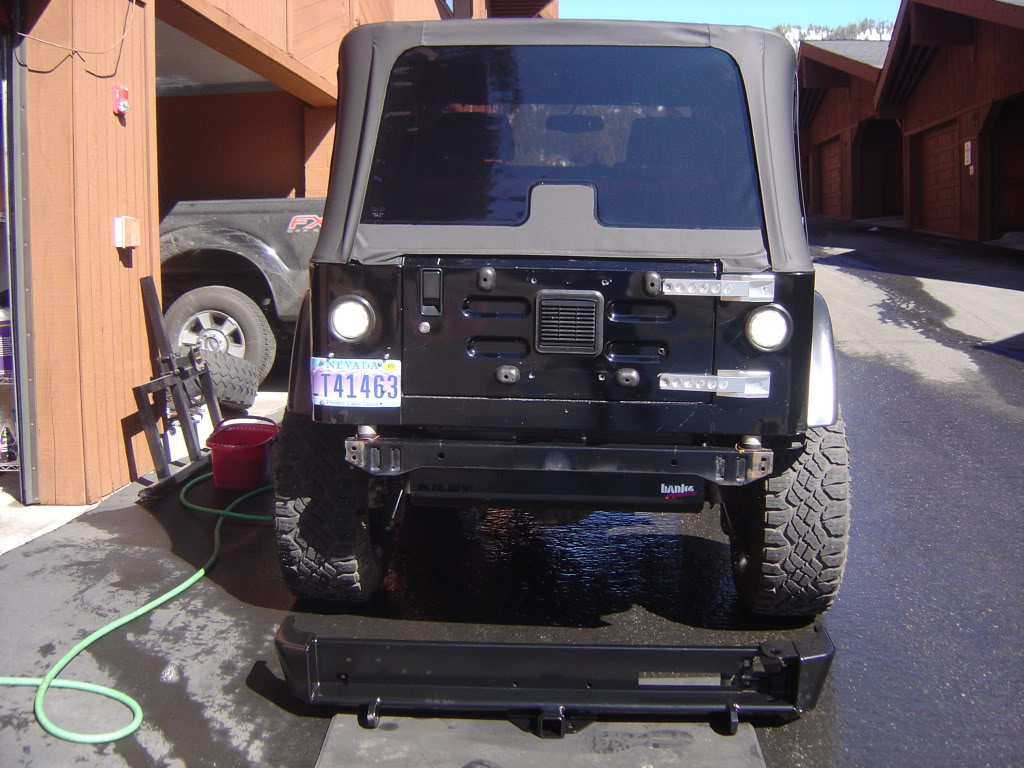
Well the ARB rear bumper & carrier arrived down at 4 Wheel Parts in Reno yesterday so I picked it up and after washing the rig and the truck got started installing the bumper portion.
Out with the rear bumper I built back in February 2004...
Around 5 pm I started organizing everything, prepairing and began reading the instructions so I wouldn't miss something during install. This is one of those projects/installs that have a specific process to installation and if you miss something you will more than likely be back tracking.
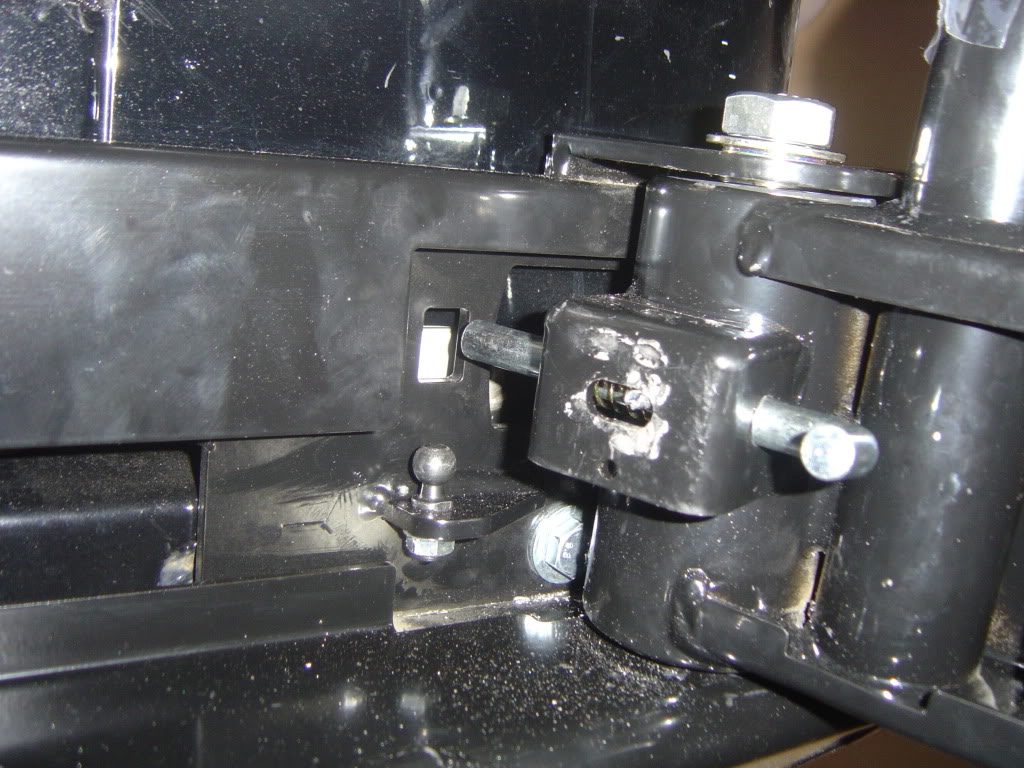
Installing Jeep parts can be frustrating and I will go futher to say that most of the time you are installing something on your rig you can expect delays and issues followed by words/comments that shouldn't be repeated, this install proved to be no different. Of all the things I have personally installed on this rig up to this point I would say the Nth Degree totally flat Tummy Tucker I installed back in 04 (when I built the rear bumper) was by far one of my most frustrating/agrivating mods I have done to date. Tight configurations, holes not lining up and complicated directions are just a few issues I recall running into. Well let me just say now that this stupid F^#%ing bumper smokes that install when it comes to anger/frustration! While not appearing to be too difficult of a job once I began to take inventory on parts I realized this was not going to be fun (I did my homework on this bumper before purchasing so I knew what I was getting into). I also noticed the bumper itself had a rough ride home but not to worry, its getting painted with the rig early next year.. as for the tire carrier it was well packaged and protected during its travel. I started the pre install on the bumper and carrier then quickly began running into issues, unfortunately everything about this install had problems. First thing I noticed was the powder coating made its way into bolt grooves stopping me from simply being able to do the "easiest" part of the install. Also the tire carrier had the wrong size hole on one end of the locking pin mount which later proved to cause me some major frustration. So off to begin the bumper install. As I started installing the bumper reinforcement brackets to the frame and lining up the bumper I noticed that the holes didn't line up. Oh well just gonna have to drill.. no problem. Mounted the center reinforcement bracket (centered inside the rear crossmember, all drilling turned out perfect) but after mounting noticed I didn't install two cage nuts on the inside of the bumper so off to remove again and get things right. This is where the problem.. NO.. Major Problem began! The left center bolt would not remove all the way and this is when I realized the overly complicated, overly thunk bumper by ARB has a MAJOR flaw!
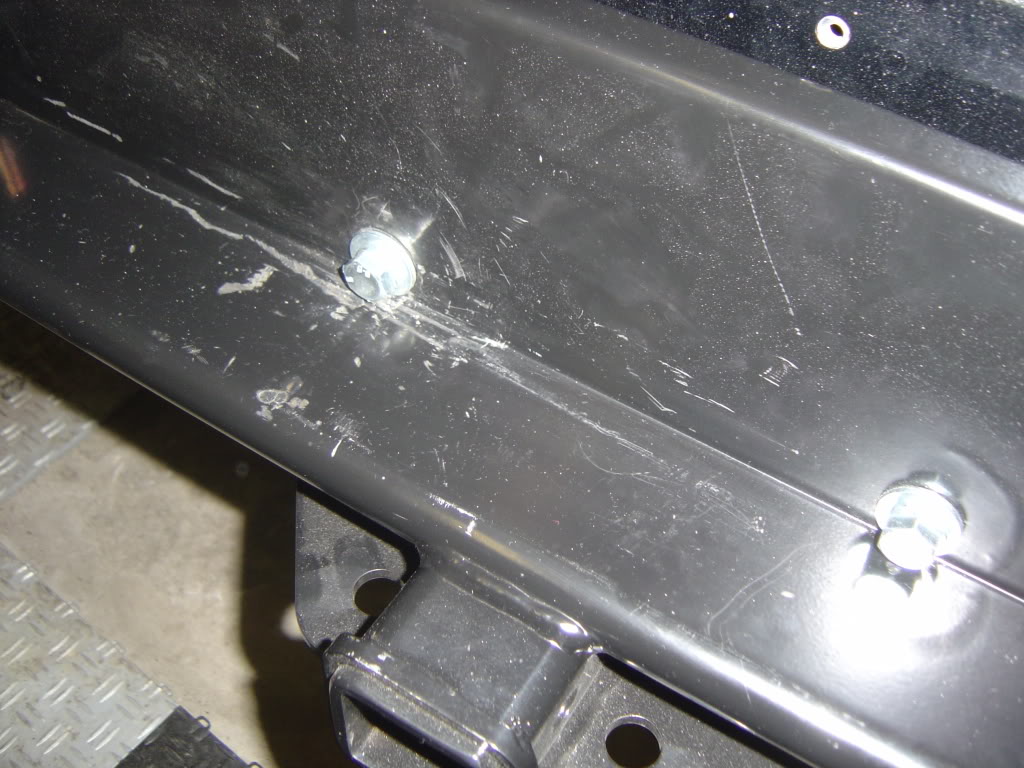
^^ Notice all the scratches around the left bolt (most of those scratches were done by 4WPs), thats 7 hours worth of sin including the Lord's name in vein (something I don't do).
What genius engineer at ARB had the bright idea of using cage nuts to mount that center reinforcement piece. Without dropping the gas tank there is absolutely no Fing way you can get to that cage nut if it happens to pop out of the square hole it's mounted. Does that happen? Yup it happens and it happened to me! The nuts should be welded directly to the reinforcement mounting plate, not in a position where they could easily (under some torque) pop out leaving you stuck with trying to cut the bolt off (damn near impossible) or dropping the tank to get access back there. What did I do? Well after 6.5 hours of attempting to remove the bolt I finally took a shower (2:50 am), went to bed then woke up three hours later to drive straight down to 4 Wheel Parts to extract that bolt. At about 9 am I was at 4WP and they handled things well. They wanted to charge me to drop the tank (not gonna happen) but after talking them into it we had a tech take a look and see if he could get the bolt off some how. He did, twenty minutes of turning the bolt it finally broke into three pieces after getting extremely hot. They thought I cross threaded the bolt but that is not what happened because the bolt had already broken off the cage nut then welded itself to the inside of the bumper because it got so hot. I have never in all my days!
Now I can finally remove the bumper so I can continue on...
With things moving along again I began running into issues.. errrrr.
Once I began to install the rear bumper again the other cage nut on the center mounting bracket came loose!!! (and in my best Chris Farley voice) ARE YOU ****ING KIDDING ME!! Well this time its tight and gonna stay until I do my stretch in August (I will be removing the tank for an aluminum one) so long as in the mean time I don't have to remove the bumper for some reason.
So on to mounting the rear tire carrier to the bumper. Tho this part of the install was frustrating it was doable. This bumper & carrier are a real all around PITA to work on, I do not recommend this product unless you pay someone else to worry with the install. Again I ran into issues with holes not lining up and its just difficult to get to things (if your hands are any larger than mine then you will not be able to mount this bumper). Well moving along I got to the point of mounting that locking pin that wouldn't fit in it's hole during the pre install so out comes the drill. Drilling went well however I made a bone head mistake and installed the dowel pin in the side of the mount instead of the top... damn! I mean if it had just gone smoothly during pre install this would have never happened. Fuming at this point, again.
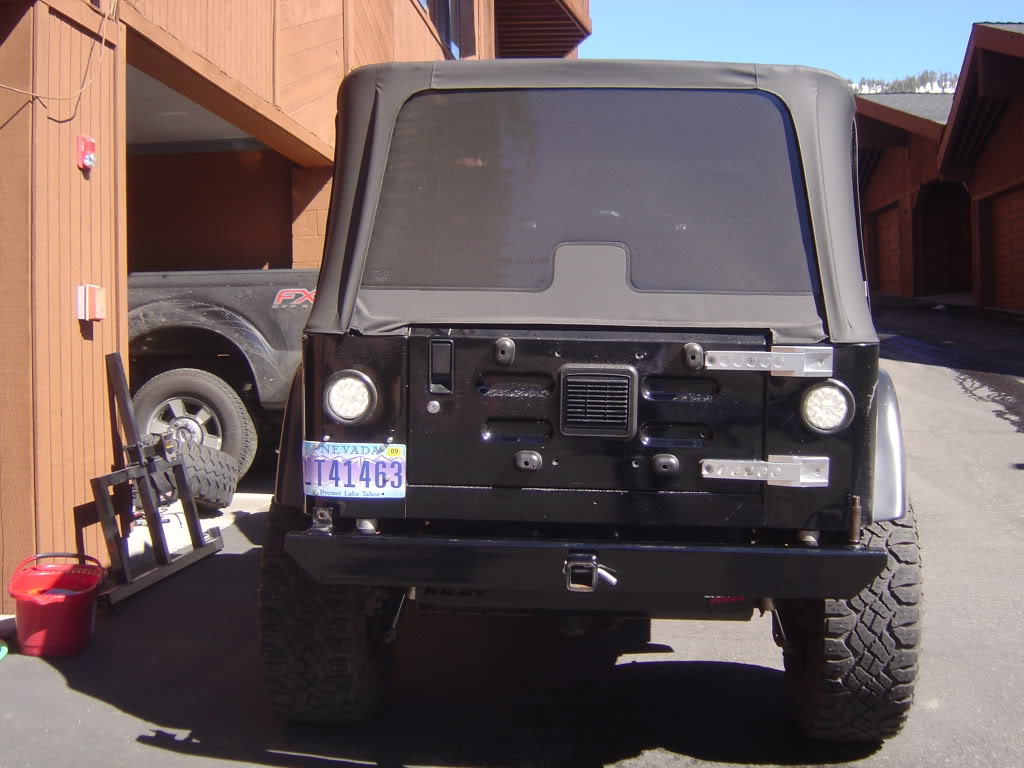
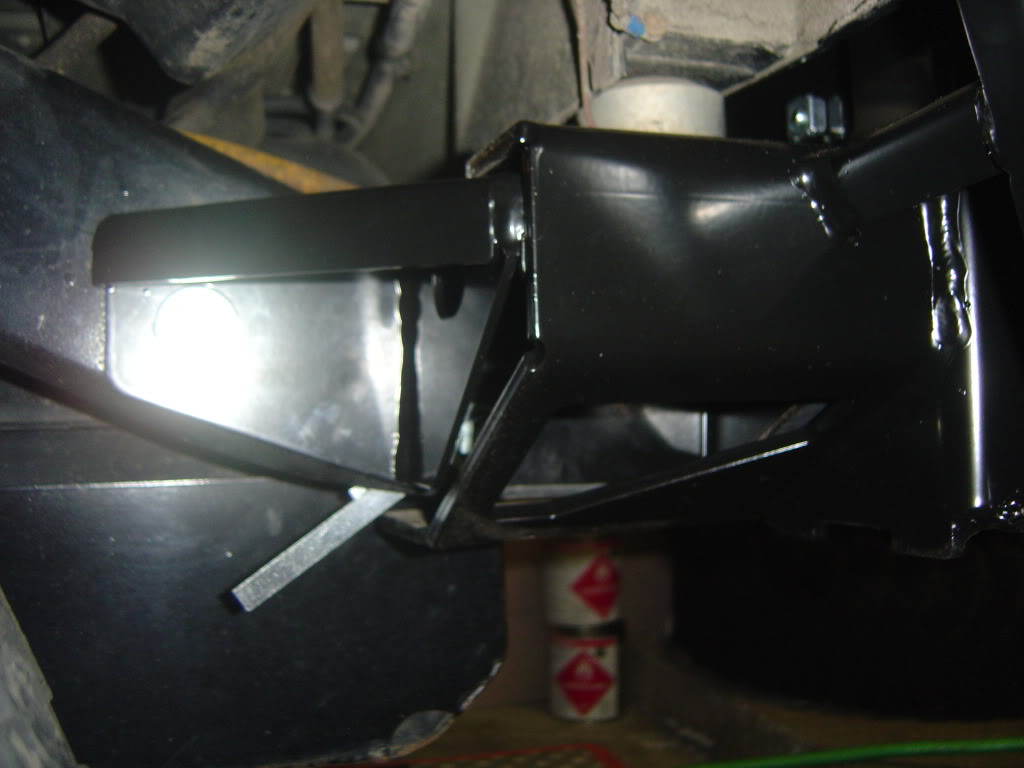
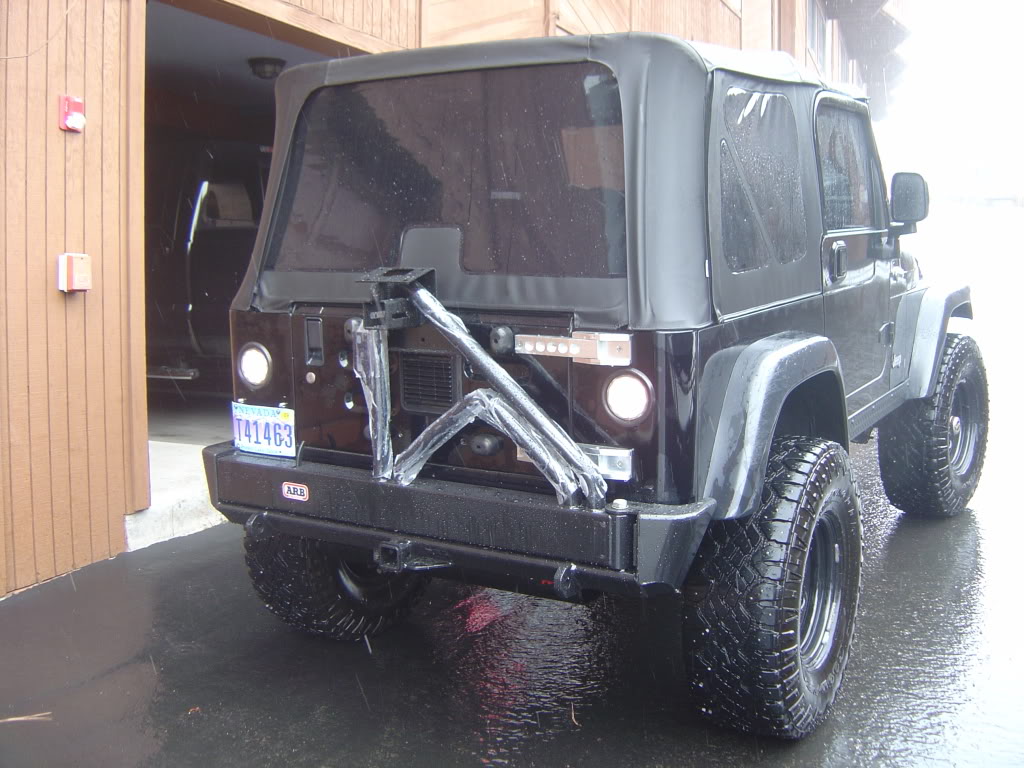
So now with countless issues and the bumper still not fully installed off to the garage I go. At this point the bumper is mounted and the carrier installed but I have several things to clean up and replace including a new dowel pin and two new M12 50mm bolts. I have to drill four holes in the rear frame tie ins (two holes on each side) so I can securely attach the bumper to the frame tie ins, also I have to mount two bolts (one on each side) on the underside on the frame attaching the bumper. This thing is stout, I can imagine you could yank my rig from this bumper all over the place without it letting go.
Mounted but not complete
I will do my best to keep my cool when I get ARB on the phone Monday but I am so angry over this defected bumper I could possibly lose it. With an ARB freezer fridge and two lockers in my near future I sure hope I don't get so disgusted with them I can't purchase any more of their products. whew..
Cool Jeep !
Posted by Diggymart on 4/30/20 @ 1:09:30 PM