You must be logged in to rate content!
60 minute(s) of a 176 minute read
8-19-2010
8-19-2010
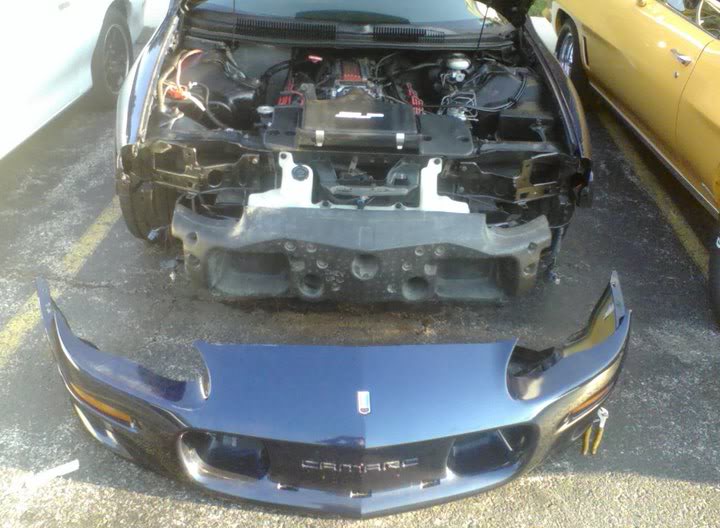
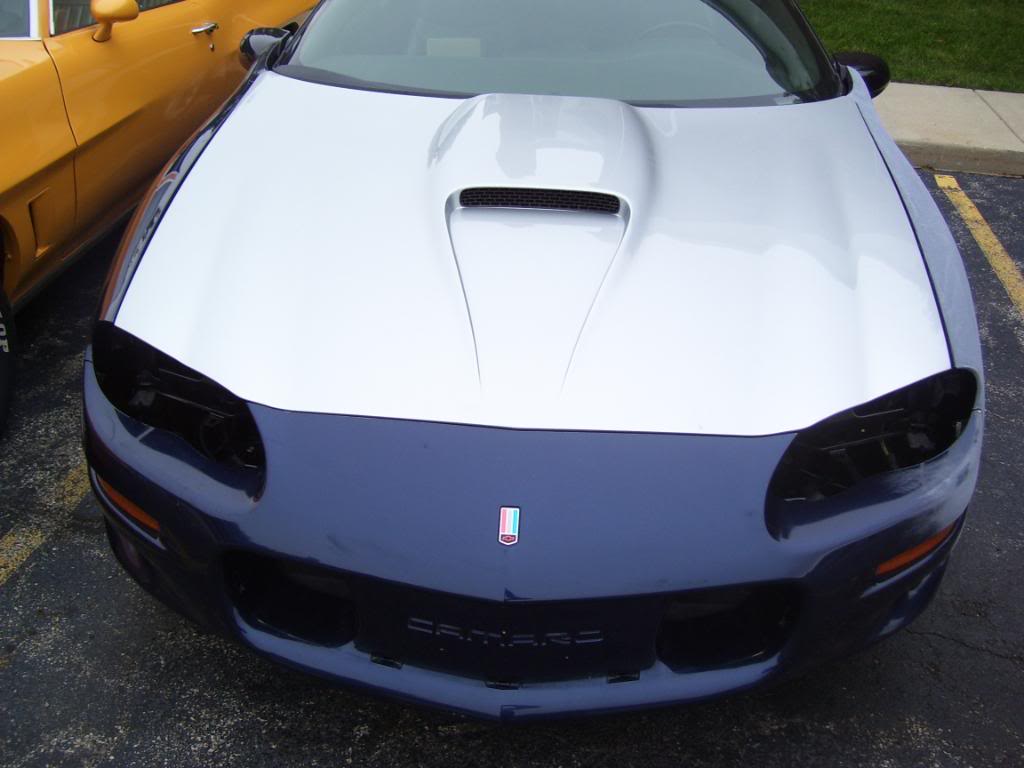
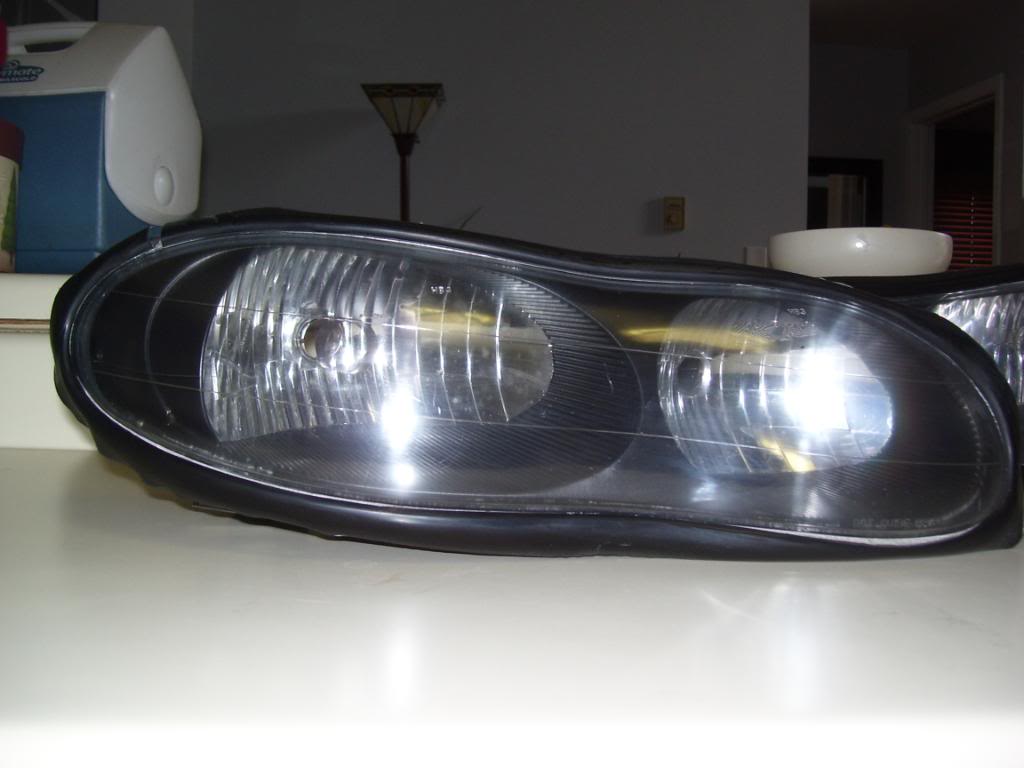
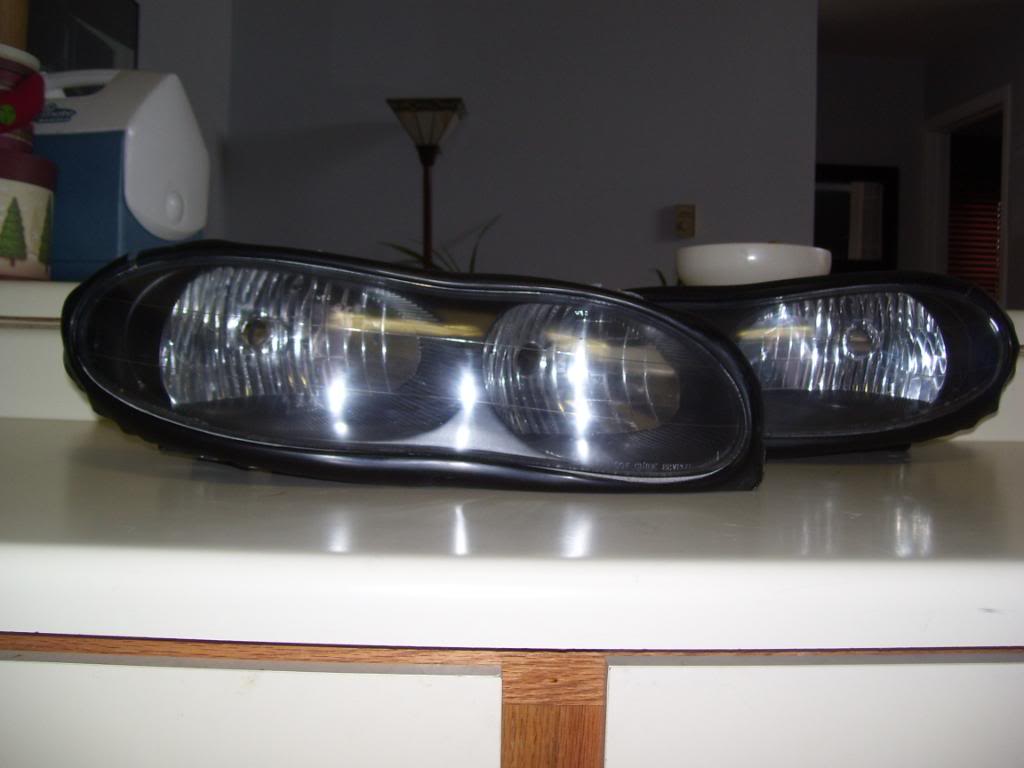
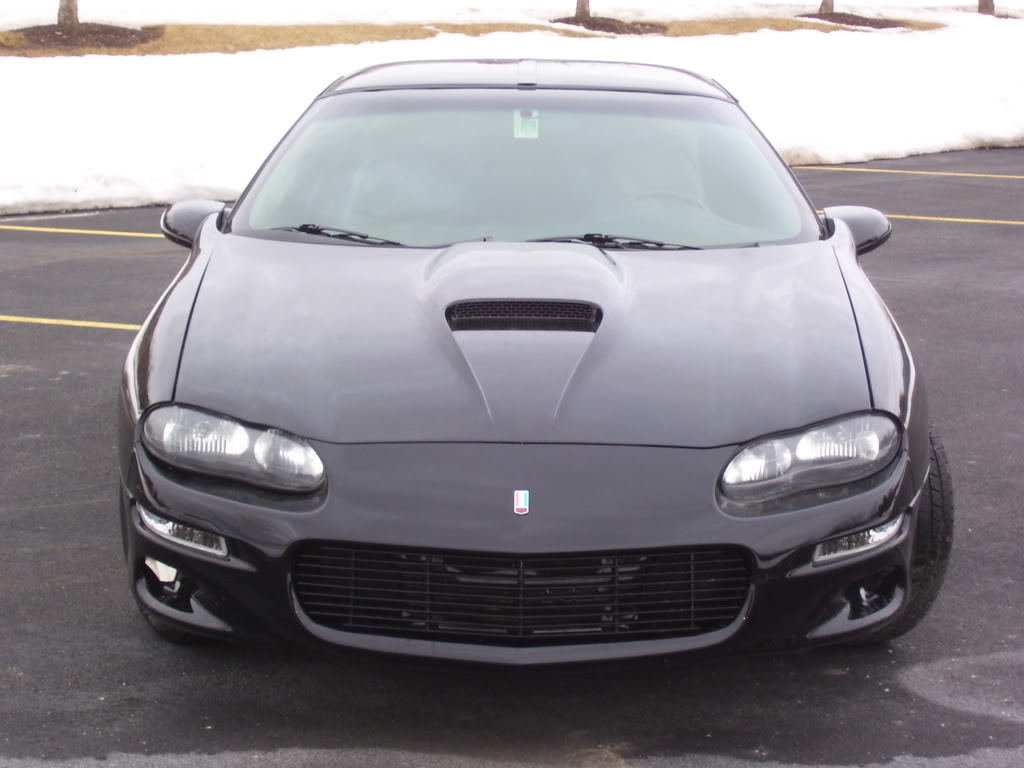
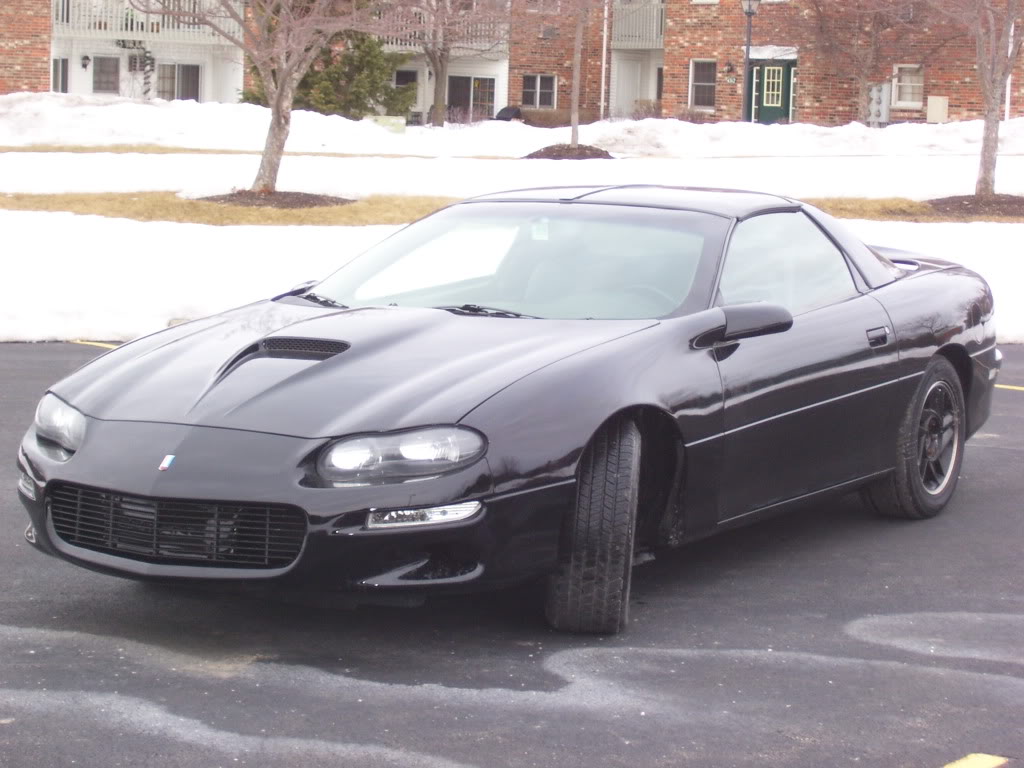
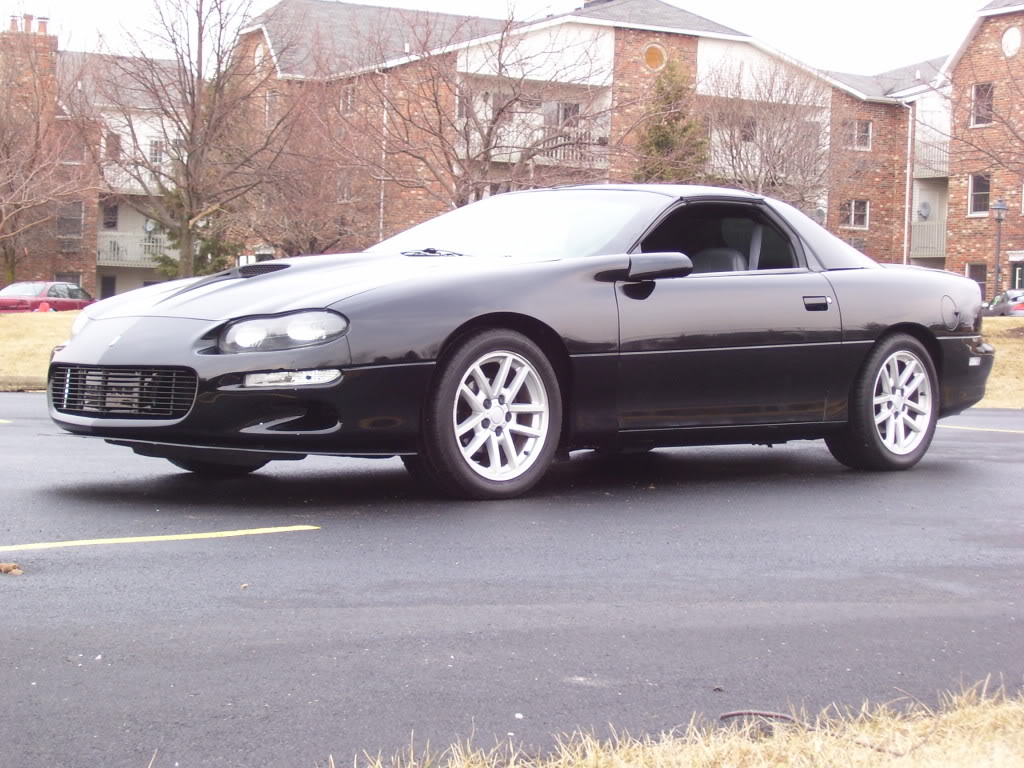
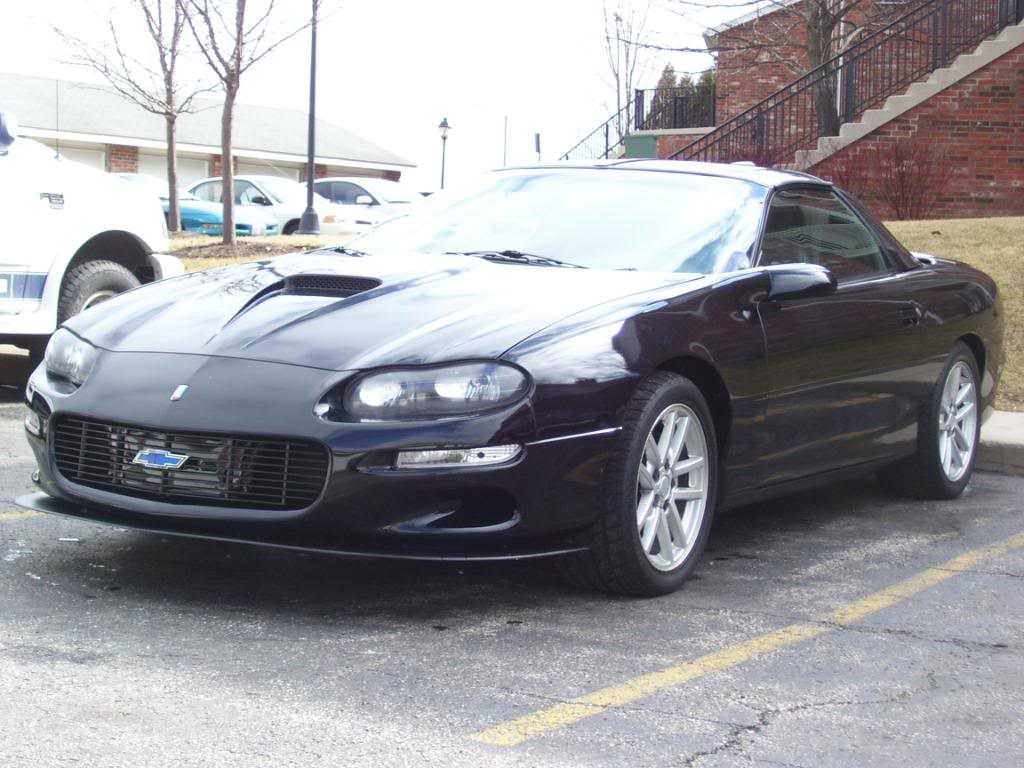
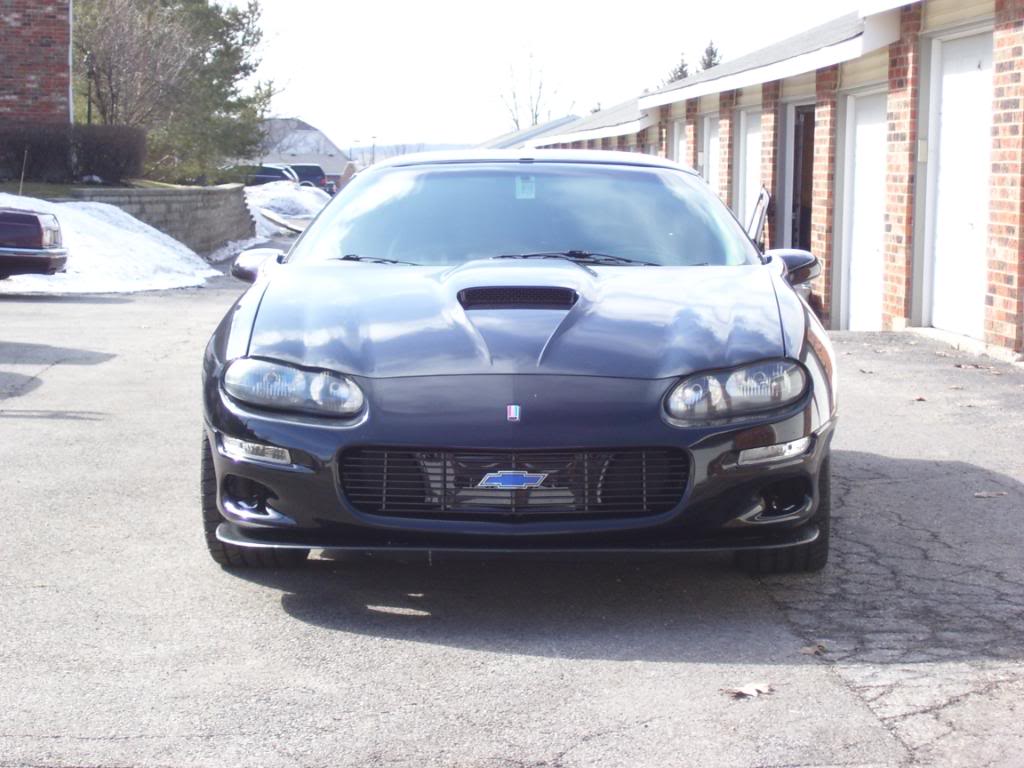
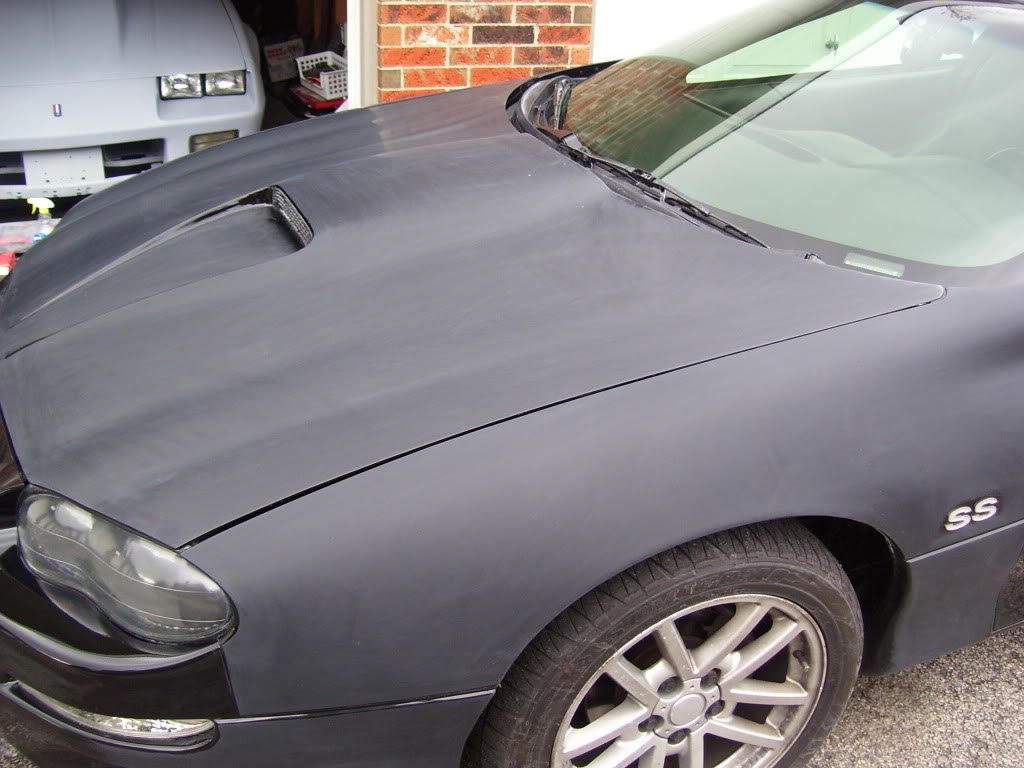
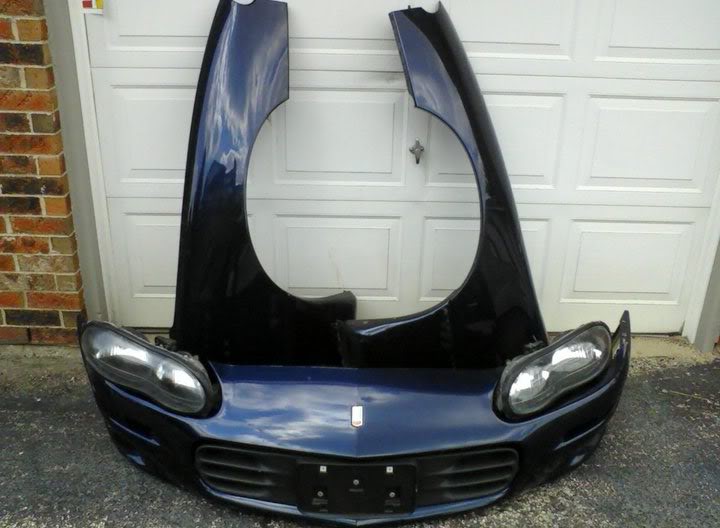
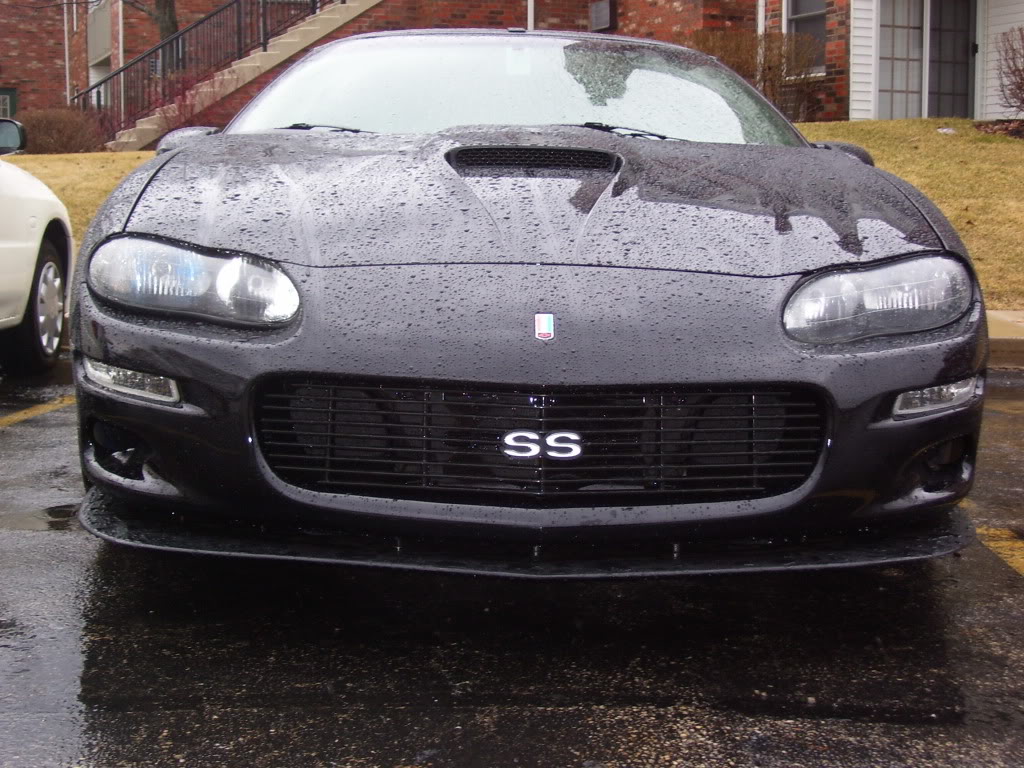
Picked up a LS1 front clip the other day from Aaron (Funkster) on here. Thanks again bro! The lights have the whistler mod done to them already. The lights are what I love about the LS1 front ends. Didnt care for the 2 square headlights. Just need a good polish and should look sharp! I'm gonna run the factory flat hood until I can save up/trade for a SS hood or cowl hood.
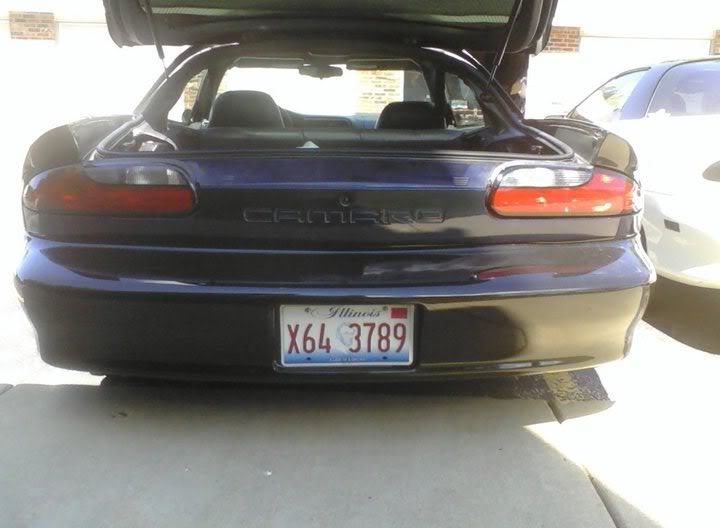
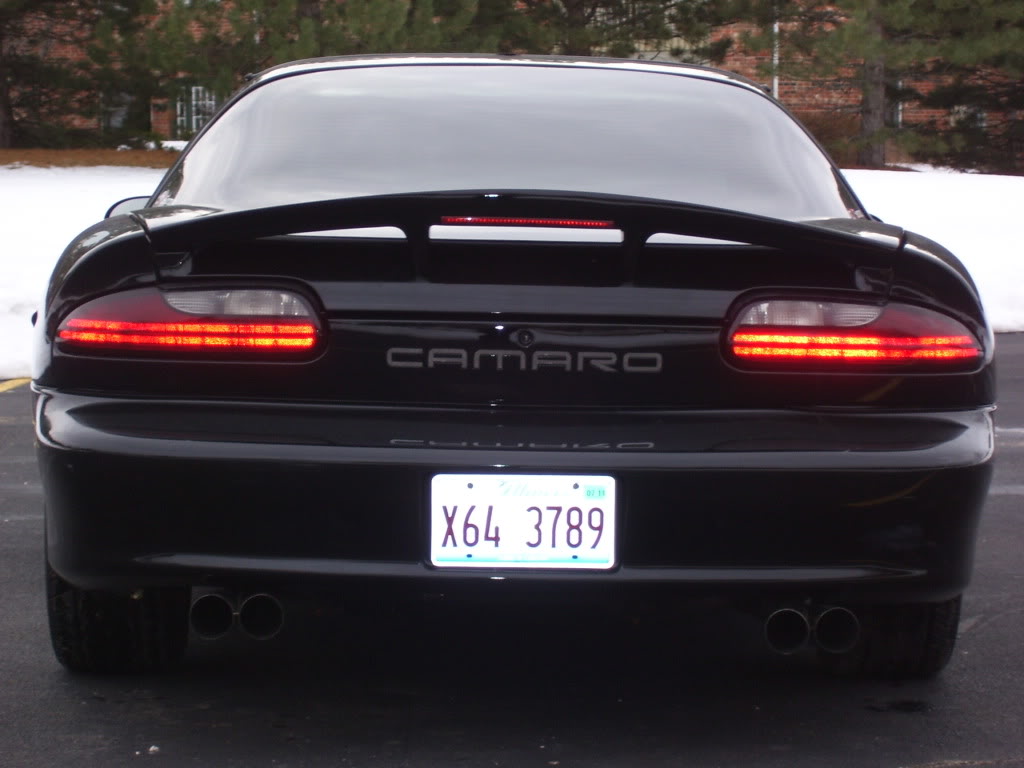
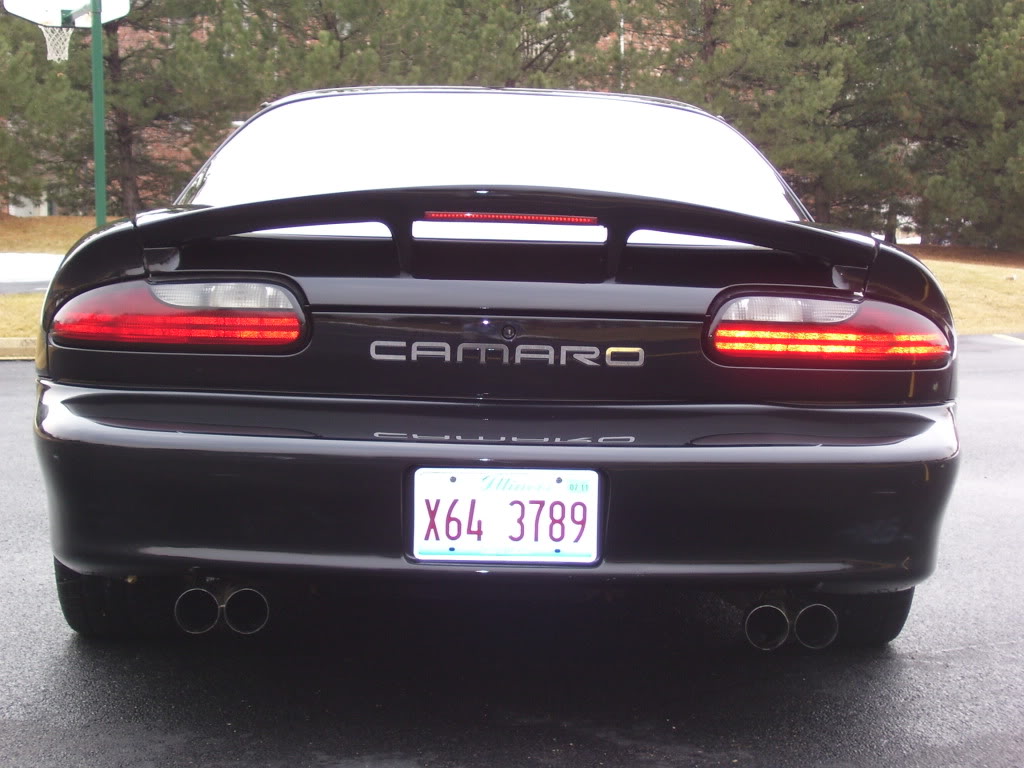
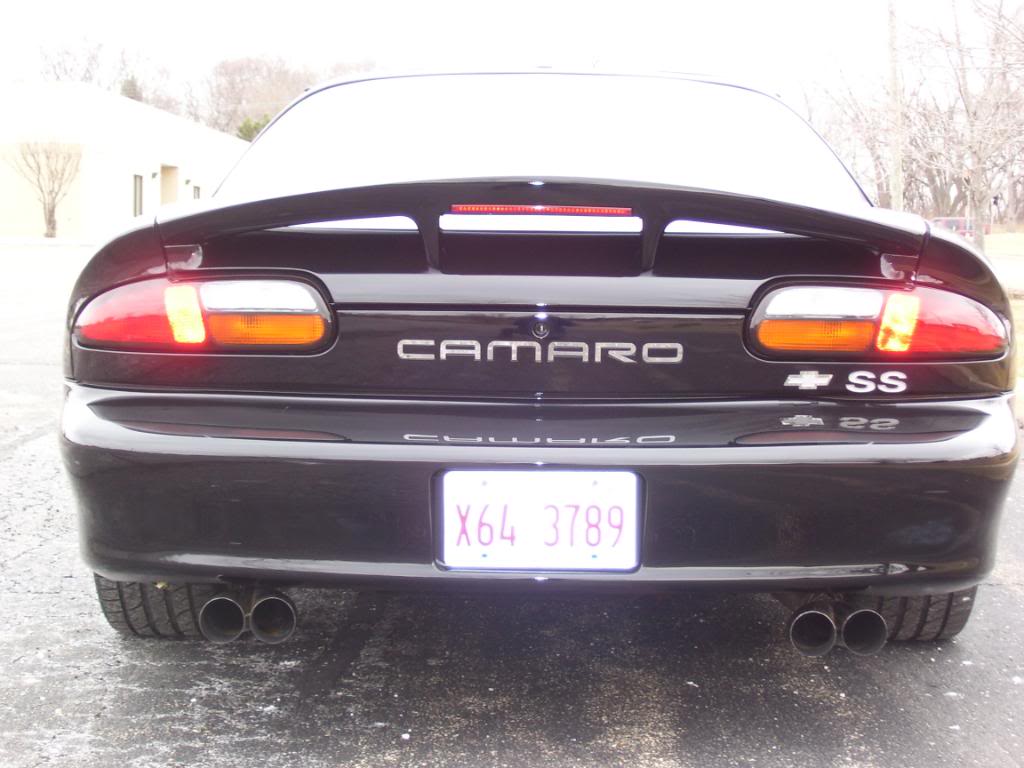
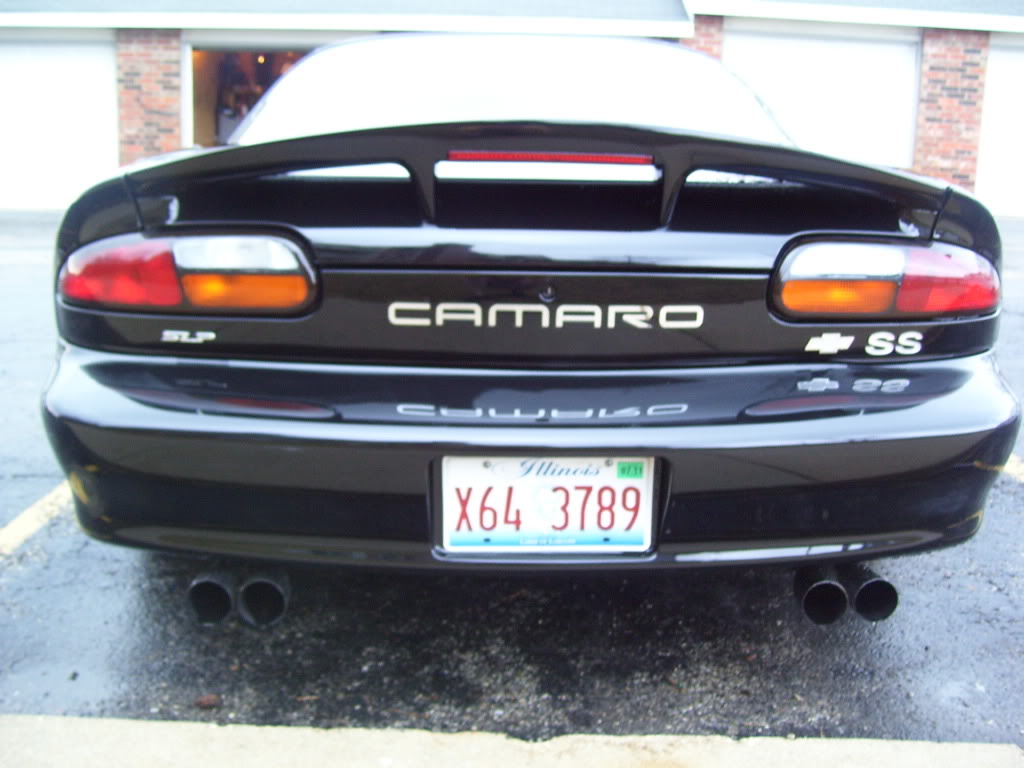
Picked up from Aaron as well a factory rear filler panel. Since I have the battery kill switch on the smoothed back panel, Im gonna sell that so I can get the factory rear panel painted along with the stainless "CAMARO" inserts. Should look nice on a black car!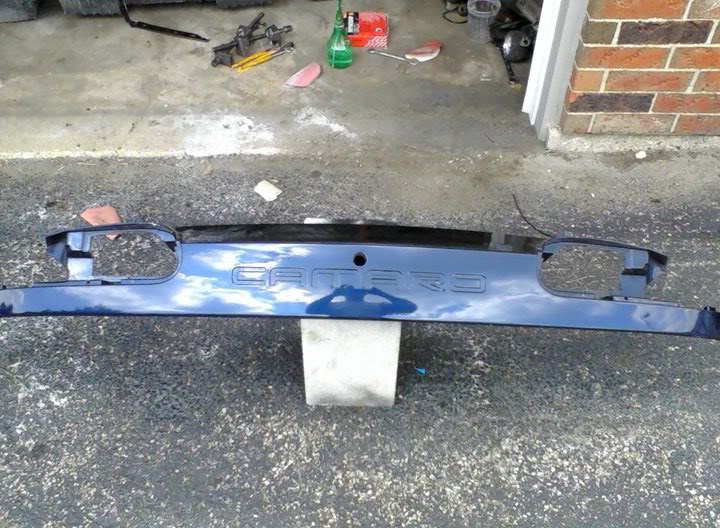
Now back out to the garage to trade someone for more parts! I swear I should be a drug dealer with all this swapping parts and cash around! lol
Look at what I just took in on trade...
A set of unused Canton valve covers and they are notched for the alternatorwhich is nice since Im returning to the stock accessory setup...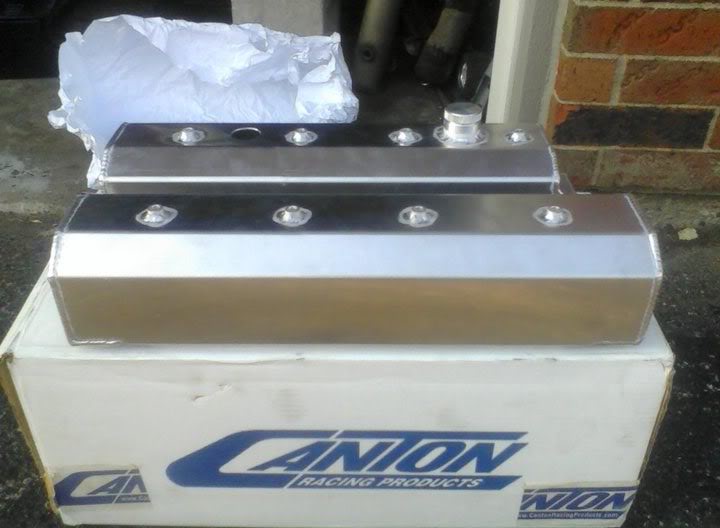
Anyone know what type of breather to get to fill the oil fill hole?
8-25-2010
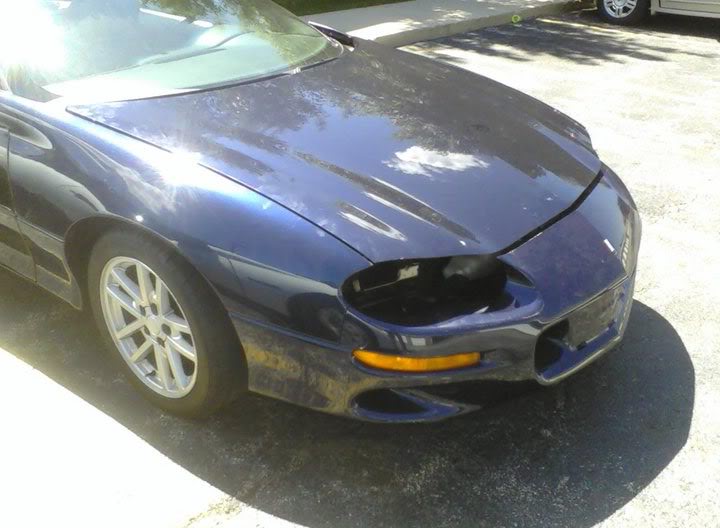
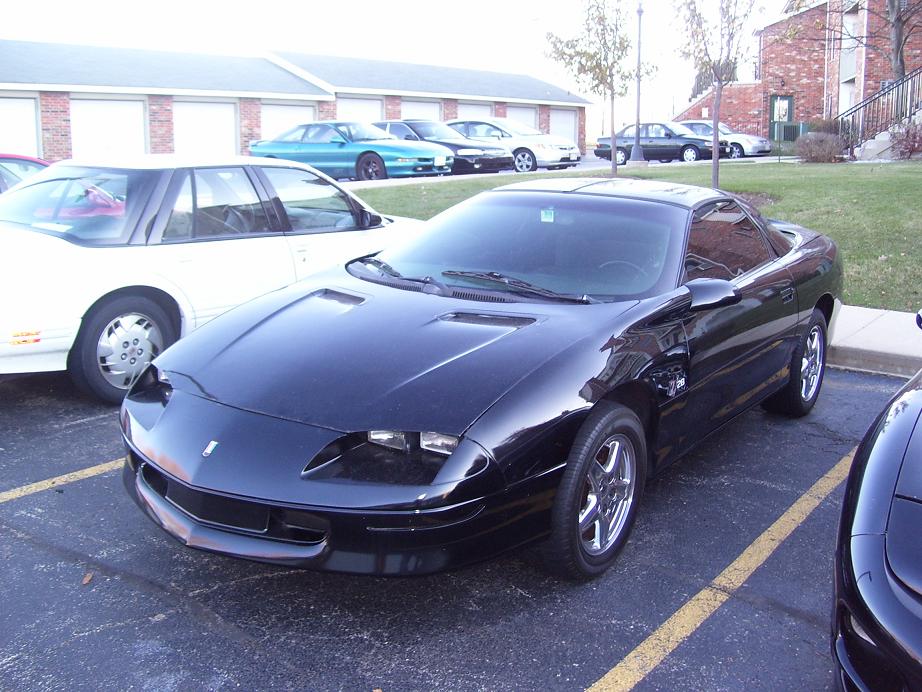
Started the LS1 front conversion last night...Got the core support back in...also re-installed the washer fluid tank I previously took out. Hung the fenders and front bumper also. I loosly fit everything so I could get the gaps even everywhere and tighten everything down.
Only could snap one pic as it got dark when I bolted the front bumper and hood on. I have tomorrow off work so I plan on taking more pictures and finishing the front conversion.
My buddy Jeff (who did the final paint work before) will be spraying the clip for me either this weekend or next. Hopefully I can find a SS hood before then local.
8-25-2010
Oh I almost forgot...lol...
C'mon Jason...you didnt think Id let you beat me, did ya?
8-26-2010
Installed the rear filler panel for now...I think Im gonna get the SS hood and spoiler and paint everything at once instead of spoiler one day, then the clip the next, then the hood another day. Im looking for the stainless "CAMARO" inserts if anyone knows a good place for them? Im not used to the stock look, its almost like Im "modifiying" the car now. Kinda like the stock panel vs my old smooth panel.
Did a little more work on the LS1 front end conversion. Fenders and hood are bolted up and the bumper is loosly hung right now...waiting on the center bracket in the mail. For some reason the rear of the hood sticks up. Any idea on how to get it to sit flush? Are LS1 hindges the same as LT1s?
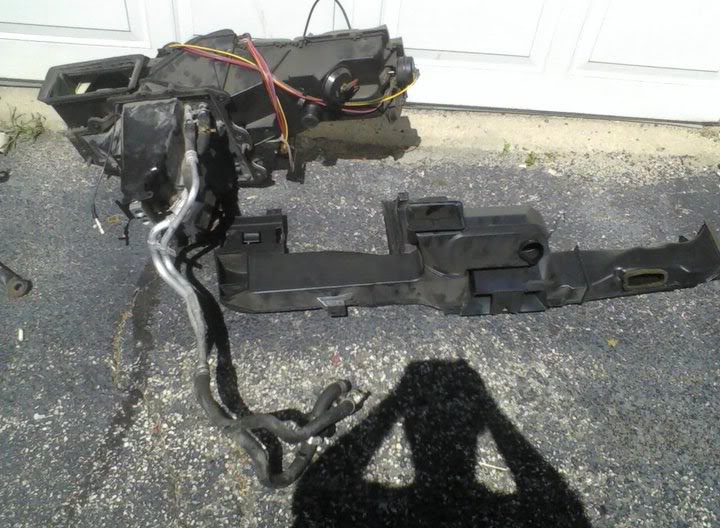
My HVAC setup I pulled from another Camaro...
I pulled everything so hopefully the swap is easy. Only thing is, I wonder if the LS1 dash bolts up directly to the LT1 vents...
8-27-2010
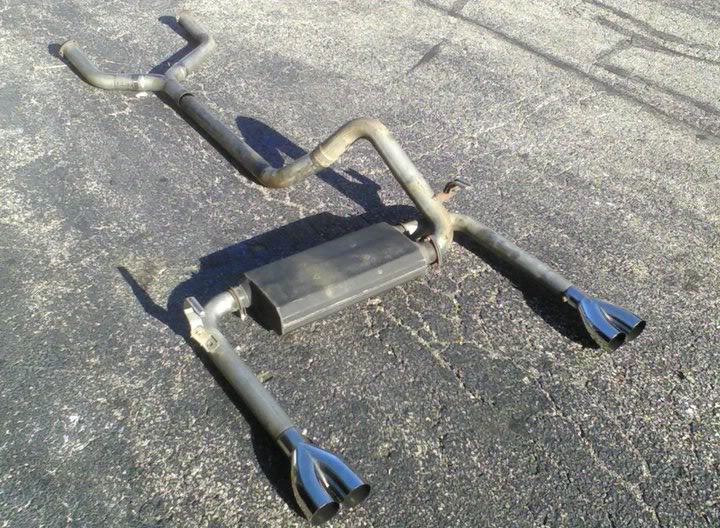
I traded Jason (am_muscl) my duals for his exhaust and looks like the Kooks Ypipe doesnt line up with the Hooker headers, so I traded my rear filler panel and spoiler for this Hooker cat back and off road y-pipe. I love the exhausttips, hopefully it looks just as nice on the car. The setup was barely used. Should look new once I degrease it...
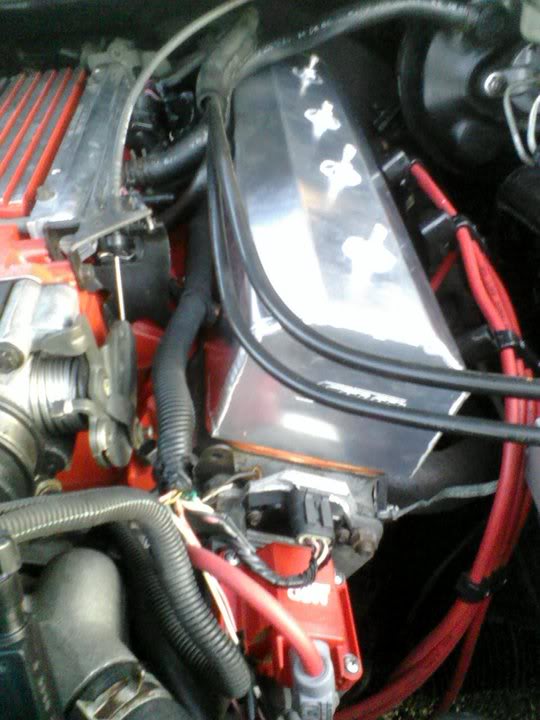
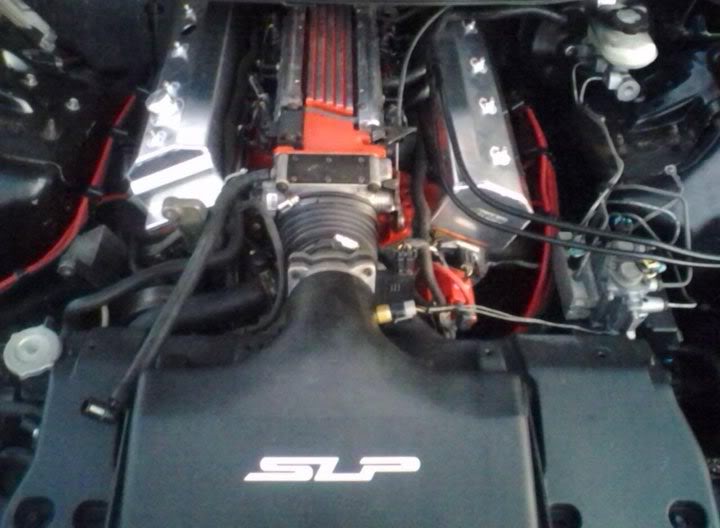
Also, had some free time last night, decided to put the Canton valve covers on. Not sure if I can use the OTVC wire looms or not. If so, I need new plug wires. Any thoughts?
Passenger side installed...
Drivers side installed and all finished, need to detail the engine bay out when Im all done and should look nice...
8-28-2010
Ended up selling my front clip to another local member not on here, in exchange he bought me a OEM SS hood from Darren (DTB_LS1 on here...Thanks buddy! Wish I coulda seen your Camaro! I heard it was beautiful! ) and some cash. He picked this hood up today...
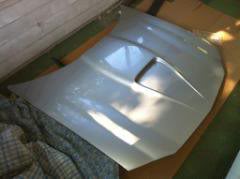
And it should be arriving at my place tomorrow morning! Working out a deal for a SS spoiler as I type this also! Still looking for a shifter cable trans bracket if anyone has an extra??
9-1-2010
I got the SS hood the other day. Fits really well except for the back edge of the hood is up about a 1/4 inch. Not sure if LT1 and LS1 hindges or different or I need to keep adjusting, but fortunaly I am test fitting everything before I paint it.
Cant wait to see this in black...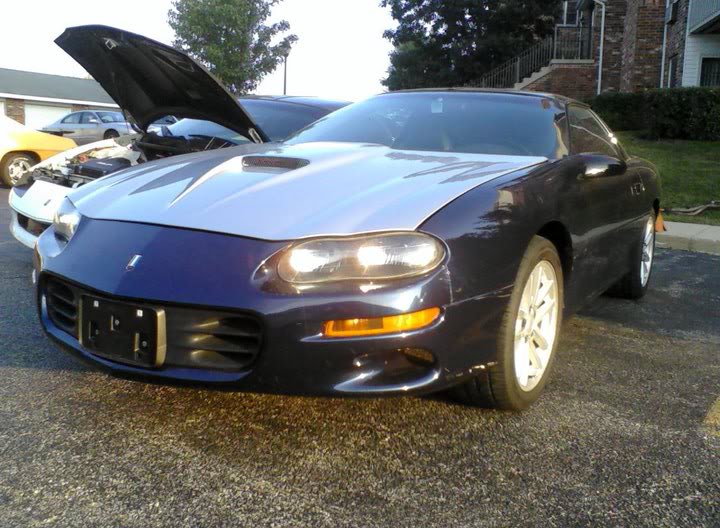
Now waiting on the SS spoiler, repaint about 60% of the car again and should look sharp. Still tossing the idea around of polishing the spokes of the SS wheels and painting the inserts black...
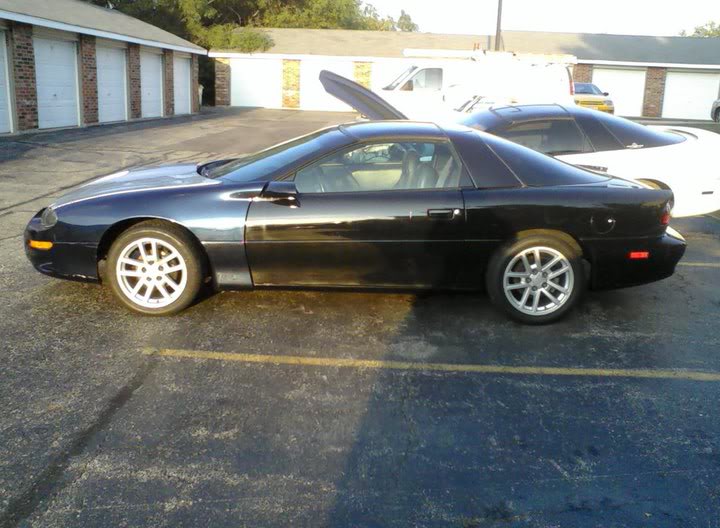
9-13-2010
Added these pics to my doorbar writeup on post number 138... I cut open a door so everyone can see what they are dealing with. The top of these bolts are impossible to get out without special tools being made however I have a set made if anyone needs to borrow, just pay shipping.
The doorskin off...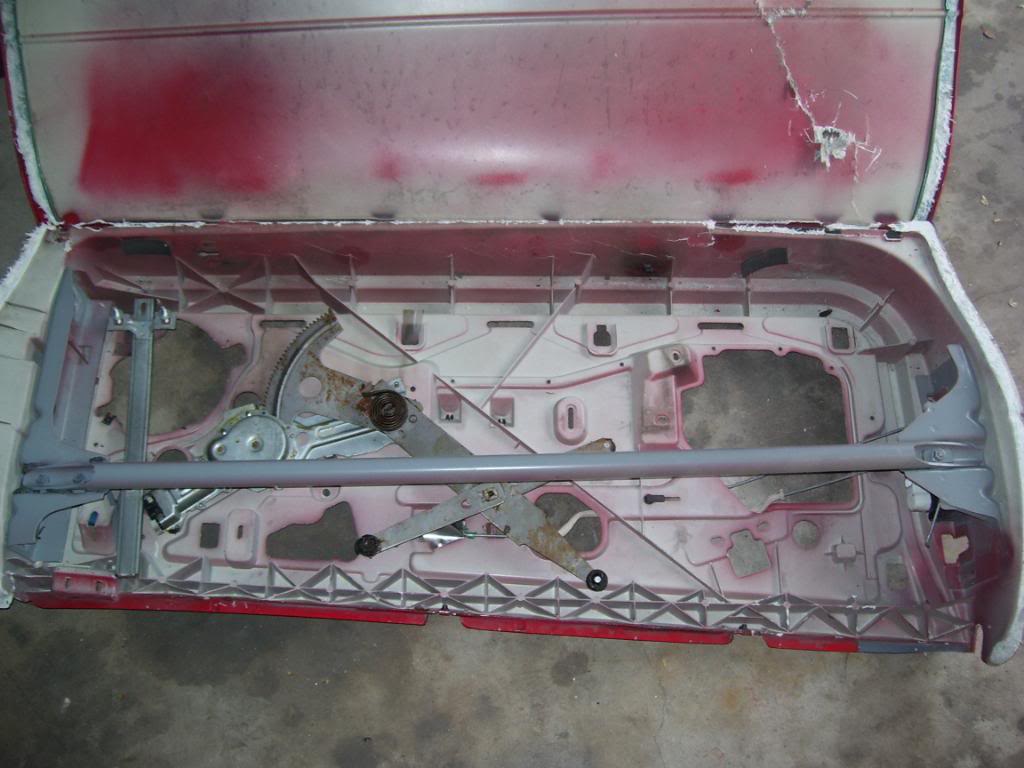
The end facing the 1/4 panel...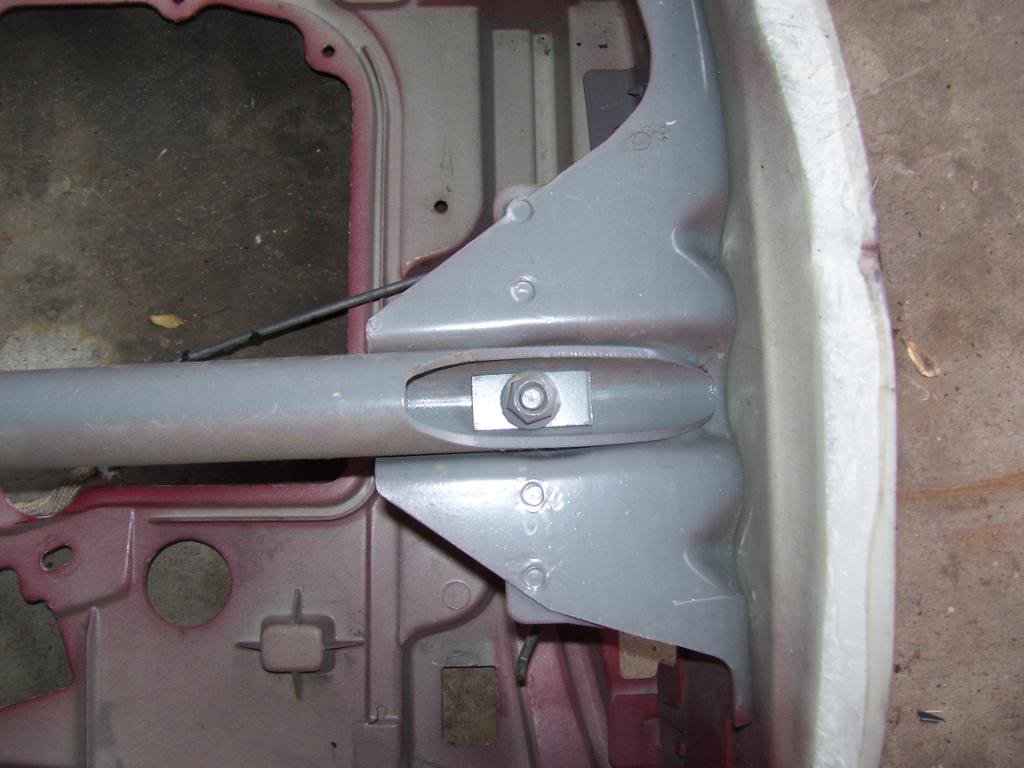
And the end facing the fender...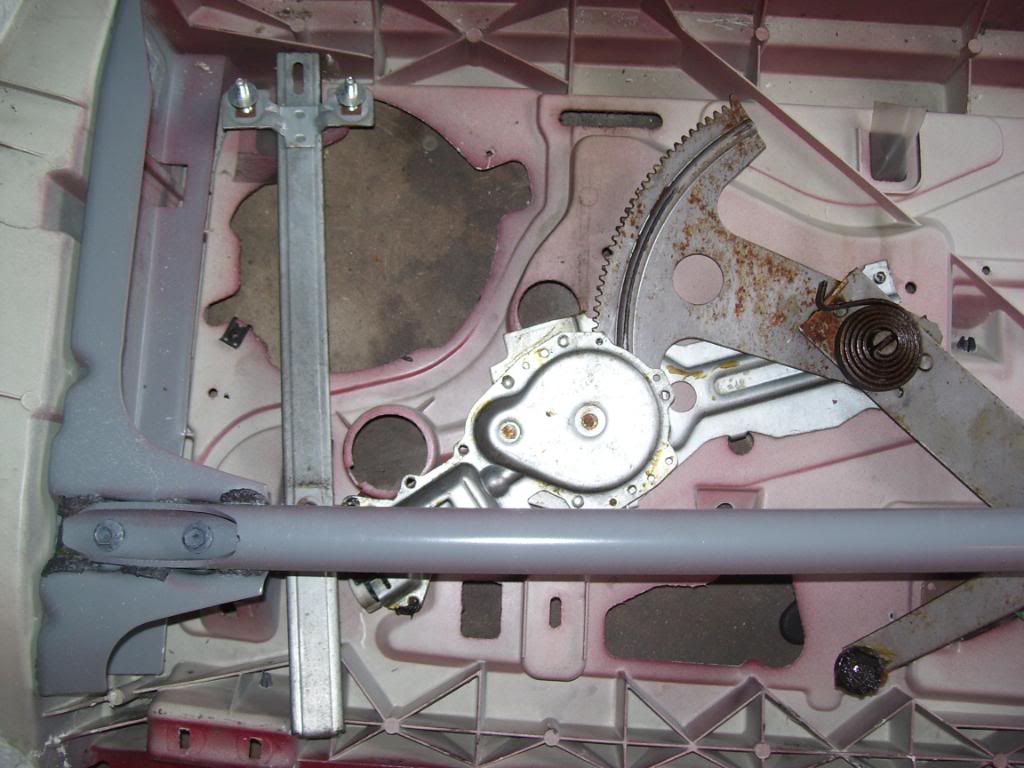
Picked up a couple more parts from am_muscl that he wasnt using. I got an LS1 aluminum driveshaft and Comp Cam 1.6 roller rockers and ARP rocker arm studs. Thanks again bro! I owe ya!
LS1 Driveshaft...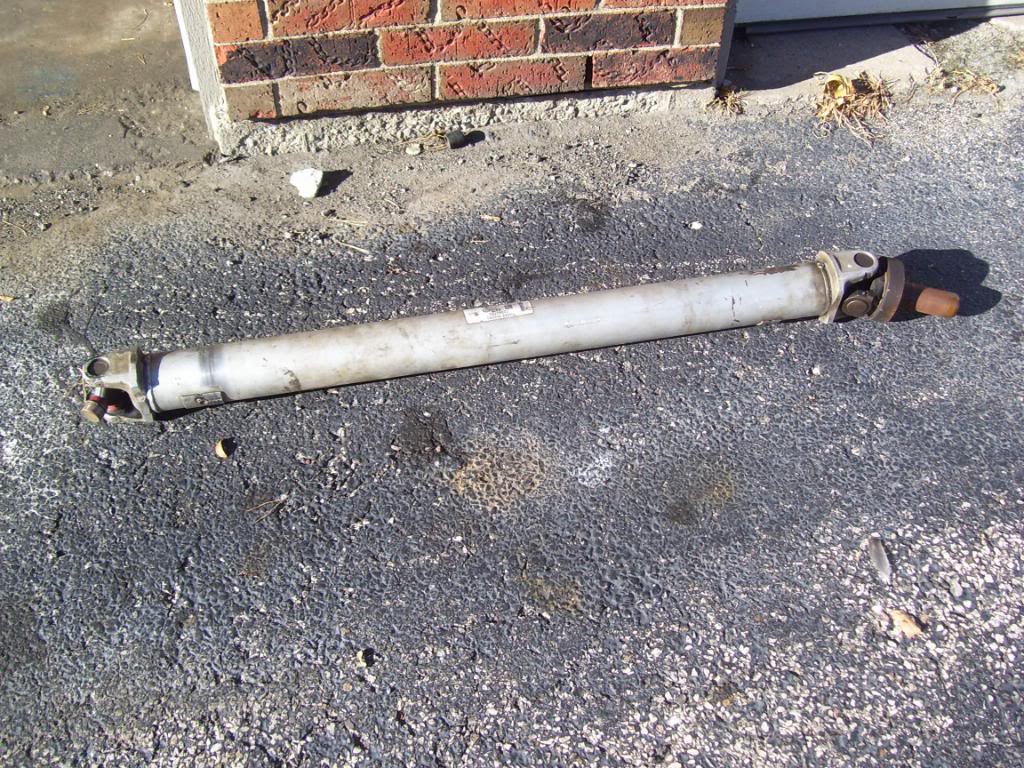
1.6 Roller Rockers-Hope I pick up a little power with these since Im losing power going back to a stock setup, every little bit helps.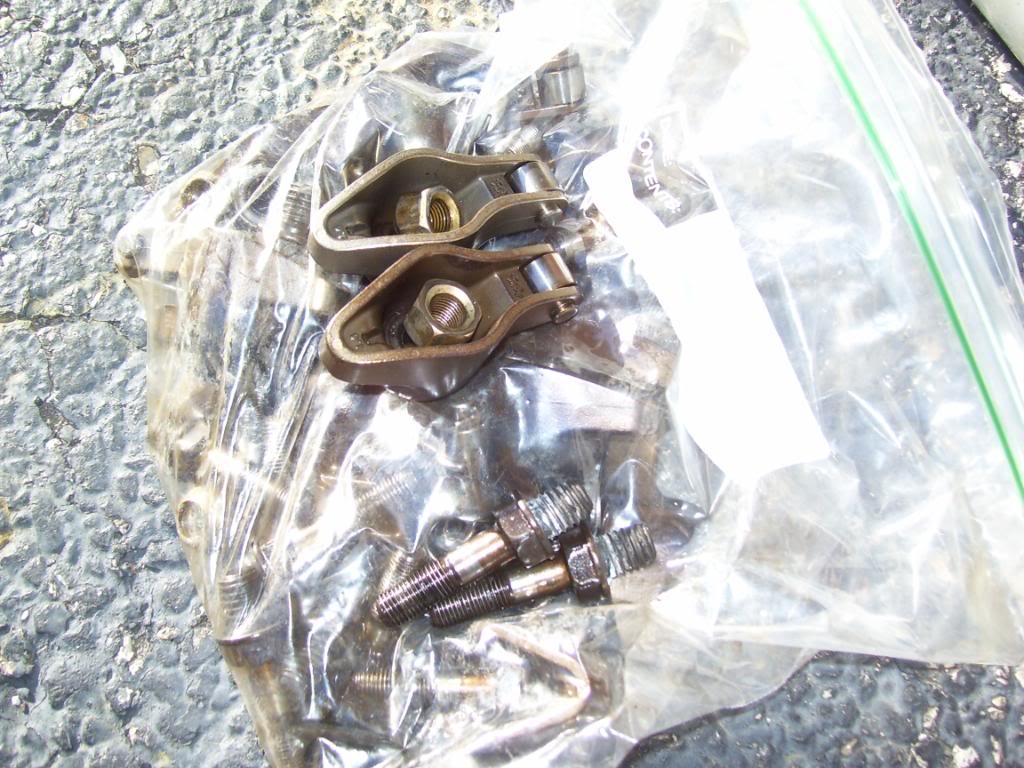
9-20-2010
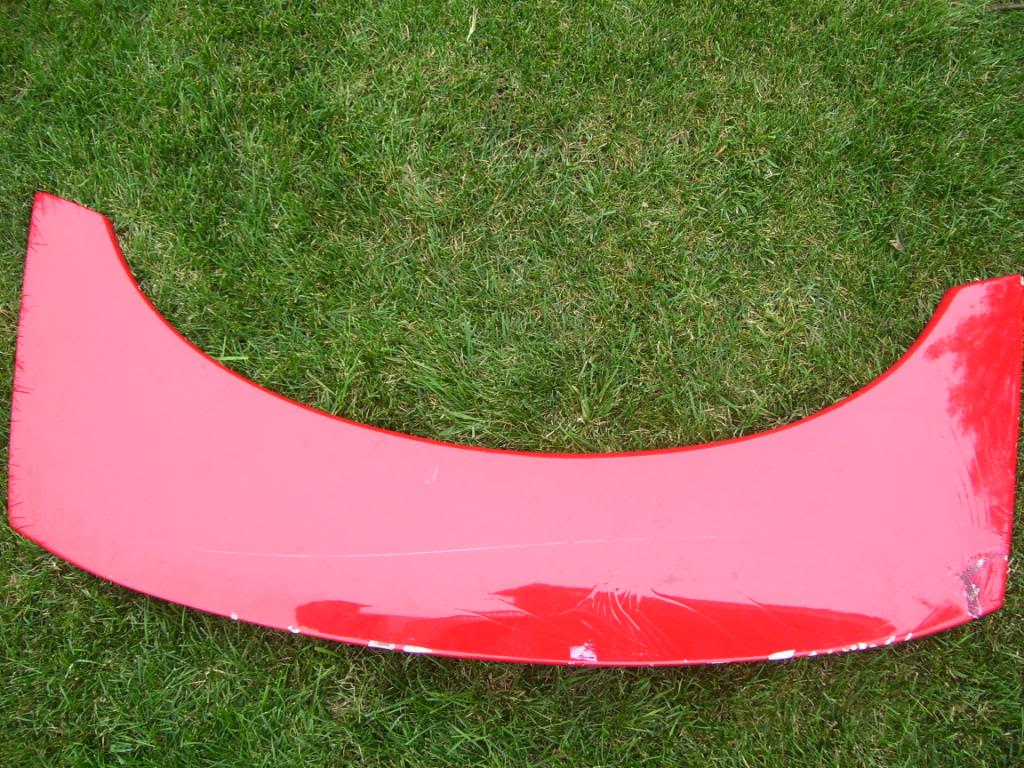
Went the the LTx Shootout a few weeks back and met alot of great people. One of them I met was Jennifer (ZGOBYBY) We got to talking and told her I was looking for a SS spoiler. Turns out she knew where one was, although it was damaged. She ended up buying it for me, drove down from Michigan to deliver it, gave it to me and refused to let me pay for it. Top notch person in my book!
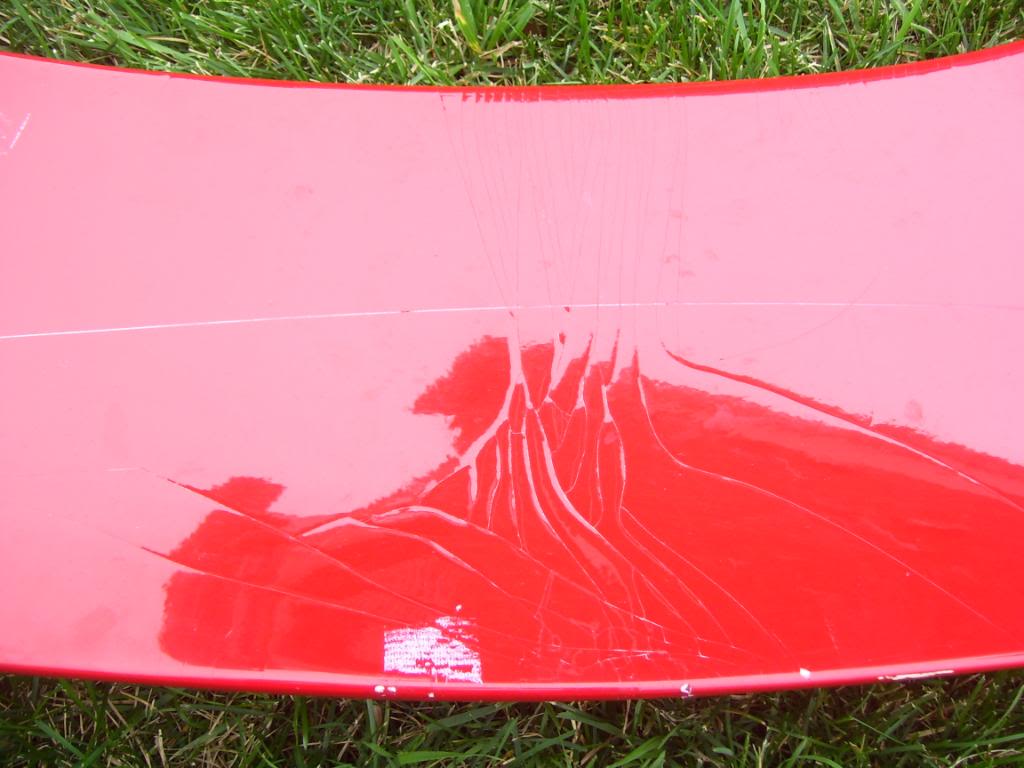
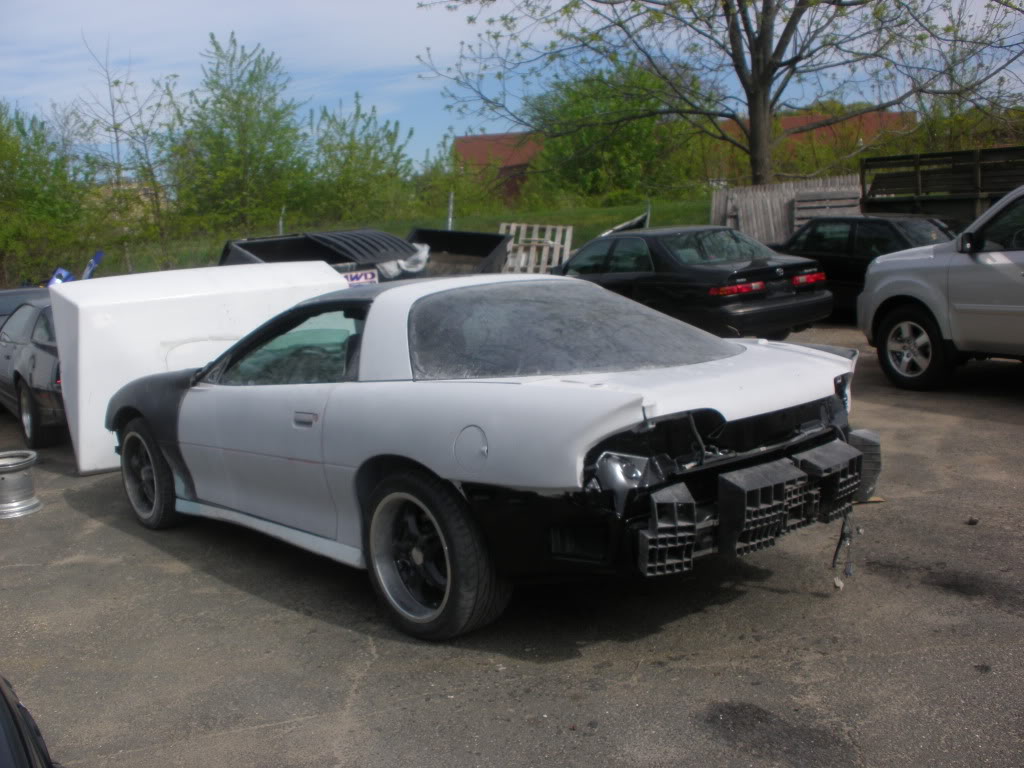
The spoiler itself is rough (severe understatement) but is a true GM SS spoiler so after working at a bodyshop for awhile, I feel I may be able to save this spoiler. If not, it will be a nice wall trophy!
Now for some pics...
Authentic GM SS spoiler...wonder what happened to cause the damage??
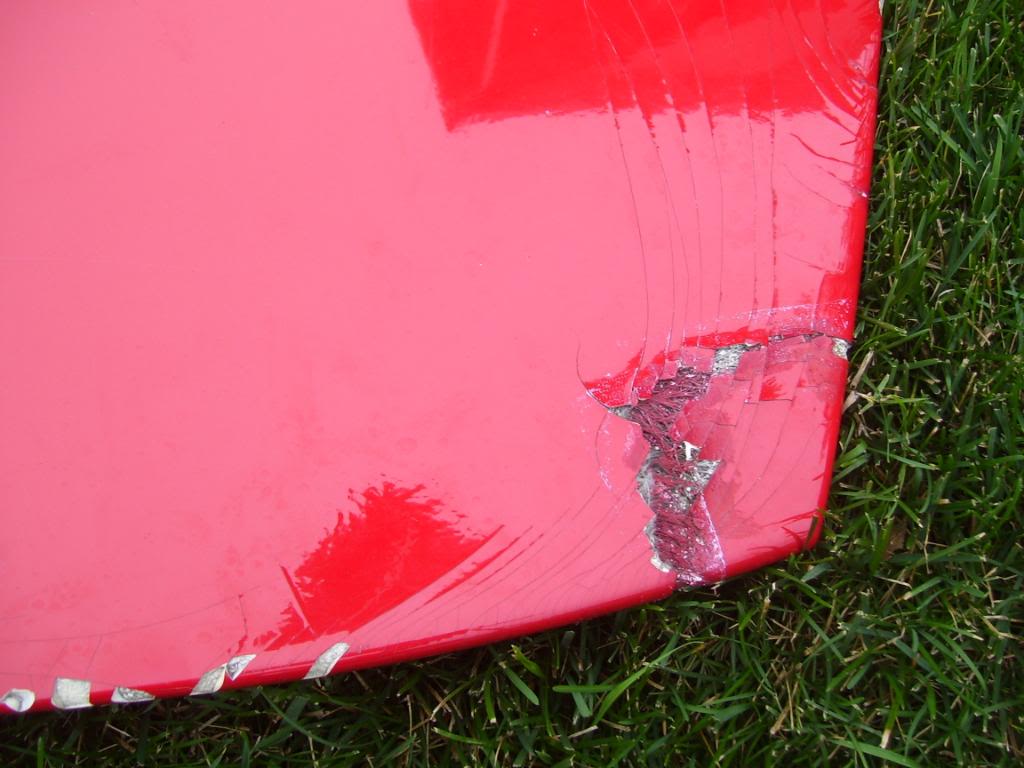
This is going to be the hardest part to fix, the corner is busted and pretty much just hanging on by a hair...
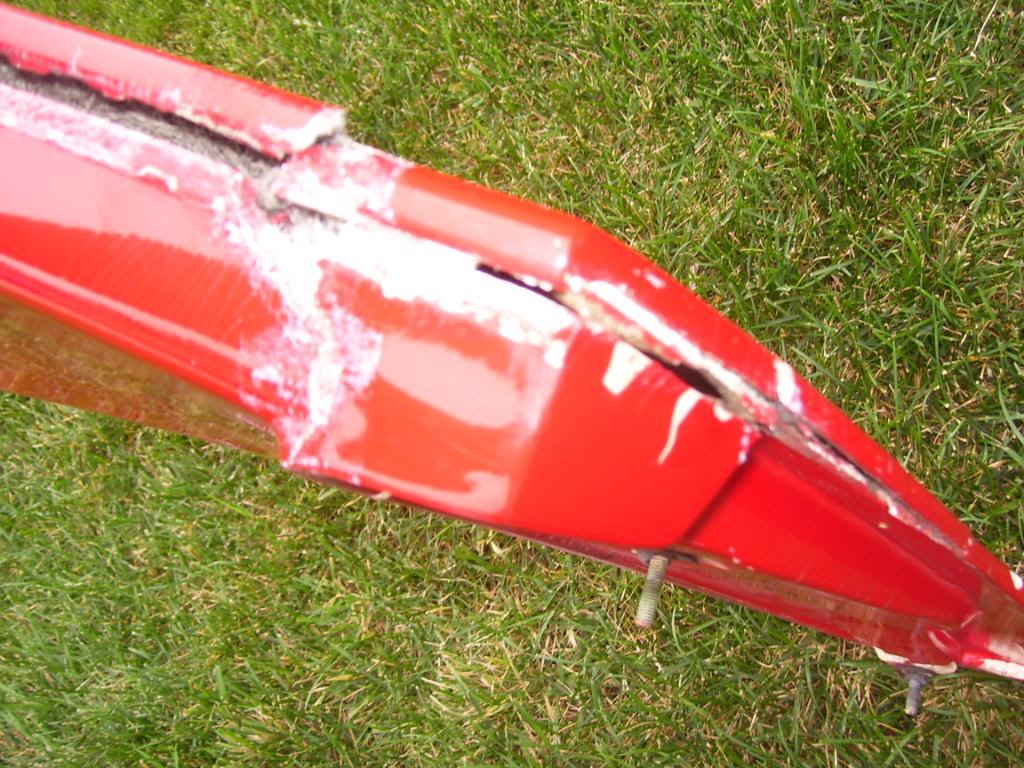
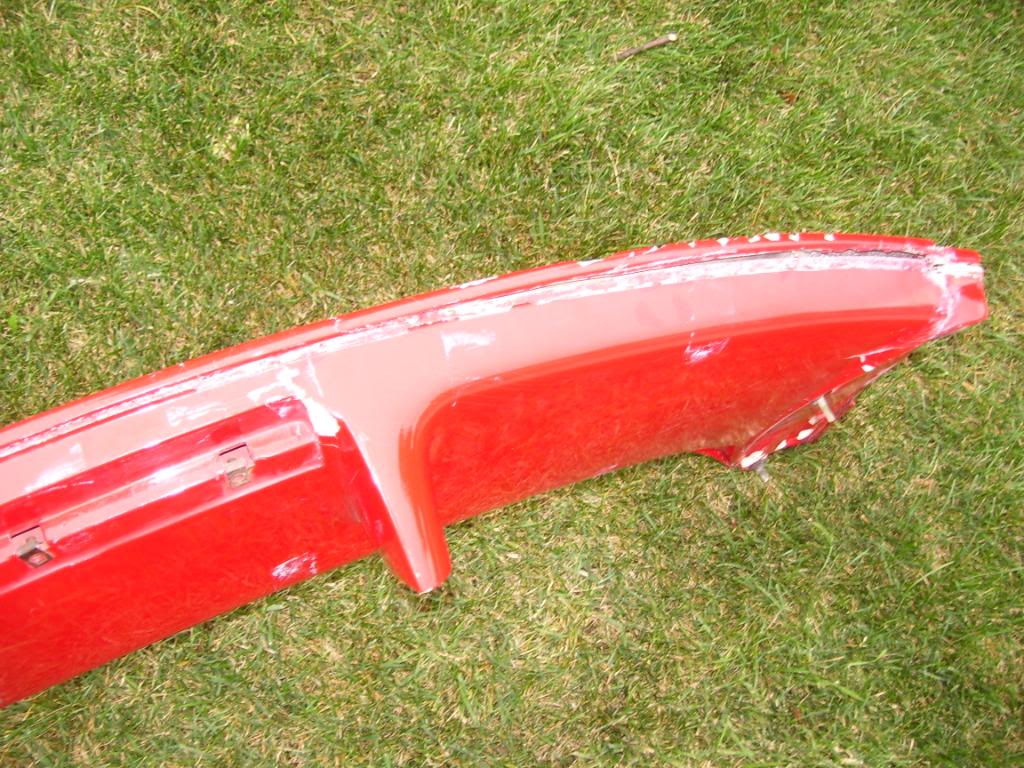
Another view of the damaged end...Also you can see where the top panel has seperated from the bottom...
Another look at the panel seperation...if this wasnt a GM spoiler, it would be in the trash...
Although just look like spider web cracks, these are deep and you can feel them with your fingernails, probably have to take this down quite abit with 40 grit...
The spoiler on the car...BTW, I need a brake light if anyone has an extra?
Lines up pretty good however (cant tell though since this is just sitting on the car not bolted down)
Also, I started scuffing the front clip for paint. No major repairs on the front clip so just went over it with 320 grit sandpaper...
Trying to decide if I want to run a grill or just fill in the notches on the front bumper...Thoughts???
10-23-2010
Stay tuned guys...
Just dropped the Camaro off at my buddys garage (barn) to get the LS1 front clip painted black to match the rest of the car. He also is going to paint my SS spoiler I picked up along with the stock taillight panel. (I wanted the stock on so I can get the stainless CAMARO inserts)
Drove over in a bad thunderstorm after laying under the car in pouring rain filling the differential since it was my last thing to do before driving the car after "detuning" it, but minus the alignment was off a bit (put the stock steering wheel back on wrong I guess) the car drove really nice and was good to drive the Camaro after sitting for several months!
When I get the car back, still need to install the front sway bar, windshield wiper arms, cd player and speakers, and locate a LS1 HVAC control *****, along with a final detail/touch up.
Pics soon...
10-24-2010
Thought Id share a "Teaser Pic" that my buddy sent to me on my phone. I had to work today so I wasnt able to be there when he was painting my Camaro.
He pulled off the front bumper, rear spoiler, and taillight panel and paint those seperate. Said everything came out REAL NICE! Cant wait to see it in person!
Front clip with paint finally!!!
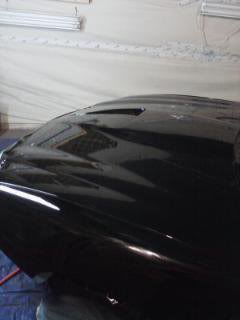
More pics as soon as I get them!
10-26-2010
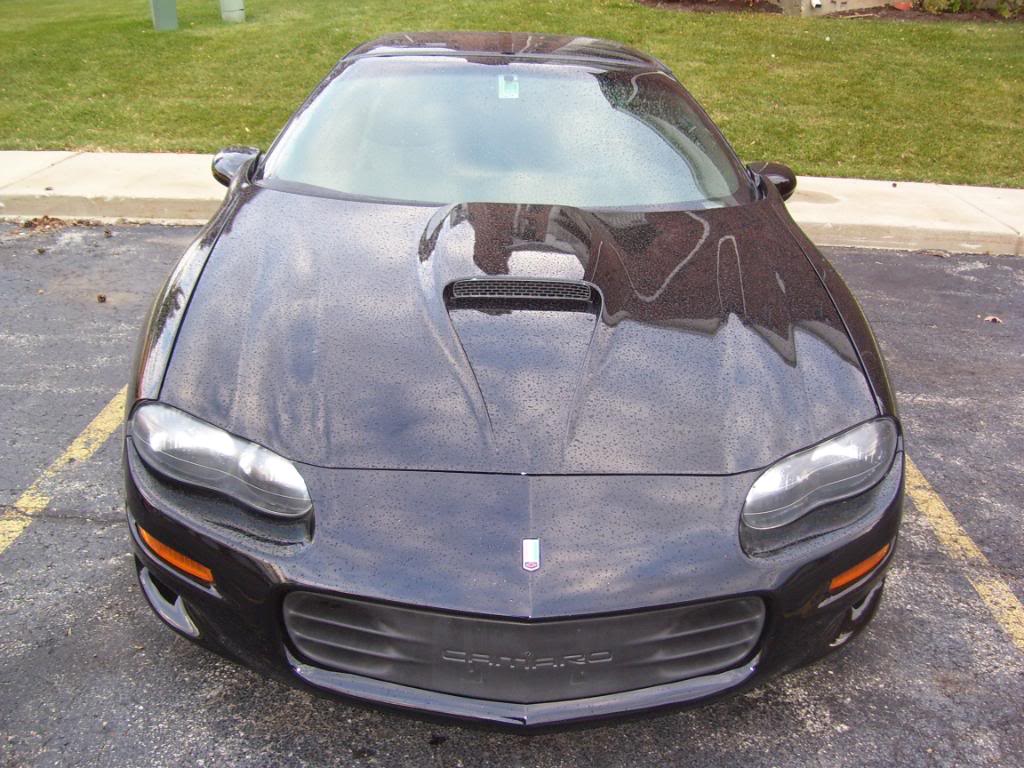
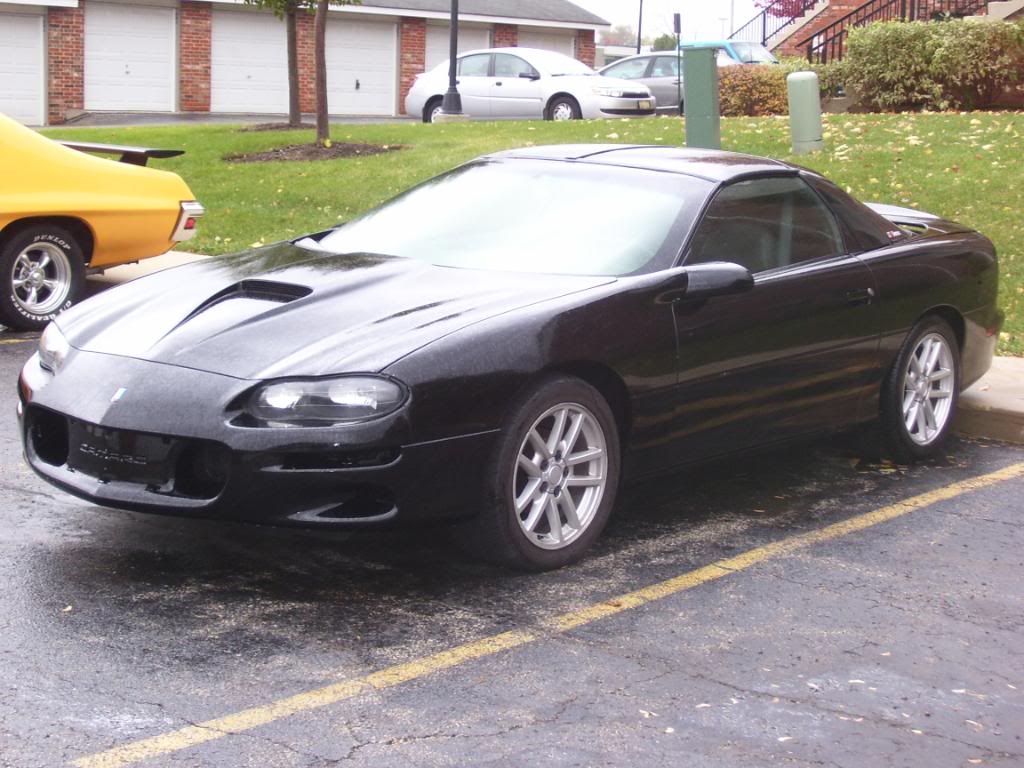
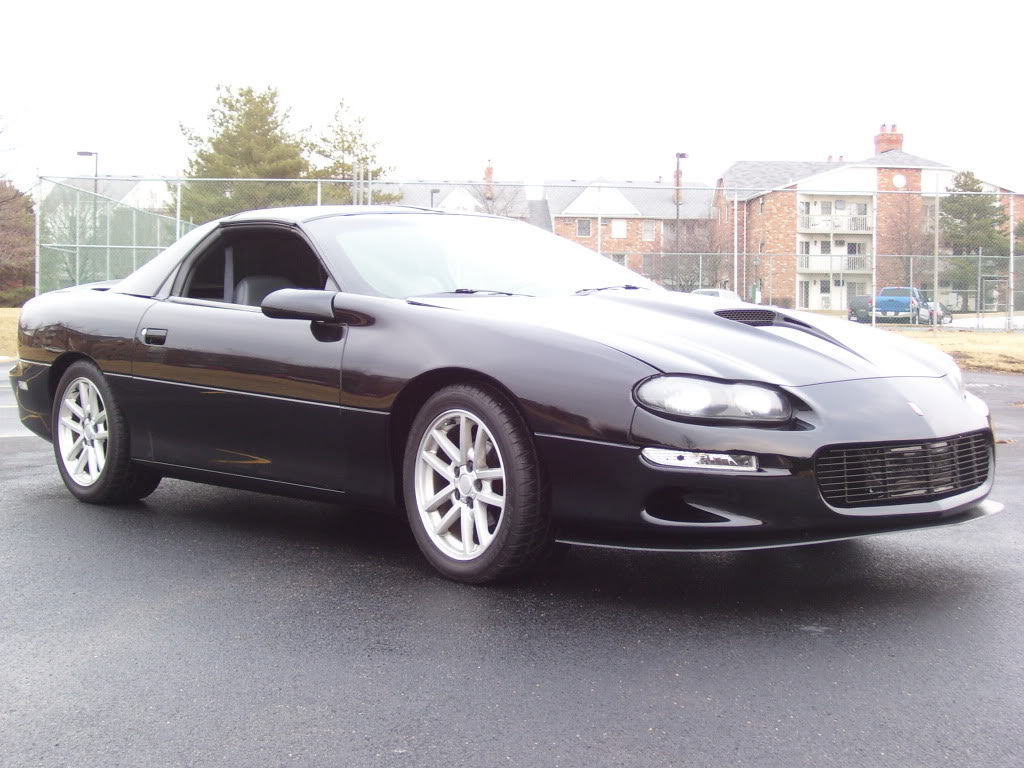
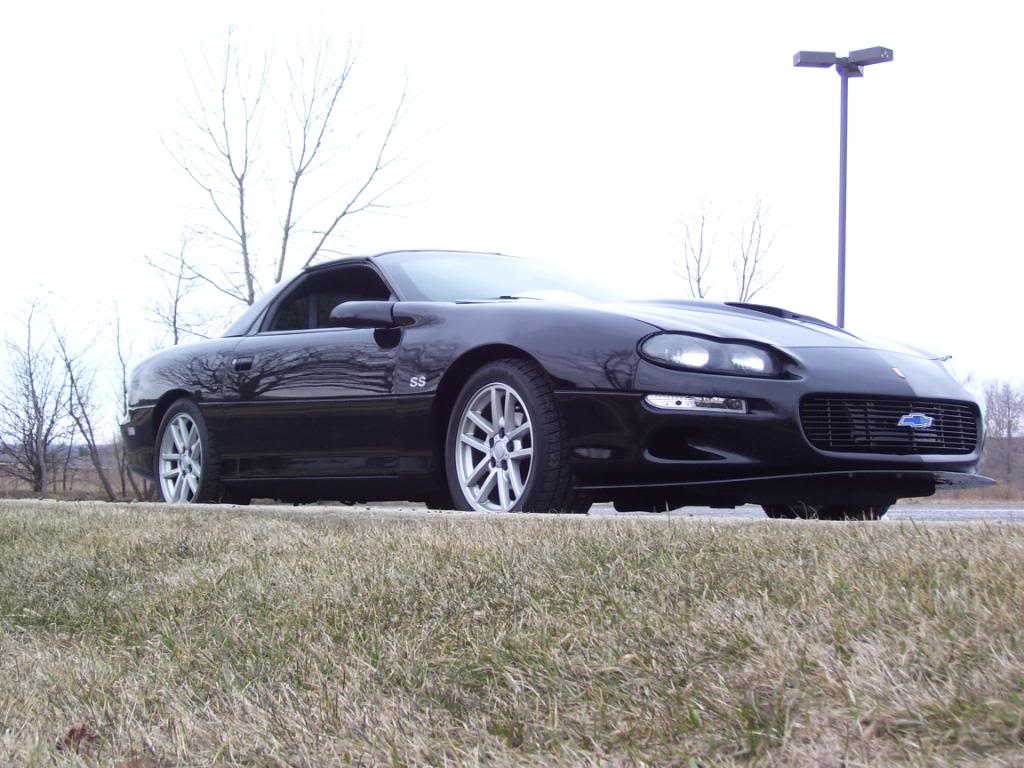
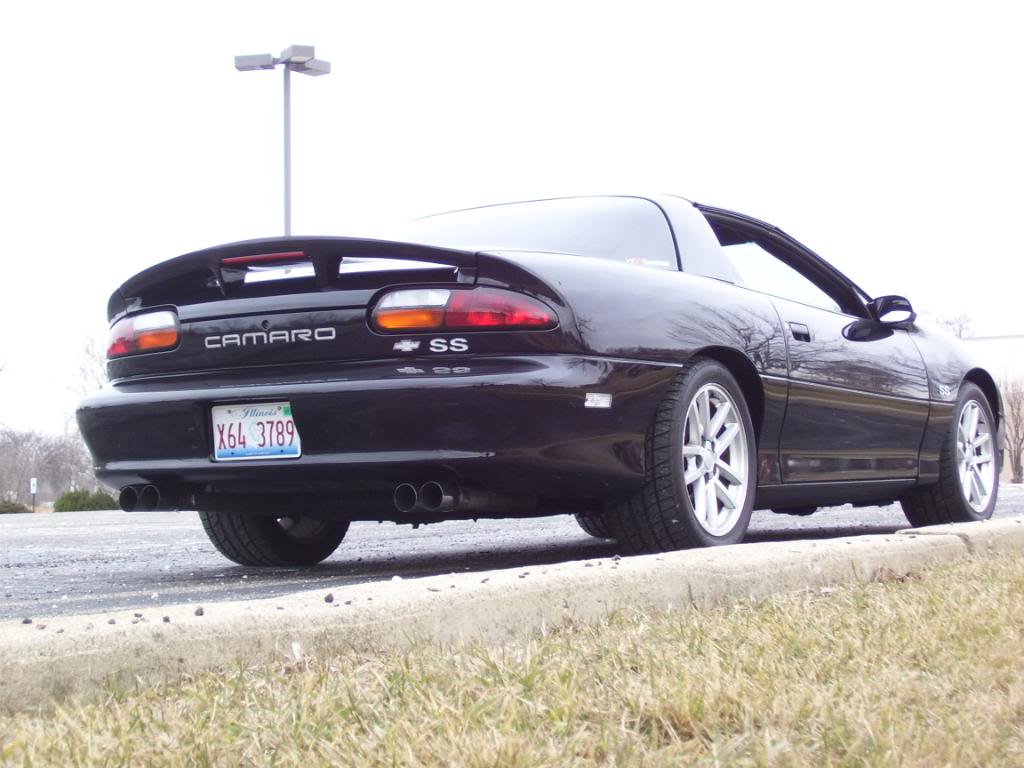
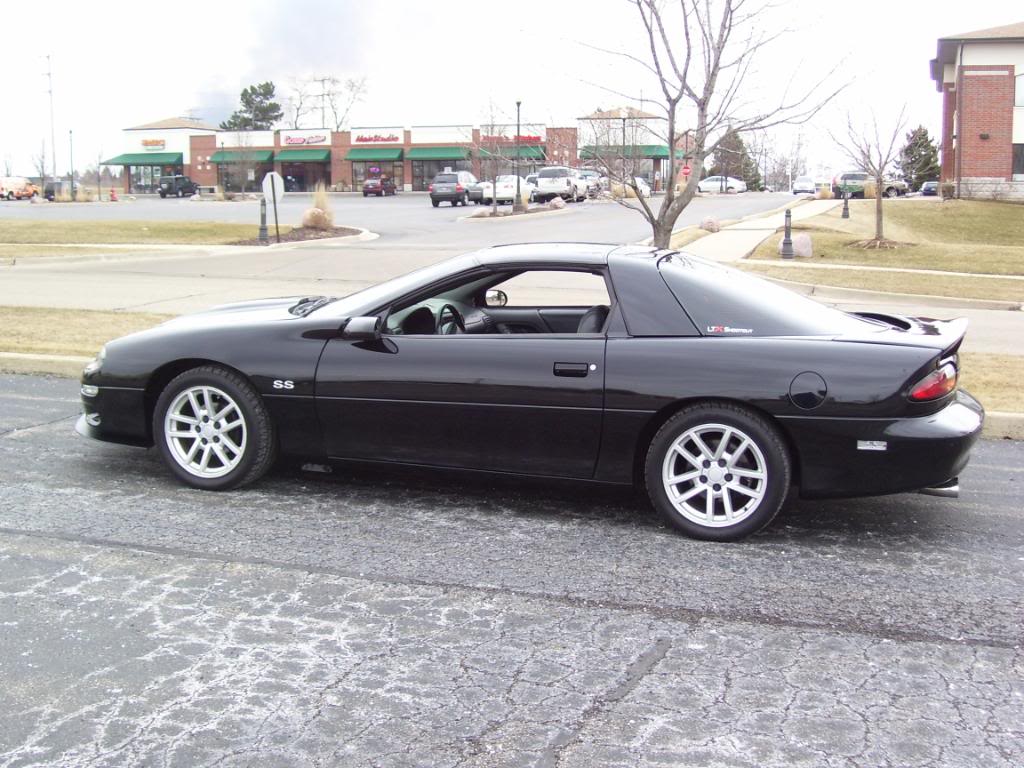
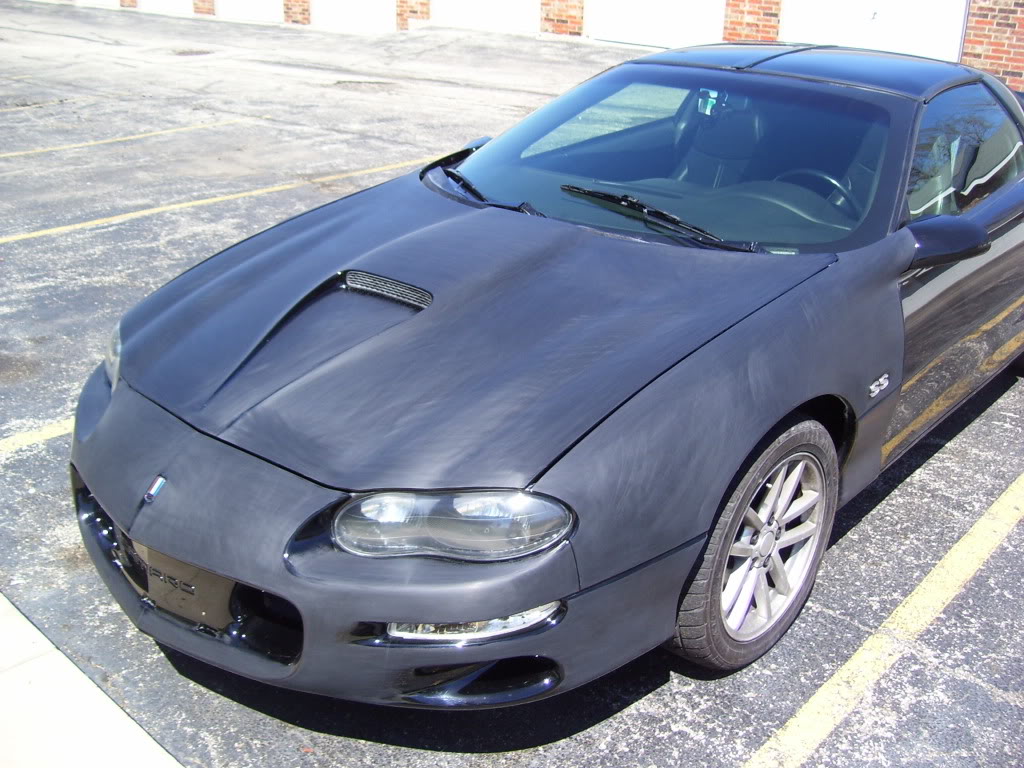
Ask and you shall recieve...Granted I just got the car back last night so given this "lovely Chicago weather" I was outside cleaning the car up in heavy wind and drizzle just to get some pics. Given the weather, the pics came out good..
After a quick wash in the rain...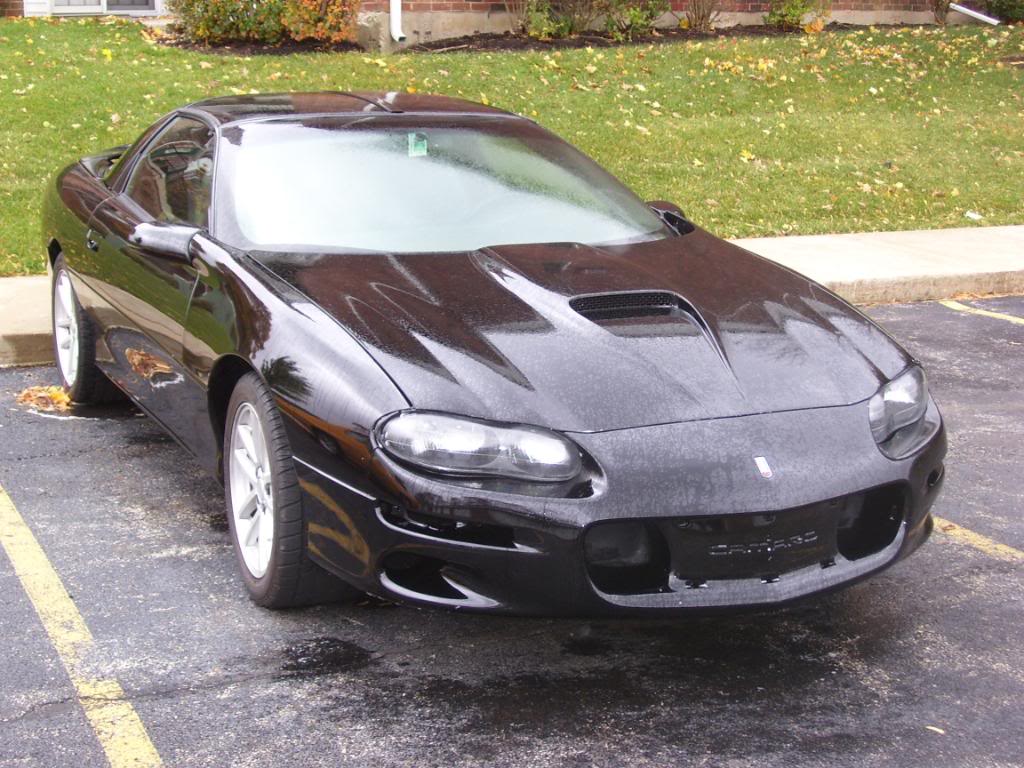
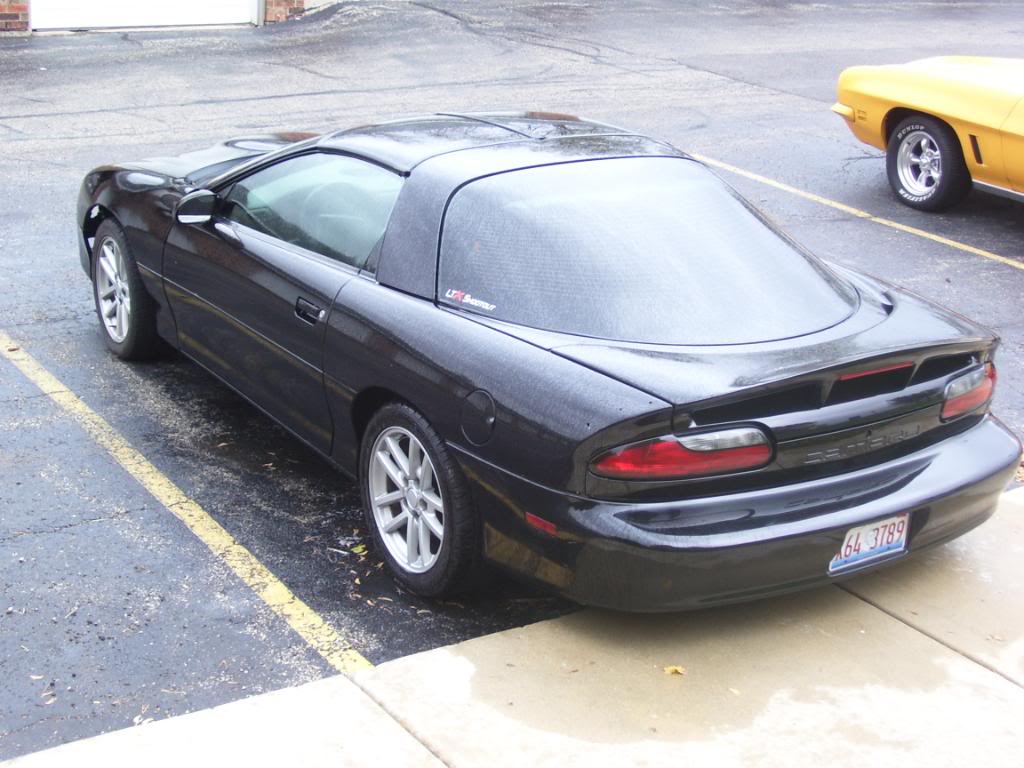
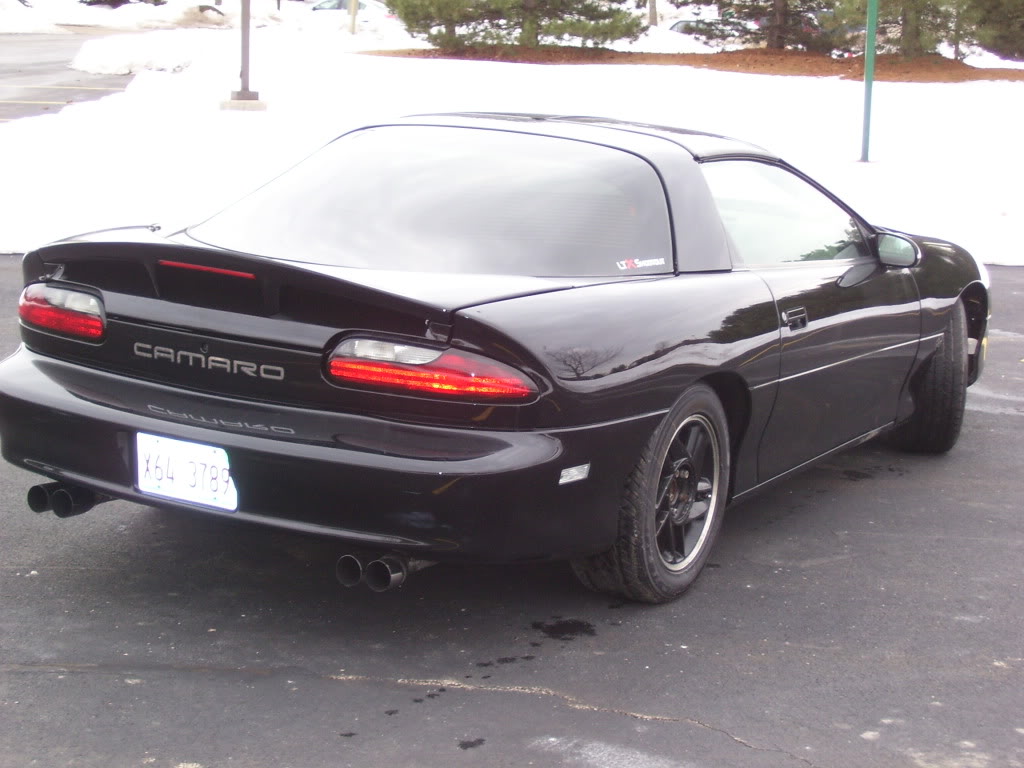
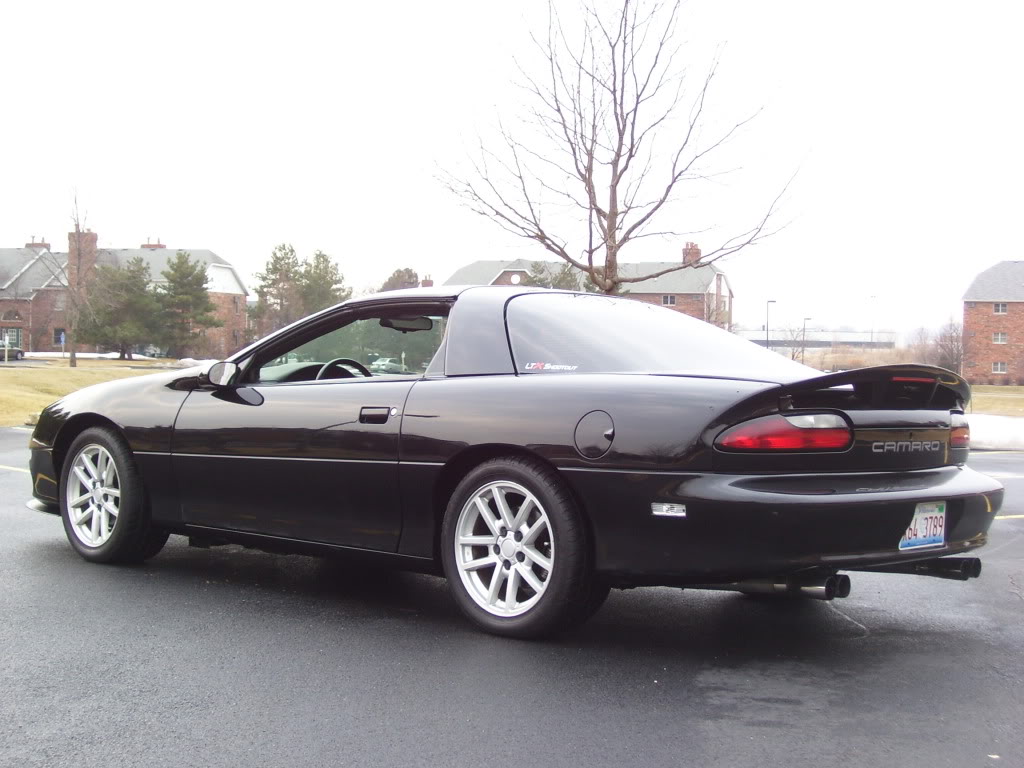
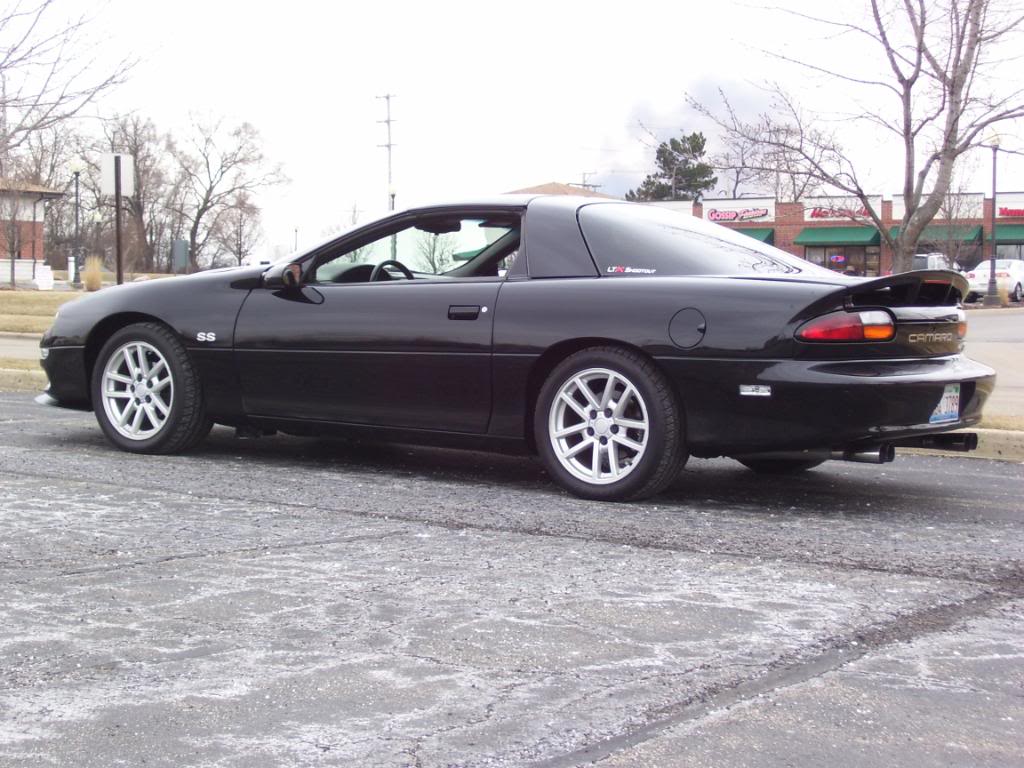
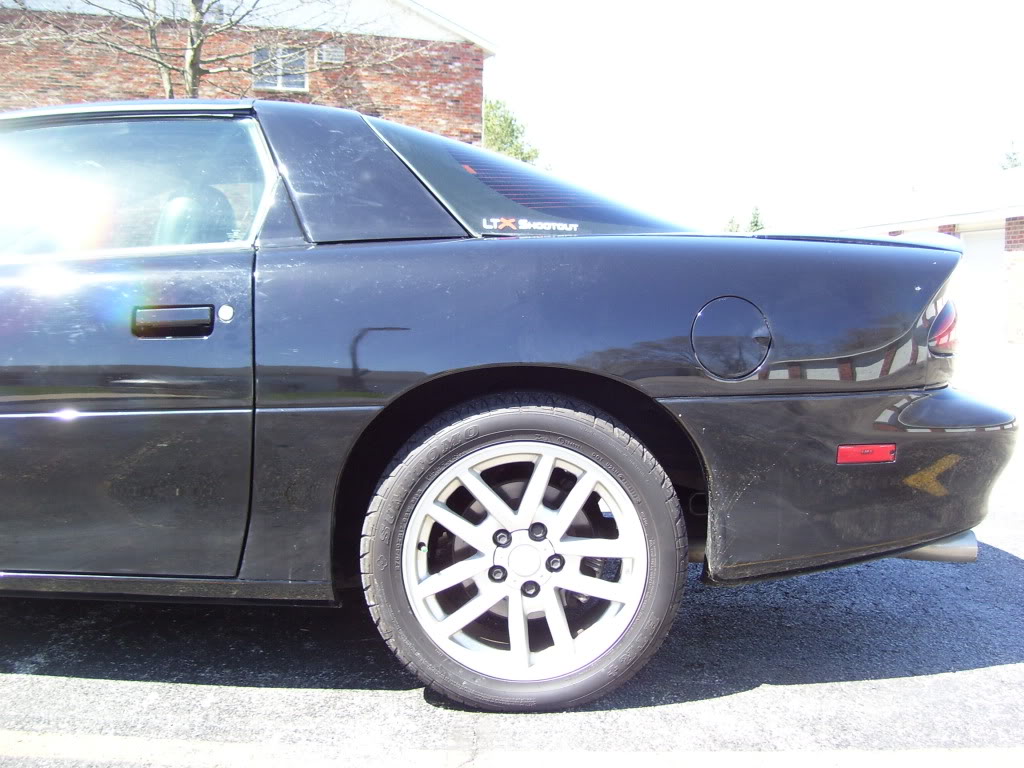
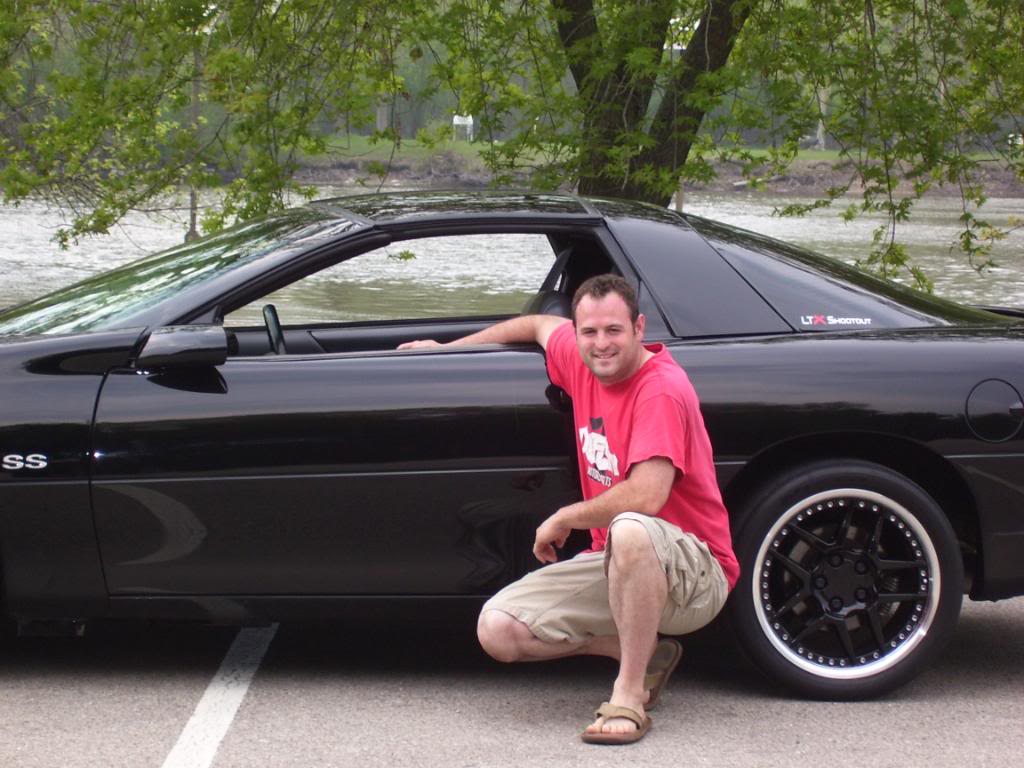
This is my computers wallpaper pic...note the "LTx Shootout" decal on the rear window...Lets the Mustang guys know they just got beat by an LT1!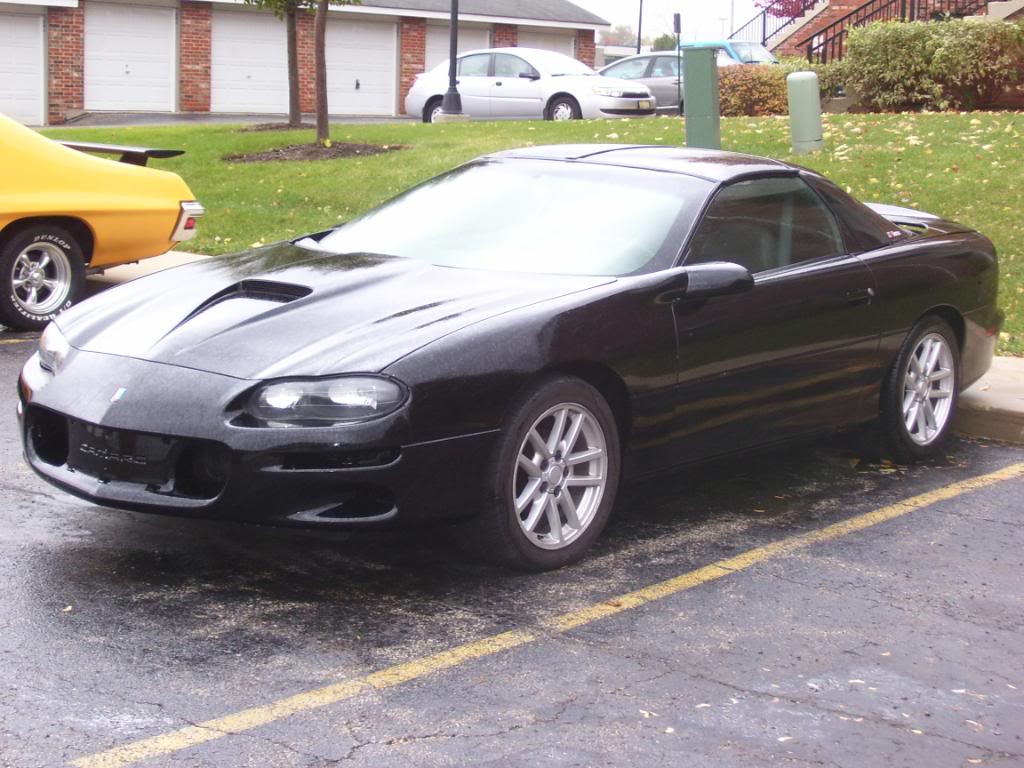
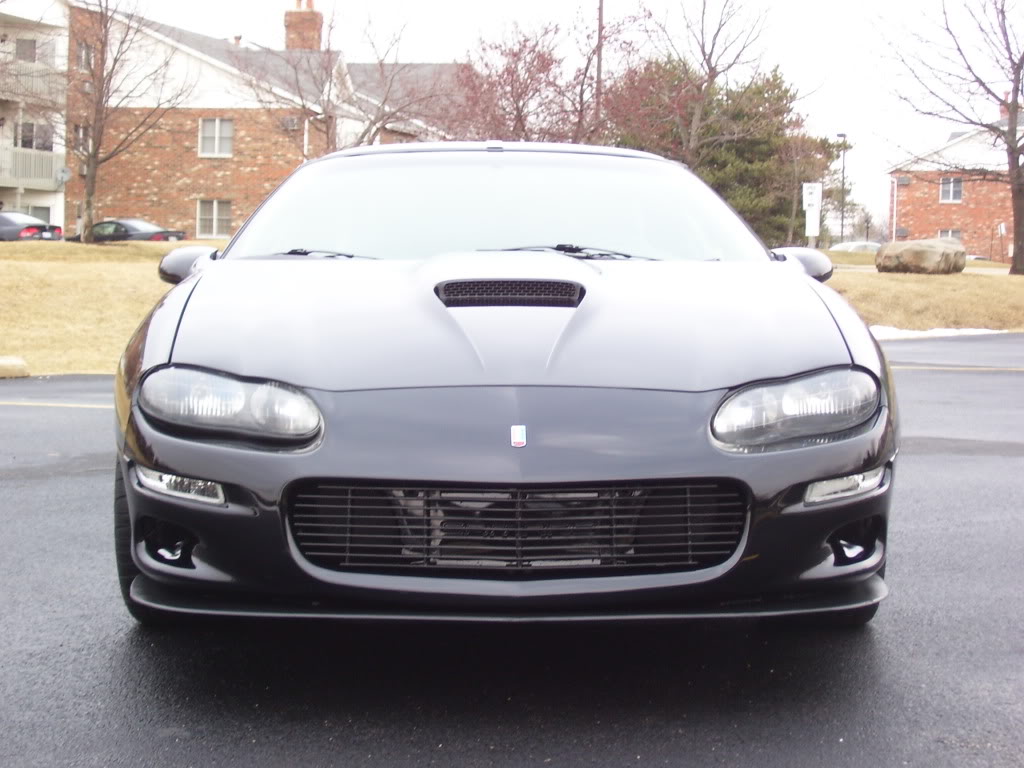
OH YEAH!!! Sexy! Still undecided about a grill and whether to get clear turn signal lenses or tint the orange ones...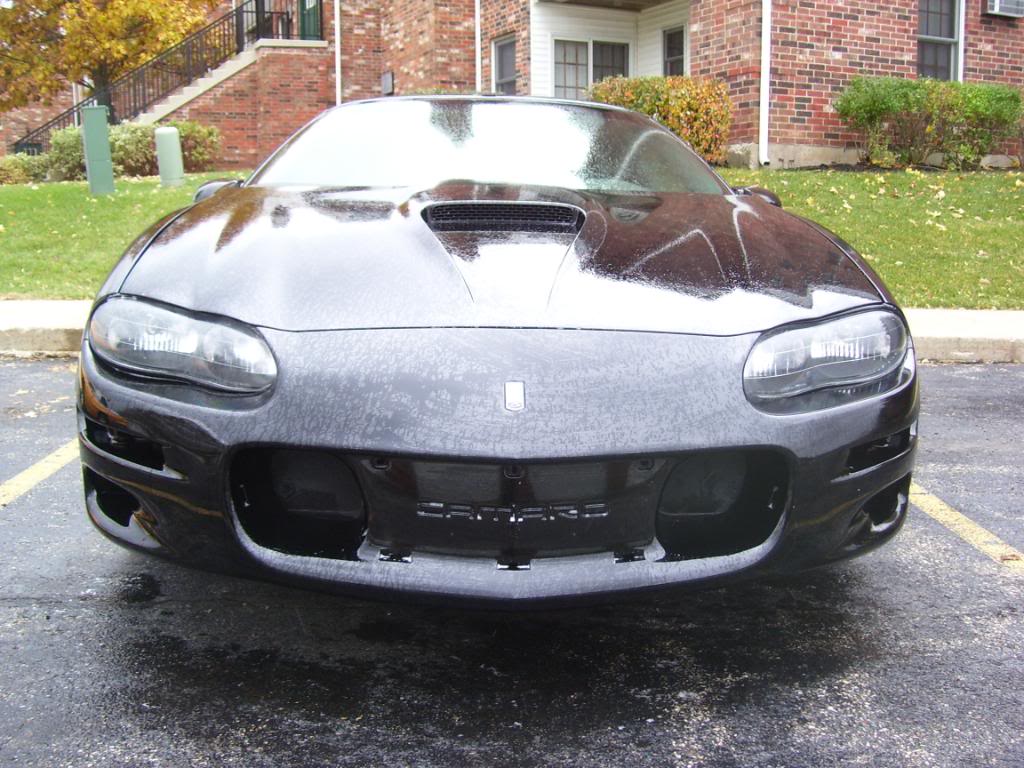
Headlights just resting in there for the pics, Whister mod is done but want to repolish the lens. Also either need to raise the back up or drop the front more.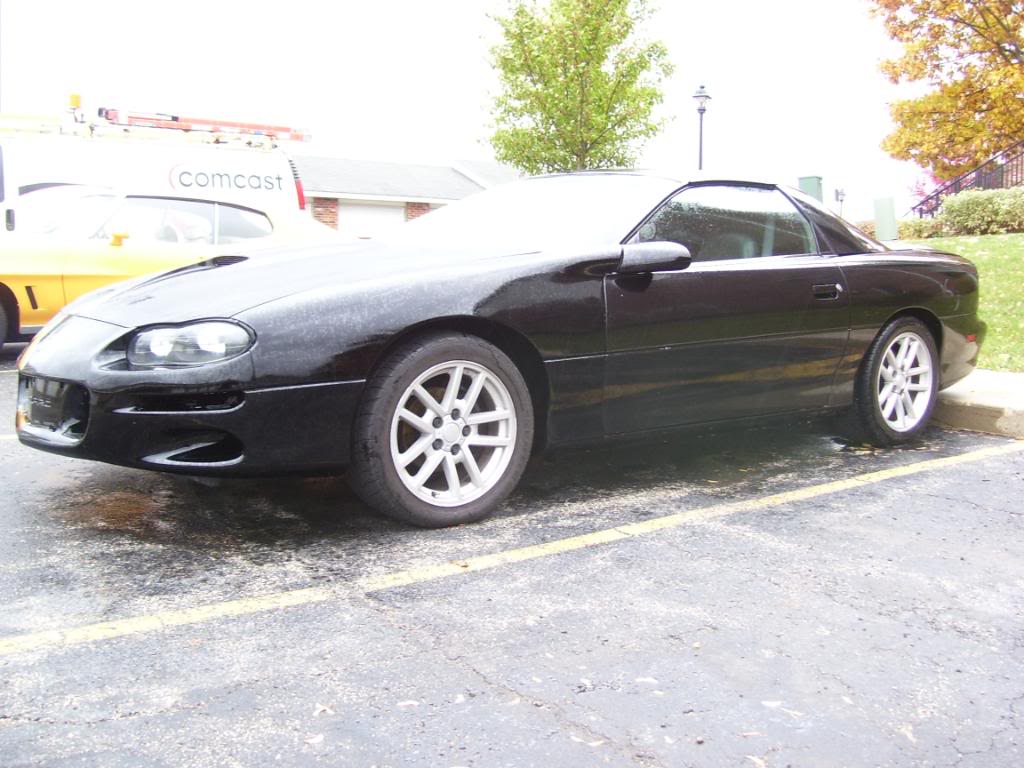
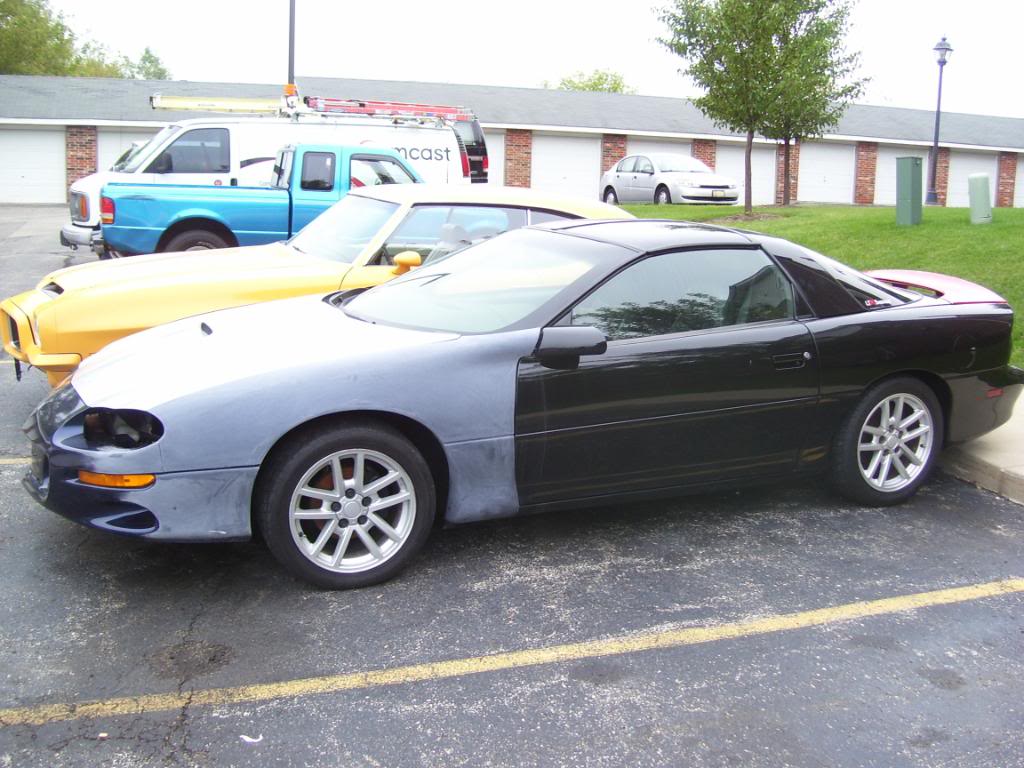
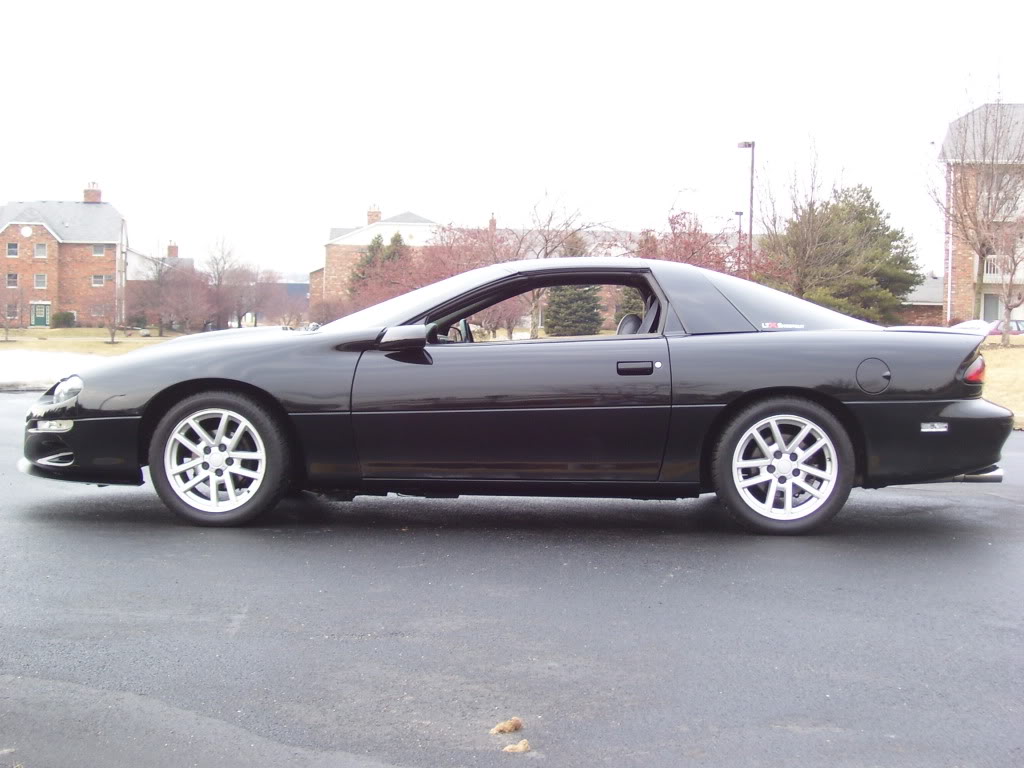
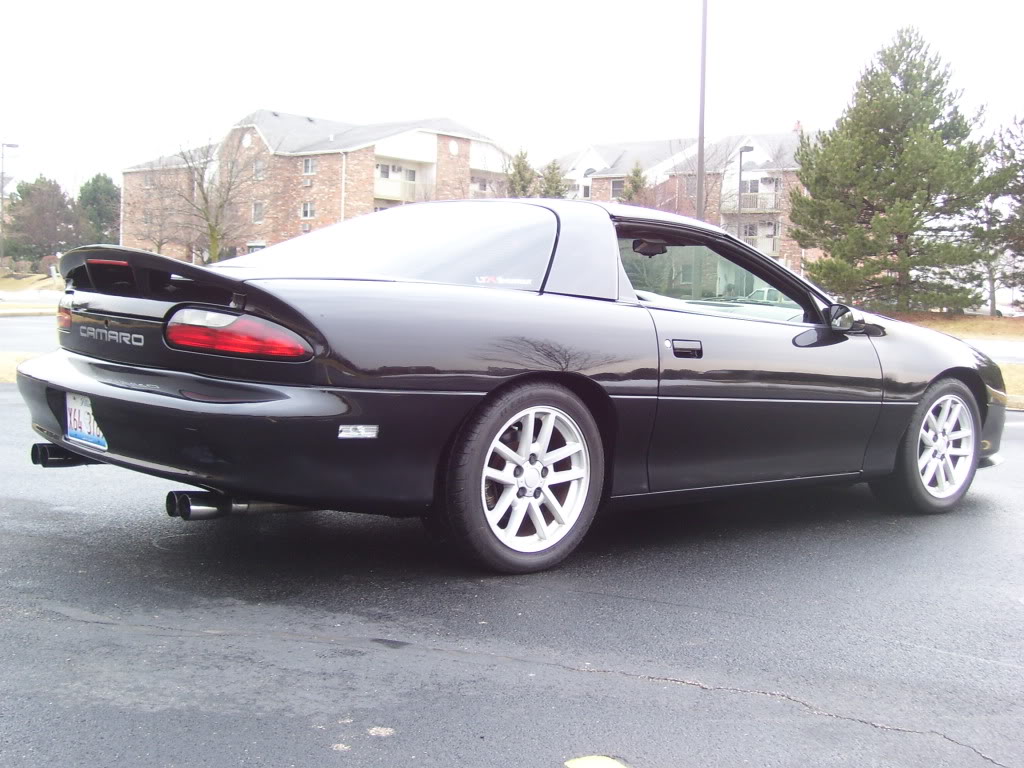
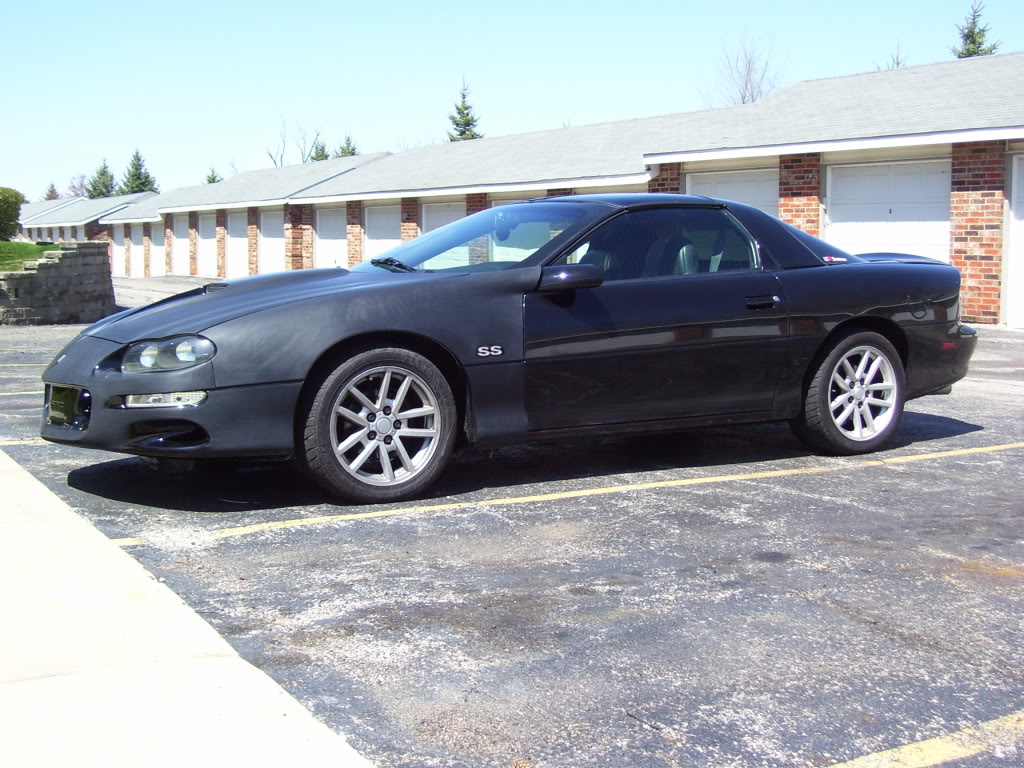
Side view...Still undecided what to do for fender emblems or I do have the silver hockey stripe kit in the garage...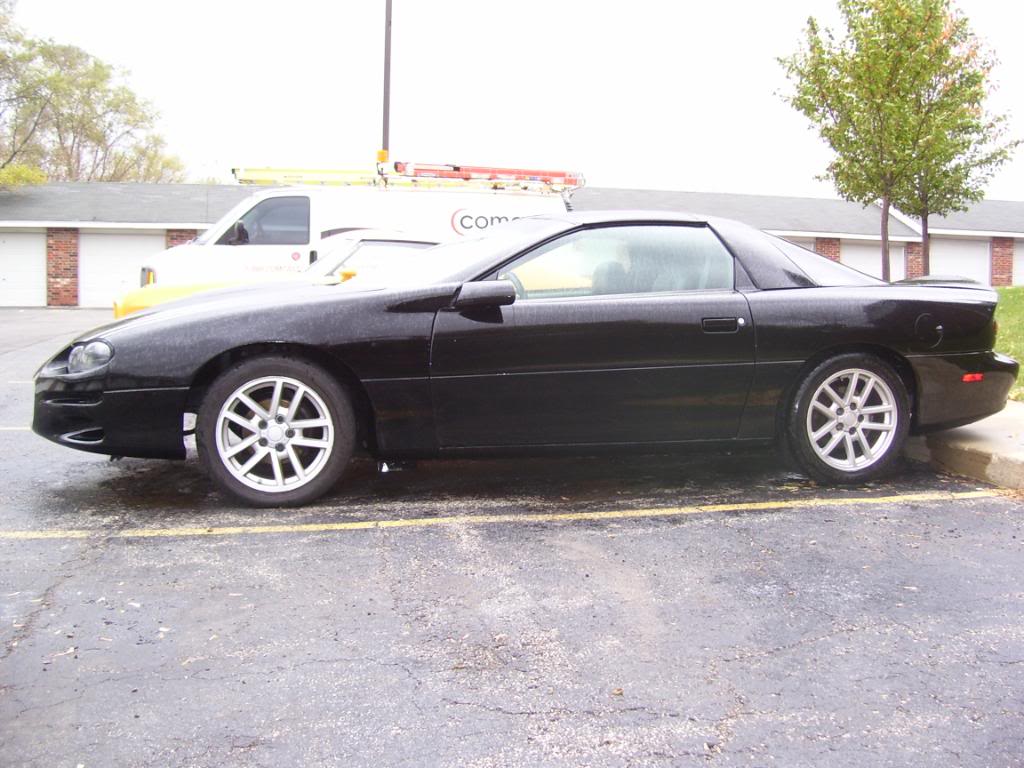
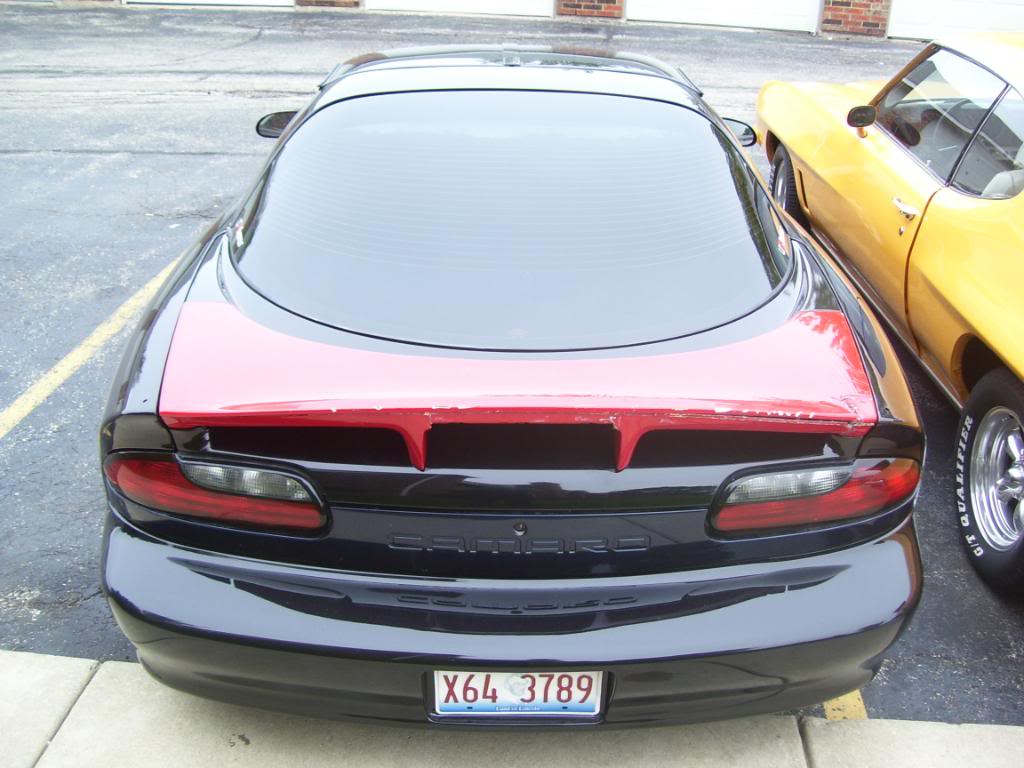
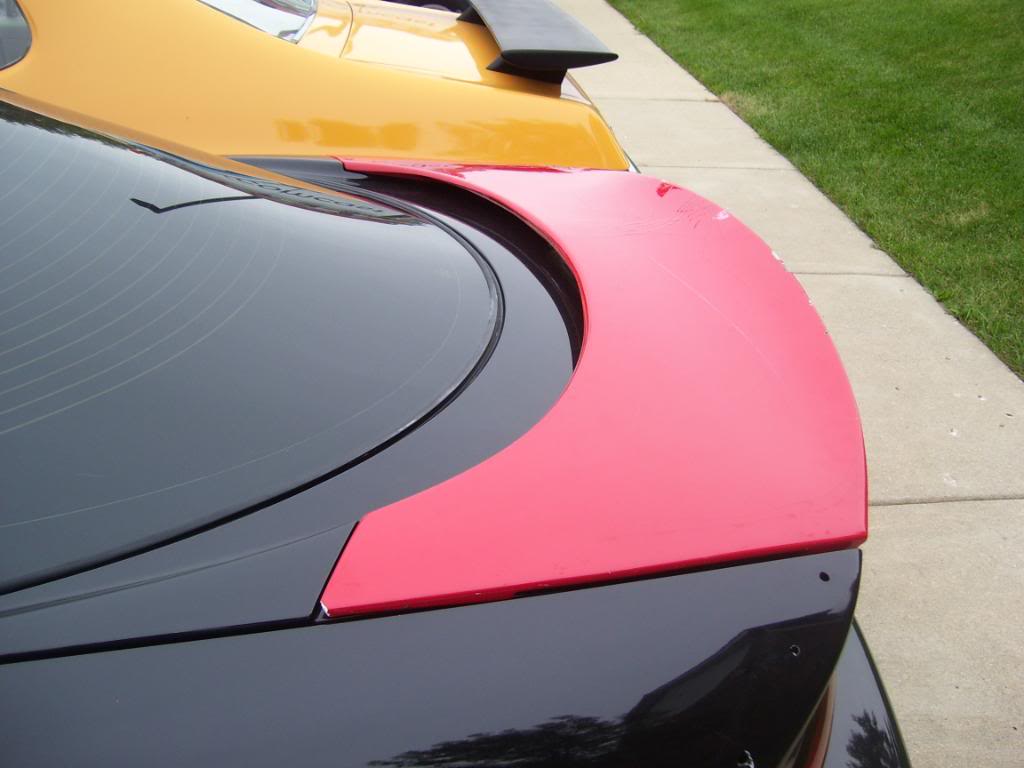
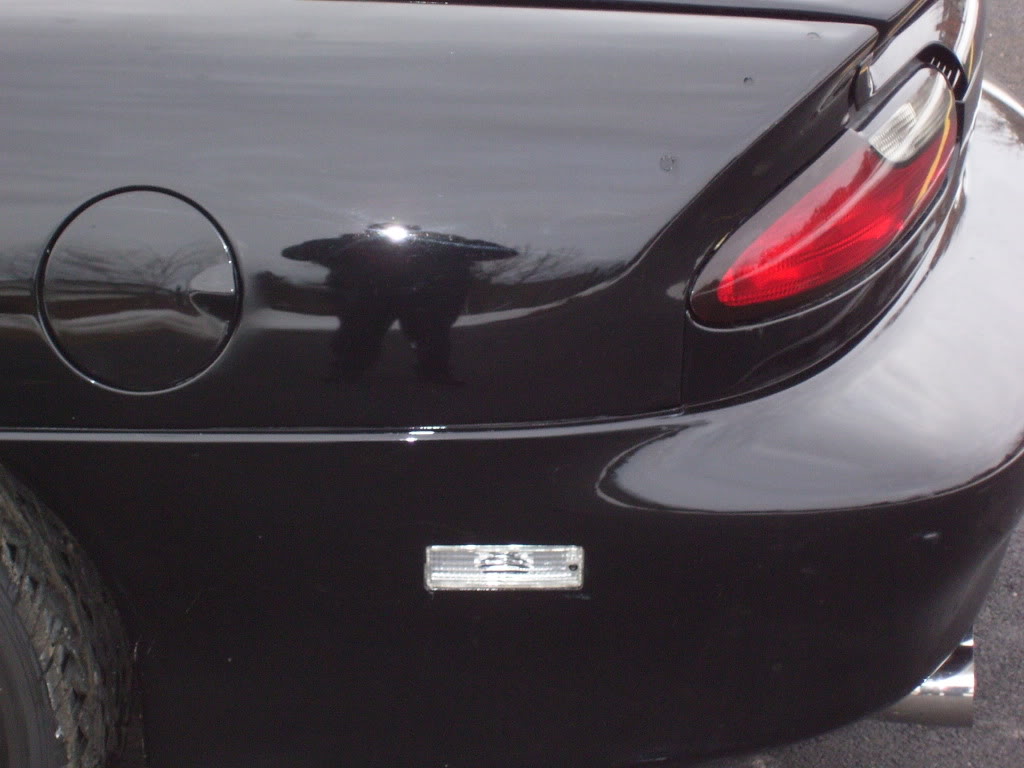
Picture of the new SS wing and taillight panel painted. Still need to fill the old Dick Harroll spoiler holes. Gonna plug them up and come spring, weld the holes shut and repaint the 1/4 panels.
11-4-2010
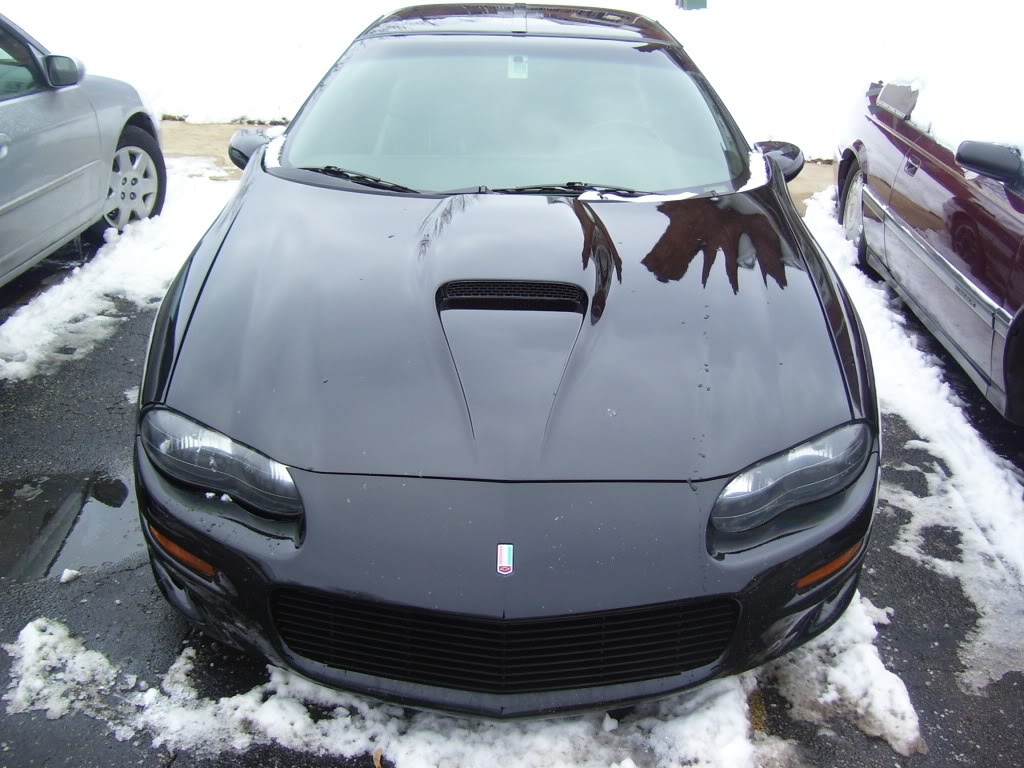
Little bit of progress despite the cold rainy weather moving in. The grill (which I may smooth and paint black) and turn signal lenses are installed. Just finishing up putting the dash back together after re-installing the HVAC system and should be driveable again, too bad the season is almost done though.
Grill and turn signals in...
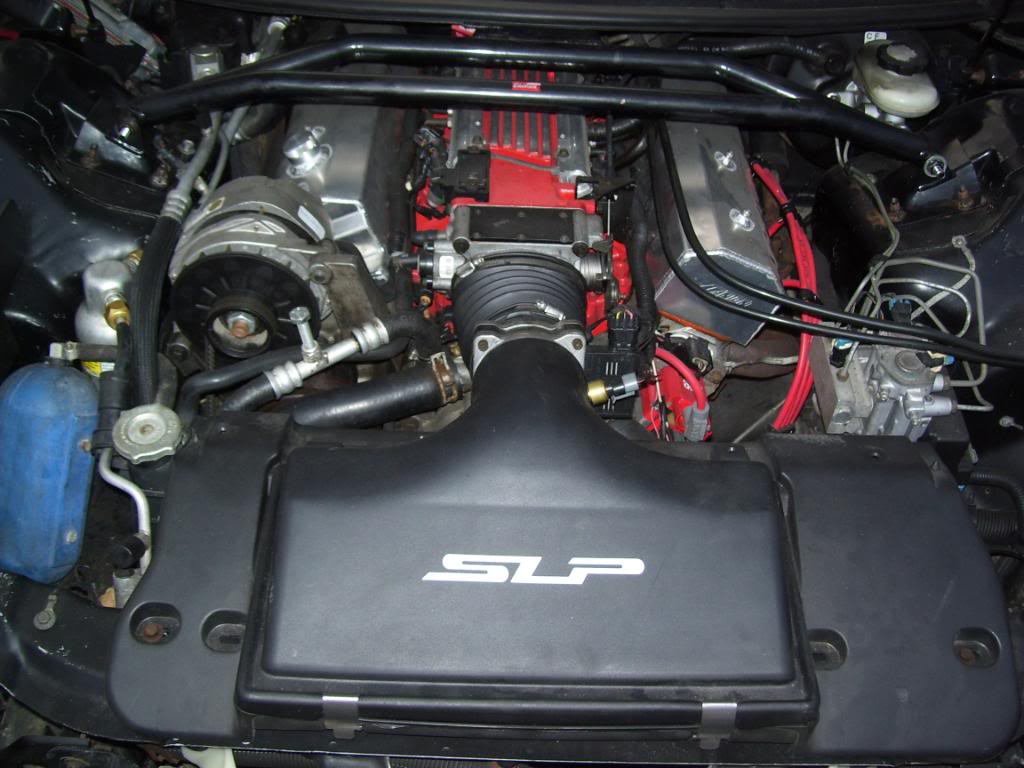
Engine bay after heat, a/c, power steering is added back in. Took a Edelbrock STB in on trade awhile back so I added that as well to the engine bay. I still have a couple bugs to work out. Found out the bleeder valve was leaking coolant (hence the bolt in the line as a temp fix) and I need to install the overflow tank as well. Although Im going to paint that black first.
12-30-2010
Just an update...Also its been just a hair over two years since I started this thread...
2 years ago...
After more money than I expected but still within reason and a change of plans for the build (was going to be a full out race car now a quick street car) I think its alot better. LS1 front clip, SS hood/spoiler/wheels, LS1 dash and center console and still an LT1 engine
Cant wait to see what this year will bring for the car. Although this will be my wife's summer daily driver, she said I can play with it as long as she can driveit without any issues. I have a couple ideas in my mind so we will see what happens!
As far as future plans, right now its parked for the winter with junk wheels on it since I will be redoing the silver 10 spoke SS wheels to look like the 35 Anniversary Edition wheels. I still need to finish the exhaust and install the CD player and speakers back in as well.
1-7-2011
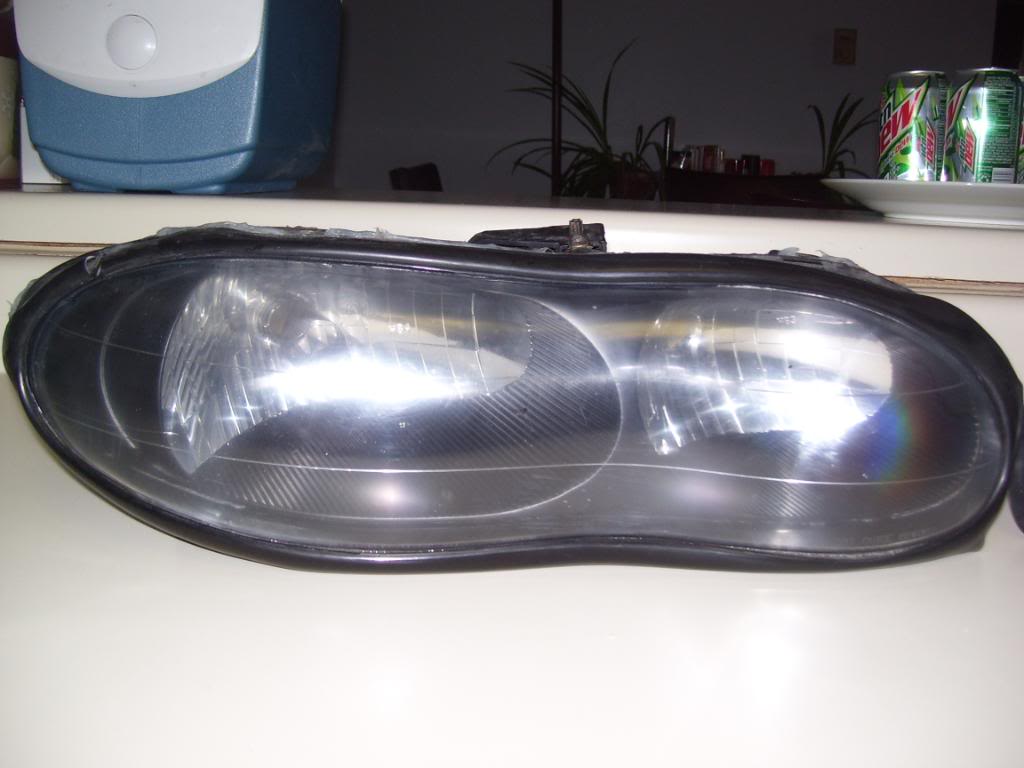
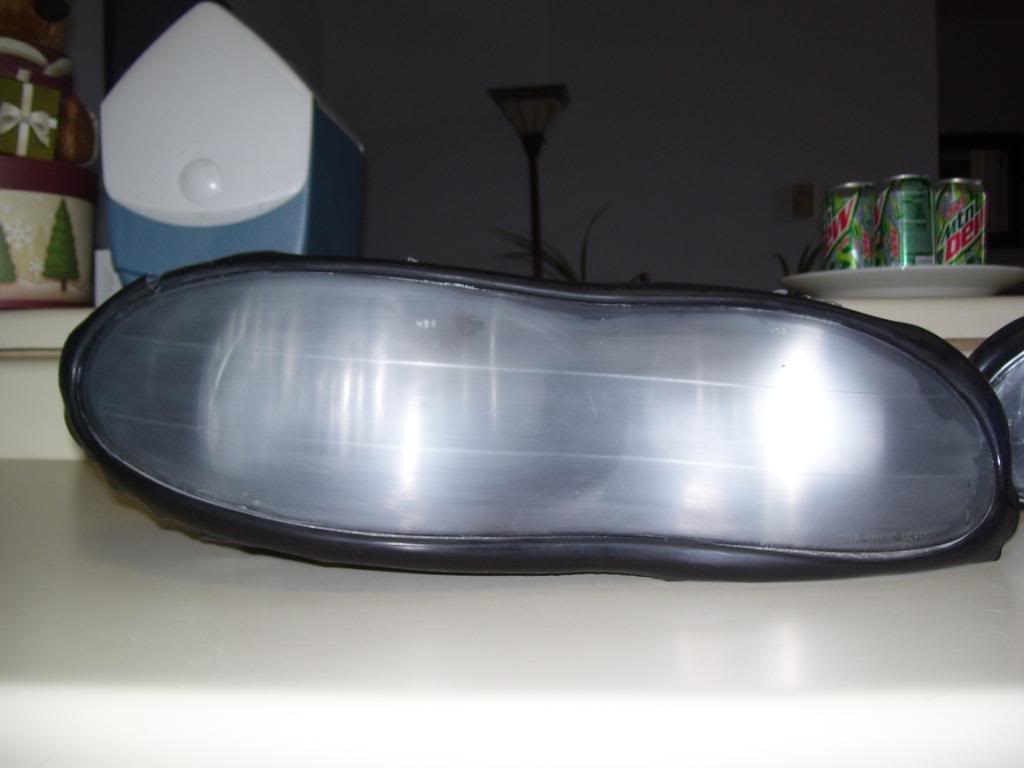
Found a project to do on my car indoors during the winter. When I bought my LS1 front clip, the Whistler mod was already done with the headlights but the outside housing still had deep scratches from the previous owner sanding off the "nipples" on the headlights.
So I decided to polish them up a little bit. Im going to go with the Halo headlights down the road so I didnt go too crazy but definatly an improvement. I just took some soapy warm water and 2000 grit sandpaper and sanded the deep scratches out and then took Mothers Plastic Polish to them like I did earlier with the taillights in post number 405 in this thread.
Before:
After Wetsanding with 2000 grit:
After Polish:
Again, not a huge improvement, but just made them look better until I can upgrade headlights later on.
1-18-2011
Figured Id post these on here, but still undecided what to do yet with both these. I picked both of these up for next to nothing so the price was right.
First is a 130K mile LT1 shortblock. Figure I could use this as a backup engine for the Z28 and build it up as a nice 355 short block with a 503 or 847 cam. I plan on forged pistons/rods redone with ARP bolts. My wife is going to be using this for her summer daily driver but I may "sneak" a 150 shot of nitrous in it for when I take it to the track...mainly the LTx Shootout this September.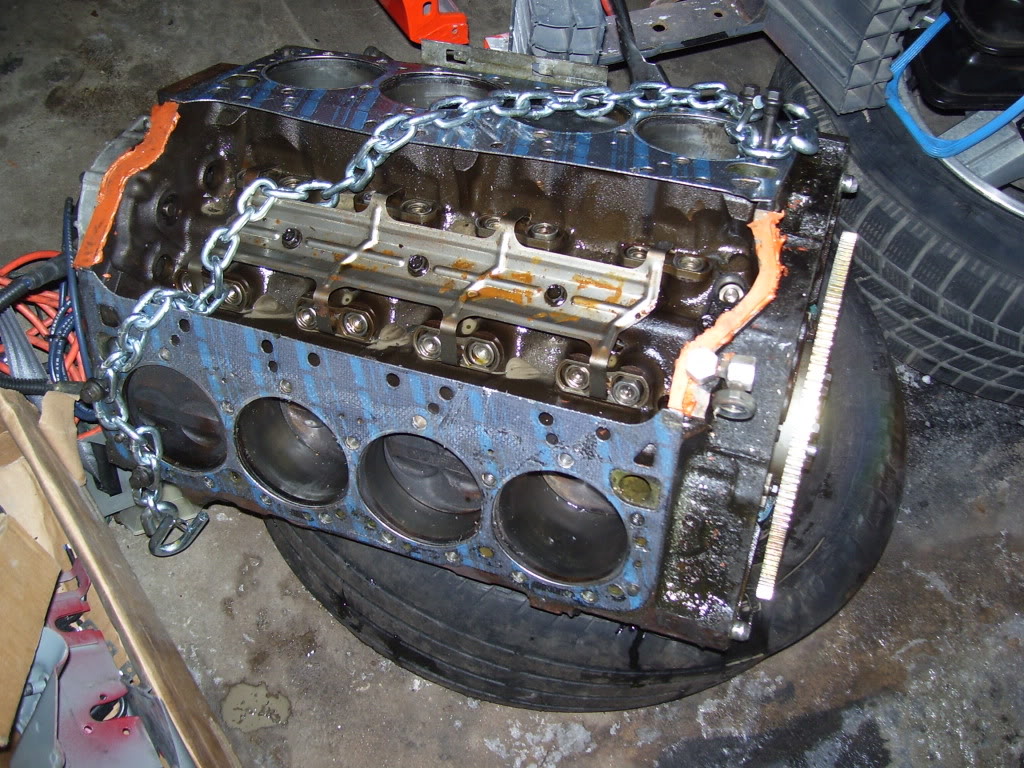
Next is what Im torn on...Do I use these wheels once I strip/sand/polish these C6 Motorsport Replica 17x8.5 wheels or do I keep my SS 10 spokes? Whichever I dont use, I will use on my 3rd gen Camaro.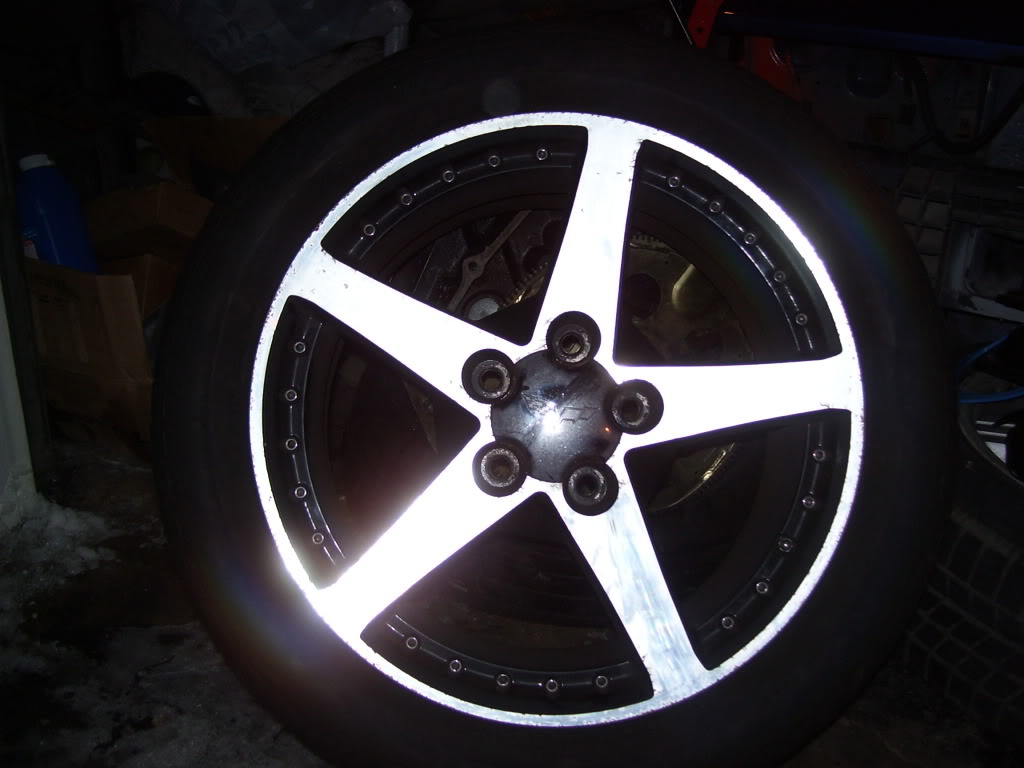
1-29-1011
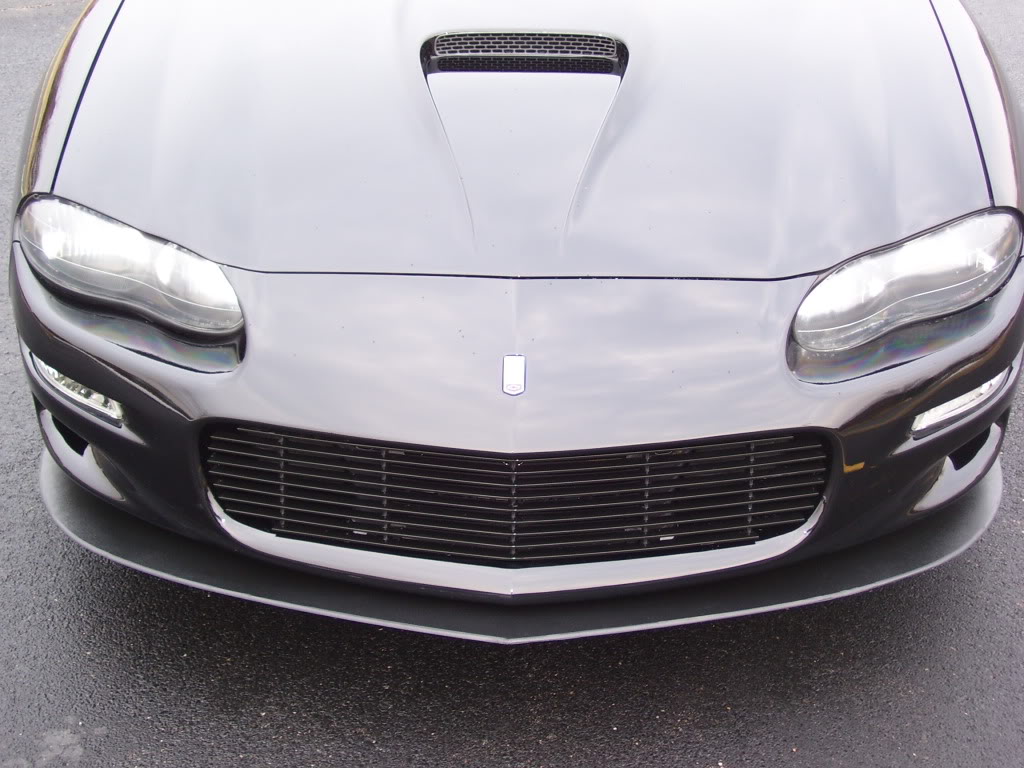
On an impulse buy, I decided to purchase a black powdercoated grill for my LS1 front clip to replace the boring stock grill. Drove 4 hours from Chicago suburbs to Green Bay, Wisconsin in blizzard conditions to pick up this grill from PACKERSz28Camaro on here. Thanks again bro!
Heres a pic of the grill. (Not on the car because I just got home from Wisconsin and its 2:45 am lol Hopefully tomorrow I will have pics of the grill installed)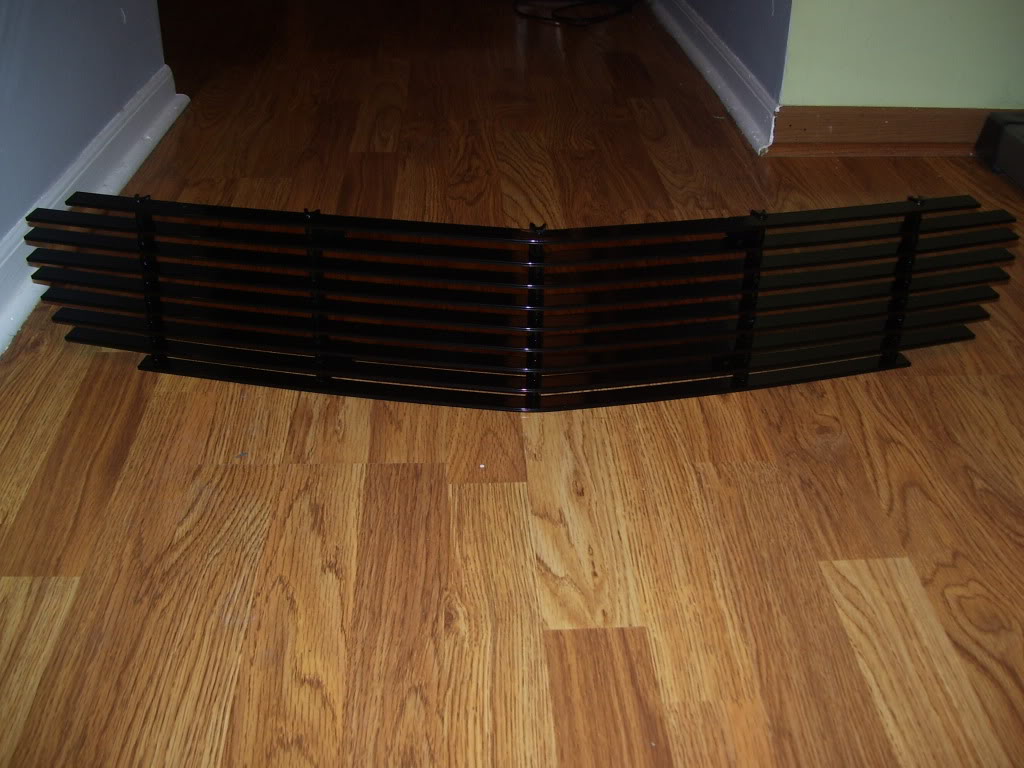
I want to get a bowtie for the center of the grill. Anyone know where I can get one already prebent? Maybe blue?
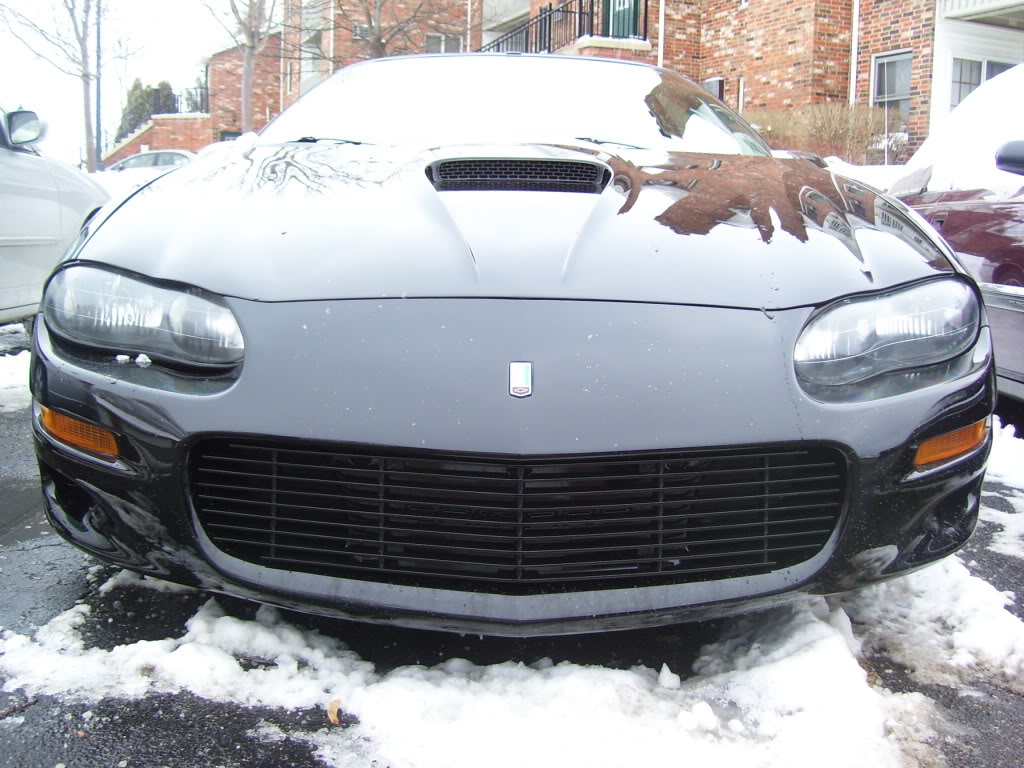
Had a little time this morning to install the grill since it wasnt too cold outside and the snow was starting to melt off the Camaro so I could snap a picture.
The grill swap was really simple. Took a whole 10 minutes. Just pulled off the stock grill and intalled the black billit grill with 4 screws. I had my doubts as to how the grill would line up, but it must not have been some Ebay special one because it fit perfectly. Couldnt be happier.
Some pictures...I need to wash the Camaro when the roads dry up. I dont want to drive the car to the car wash with salt covered roads.
I dont know if I want to run the bowtie or not, looks pretty good as is. Although Im trying to decide what to do about the turn signals...stock, clear, or blacked out. Stock is well...stock, clear would give it a nice clean appearance, and the blacked out would pretty much make the light "disappear" but I dont want to black out any other lights to match so I may just run clear...Just thinking outloud...Any thoughts?
1-31-2011
^ Thanks guys!!!
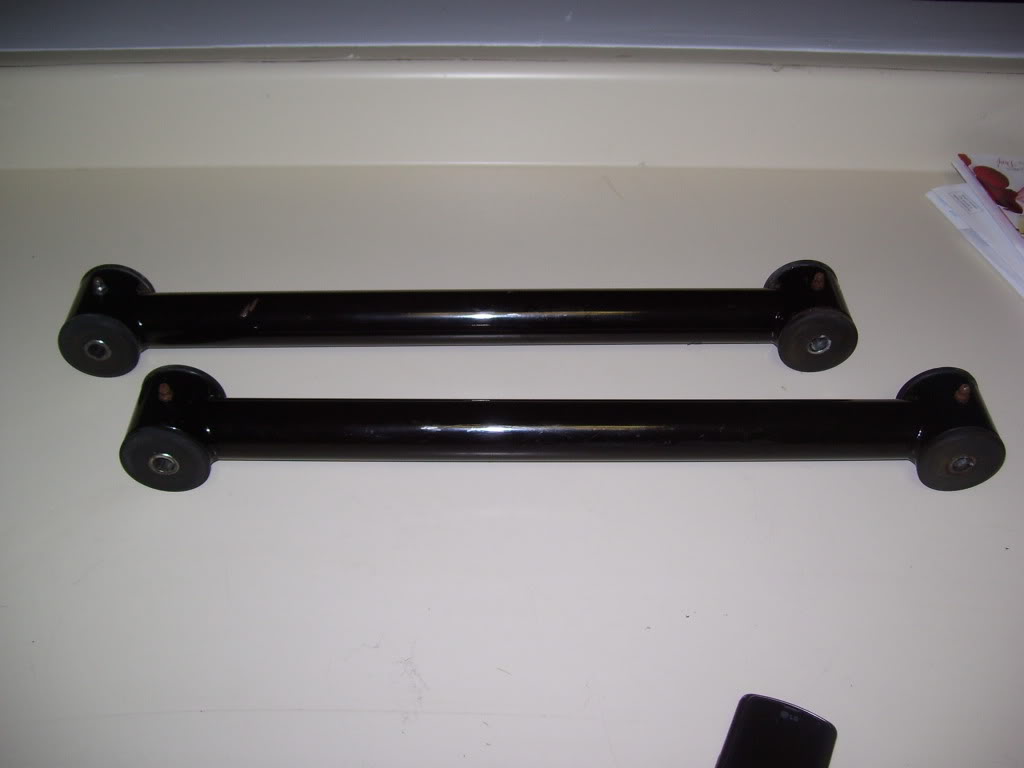
Picked up a set of UMI tubular LCAs from am_muscl (Jason) on here today. These looks like they have NO miles on them. Great shape! Thanks again bro! Cant wait to get these on!
2-2-2011
Just kinda thinking what direction I want to go for the appearance of the Camaro. The Camaro looks great with the new paint job but still kind of plain looking. Been searching the Appearance board on here for ideas. Here is my plan and what Ive come up with so far that I wish to do or add to my 94... *note* These pics are not mine, found from various places online.
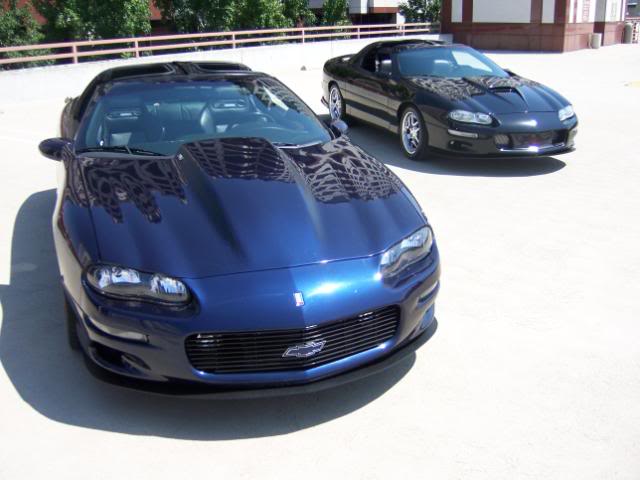
Front I would like to get the front splitter from 6LE pictured below...
Also would like clear corners, the blue grill bowtie pictured above and Halo headlights. Think that should clean up and make the front end look nice. I would like to get the SS scoop decal also as shown in the Camaro below...
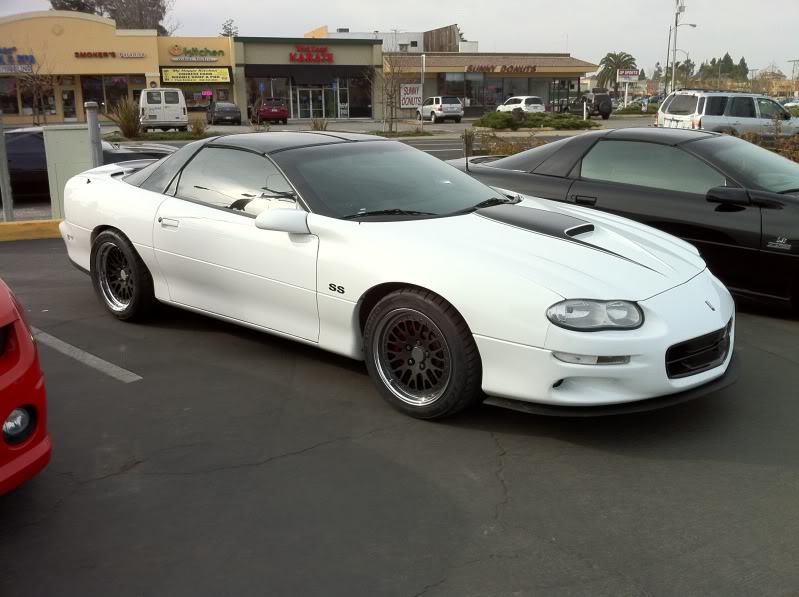
Side/Wheels Although I havent seen this completed on a Camaro, I saw one guy (glocklimited9) modify a set of Trans Am ground effects to fit a Camaro. I would like to try this if I come across a set cheap. Here is the ground effects on his Camaro...
For the wheels I would either like to polish my SS 10 spokes and paint them to match the 35 Anniversary wheels or get chrome 17 inch zo6 rims.
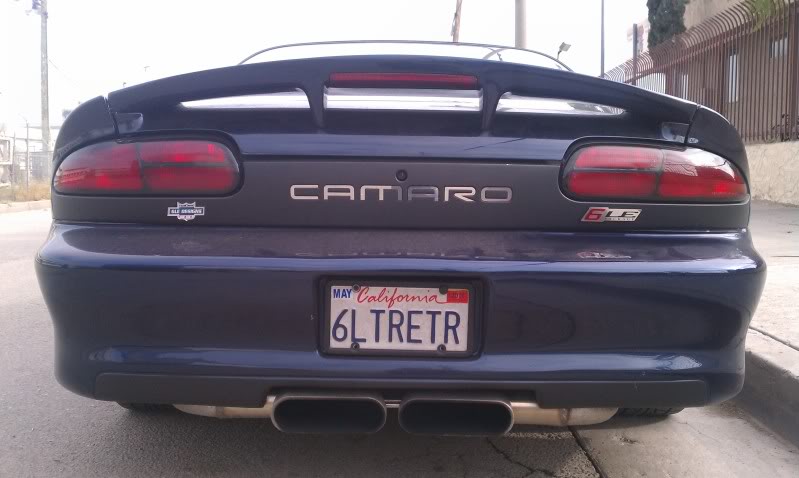
Rear End wise here is a pic with what I want mine to look like (obviously black though)
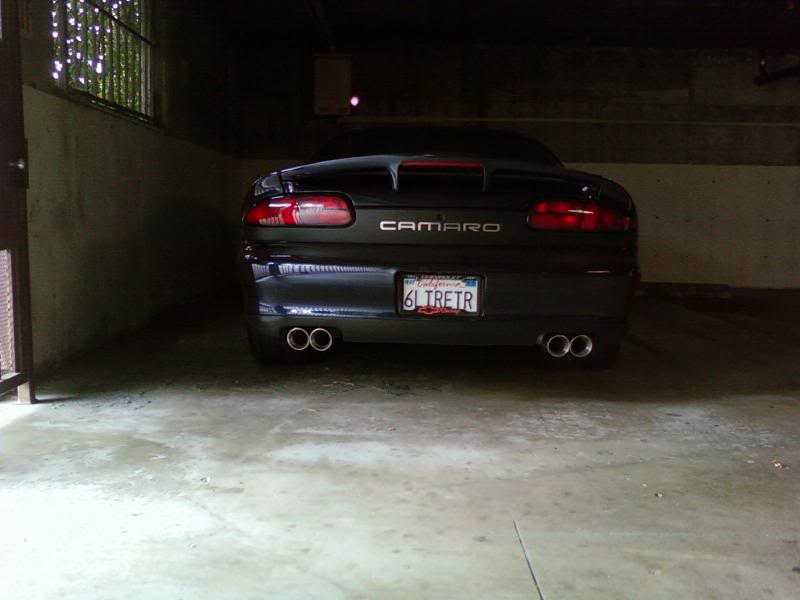
I want the rear valance and Corsa clone tips from 6LE along with the "CAMARO" stainless inserts (forget who makes the inserts off the top of my head) Also noticed the rear taillights are all red instead of the white backup light. Not sure how this was done, but note to self...research this...
Just the idea I have in my mind right now, Im sure it will change slighly but this is the direction I plan on going. I plan to attend alot of cruise nights/car shows this summer and with the new paint job and LS1 swapped interior, I think my Camaro should do pretty well in the shows.
2-10-2011
Placed an order with Emblempros.com a couple days ago for the stainless CAMARO inserts. Got those in the mail today! Really impressed with the quality. Pretty thick pieces and not the flimsy stickers I purchased when I first bought my Camaro that I ended up destroying trying to install.
Here is a picture of the emblems after opening the package...They are actually like a mirror finish and not black like they look in the pic below. Really cool IMO...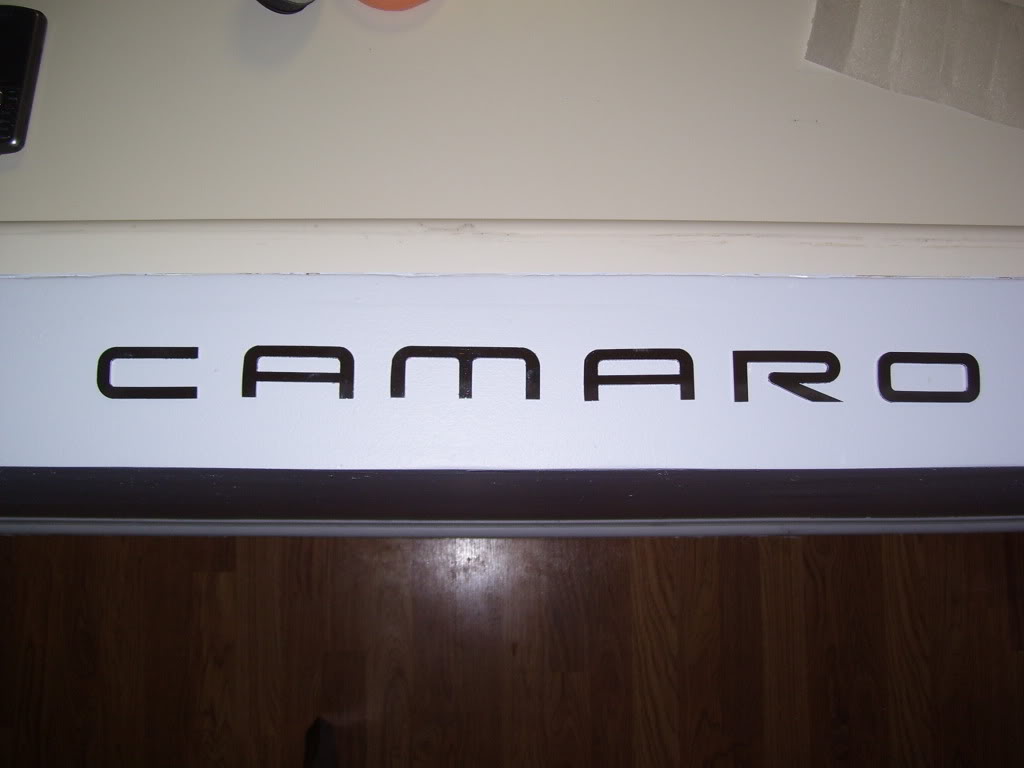
Supposed to be warmer weather tomorrow. Plan on digging my Camaro out of the snow and installing the emblems along with giving her a bath. Ill post installed pics soon...
2-15-2011
Had a little free money and decided to do a couple little easy cosmetic upgrades over the winter. As mentioned above, I picked up some taillight panel inserts from Emblempros.com in addition to the black billit grill pictured
post or two back. Also purchased some clear corners off ebay to go with some rear clear markers Jason (am_muscl) gave me awhile back. I think these all go together to give the car a nice look.
Please forgive the dirty Camaro and ignore the junk winter wheels and tires I have on the car. lol
Also picked up a silver metallic Manta stripe kit for the Camaro but since my friend wants to repaint my entire Camaro again when he fixes the holes from my old spoiler, Im going to hold off installing those. Plus, my painter wants to clear the stripes in for a cleaner look.
2-27-2011
Huge thank you to Merim on here for giving me a Crane 227 cam for free, I feel like I owe ya! Drinks are on me if you go to the Shootout this year!
So looks like I have a project for this coming up spring. I will do a Write Up for the cam swap as well in case you guys want to tackle doing a cam and want to see how I did mine (and learn from any mistakes I make lol)
Here is the Crane 227 cam (210/224 .511/.553 112lsa) w/1.6RR's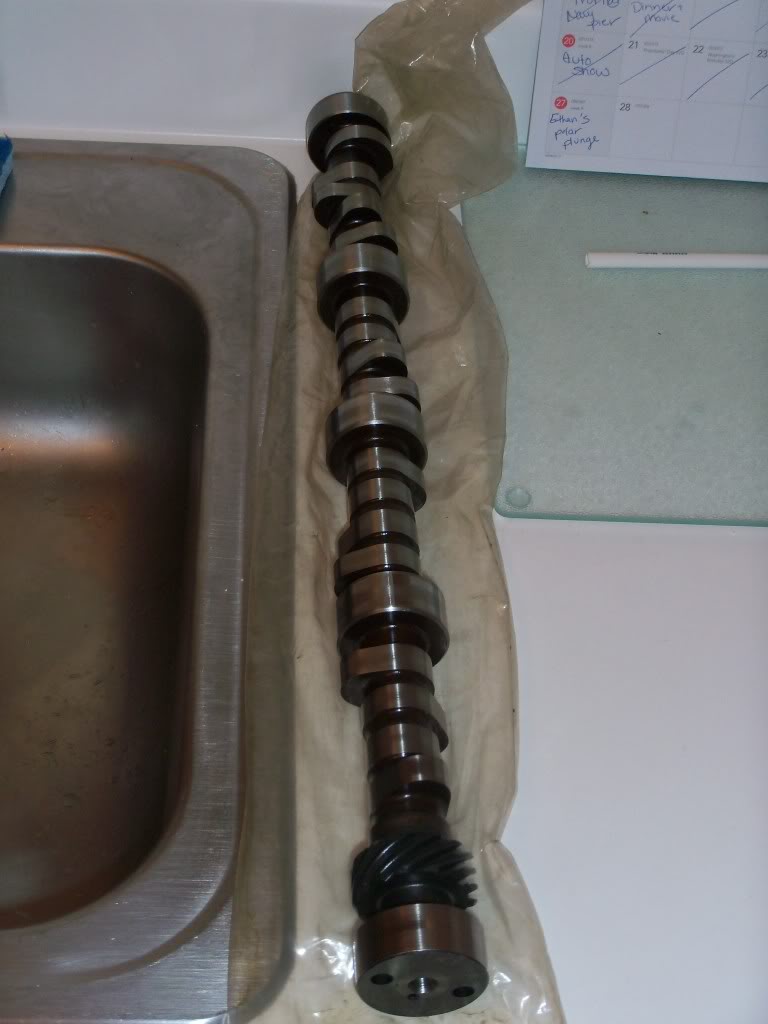
Additional Parts Im will need for the swap:
New Timing Chain
Valve Springs
1.6 Rocker Arms (already have)
Gaskets
Lifters
Supporting Mods I will need:
SVO Injectors
52 mm TB
Stall Convertor
Tune
3.73 Rearend (Waiting for a buddy to get his S60 so I get his rearend)
I plan on requesting a few days off from work so I can knock this out in the next few weeks so I have a little time to get the parts together. Anyone local who feels like helping or just want to stop by let me know. First time doing a cam swap (on a LT1) so any experience will help.
(Cam write up and updates will be posted here)
3-4-2011
I purchased a front splitter from 6Litreeater and coughed up the extra $50 for the beveled edge option on it for a total of $400. I got the splitter the other day and test fit it on the car. I want to adjust it more to my liking but as stated, just test fitting for now (plus I want to paint the hardware included so waiting for a little warmer weather)
Overall, a great piece and wasnt too difficult to install. Bolted up to the stock mounting tabs minus 3 holes in the middle that I drilled and ran a nut and bolt through other than using 3M double sided tape. I would like to run some spacers in the middle 3 bolts to give it an even flat look instead of the gradual upward slope in the middle along with adjusting it back further. I will be posting up a write up for the install and whatever modifications I make to make this look "dead on" when the weather allows (pouring rain out right now)
Also snapped a couple pictures after throwing my SS 10 spoke wheels back on and washing the Camaro this morning (of course its raining so makes sense)
I need to have my friend install the silver Manta stripe kit I bought (he is tough to get to do anything so being impatient like I am, may have to cough up the dough and have it done professionally) then I plan on clearcoating over the stripes to give it a painted look and eliminate any edge. This will be done when I weld up my old Dick Harrell spoiler holes in the 1/4 panel and tough up some spots here and there.
3-6-2011
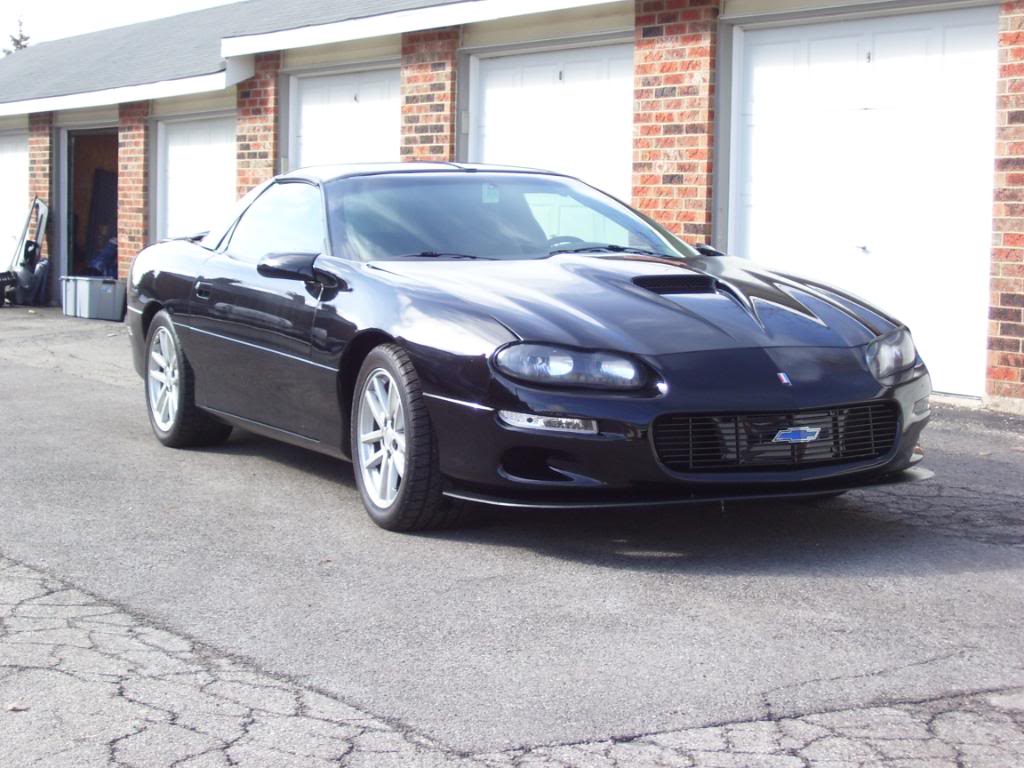
Thanks to am_muslc (Jason) for selling me the blue bowtie he wasnt using and thanks to his girlfriend Gina for painting the black outline for me with nail polish! lol I had to cut the ends of the studs off the emblem to get it to fit however. Otherwise I would have had to drill holes into the center of the bumper which I didnt want to do. After that, I just put two speednuts on backwards with a washer to hold the emblem on the grill.
Snapped a couple pics...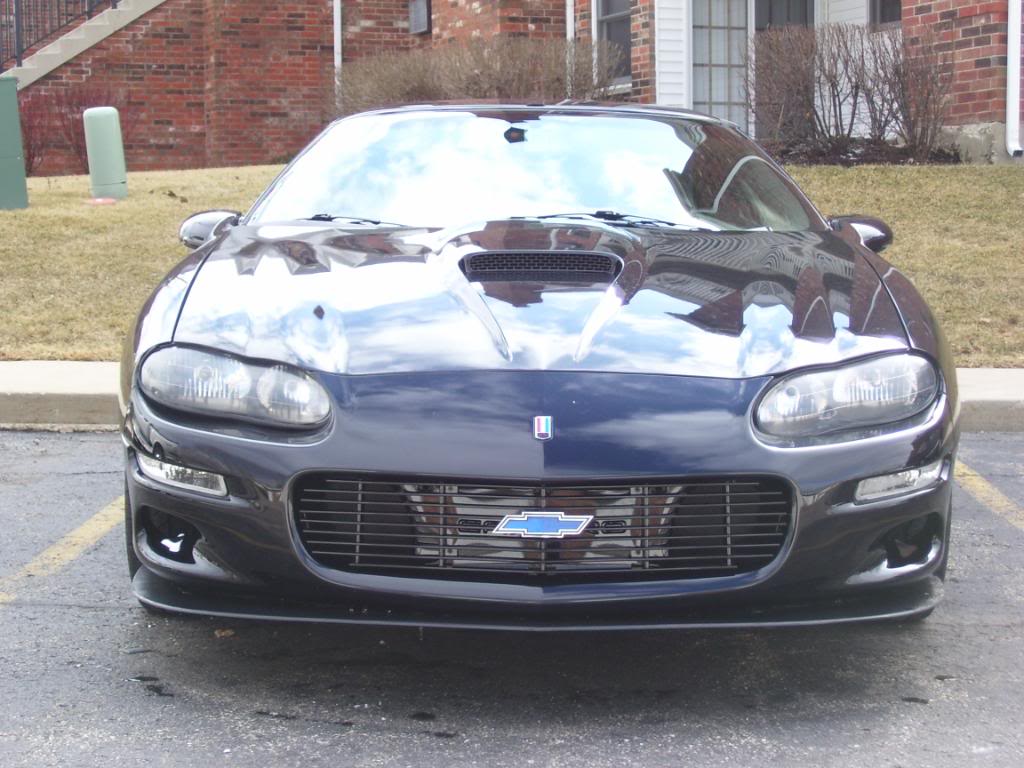
Then I bought a Summit/Jegs? overflow container at a swap meet along time ago that I "found" in my garage. It was blue which looked horrible in the engine bay so I used some SEM black plastic paint and sprayed it black. Now to find a place in the engine bay to hide it...maybe infront of the radiator where the A/C condensor used to go...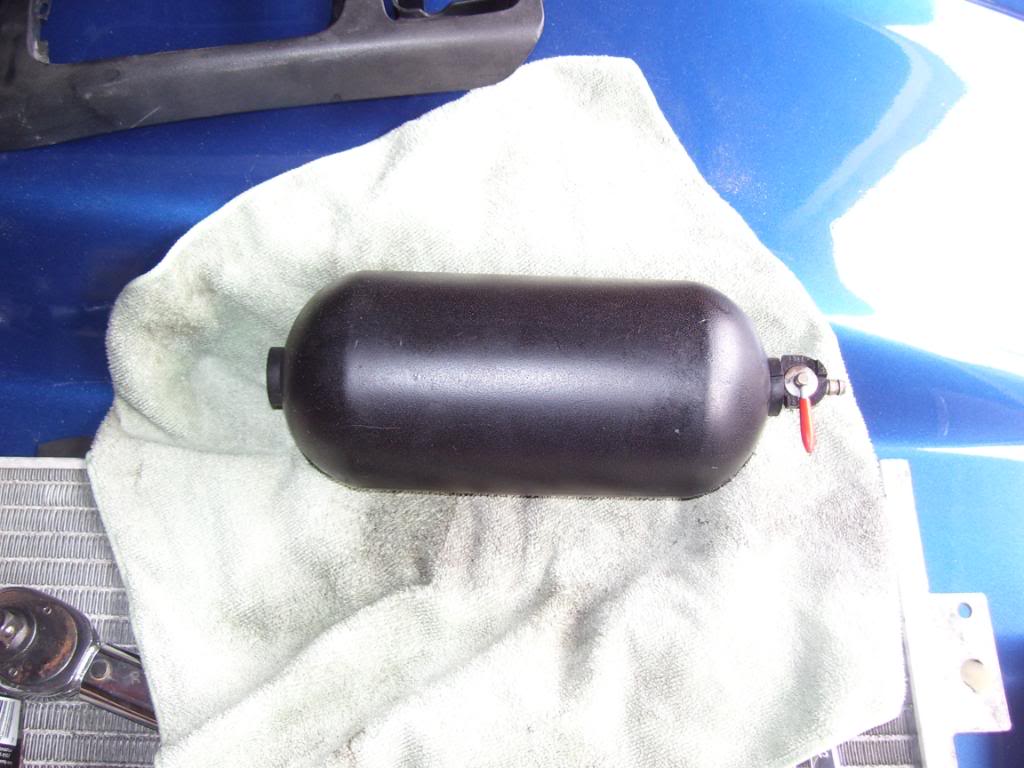
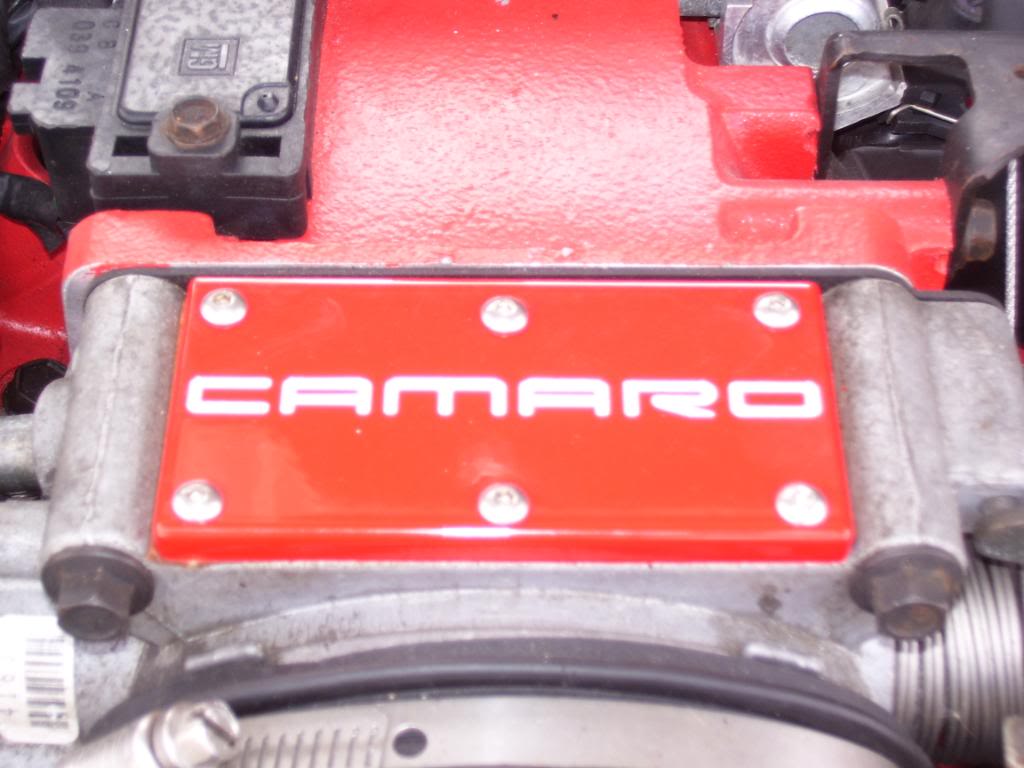
Found a good deal I couldnt pass up from 97pontta on a throttle body plate cover. Only $11 shipped to my door and looks great! I need to clean up or buy a new throttle body though. I dont like how the ends are exposed after doing the TB bypass...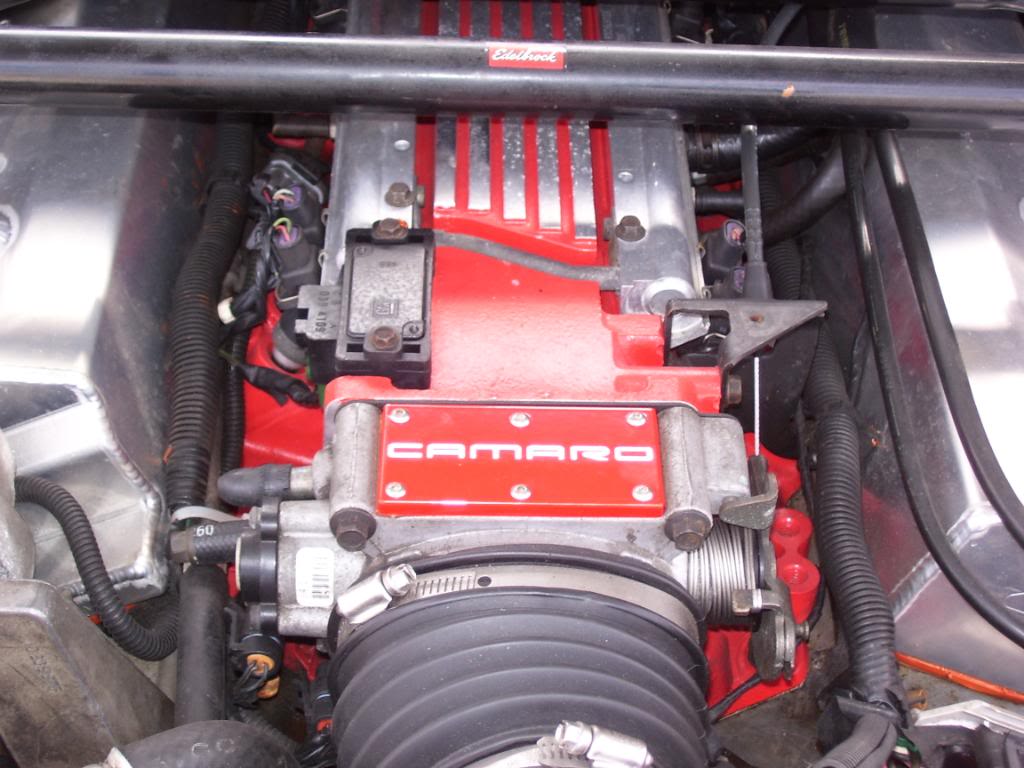
3-11-2011
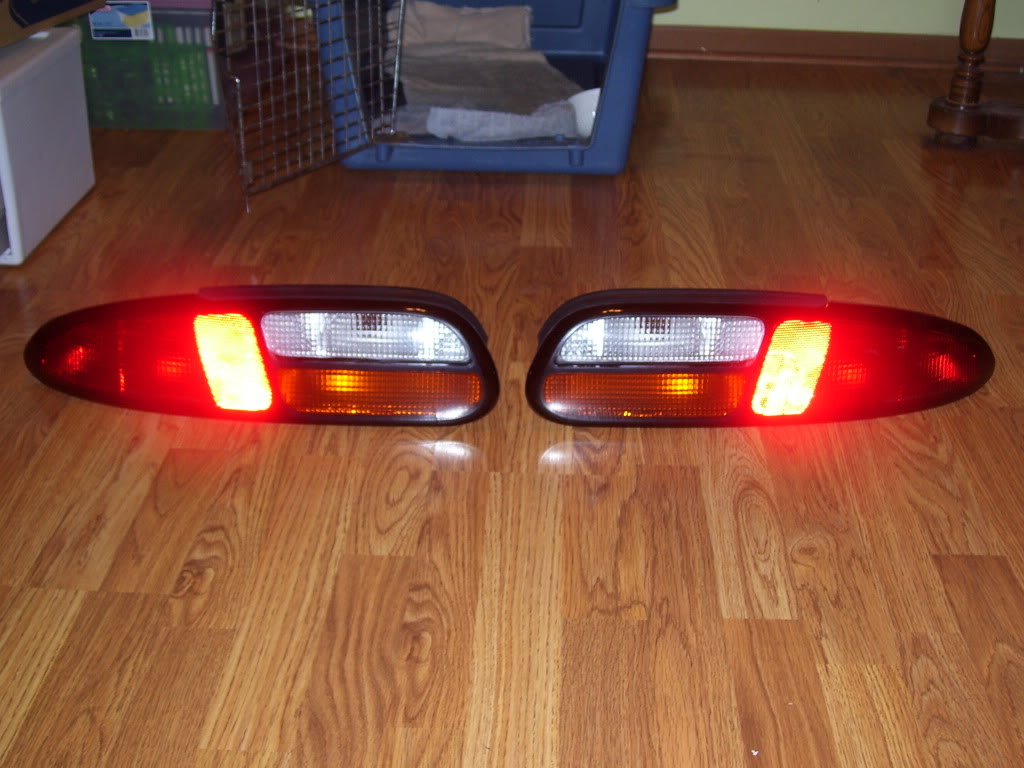
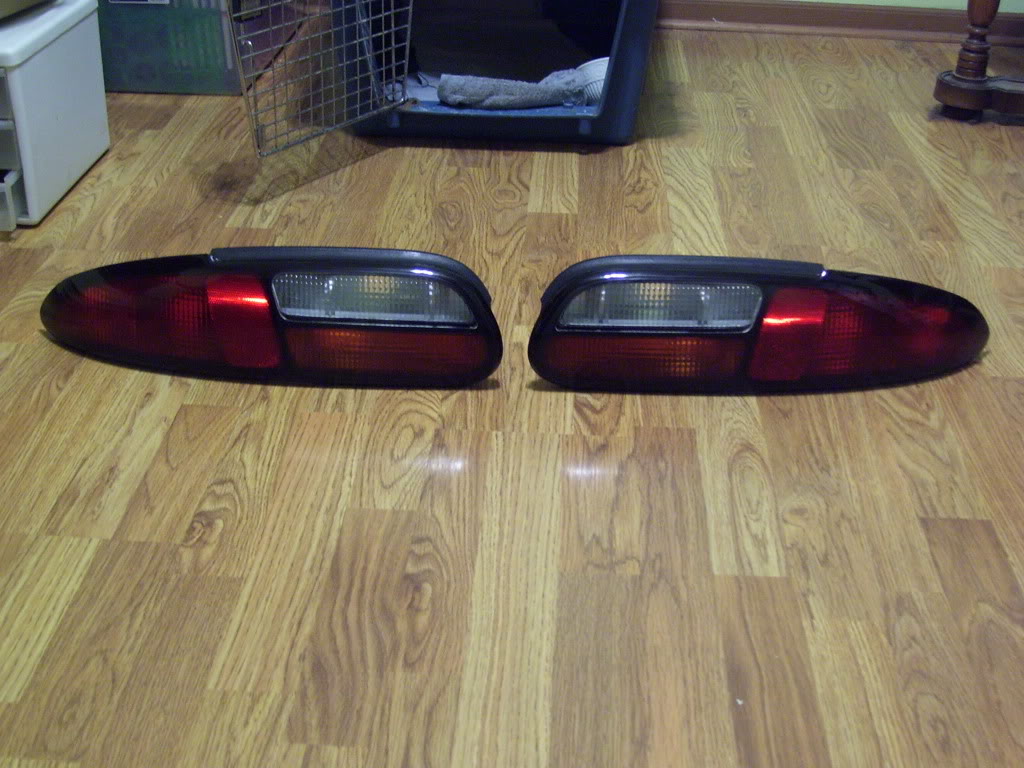
Worked out a trade with usaf_hess on here to trade my LT1 taillights for his LS1 taillights.
Got these in the mail today...
Now the decision is to leave them as is or to copy 6Litereaters taillights...
So we will see...little touches here and there
Didnt take too long to get the taillights installed either. Wife isnt home tonight so I got to "play" in the garage for awhile.
The LS1 taillight swap was pretty simple. Took a total of about 30 minutes (while talking on the phone half the time!!)
I took some pictures to help anyone that plans on doing the swap. First I took the rear interior plastic panels out and pulled back the carpet covering the light locking tabs and removed the lights.
Sat them next to each other. LS1 taillight is on the top. LT1 taillight is on the bottom. Not too much difference really. Just the location of where the tab "hooks" are...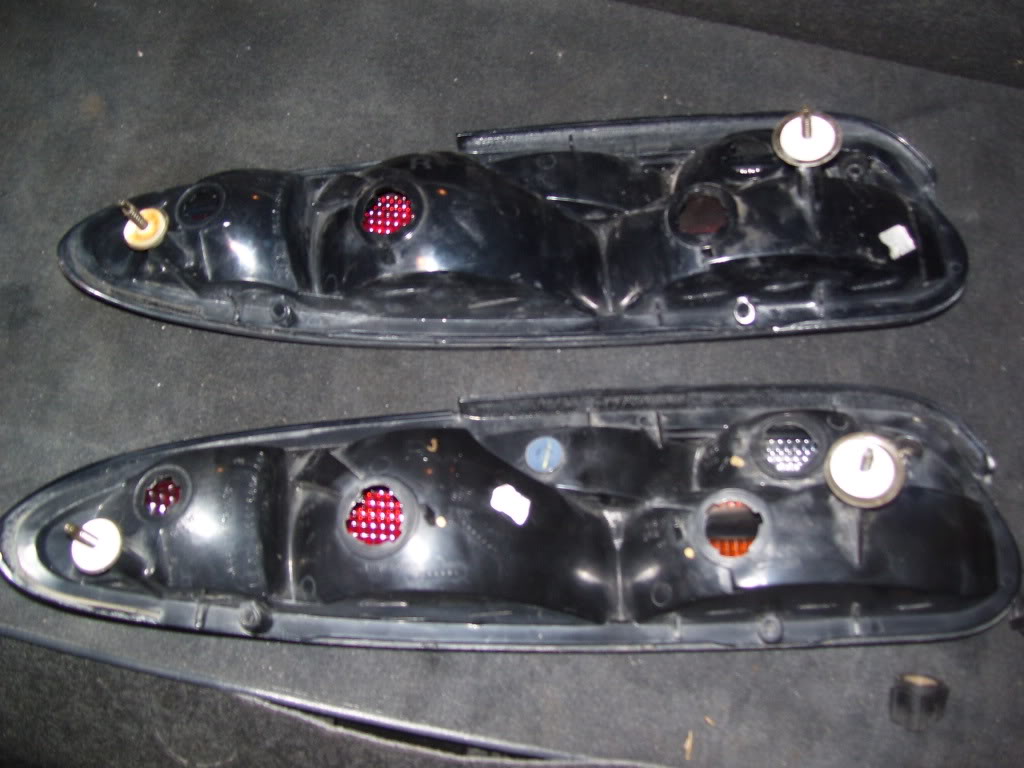
After test fitting the lights, turns out the lights all fit in the taillight holes but the two centermost "stop" tabs interfere with the sockets locking down all the way. So to fix this, I grab a kitchen knife and cut the tabs flush...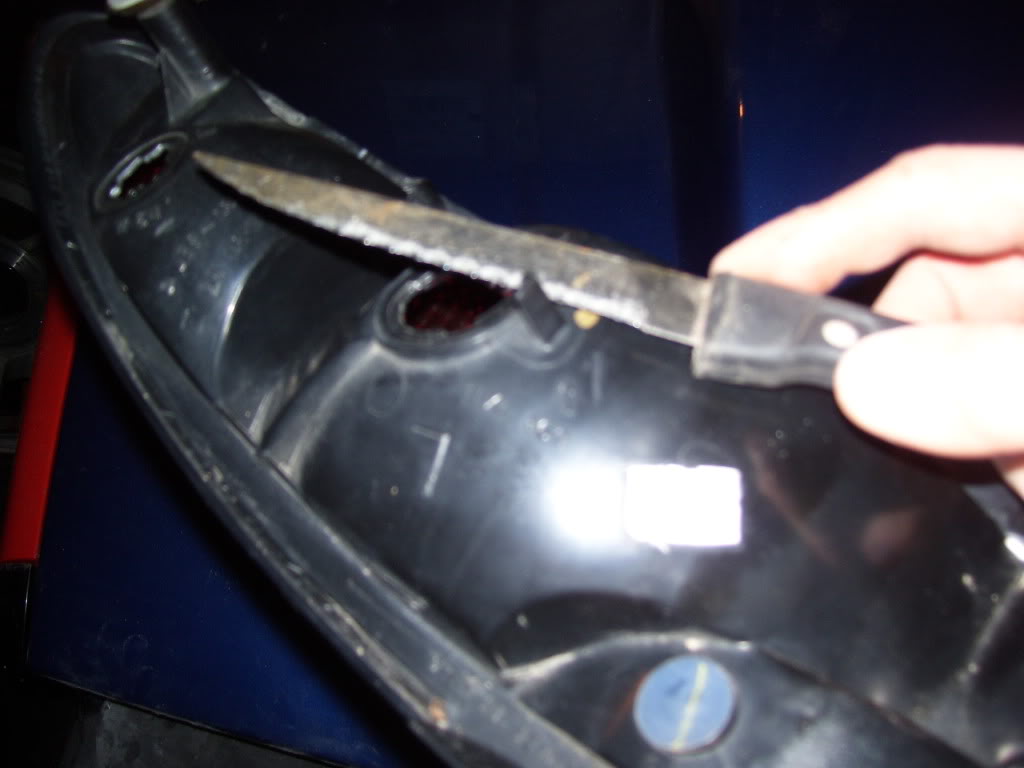
After the tabs are removed. Remember, just the two inner ones need it, the other ones fit fine.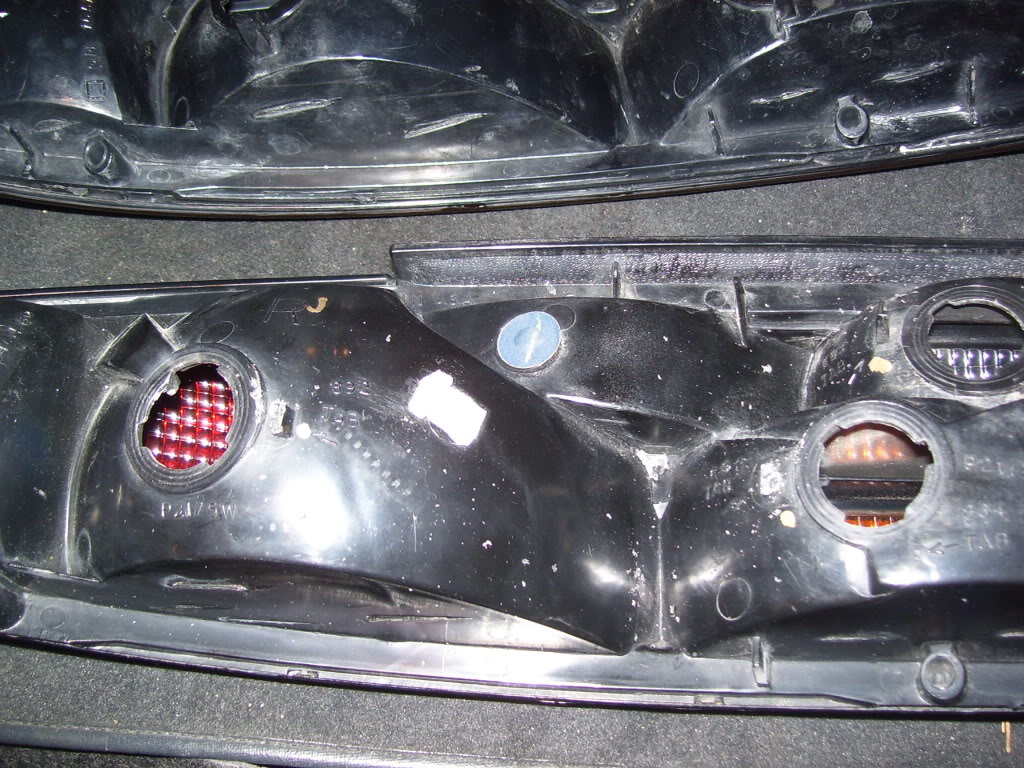
LT1 taillight on the left, LS1 taillight on the right. Sorry for the quality, not the best lighting at night in the parking lot/garage...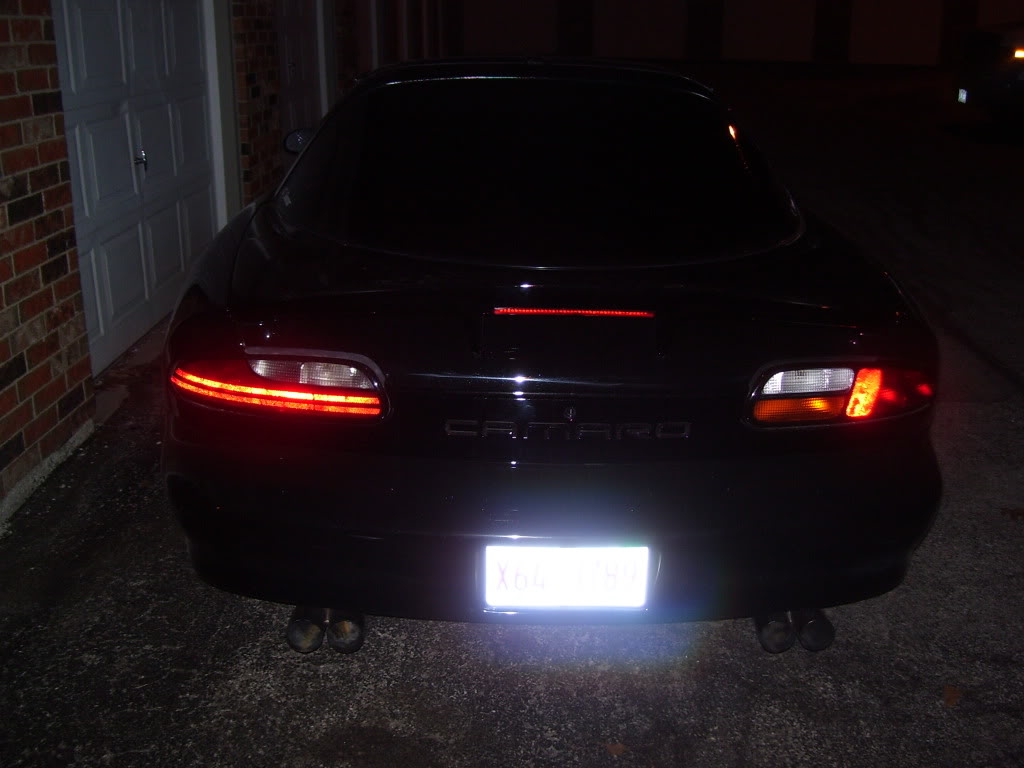
Again, Ill try and get a better picture tomorrow morning in the light, but the LS1 taillights are installed and finished!
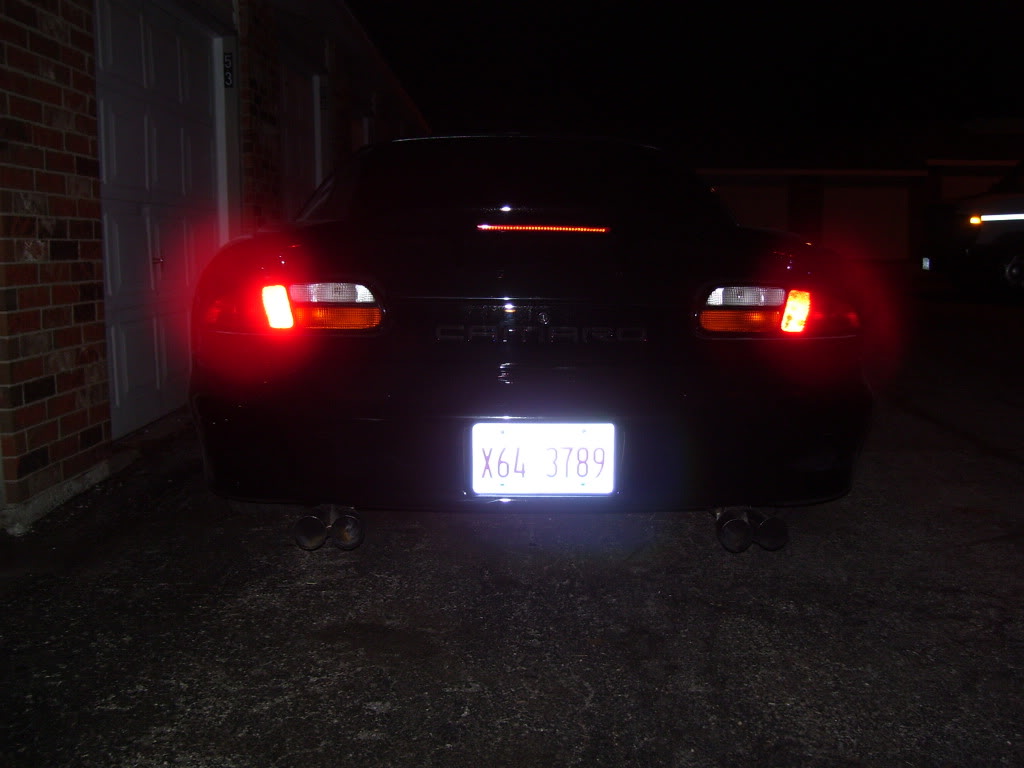
3-13-2011
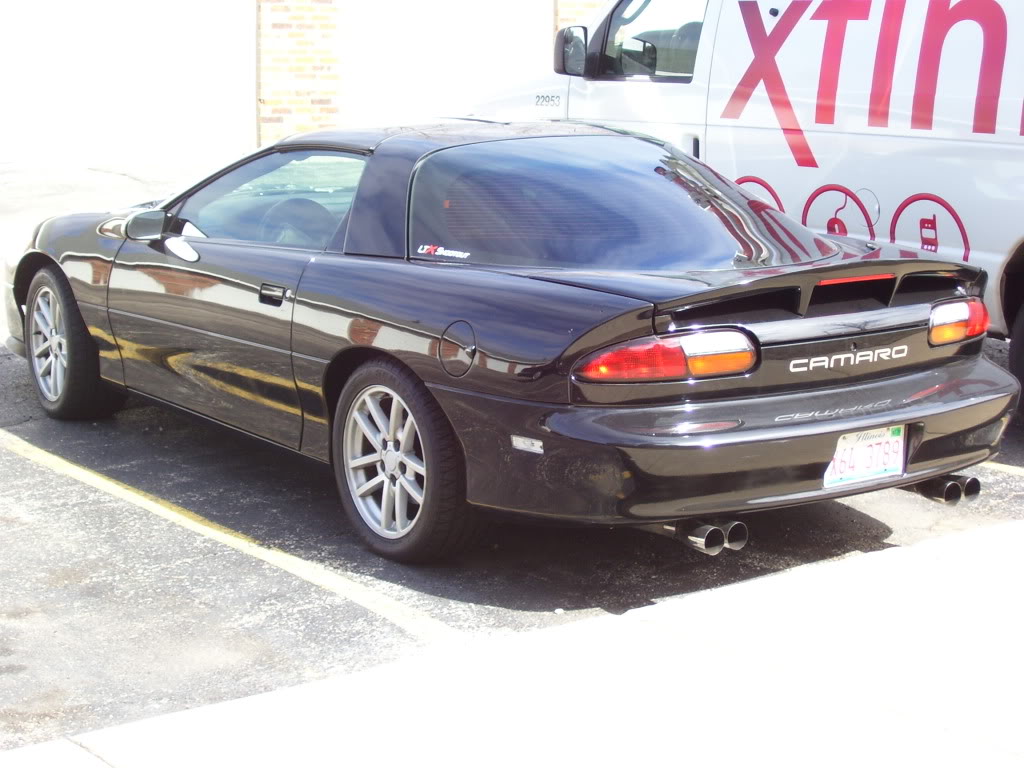
Some daylight pictures of the LS1 taillight swap completed, forgive the dusty car though. Black is a tough color to keep clean...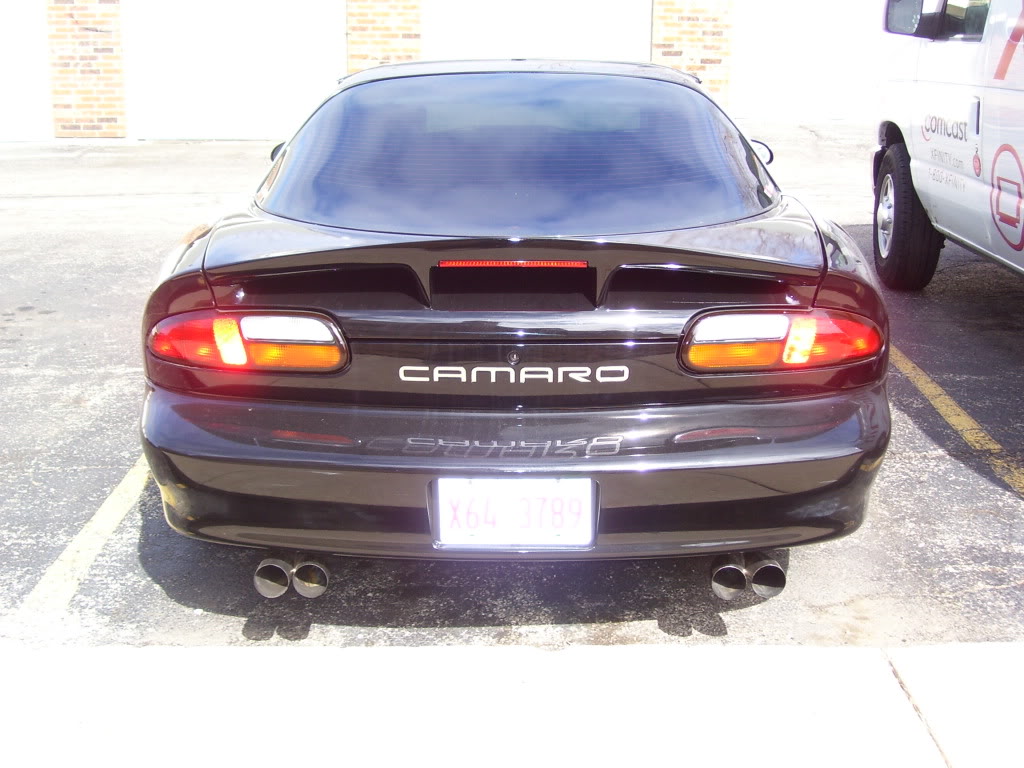
3-14-2011
I love getting car stuff in the mail...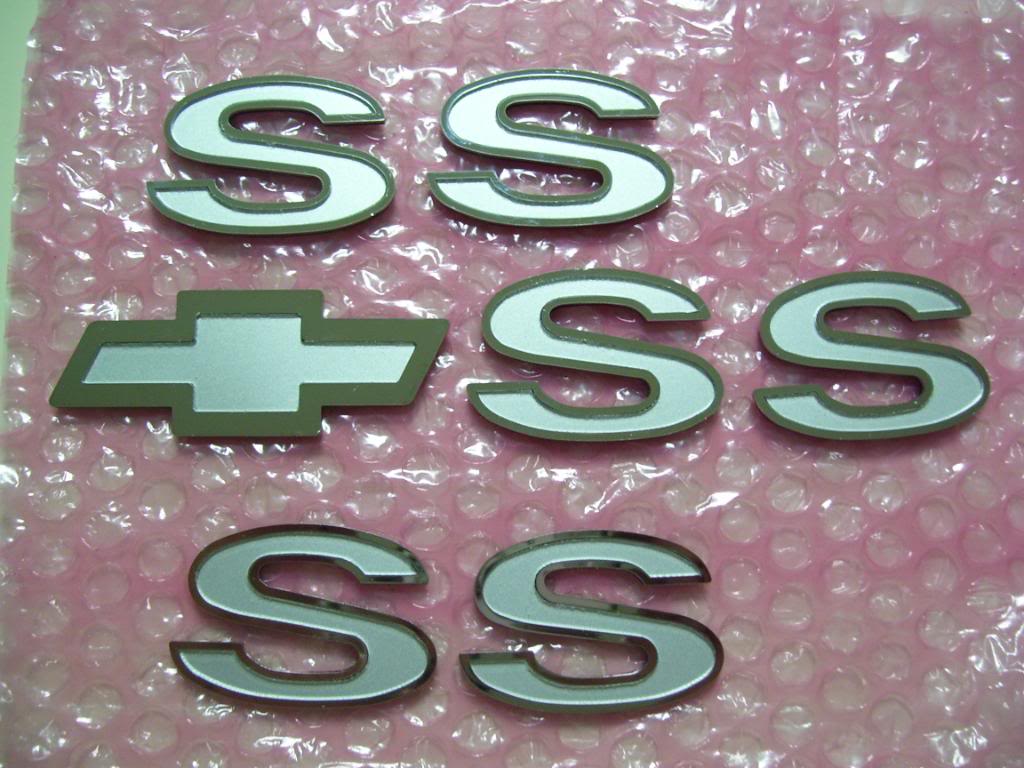
Big Thank You to Emblempros.com. They customed made me some silver metallic SS decals with a stainless border to go along with the silver metallic Manta stripe that will be going on the Camaro soon. Also repainted the SS 10 spokes the same color silver. Should look pretty sharp!
Ill try and get these installed tomorrow morning!
3-15-2011
Installed the SS emblems and did a mini photoshoot after I waxed the Camaro. Still wish I could take better pics but I lack photo-taking skills. lol
Its amazing how small little details make (or break) a car. I love how the SS decals made the car look more complete I guess you would say. Just looked plain after the paint job and I gave my 69 z/28 to a buddy who wanted them more than I did.
The only thing is I think I may buy the SLP emblem for the other side of the taillight panel to even it out more. Other than that, just waiting on my buddy to repaint the 1/4s (possibly the entire car, we will see what wetsand and buffing leaves behind) and install the silver manta stipes I bought.
Here she is now with as an "SS"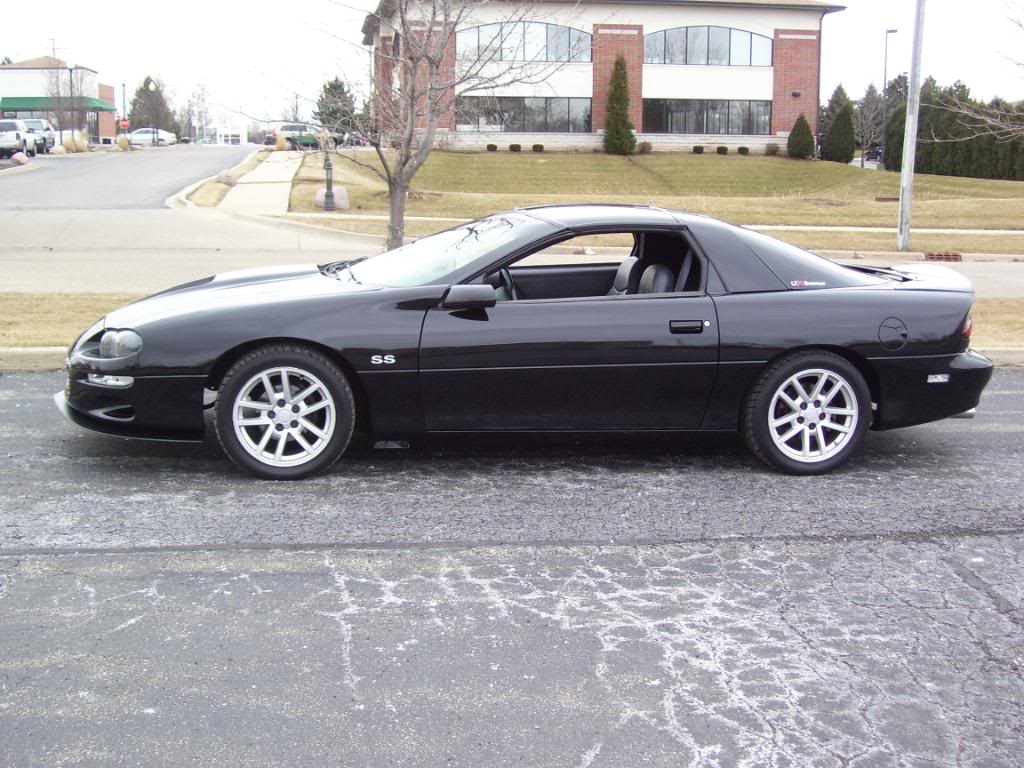
3-18-2011
Had a pretty early day at work so I used that plus with the decent weather, decided to get to work on all the stuff Ive accumulated/put off over the winter. So...
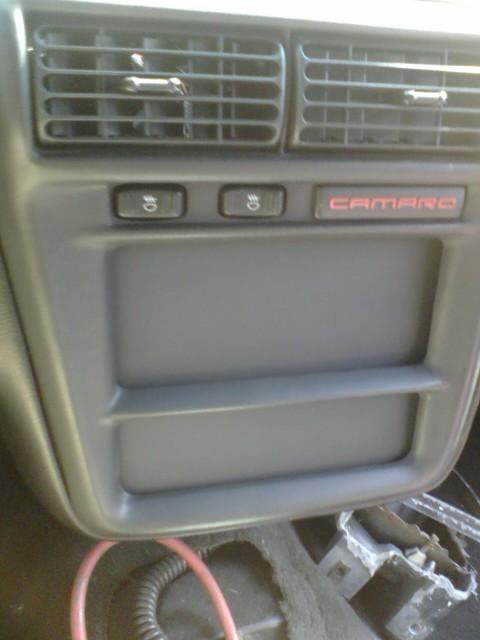
I made a radio/HVAC delete panel last summer for my Camaro that I tossed in the extra parts bin but after some thought decided I would reuse it but trim it so I can reuse the HVAC controls. Pic from this past summer of the plate installed...
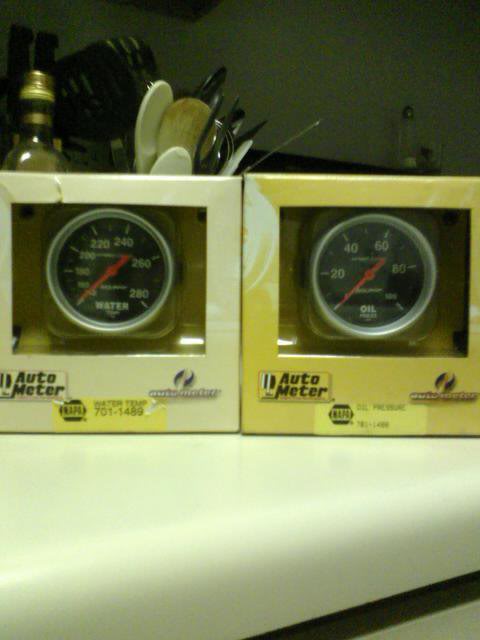
Then I picked up some Autometer 2 5/8 oil and temp guages that have been collecting dust...Lets combine the two...
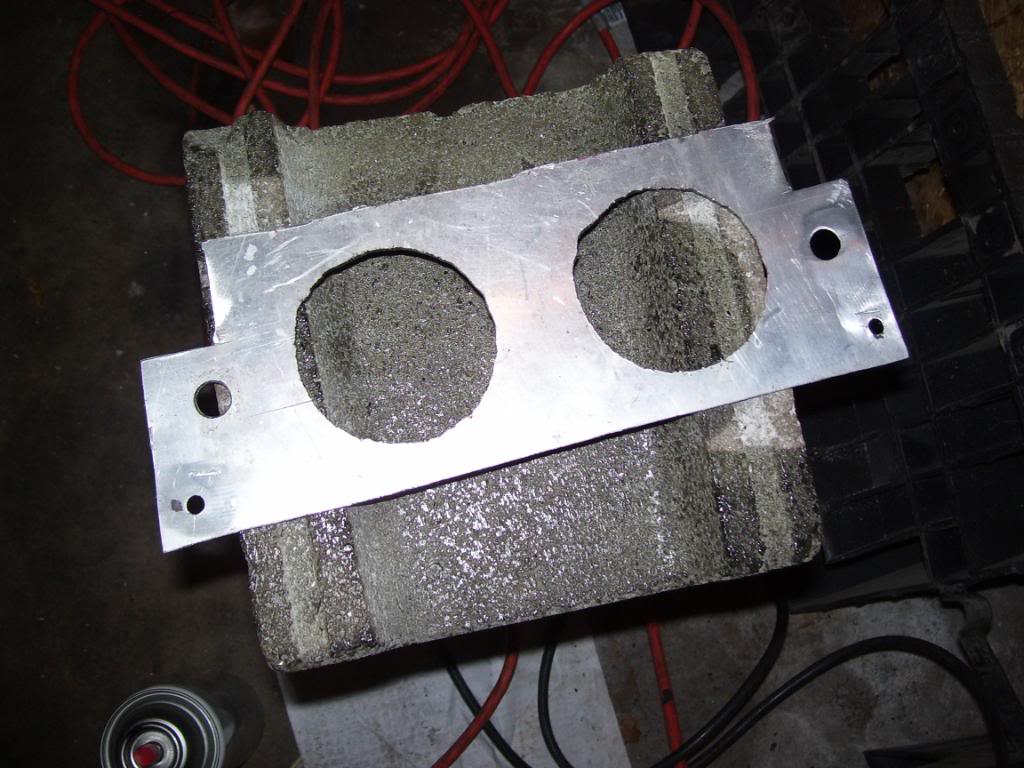
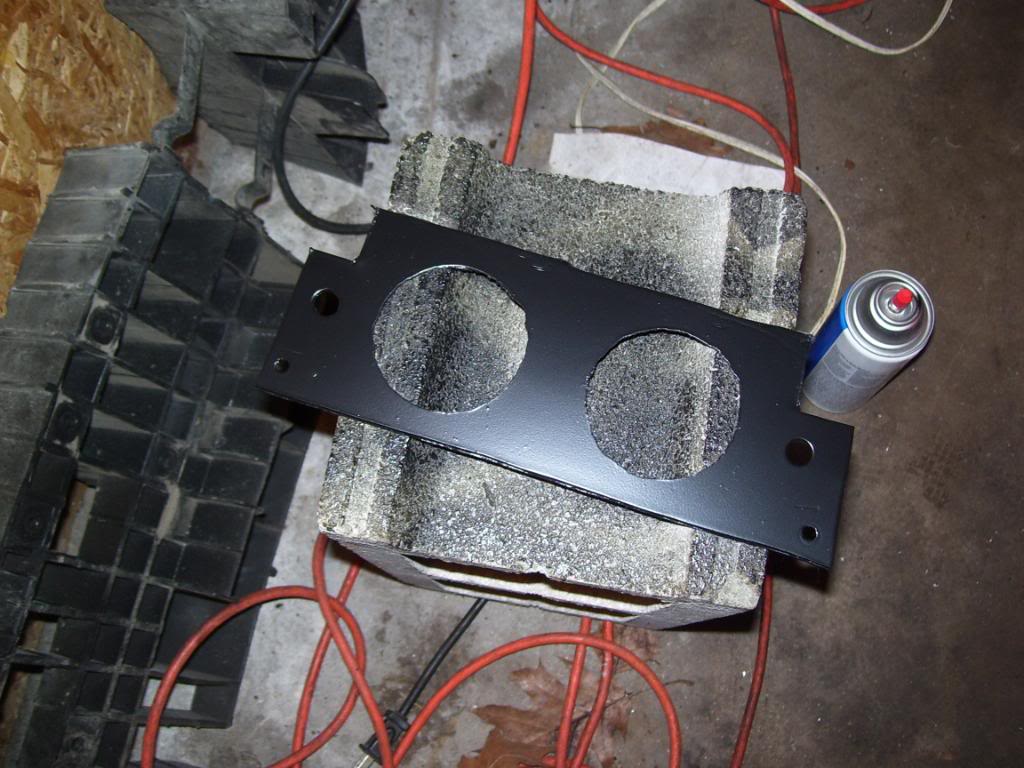
I trimmed the bottom off the panel so I can run the HVAC controls and drilled the two gauge holes with a hole saw drill bit. Measured and checked several times for dead center. Here is the raw radio delete/guage panel...
Filed down the rough edges and shot some self etching primer (panel will fisheye or run if not primed) and then a couple coats of SEM Landau Black interior pant...
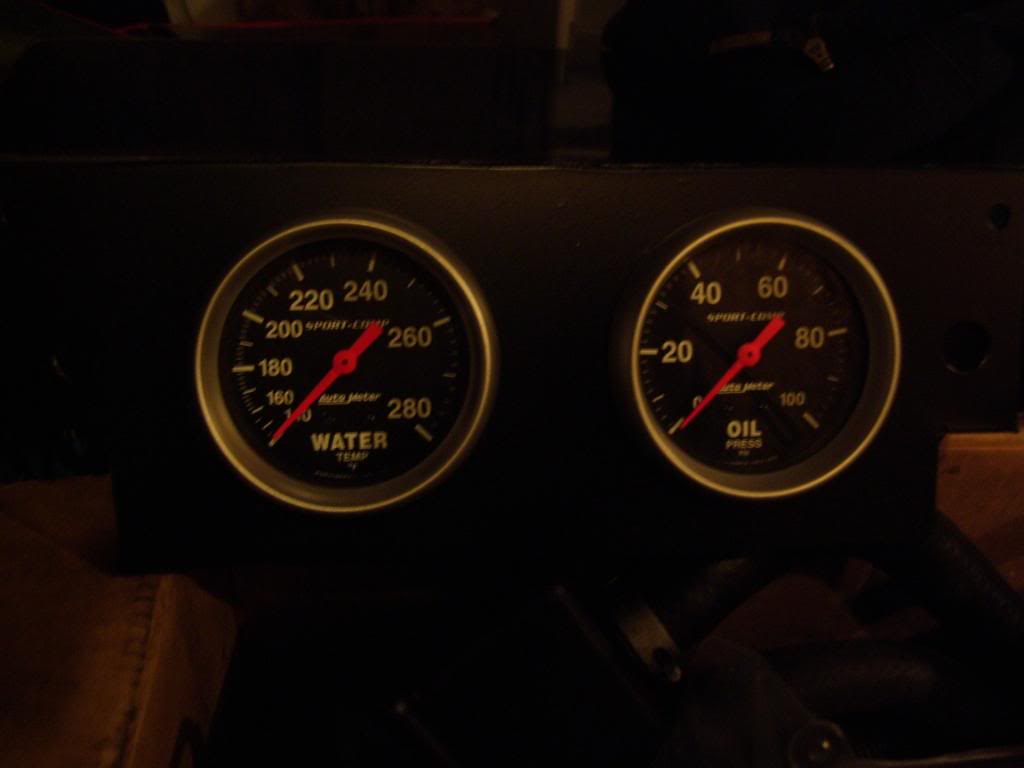
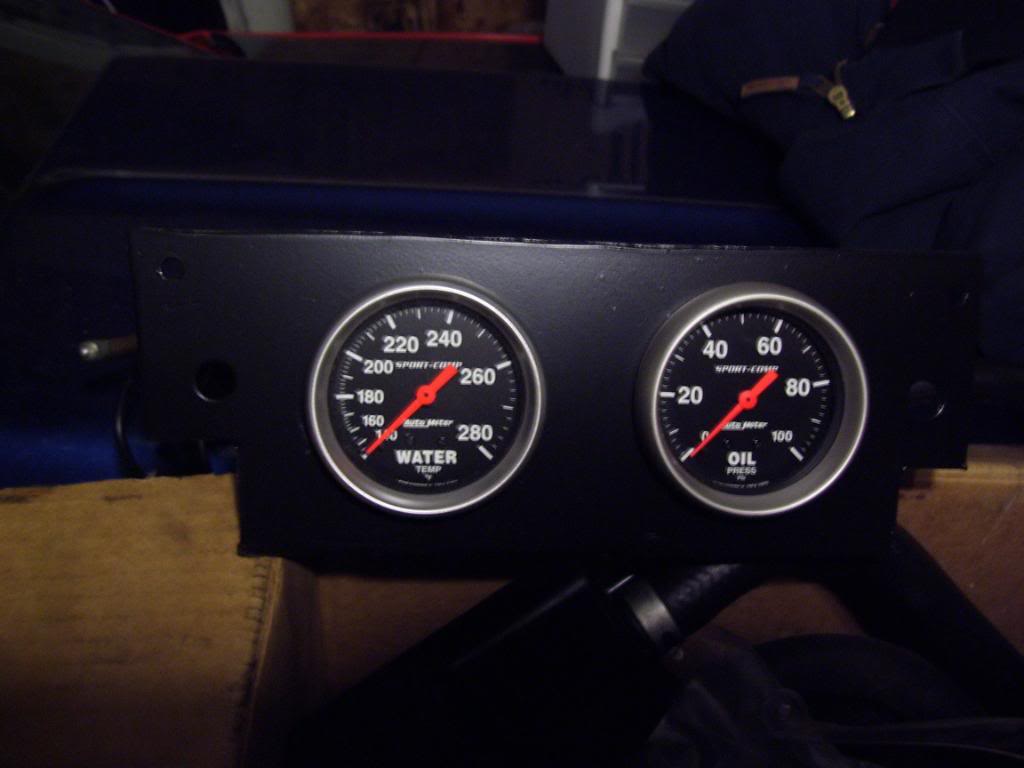
Couple shots of the gauges set in the panel awaiting install...
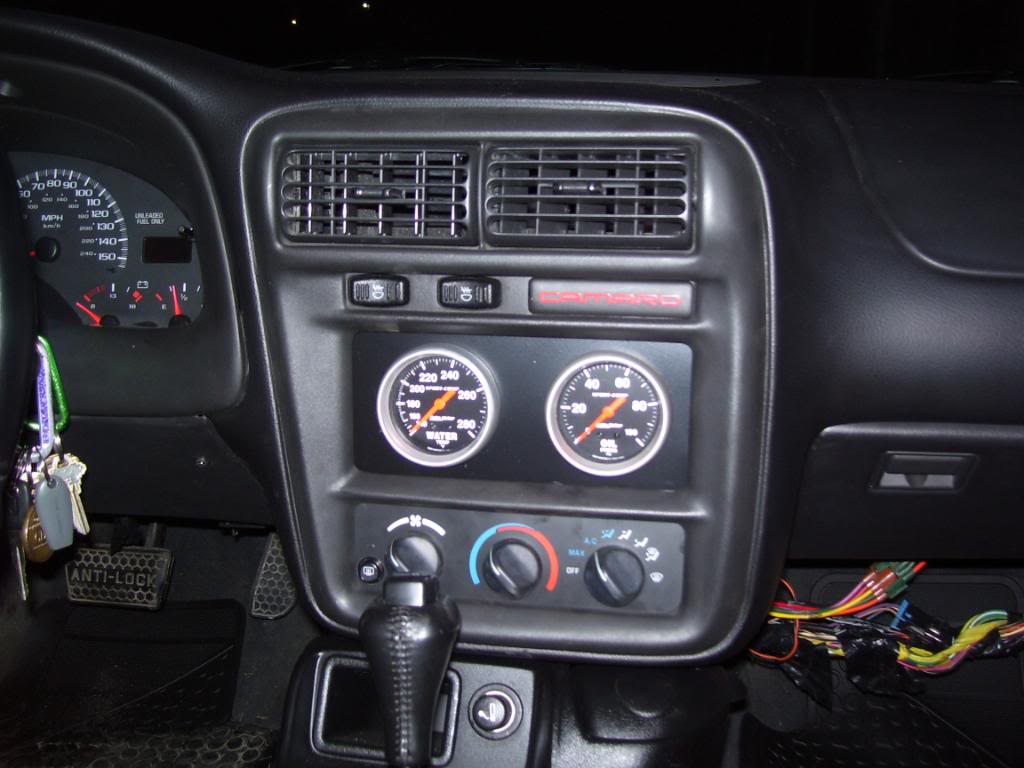
And bolted the panel up to the dash, installed the LS1 HVAC panel (which Jenny [ZGOBYBY] gave me as a freebie! Thanks!) and popped the cover panel back over it. Just test fitted for now. Going to run the wires tomorrow if I get time...
3-19-2011
Some more decals/emblems came in the mail today. Bought a 69 RS/SS emblem from www.afterthoughtsauto.com (I guess the regular SS emblem doesnt fit right, so I went with the RS/SS emblem. I will post results...of course) to complete the SS theme and since I didnt have any blue anywhere else on the Camaro, the blue bowtie didnt really fit in.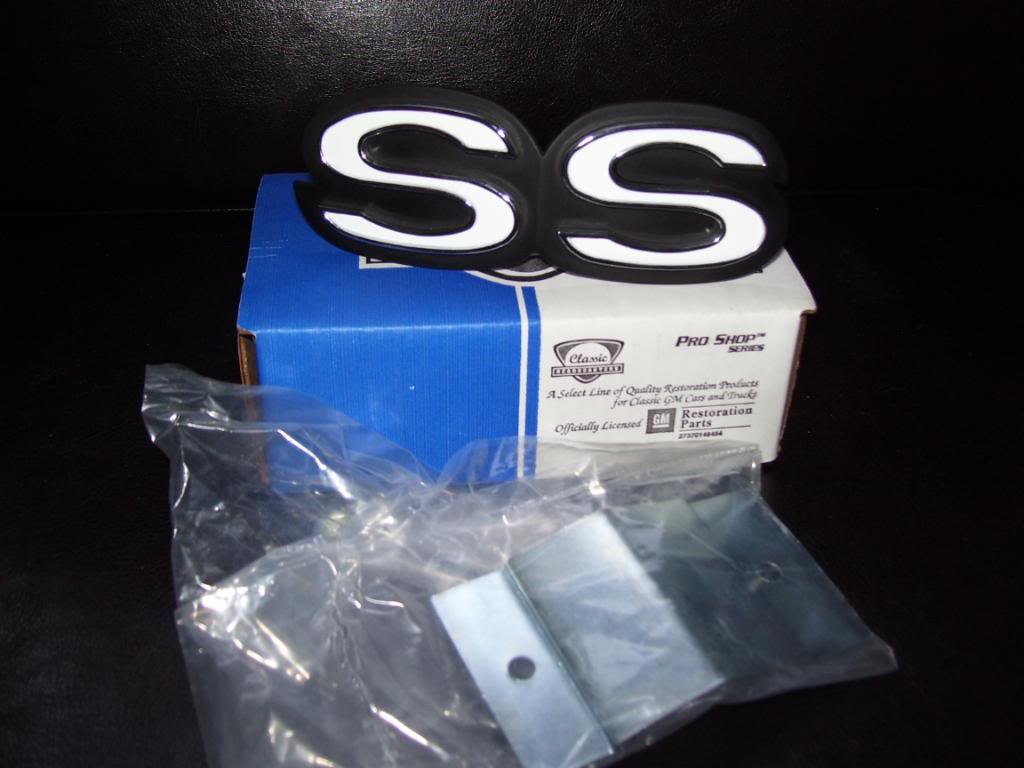
Also purchased the SLP decal for the taillight panel to balance out the driversside which looks bare. A little something I guess...kinda rice move here since the Camaro wasnt a SLP SS or let alone an SS, but it looks good, so what the hell...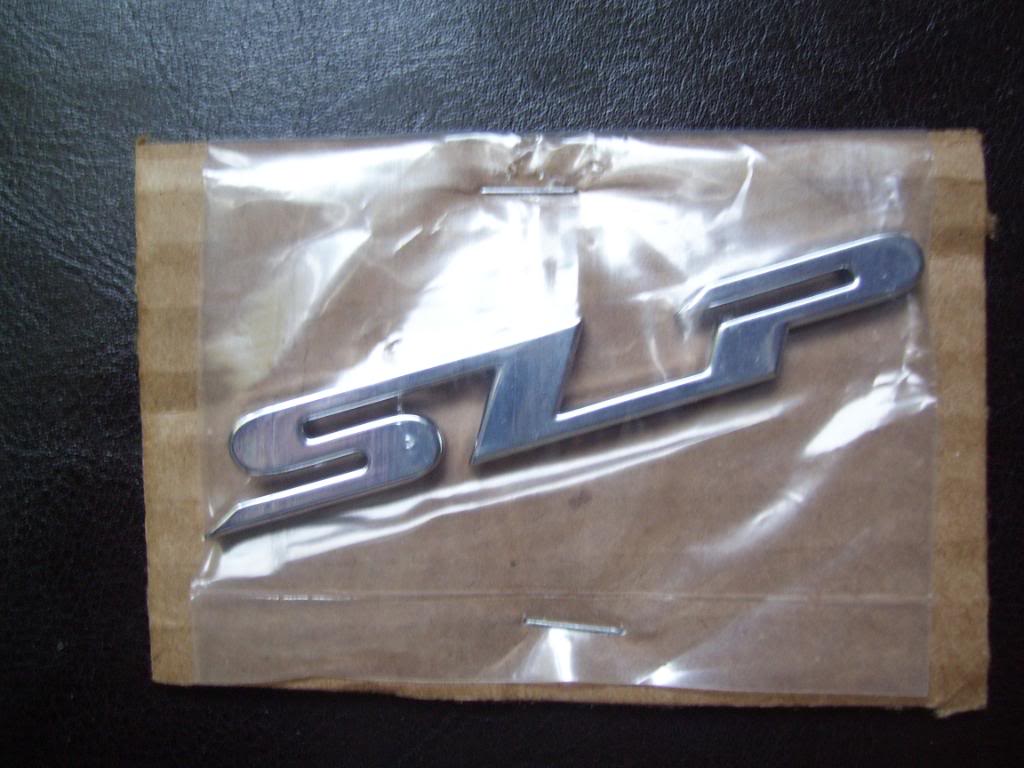
Should have these installed tomorrow or Monday...
3-20-2011
Ive been trying to think of a way to "level" out my 6LE splitter since the factory bumper slopes up slightly. Picked up some spacers to put in between the bumper and splitter. May also give it a nicer look too. Heres a pic of the spacers as well as some bolts to plug the 02 sensor holes in the y-pipe...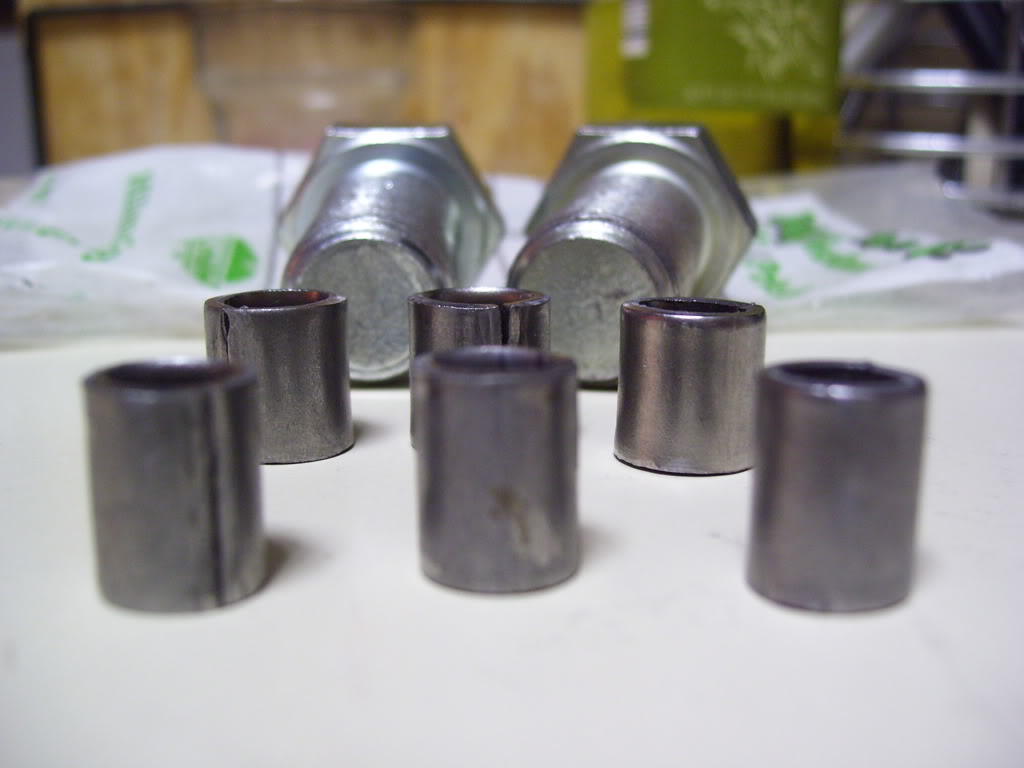
Started playing around with the spacers and I "think" they will work out just fine. I want to reinforce the back of the bumper with some larger washers so the bolts dont pull the plastic down. I had to stop due to an incoming thunderstorm so this is as far as I got for today.
I also installed the SS emblem as well which fits almost too perfectly! Just had to trim off about 1/4 of the tabs and find a size larger speed nuts in place of the provided ones. Huge improvement over the bowtie IMO...
Got a break in the storm and went out to wipe the Camaro down to check for hail damage (none yet...just started hailing again ) and decided to install the SLP emblem. Looks good on the rear and balanced it out. Really liking how all these emblems are "making" the car!
3-23-2011
Was actually pretty nice Monday and went cruising around with my friend and decided to stop and snap a couple pictures of our cars together.
Anyways, you all know my Camaro, my buddys is a 70/71 (?) 440 SBC/Tremic 5 speed car that pictures dont do it justice. Wins trophies every show we go to.
Taken behind a Kohls building lol...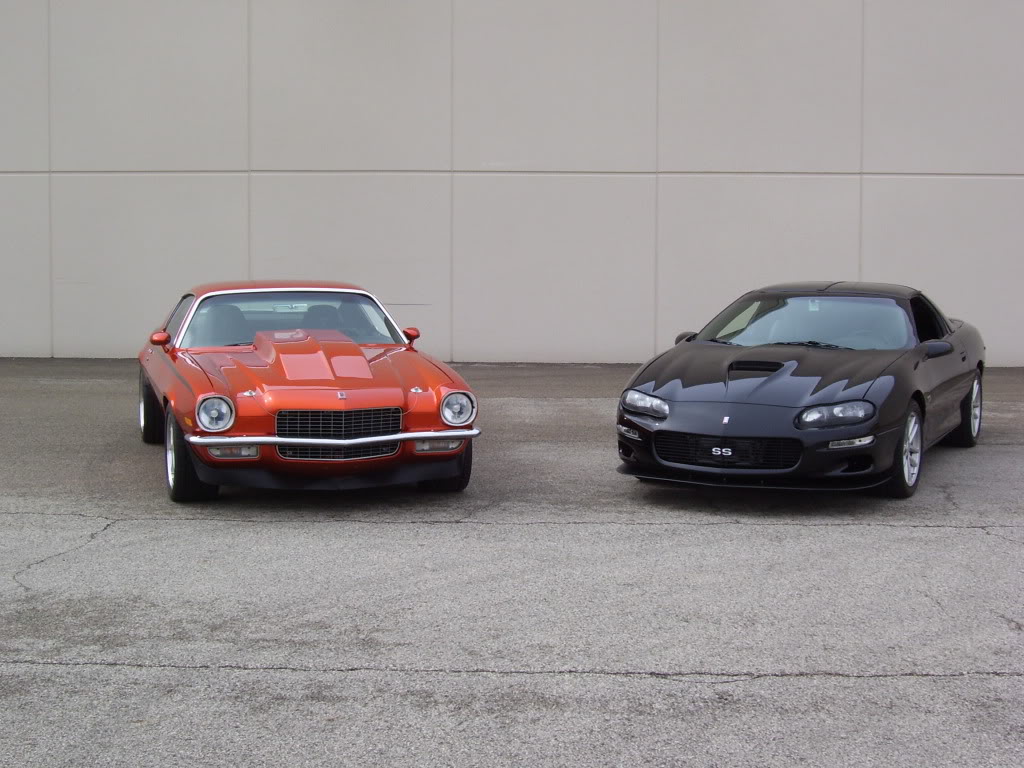
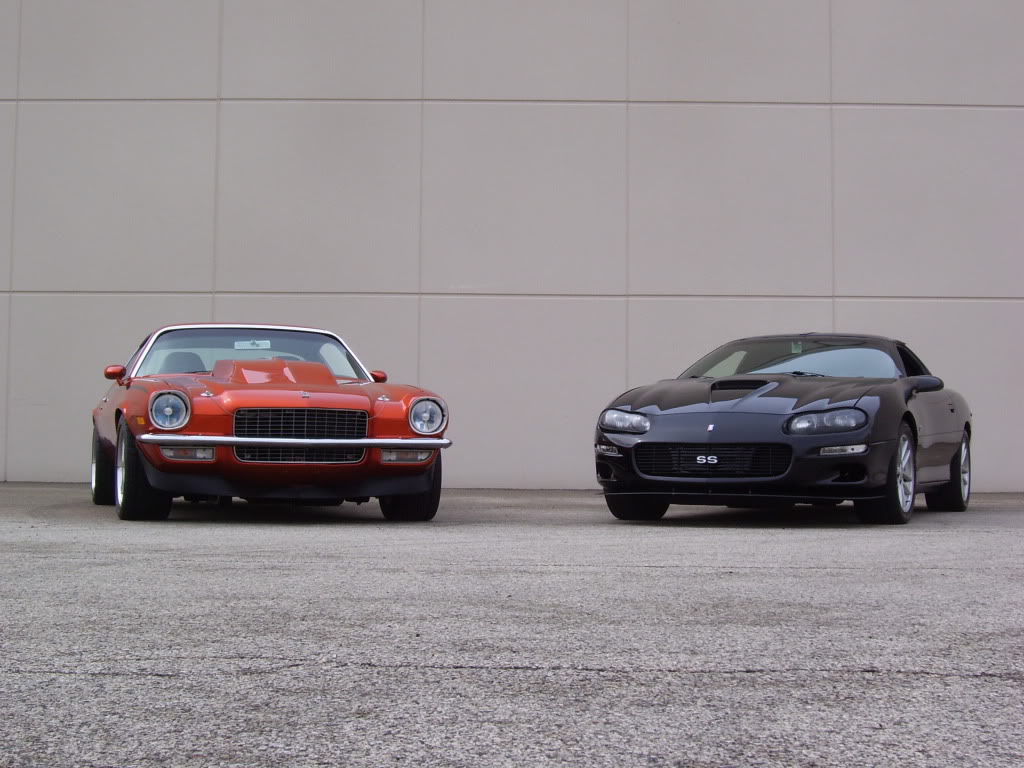
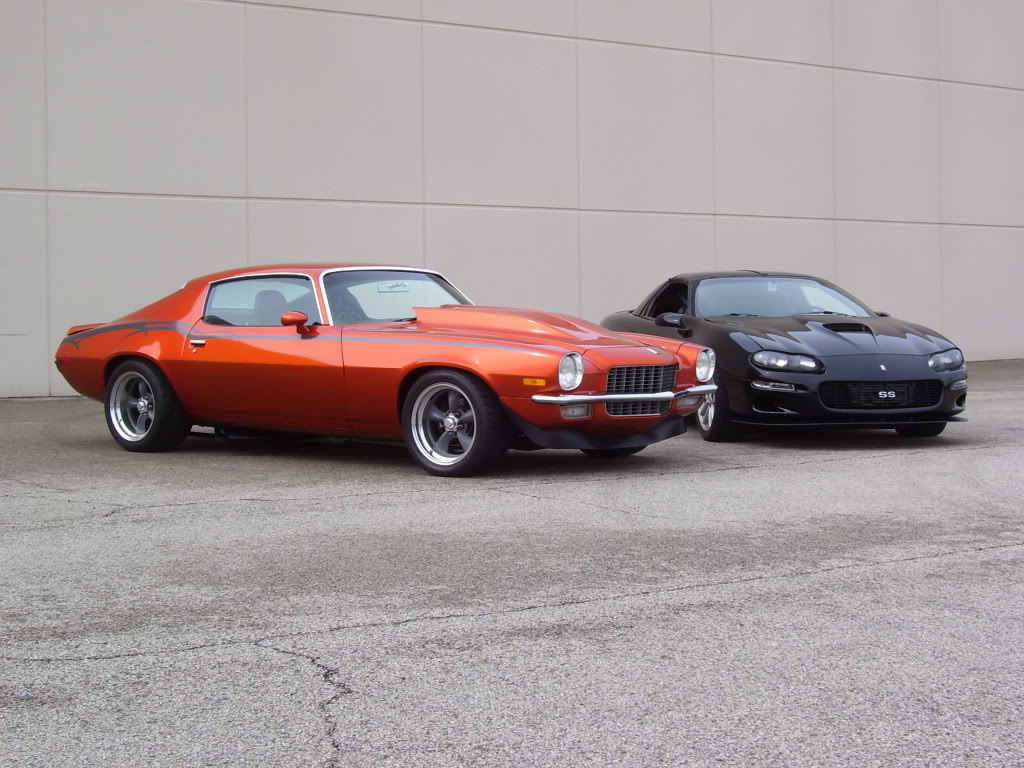
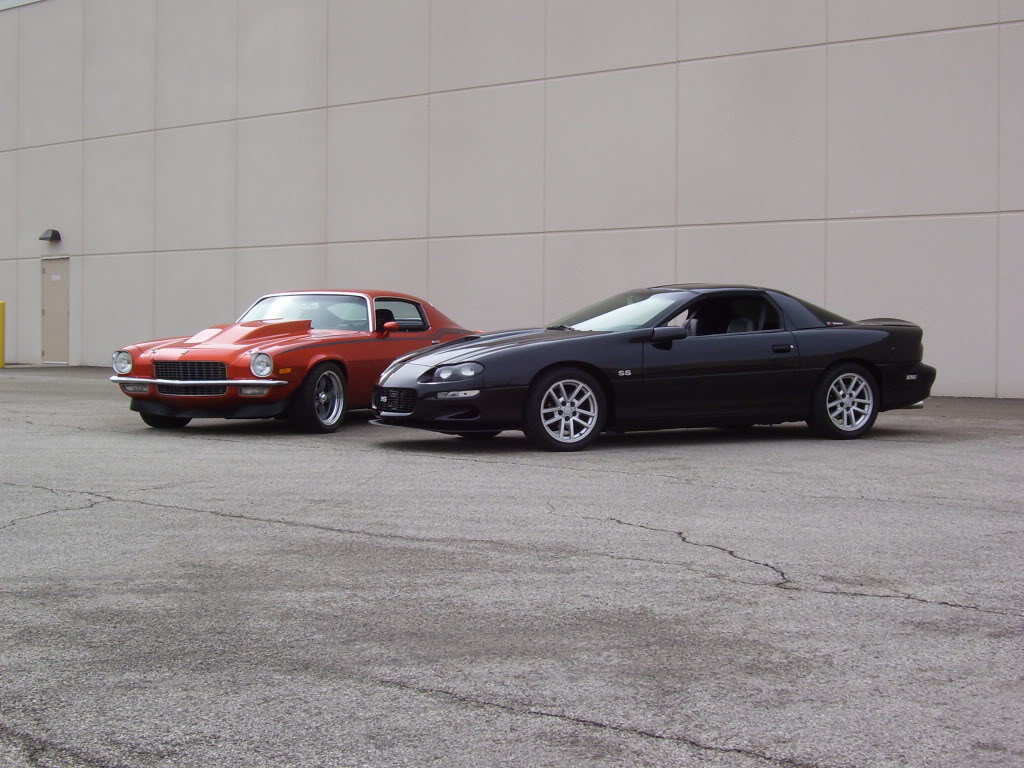
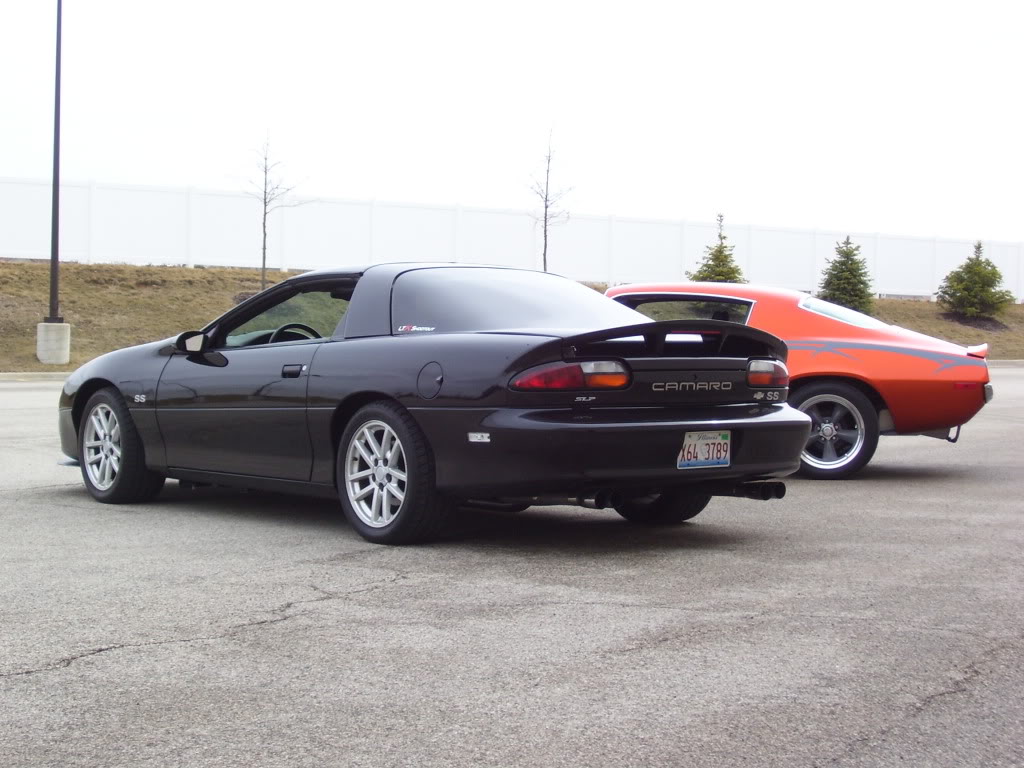
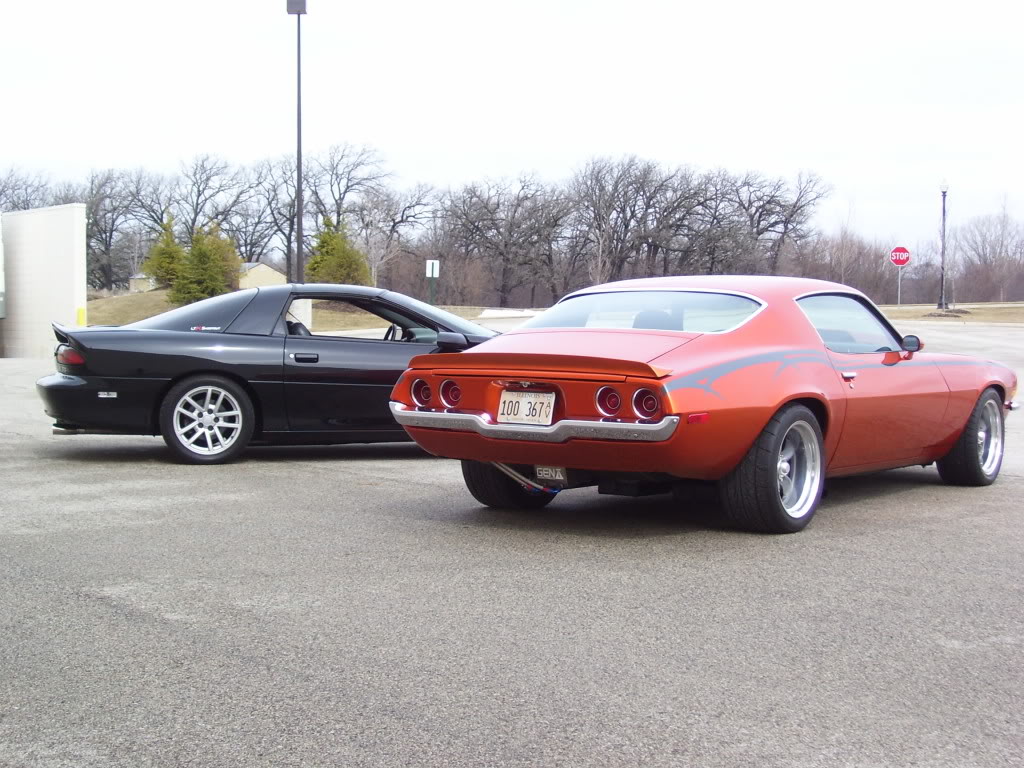
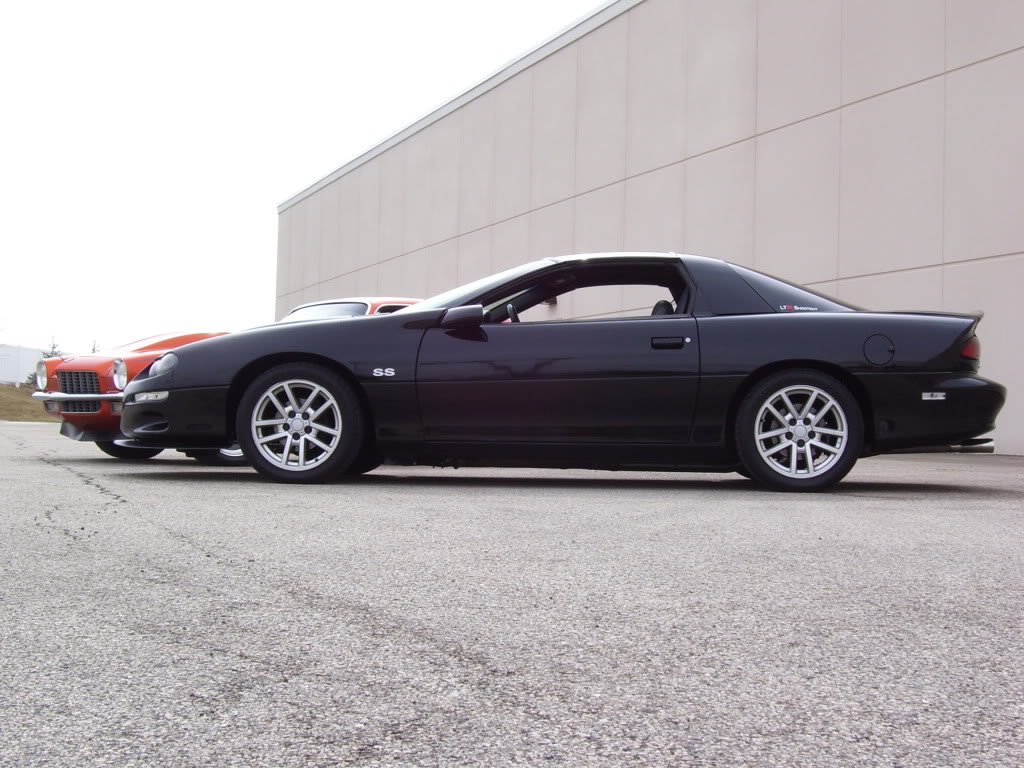
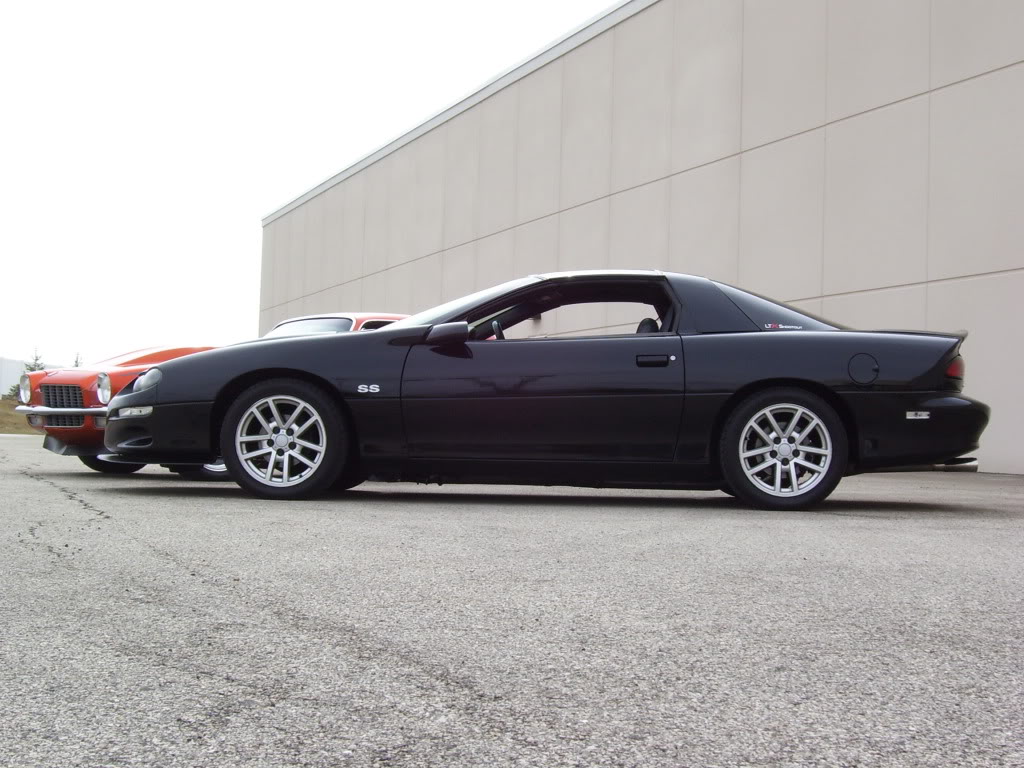
And just me being stupid lol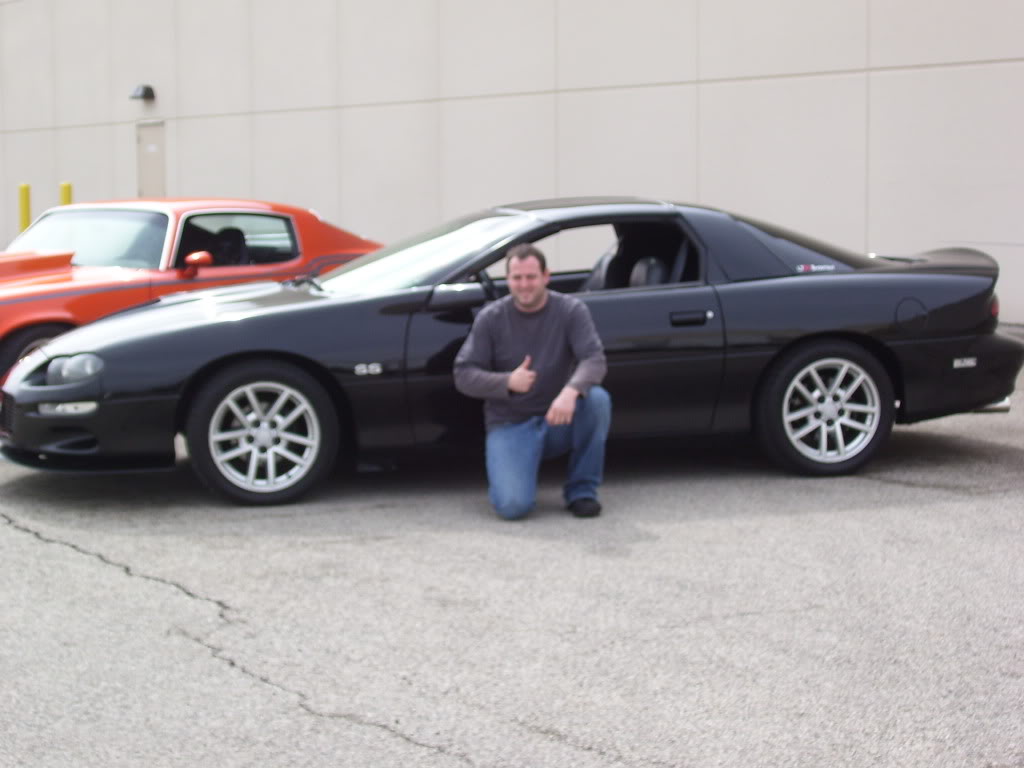
3-27-2011
I am still tweaking the splitter to fit perfectly, here is what Ive gotten so far...
I have three 1/2 inch spacers between the bumper and splitter in the center three slots and then the rest of the bolts snug up against the bumper.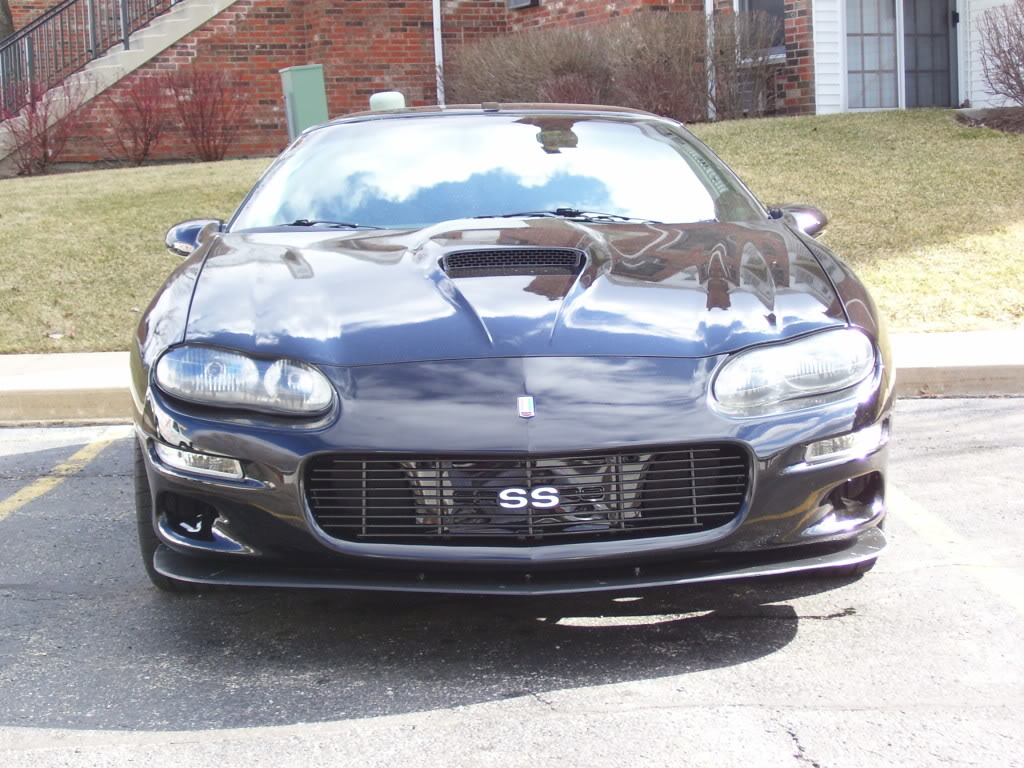
Seems to be "level" now, although I will get a level on it and check a couple spots to be sure...damn OCD! lol
Then I will pull everything back off, smooth the beveled edge a little bit (came trimmed but unfinished) so I will sand that with some 320 grit and then paint the splitter black along with all the hardware I will be using.
3-29-2011
You can tell spring is approaching in my garage...starting to get a collection of parts waiting to be installed. Here are a few pics of stuff Ive gathered for my 4th gen Camaro...
First, getting back to the performance aspect of the build and trying to reach my goal, picked up a set of new PAC Beehive springs to go along with my Crane 227 cam and 1.6 Comp Cam RRs. Just need gaskets and a timing chain now.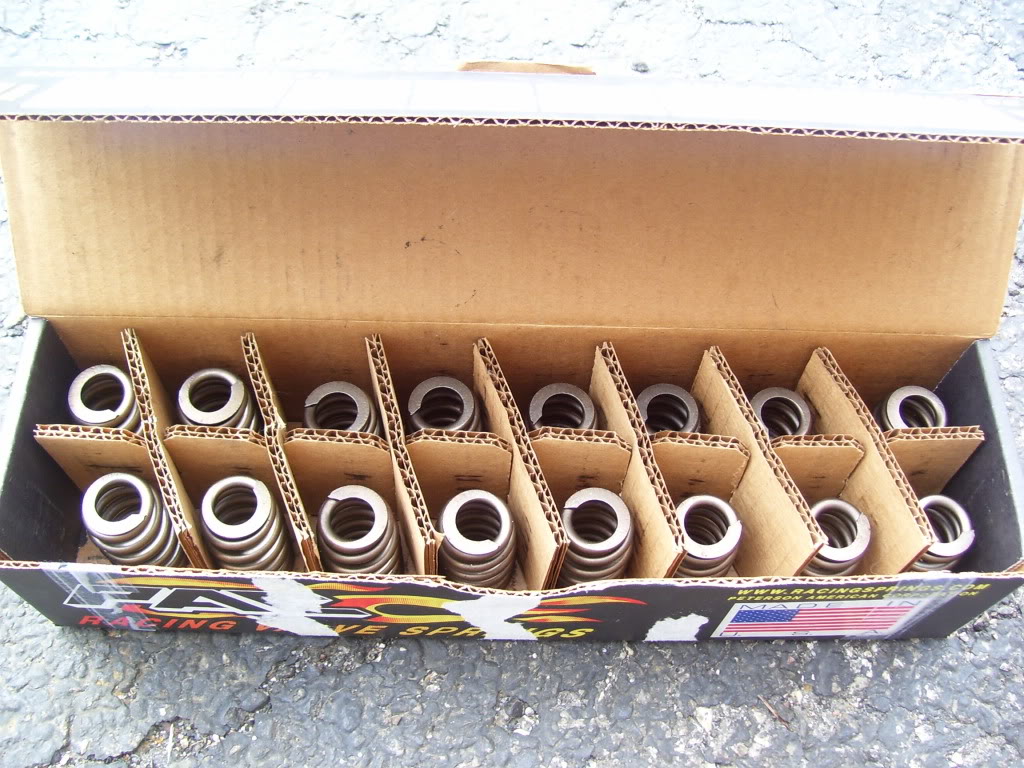
Closeup of spring...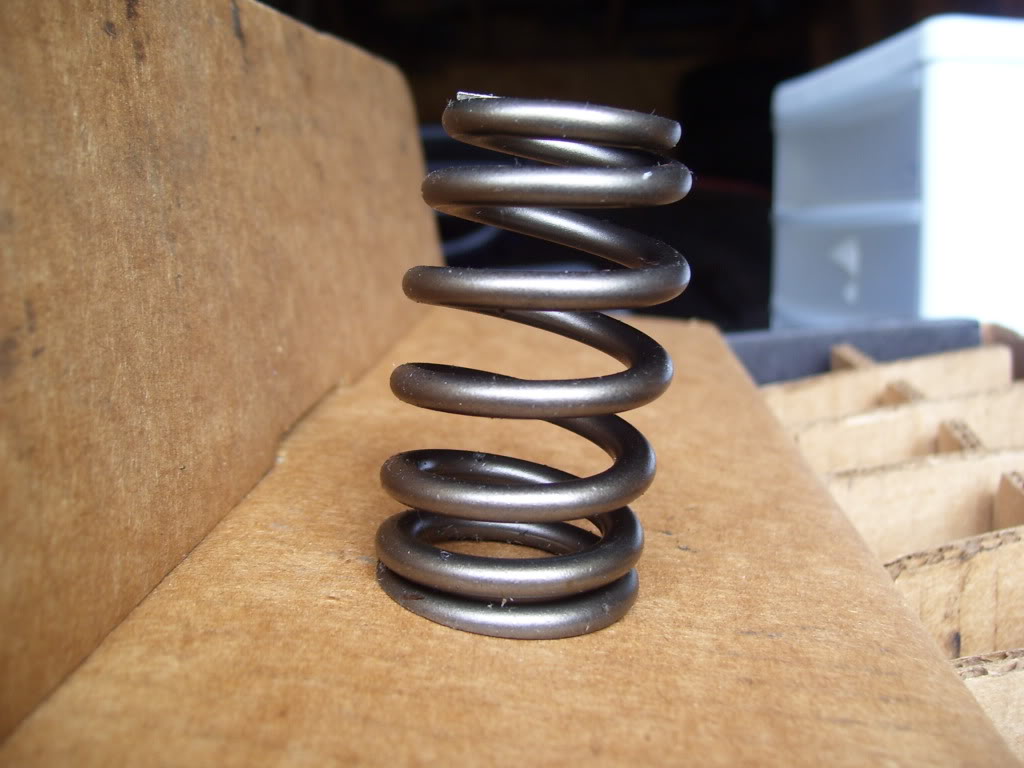
When I was building a full out race car, I tossed out my front fender inner wheelwell plastics (they were torn anyways from the previous owner driving around with the fronts not attached) So I was getting tired of cleaning out the fronts of my door jambs and getting pebbles and dirt all over my towels so I purchased a pair of mint wheelwell plastics from Z28-4Ever who bought them for me from 97Lt1TA on here as part of a trade for some "Hockey Stripe" kit that I didnt end up using. Anyways, just needs a good cleaning and some tire shine and should look like new. Probably install these today...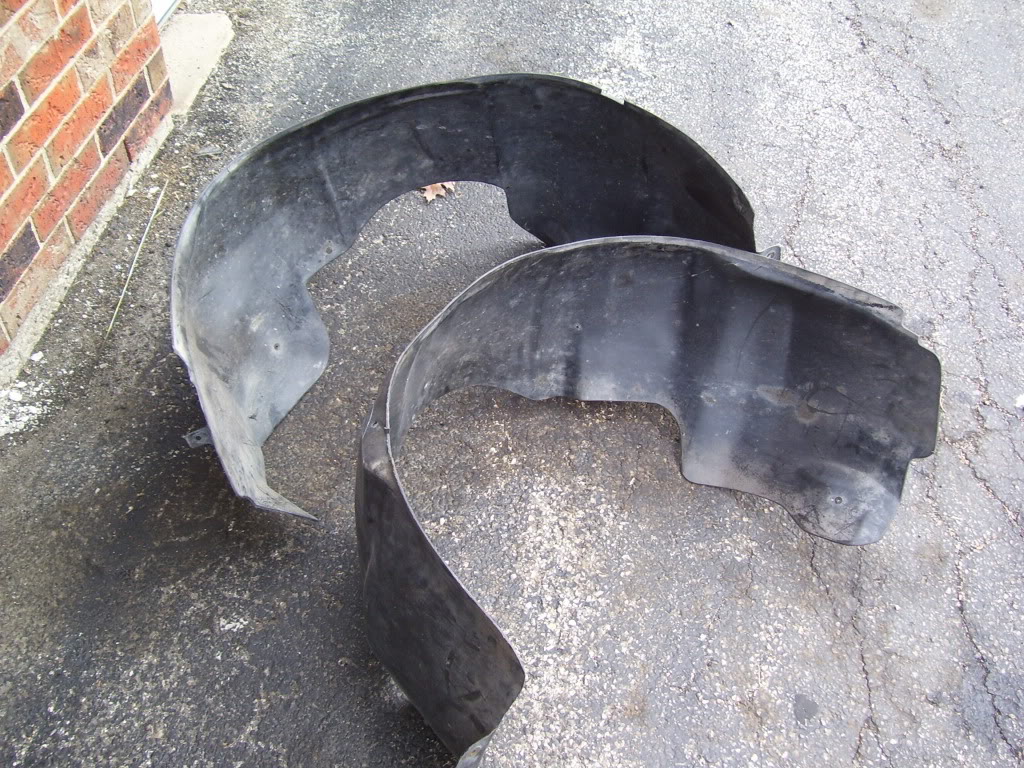
Another thing I have laying around that is killing me is a Silver Metallic Manta stripe kit that I purchased from www.fourthcircledesigns.com. My friend isnt satisfied with the paint job he did on my Camaro so he wants to repaint it for me this spring (along with welding up my old RK sport spoiler holes) so I have to wait until he does the paint job to put these on. Should look nice when installed and my friend Jeff is going to clear over them so there isnt a hard edge and a cleaner look.
Hood stripe just laying on the car...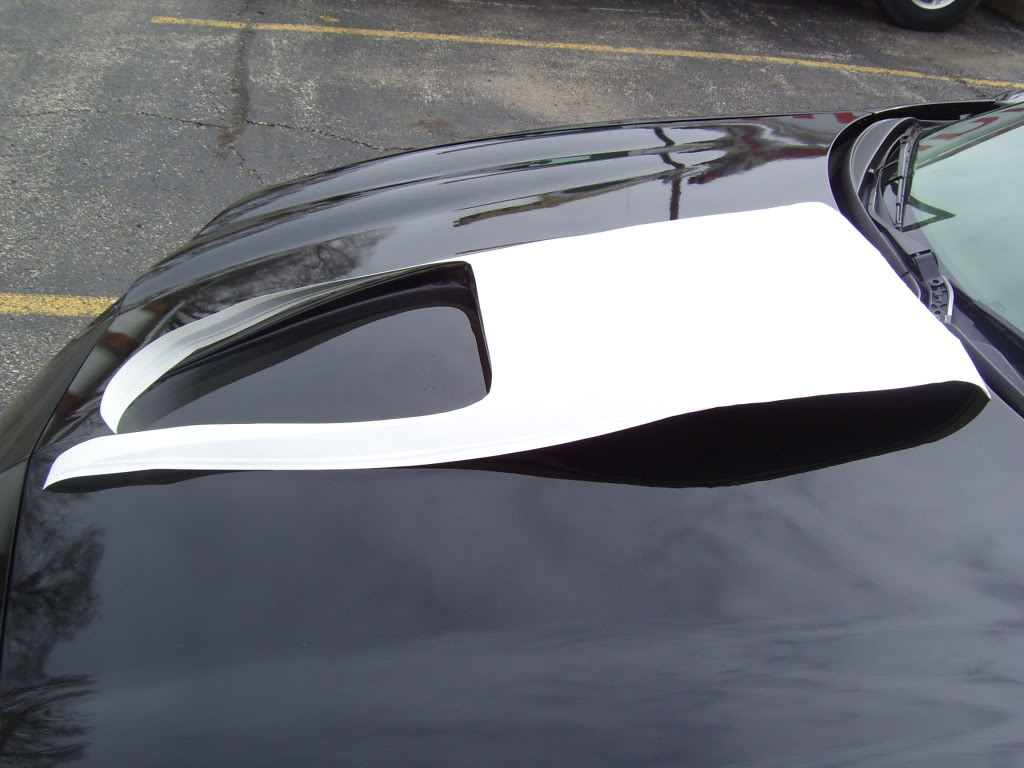
Spoiler stripe set on the car. Also have a stripe that goes under the spoiler as well that was included in the kit.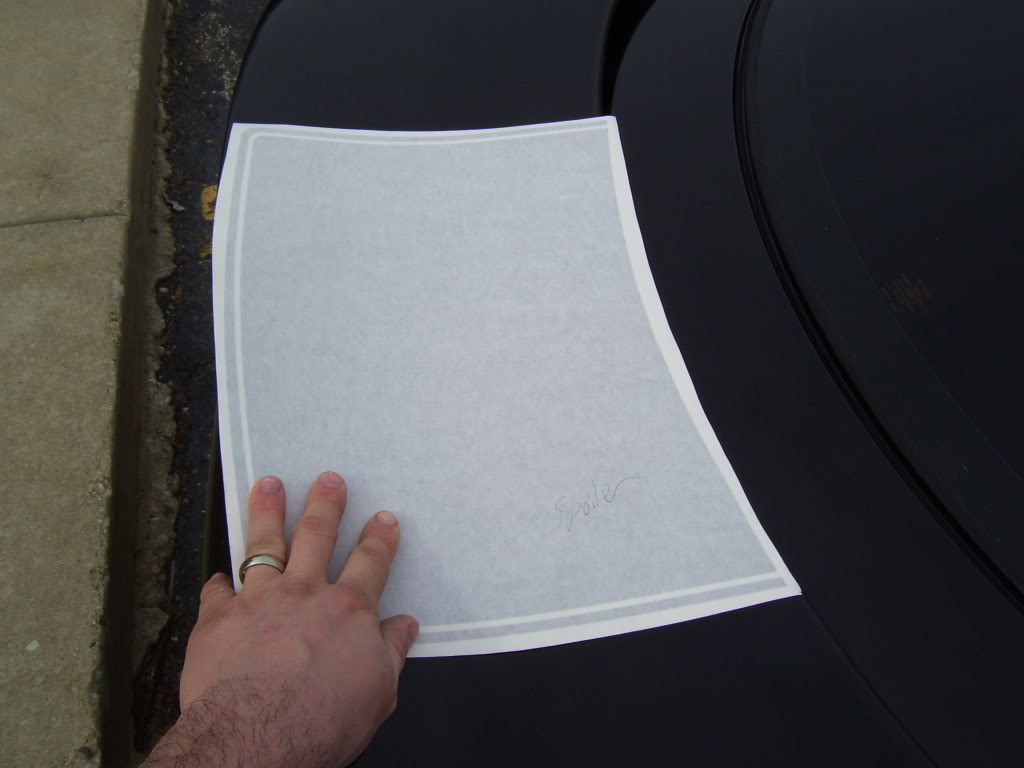
Also looking for both of these parts...just the covers that go over the wiper arm bolts. Both of mine are damaged. PM me if anyone has a spare set.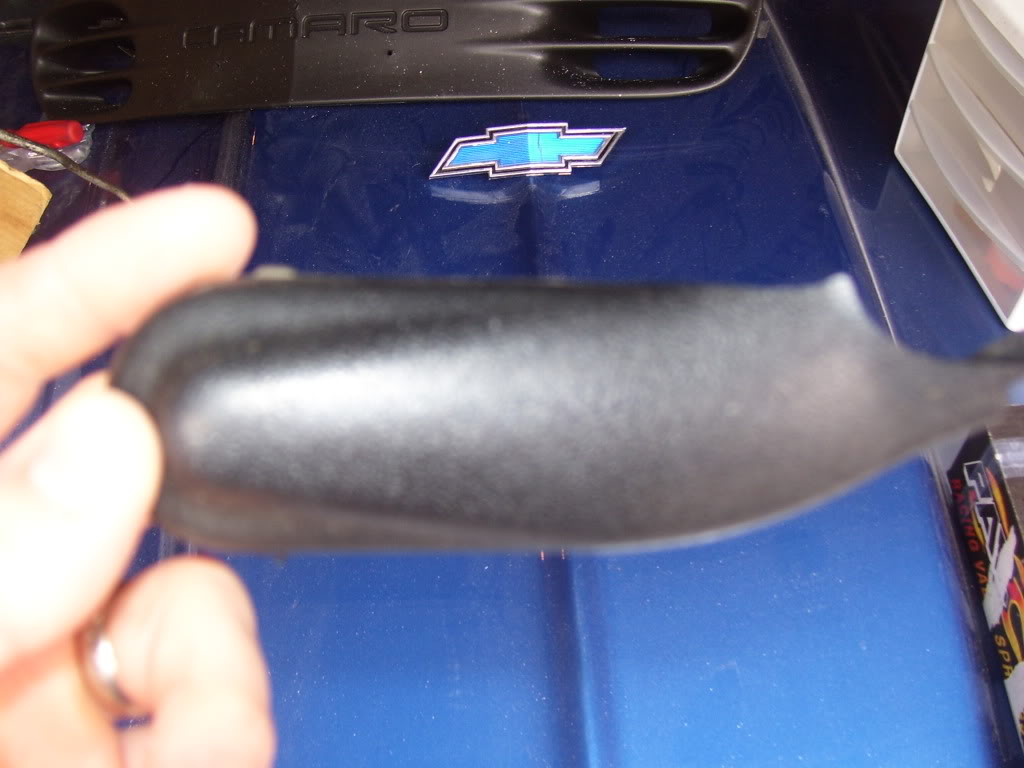
Replaced my clear rear marker lights as well with the stockers. Just think that the rear markers should match the taillights. Looks a little better...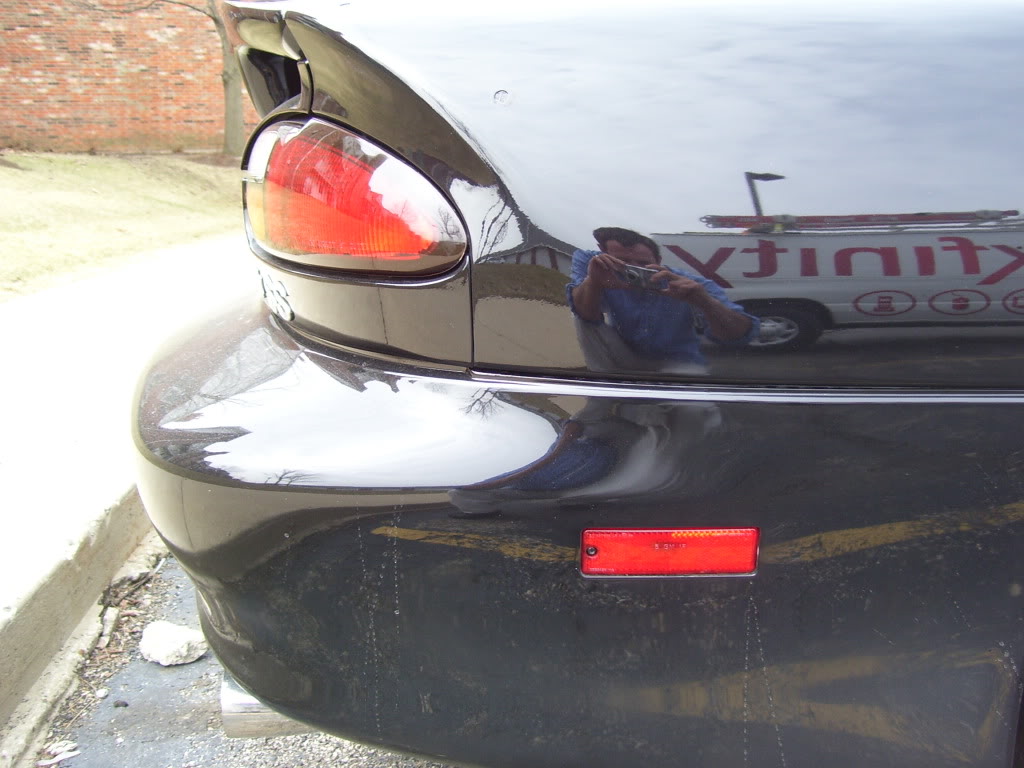
Pretty much as soon as I wrote the last post, the mail came with a package from Mark (ssteven) with a Push Button Start. Thanks again Mark! I really appreciate the gesture! Got the push button as a freebie so definatly a cool mod thats only going to cost me my time and a couple wires/relays. I plan on installing this in the center console where the cigarette lighter went.
Front view...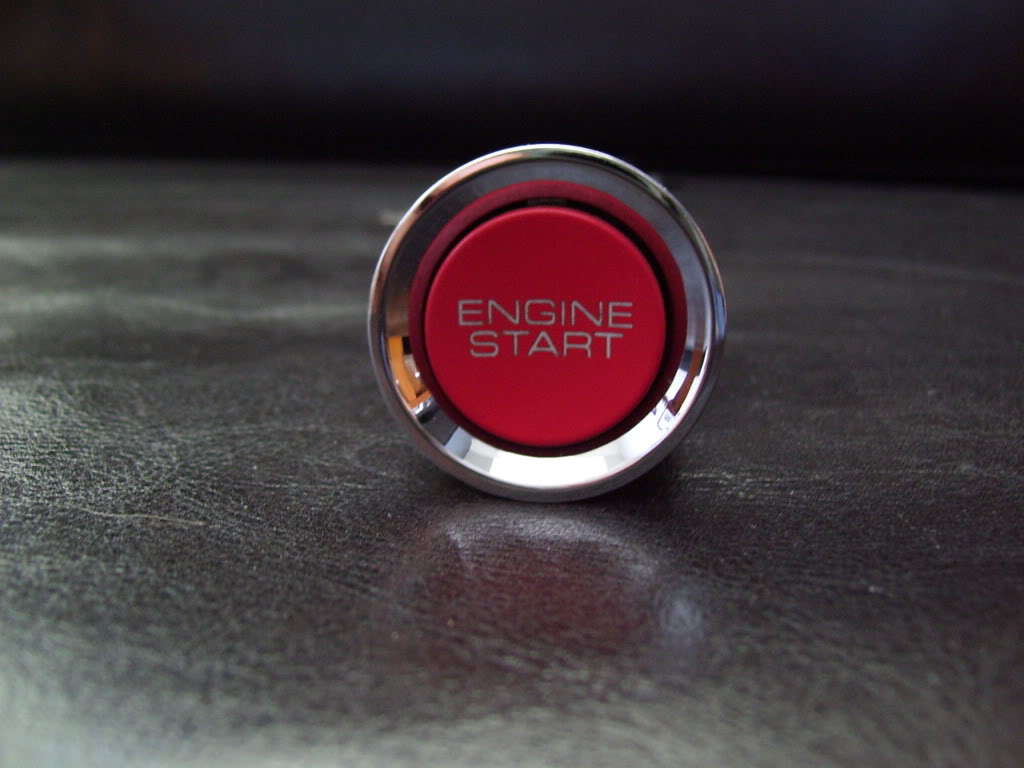
The whole part...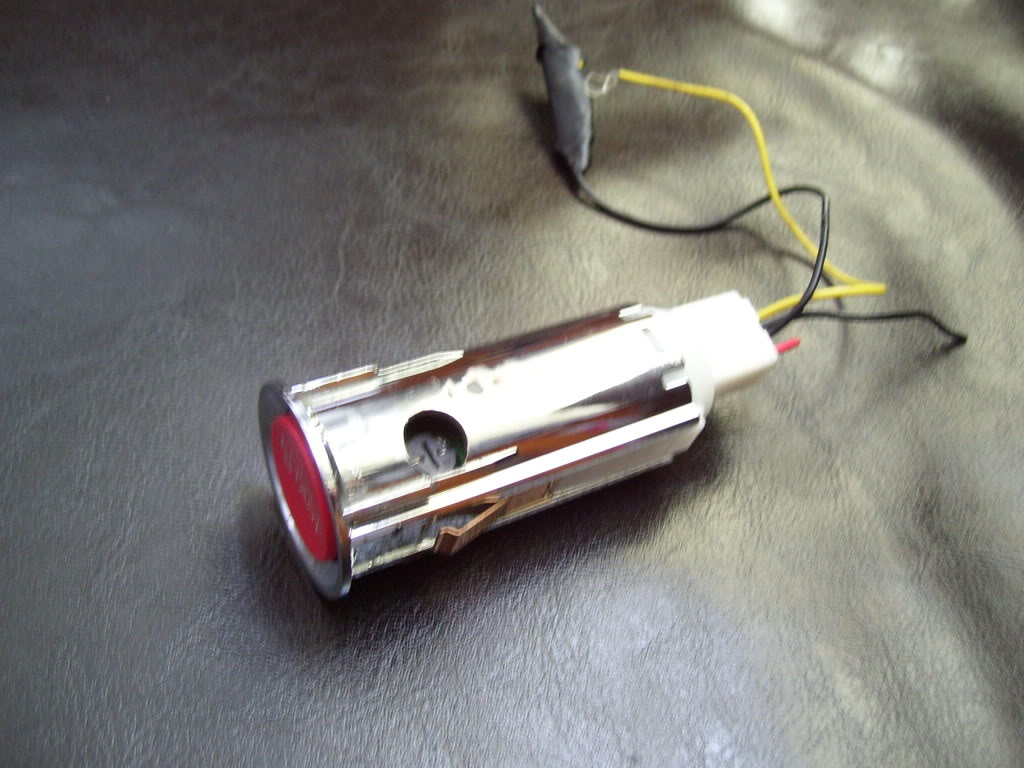
While I was priming Jason's (am_muscl) new cowl hood, Jason started to install my UMI tubular LCA's. Due to the cold temp and daylight, we just got the drivers side done today and going to finish the other side tomorrow. These bolts are really rusty so glad this is getting done now. Here are some pics of the LCA swap...
Jason trying to break a bolt free...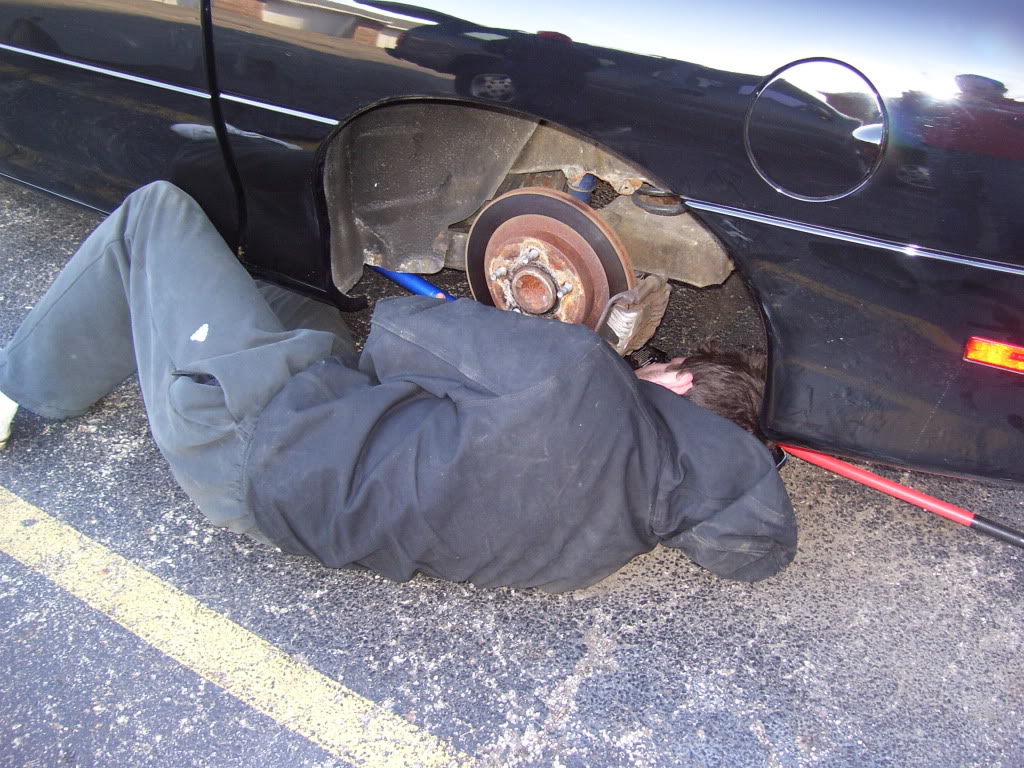
UMI LCA vs Stocker...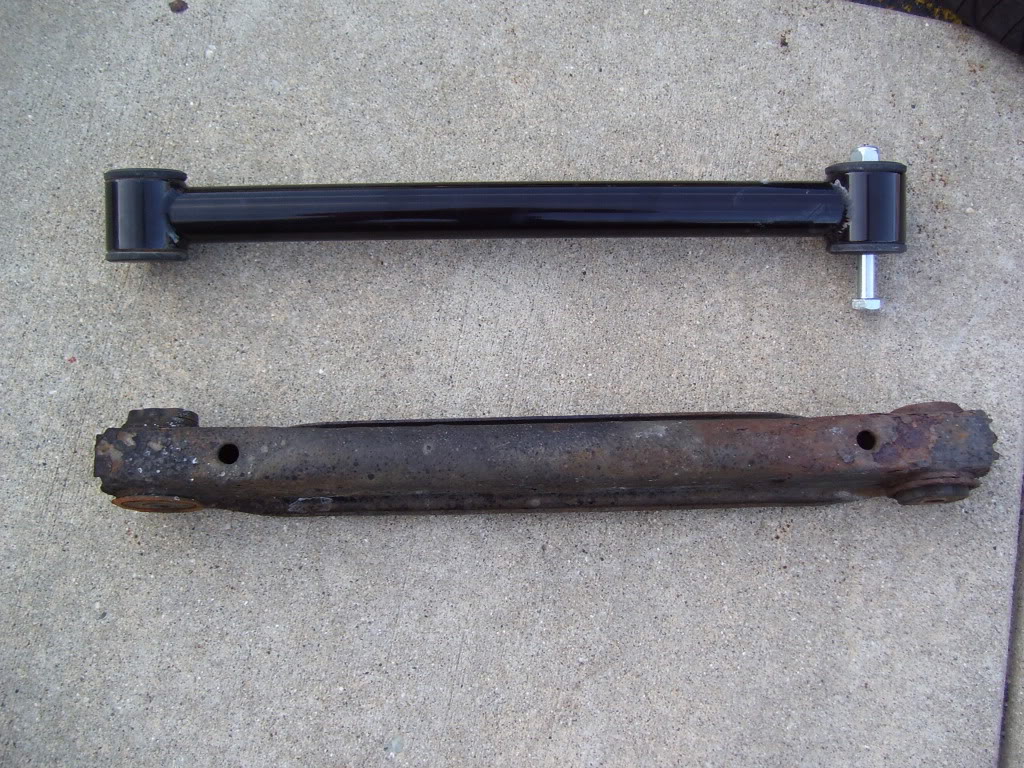
One side done...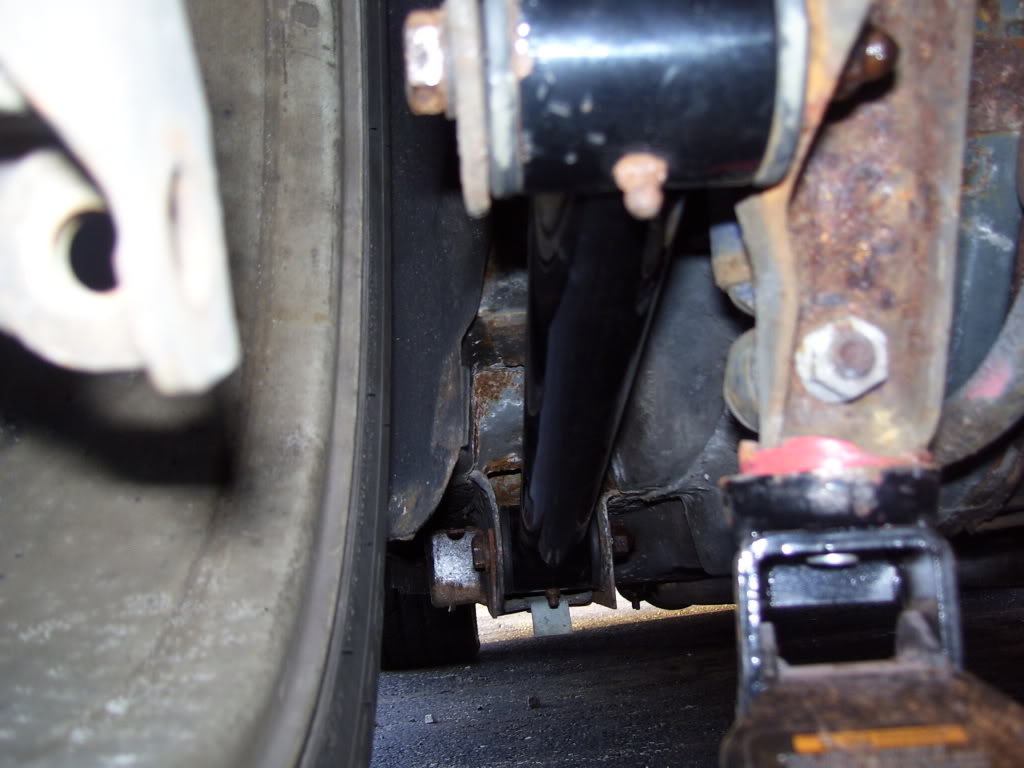
3-30-2011
Today was busy. Spent the day prepping, painting, and clearing the underside of Jasons hood while he finished up installing my LCAs. He fought the last LCA hard and ended up cutting it up into pieces to get it out, but whatever, its out and the new UMIs are all installed! Thanks again bro! I appreciate the help!
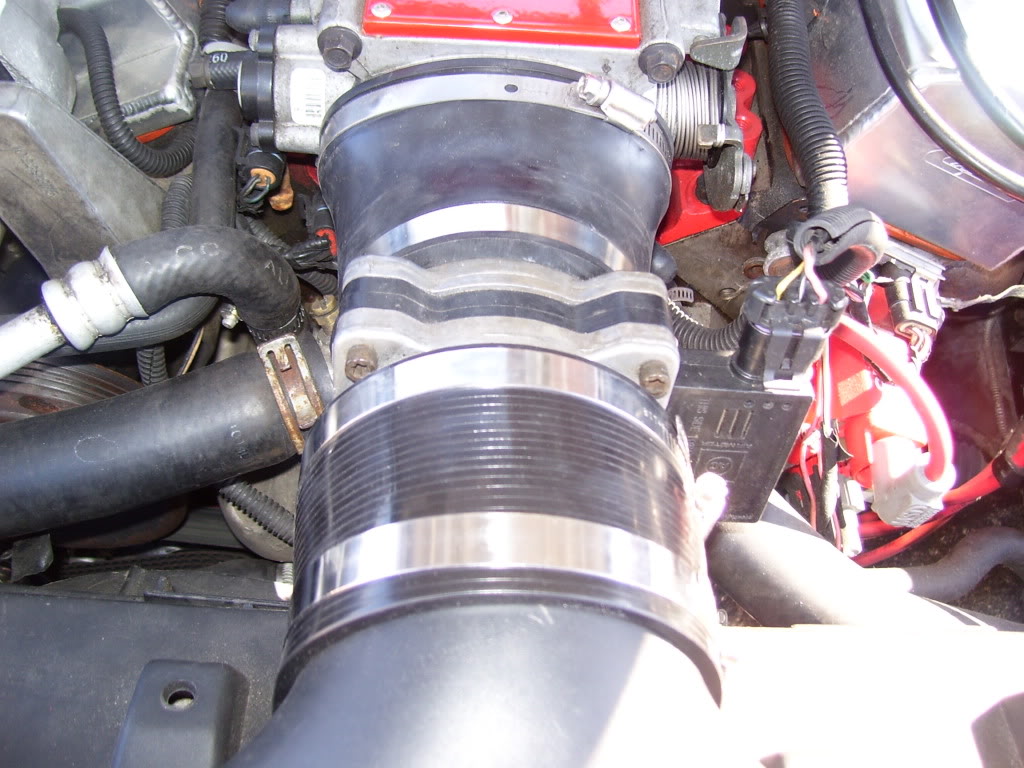
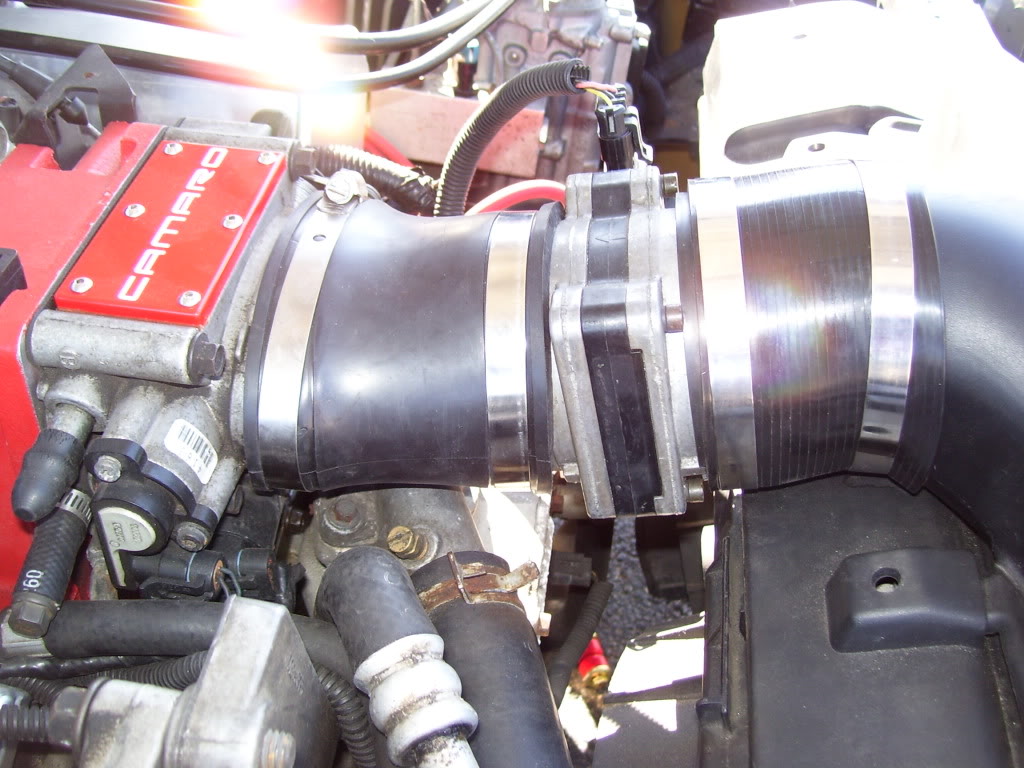
After that, thought I would knock off a couple of the things on my To Do List of stuff I overlooked/rushed in the hurry to get the Camaro together. First was way back when I sold my 99 Trans Am. I let my Fernco "bellow" go with the Trans Am so I could hook up the LS1 lid up easier on my 94. (When putting the stock airbox back on, it was easier with the Fernco bellow for some reason![]() )
)
Anyways, I picked up another Fernco "bellow" at Home Depot and installed it only to find out it was a tad too short. Soooo...I started searching my extra parts bin and found a bellow from Spectra that I got somehow. I slid that over the SLP lid and IAT hole (which I relocated behind the grill) and over the MAF. Should flow alot better. Im sure theres no real gains but I guess if it helps just a little, what the hell...
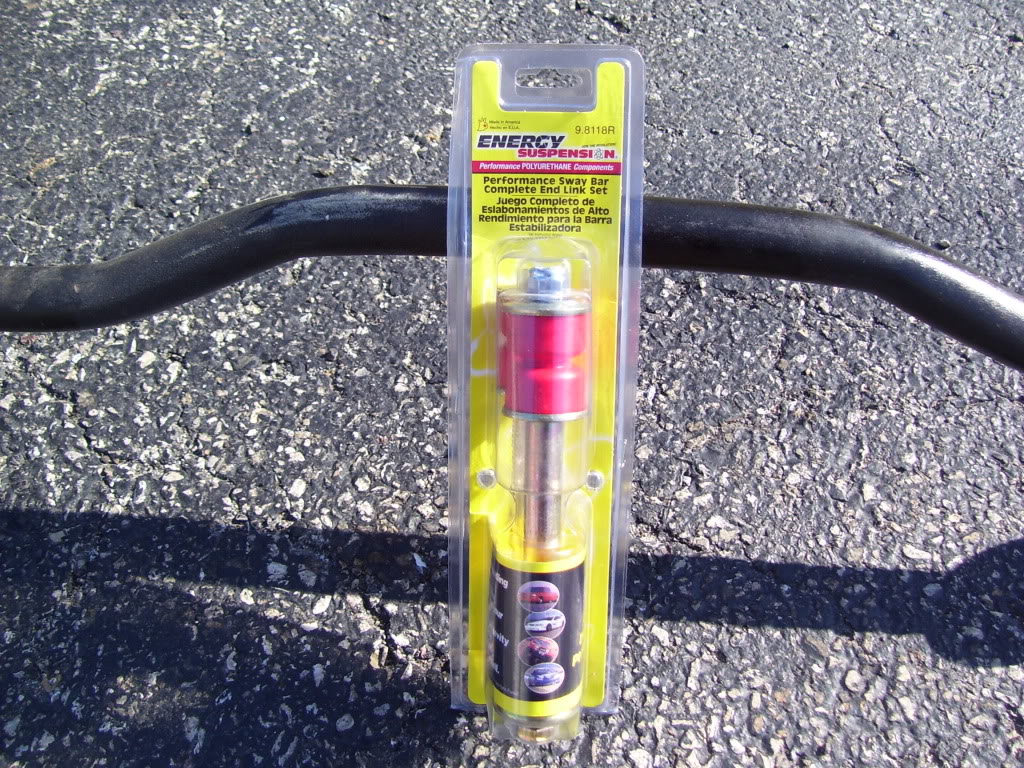
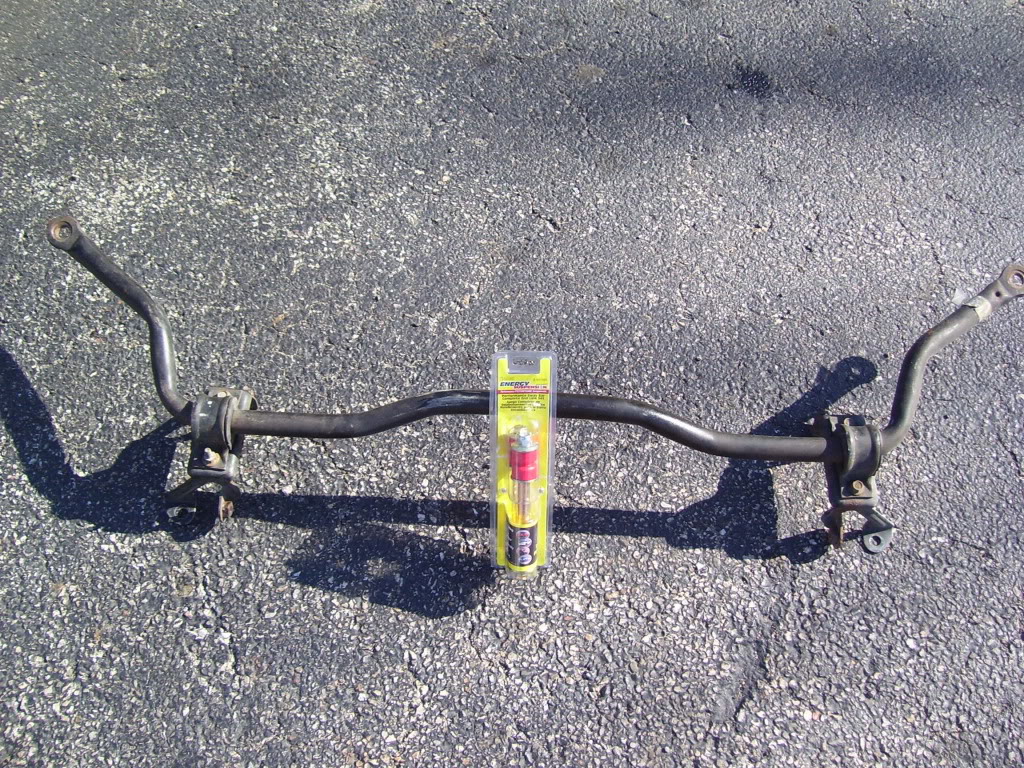
Then I had a little bit of time left so I started reinstalling the front sway bar which I removed back when I was turning the Camaro into a race car. I got the sway bar installed, just need to hook up the end links tomorrow.
Picked up some new Energy Suspension end links while I was at it...
The whole assembly with the brackets...Again Thanks Jason for this part!
4-27-2011
Little by little during the breaks in the rain, I am wetsanding the front clip and the SS spoiler. Hoping once I do that and buff the rest of the car, the paint should match a little better and all I will need to do is to have the old spoiler holes in the 1/4 panel welded up and painted. I have the hood and fenders wetsanded with 2000 grit, just need to finish the bumper and spoiler along with any scratches picked up from neighbors in the parking lot. Wouldnt mind picking up some 3000 grit to go over the entire car as well for a better finish.
Ill try and grab some pics of the wetsanding/buffing process. The Camaro is sitting outside right now in the rain.
After I buff the Camaro, going to install the silver metallic Manta stripe I bought awhile back. Should look good. My 6LE splitter is up for sale right now as well since I want to run the factory ground effects on the Camaro.
Another quick project if the rain lets up later is to swap my Eibach rear spings for the stockers with the "Heater Hose" mod done to them so my car doesnt look like its squating in the rear.
My wife did drive the Camaro by herself to work for the first time the other day and said she liked driving the car. So hopefully make a Camaro fan out of her. (She currently hates cars or anything to do with them-probably because thats all I talk about lol)
4-29-2011
Snapped some pictures of my progress from Wednesday. I ended up getting the entire front clip wetsanded. Had alot of dust and orange peel. I got all of it out though with 2000 grit. Waiting on a friend to get me some 3000 grit from his work.
Here are a few pics of the Camaro all wetsanded. Kind of a bummer the car is like this right now (cant get into my uncles detail shop until Sunday since they are so busy) since the weather is sunny and high 60s today. Would be a great day just to go out and cruise with the Ttops off. This is the first day without rain in probably 2 weeks.
The hood and the fenders done, just need to do the spoiler and front bumper...
Bumper is all sanded (as far as I can get the buffer to go, the rest of the spots shouldnt be too noticable and no imperfections in those areas other than the normal orange peel...
Also Jason helped me out while I was working on the brakes of his Tahoe by removing my Eibach springs (sat too low, made the rear look like it was squating) and I got my stock springs and did the Heater Hose Mod to them. Which if you dont know, you can lower the rear by an inch simply by removing the "spring cup" and sliding heater hose over the top coil to act as the insulator for the spring. After driving the car for awhile, the suspension actually felt a little better than it did with the Eibachs and gave the Camaro a slight raked look which is how I like the car. Wouldnt mind a little more tire to fill in the wheelwell gap but thats for another project...
I didnt grab any pictures since it was dark out when we did this, but pretty simple. If anyone has any questions, let me know or I think there is a write up for this in the suspension forum.
Closeup of the rear after the Heater Hose Mod...No more 4x4 look of the factory and no more squating of the rear with the Eibachs...
Overall shot of the progress of the wetsanding and the stance with the Eibachs out...
5-2-2011
Well...spent all yesterday (literally 9 am to 8 pm) buffing and waxing the Camaro. (I also hit the headlights with the buffer as well, those cleaned up nice too) Went over with a whool pad and Meguars Ulimate Compound which didnt cut too well so took forever to get the front clip done. Then I whool padded the rest of the Camaro to go over several spots I missed when I first wetsanded and buffed the Camaro after paint. Although the buffing took forever with the front clip, the shine actually was really good with the compound itself, just left swirl marks that I had to take out with Meguars Ulimate Polish and then I hit the car with a coat of Carnuba wax. I still have to wetsand and buff the spoiler since I removed it to buff under the spoiler.
Cleaned up nice...kinda hard to tell in pictures though, but no more orange peel or imperfections other than the old spoiler holes and the fit of the SS spoiler...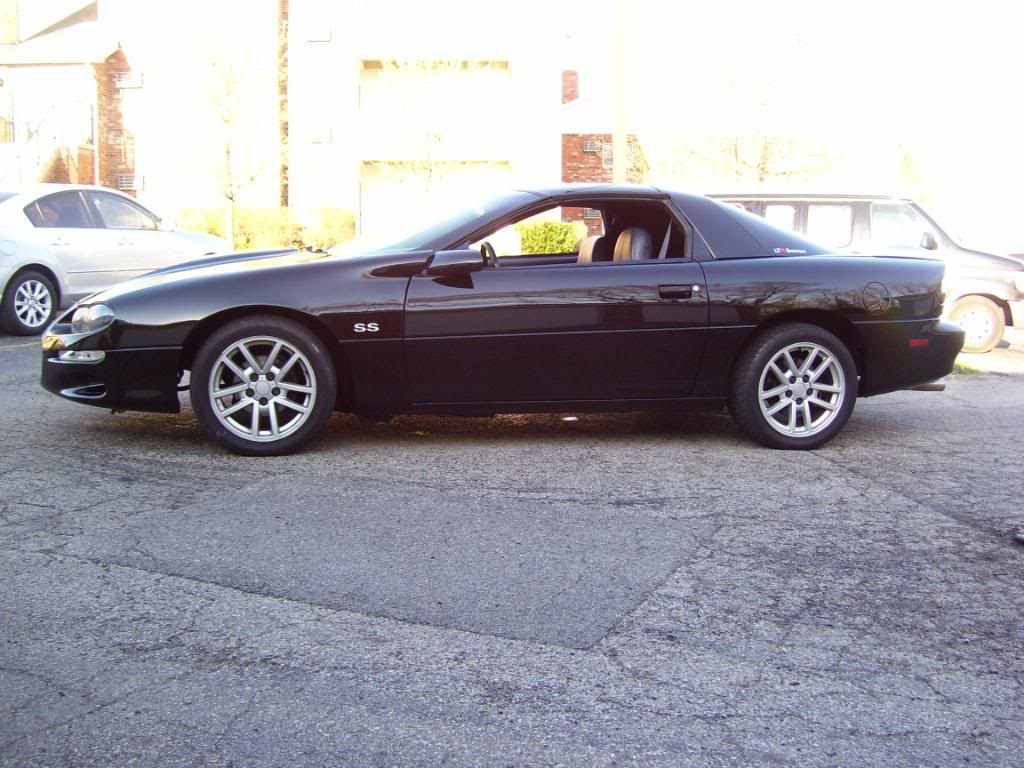
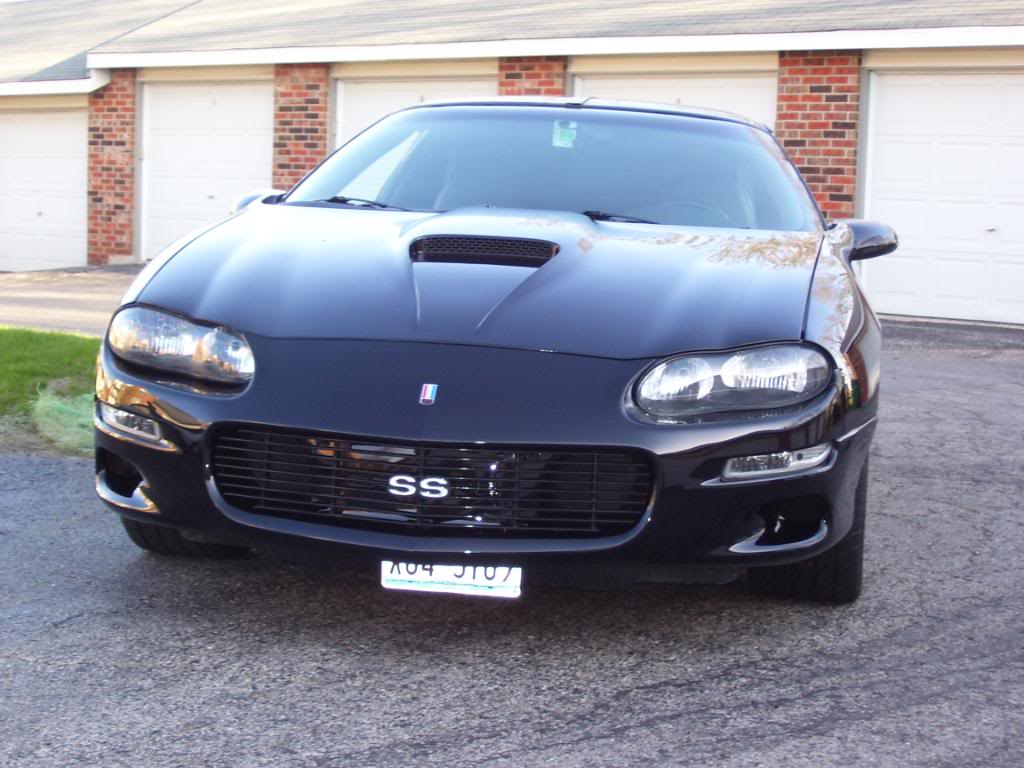
Close up of the nose...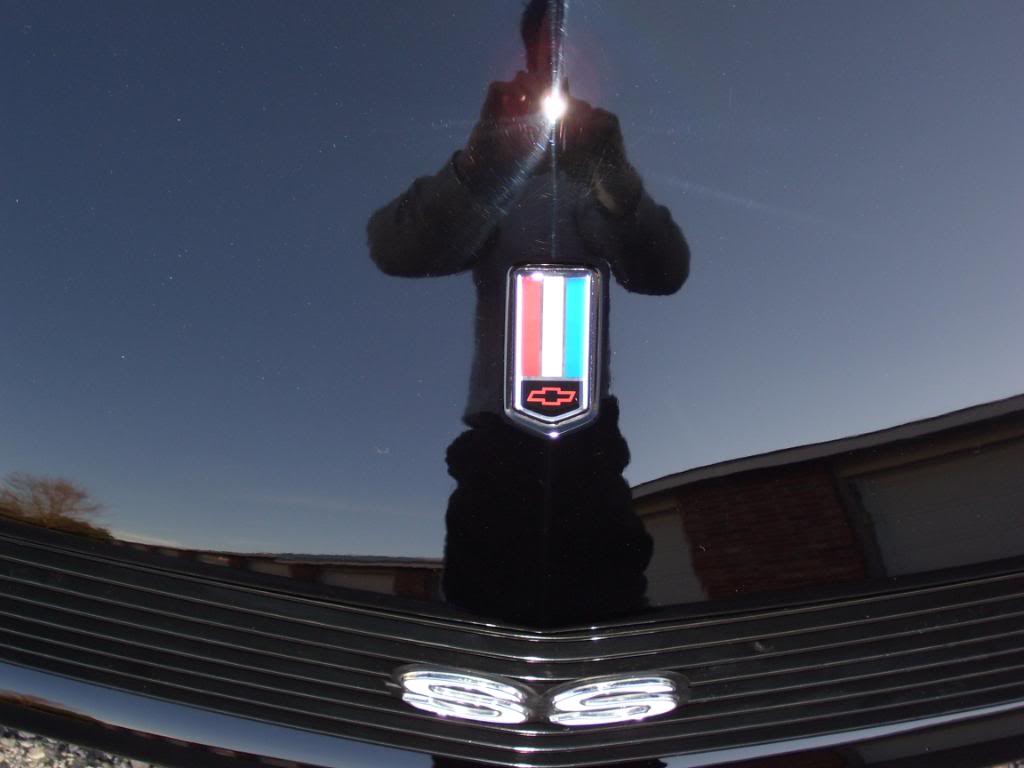
Took a couple distance shots from my balcony...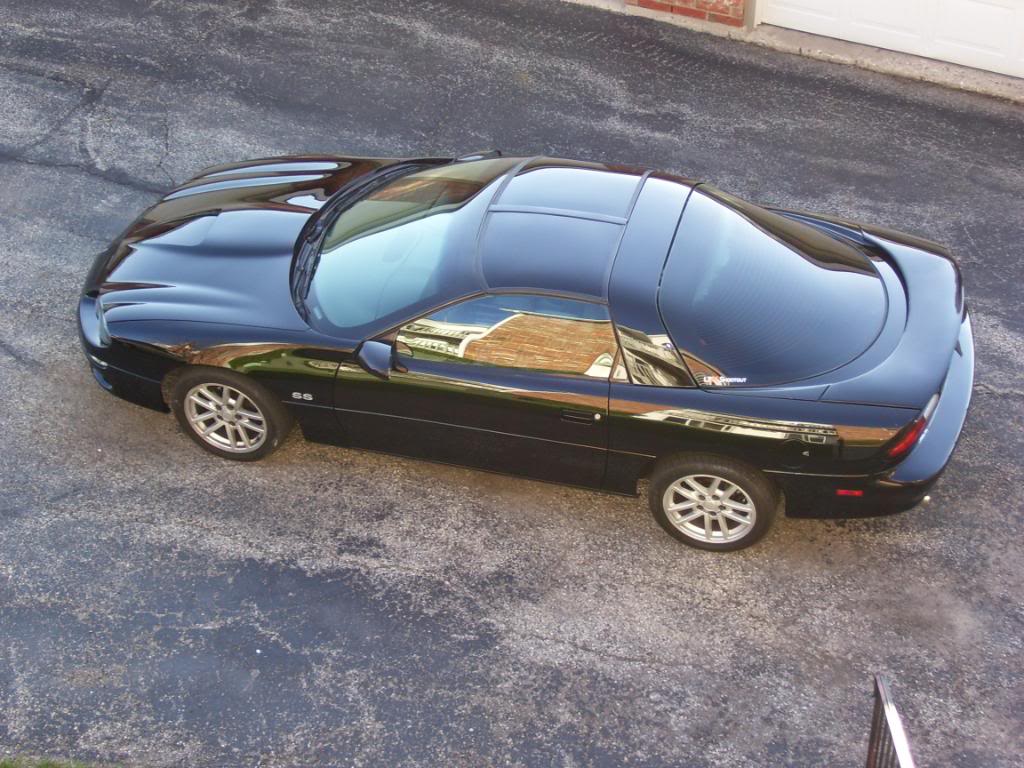
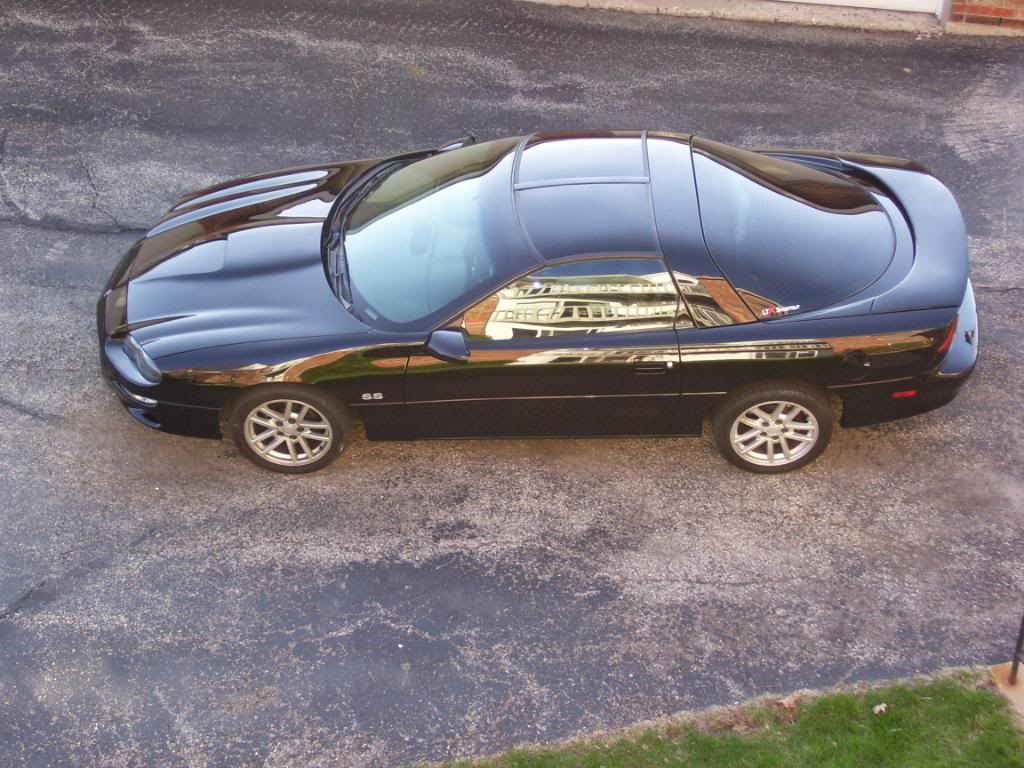
Now just need to finish the spoiler, clean the wheels/tires (repaint wheels one day) and polish the exhaust tips.
5-4-2011
Worked out a trade for my SS wheels. Trading them for a some black Z06 Motorsport wheels with the polished lip. 17x9.5s front/18x10.5s rear. I really wanted chrome or the gunmetal color but guess this will do for now. (Can always dip them or paint them) Driving down to Springfield (5 hours) Sunday to meet the guy halfway to trade.
I will need some 315 tires for the rear if anyone has a set? I know brand new they will be expensive!
5-7-2011
Going on a 9 hour round trip tomorrow to pick up some Z06 wheels for my Camaro. Just wanted to see how my car would look with some black wheels. (The rears are the wheels I am using on my 3rd Gen project)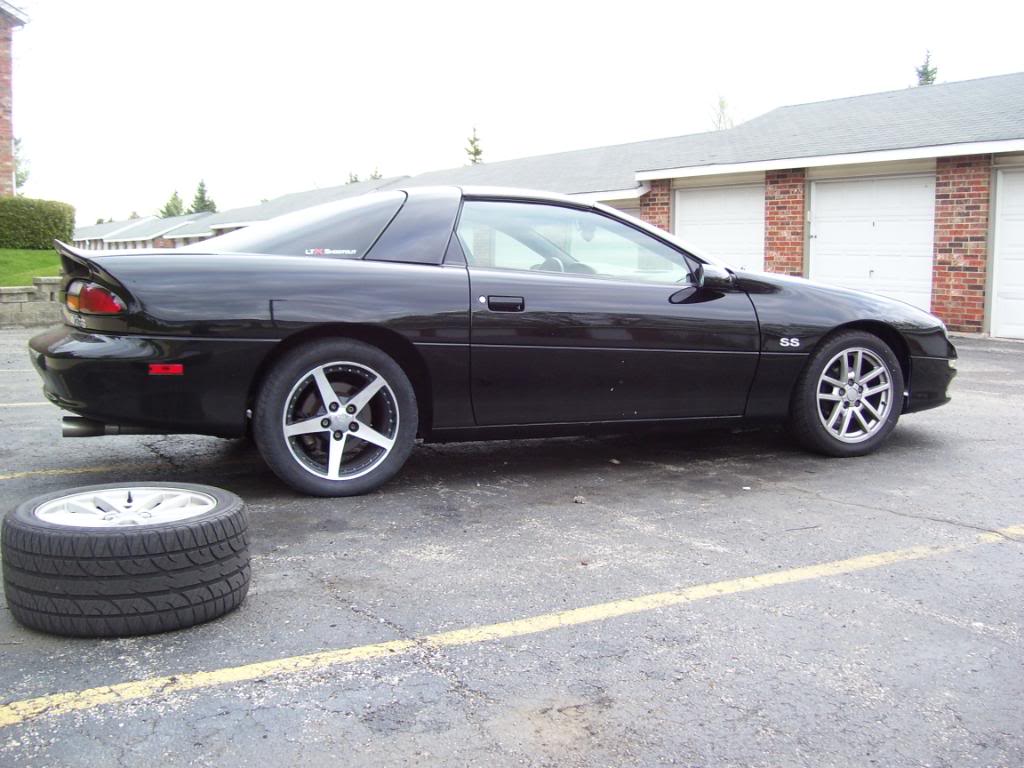
I think the black wheels will look good on the car. Hopefully its not too much black. We will see tomorrow...
Also fixed the rear bumper "Warp" issue. I think it got warped a little from no rear crash support in the back. Had to drill a hole and run a extra bolt through under the taillight panel to fix it. All good now!
5-11-2011
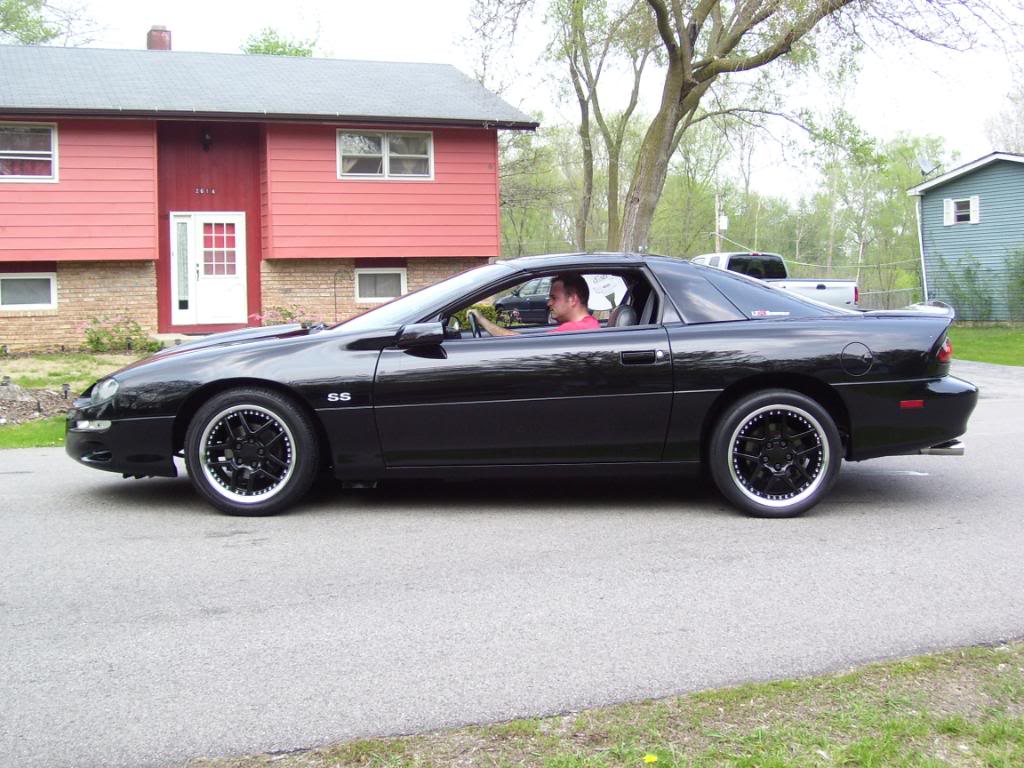
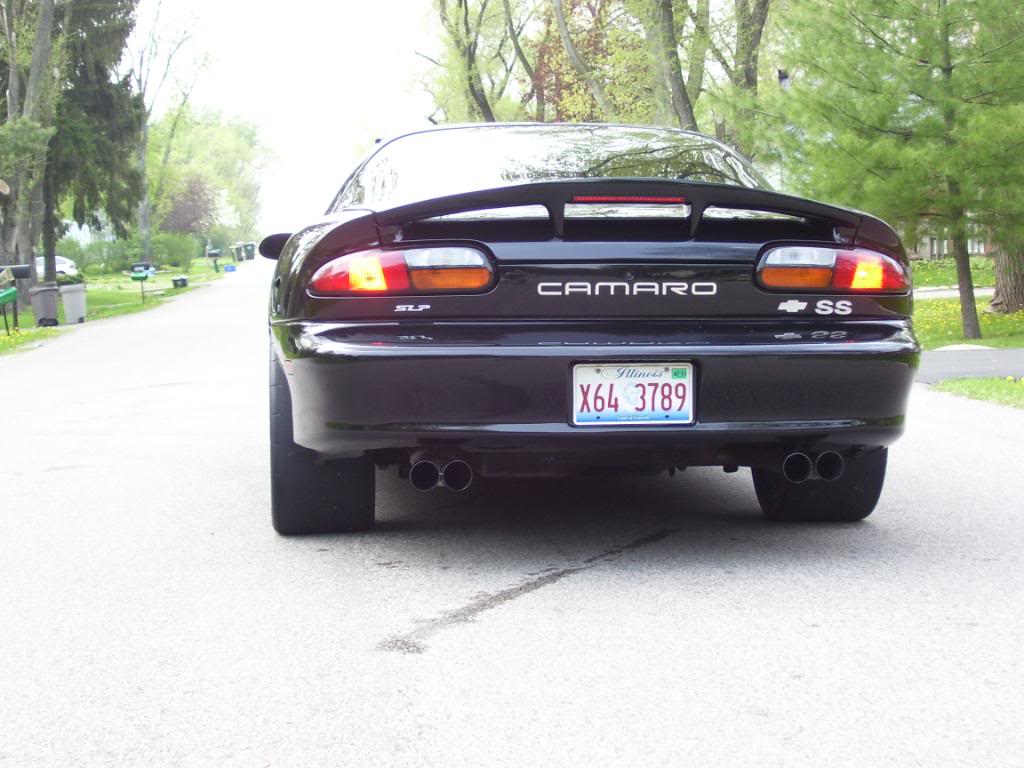
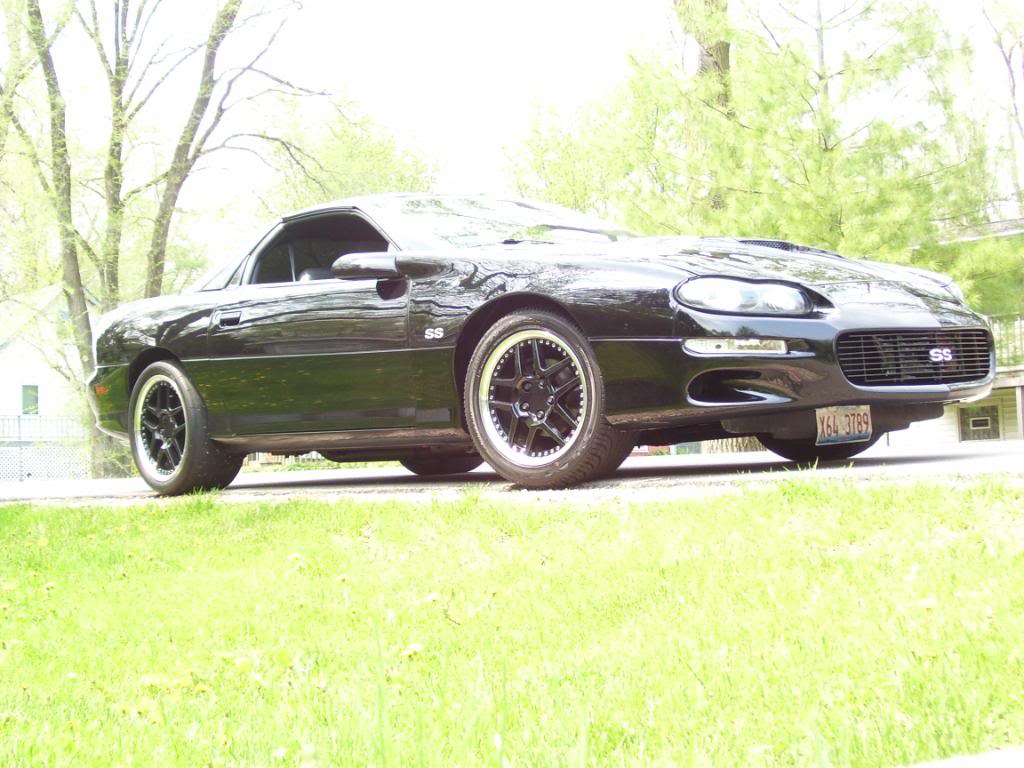
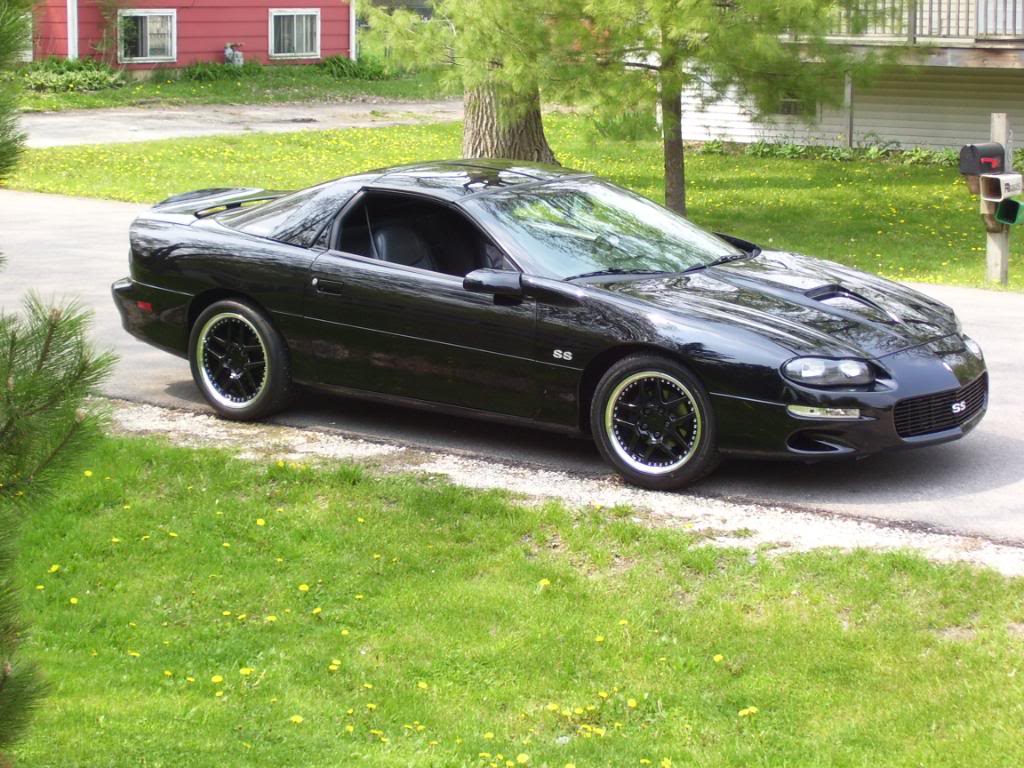
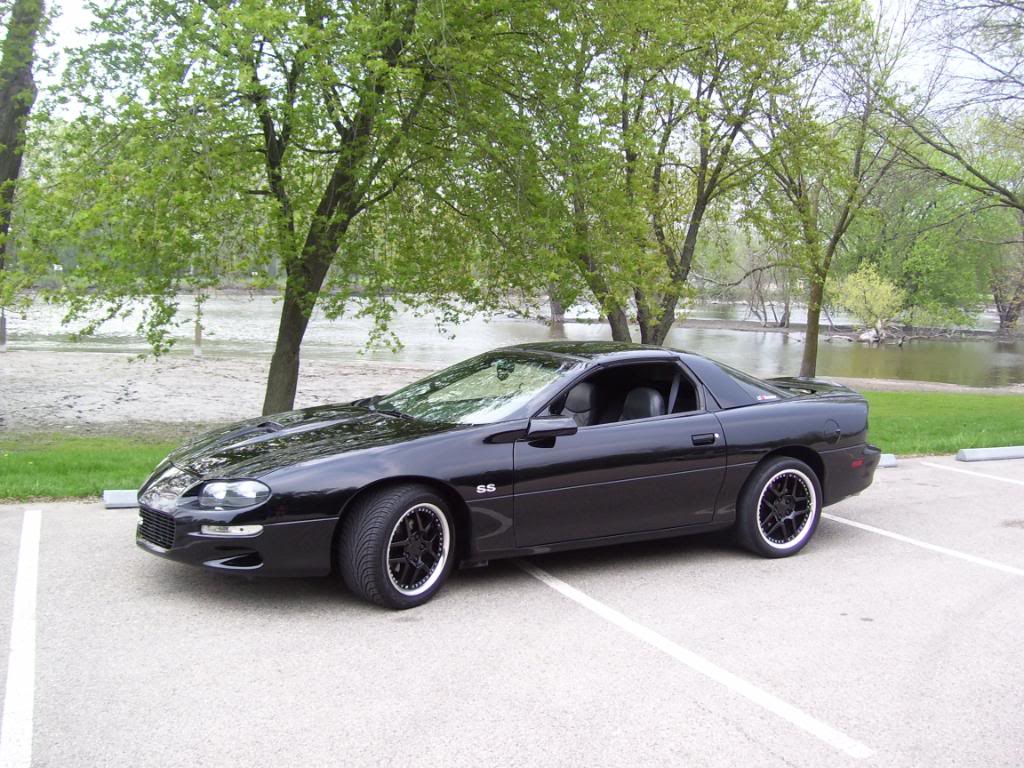
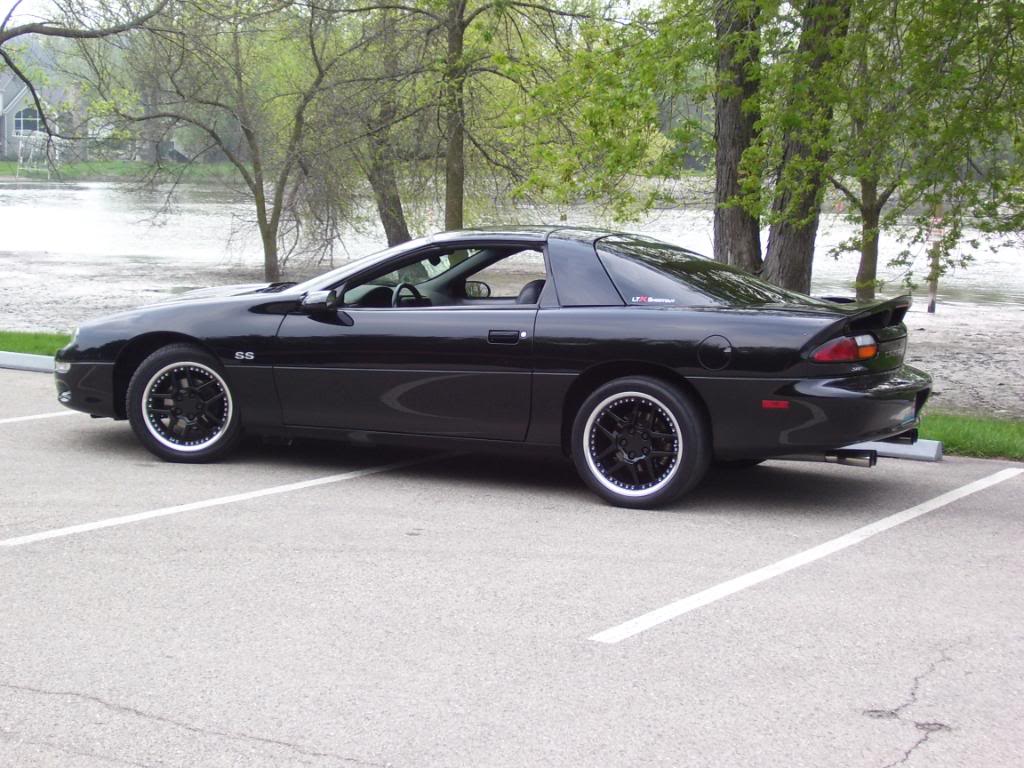
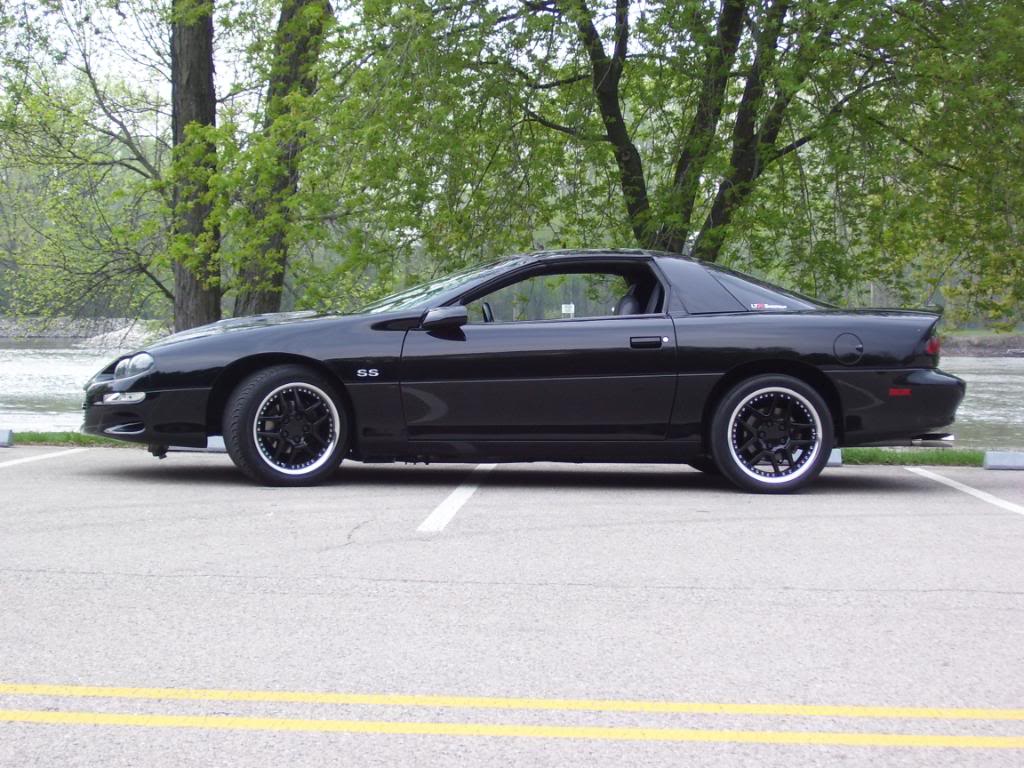
Finally had a chance today to install my Z06 Replica wheels and also washed it...of course Im hearing thunder in the distance but anyways, here are some pictures my friend took of my car after I washed it...
17x9.5s with 275/40r17 tires in the front and 18x10.50s with 315/30r18s in the rear (I need some rear tires if anyone has some)
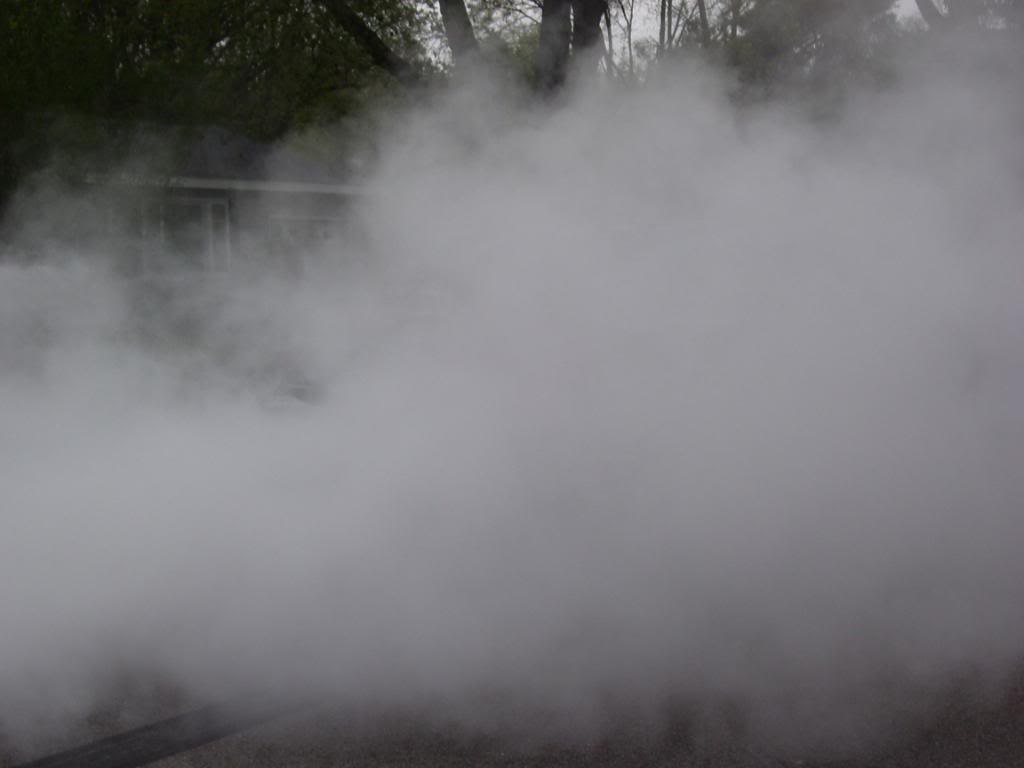
Somewhere in the cloud of smoke is my Camaro...
Went down by the local dam to get a few more pictures...
Some lady offered to take my picture with my Camaro, too bad she didnt get the whole car in. Oh well...
5-18-2011
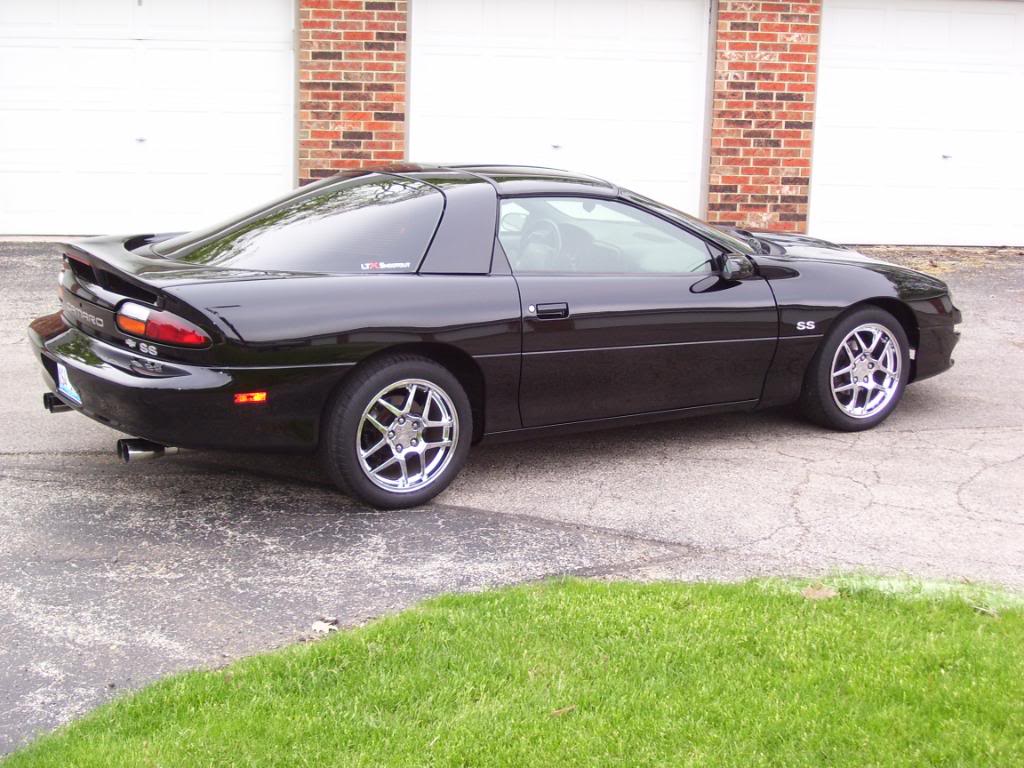
Well I must have A.D.D or something because I took the black Z06 replica wheels and traded them for chrome versions today. Met up with Adrian (unik_gtz) who drove down from Wisconsin to dropped the wheels off. Came home and hit the wheels with some chrome polish and shined the tires (which instantly soaked up the tire shine) Snapped a few pics too after I waxed the Camaro...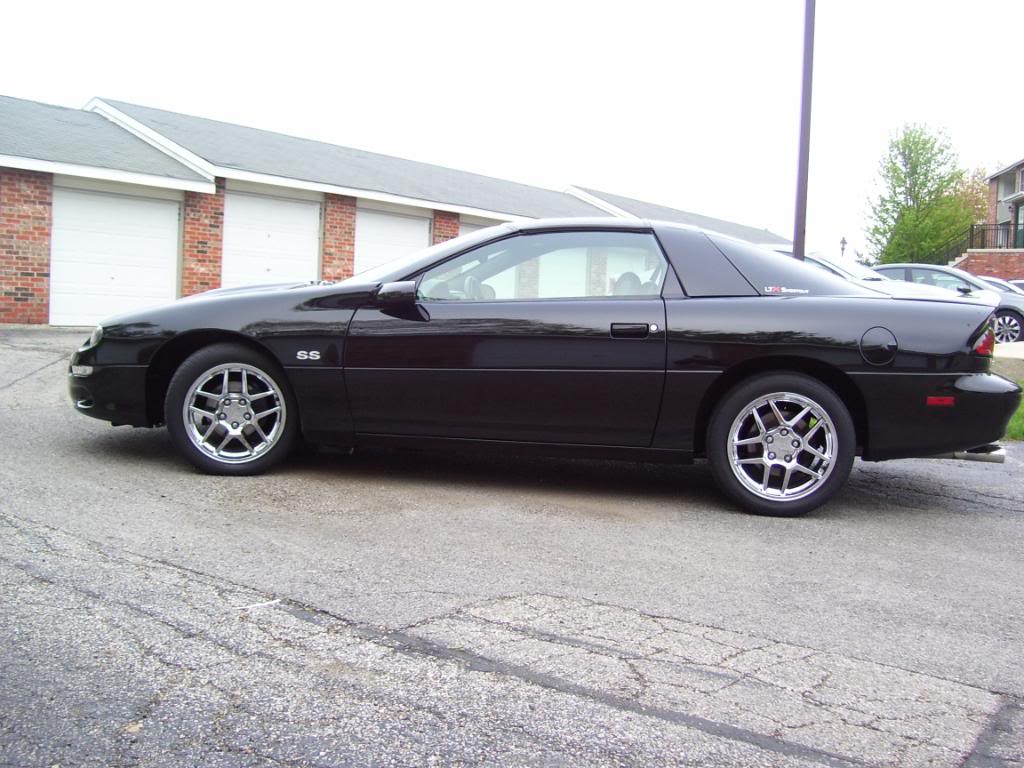
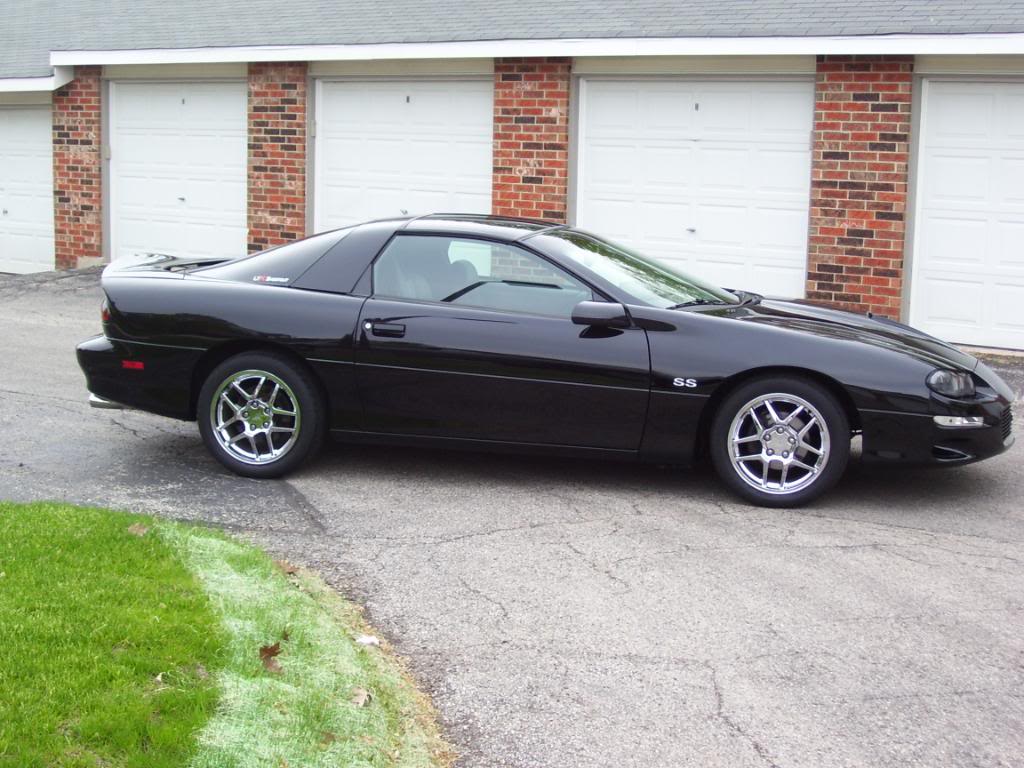
5-30-2011
Actually decided to attend a car event finally. Met up with a local car group for a Memorial Day Cruise (was yesterday but rain postponed it) so the turnout wasnt the largest but still alot of fun. Some pics from the cruise...
Group started out pretty small...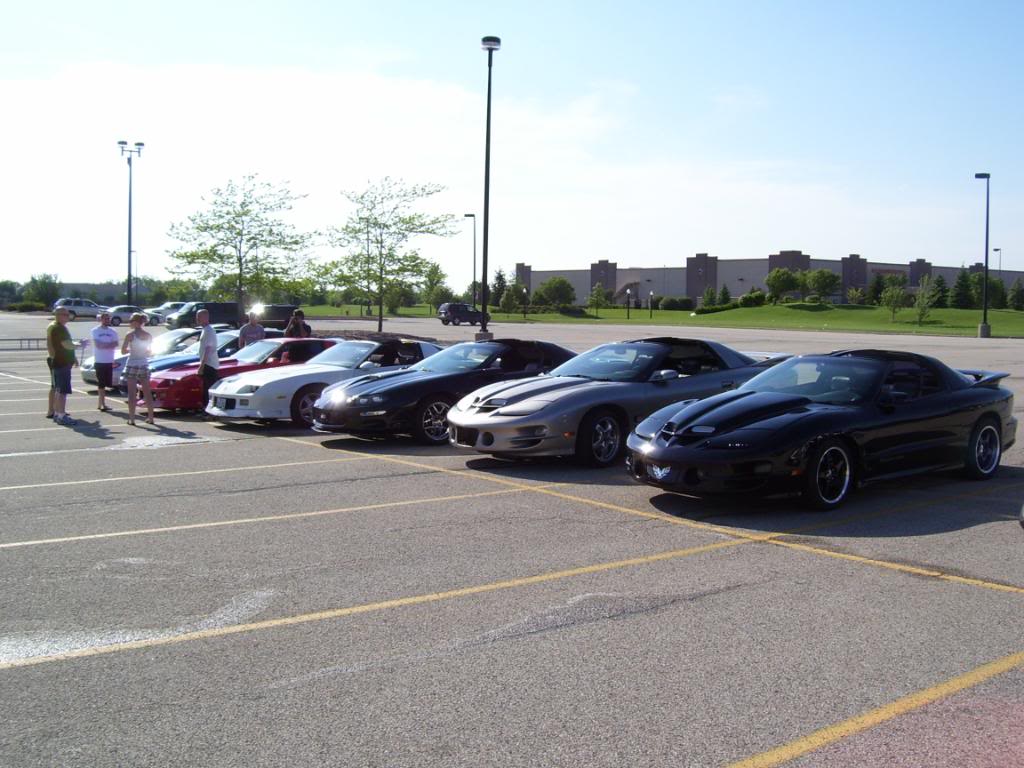
Of course some Birds had to play around! lol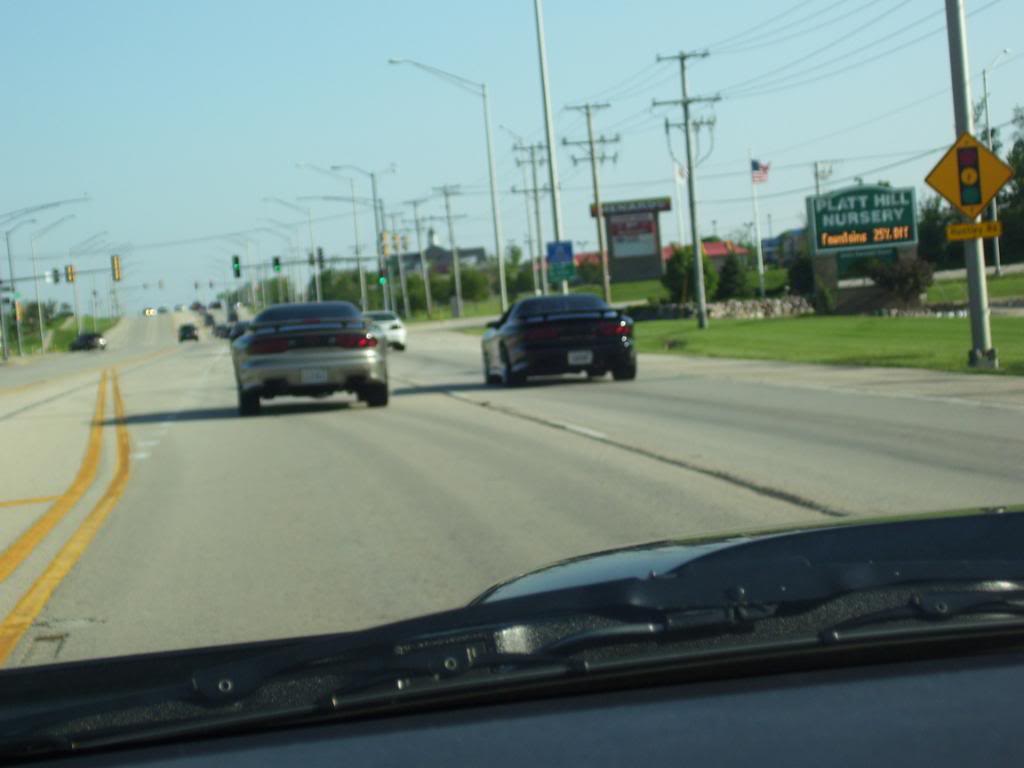
Some GM muscle at the stoplight...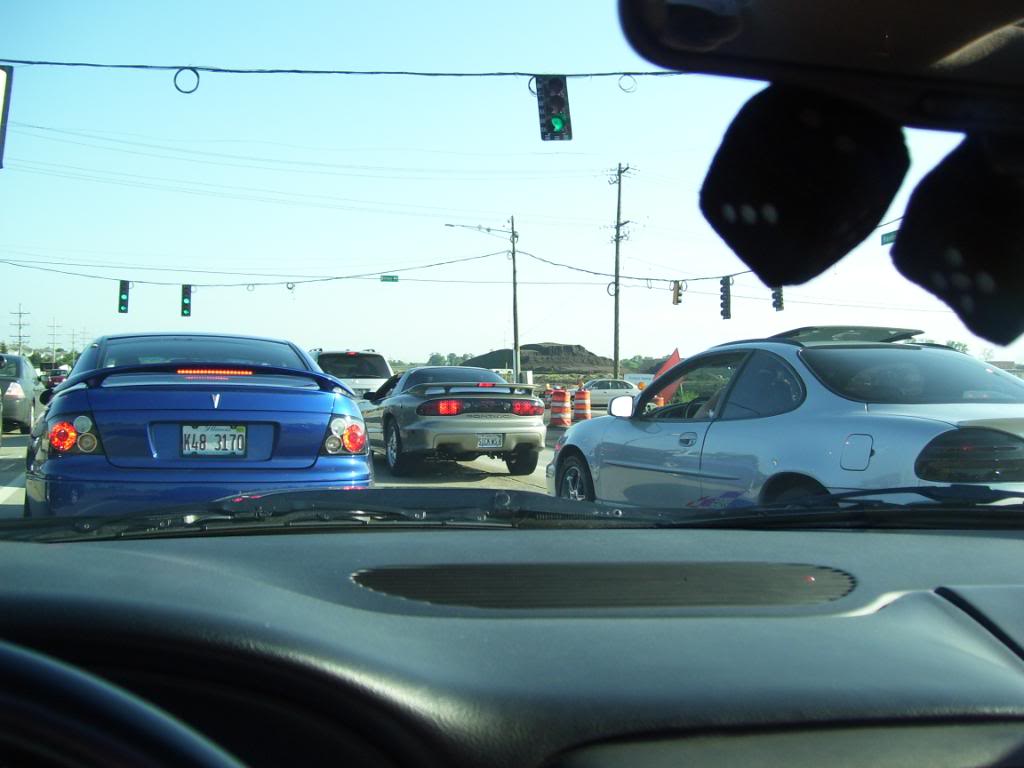
Tried to get a pic for Amy but she had her music up too loud! lol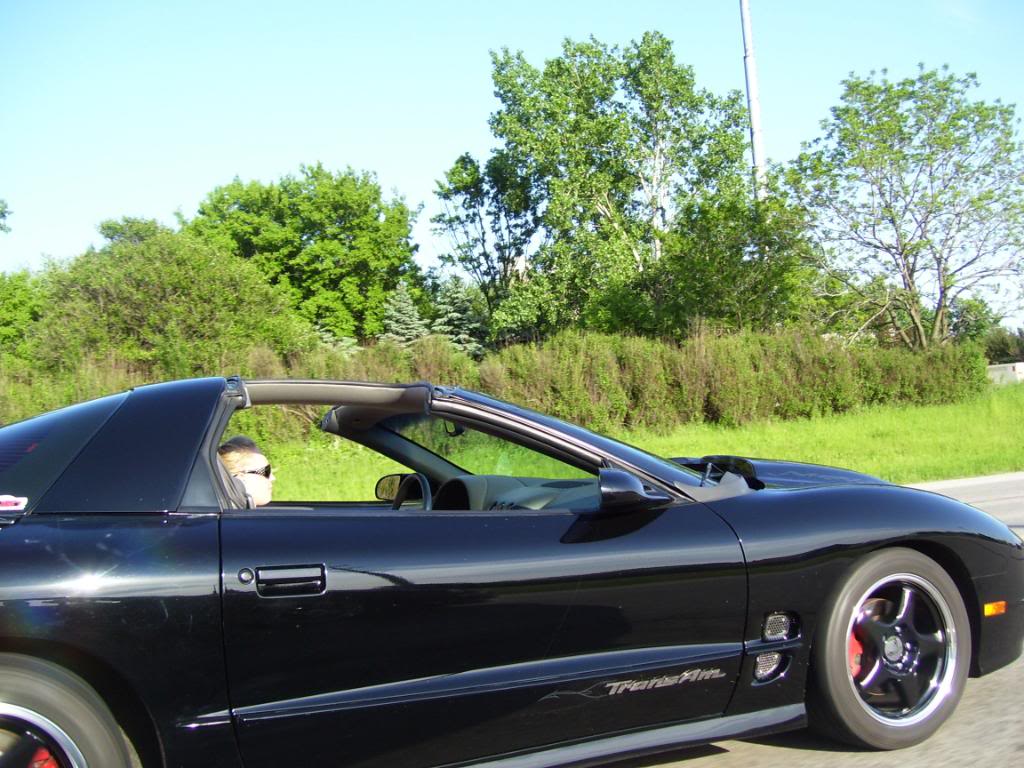
At the second stop...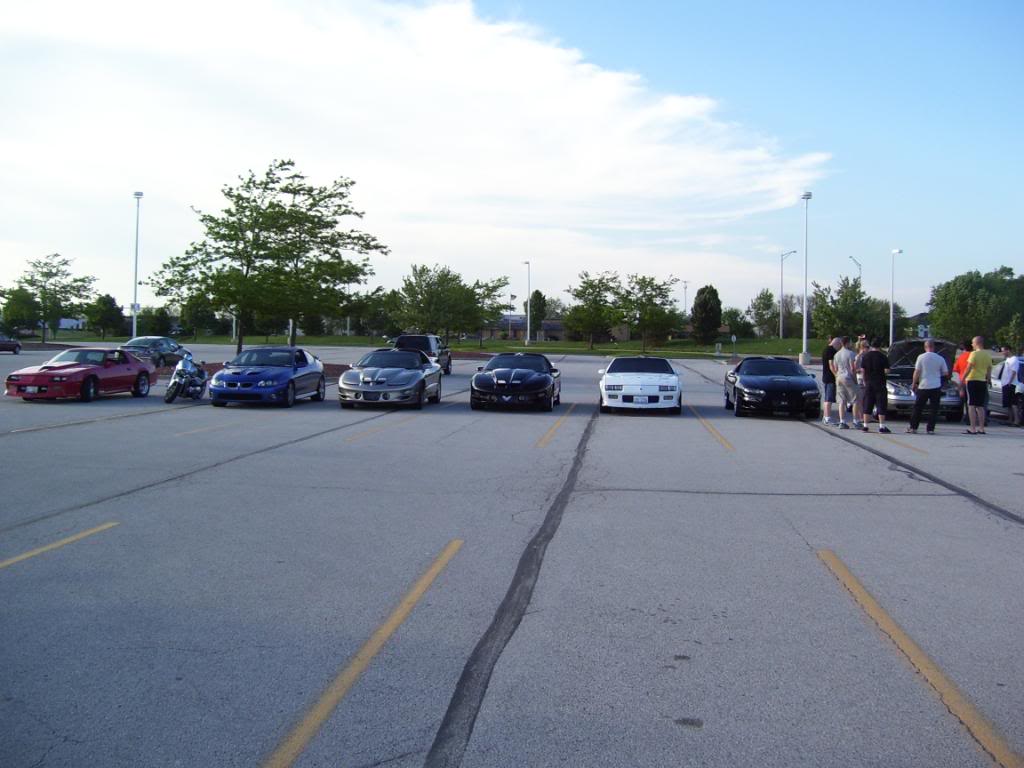
Gathered some more cars...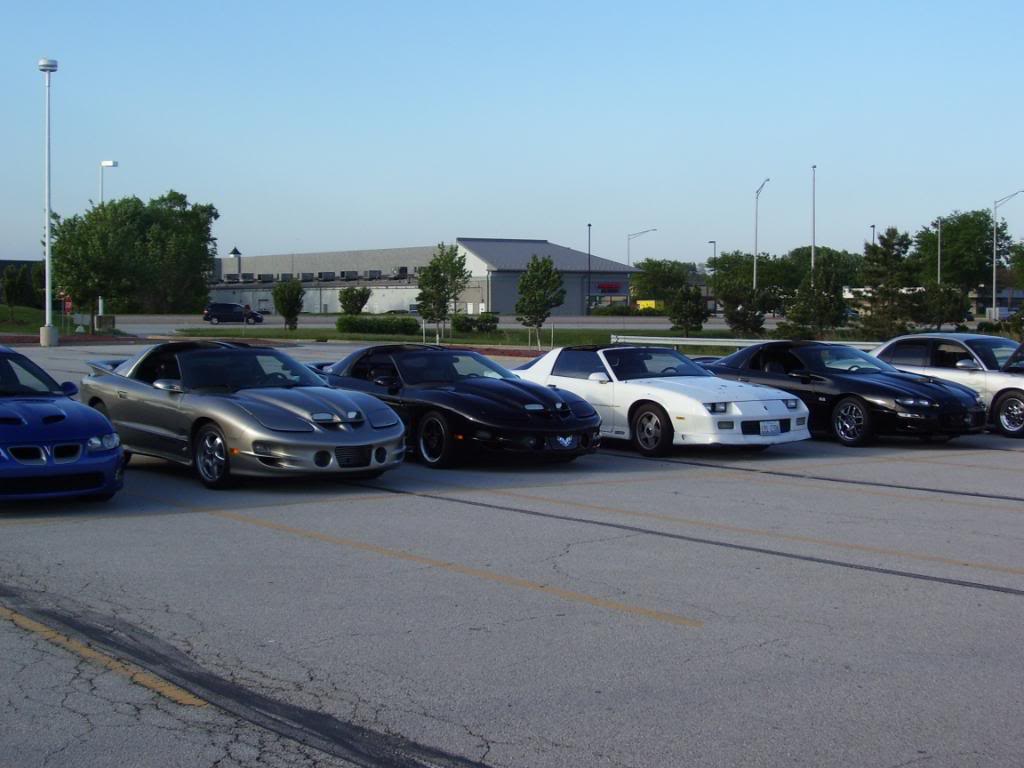
And I broke...Trans line blew at a stoplight. Thanks for everyone for stopping the cruise and helping me get the line back on! Forget the guys name at the moment thats under my car but thanks for the help and thanks Amy for driving me for a parts run!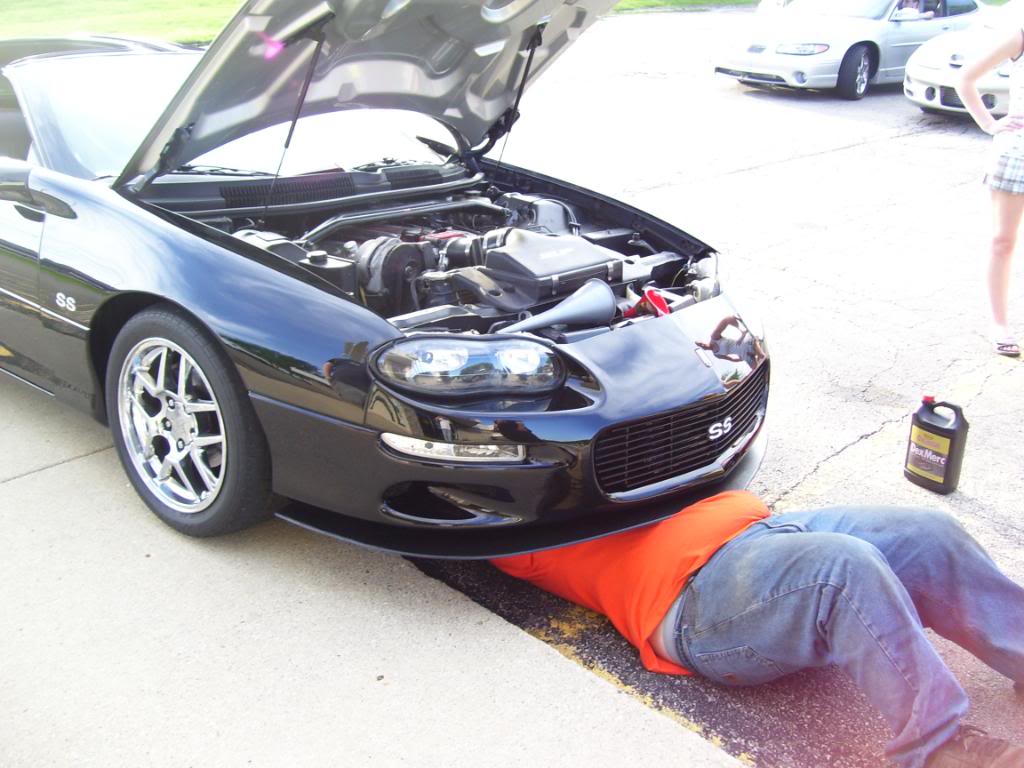
Whats a cruise without a stop for Hooters wings. At the Hooters parking lot. Tried to get everyone in the picture but the group got pretty large at this point.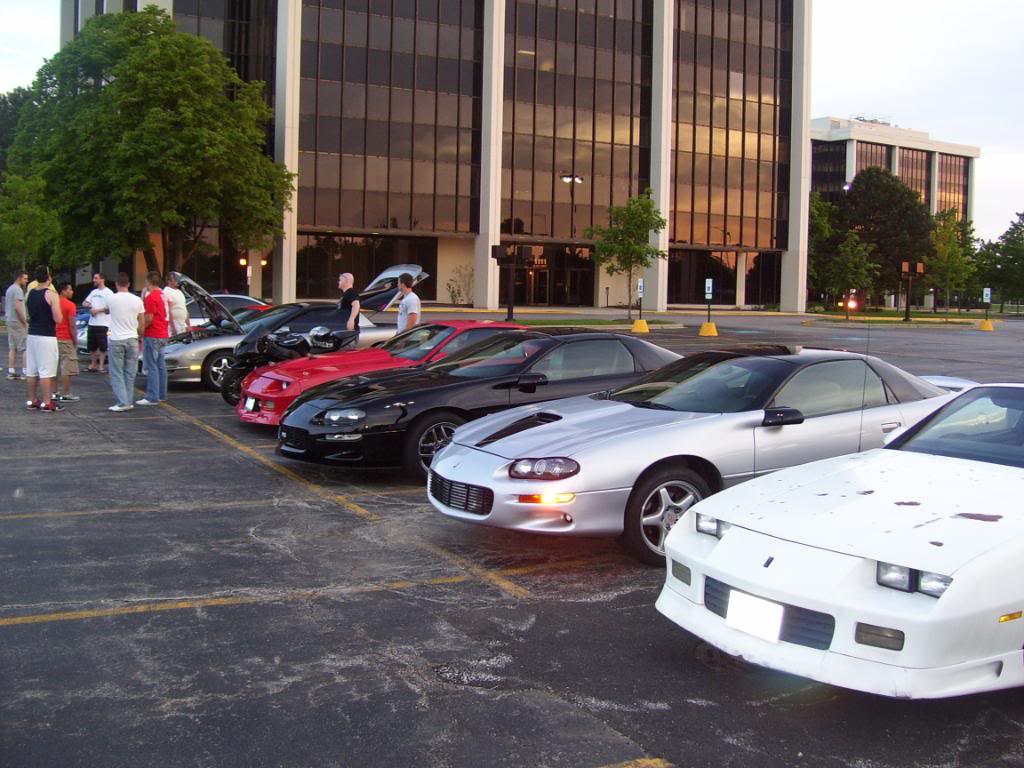
Another angle at Hooters...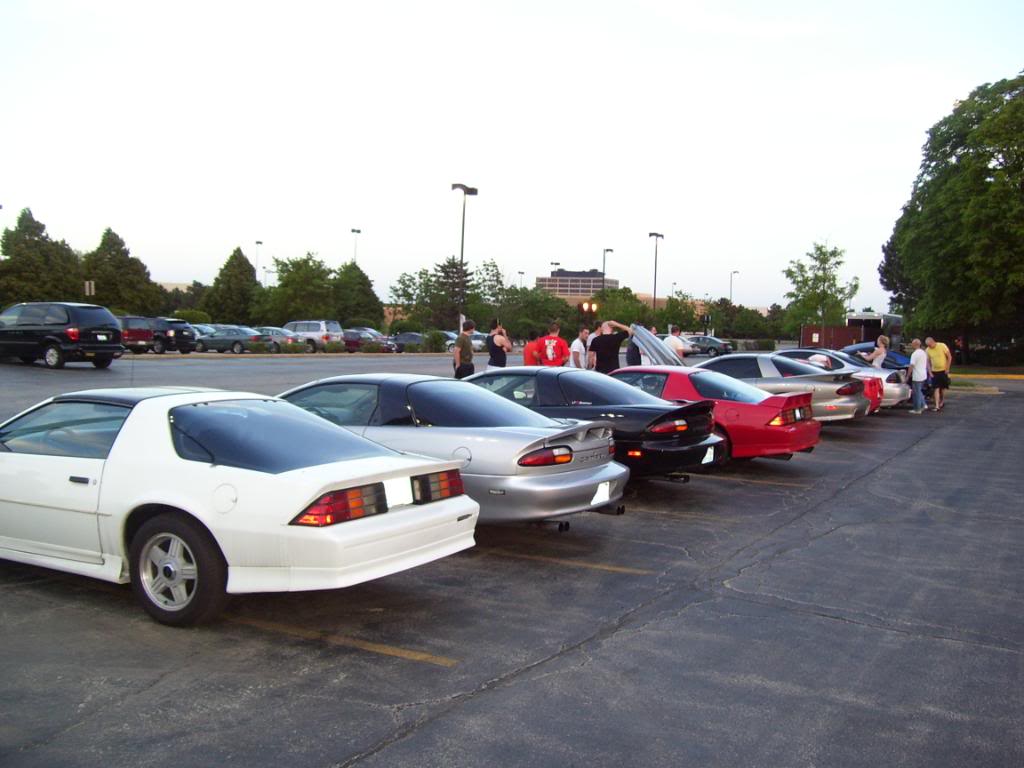
Minus my Camaro breaking down, the cruise was a blast! Cant wait for next time! Met alot of new people and caught up with some old friends!
6-19-2011
The Dreaded FOR SALE Post
Well...hate to say it but...Ive acquired a new project and need to make room for it as well as get a daily driver thats better for hauling a trailer/parts so Im offering this Camaro to you guys first...
Picked up a 1969 LeMans that will take alot of my time. I already sold my 91 Camaro as well so Im hoping to go down to my 72 and the 69 and have a truck or SUV as my daily driver.
So this is your chance to own this "Lengendary" Camaro and the rights to continue with this thread as you wish. I dont expect to part with it until fall but if the right deal/trade came along Im deal early.
Looking for a trade for a full size chevy or ford truck, suv or anything along those lines. Must be in similar condition but I will entertain trades plus cash.
This has been both my wifes daily driver and mine for the past 3 months with no issues. Paint is a 8.5 out of 10 (would be a little better once the old spoiler holes are welded up) Interior is the same with a small tear on the side of the drivers seat (the normal tear) Has heat and defrost but no a/c...although have all the parts to go back to A/C if someone wanted to.
Any more questions, PM me...hate to let it go...but Id like to see it in good hands.
6-29-2011
Yeah, for sure...I got it pretty much "finished" Left my possession tonight to my wifes friends family who are using it as father/son project car. Seems like its in good hands and hopefully they will keep us updated on it. Was a fun ride while it lasted and I owe all you who helped me big time! Huge thanks to everyone for you support/criticism/help over the past few years. I enjoyed the build but Ill pass this nice car off and let someone else enjoy it! She will be missed!
Not sure on my F-body future as I just picked up a 69 LeMans project car a few weeks ago which I will probably end up doing something similar for on performanceyears.com with a build thread. Also my 72 is still in storage so I have my hands full of American Muscle but no Camaros currently. Ill be around if anyone needs anything...dont hesitate to PM me!
8-26-2011
Some good news...sorta a nice ending to this "book" The guy I traded my Camaro to is going to let me race it at the LTx Shootout next week! At least I will finally have a timeslip (although its back to a street car, still will be nice) So Ill see all you fellow LTx'ers next week and of course...I will be drinking!!! Pics and times next weekend!!!
9-3-2011
Im back from Beech Bend Raceway where I made a pass before handing the racing duties over to Am_Muscl (Jason) who was wanting to race the car since his still is not finished and I had no real desire to compete other than to make one pass or two to see what it would do.
I made two passes during the test and tune where I ran a 13.8 with a hesitation on the 2-3 shift. I then got it down to 13.5 with the same hestitation but the 110 degree temp today, there was no getting ETs lower with Jason driving later. I think with lower temps and the hestitation it would be a solid mid to high 12 second car. Something to keep Keenen busy, who will be taking over the "Black94z28" name and this build thread.
Keenen will upload some videos and pictures of my runs on here later as well. So help Keenen out as he is a car "newbie" and will have tons of questions as he finishes this car.
Anyone who wants to stay in touch, find me on facebook http://www.facebook.com/editphoto.ph...00000072309979
12-4-2011
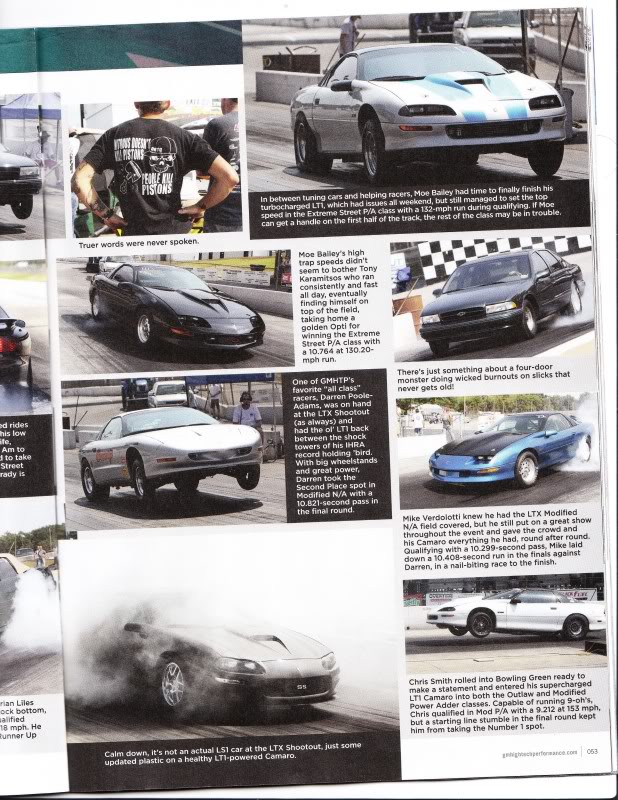
Whooo hooo! My Camaro made it into GM High Techs coverage of the LTx Shootout! Heres the article...
Ill have more pics from the shootout uploaded soon as well!
