You must be logged in to rate content!
43 minute(s) of a 118 minute read
8-15-2011
8-15-2011
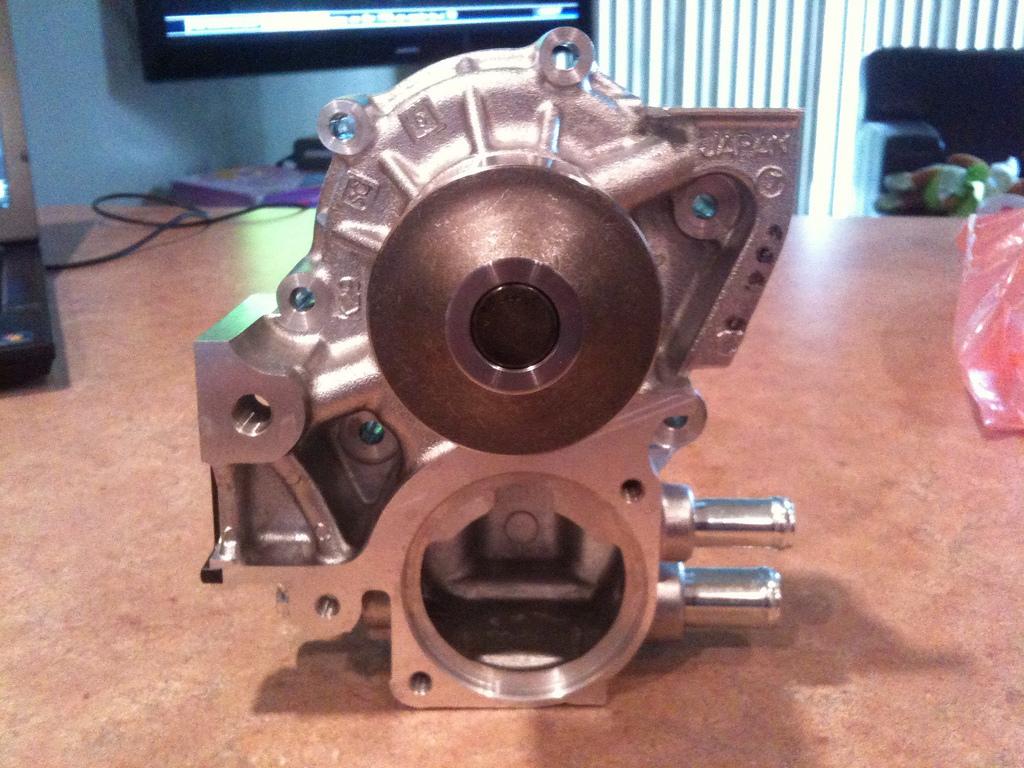
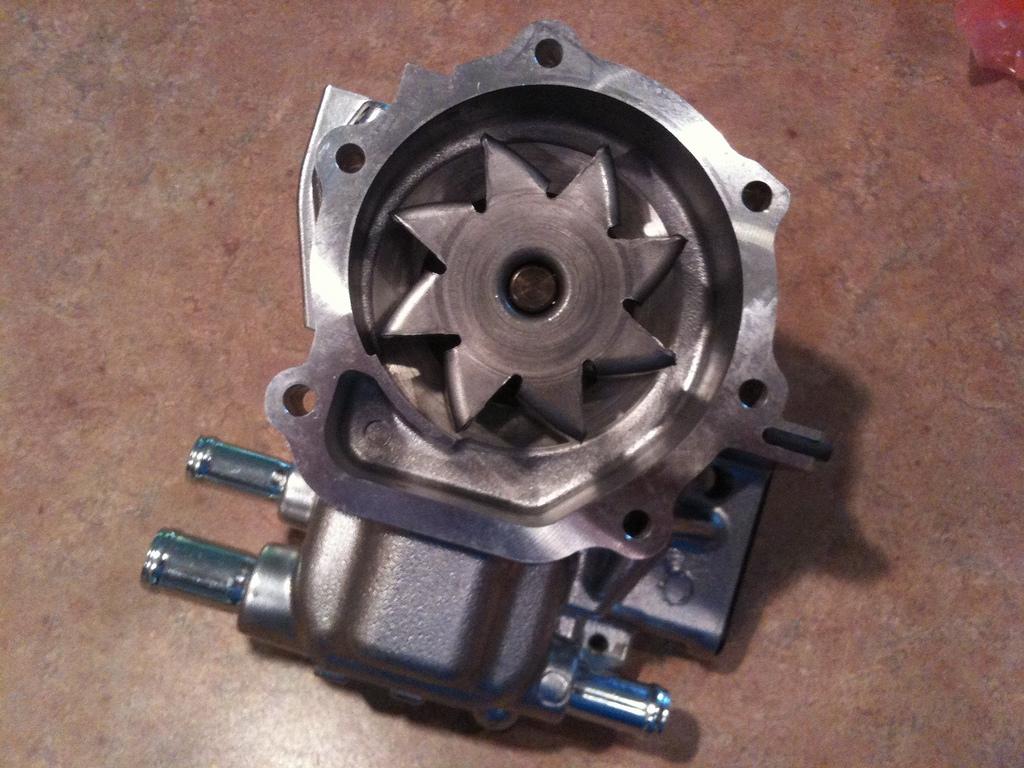
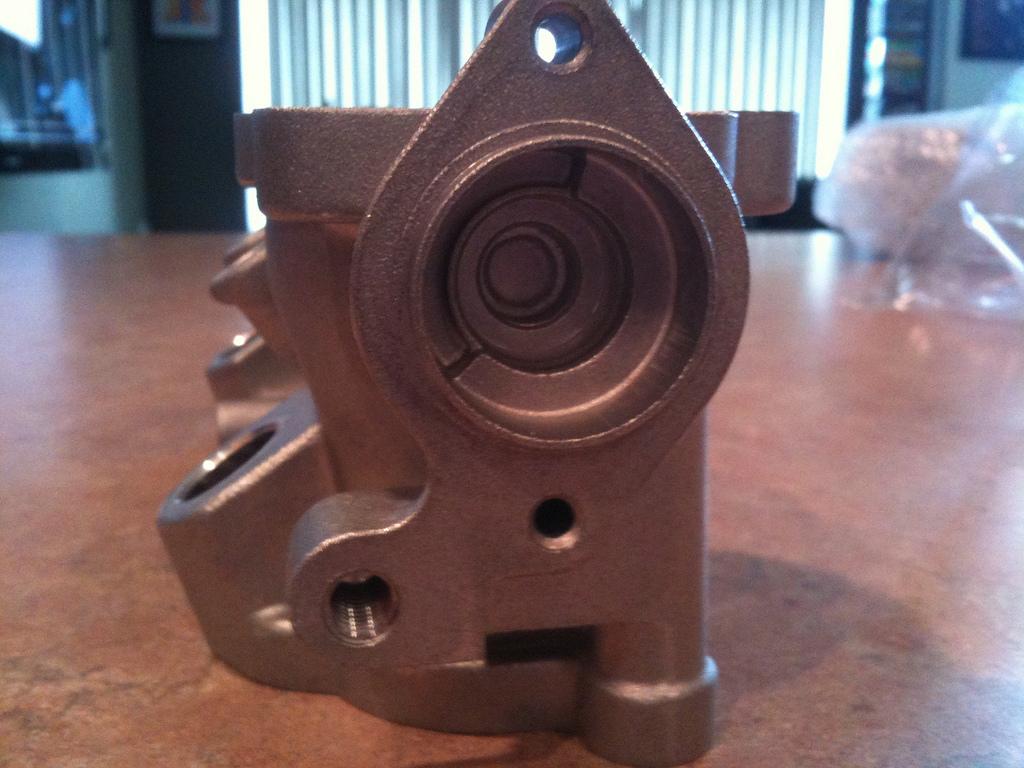
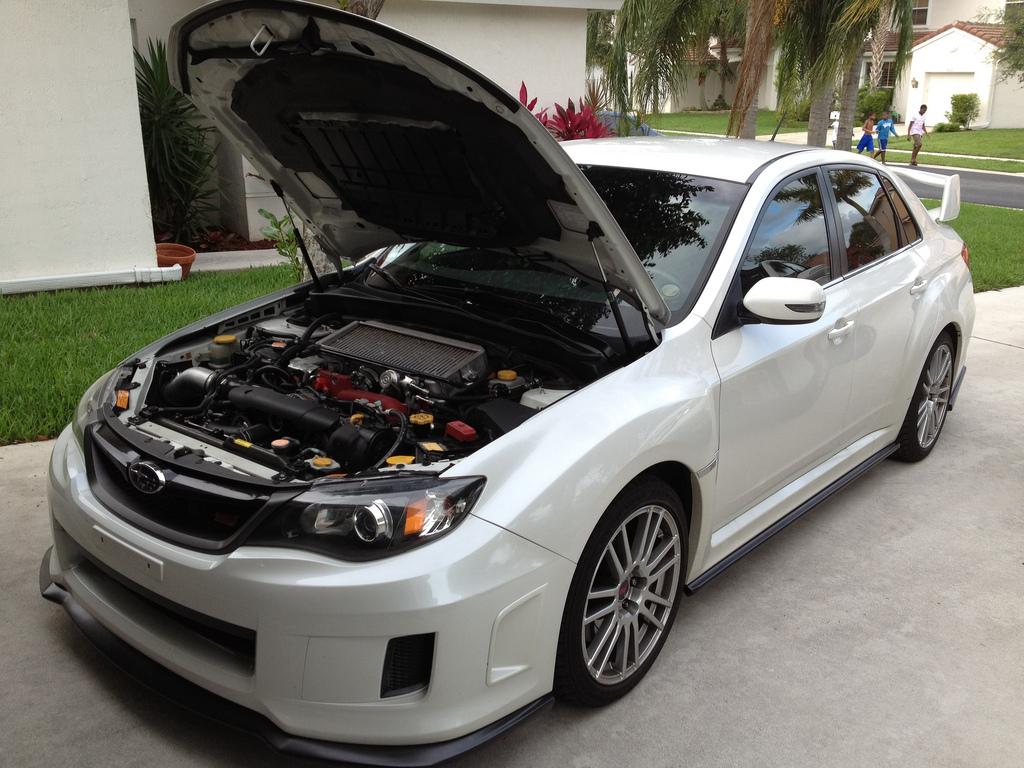
OEM Water Pump
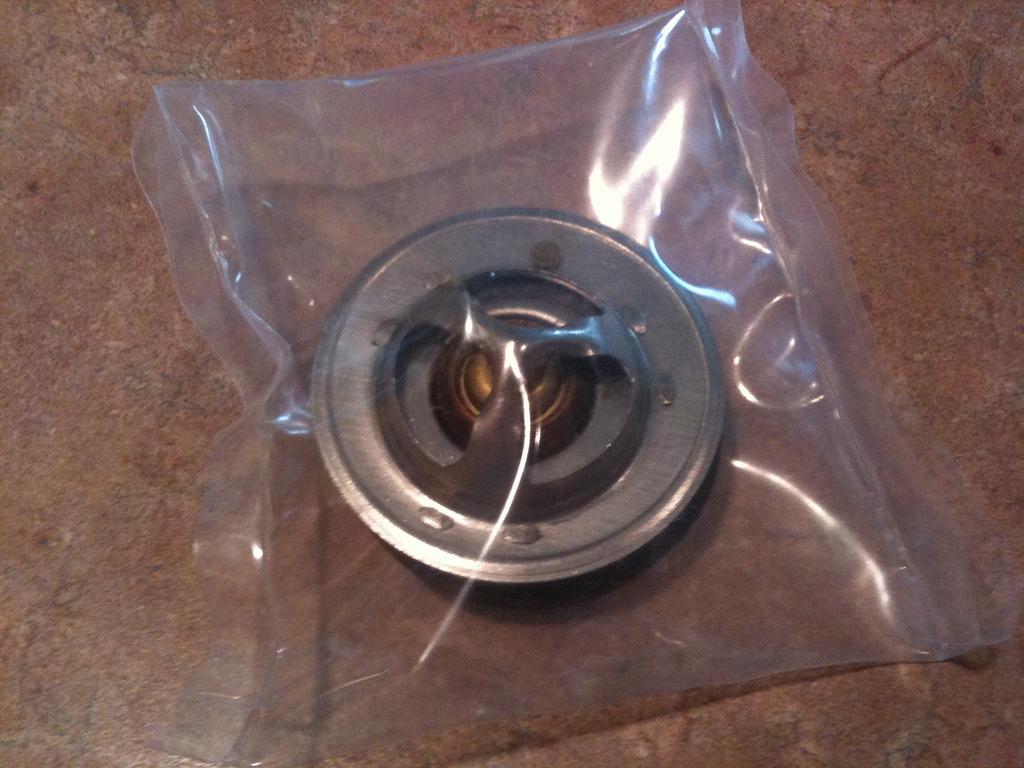
Grimmspeed Thermostat
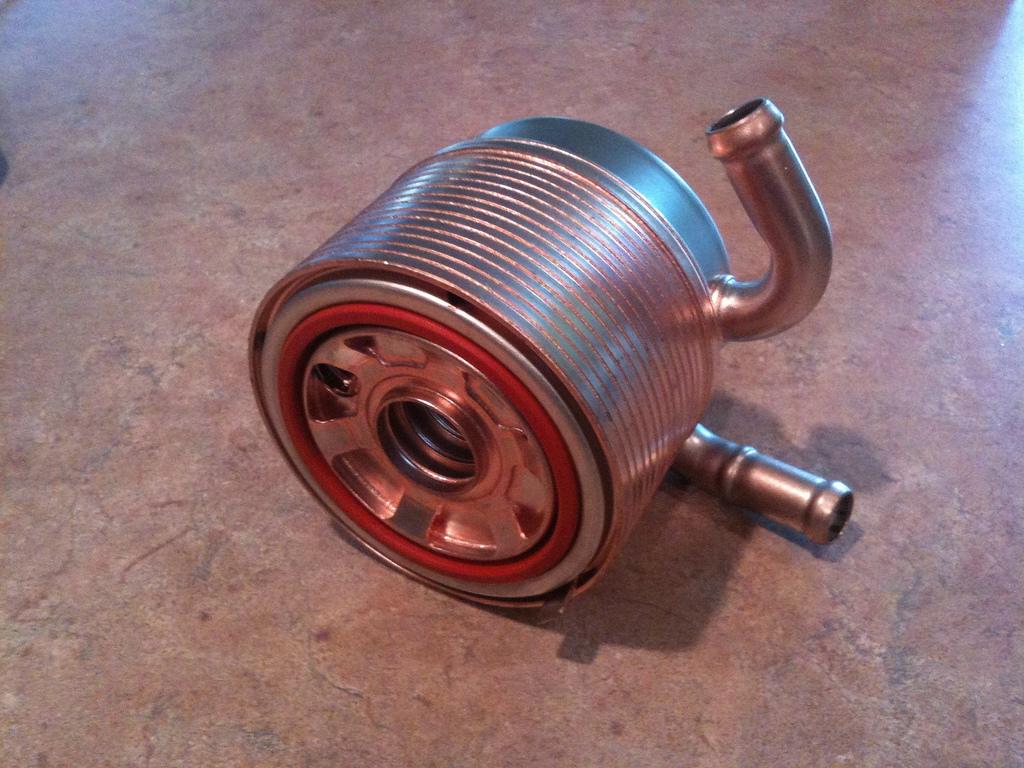
OEM Oil Cooler
OEM Rear Block Seal Kit, nuts and other gaskets
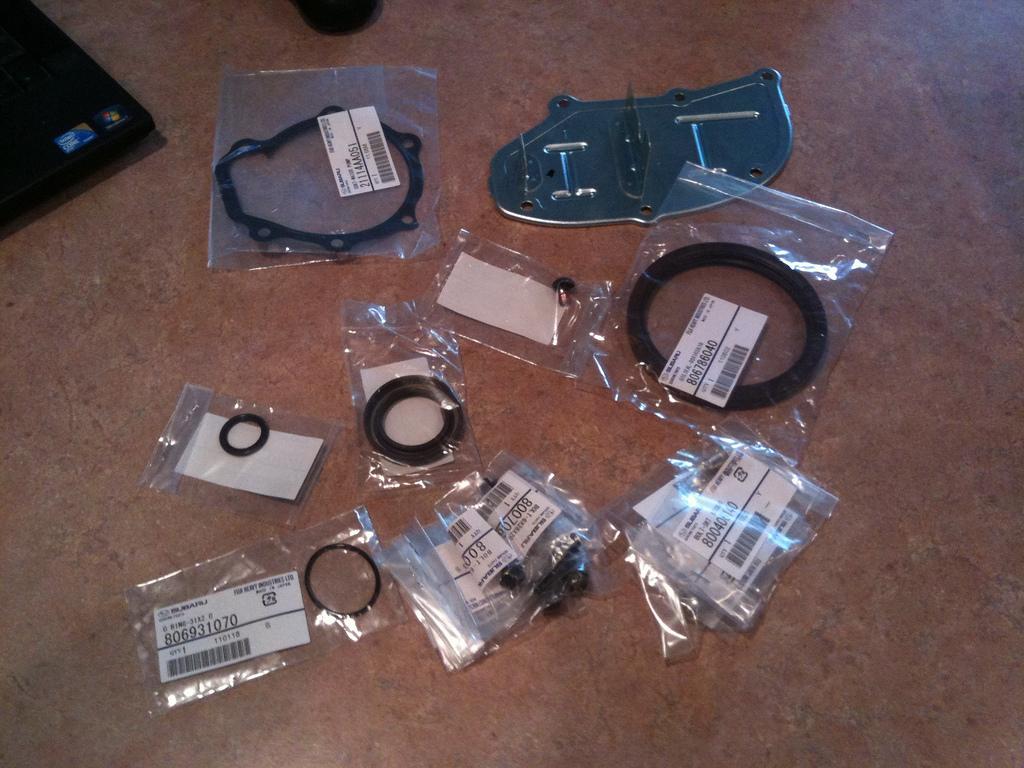
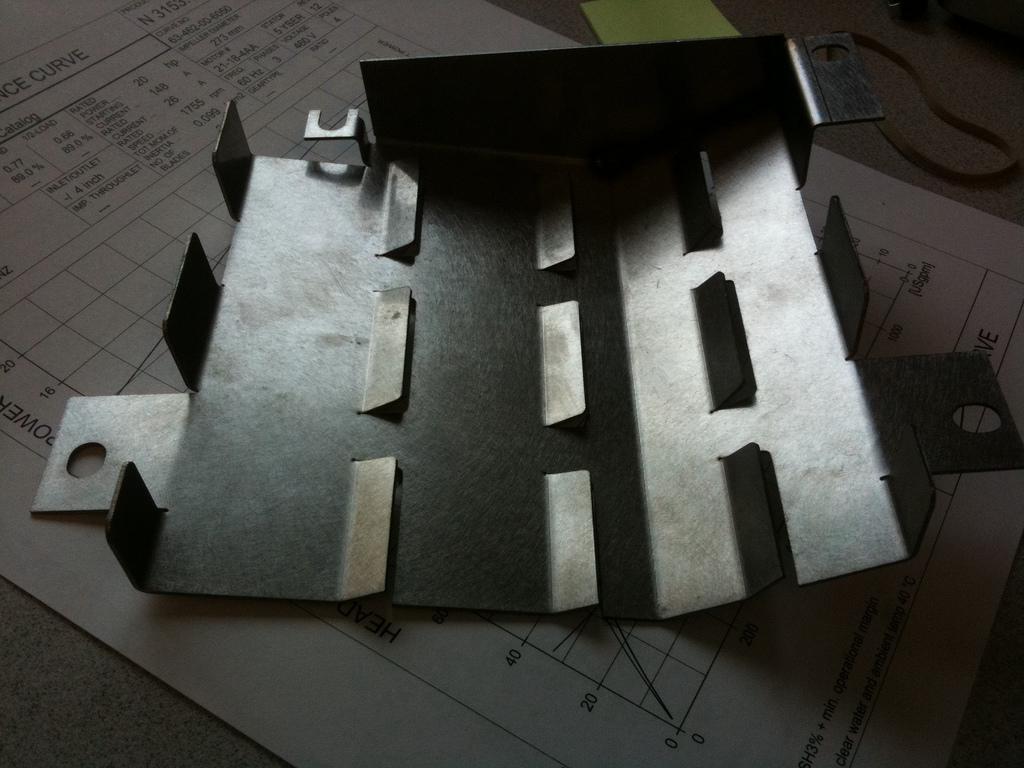
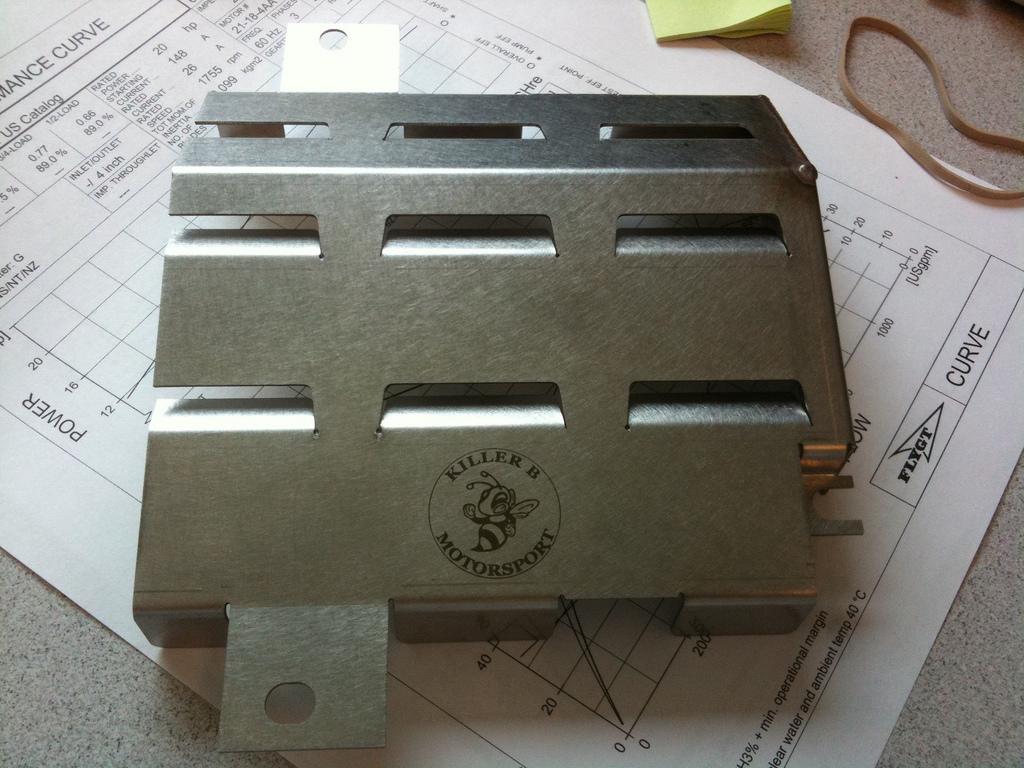
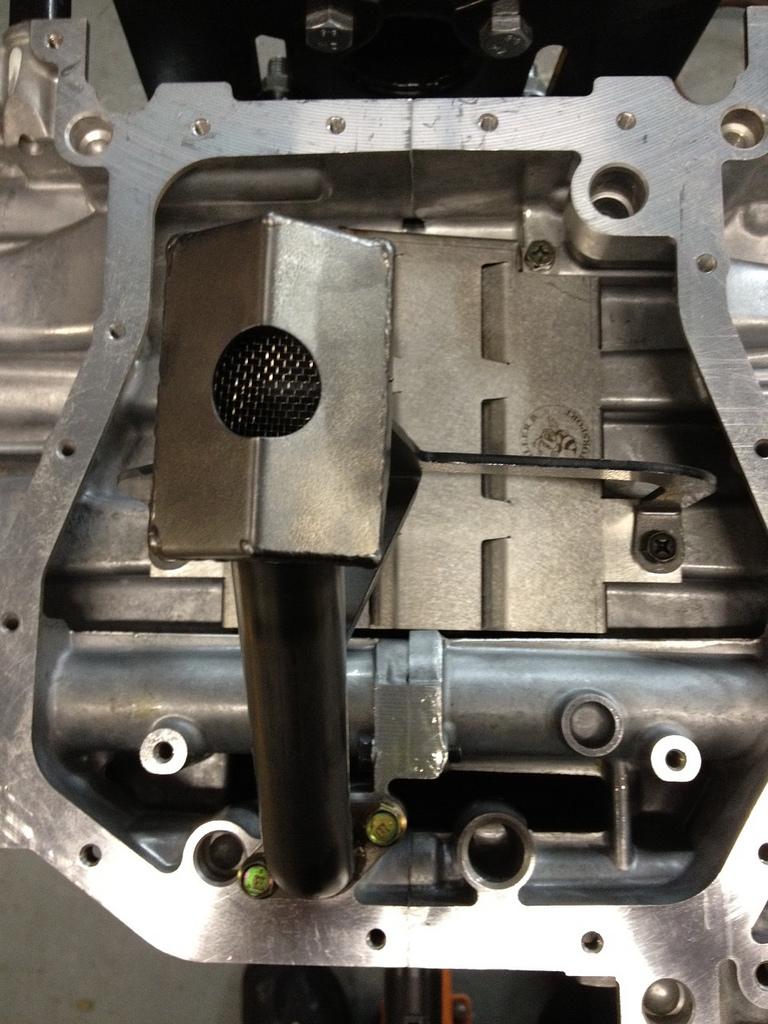
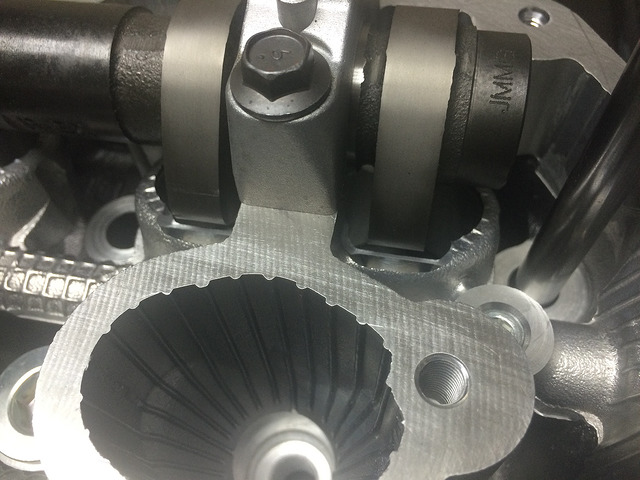
Killer B Oil Baffle
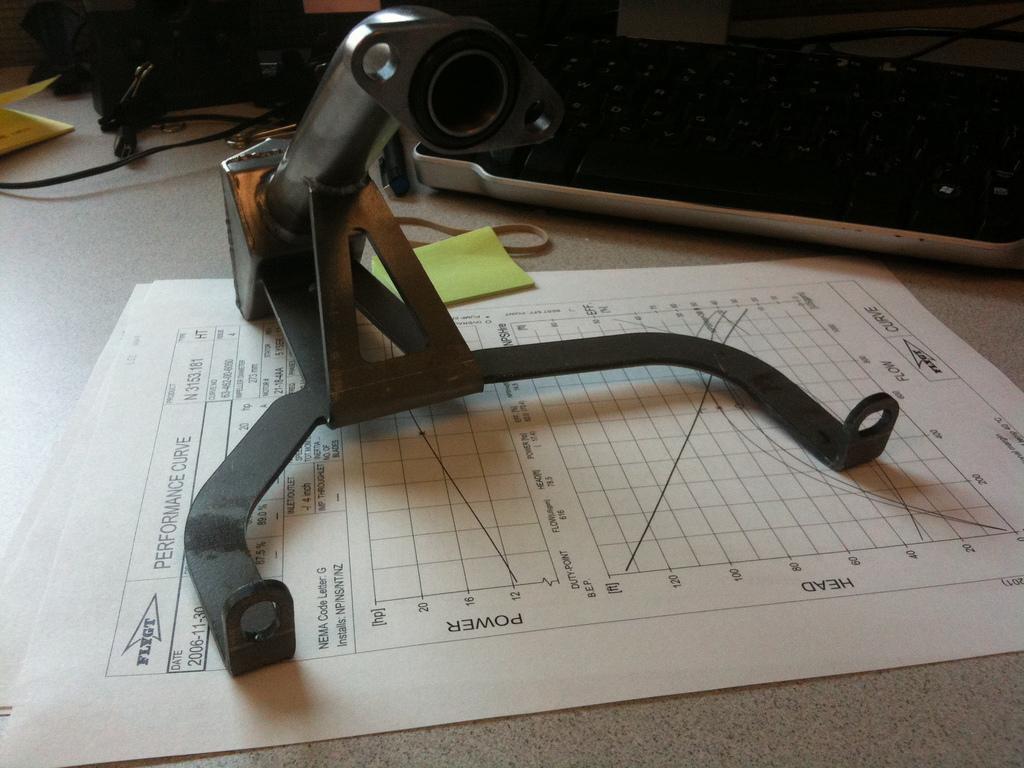
Killer B Oil Pick Up
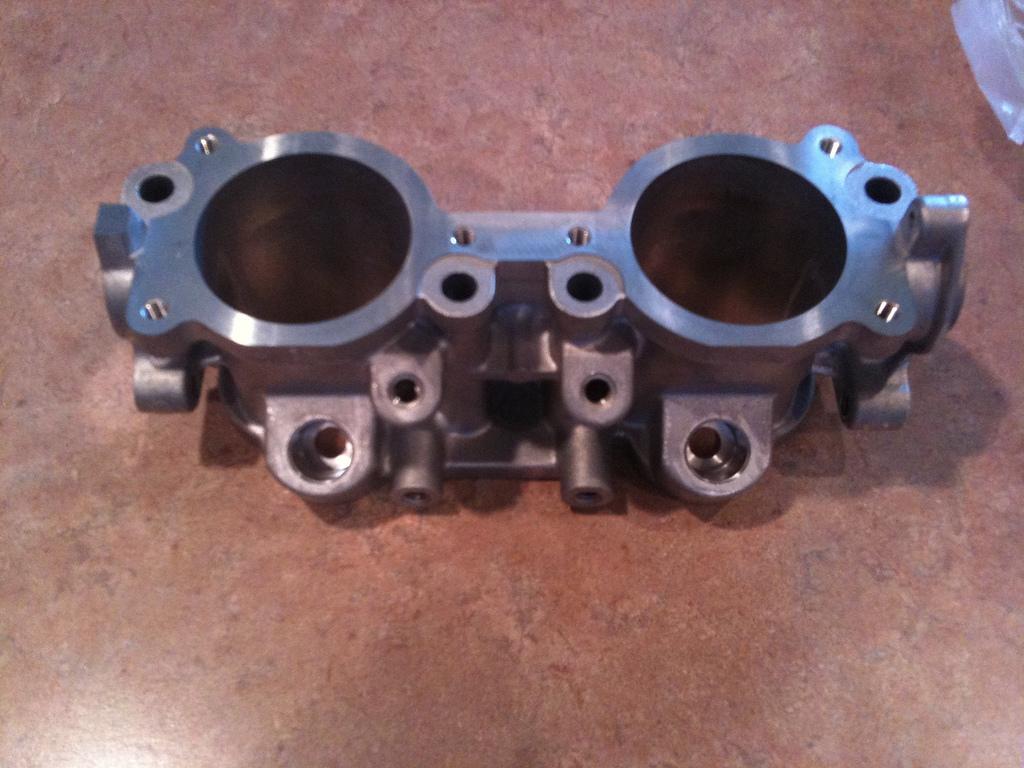
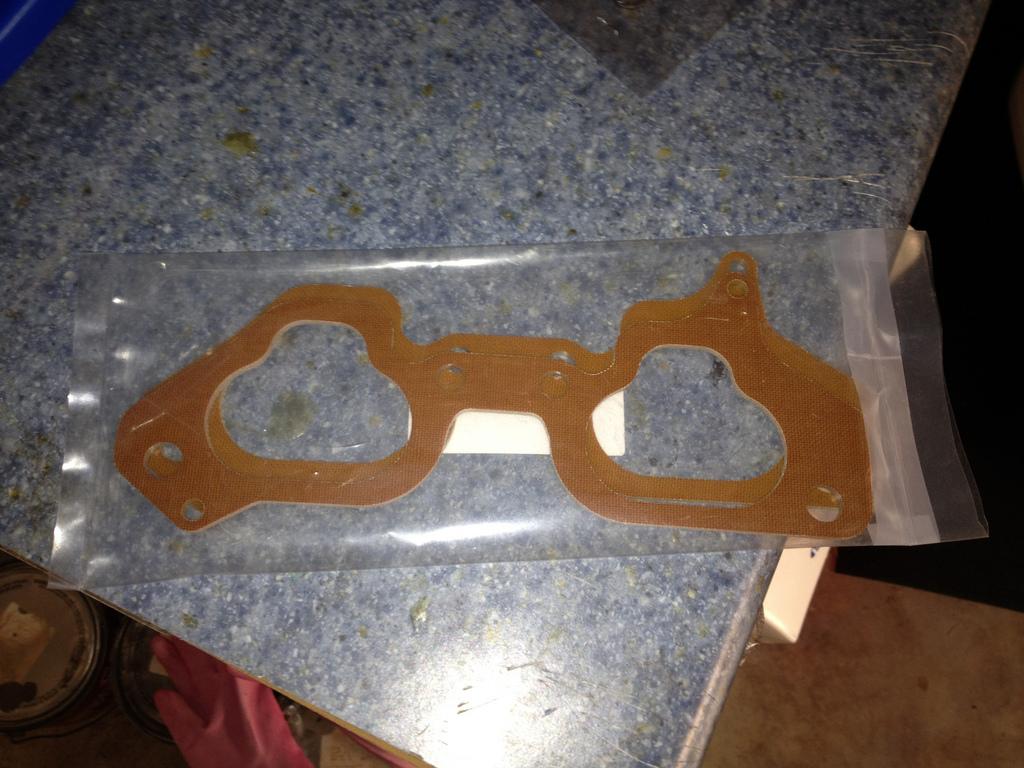
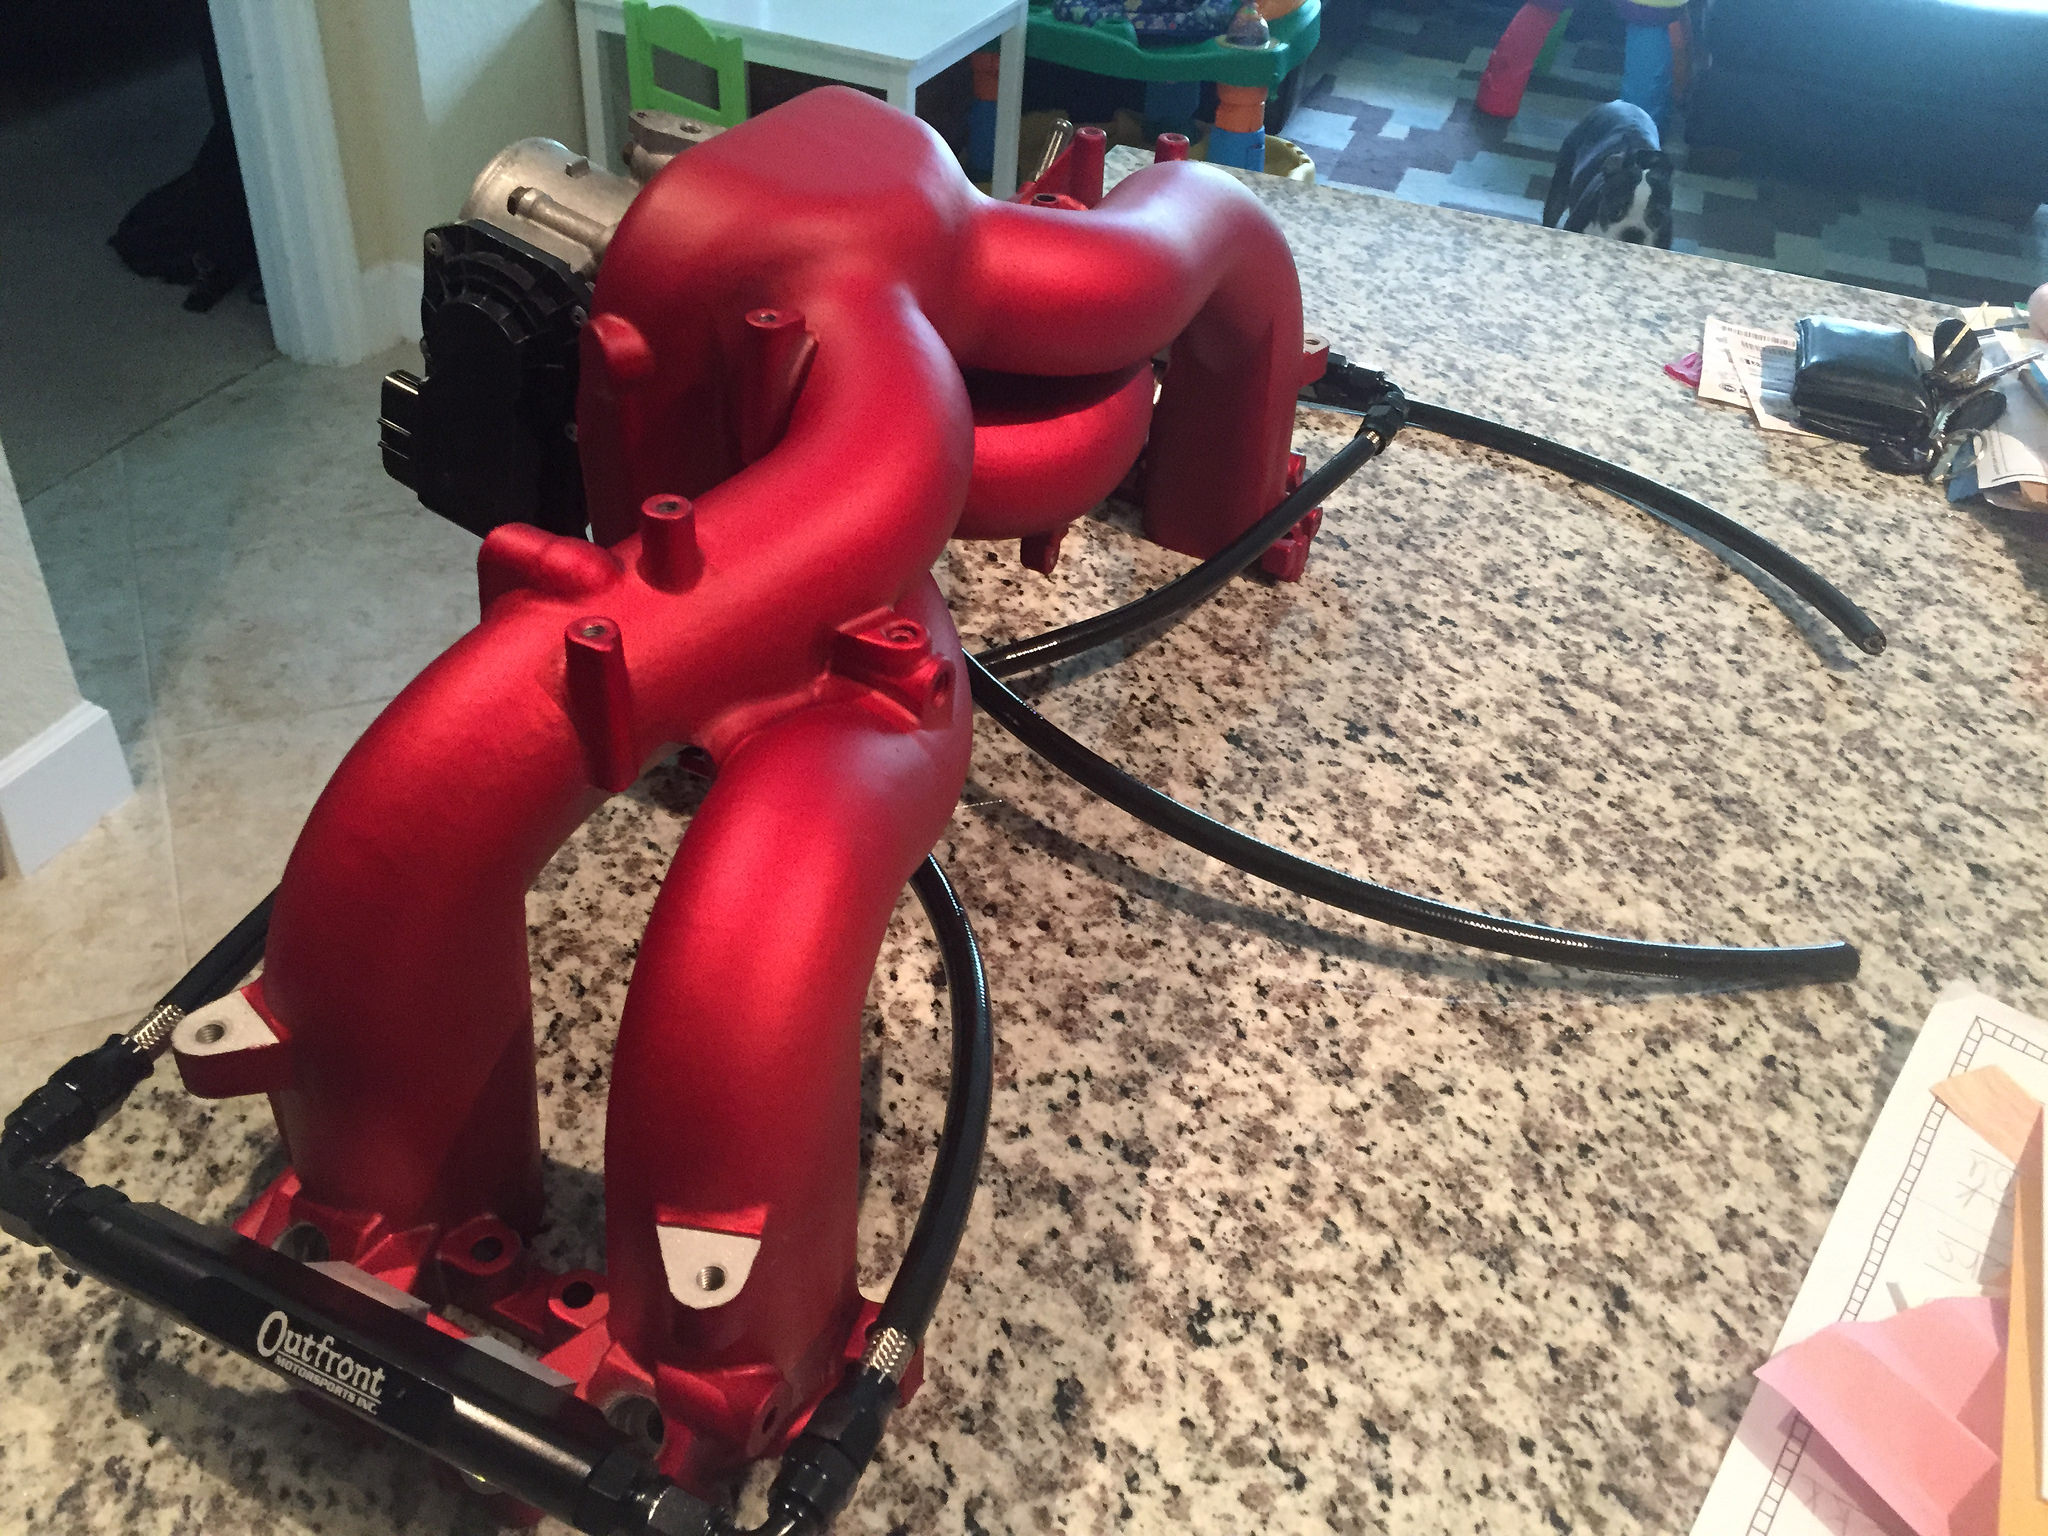
JDM Spec C Lower Intake (TGV Deletes)

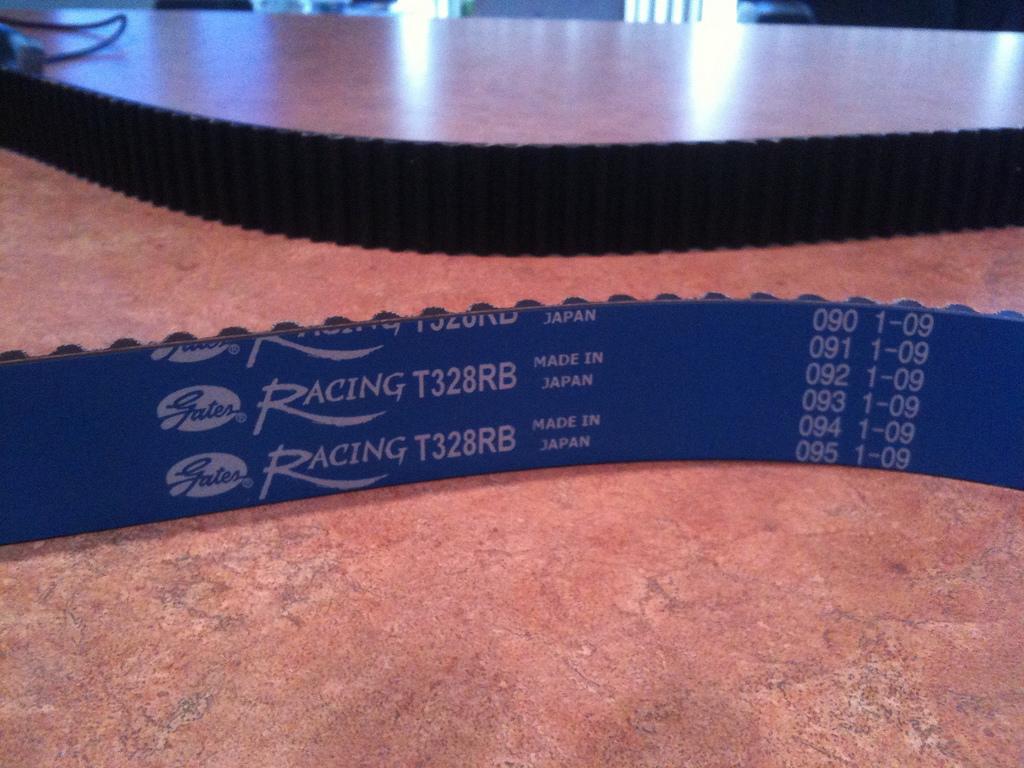
Gates Timing Belt
ARP Head Studs

3 mm Phenolic Spacer
August 11'
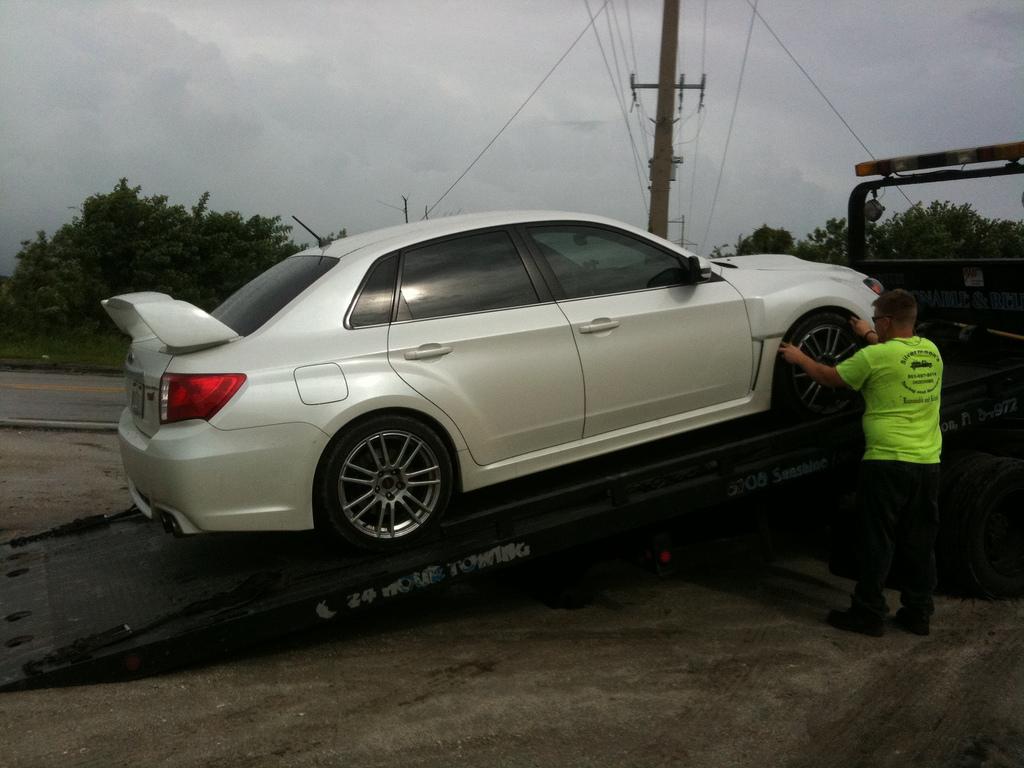
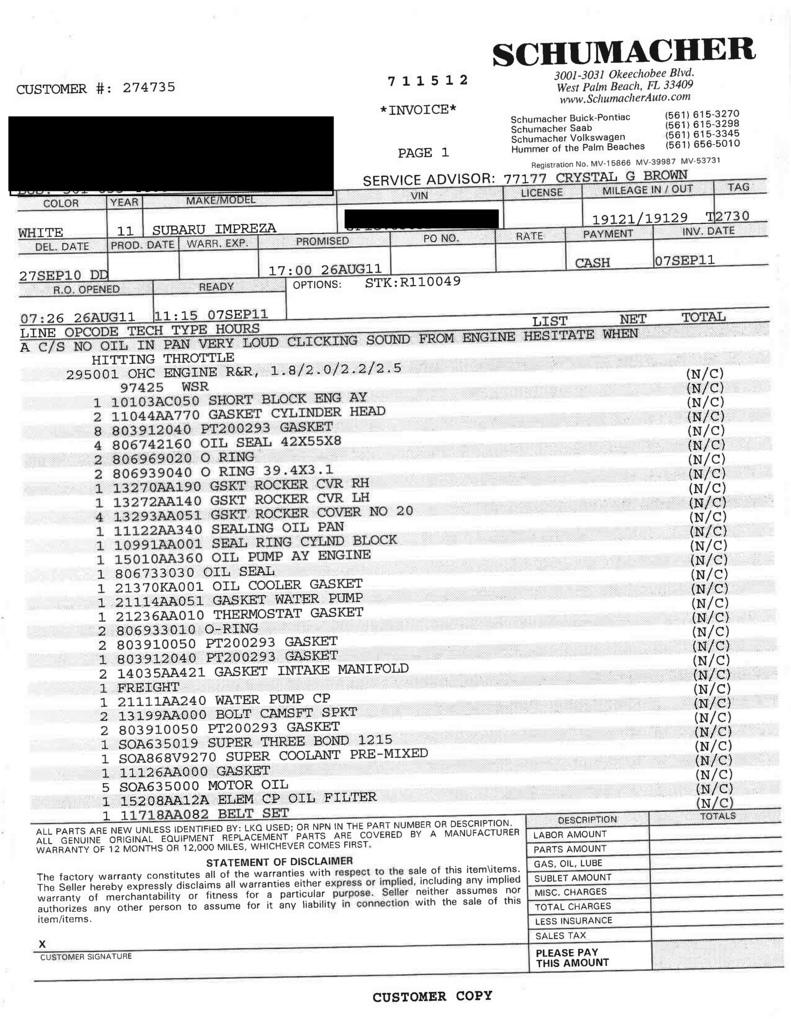
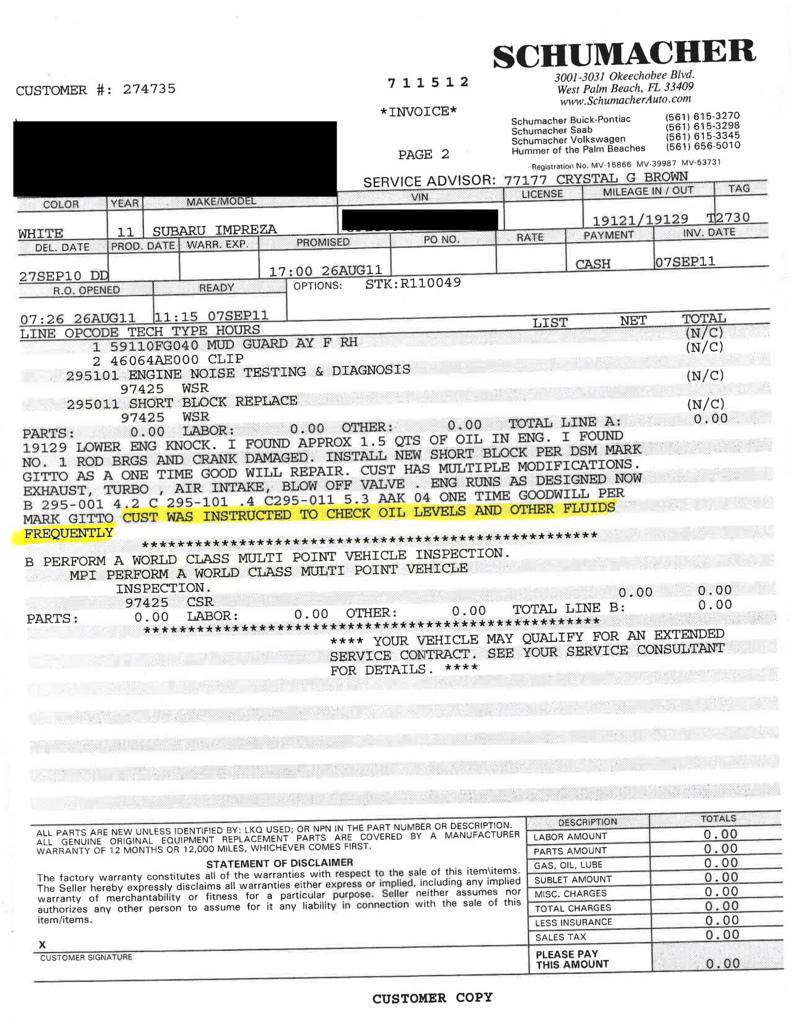
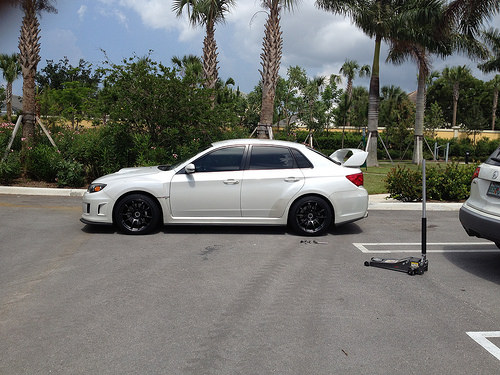
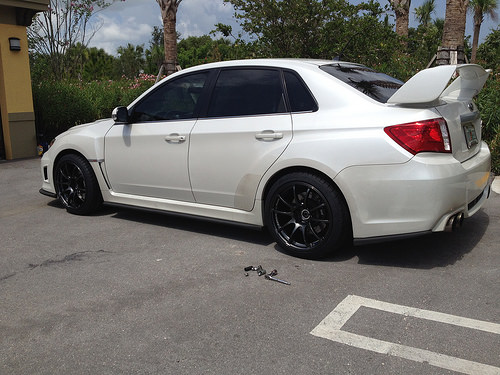
Engine is dead. Even on a conservative map. i was running at 21.5 PSI max. My mechanic says 19 is the max on OEM pistons. Currently waiting to be towed. I'm in the middle of nowhere. Just south of the city of Okeechobee in FL. Car was sounding awesome and then sputtering. The car was making weird sounds like playing cards in bike spokes.
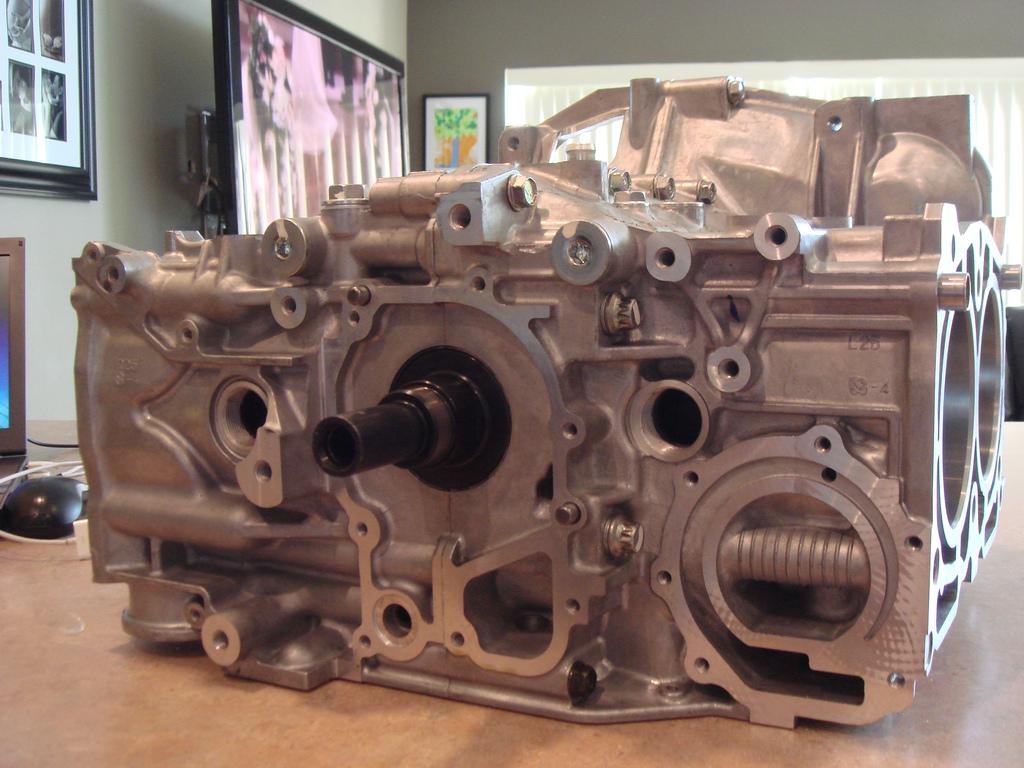
I quickly took my short block parts to Bertune to have him assemble the block in case the dealership did not warranty the block.
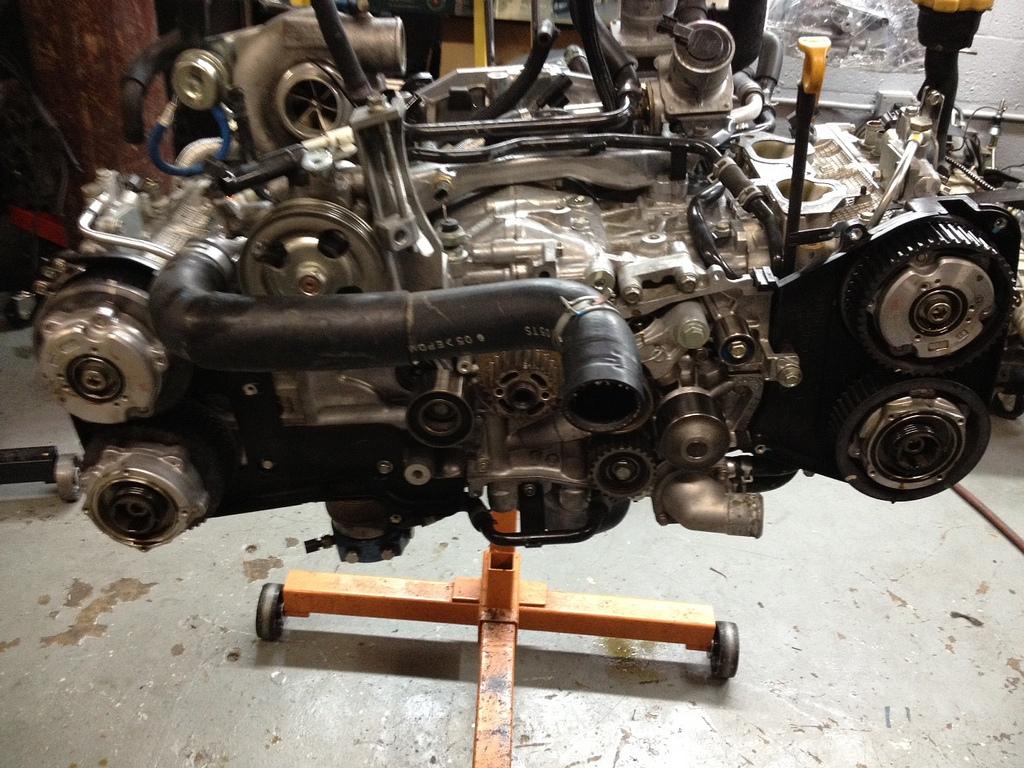
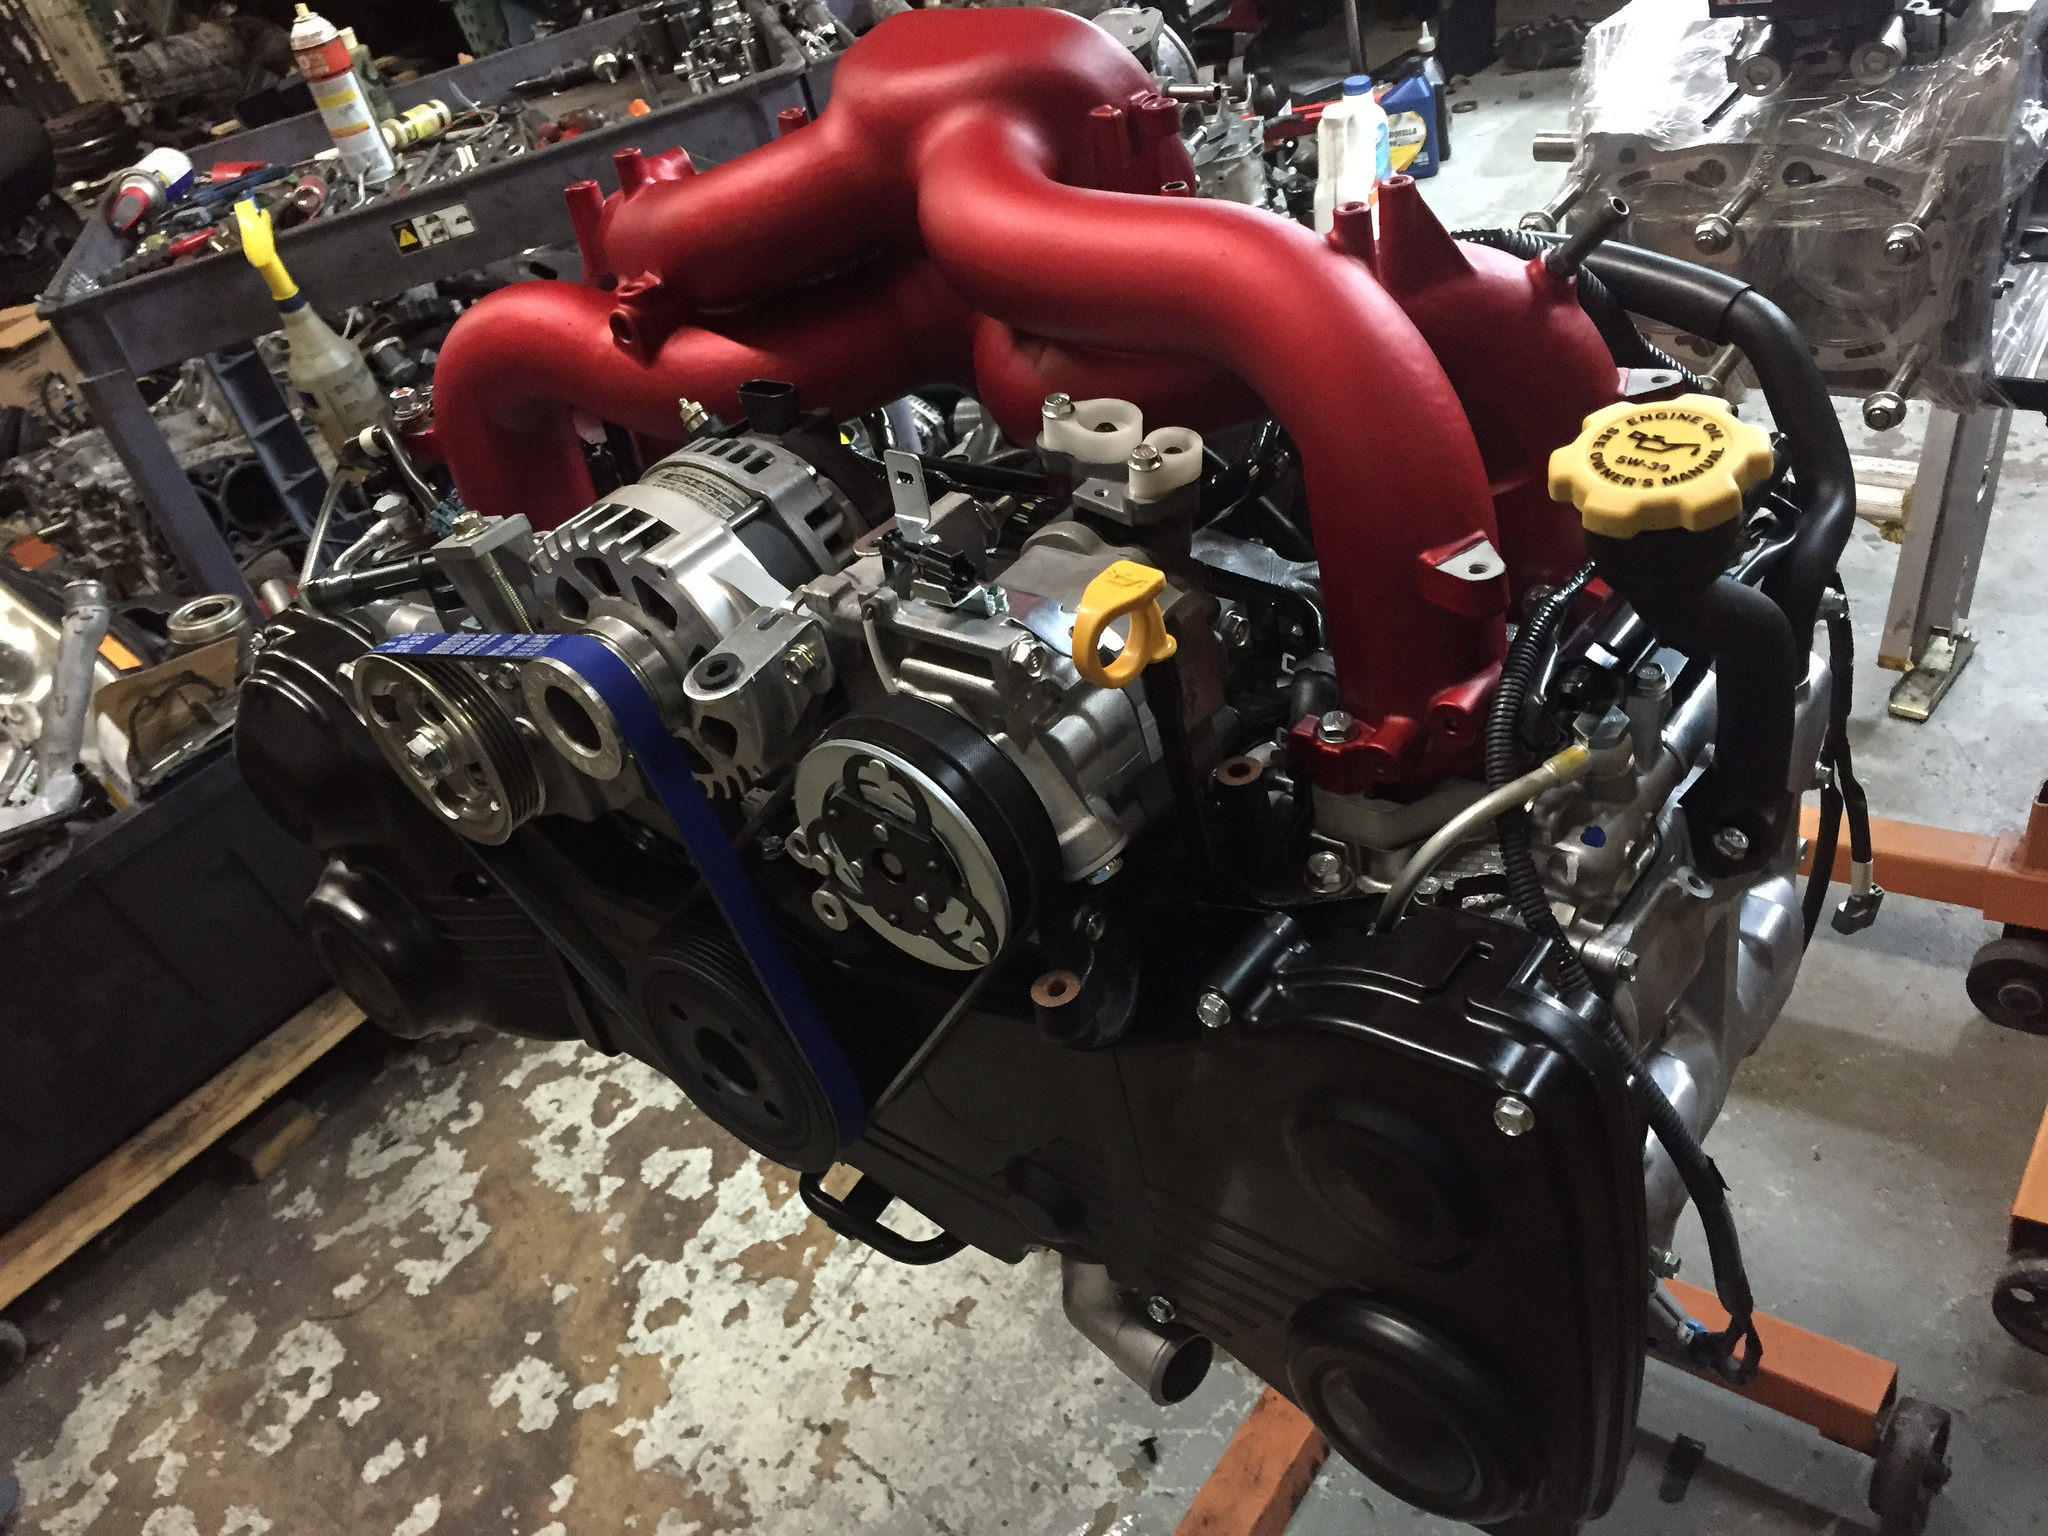
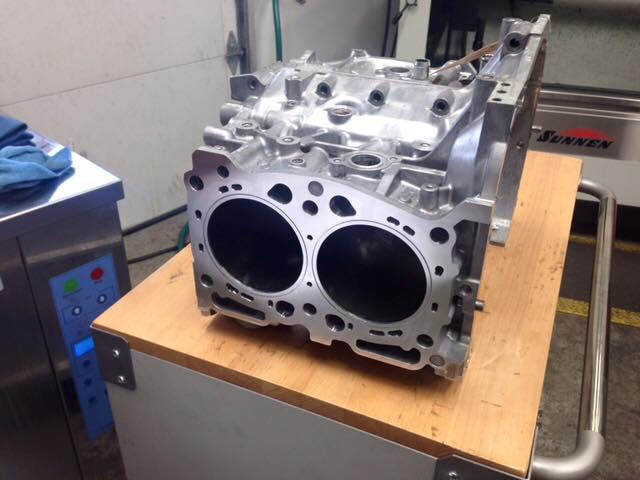
Here's the short block, all built up!
Ended up not needing the new block because SOA decided to cover my block!!
Turn In Concept Holy Shift Set installed 10/14/11 by TAV Racing
January 12'
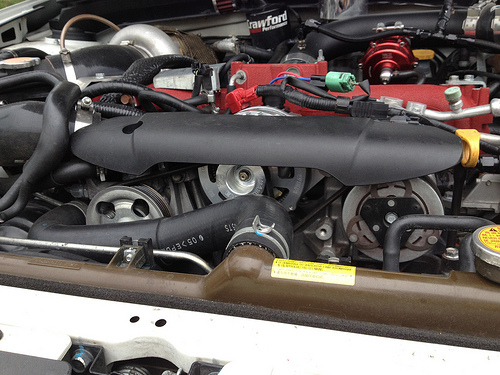
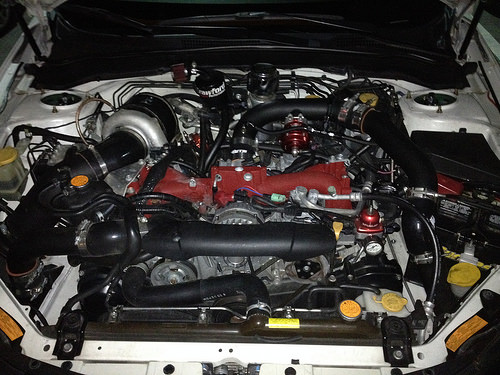
Installed my Crawford V2 AOS. Took about 3 hours. I thought it would be faster since I did do half the work yesterday but then returned everything back to OEM since I got stuck. The Dom is really tight to the intake manifold and makes getting the crank case breather hoses out and back in real difficult. The hoses from the AOS are really thick and make putting everything back together difficult as well but it can be done. The pipe from the bottom of the AOS to the crank case is slightly shorter than what is seen in the install instructions and videos but does work. Also, being a newbie like me i did not know coolant would shoot out of the coolant reservoir to turbo hose when I removed it to reroute it to the AOS. I had to go get more coolant because i lost so much of it.
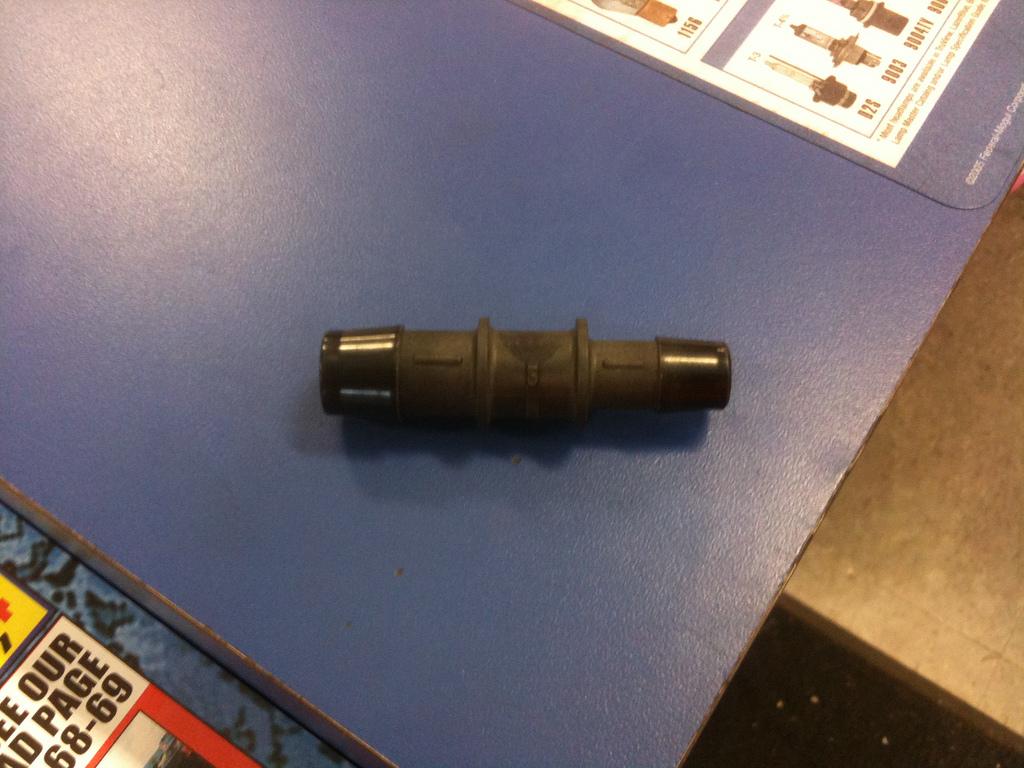
Also, if anyone has the Perrin inlet hose, you need to get a 5/8"x1/2" coupler. The vent hose from the AOS to the inlet hose comes in 5/8" size. The perrin nipple is 1/2". This was my last connection and I couldn't believe I didn't see this.
Coupler:
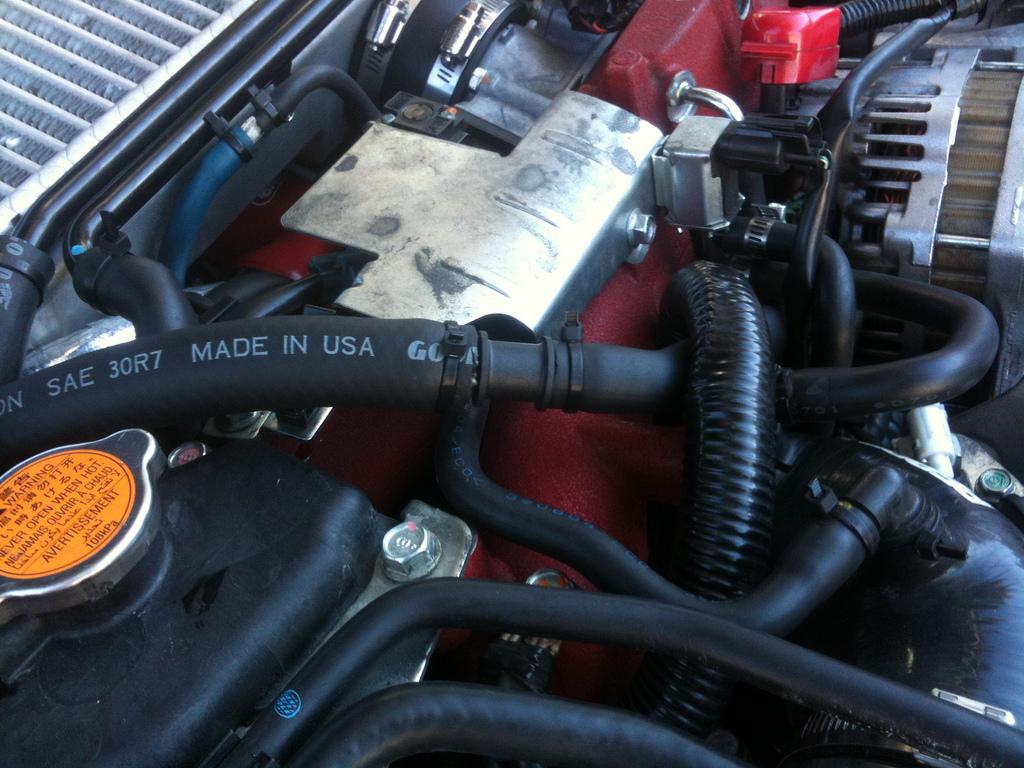
Installed:
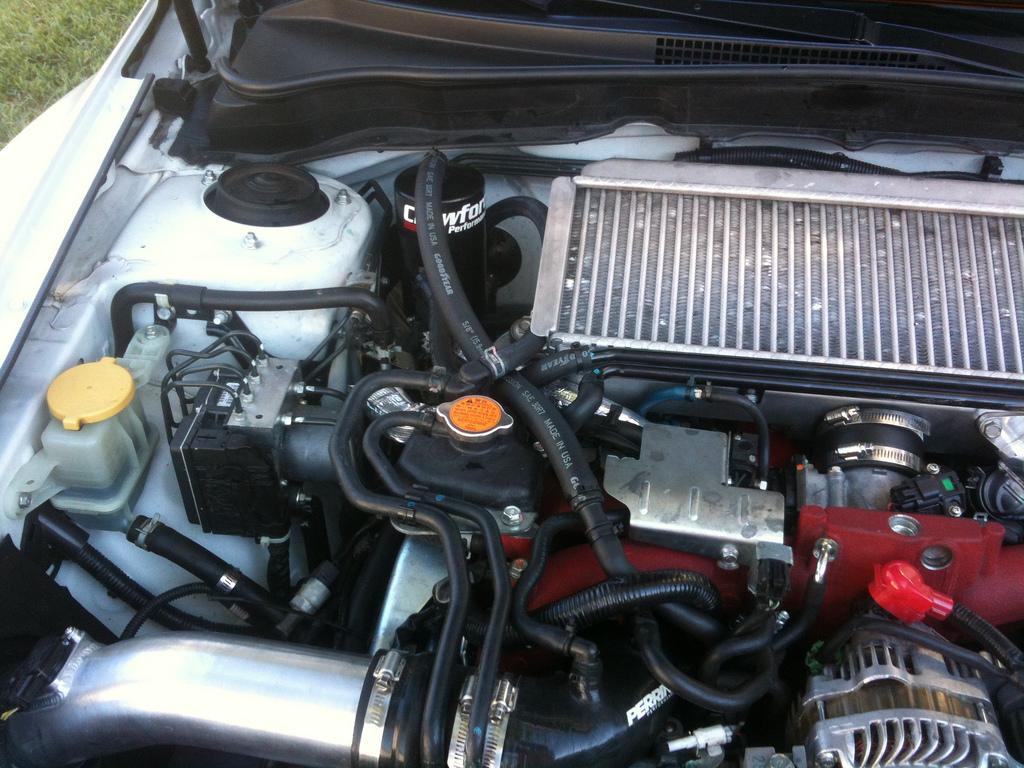
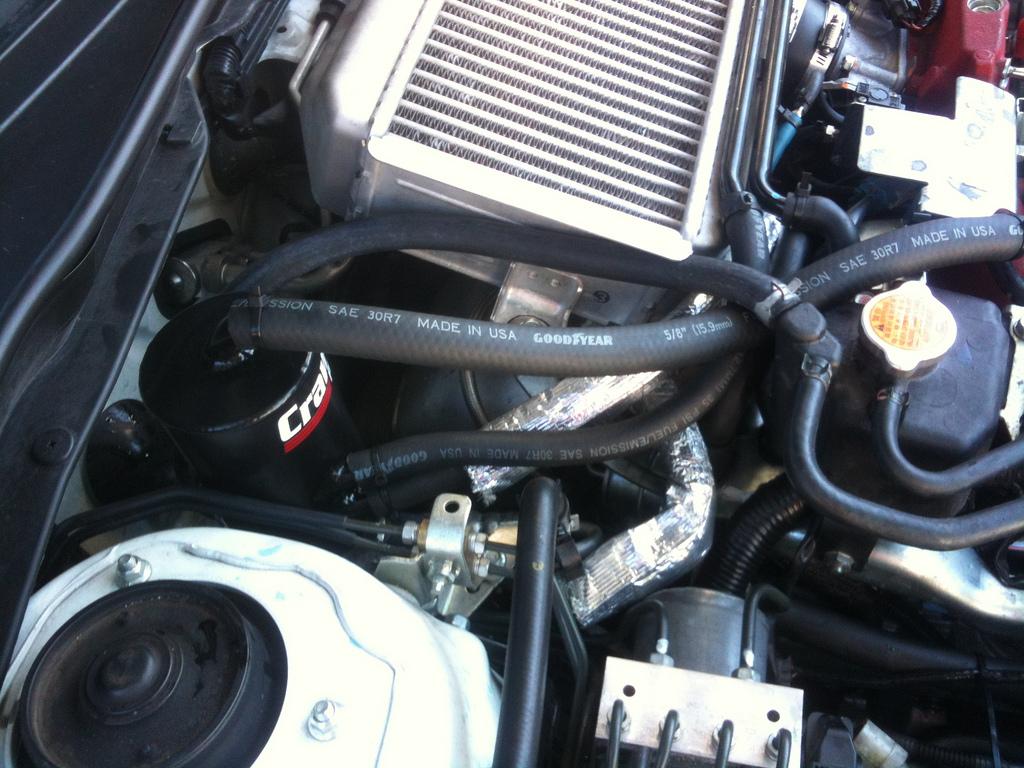
Finished:
February 12'
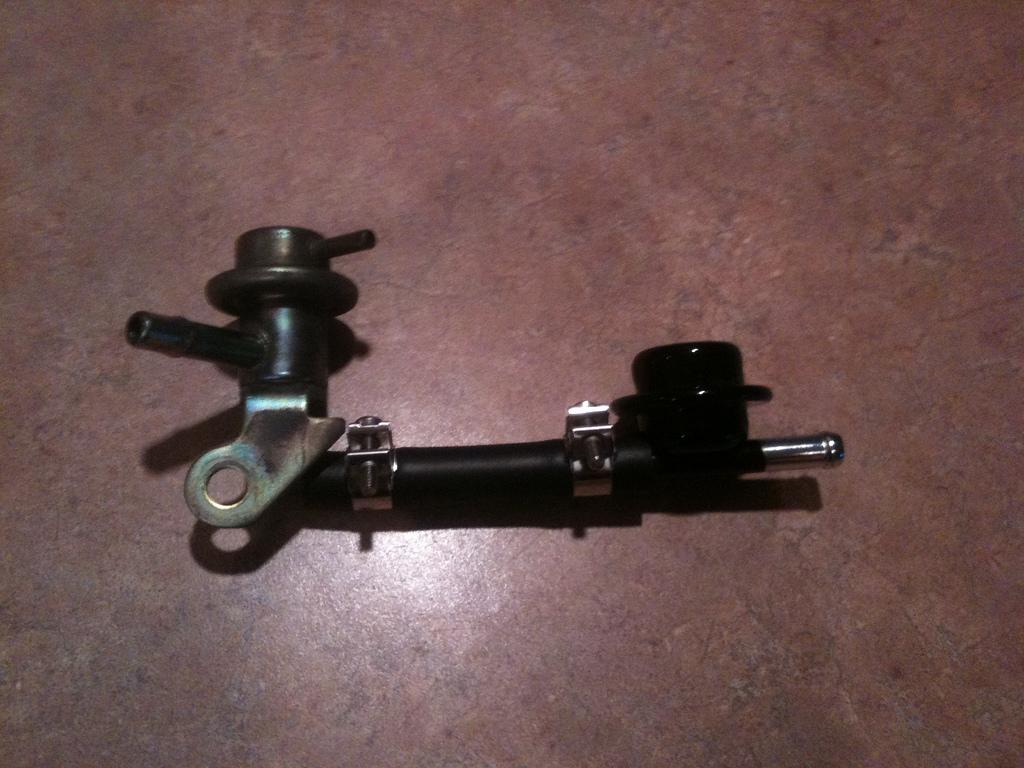
Finally did the FPR and Dampener swap. Got the 05' STI FPR and 07 Dampeners from Bertune. Thanks Bertune!
05' FPR and Dampener:
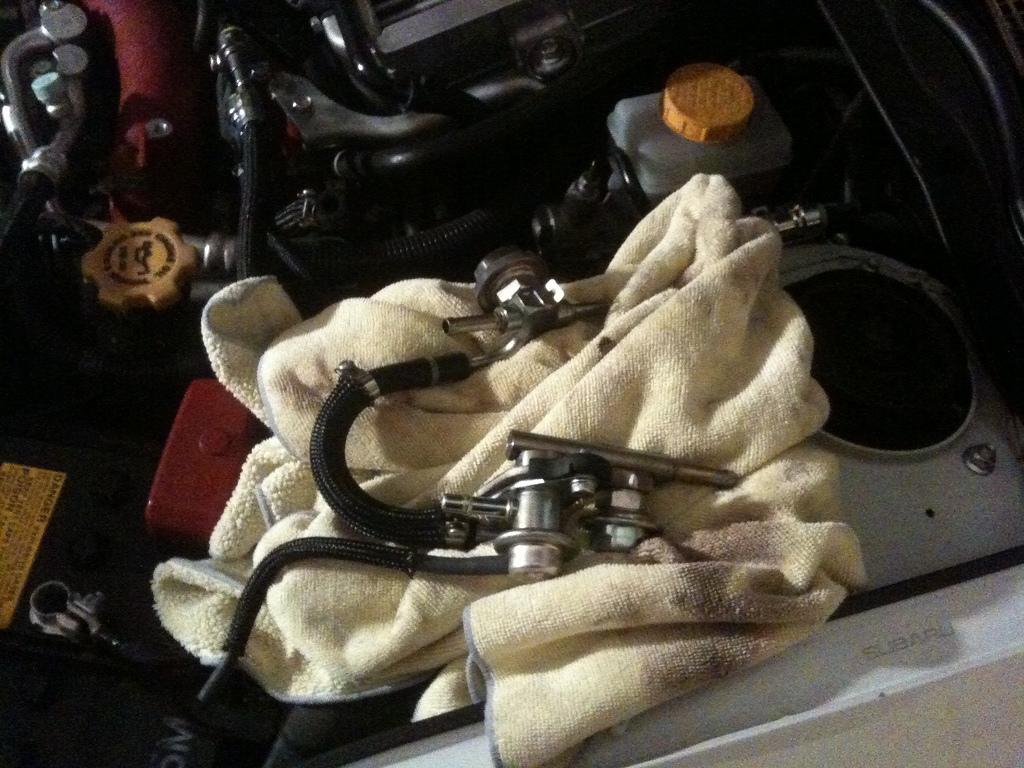
I pulled the fuel pump fuse. Started the car till it died. Cranked it several times more. Took off the gas cap and then disconnected the negative terminal on the battery. Unfortunately I did not crank the car enough because when I pulled off one of the hoses off the supply hose a stream of gas shot out and sprayed my whole counter in my garage. I was able to cover it up before it could spill into the engine bay. I had protective glasses on as well. It was good to be prepared. I wrapped everything with a towel before pulling it apart and still had gas pour out. Not horrrible though.
11' FPR and Dampeners out:
I have a guess, no backing for it though, that the balancer hose between the supply and return dampers may be one of the reasons for the hesitation issues.
Install was pretty simple. No need to cut the existing hoses. Just used a hose that came with one of the dampeners to connect the FPR to the dampener.
Installed:
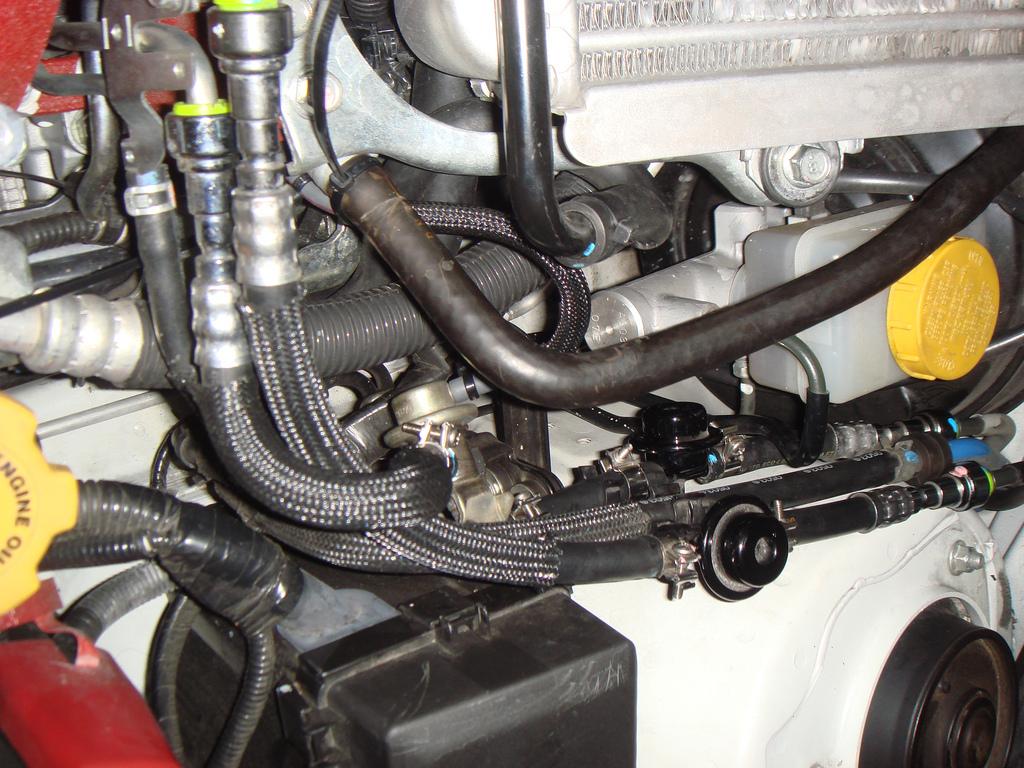
Car is running. Got a new map from Phatron with fuel compensation (I thinK) zero'd out. Going to do some casual driving and a few pulls for him to check on. Hopefully the hesitation will be gone.
Time to do the swap was about 1 hour.
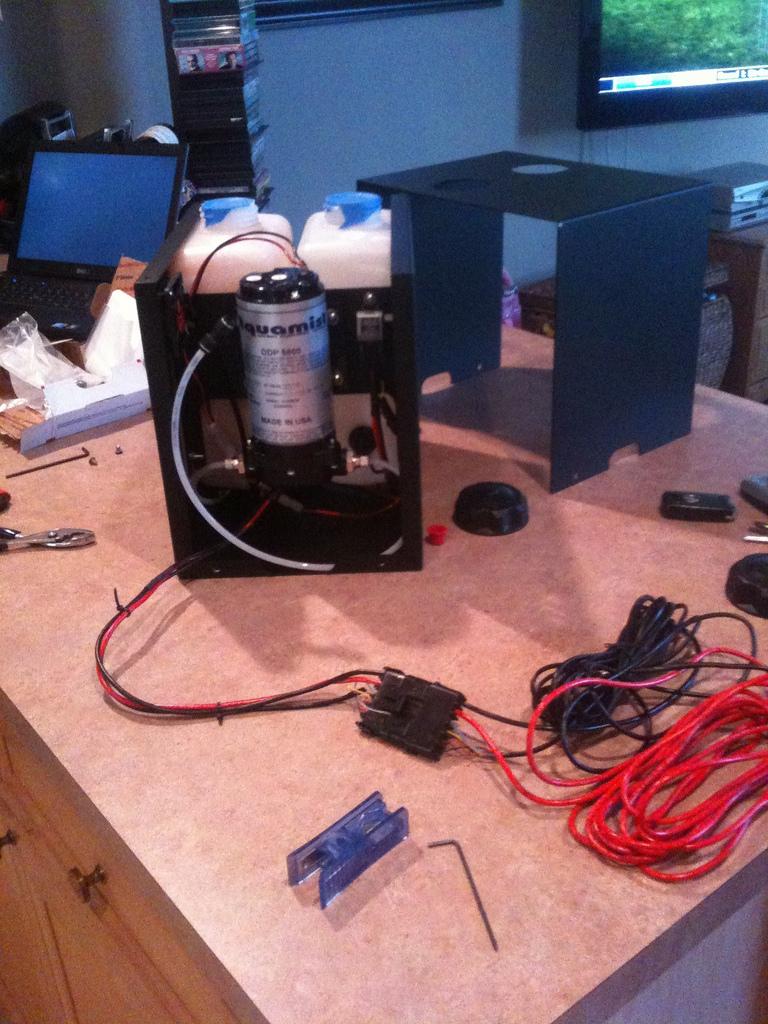
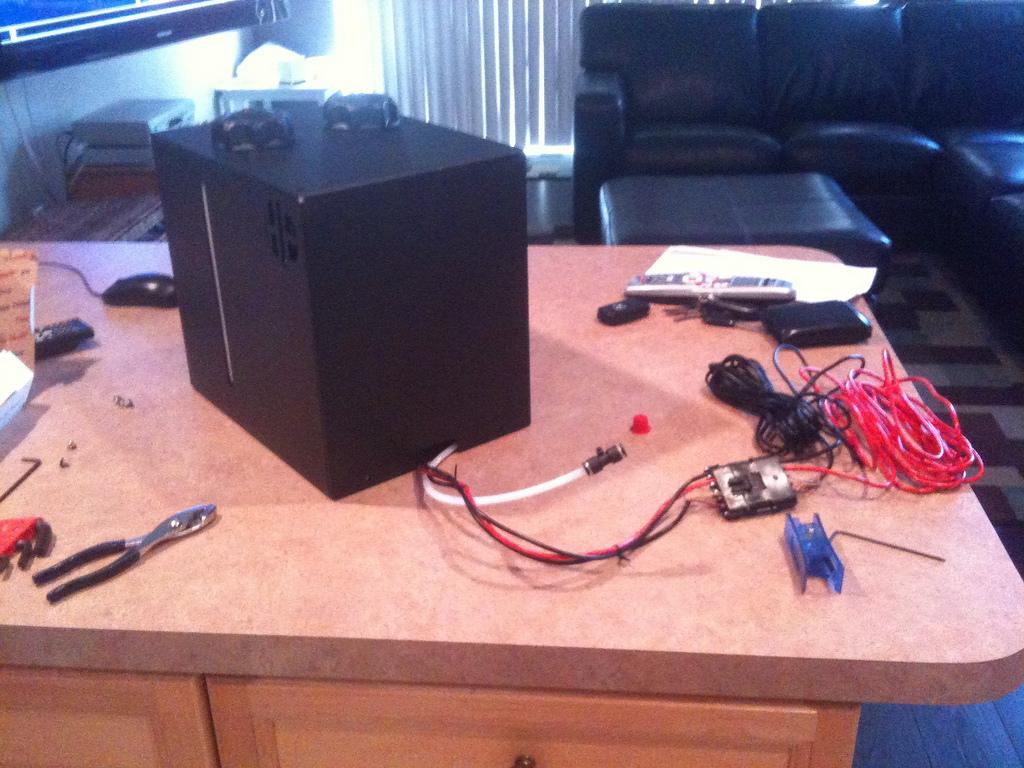
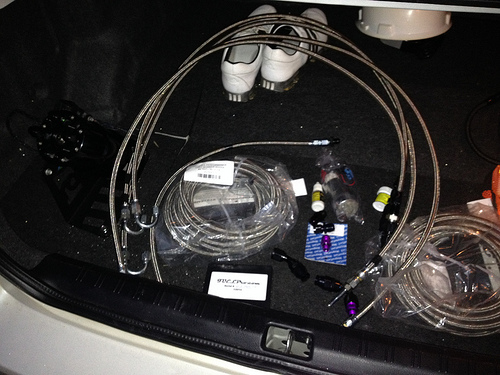
Purchased Aquamist HSF-3
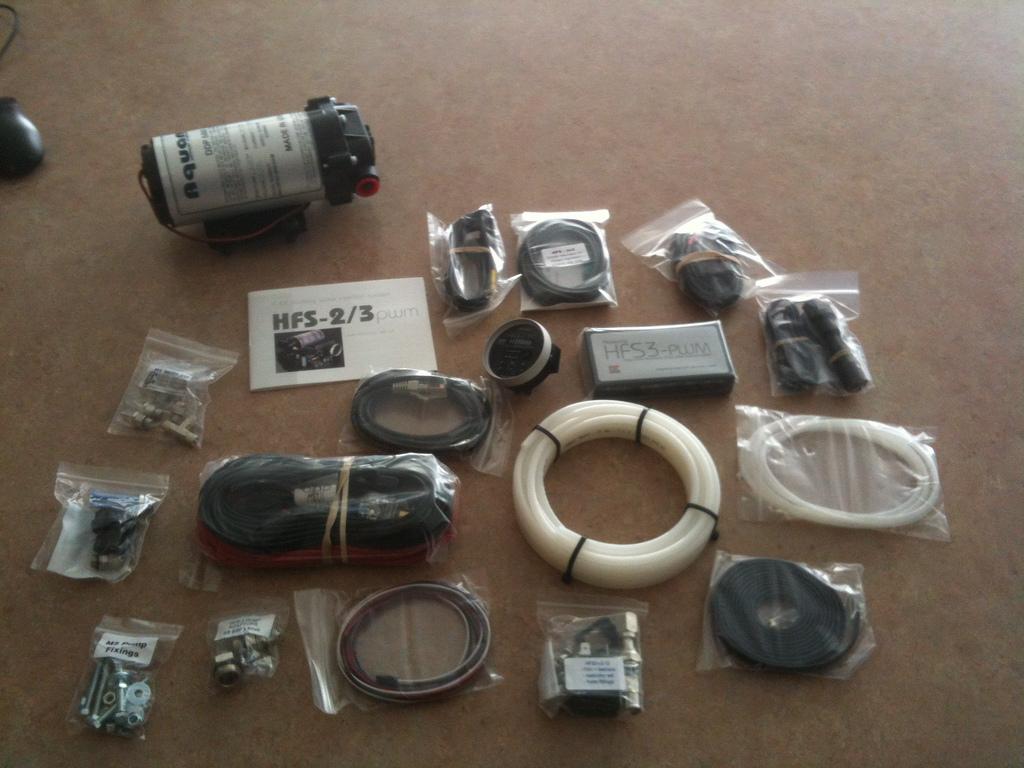
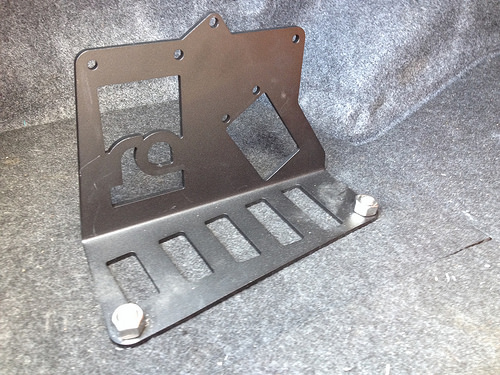
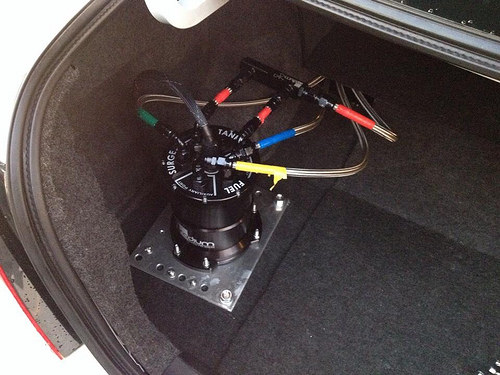
Purchased Howerton Engineering 2 Tank System
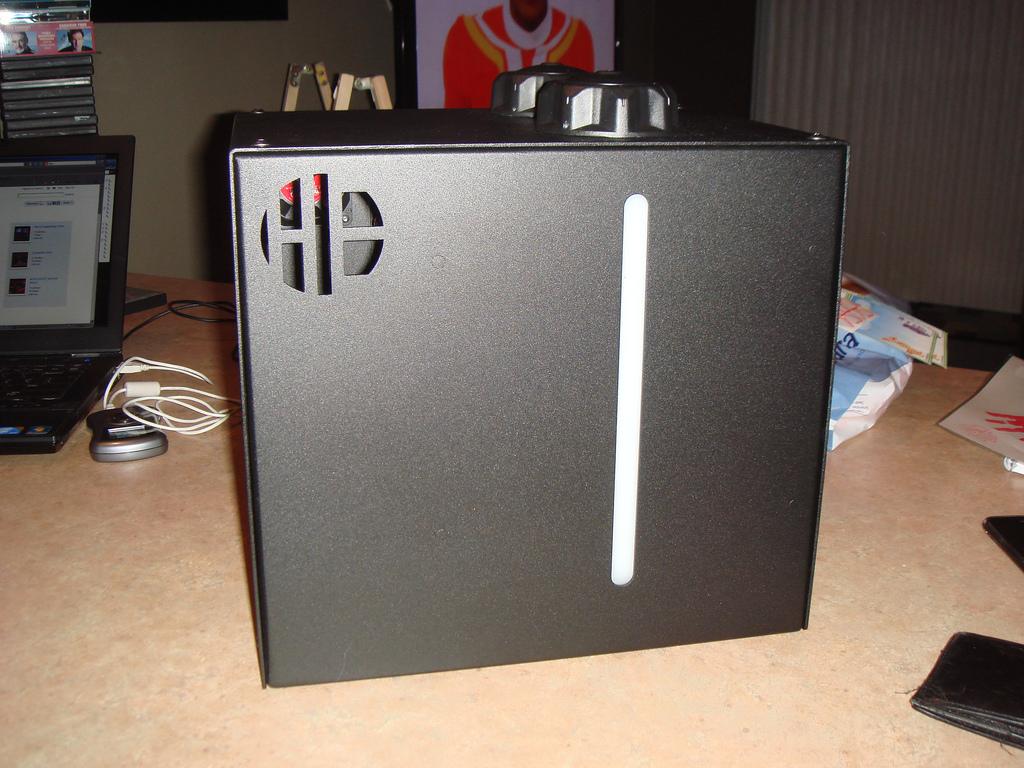
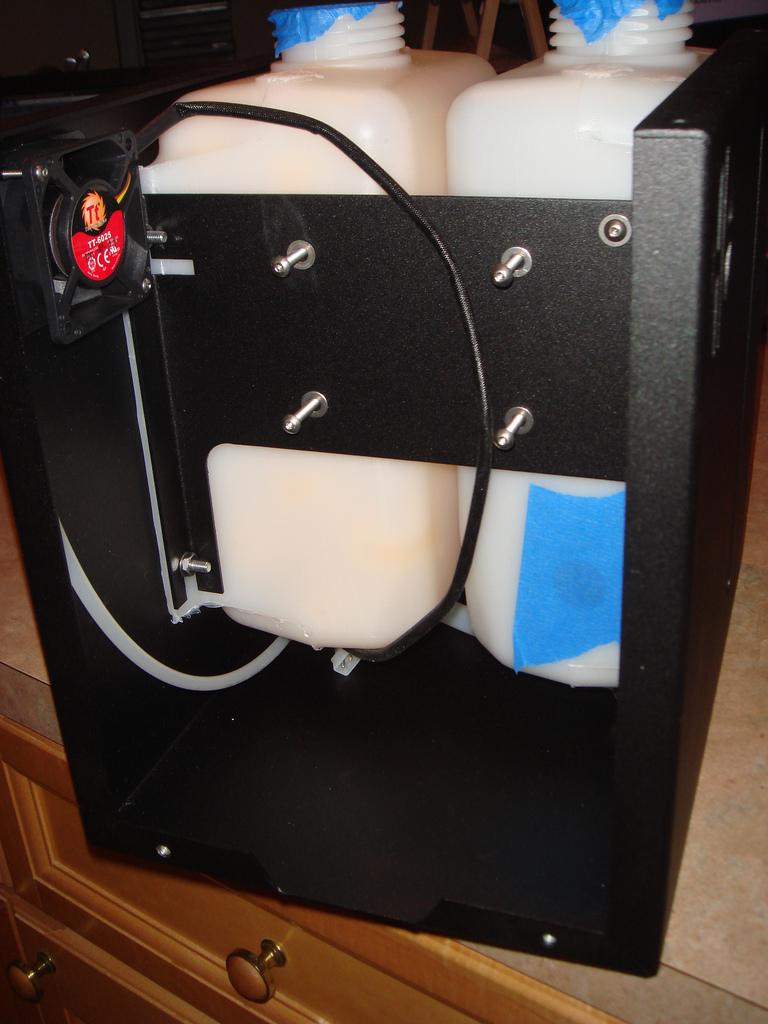
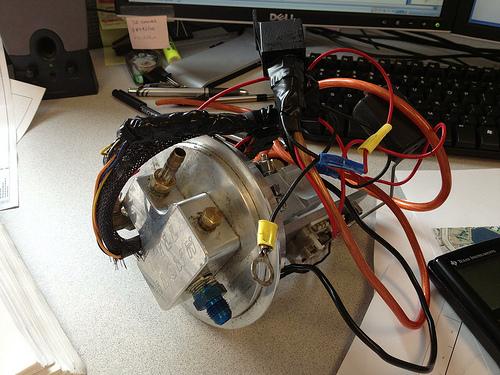
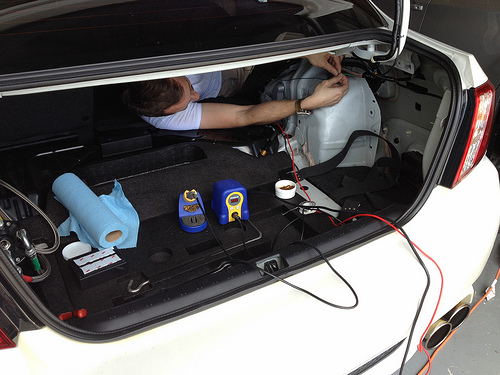
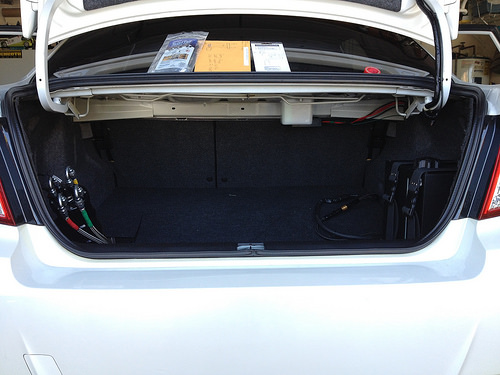
Finally done with the wiring for the injector tank. Did a weather pack for the wires and a quick disconnect for the hose. This will allow me to remove the box without having to open the box while in the trunk.
April 12'
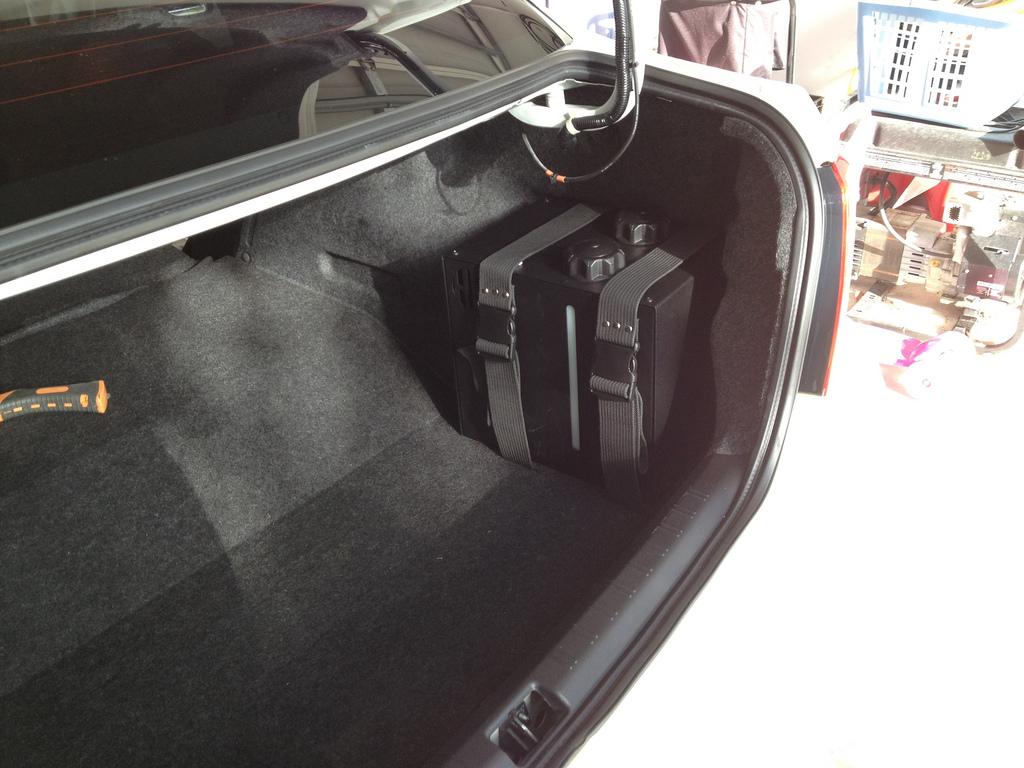
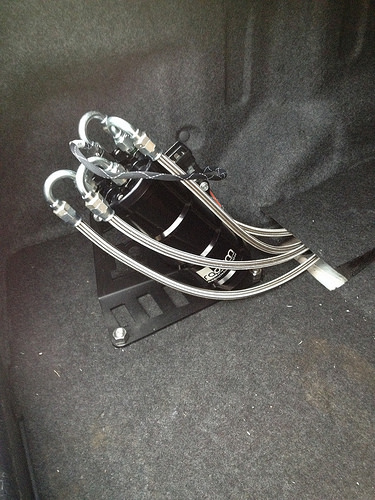
Here are my tank install picks. I did not screw down the tank straps yet but everything else is done.
I ran the straps underneath the foam corner piece. I scored a line further out on the trunk liner so I can fold it. I then cut a few slits in the score so that I can run the straps through it.
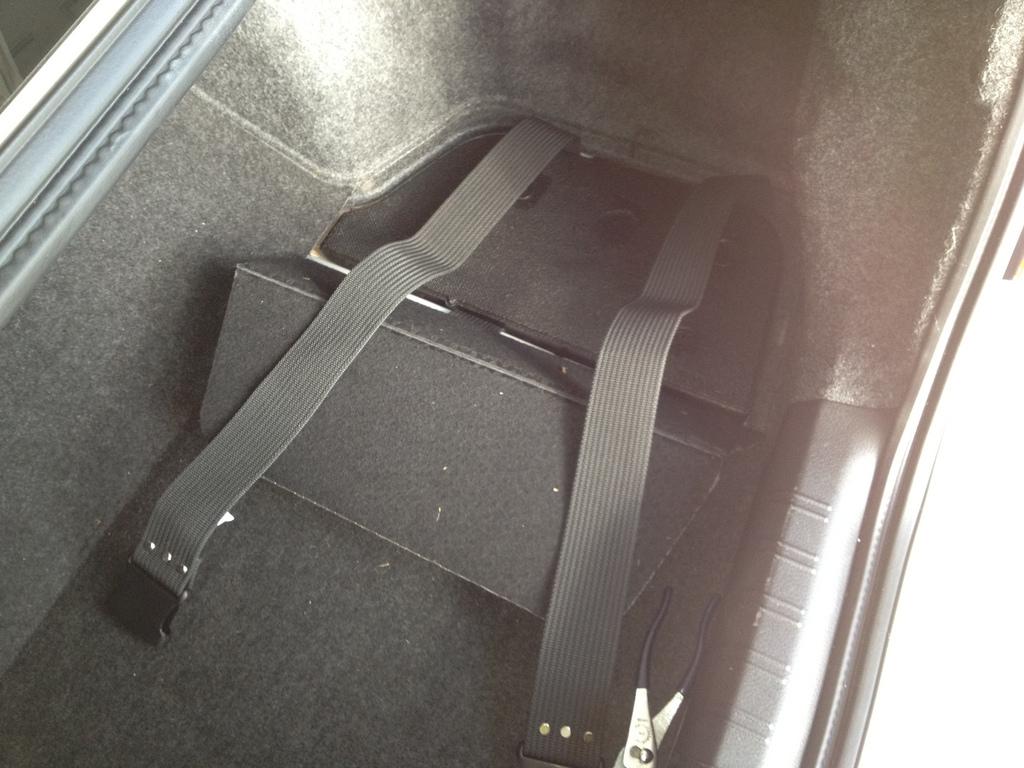
The trunk liner can now flap over and cover the foam piece.
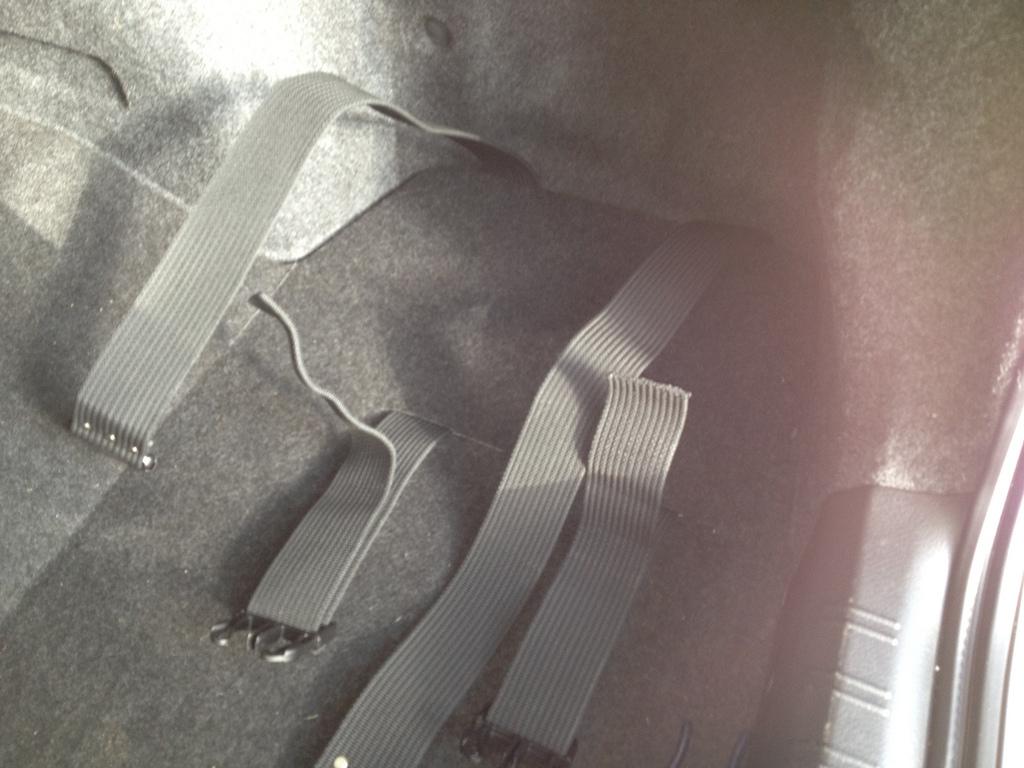
Finished product. Looks like it all came OEM.
May 12'
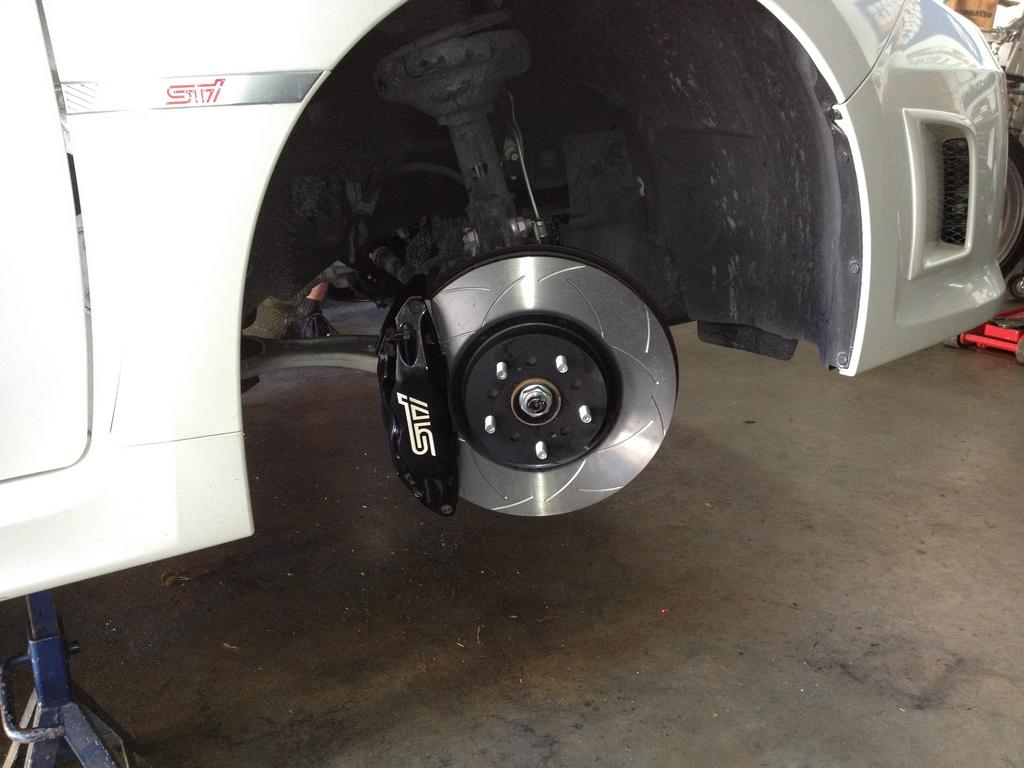
DBA T2 rotors and Stoptech pads all the way around.

June 12'
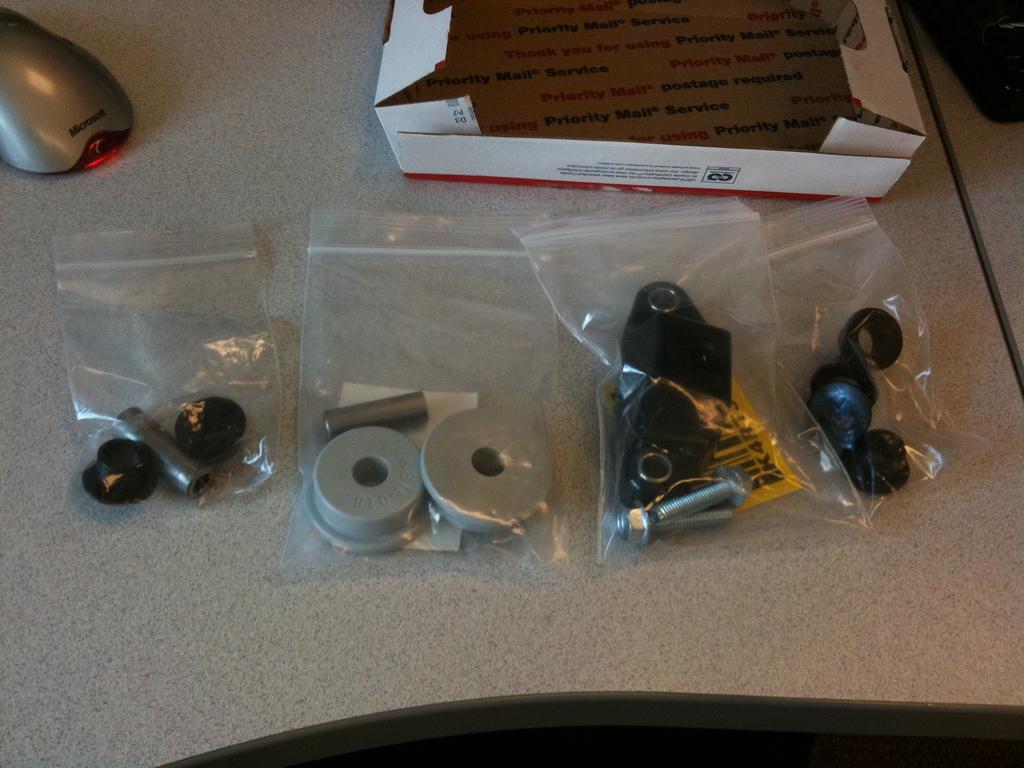
Front lip is on! HT Auto model. The quality is great. I do not know what others are like since I've never seen the other models before but I'm pleased with this. I was worried that it would be real thin and flimsy. It isn't. Nice quality piece and all the holes line up for the clips.
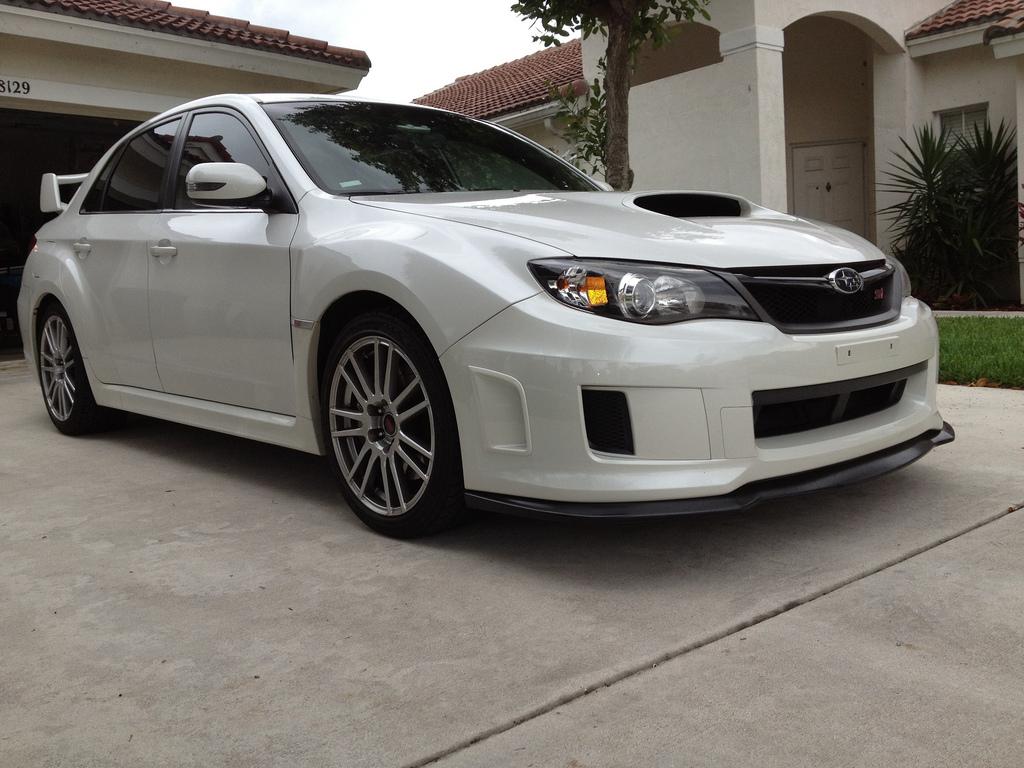

I used all the clips and the extra nuts and bolts. I also used 3M double stick tape on all flat surfaces where there were no bolts or clips. This thing is on tight!!
June 12'
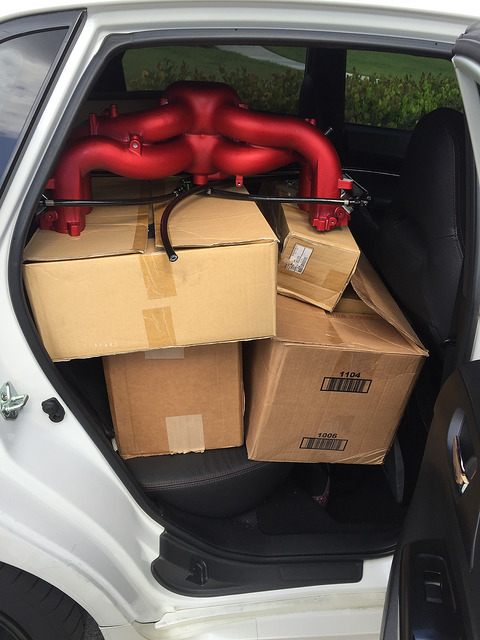
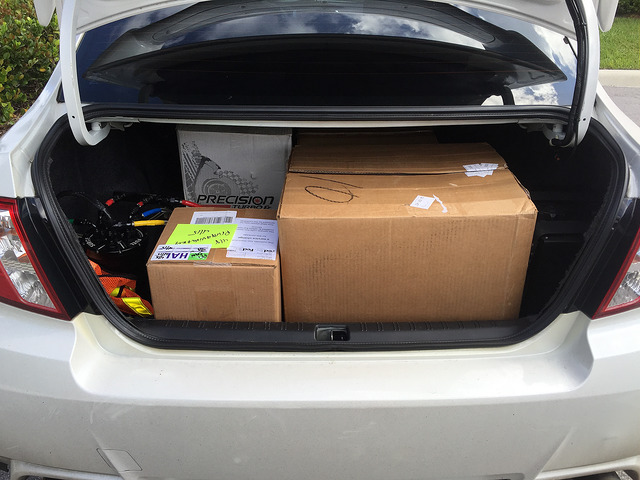
Packing up the car with all the goodies ![]() for the short block swap.
for the short block swap.
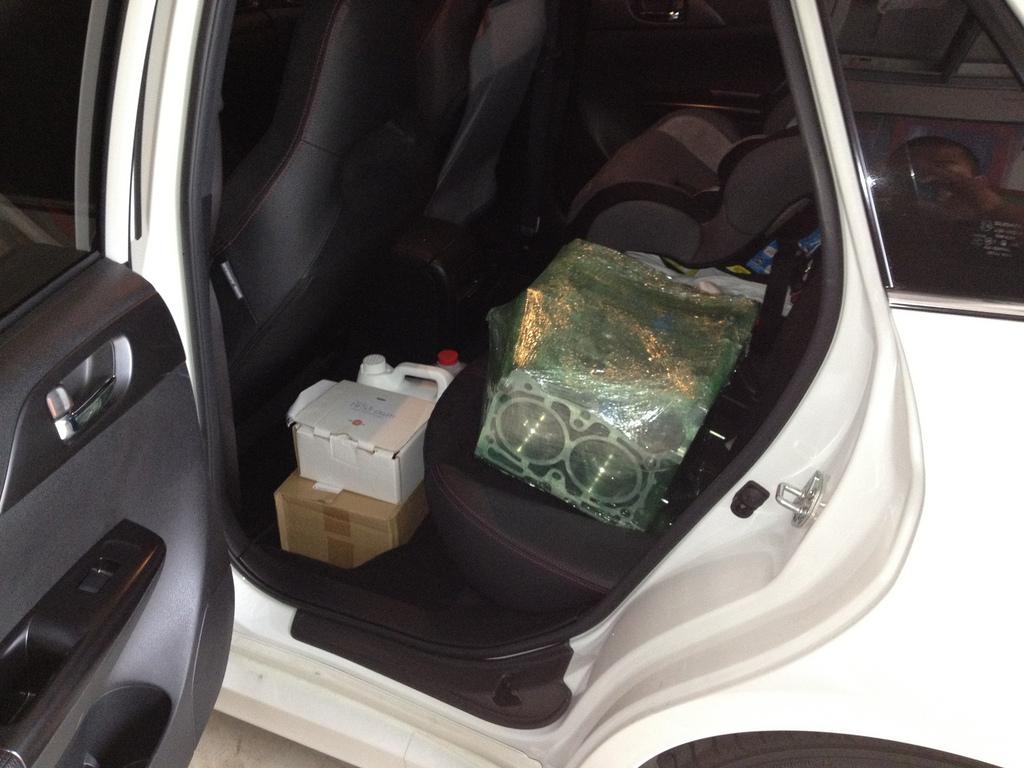
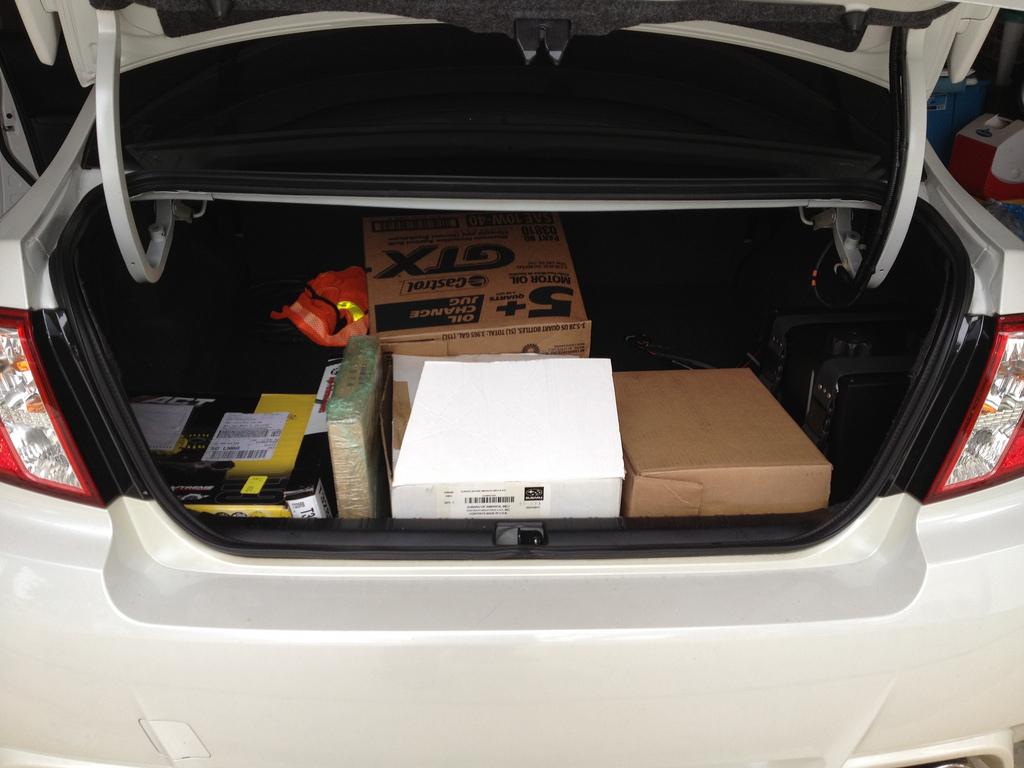
Things are moving forward!!!!
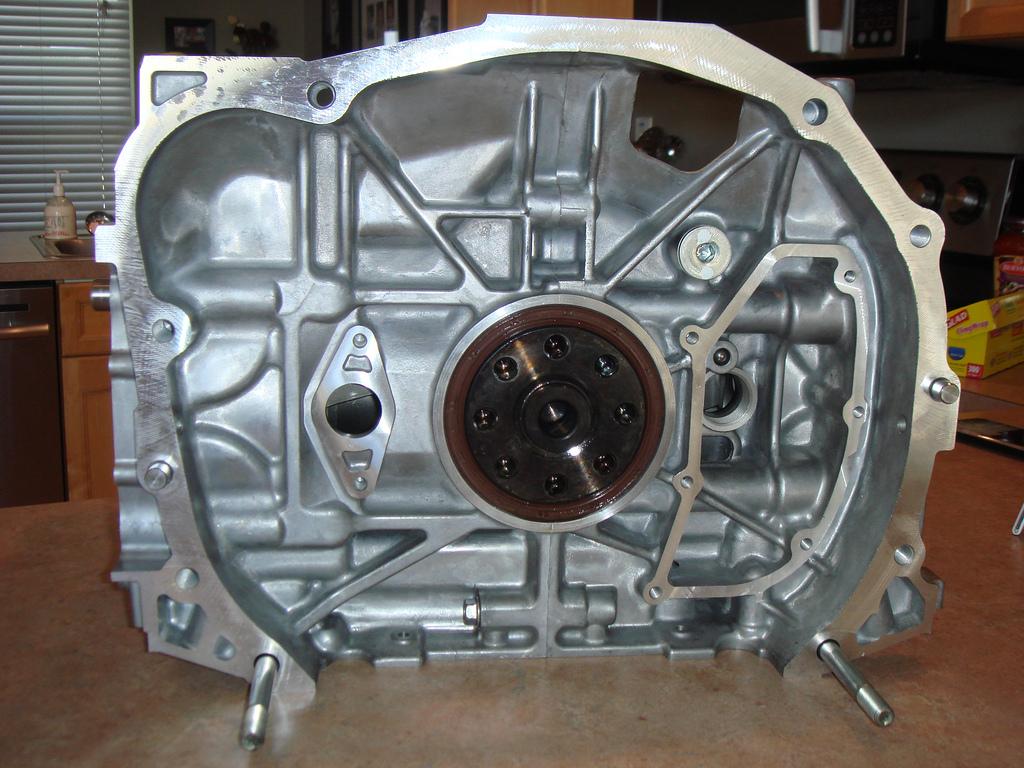
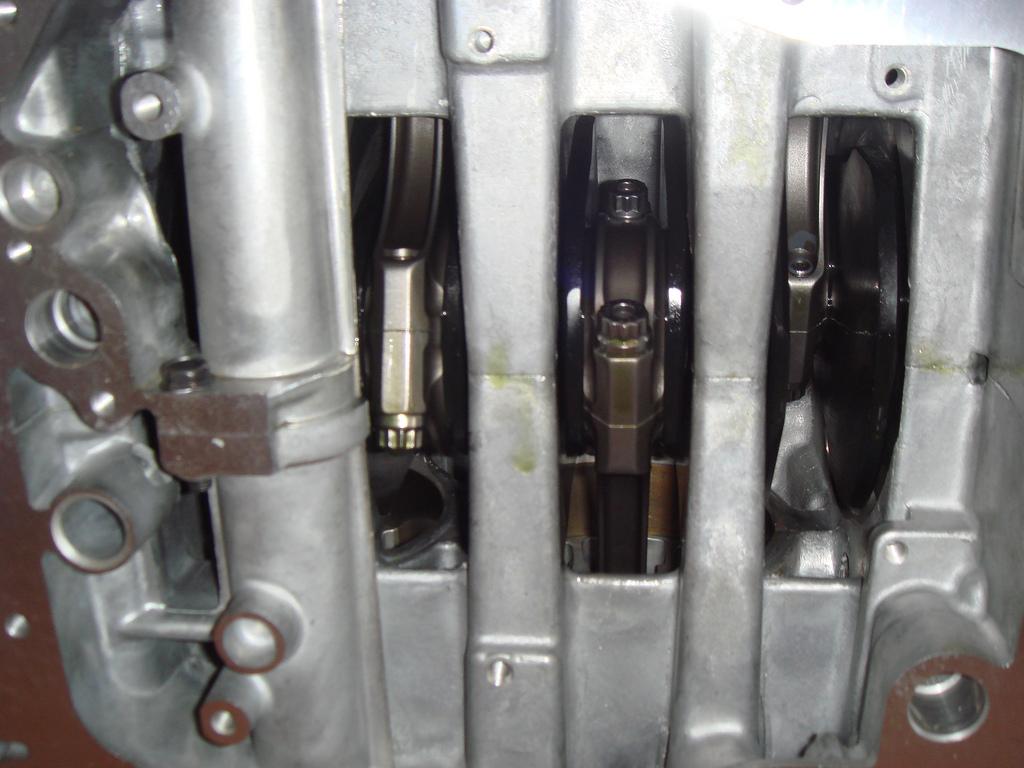
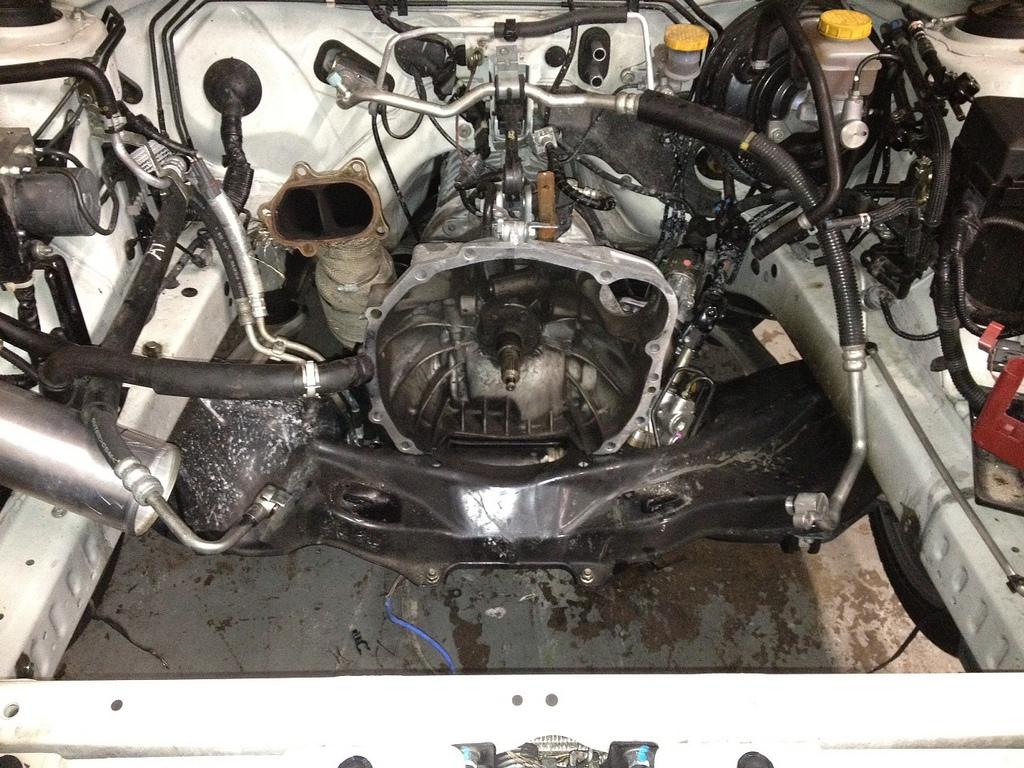
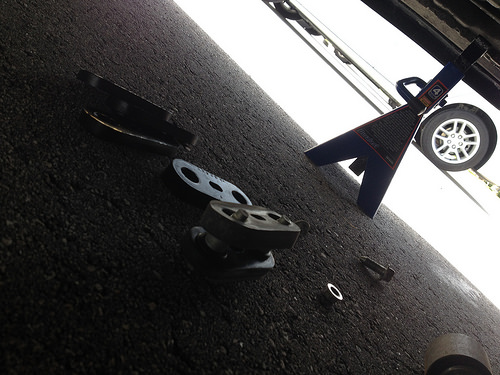
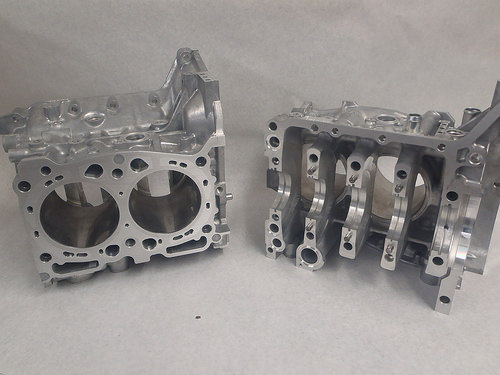
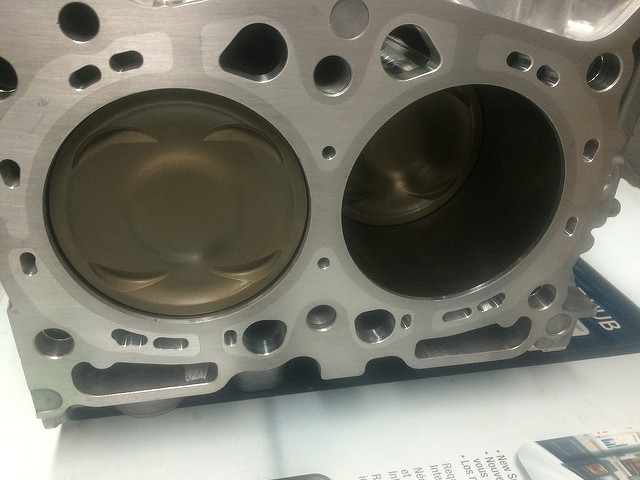
My block is out of the car:
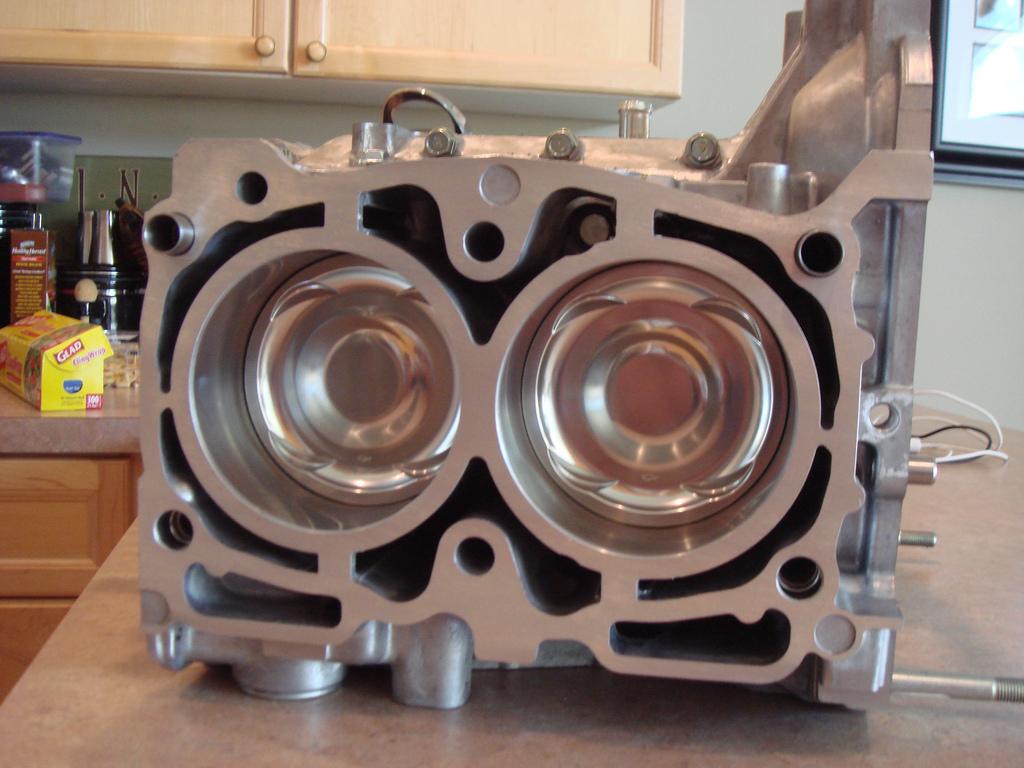
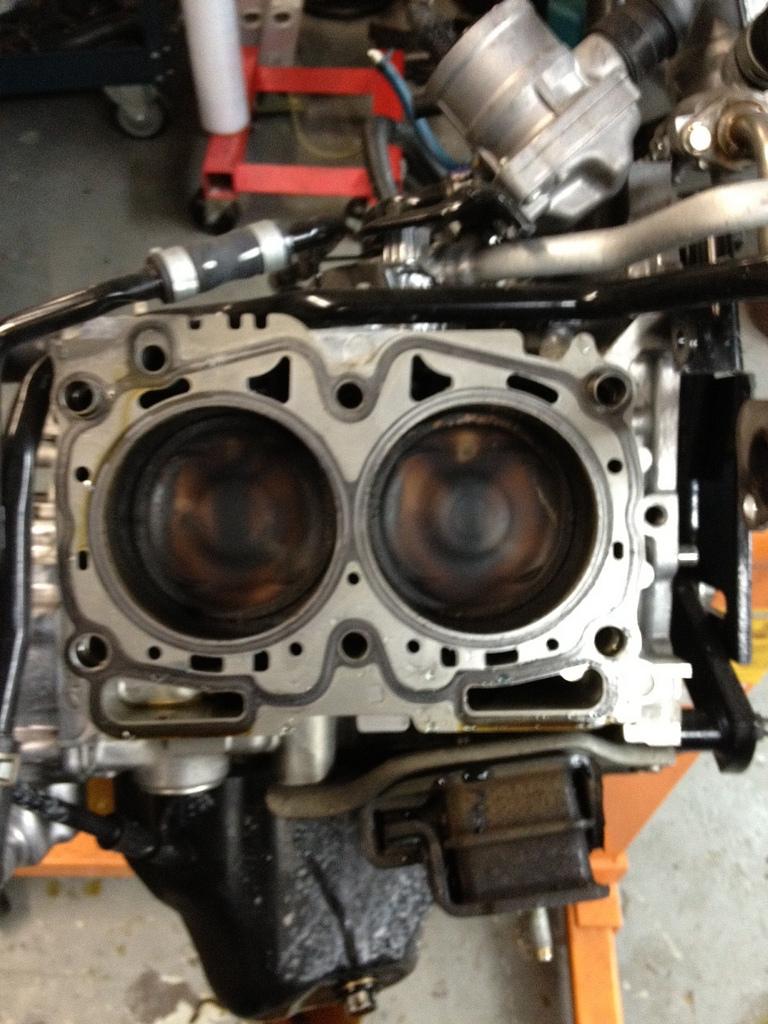
Stock pistons look pretty decent:
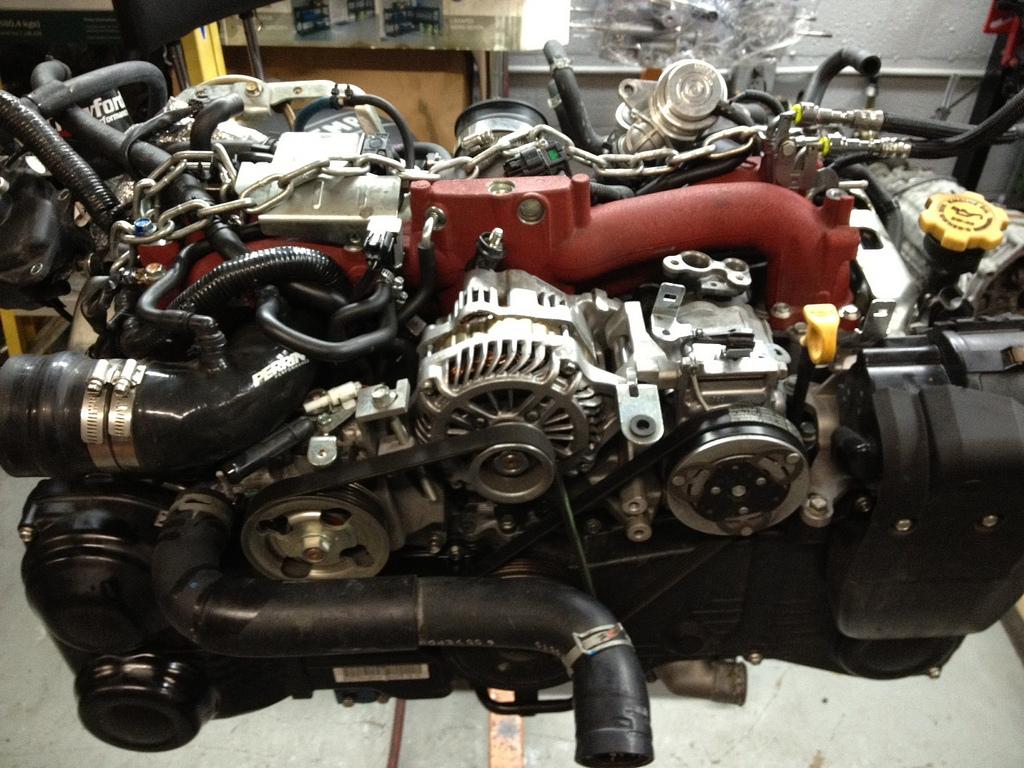
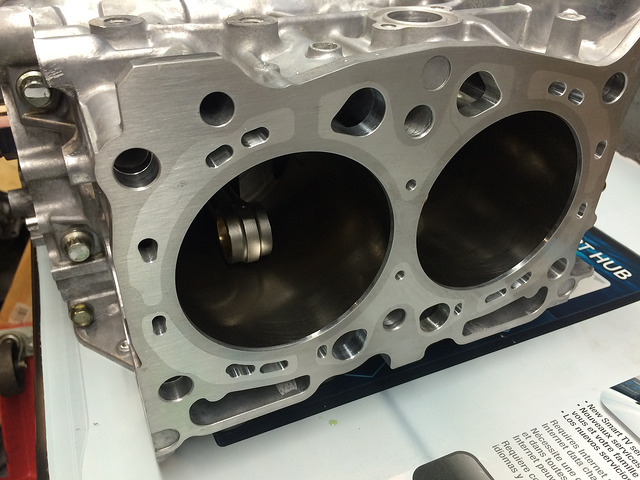
My new block on the stand:

Killer B Baffle and Oil Pick up installed:
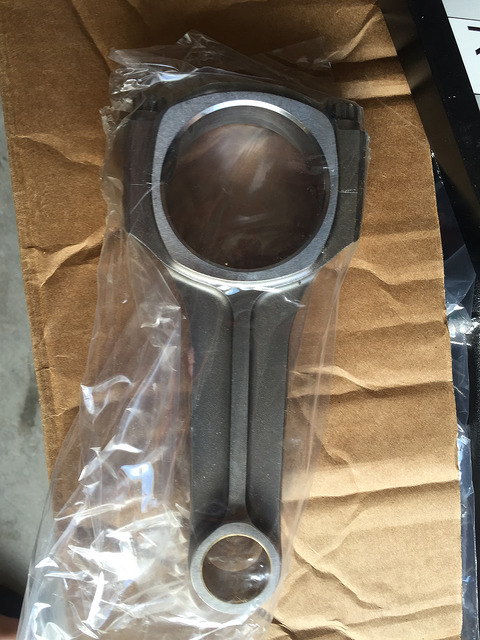
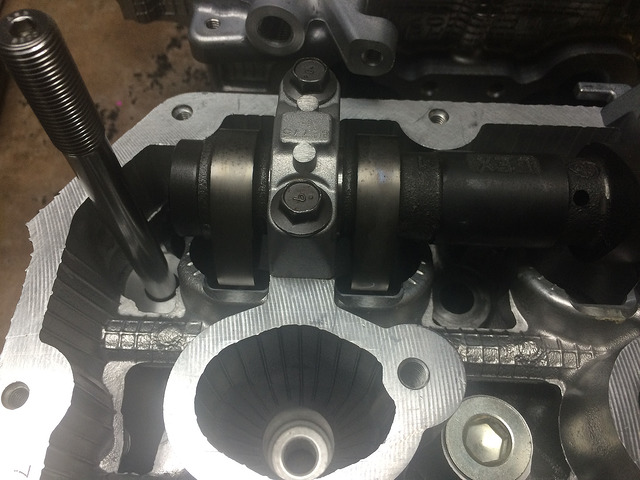
Parts being installed onto the new block:
End of June 12'
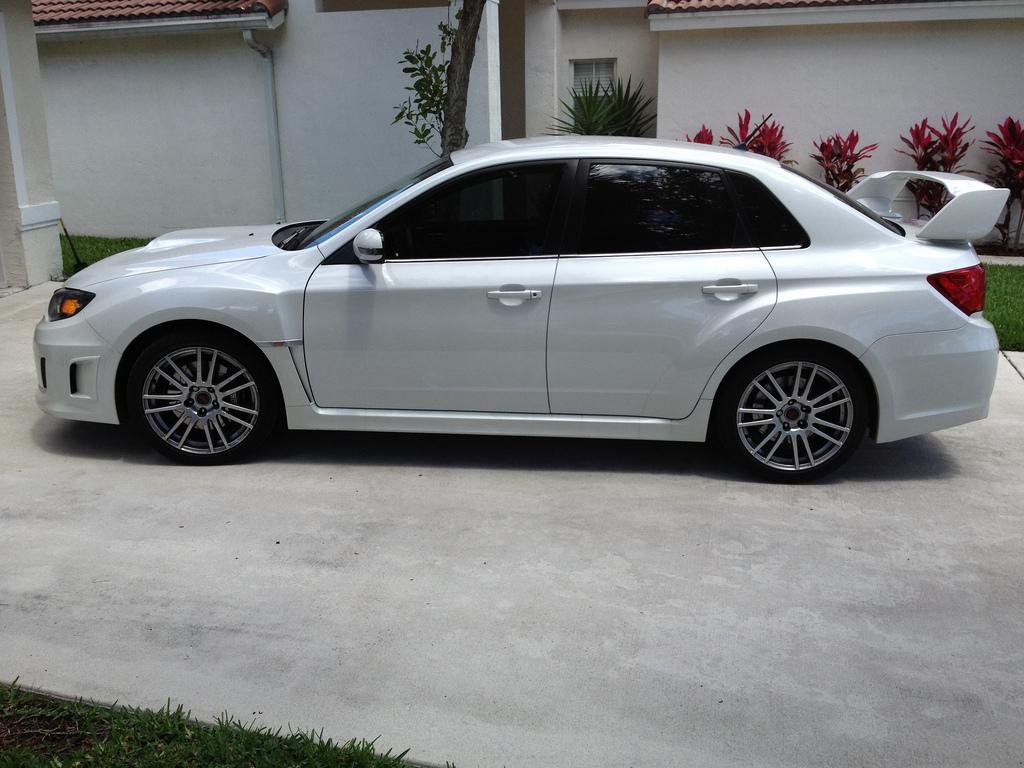
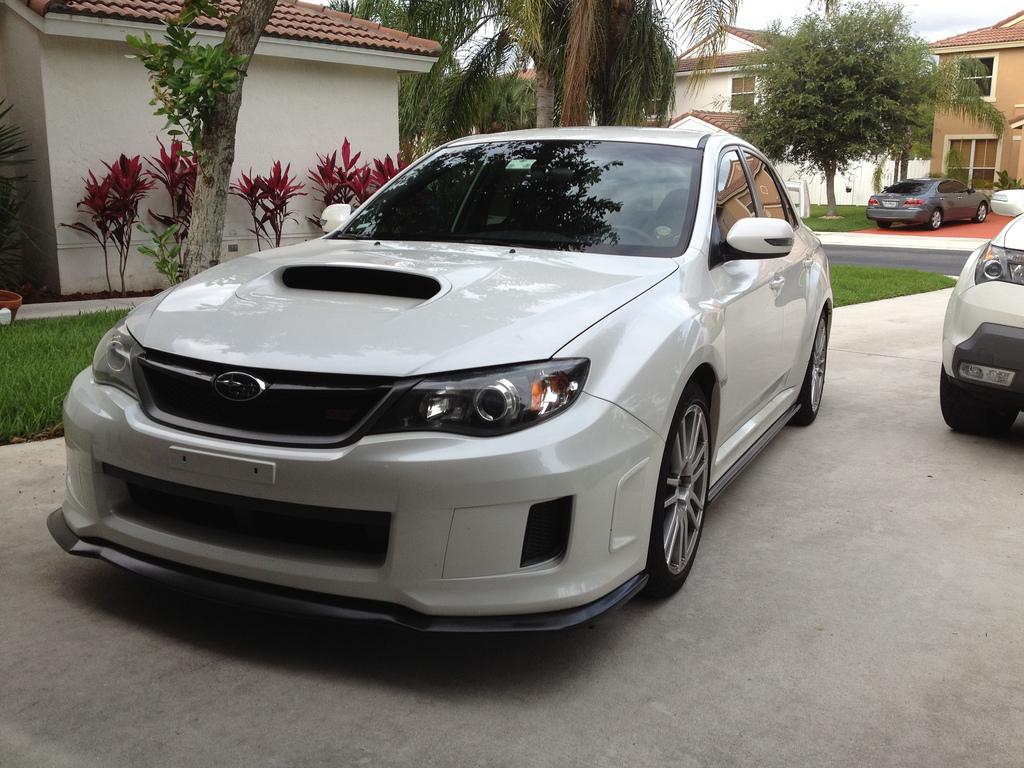
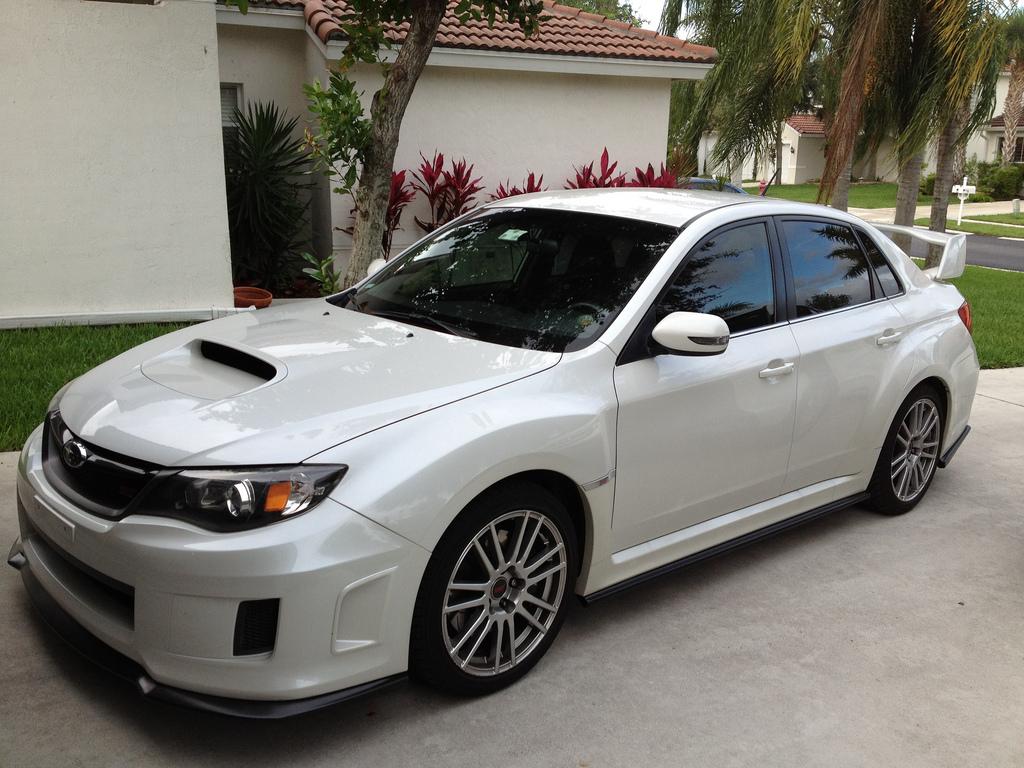
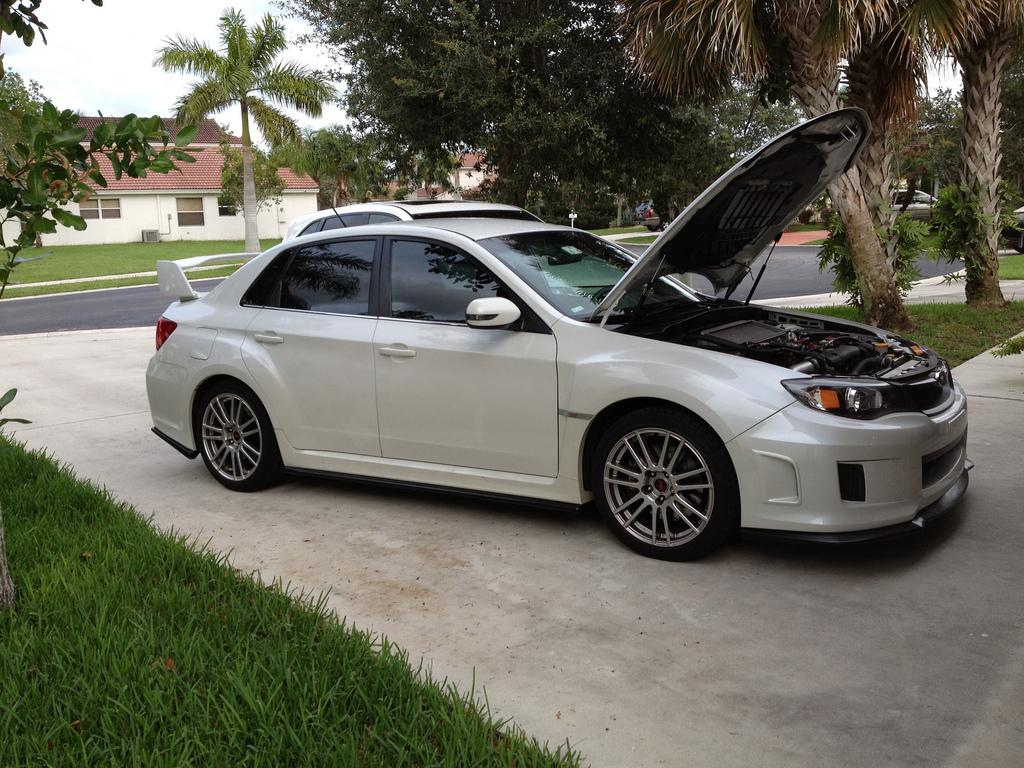
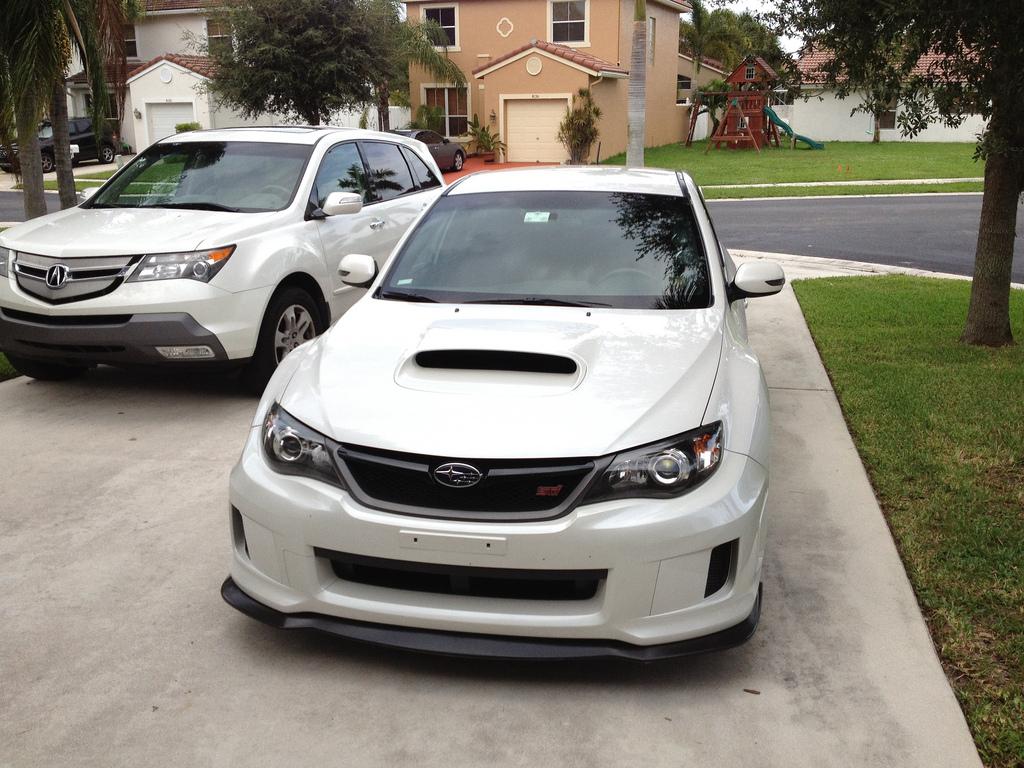
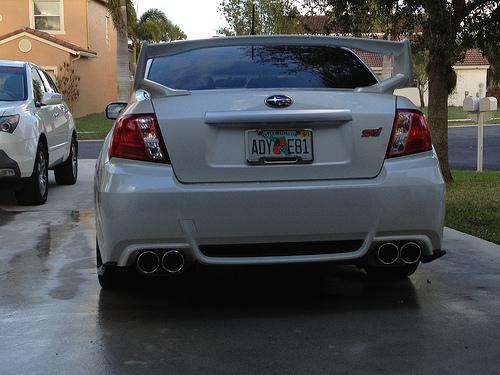
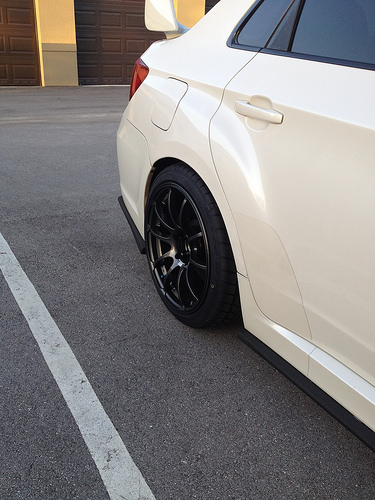
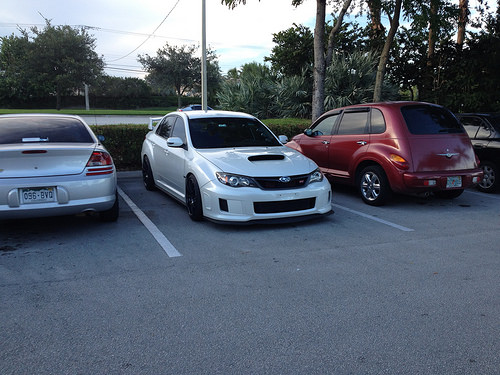
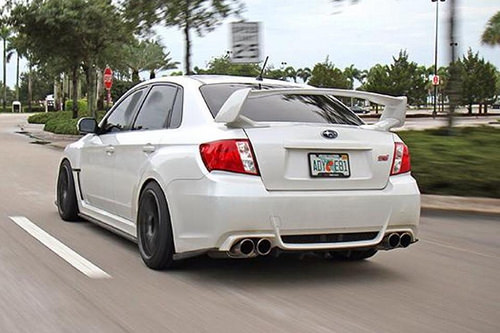
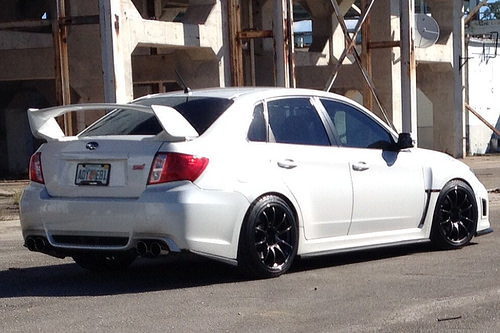
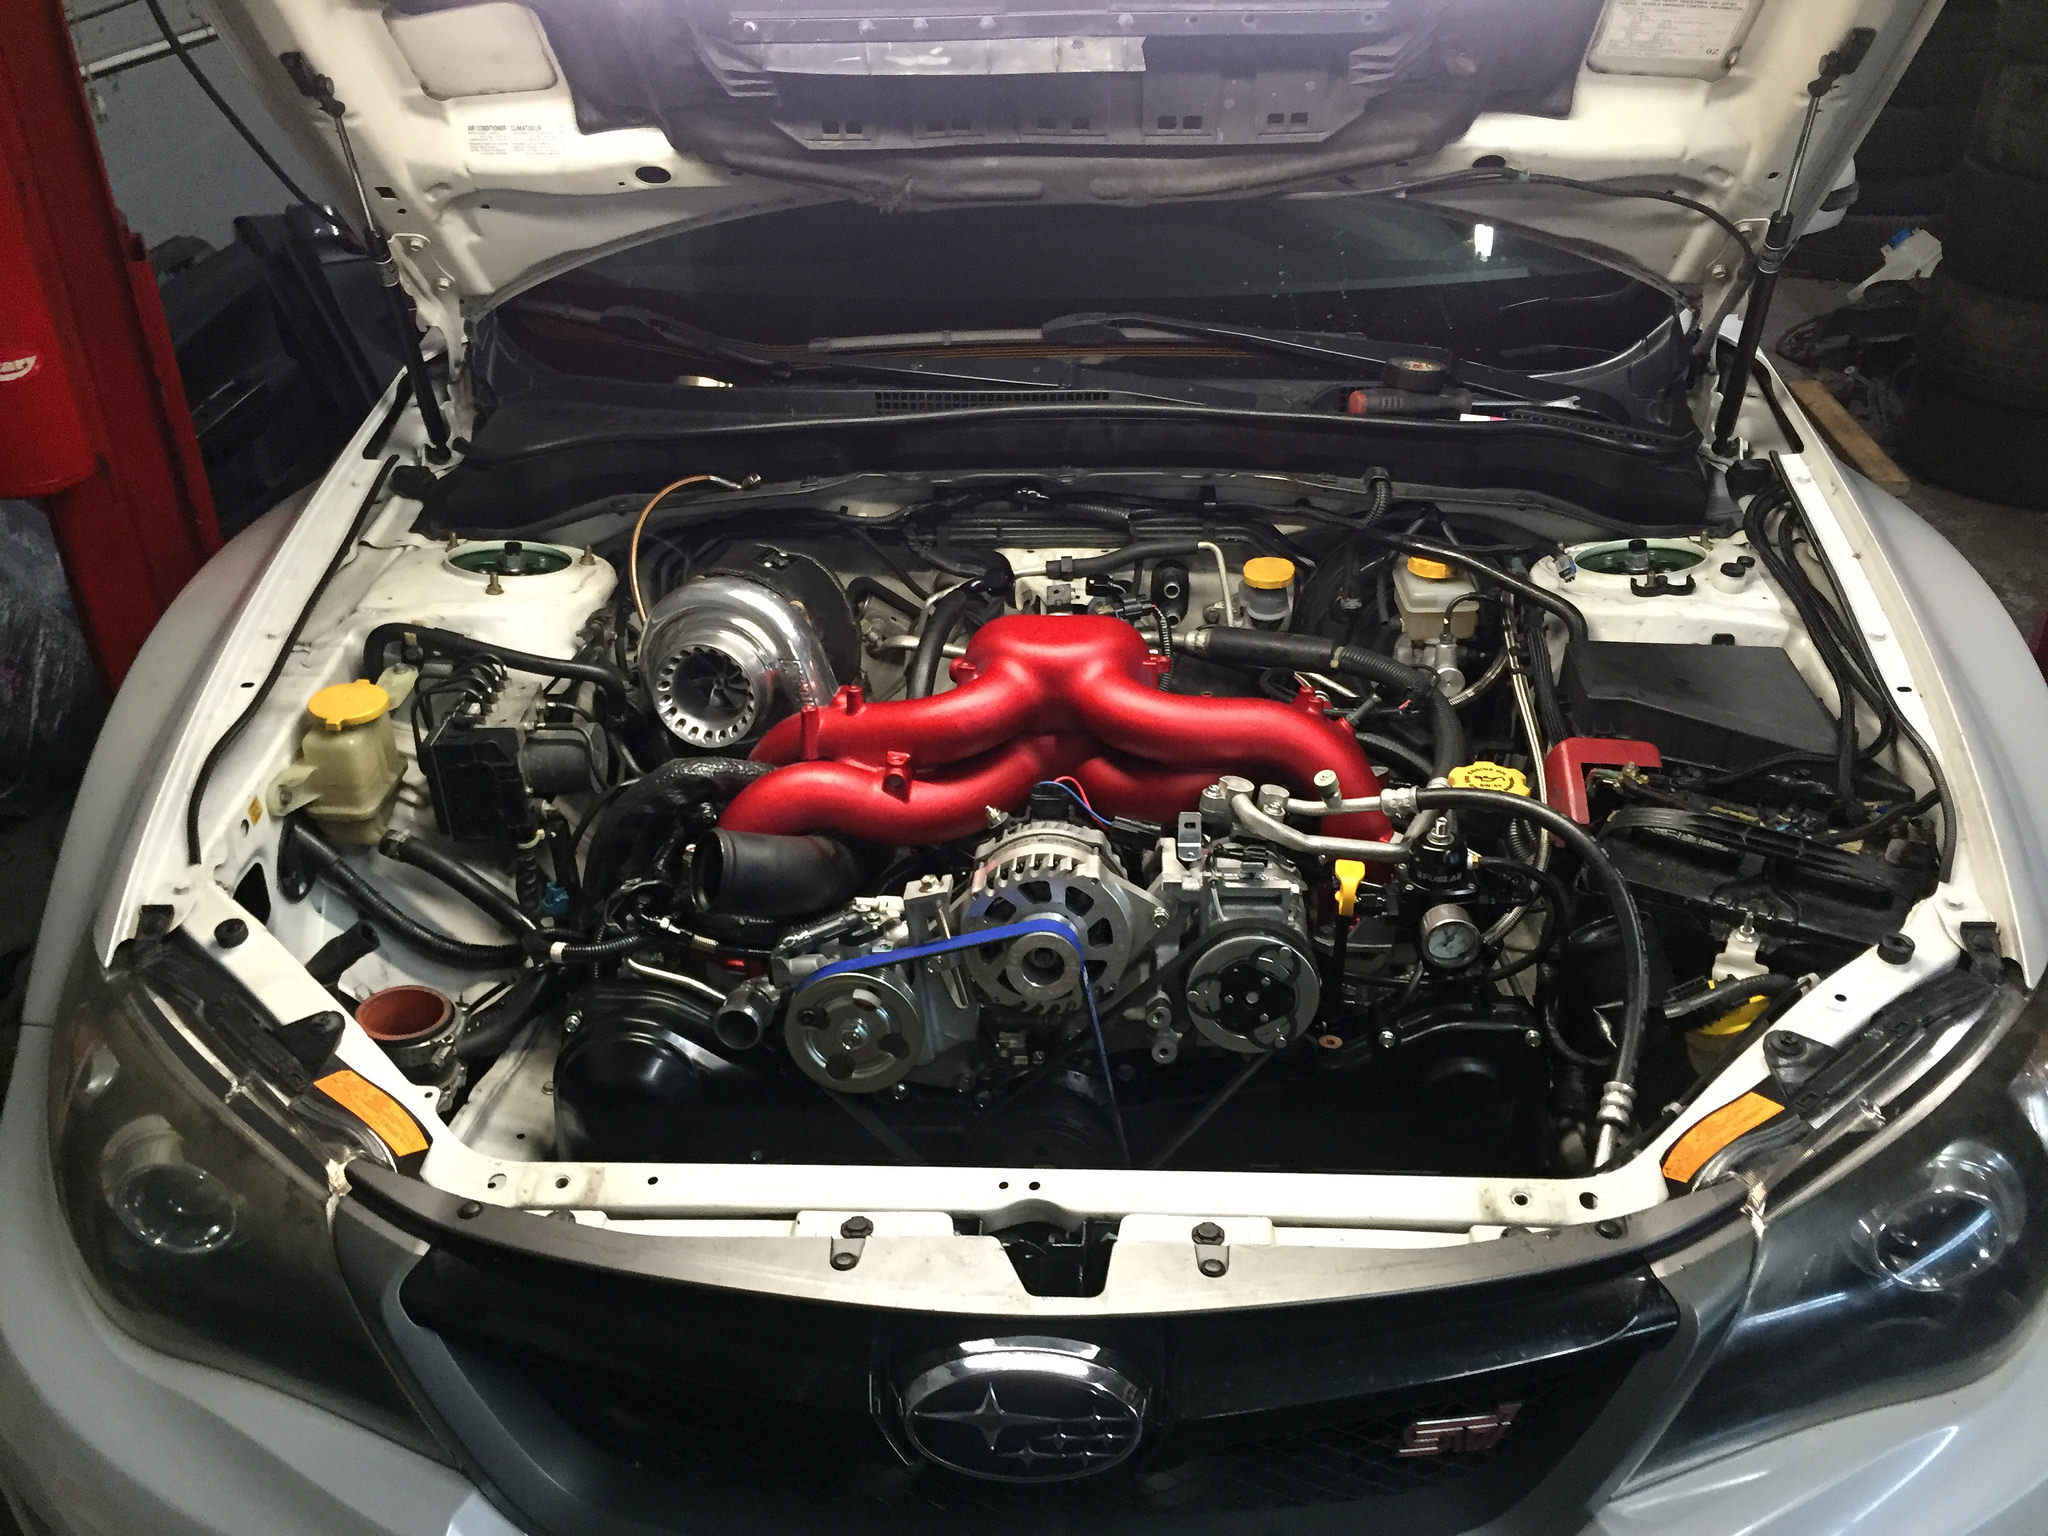
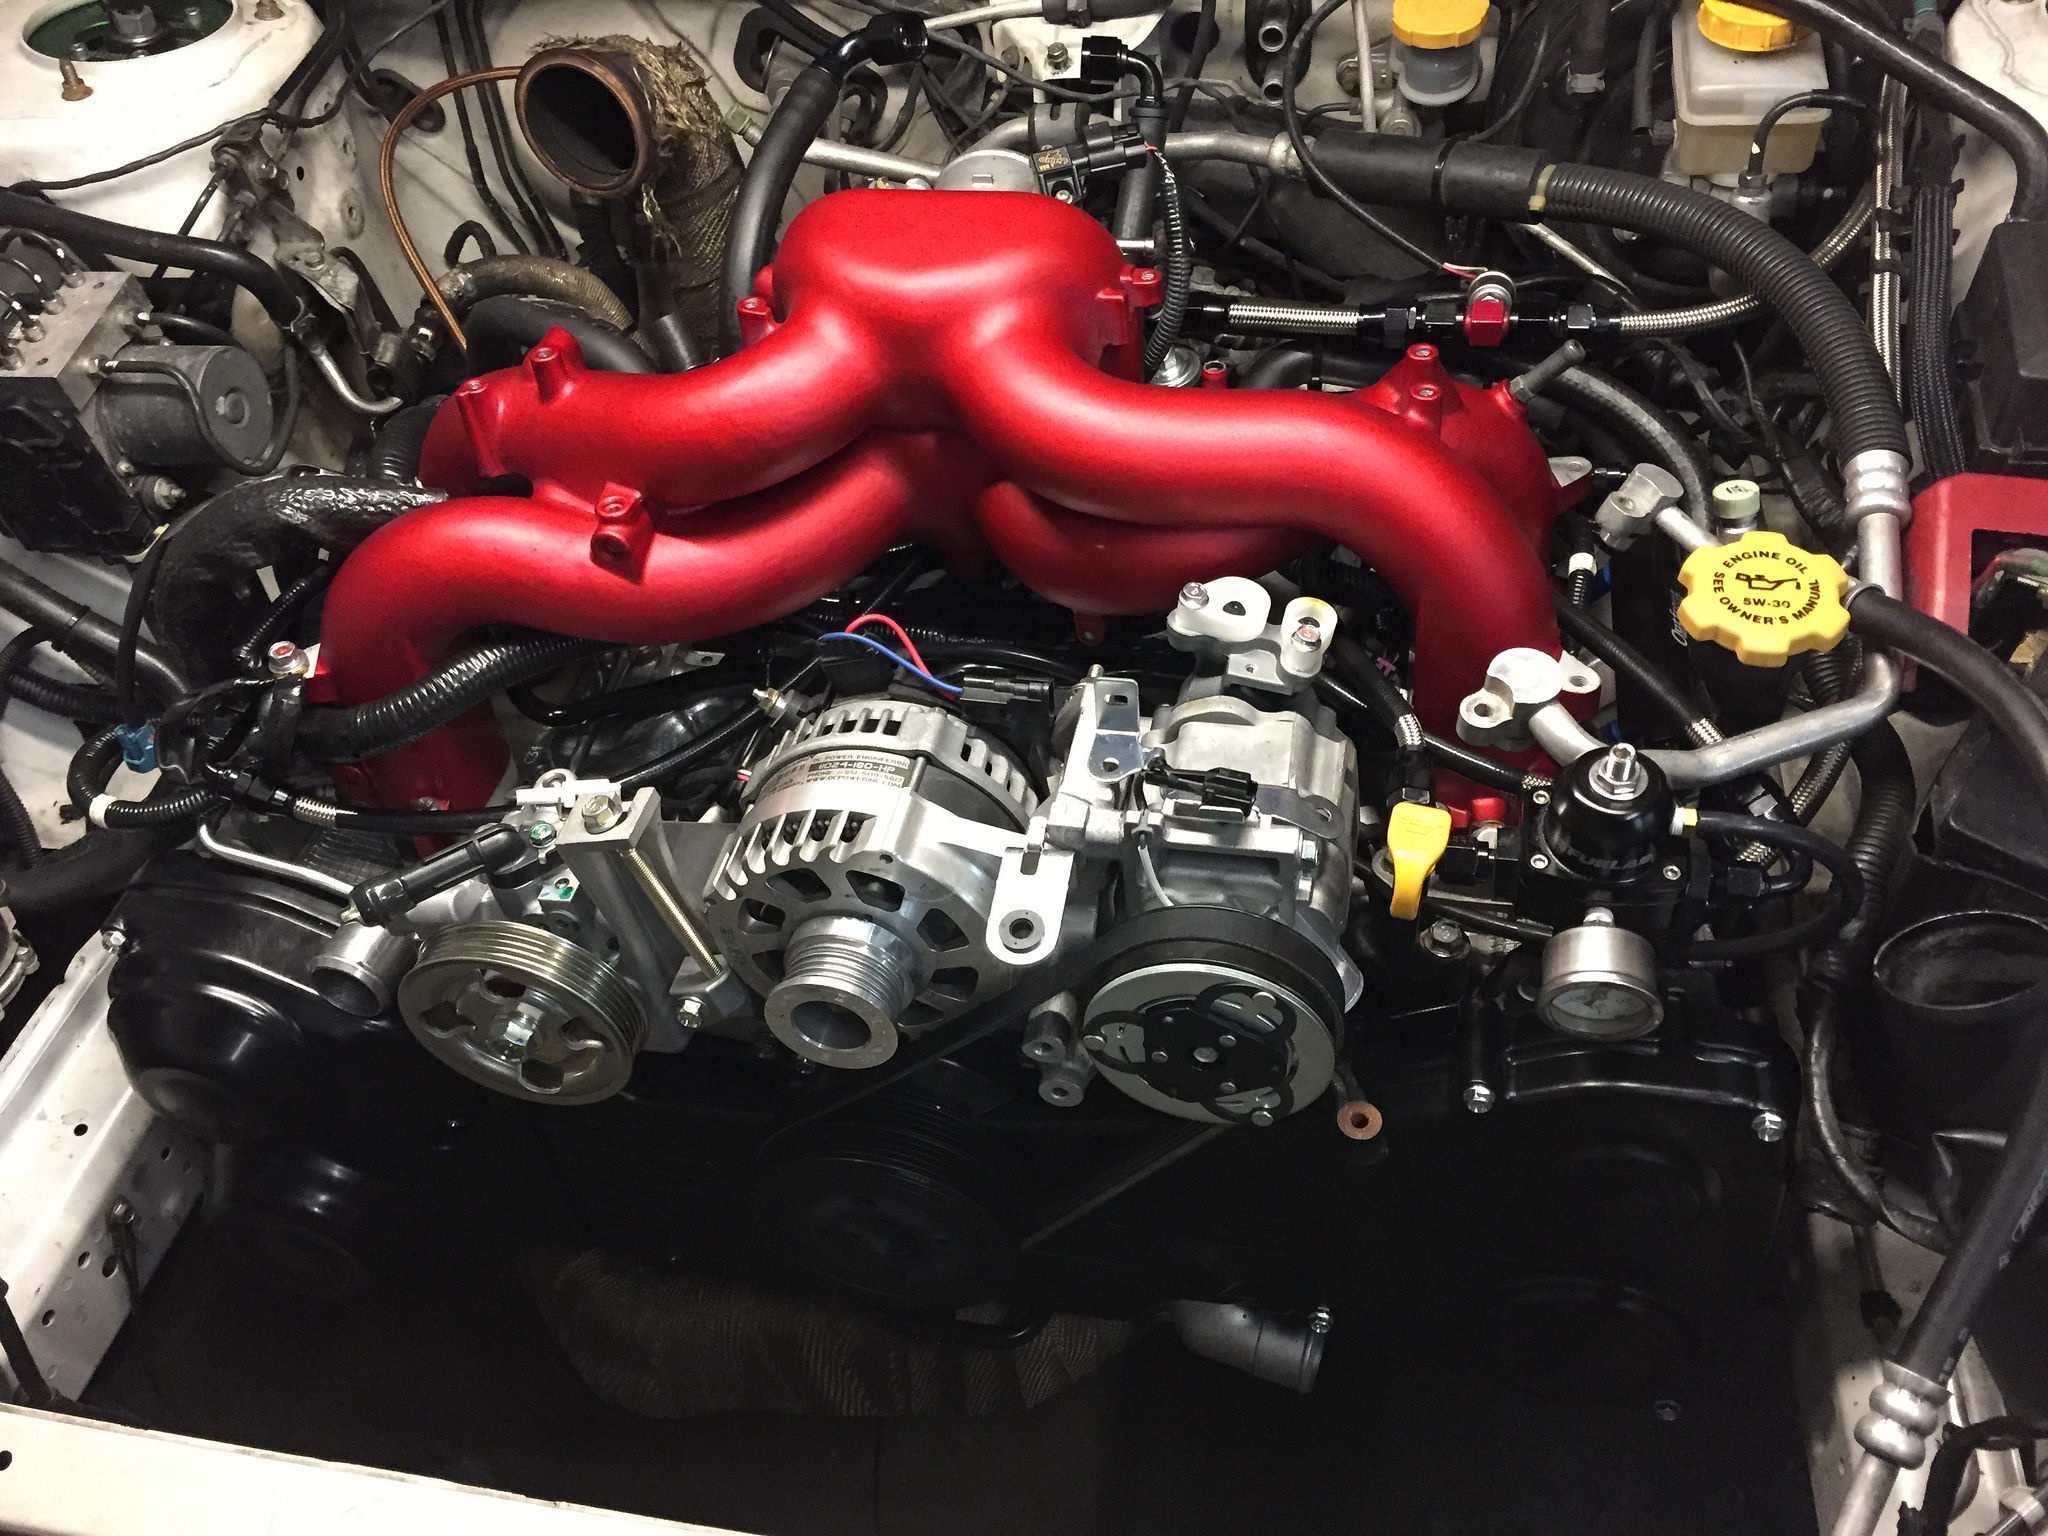
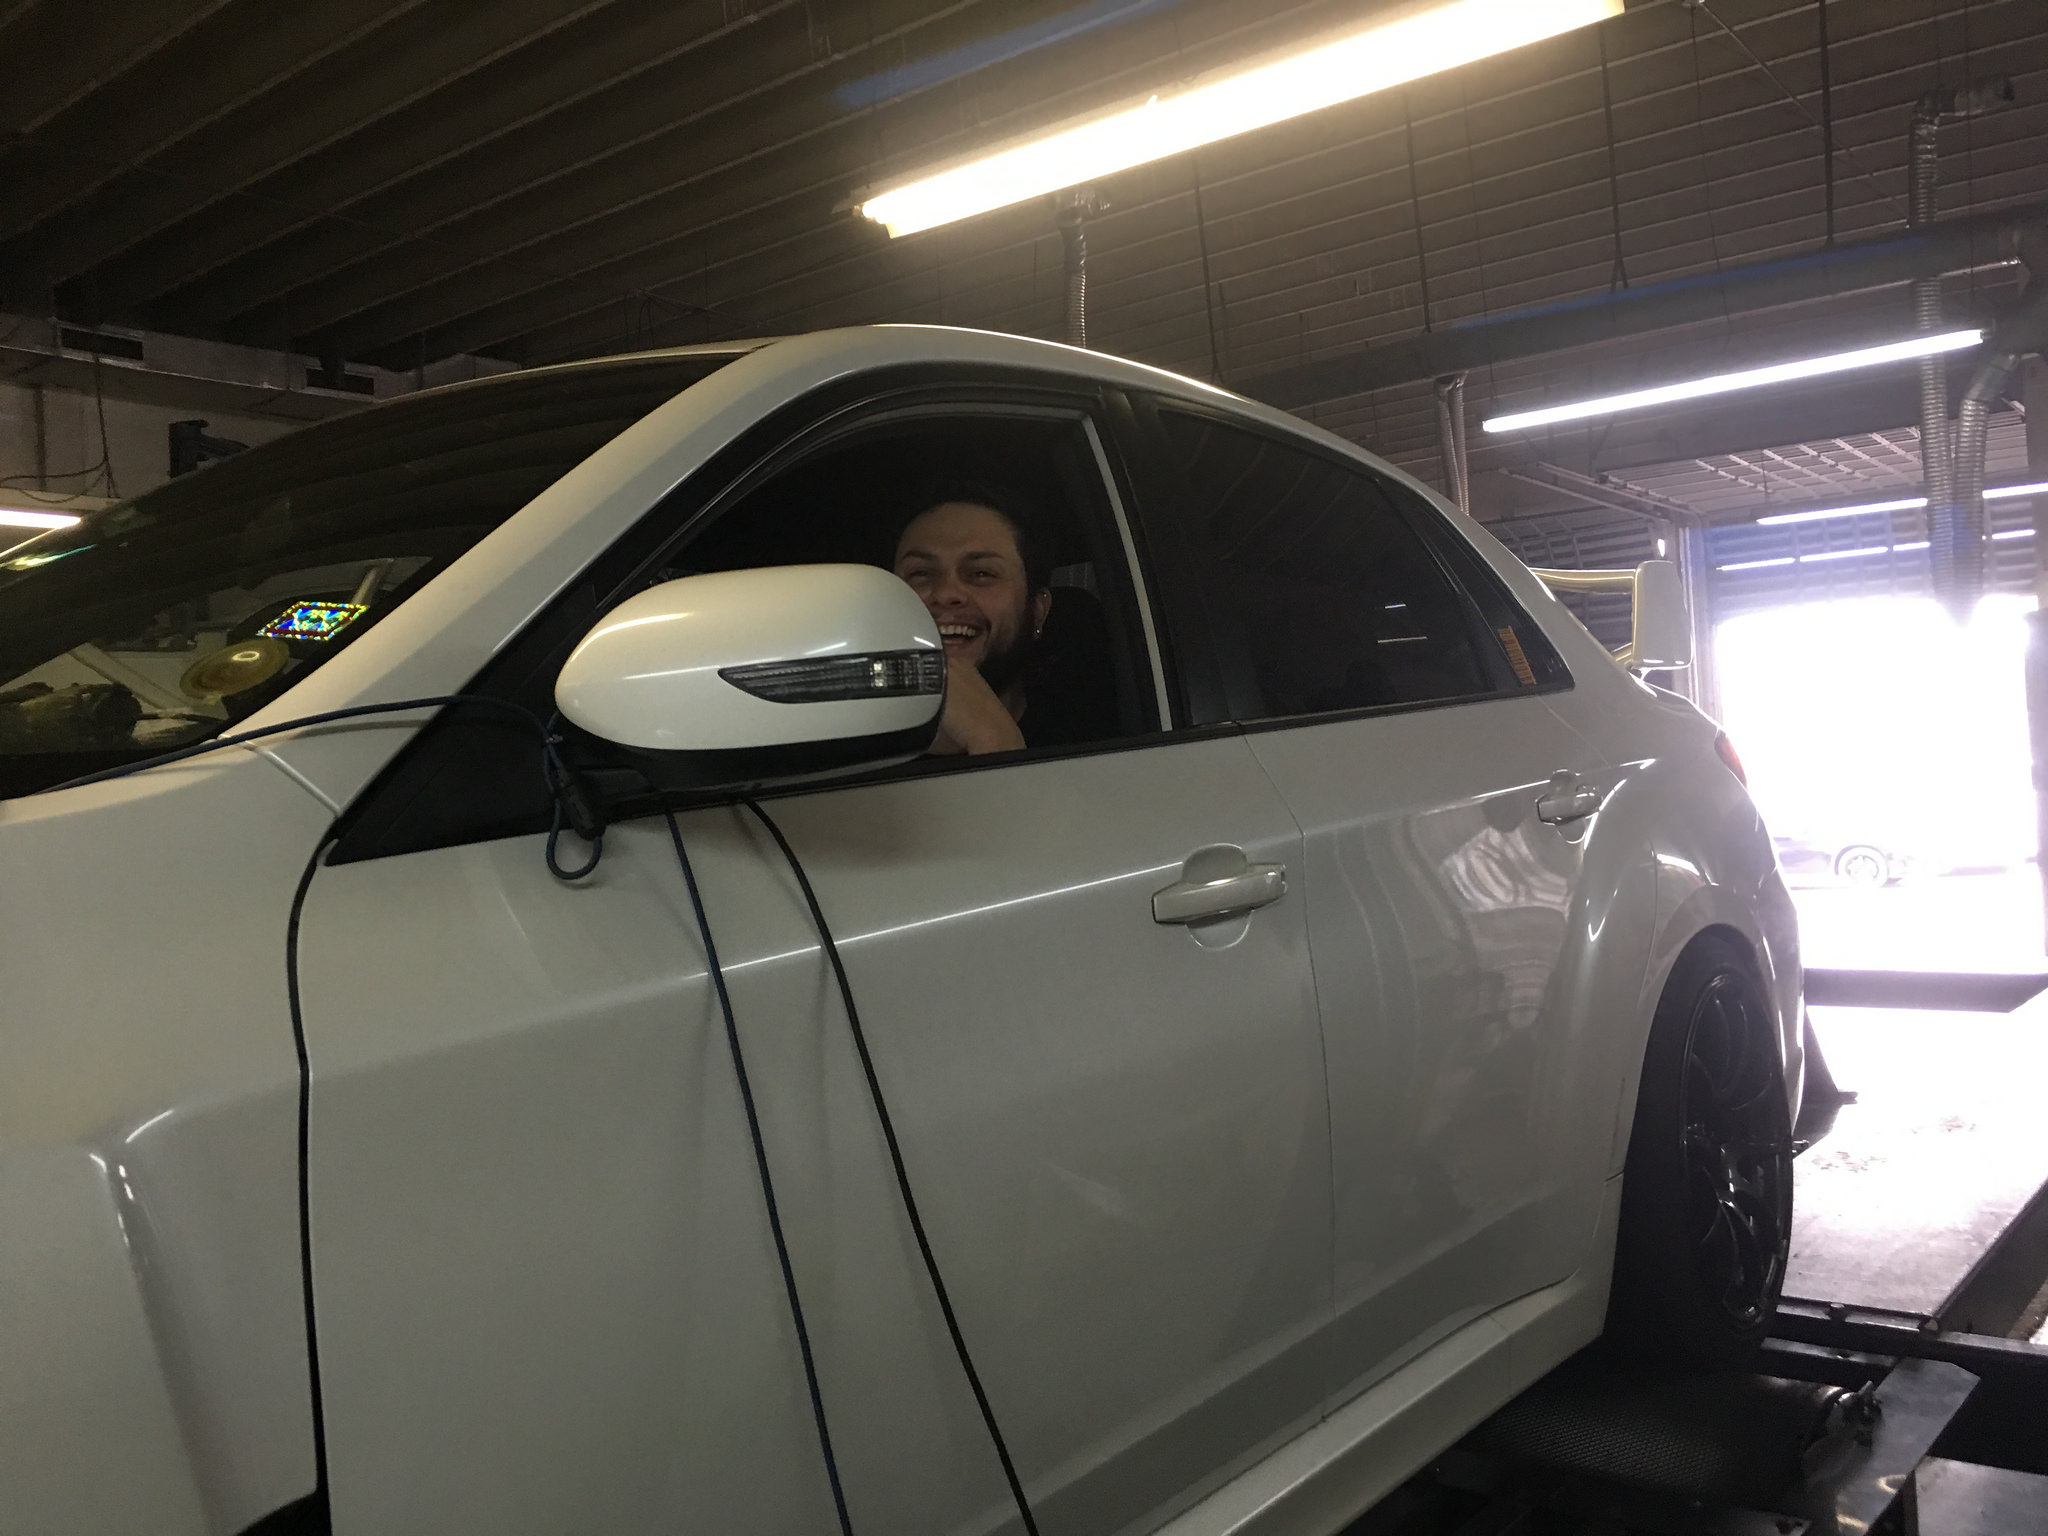
My girl is home where she belongs!
http://www.flickr.com/photos/57450230@N02/7415961286/
Installed the HT Auto side and rear skirts:
July 12'
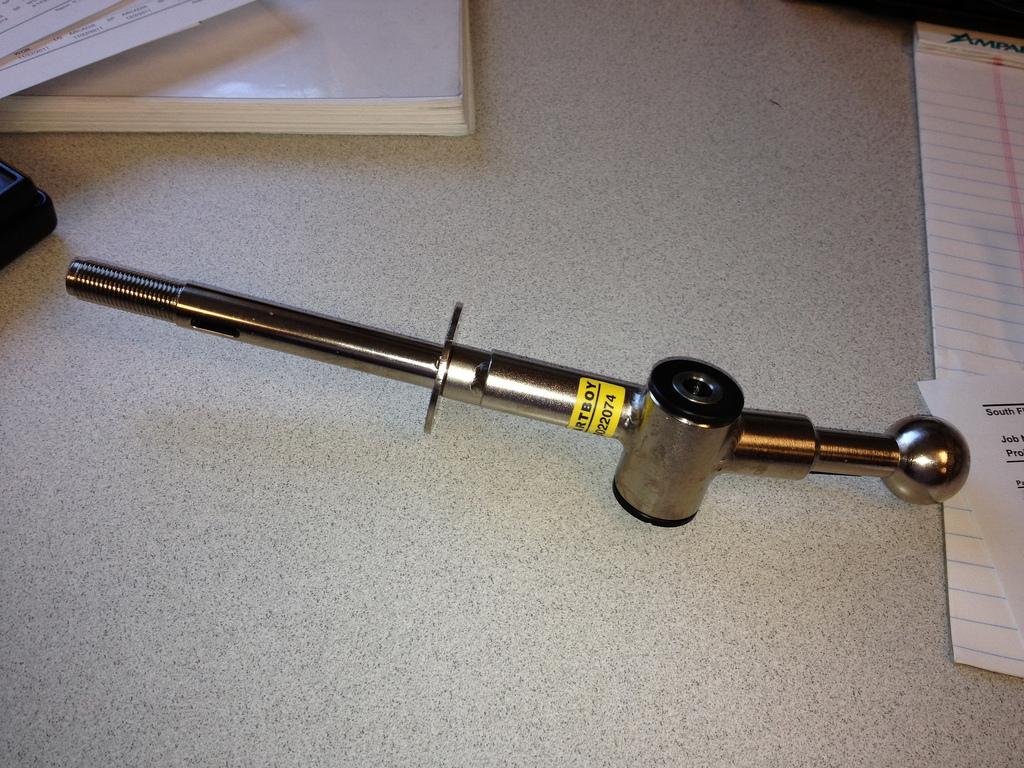
Kartboy Short Shifter:
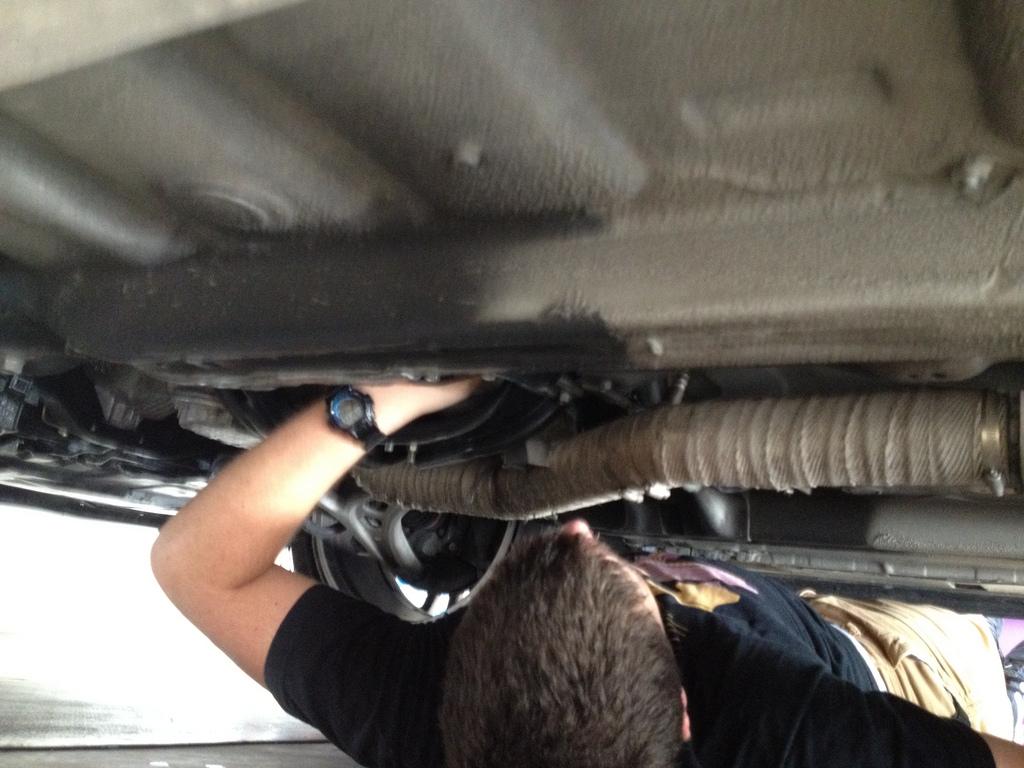
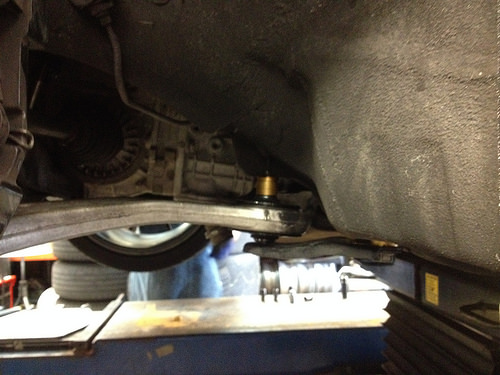
WRXFTW02 under the car doing the reverse lockout:
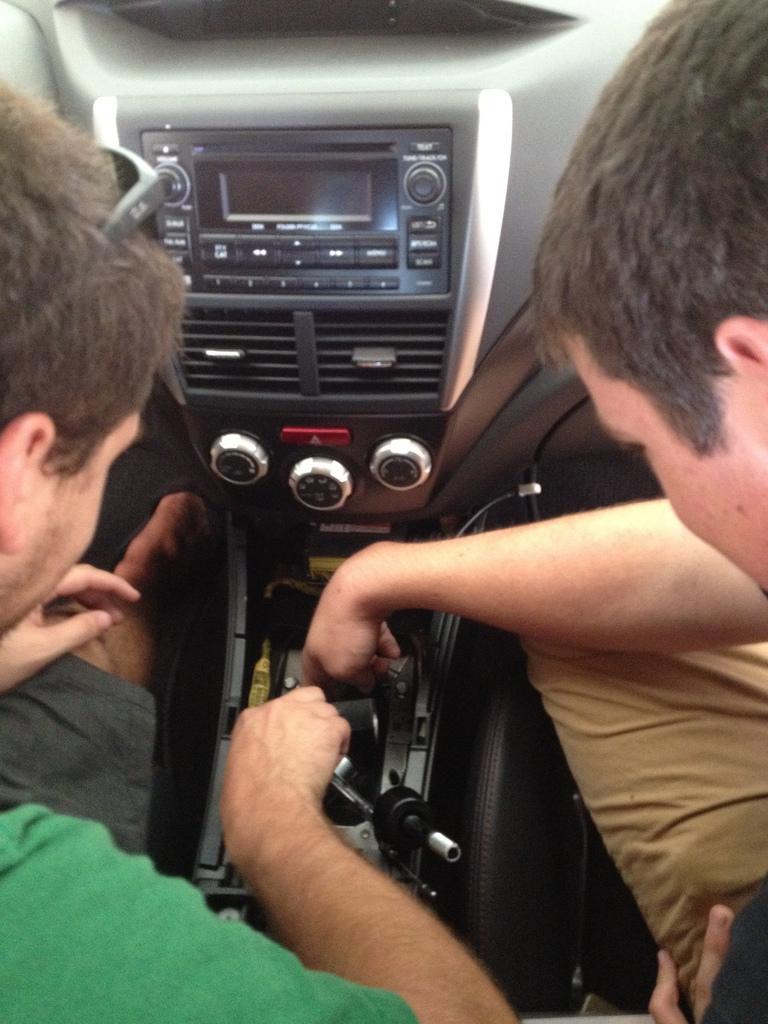
WRXFTW02 and THEMAUS swapping the shifter:
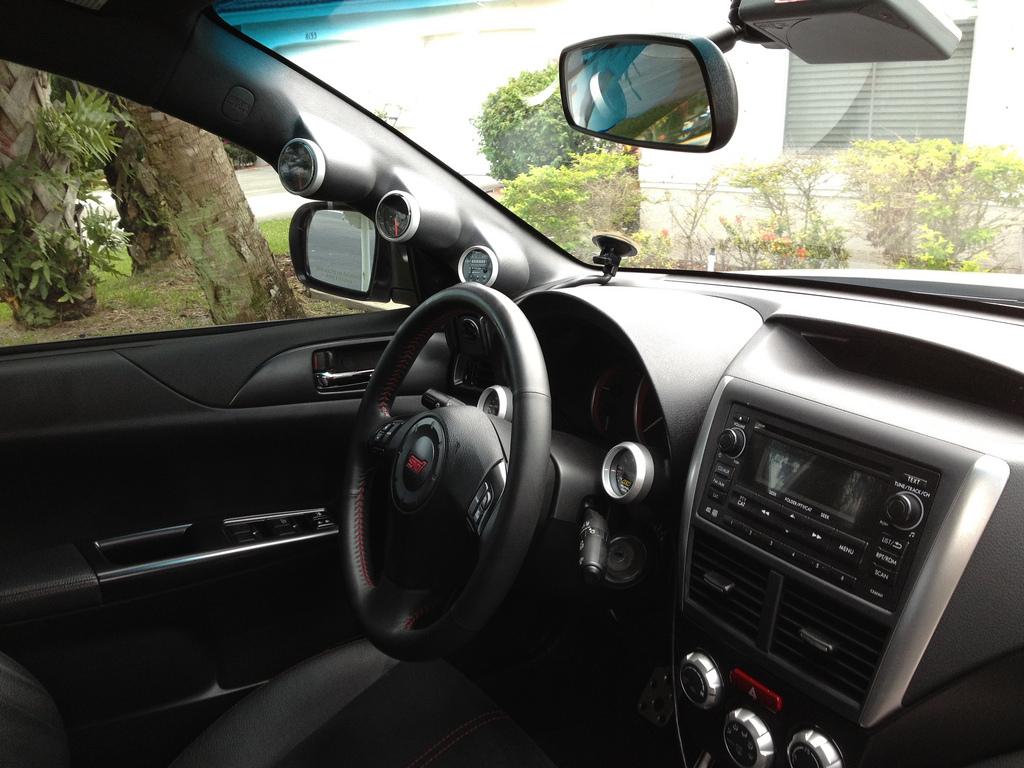
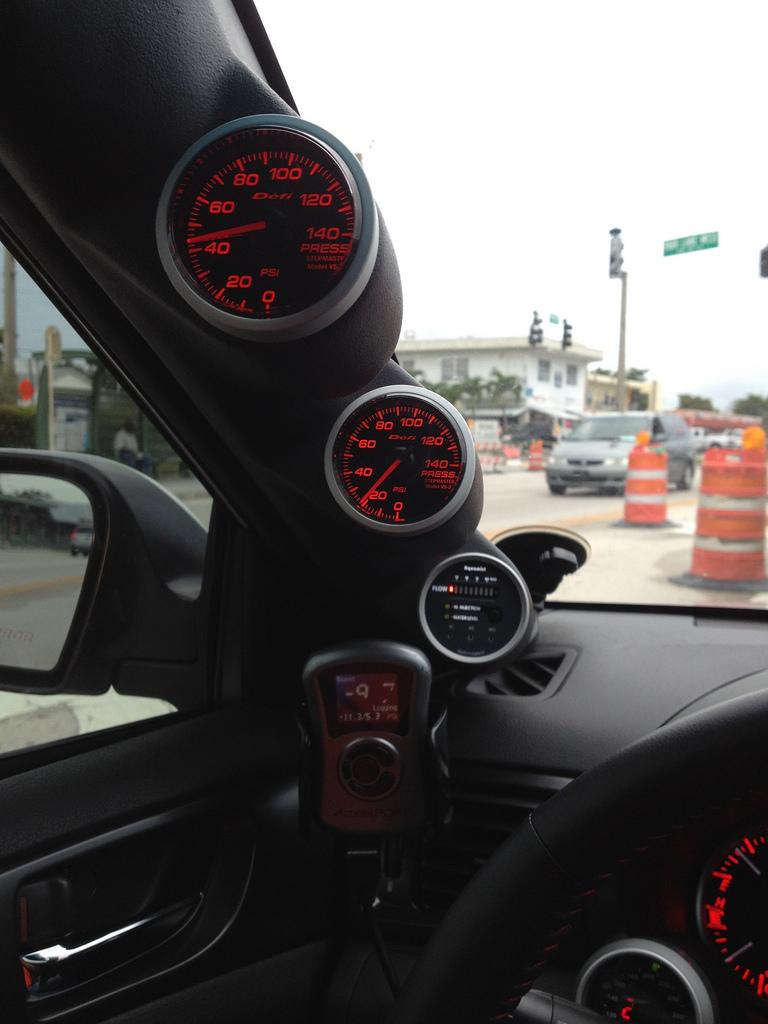
July 12': Here is the A pillar with gauges mocked up. Install is next week.

August 12':
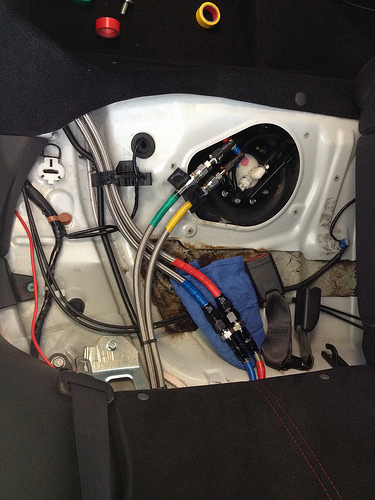
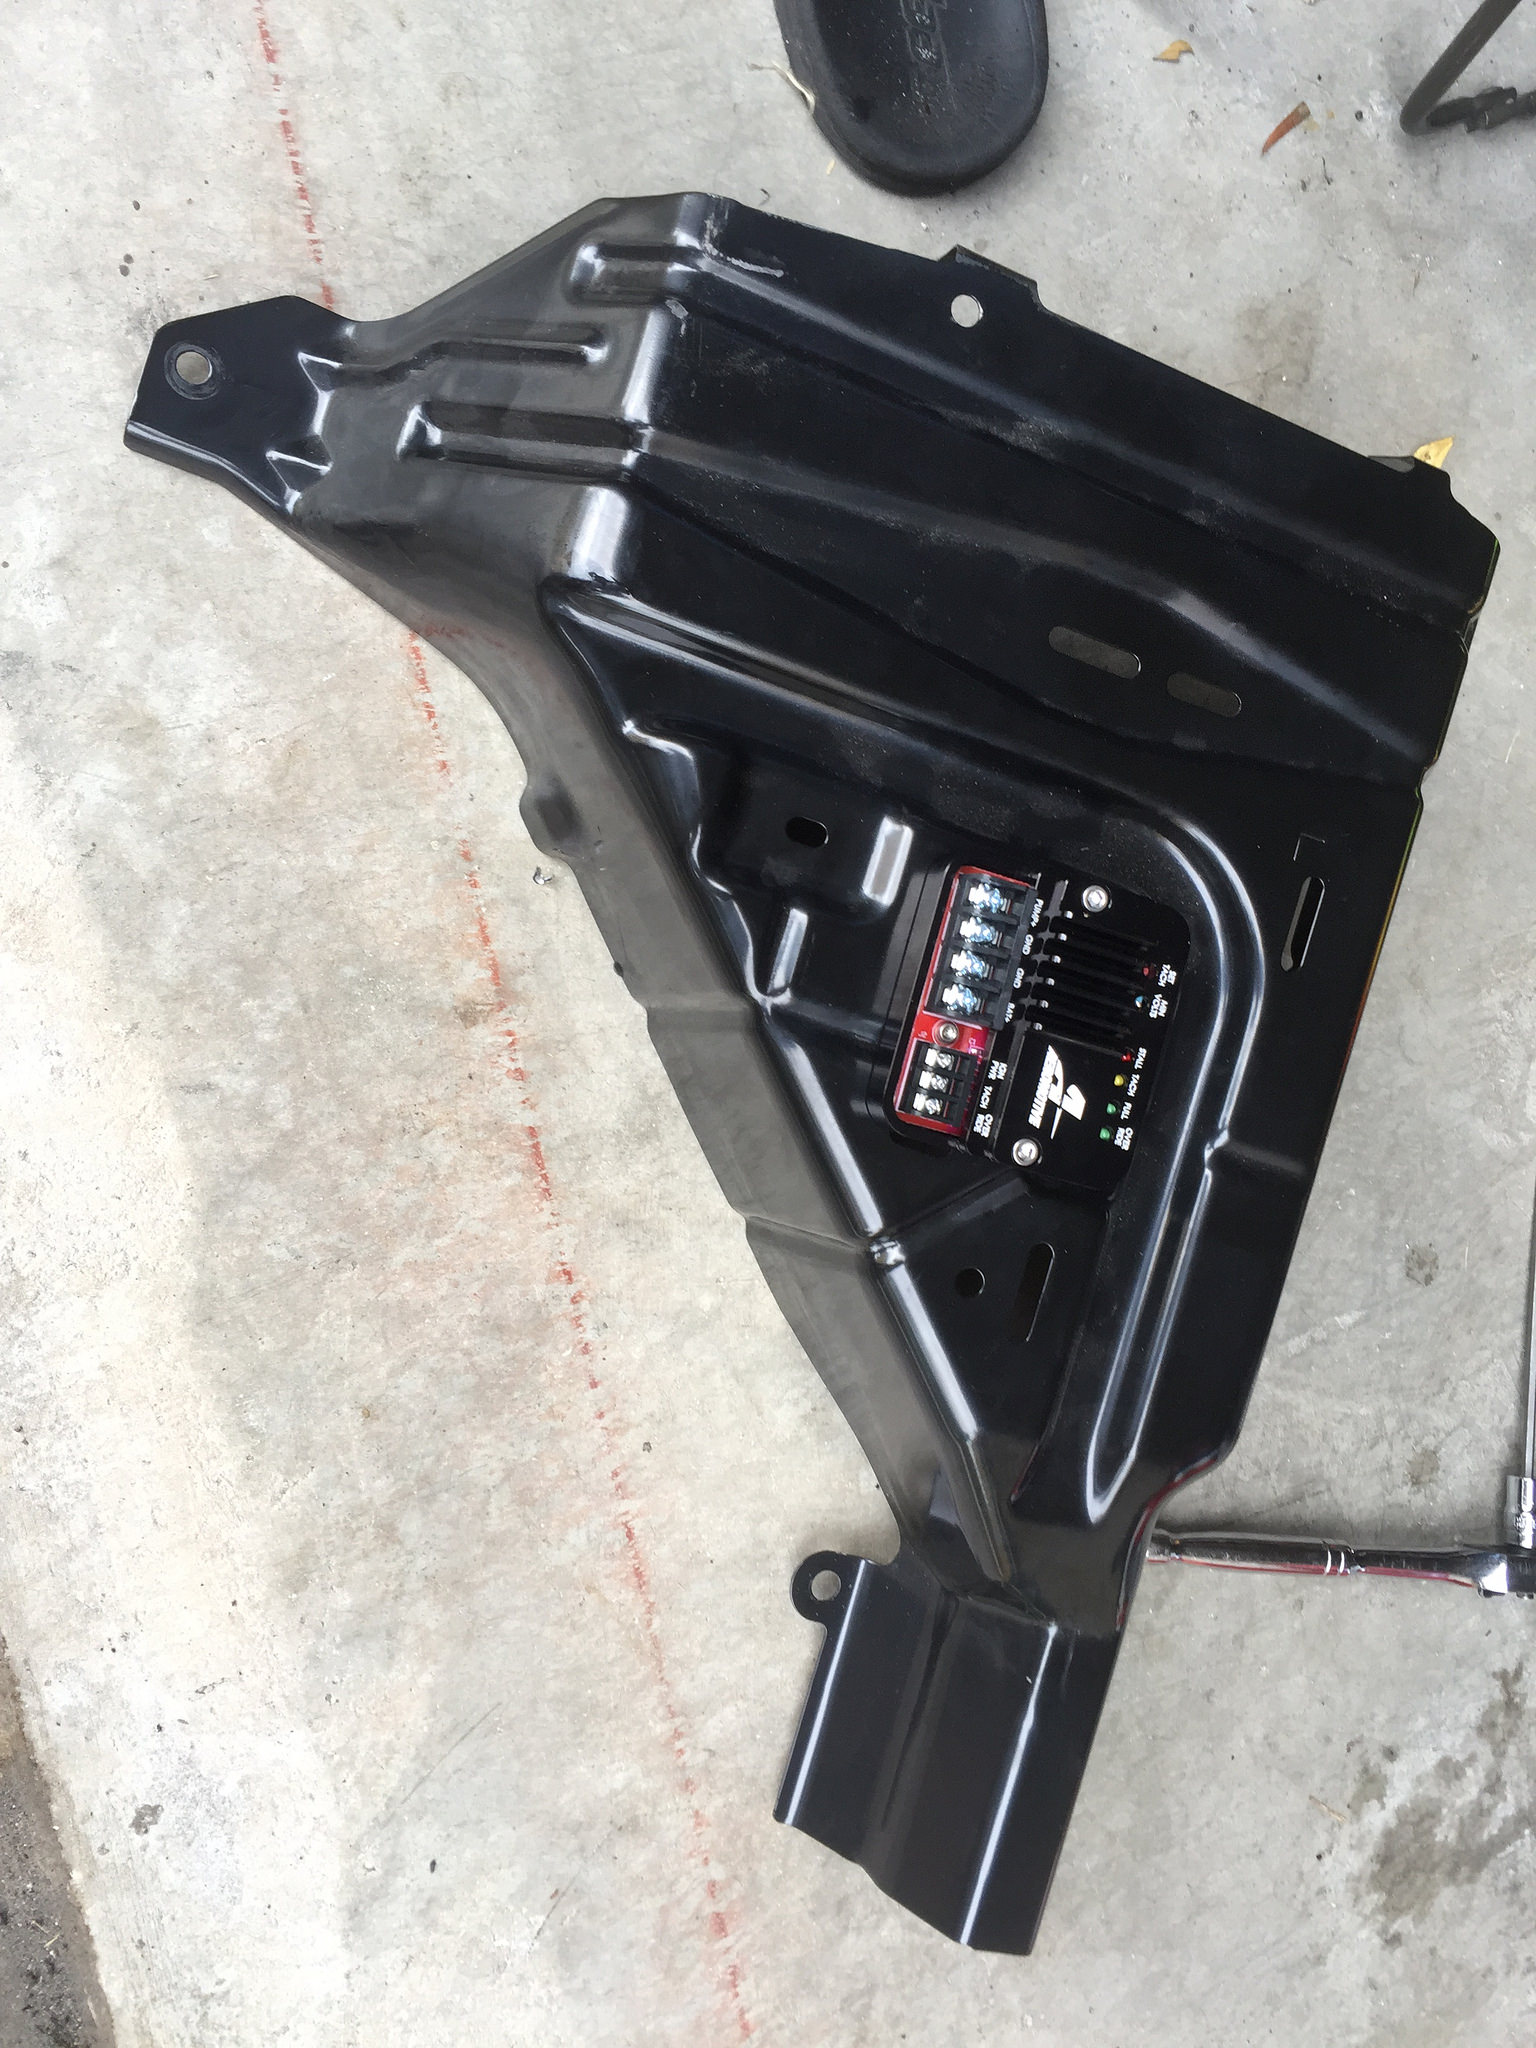
Meth kit is installed finally!!!! My Weather Pack and quick disconnect line is working ![]() Bertune's handiwork was well done as well. We decided to place the controller in the fuse box area on the driver's side. It is easy to access for any changes that need to be made.
Bertune's handiwork was well done as well. We decided to place the controller in the fuse box area on the driver's side. It is easy to access for any changes that need to be made.
I also decided on 100% meth. No need to mess with mixing. I have plenty for back up ![]()

Thank you Smeerone for coming by and dropping off some Burger King for us! I know it looked like Bertune and I were fighting a lot, we were lol. All in good fun though.
Phatron and I are currently tuning tonight. So far a cruise and 2nd gear pull. This thing is kicking!!!
August 12':
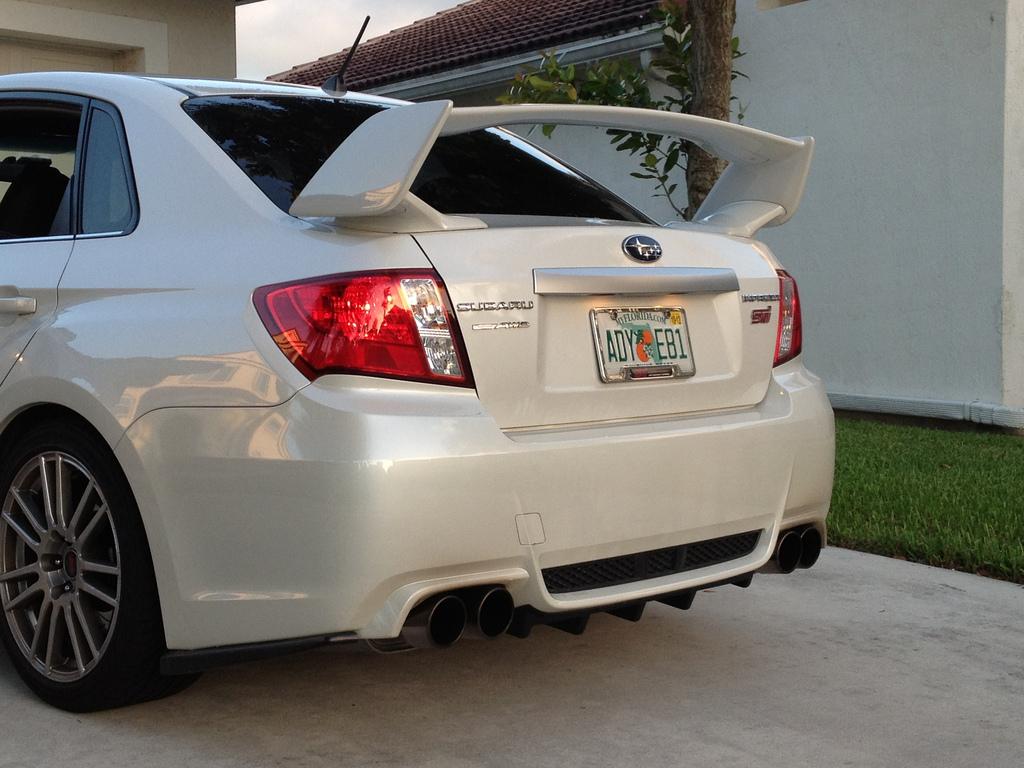
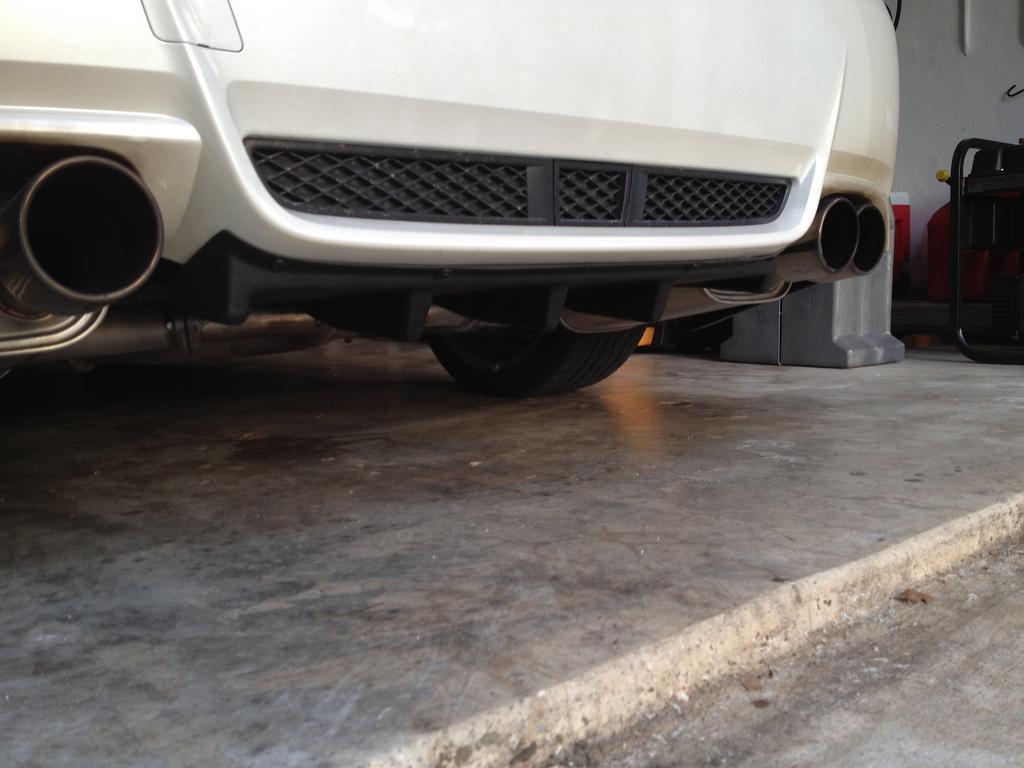
Installed HT Autos rear diffuser
August 12':
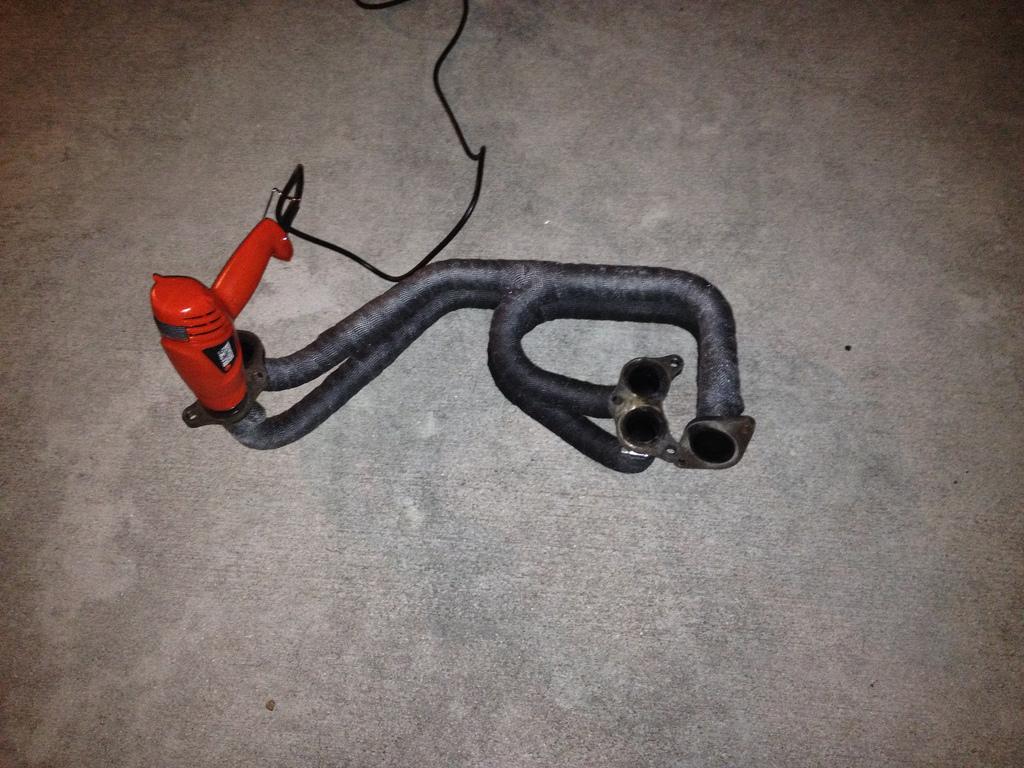
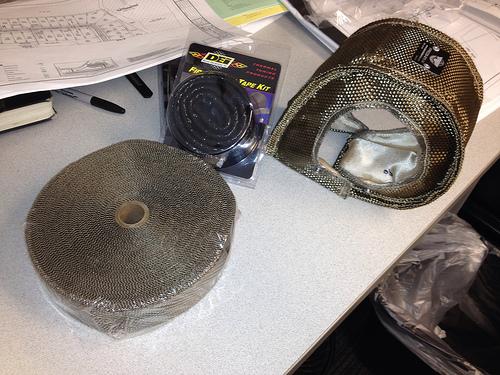
Wrapped headers
August 12':
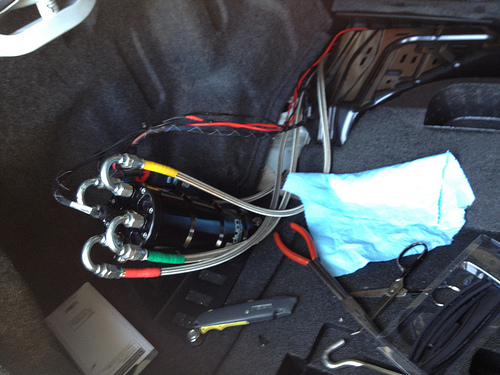
-4AN Fittings for Meth Injection
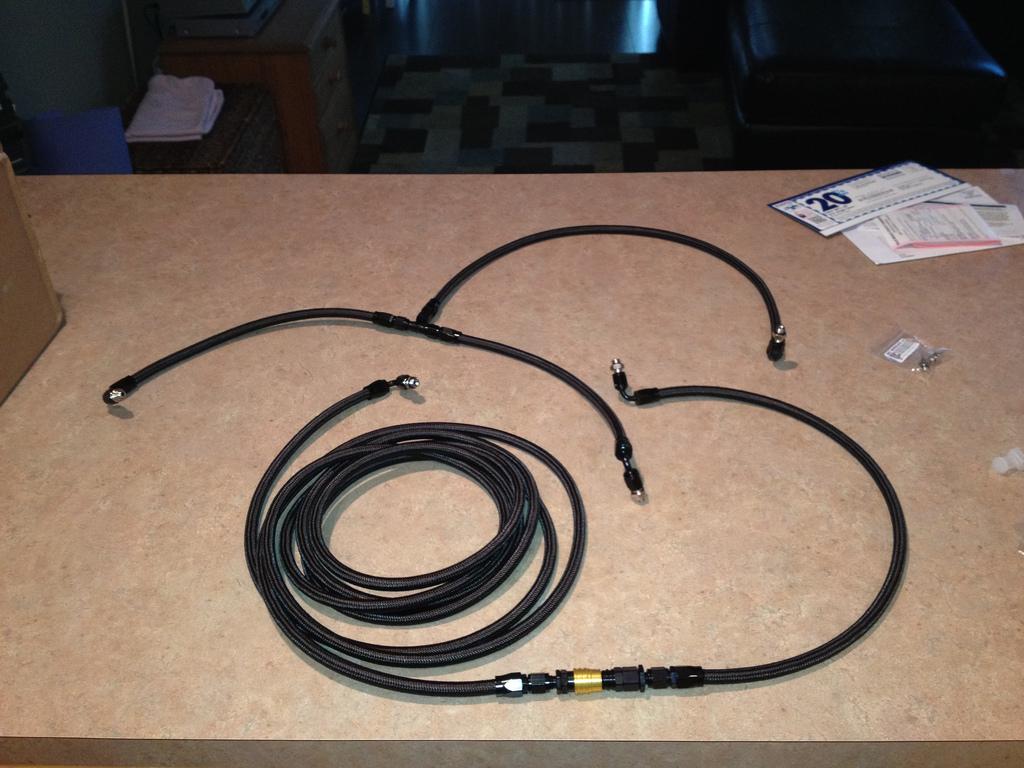
Quick Disconnect, No Drip

Intercooler Section
Pump Section
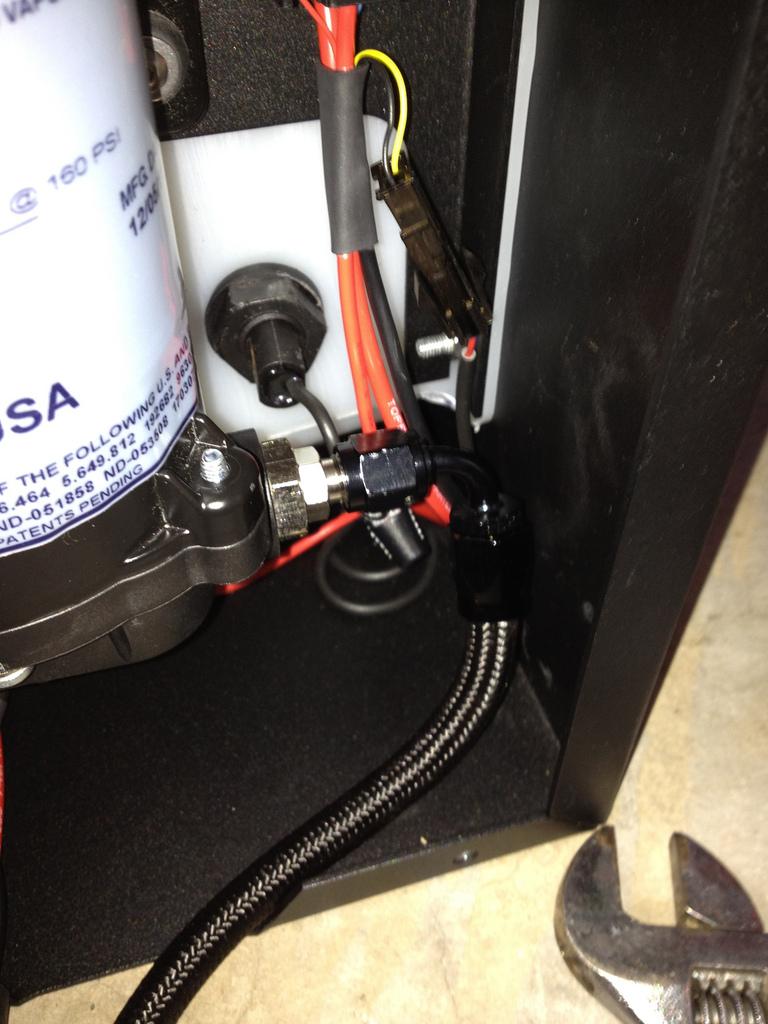
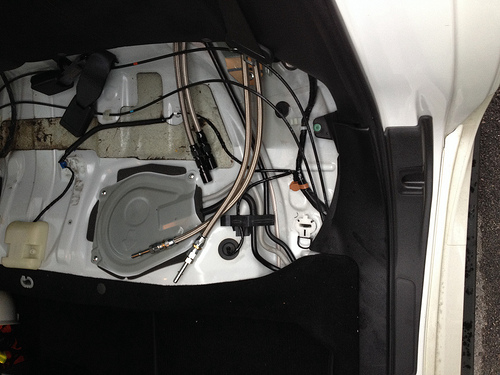
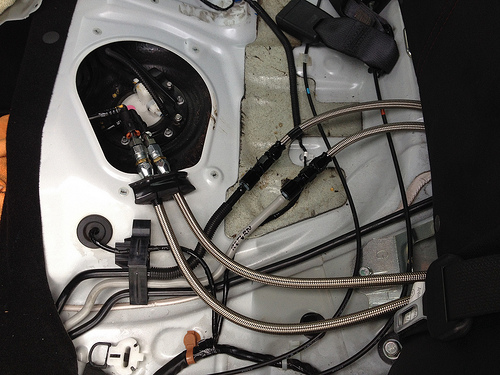
Trunk Section
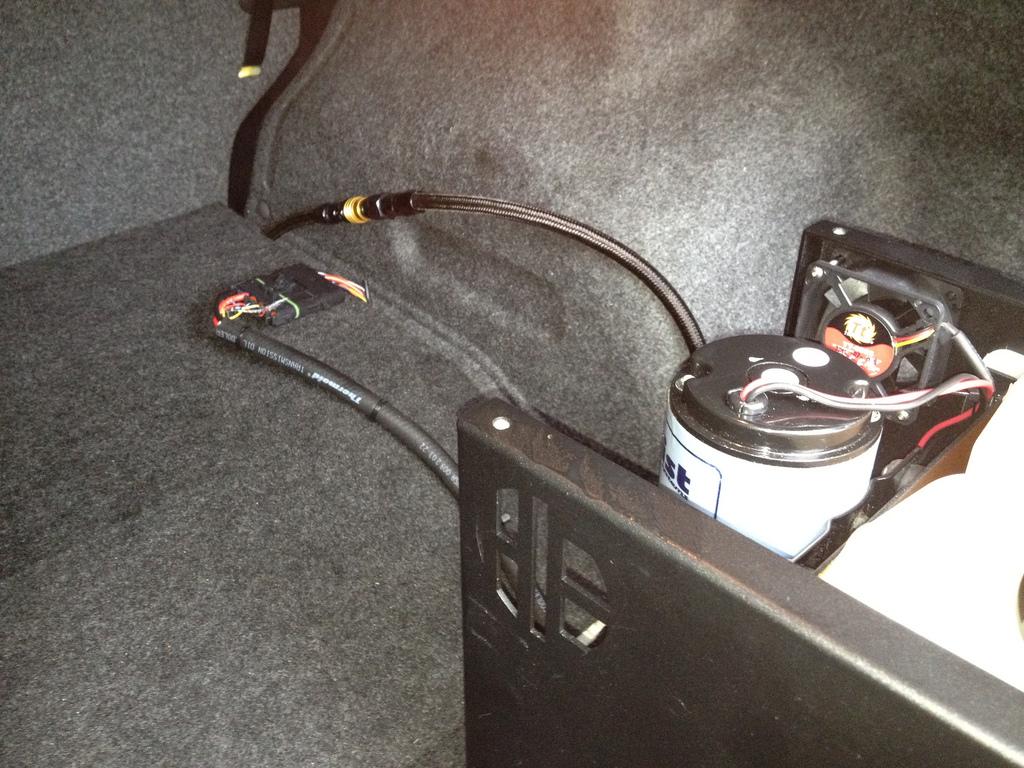
Fast Acting Valve Section
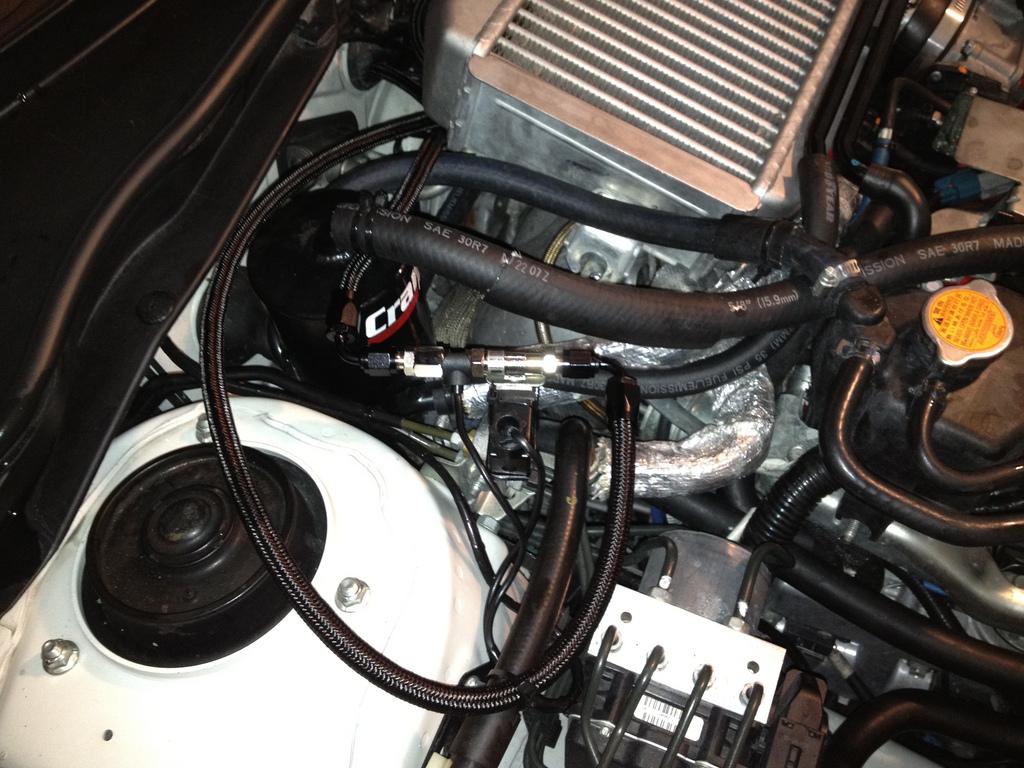
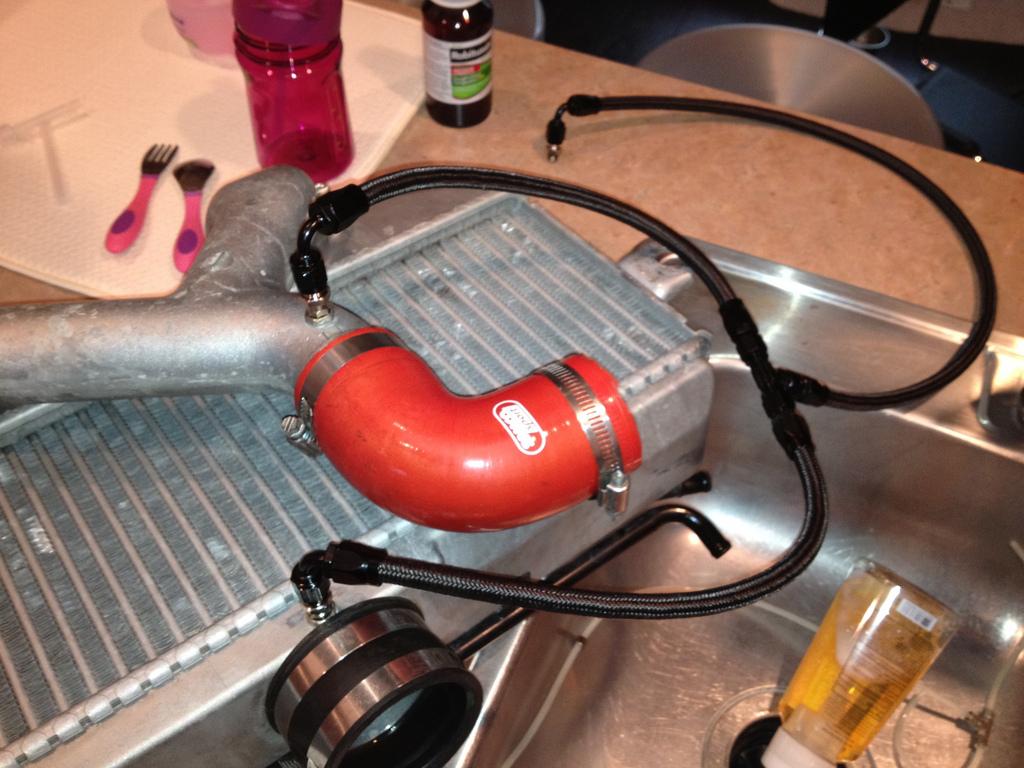
It all went in pretty straight forward. I had a small issue with the quick disconnect leaking but it was actually my fault for thinking everything was tightened from the vendor. I tightened all the connections down one more time and leaks seem to be gone. Now time to retune to make sure nothing is weird. I think with the larger lines I may be flowing a bit more than before.
Thanks to WRX02FTW for his assistance in the install. I don't think our hands will fall off after we touched so much methanol. I had to blow out the line from the trunk to the engine bay, my lips have not burned off yet.
September 12':
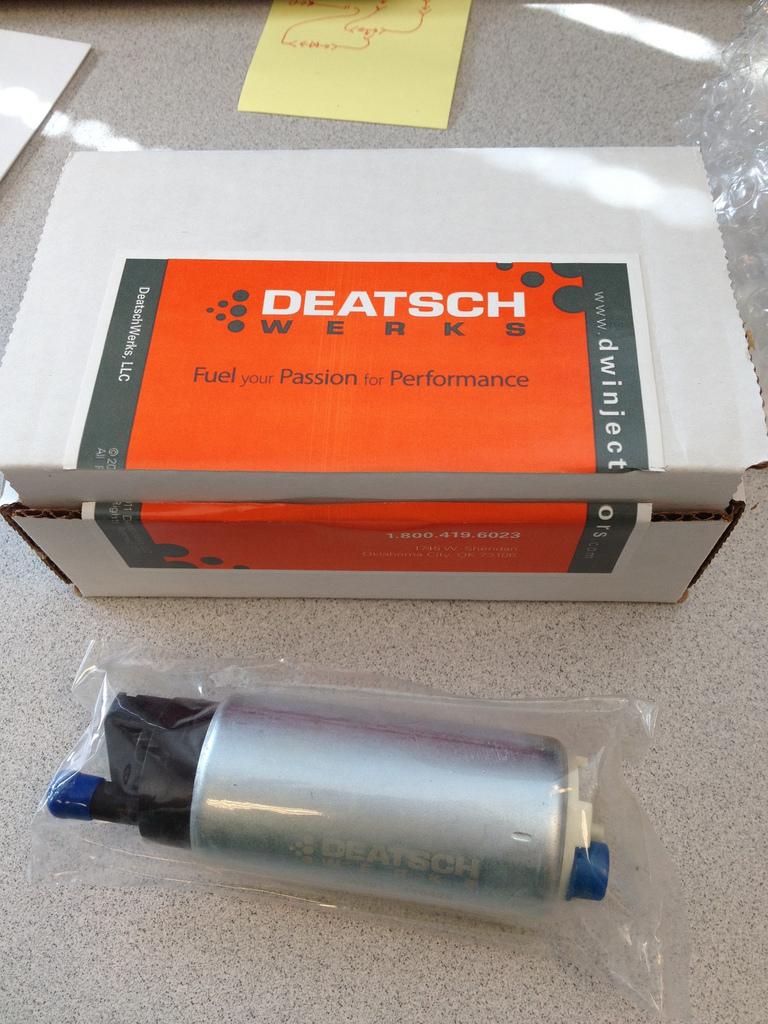
Installed DW300 tonight. Bought the DW65 install kit for the sock fuel filter since the DW300 comes with the universal filter. Installed in about 30 minutes.
October 12':
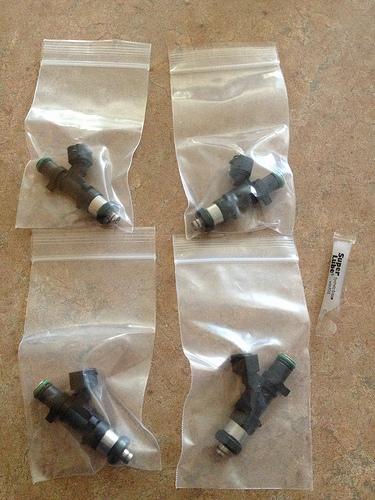
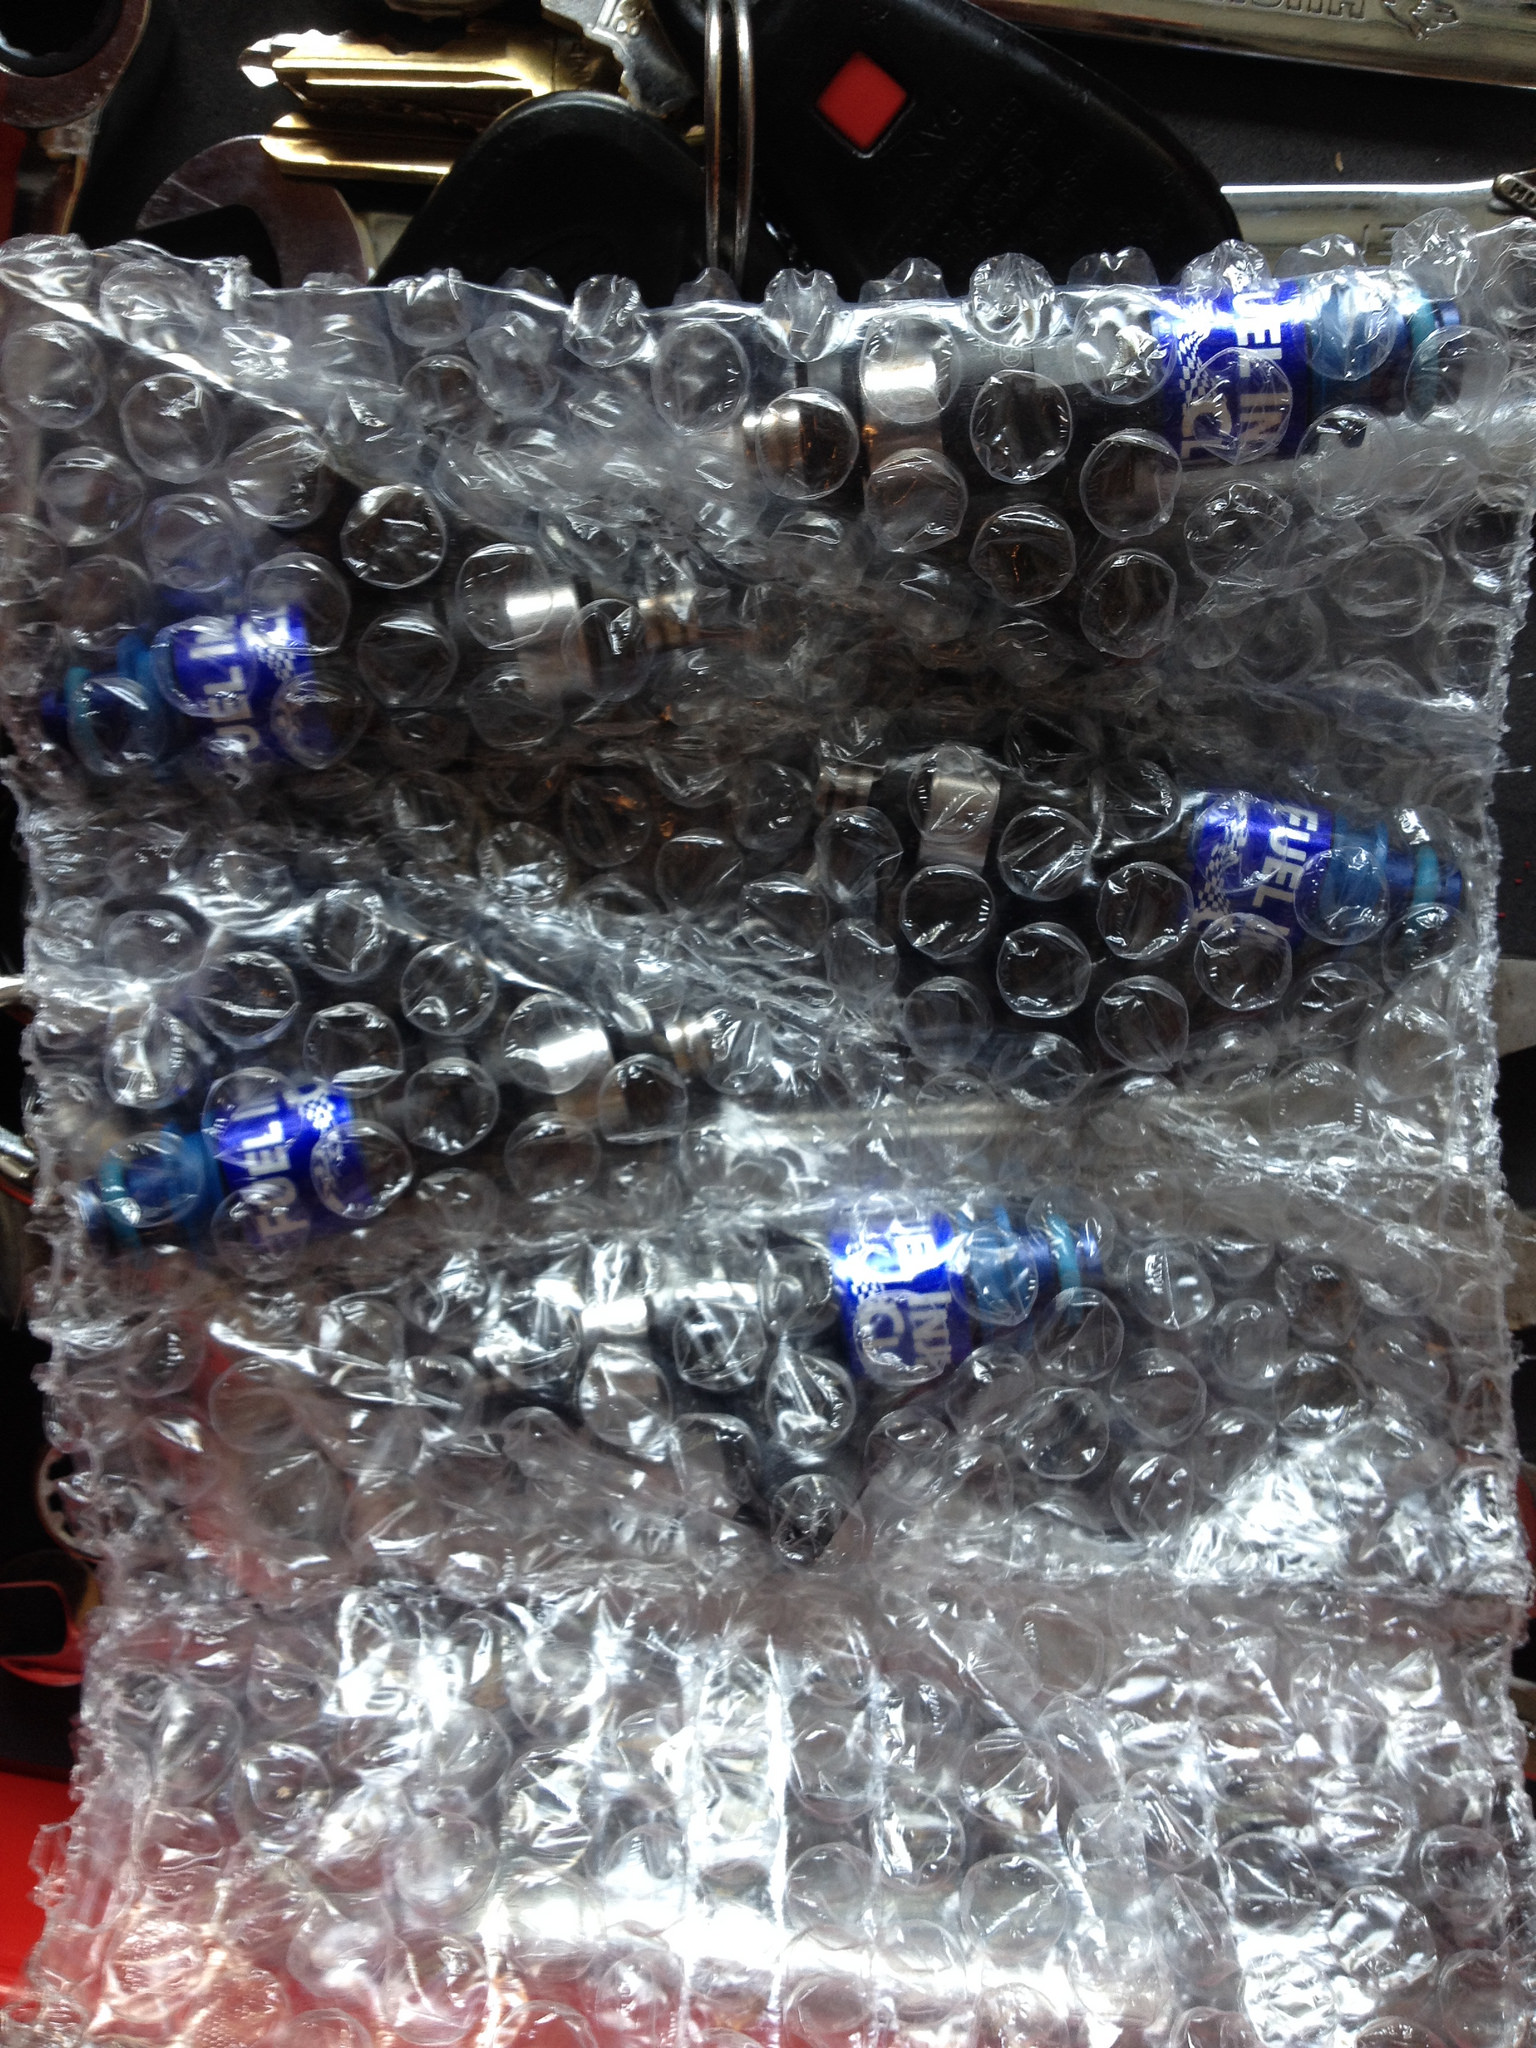
FiveO 1200 injectors
Kstech Air Pump Block Off Plates
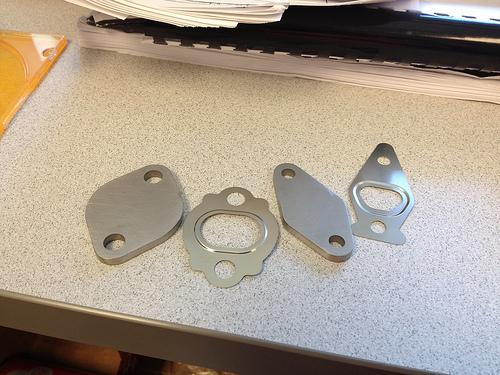
The passenger side air pump block off plate was a PITA. We aborted this due to the entire uppipe needing to be removed for this job. On top of that, the entire turbo would have to be removed because one of the bolts holding the uppipe to the turbo was blocked off by a hard oil line. I will do this air pump delete when I swap the turbo sometime in the future.
October 12'
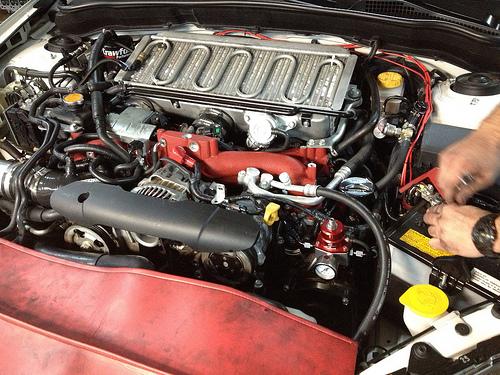
Installed my turbo oil line. The one on the turbo looked shot. It did not have the 90* elbow on it and might have been stressed out. Put the hose from Blouch on. It was a bit long but I tried to arrange it to avoid as much stress on the terminal ends where these hoses tend to leak.
I had to remove the AOS in order to get to the oil line. That caused a slight leak in my radiator line and I had to replace that. I took this time to trim up the AOS lines and remove my meth lines to the intercooler and plug it up.
I did a little mock up of my lines for the intercooler sprayer and it looks like it should all line up nicely.

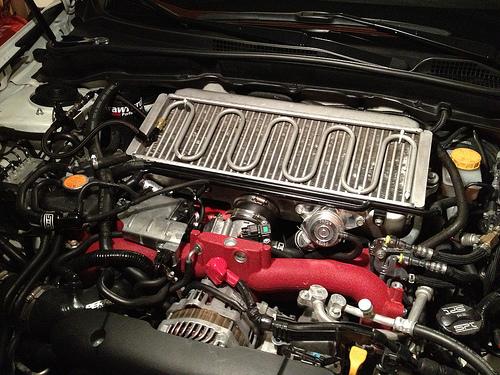
Intercooler sprayer bar installed
November 12'
No pictures but we hardwired the fuel pump with the Deatschwerks kit.
Full Blown Double Pump Hanger
I'll be rewiring this thing to clean it up.
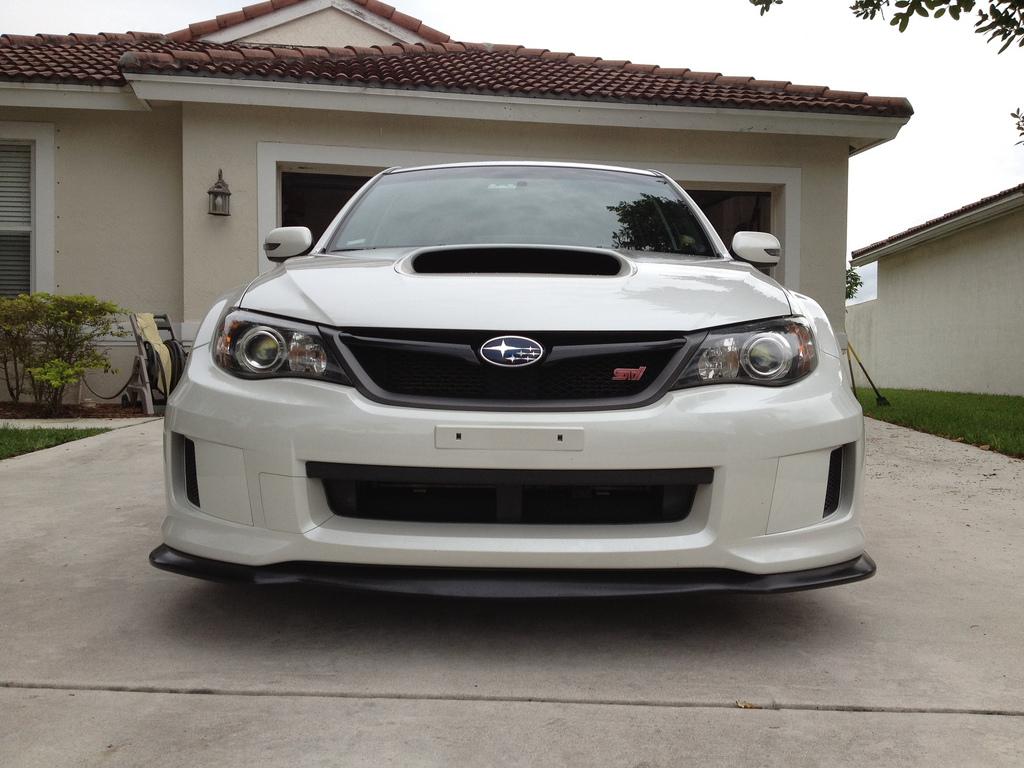
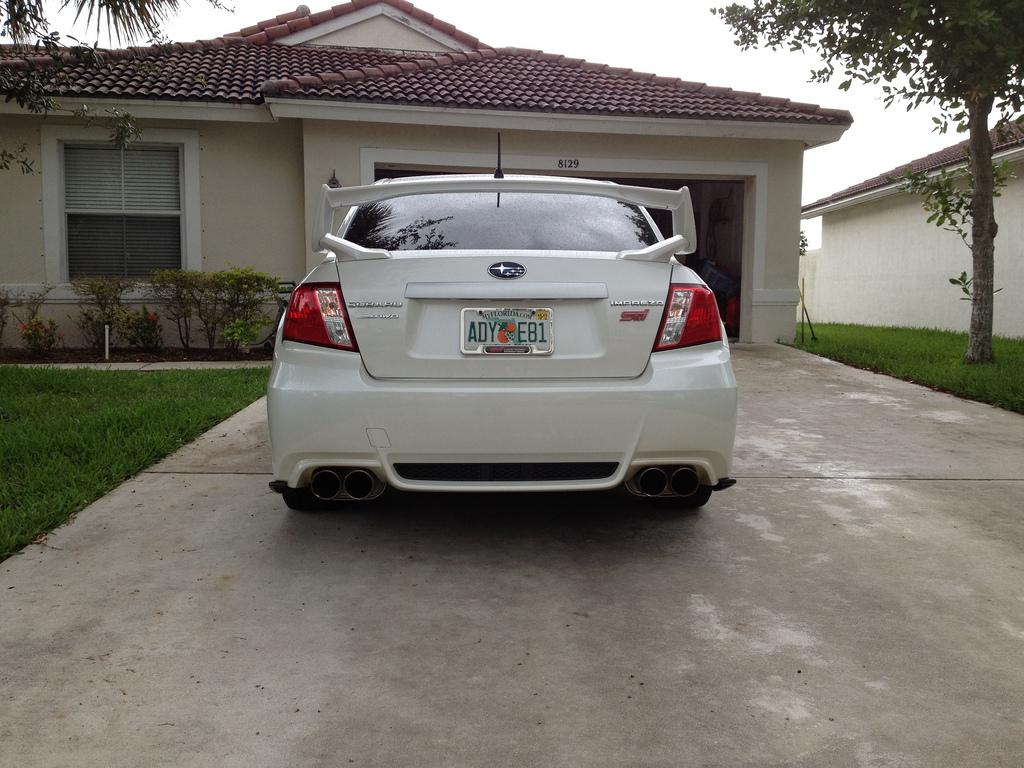
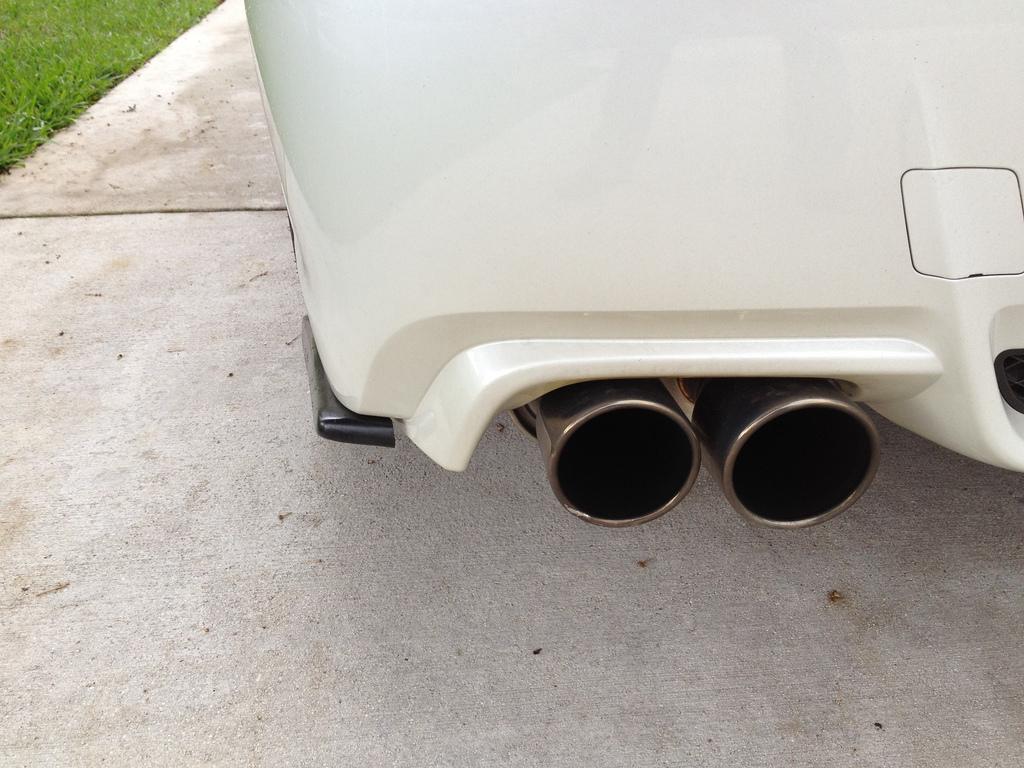
Debadged
Grimmspeed Uppipe w/ Tial 38mm MVS Wastegate
We also removed the air pump and all associated hard tubing etc.
March 13':
Aeromotive FPR, Walbro 400 E85 Fuel Pump, Rails and SS Lines
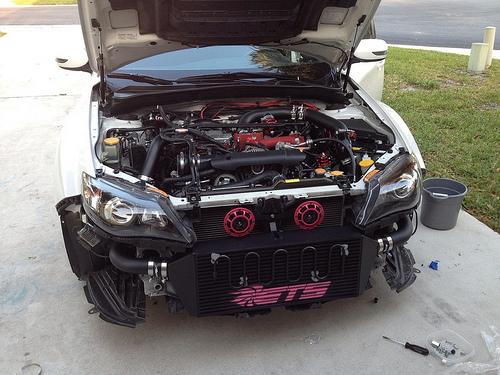
Here is the FMIC mounted with Tial Q 50mm BOV, Omni 4 Bar Sensor, AEM IAT Sensor
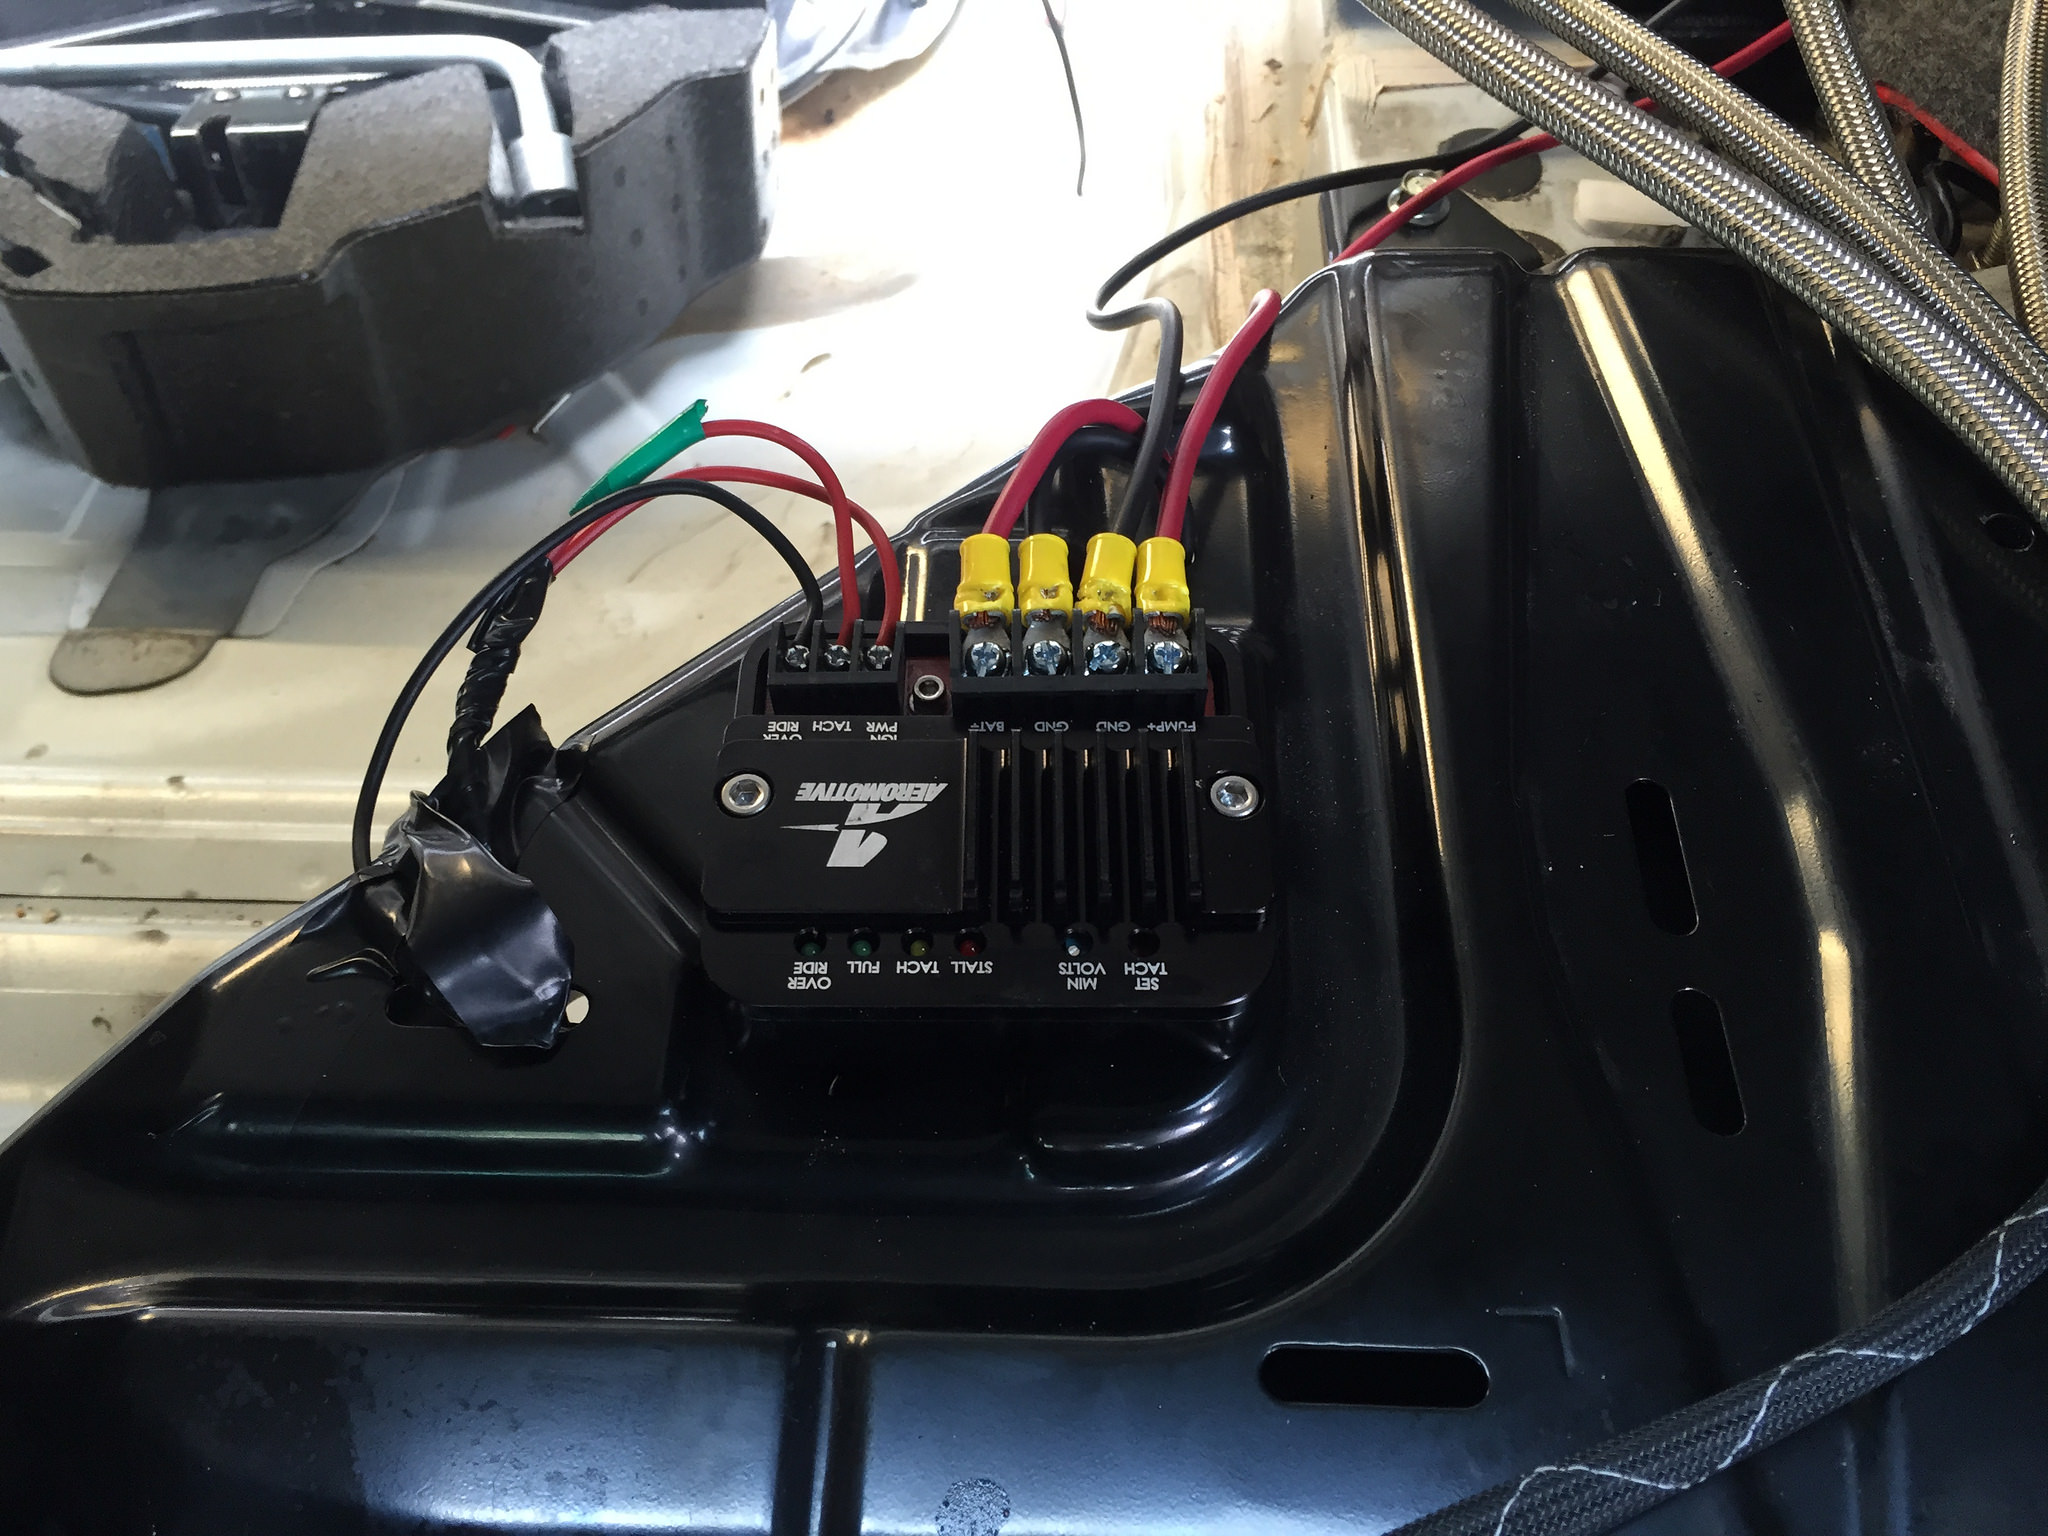
DCCDPro FuelPro Fuel Pump Controller installed June 13':
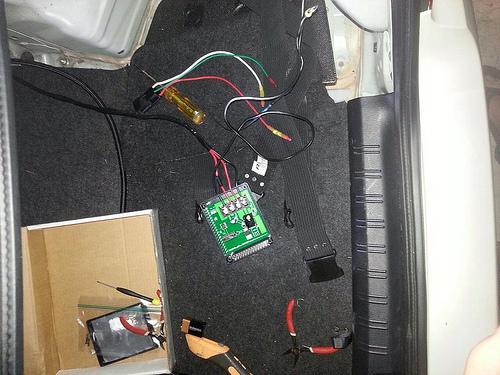
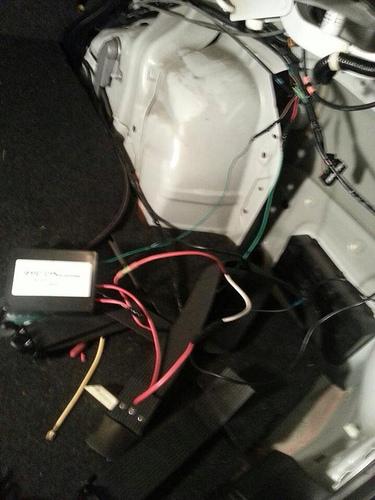
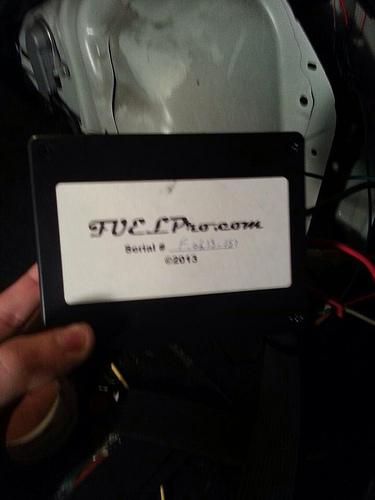
June 13':
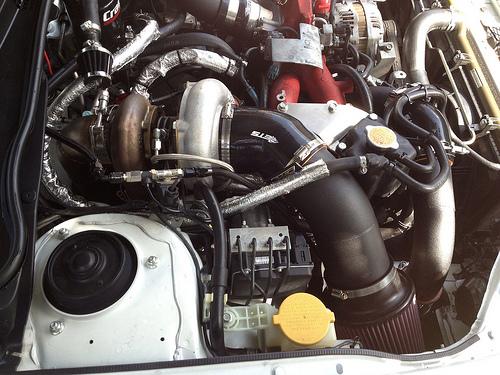
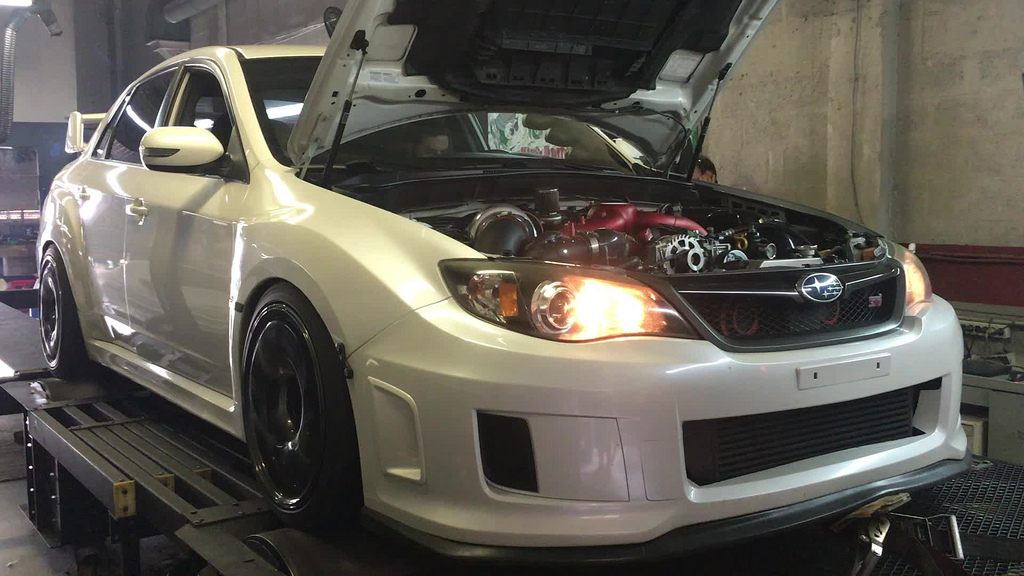
ETS Rotated Kit prior to shipping. ETS left out two pipes for the hot side connection to the FMIC. The package arrived on Friday. I found out there was a problem as we were installing the kit that afternoon. Thank goodness ETS is 3 hrs behind since they are in Washington and I'm in Florida. The pipes, couplers and t-bolt clamps were shipped next day and arrived by noon on Saturday to complete the install.
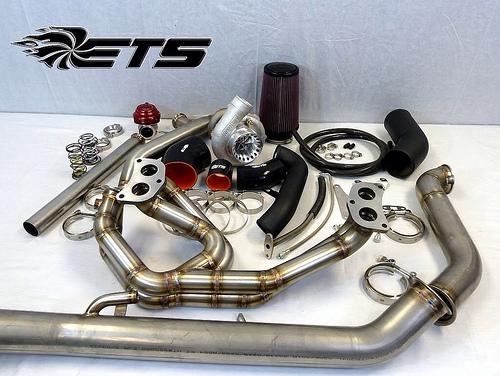
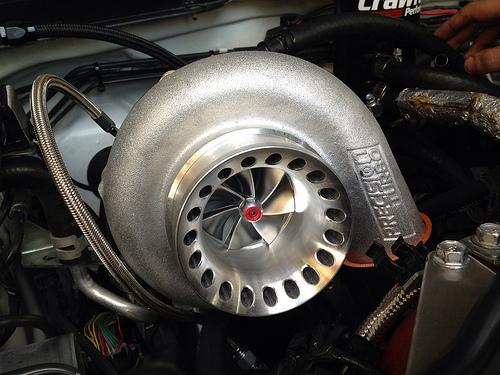
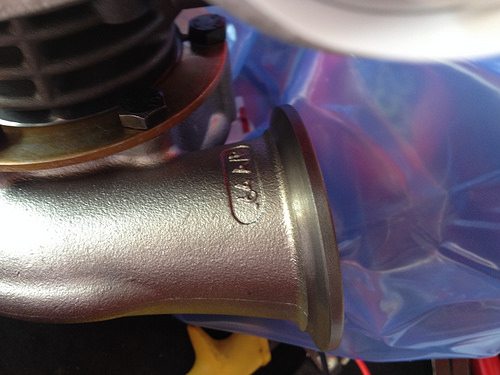
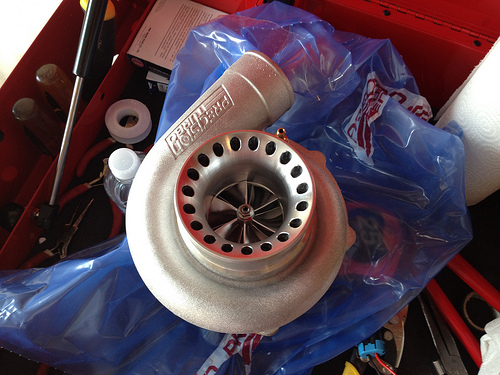
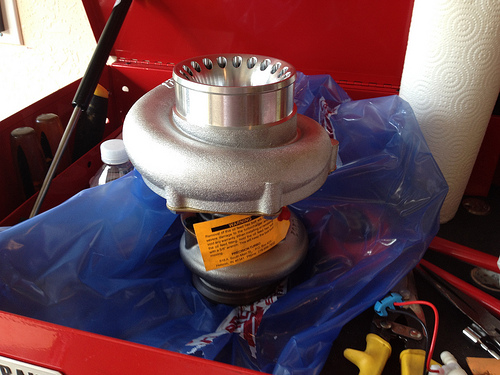
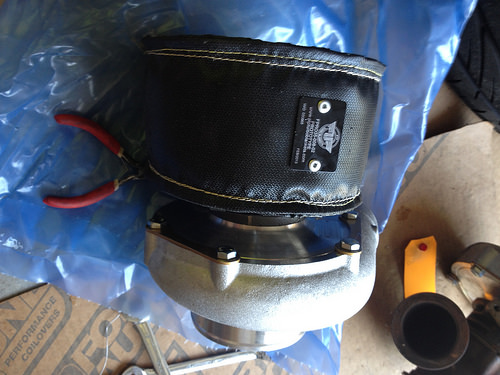
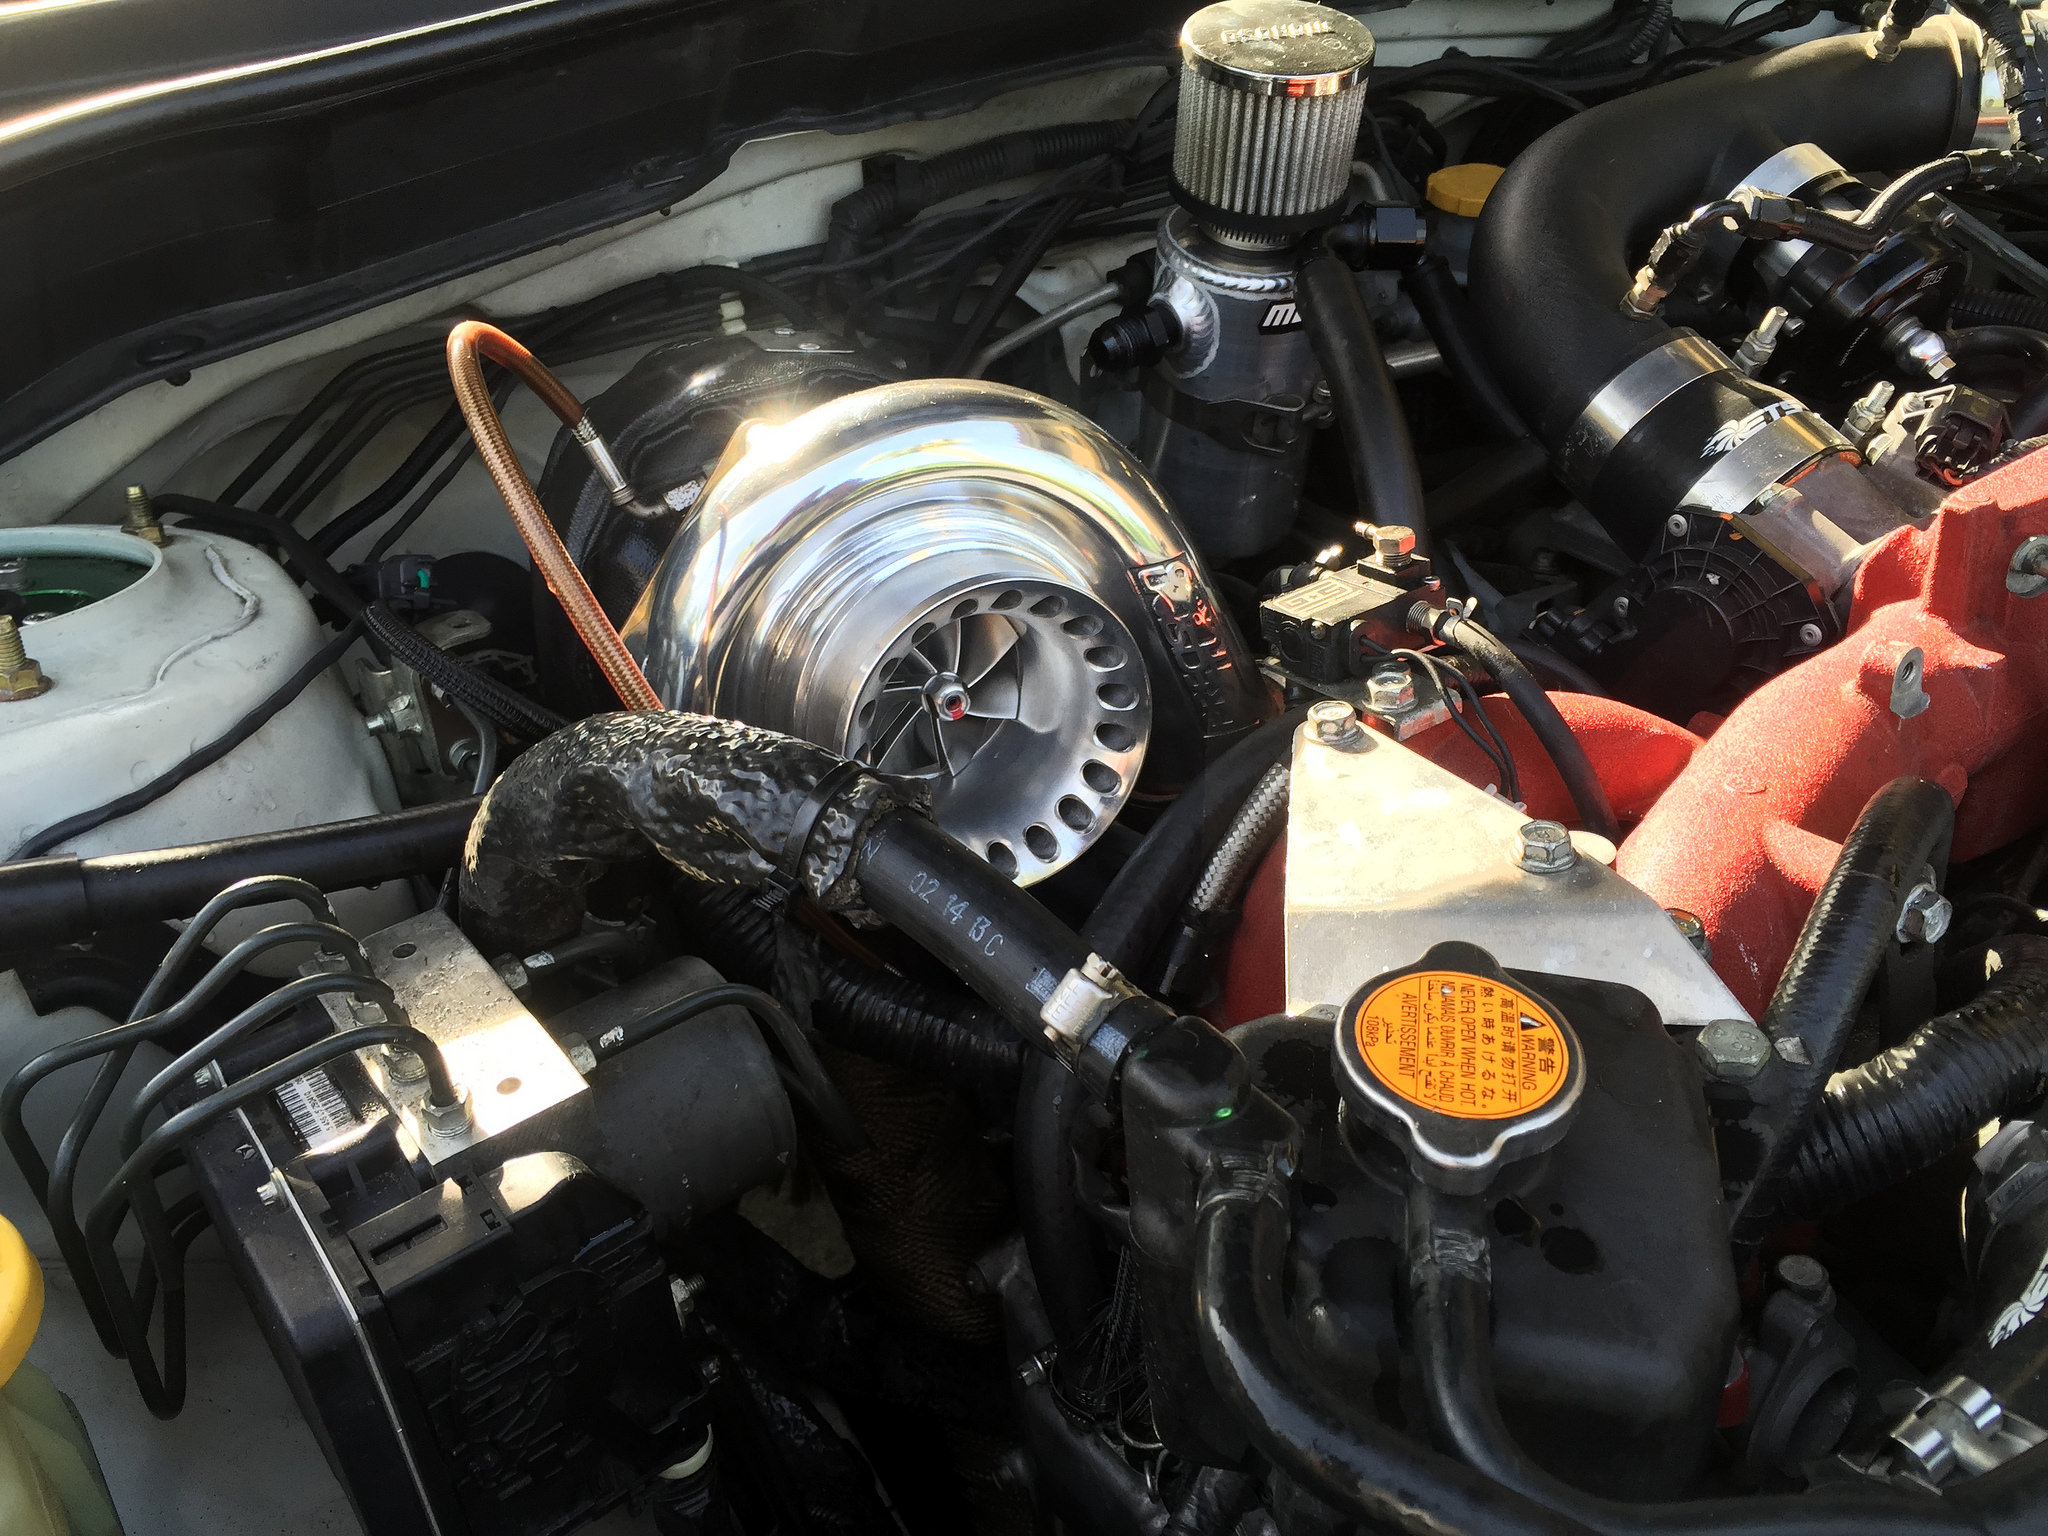
PTE 6466 Ball Bearing Turbo. This thing is big!!
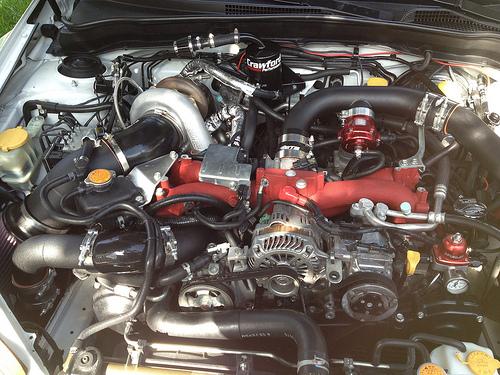
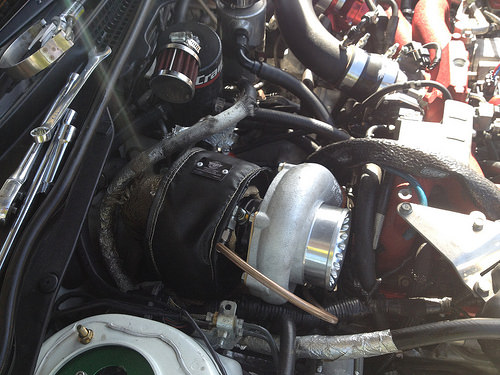
Installed Rotated Kit
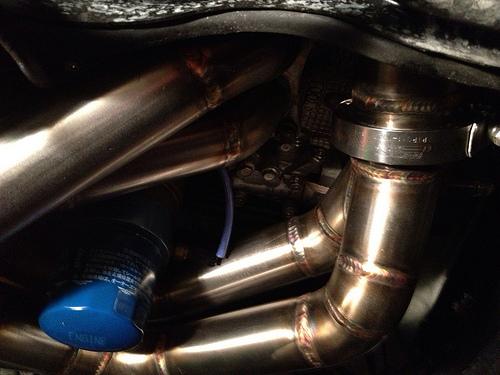
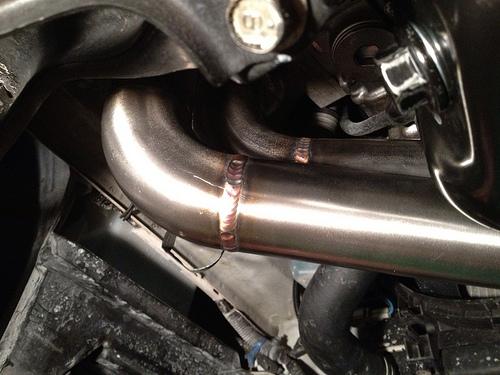
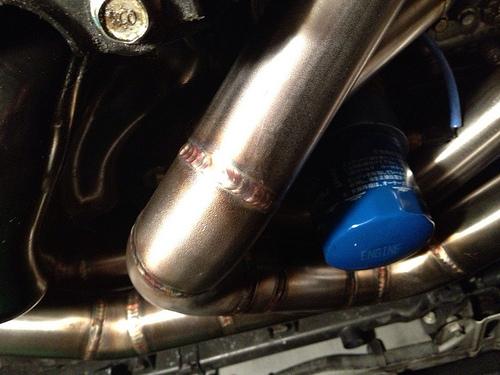
Header Welds
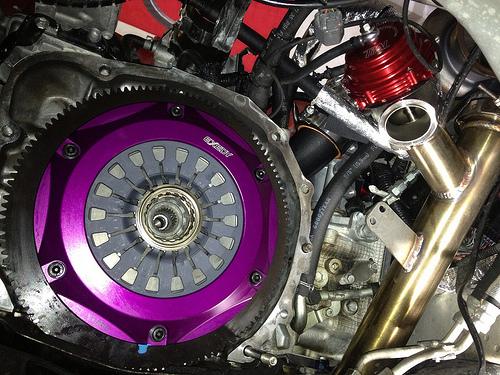
Exedy Triple Disk Clutch
July 13':
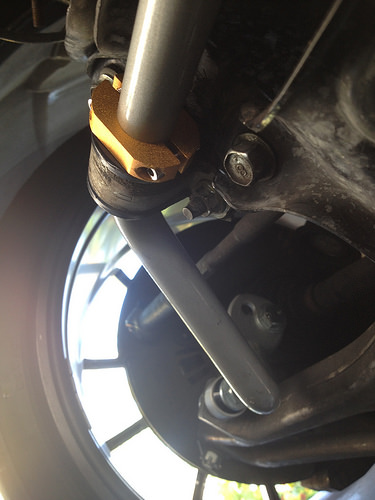
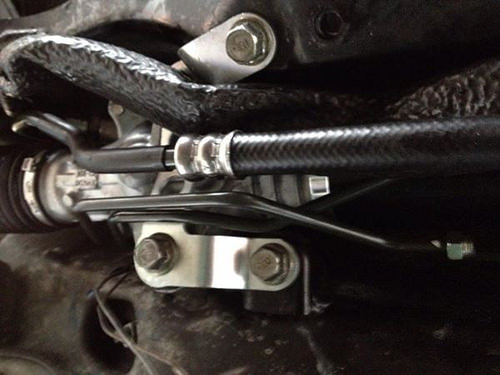
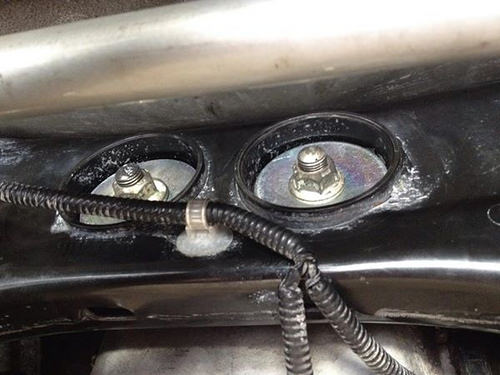
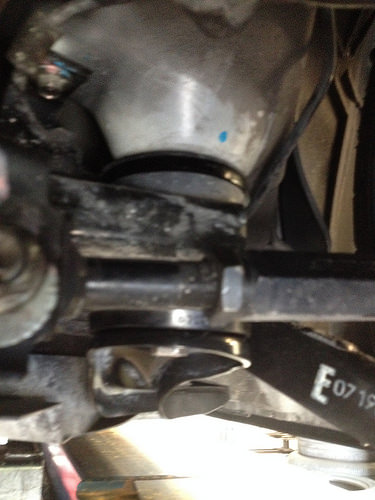
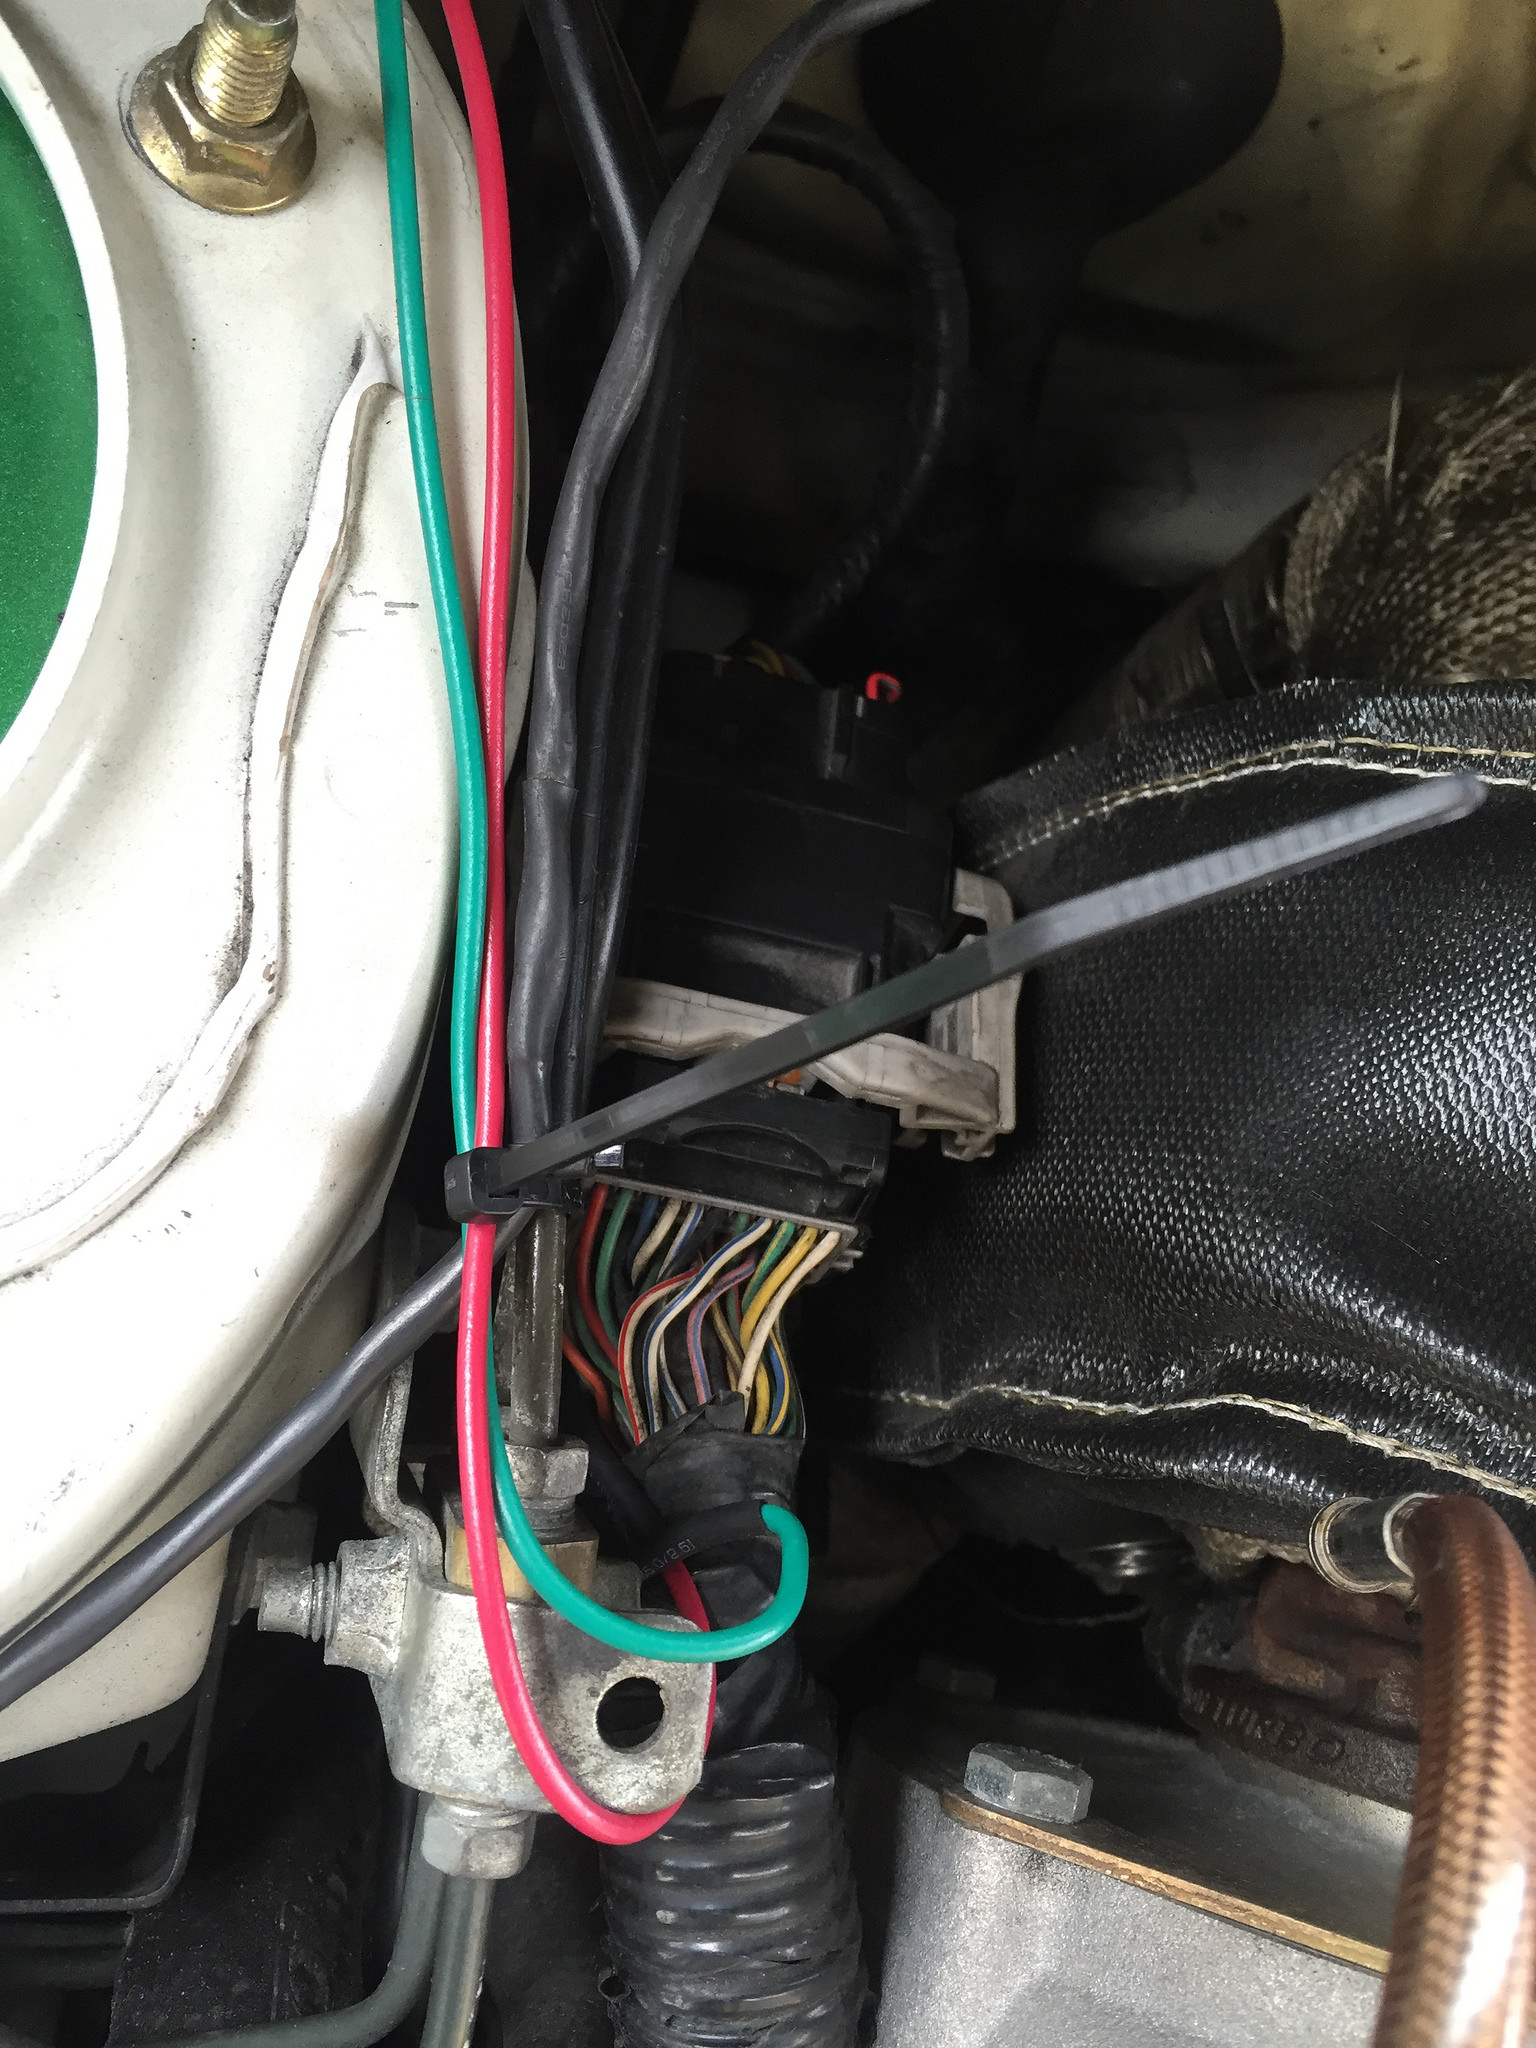
Preparing to do some preventative measures from steering line fires.
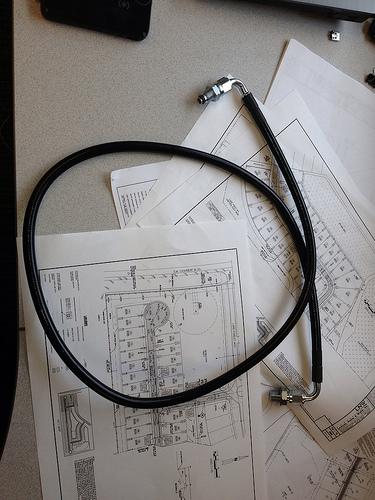
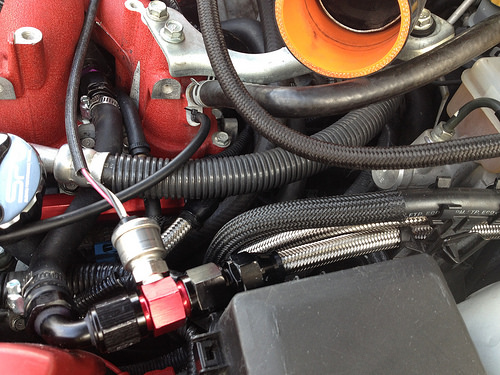
Braided SS power steer line installed.
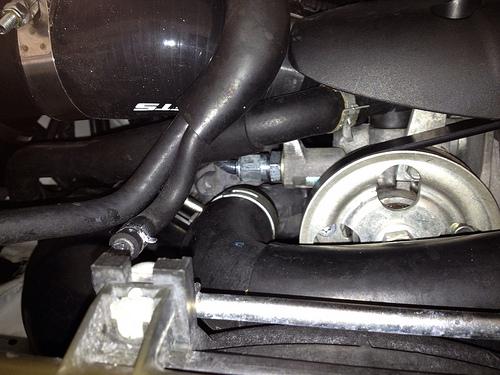
The braided line came with the wrong fitting to the power steering pump. The shop machined down the fitting that it came with and put M14x1.5 threads on it and it was good to go. Techna Fit did ship the correct fitting the next day but the one I am using is holding up. The 90* fitting at the pump made it difficult to try to hide the hose under the intake manifold. So it had to go up and over the intake manifold. One day I may just make an extension and route the line around the block much like the OEM power steering line. Eitherway it is well protected with the fire sleeve and being away from the exhaust.
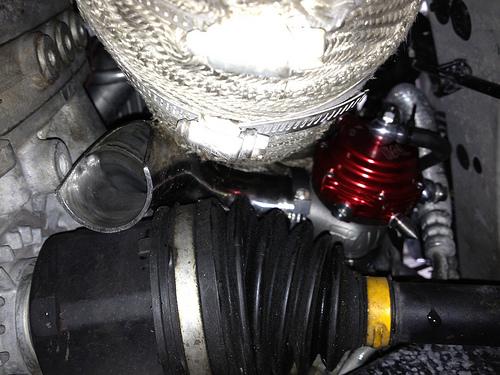
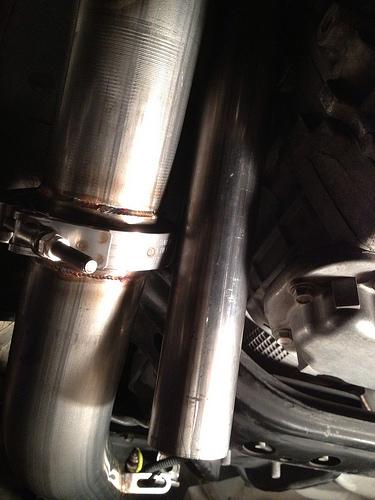
Turbo blanket, up pipe and down pipe heat wrapped.
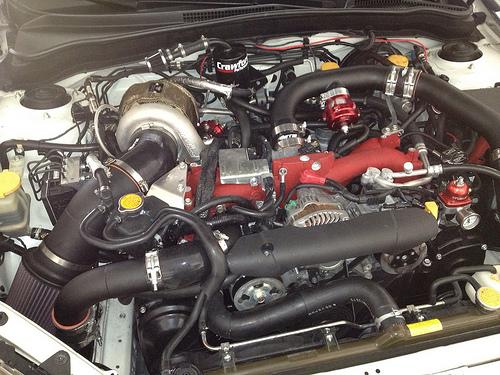
Turbo blanket is great. The bulk head wire harness is between the turbo and strut. There is very little worry about it being melted to a crisp now. I can easily place my hand on the turbo even after a spirited drive.
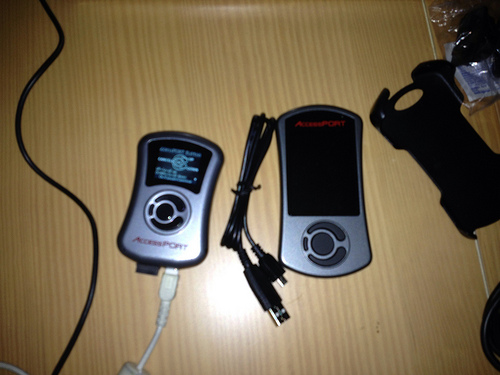
COBB AP V3
Oil issues are still plaguing my car after the rotated kit was installed back in June. As of today I have my AOS venting to atmosphere. The heads vent to the AOS. I then bought a Moroso catch can to vent my crank case. The thought is that the crank case pressures are too high and are preventing the oil from draining from the turbo. This then causes the oil to leak past the seals. Precision told me to replace my -4 AN feed with a -3 AN feed as well.
Hopefully this works.
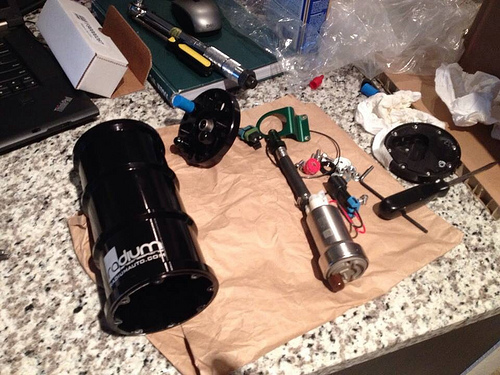
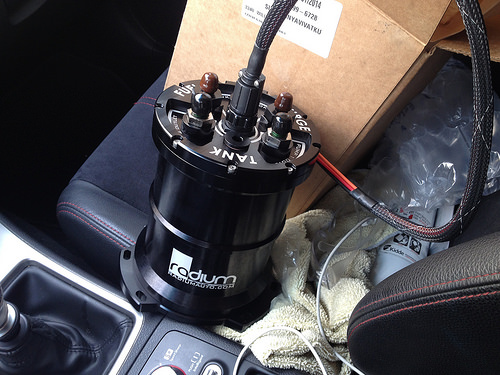
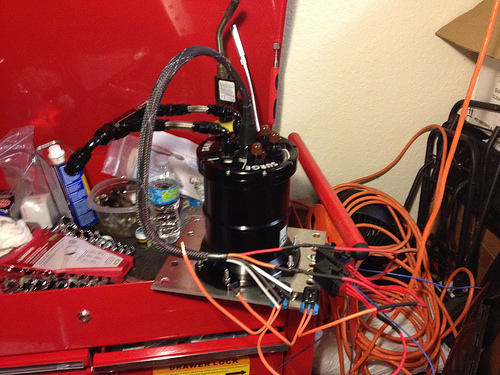
March 14': Radium Engineering Walbro 400 E85 Fuel Surge Tank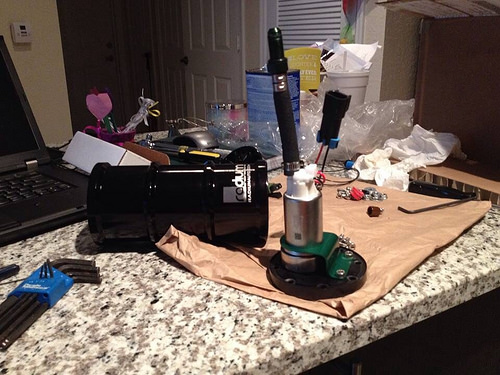
So I adjusted the fuel pressure to match what it was when I was just on the DW65, 43-44 psi. For some reason the car is running lean. At idle it is at 15.5. I would think that a higher flowing pump especially this much more flow would cause AFR's to go down, rich.
Maybe the additional flow is really messing with the ecu and that I need a tune? I always assumed that if the pressure is the same then there shouldn't be an issue
From Aeromotive FAQ:
"After installing a larger (or secondary) fuel pump for my EFI engine, the fuel rail pressure went up and my regulator won't adjust it back down, whats wrong?
To understand this problem, it's necessary to know that a fuel pump does not "put outâ€Â fuel pressure, it “puts outâ€Â fuel flow. A bypass regulator, correctly matched for a given flow volume, sets up a controlled restriction of this flow, thereby creating and then managing fuel pressure. If the regulator won’t adjust pressure down, verify it is large enough for the pump in use. Also, check the return line for kinks or obstructions and make sure the line size is adequate for it's length and the flow it must handle going back to the tank. Remember, at low load (idle and cruise), the regulator and return line together must flow over 99% of the pumps volume. If the return line or the regulator, or both, are too small for the pump, the resulting fuel pressure is considered false-high. This means pressure is out of the regulators control and will drop to the actual regulator set point as the engine goes under load (WOT). A test for correct regulator and return line selection and function is to confirm pressure will adjust at least 5 psi lower than the desired base pressure, vacuum line disconnected."
From this I'm thinking my lines and regulator might not be large enough. When I went wot my pressure dropped. I'm going to jump my lines to test. Basically connect the line from oem pump house to the line that comes off the surge tank feed line. So the system will use the surge tank for return but by pass the surge tank for feed. I'll use a plug over the walbro nipple on the surge tank. And I'll pull the relay so it won't kick on.
Digitalwave lending a hand with his expertise in soldering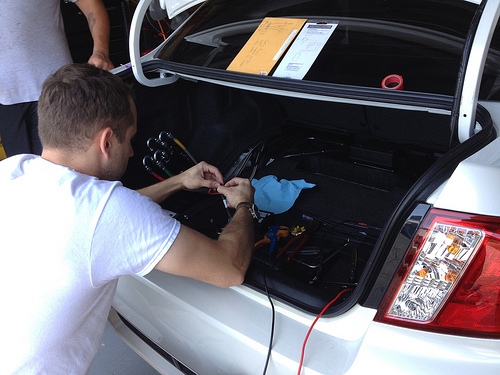
Tuned 5/16/14: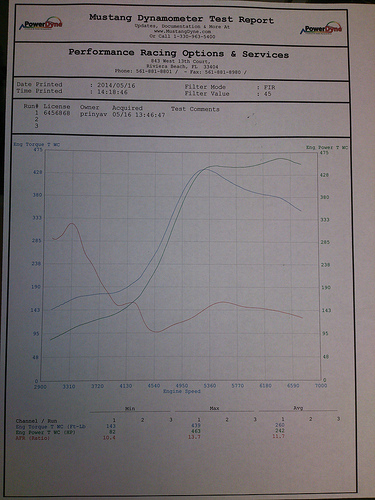
May 24, 20014: So let's try to make this power band stretch a little to the left!!!!!
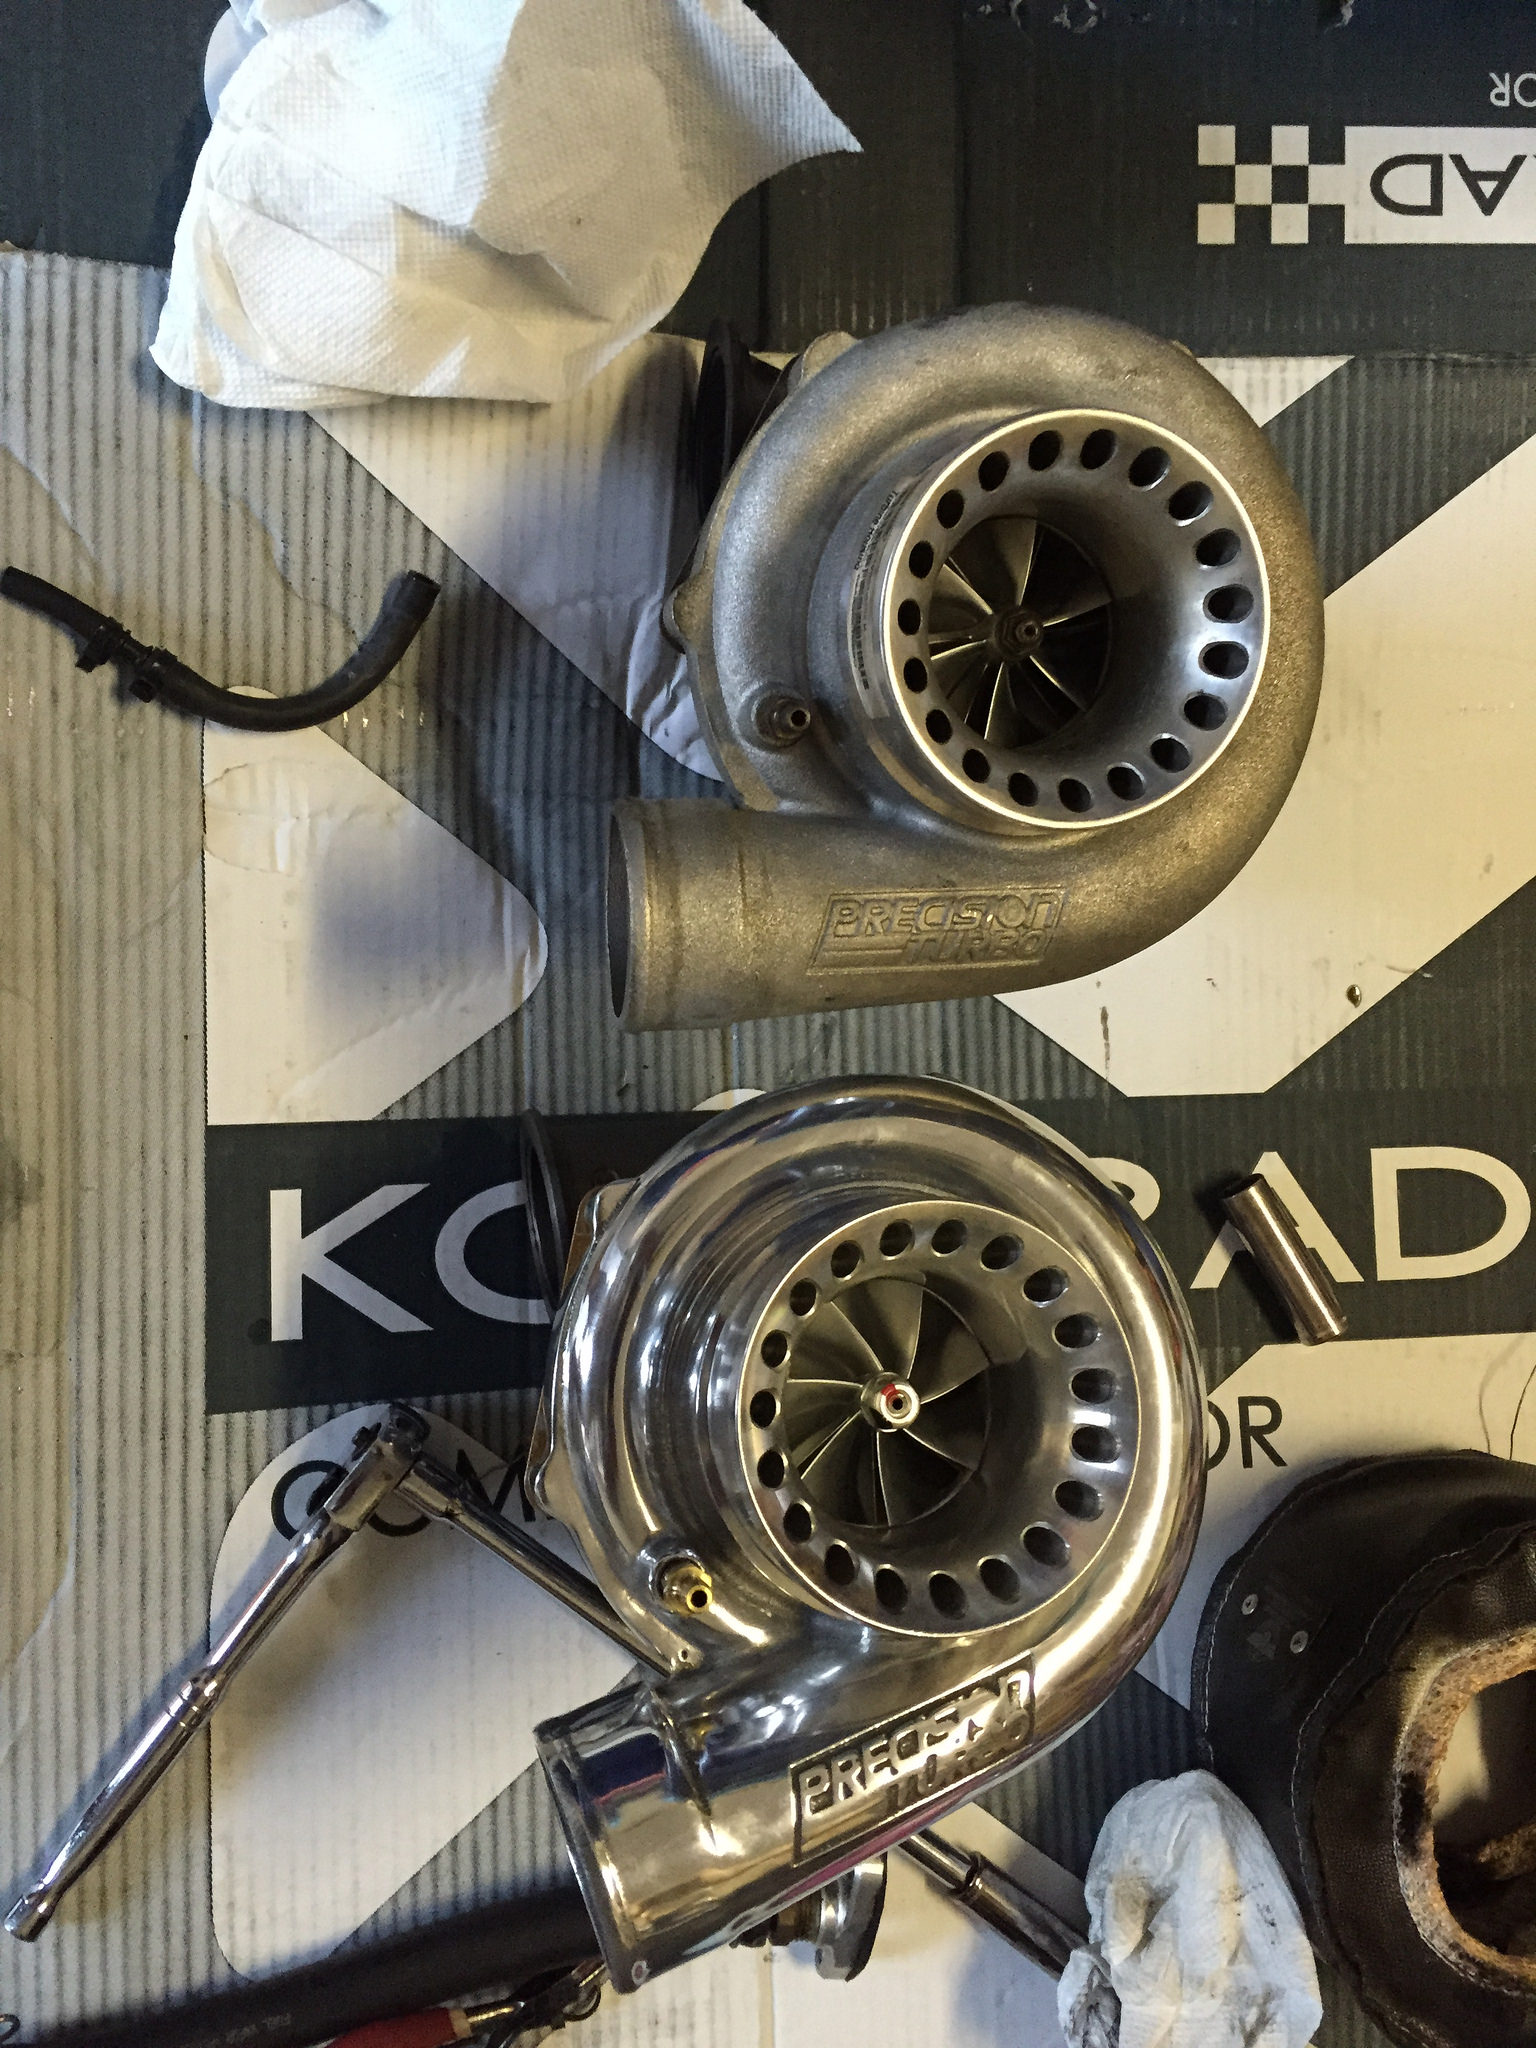
Precision Turbo 6262 Ball Bearing .64 A/R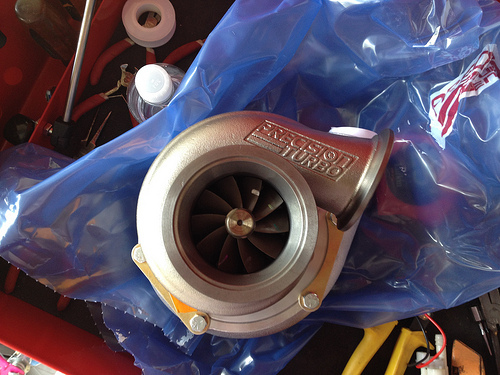
Finally my latest dyno sheet: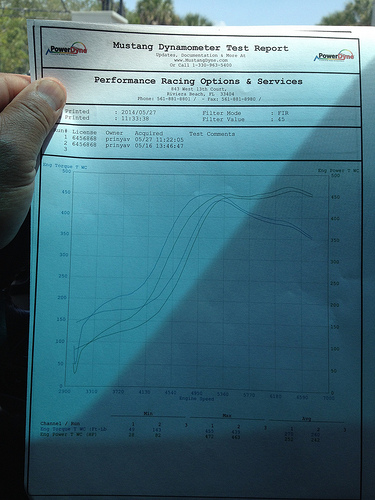
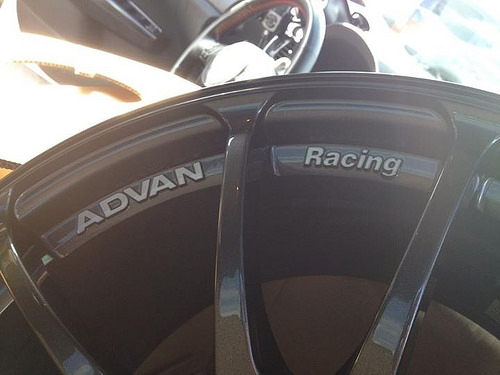
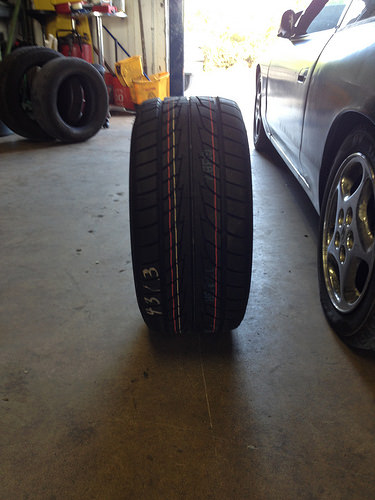
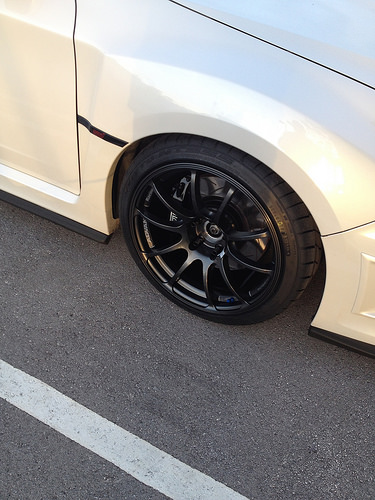
June 14' Advan RZ 18"x10" +35 and Nitto NT555: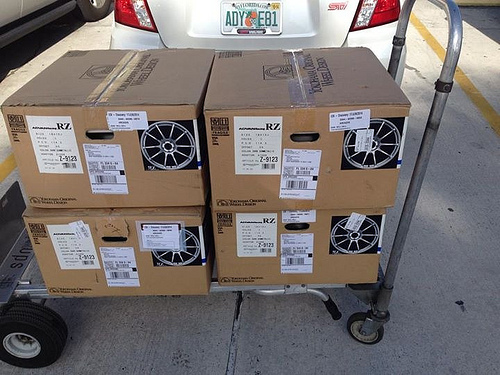
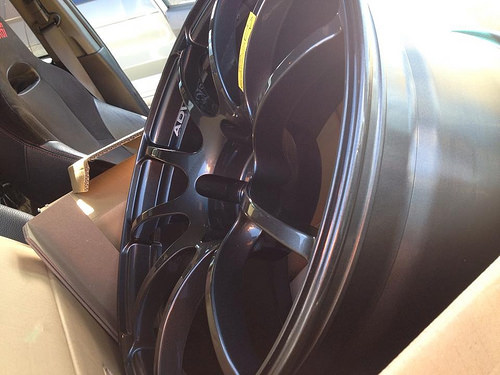
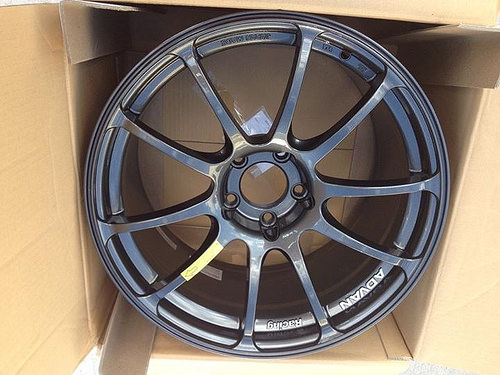

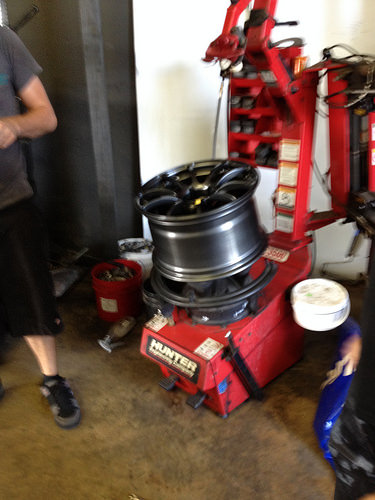
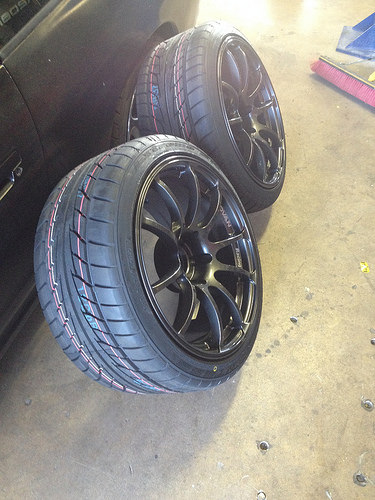
Test Fitting the Wheels July 14':
Project Kics R40 Lugs

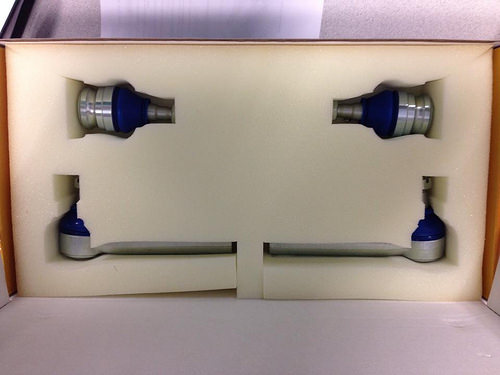
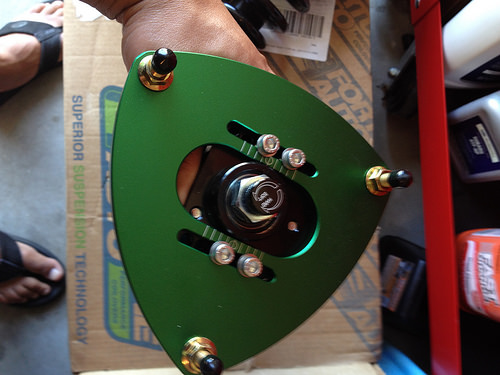
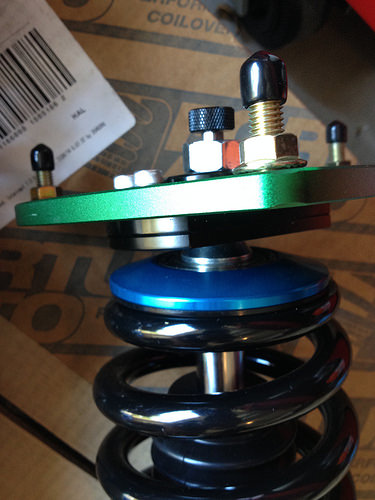
Super Pro Front Roll Center Kit
Wheels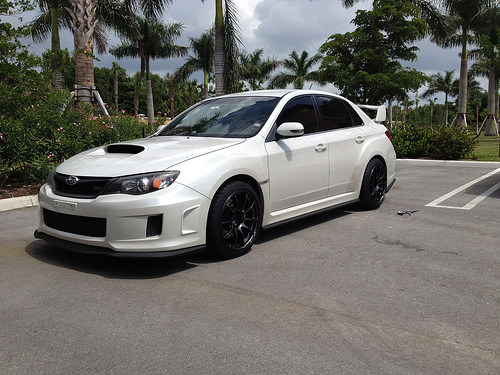
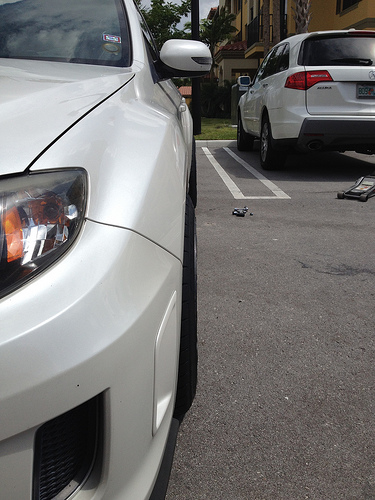
Waiting on suspension to finalize the fit. I'm not driving around with these wheels the way that they are.
July 14:
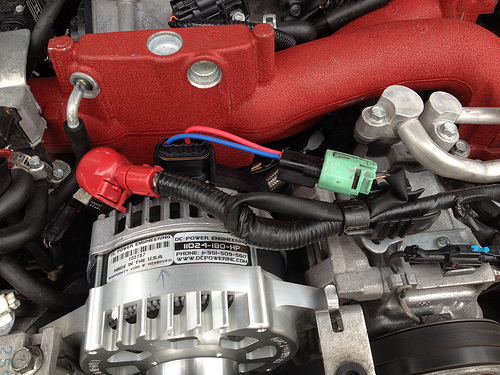
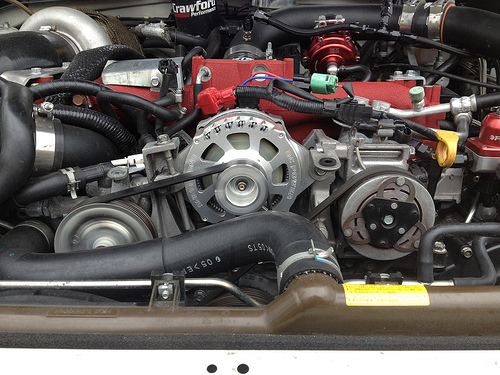
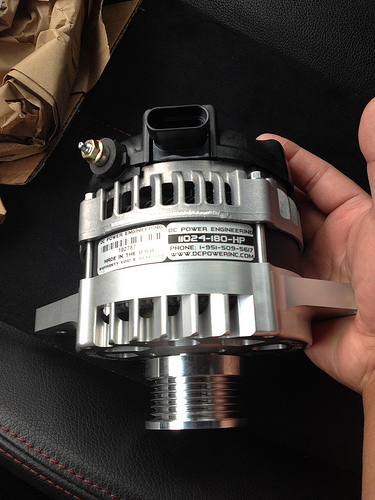
DC Power Engineering 180 Amp Alternator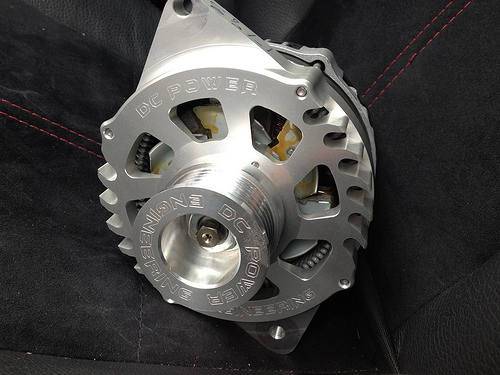
July 14:
Paint Matched Rear Garnish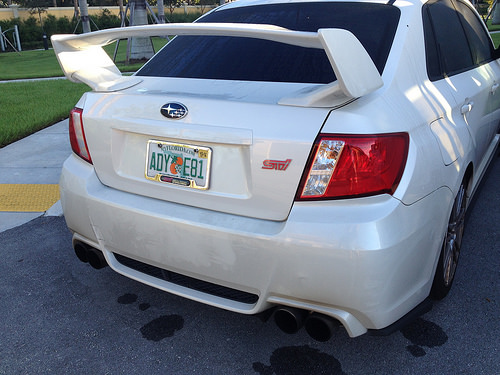
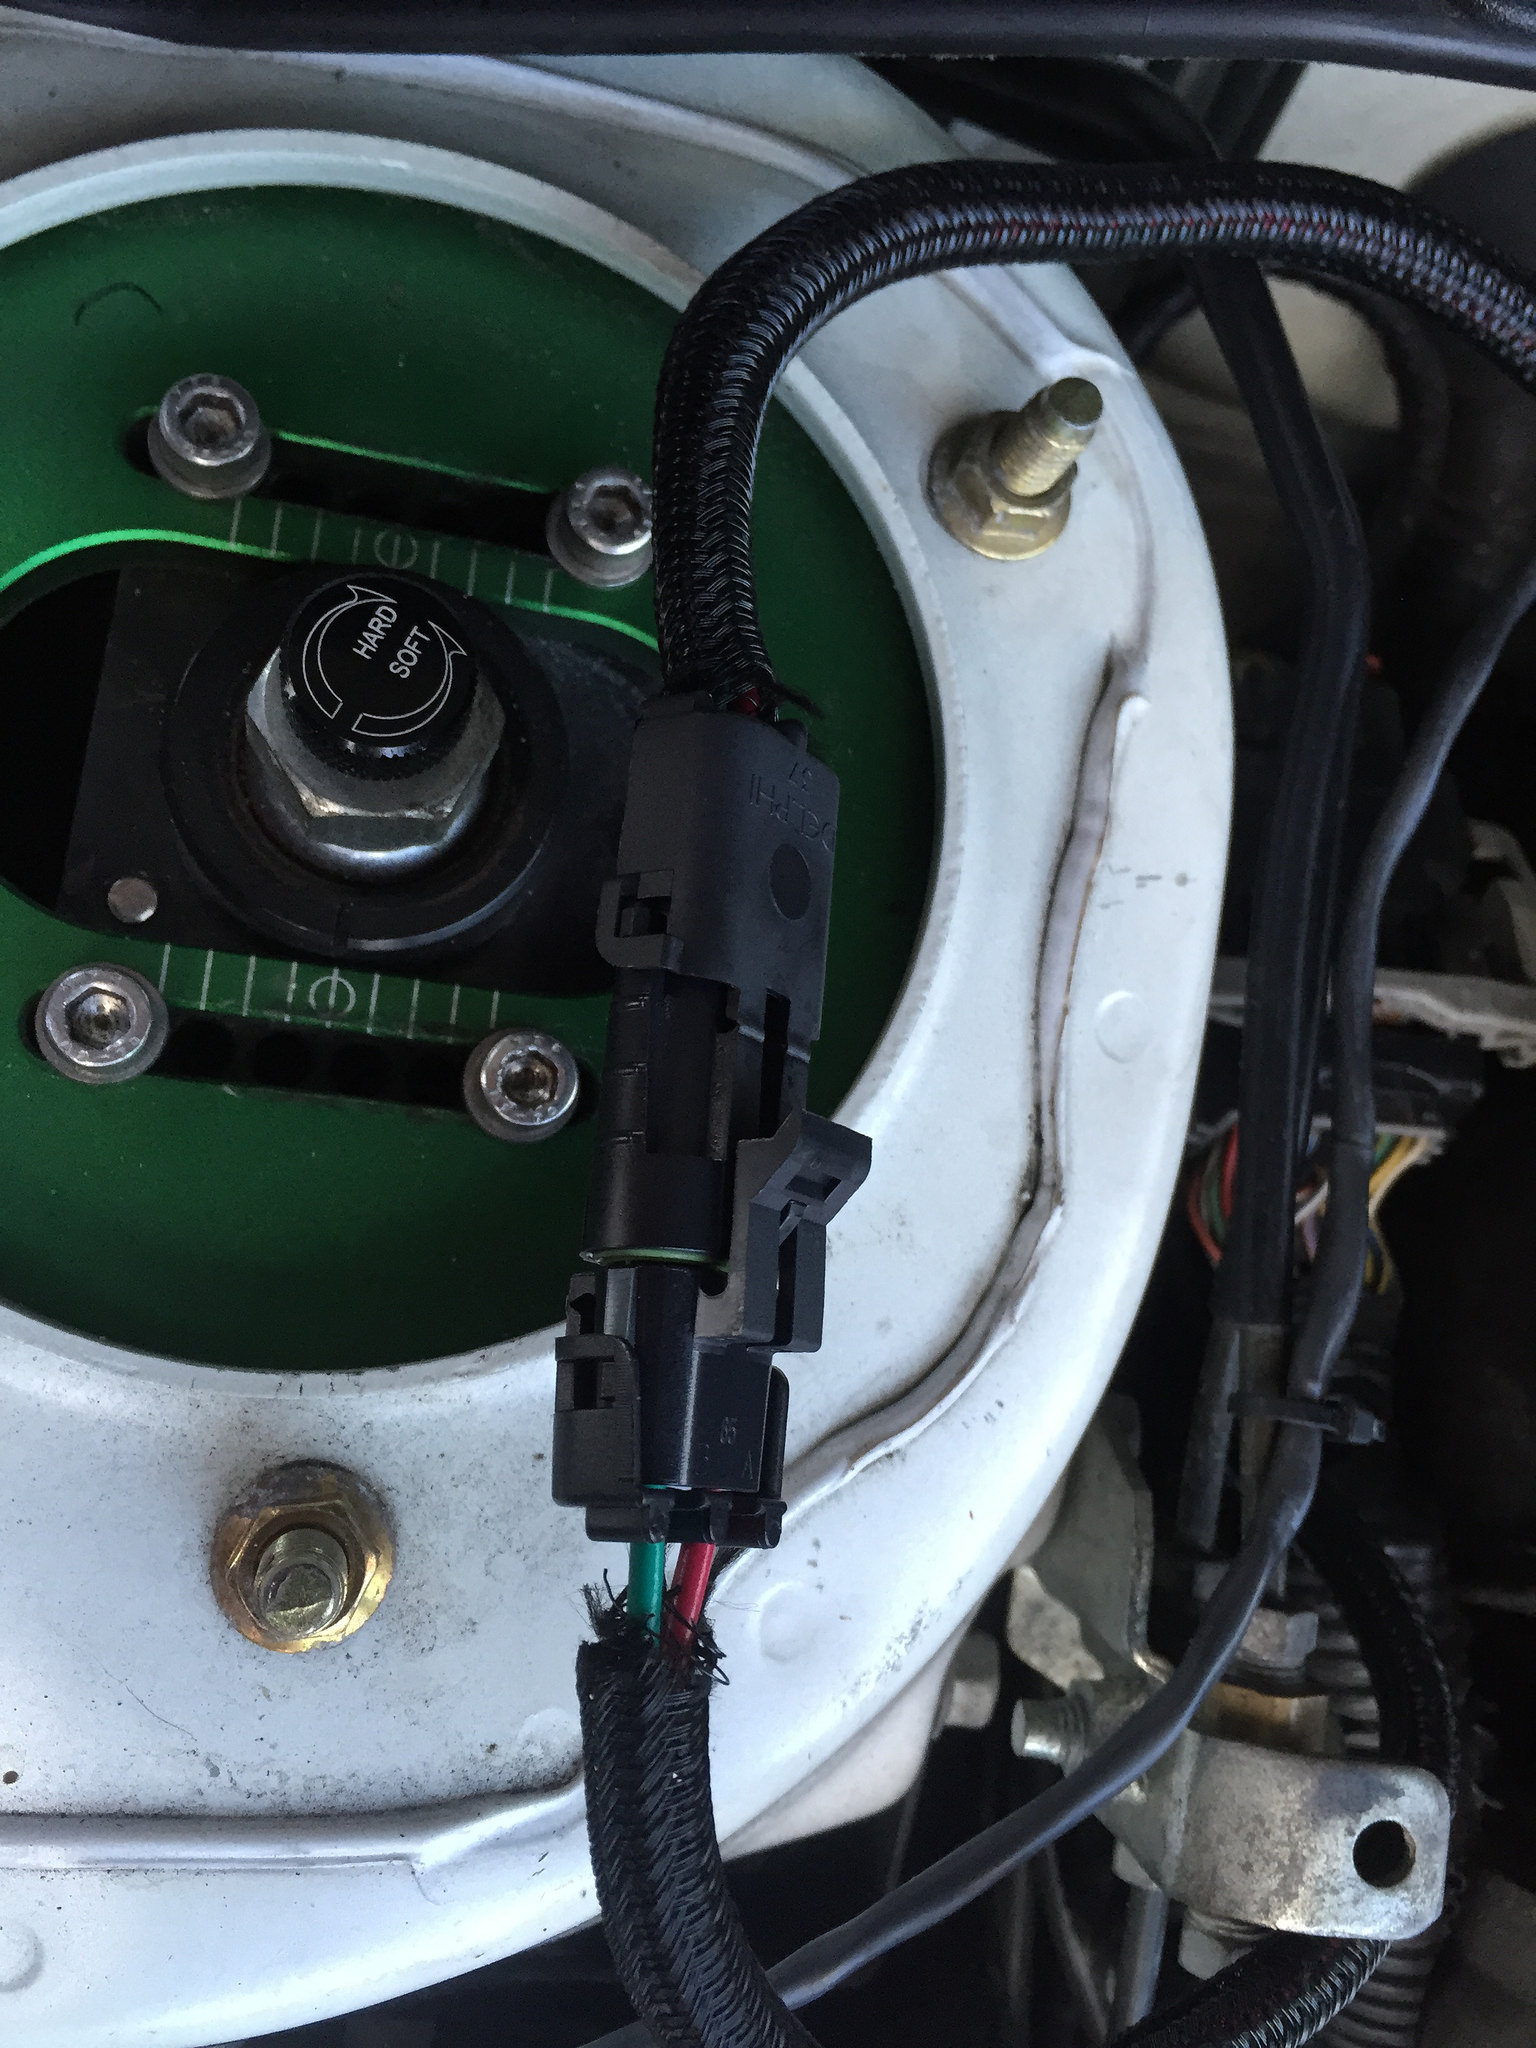
Fortune Auto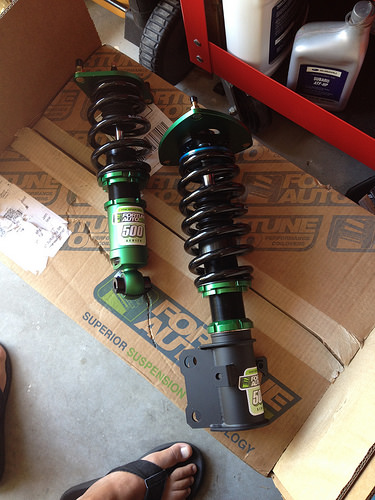
Advan RZ 18"x10" +35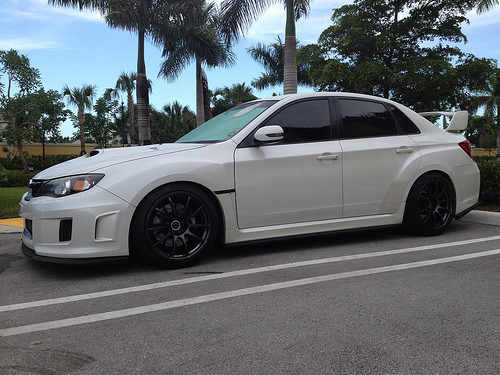


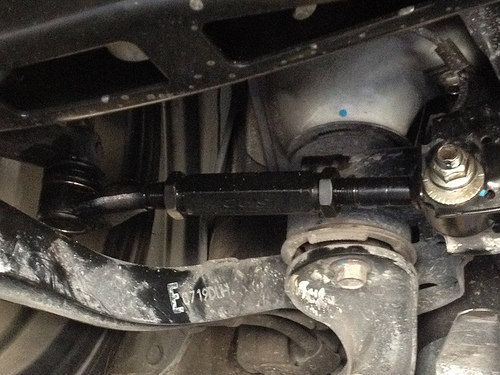
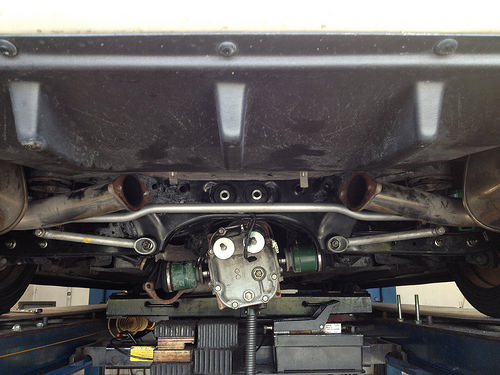
SPC Rear Lower Control Arms and Toe Arms: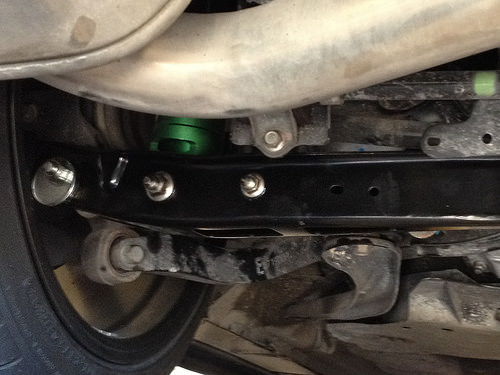
Swapped my 6262 for a new 6262. Oil leaking once again!!!!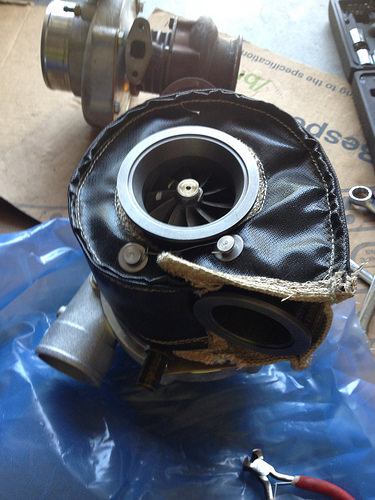
Superpro Center Roll Kit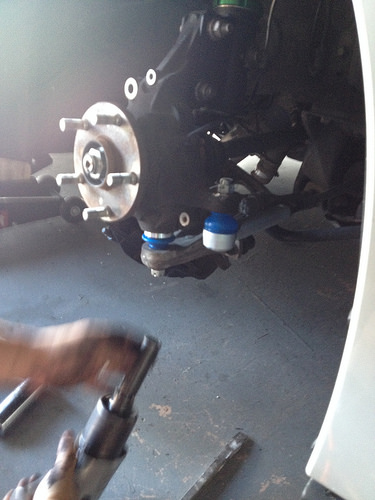
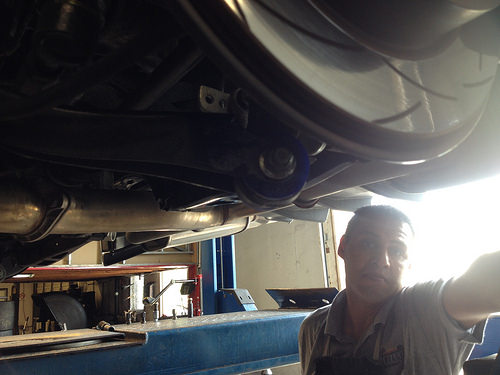
More bushings have come in.
Whiteline Caster/antilift Bushings
Whiteline Front Control Arm Front Inner Lower Bushings
Whiteline Steering Rack Bushings
Whiteline Positive Shift Bushings
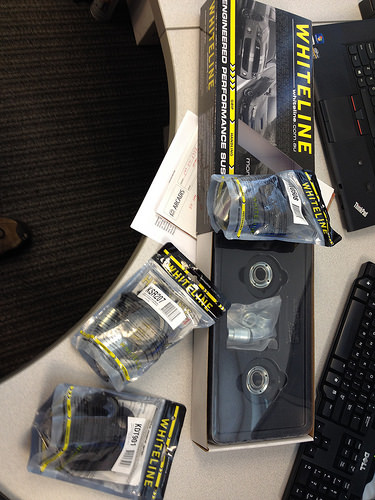
Whiteline Positive Shift Bushings:
Removed evap system in the engine bay: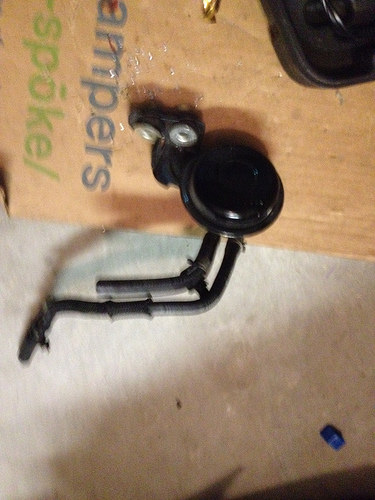
Removed the metal bracket over the intake manifold and moved the grimmspeed ebcs over to the side in front of the turbo.
Front Sway Bar Whiteline 22mm: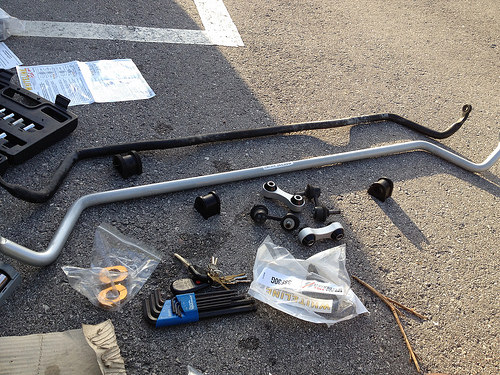
Rear Sway Bar Whiteline 22mm: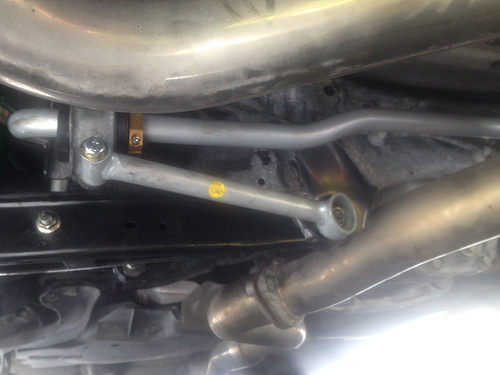
Kartboy Endlinks: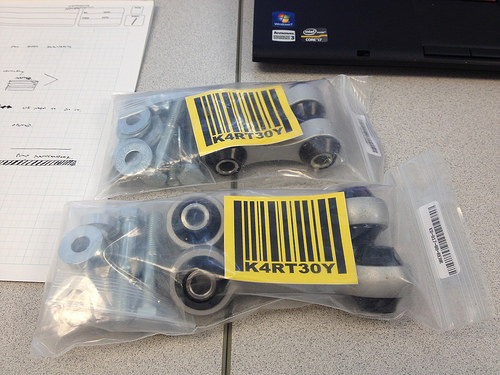
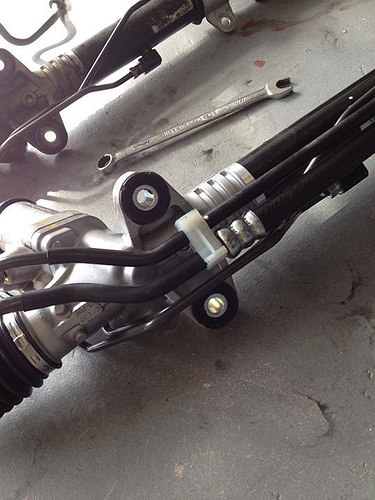
2015 STI 13:1 Steering Rack: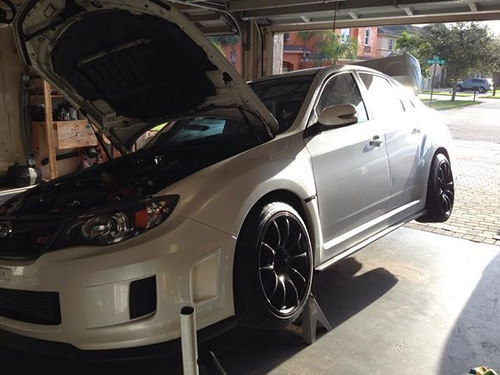
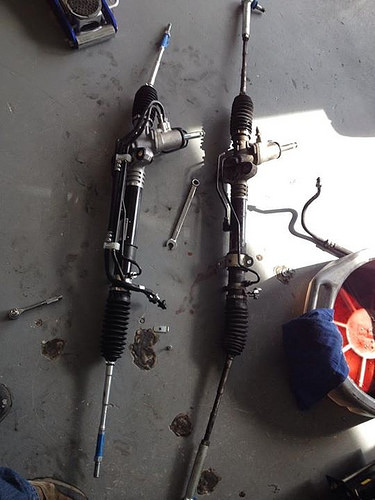
Steering Rack with Whiteline Steering Bushings: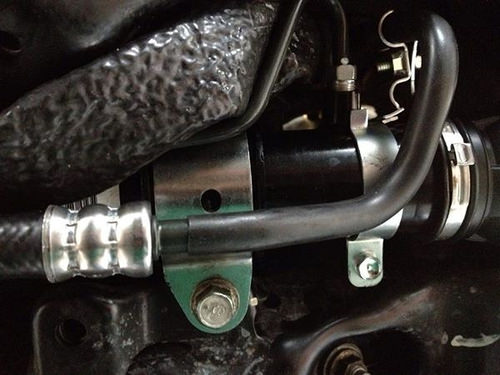
Rear Diff Whiteline Bushings:
Front lower control arm inner front bushing:
September 14':
Whiteline Rear Subframe Inserts
Superpro Trailing Arm Bushings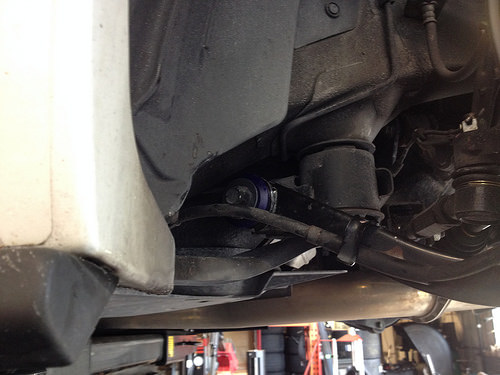
Whiteline Antilift/caster Bushing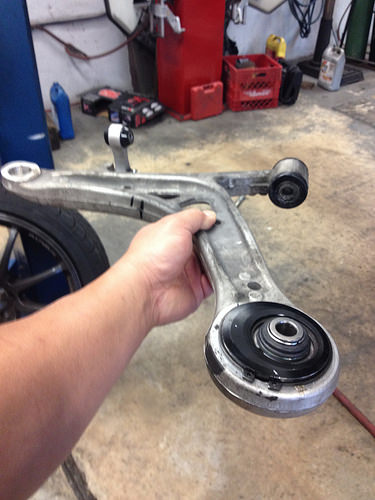
So change in plans. I want to be able to run E85 witbout worrying about the pump failing. Bosch 044 are not designed for E85. So I have decided to go with Radium Multipump Surge Tank with two Walbro 465's:
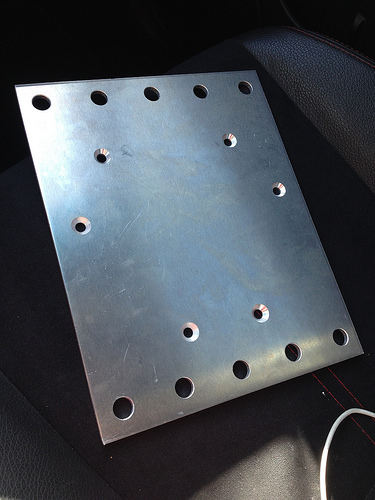
Mounting Plate

Fuel Injector Clinic 2150's
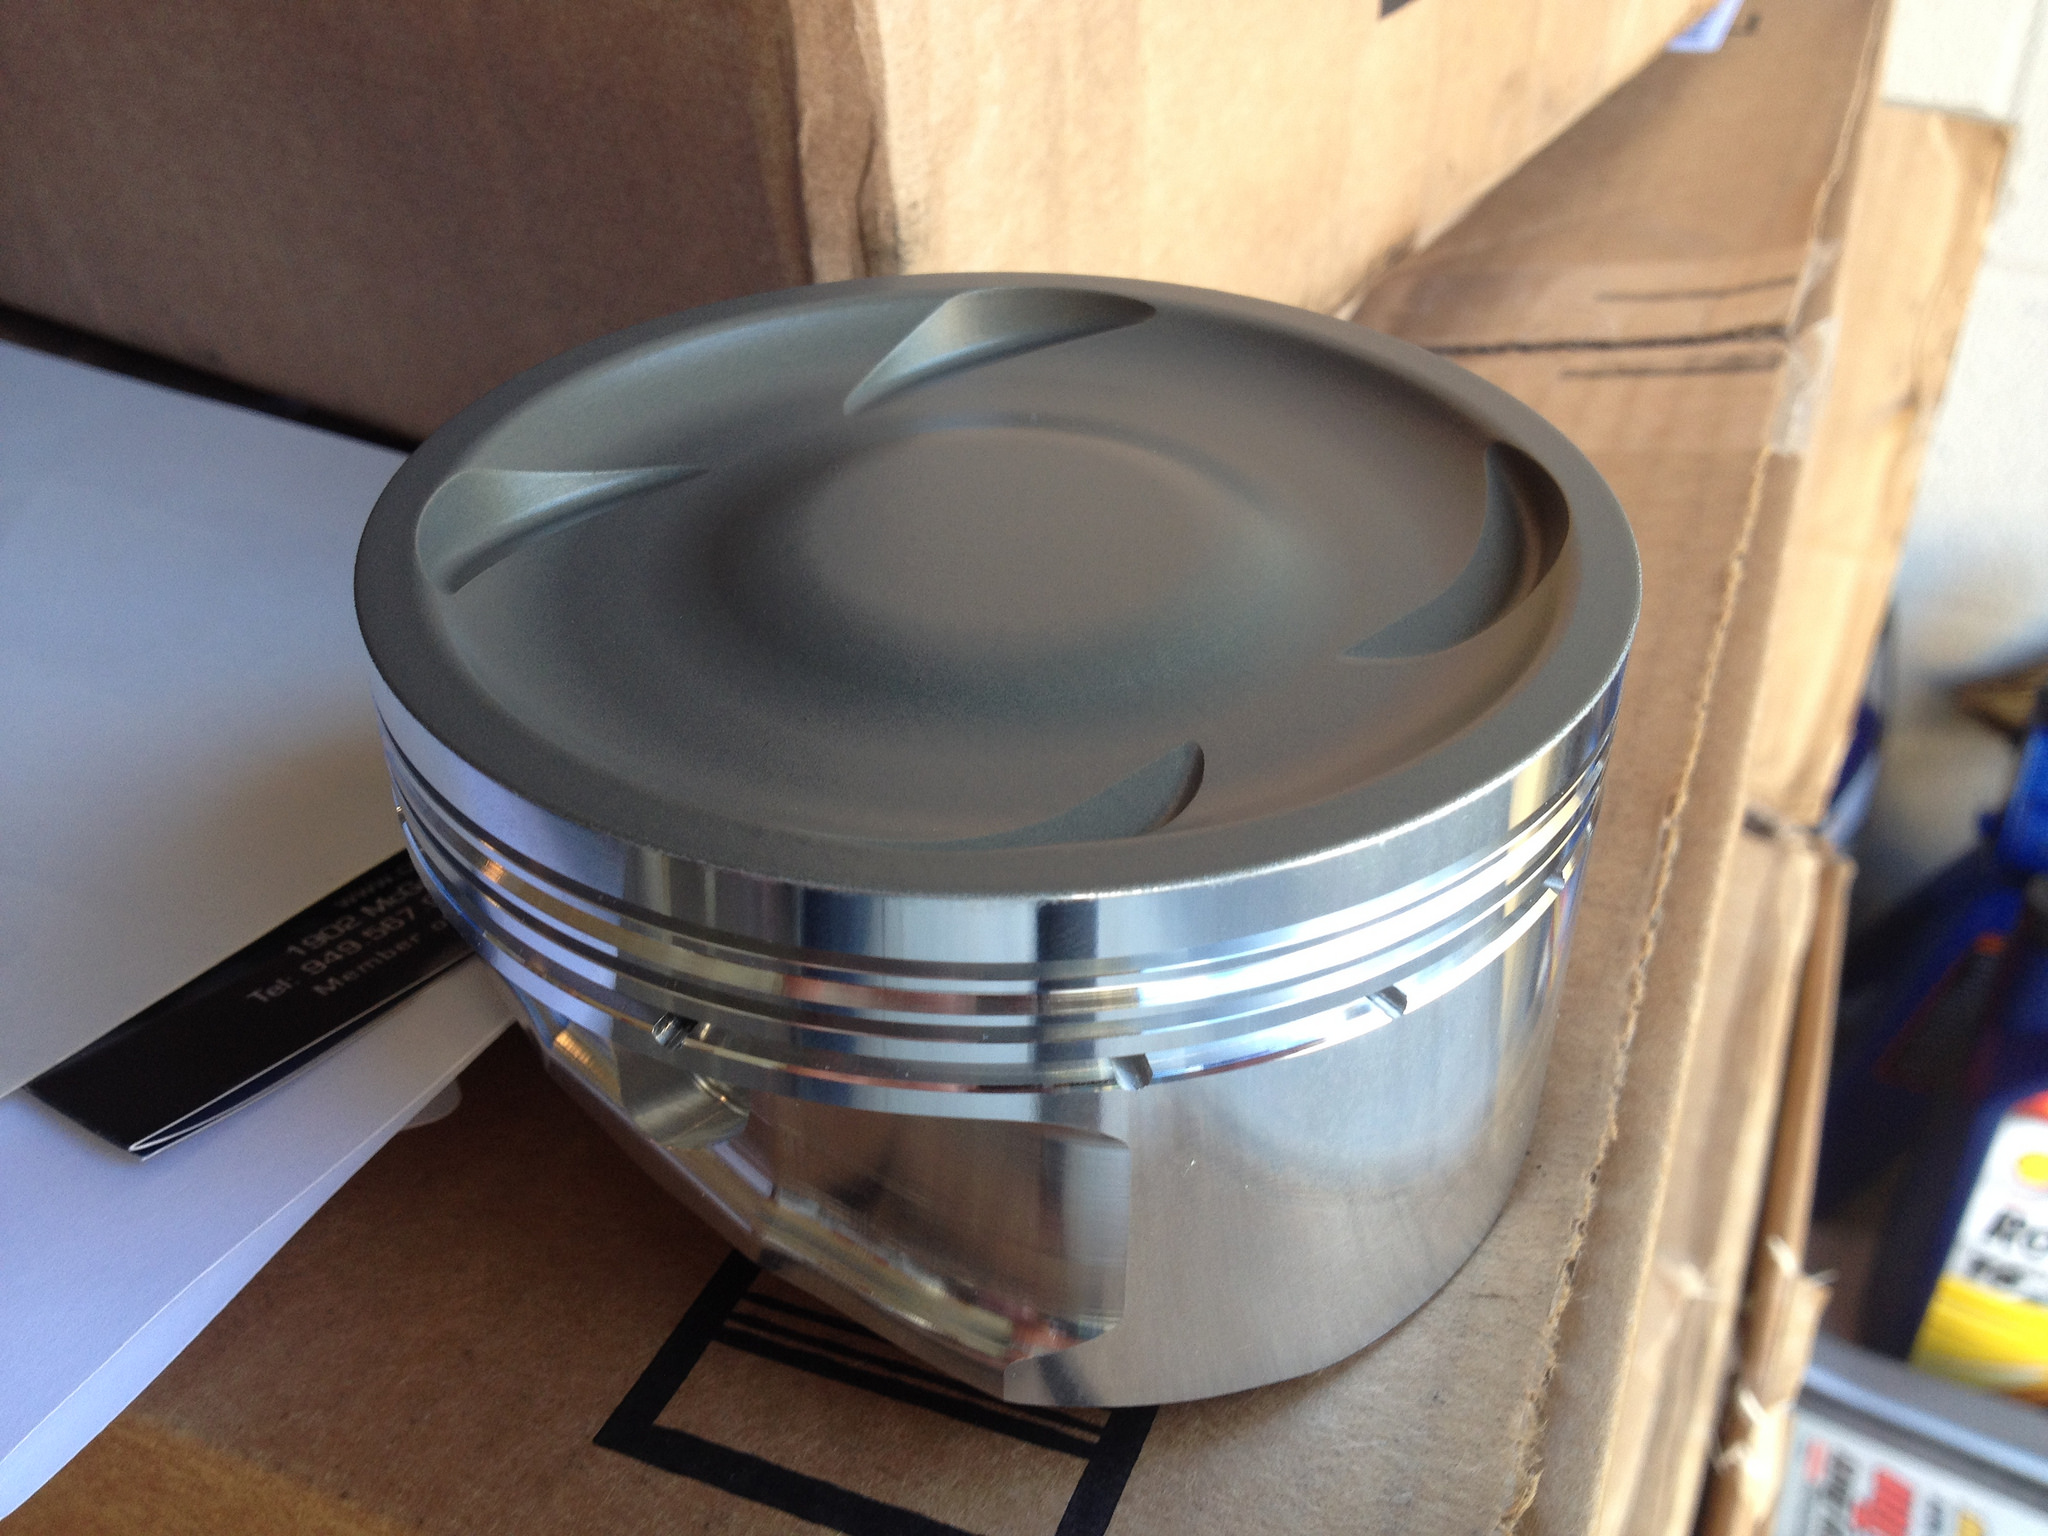
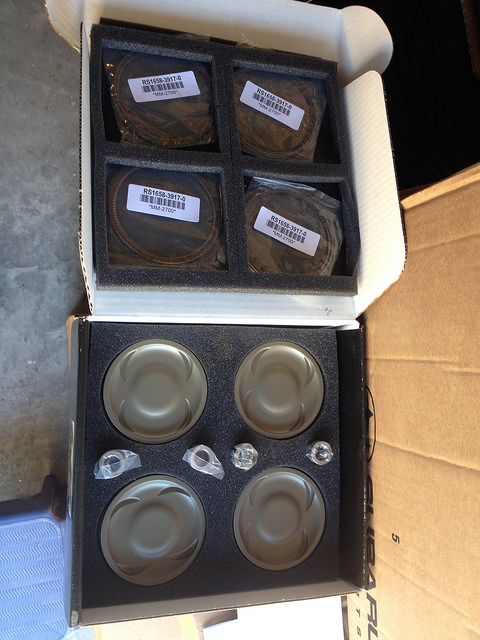
CP with coated crowns:
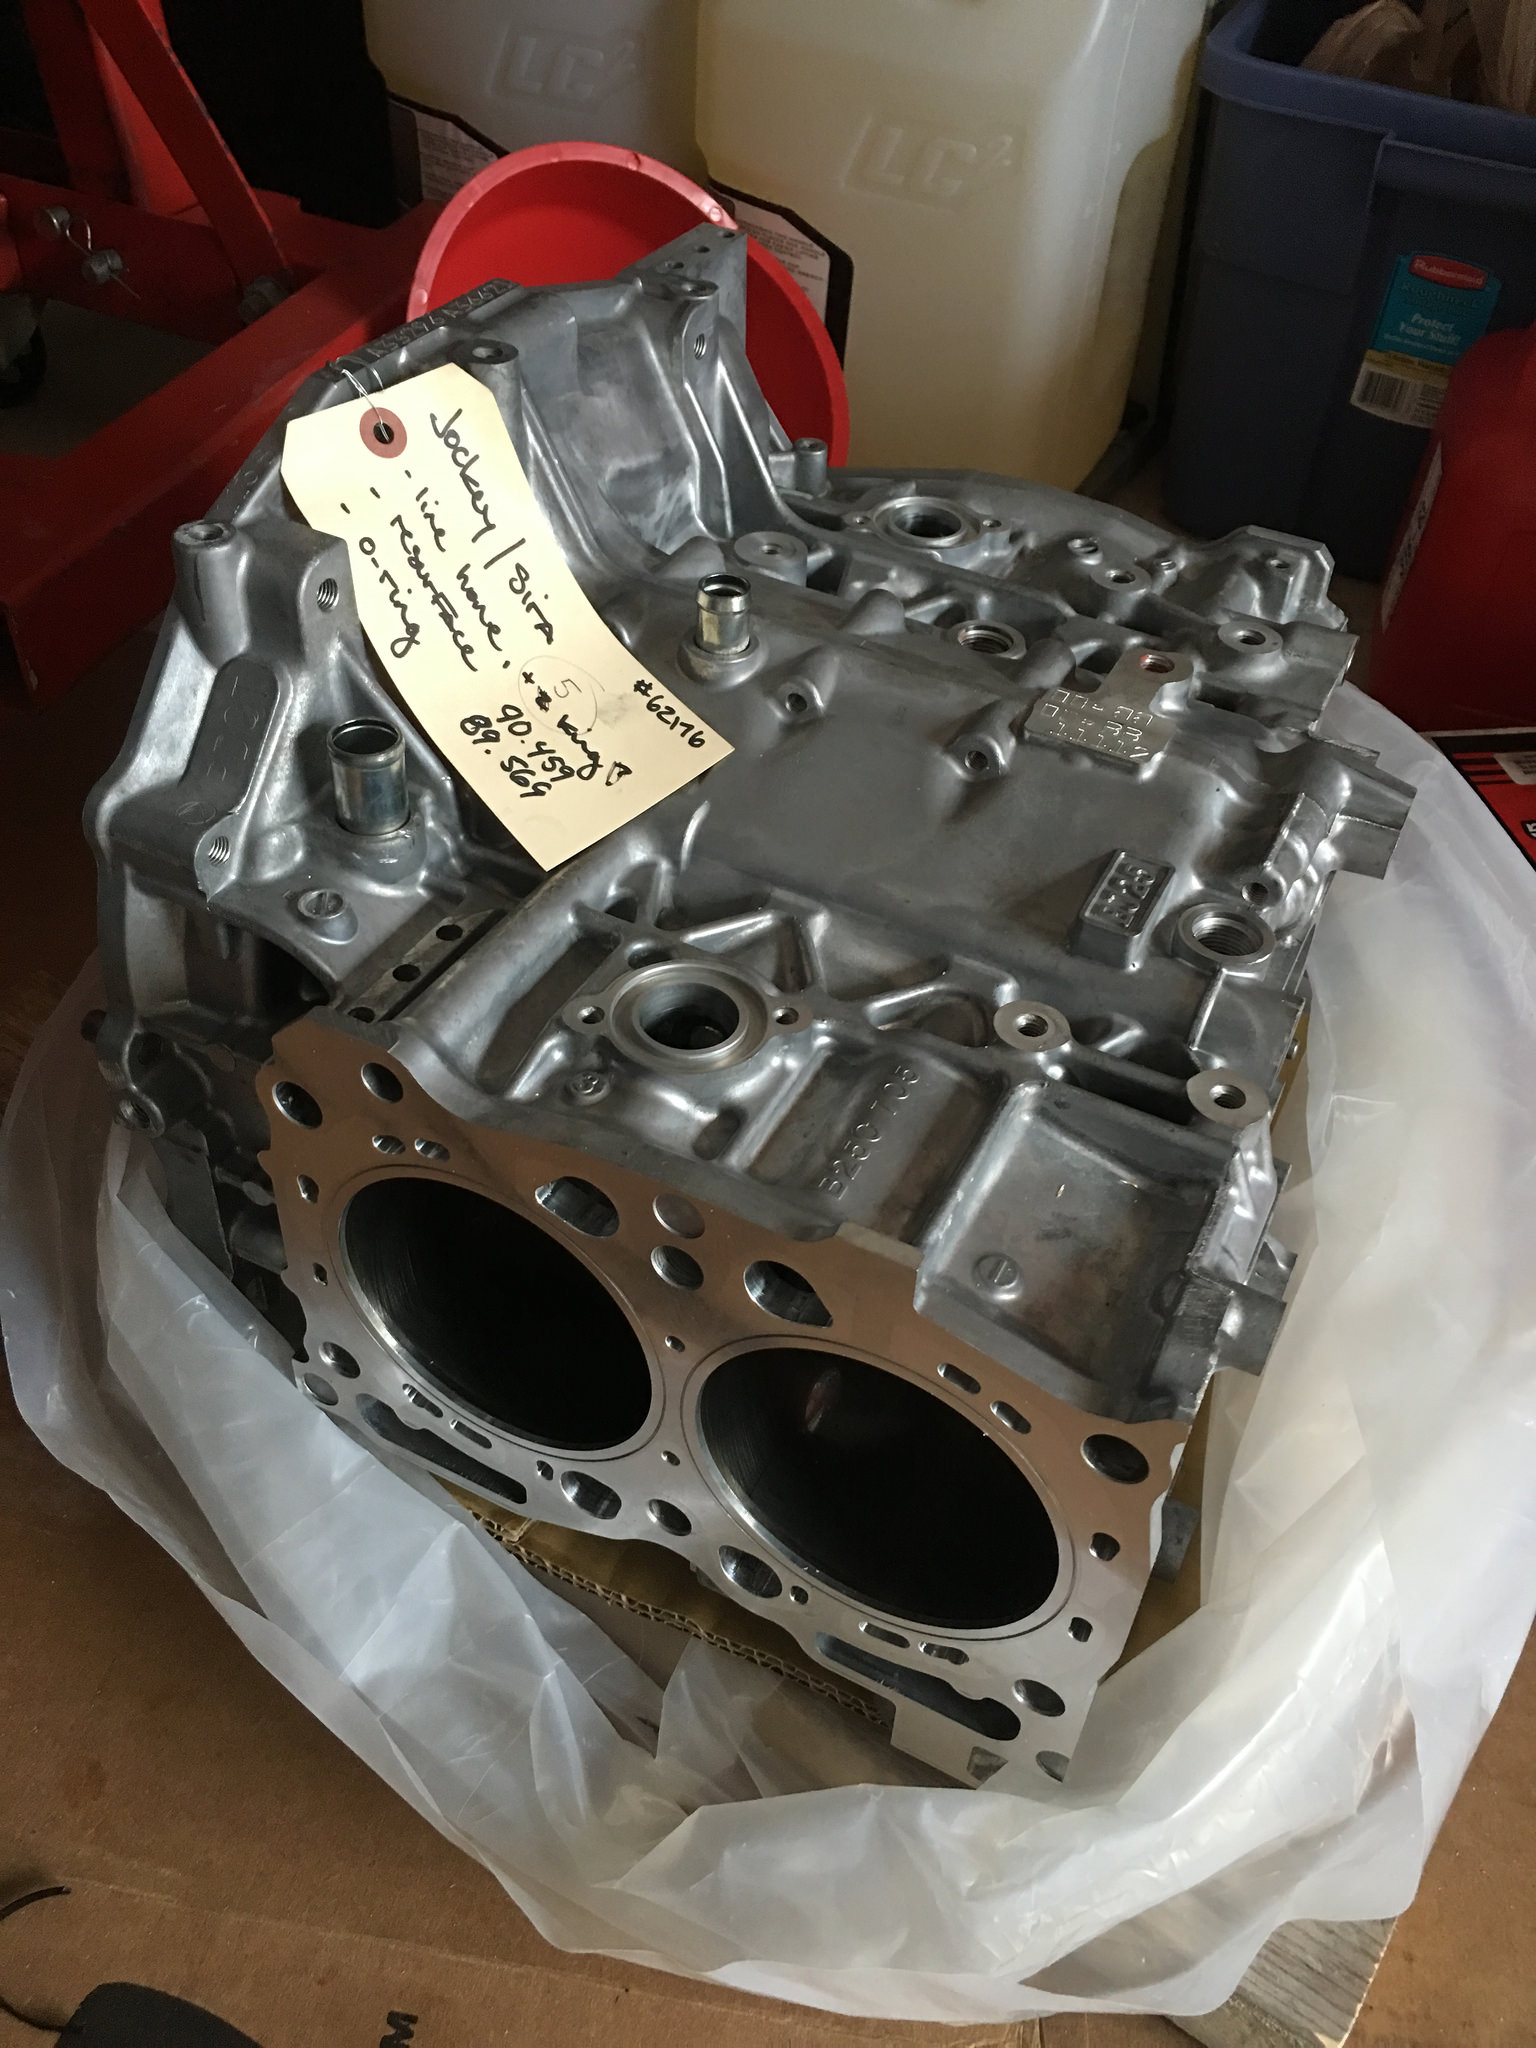
My block from Outfront. Should be delivered today.
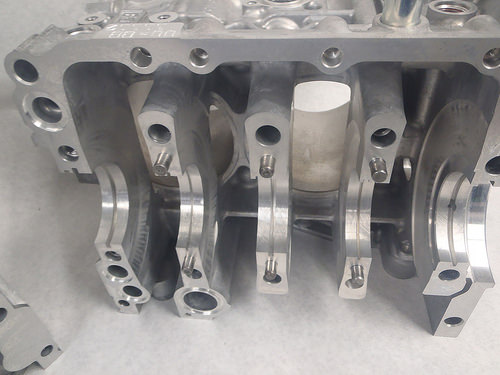

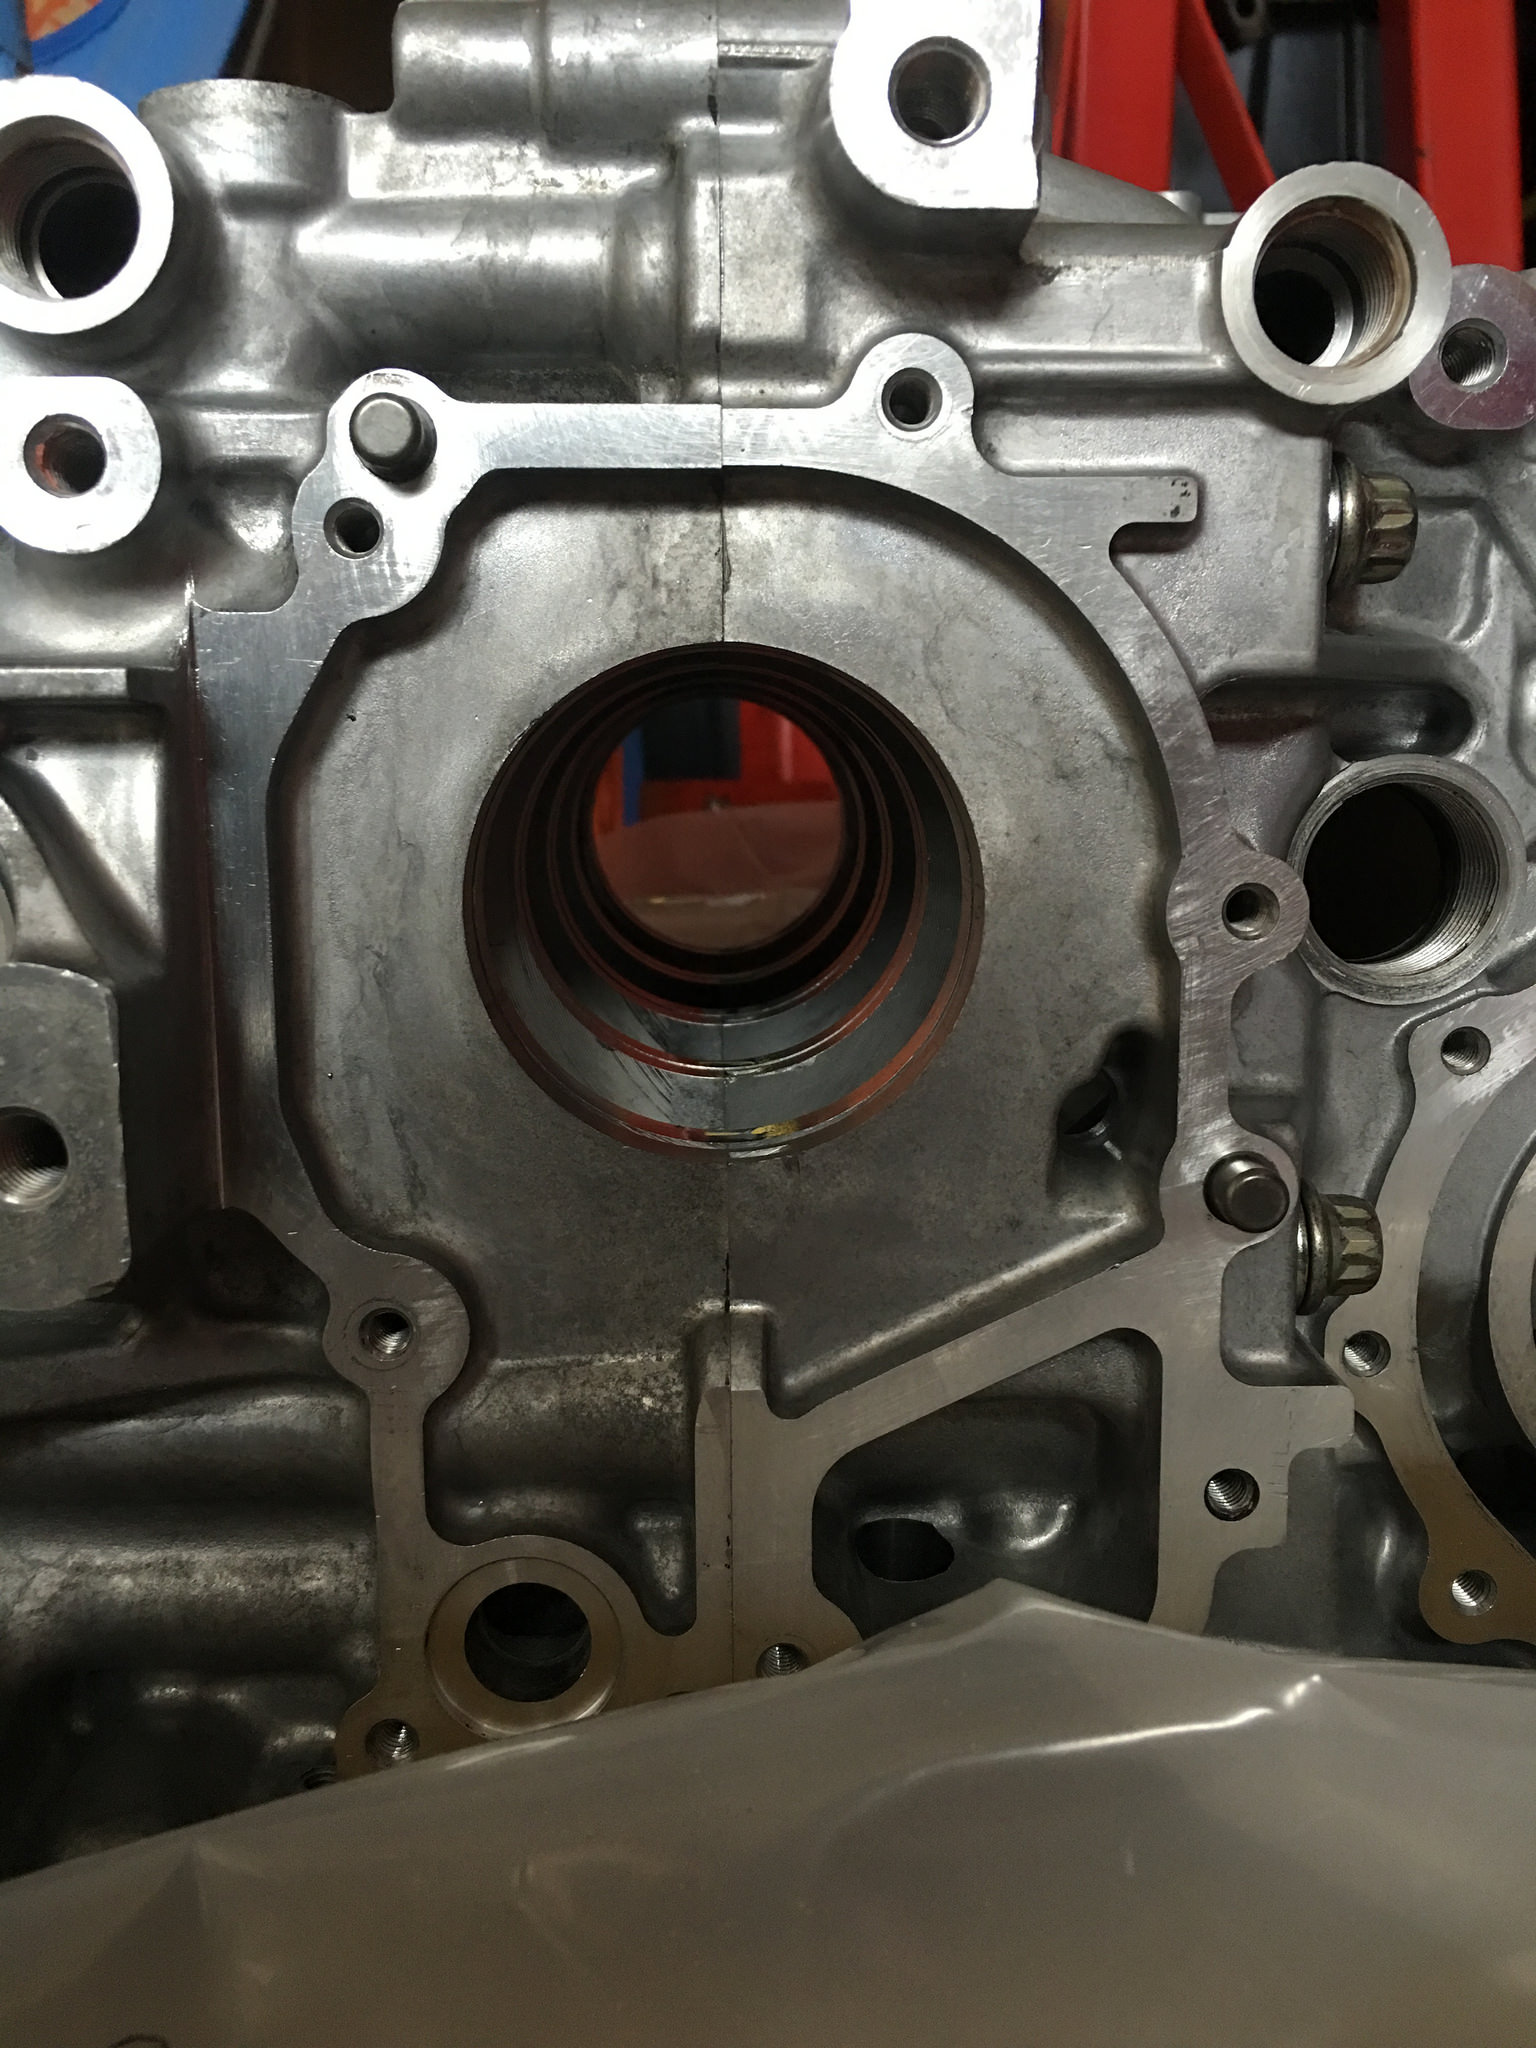
Well unfortunately when my builder put the block together he could not get the rear main seal in. When Outfront line honed the main they did not bother to do the rear main seal area. This makes for a rear main seal radius that is not concentric with the crank.
Outfront says they put their rear main seal on before closing up their blocks. My builder told them that if you do it that way and you have a rear main seal leak you have to break down the entire motor just to replace the rear seal.
That was a revelation to them and they said that they would get back to my builder. Weeks have gone by and nothing in response. Now my builder has to tear down the block and take it to a machine shop to have the rear machined. Then re assemble the short block again. Of course at my cost. I asked that Outfront make some kind of gesture to help me take care of this. I'm not asking for the entire cost but something to help me out.
Luckily IAG has come out with a new closed deck block that I hope survives Crystal Impressive's torture test. If so, I'll know I have a new vendor to go to for my next block.
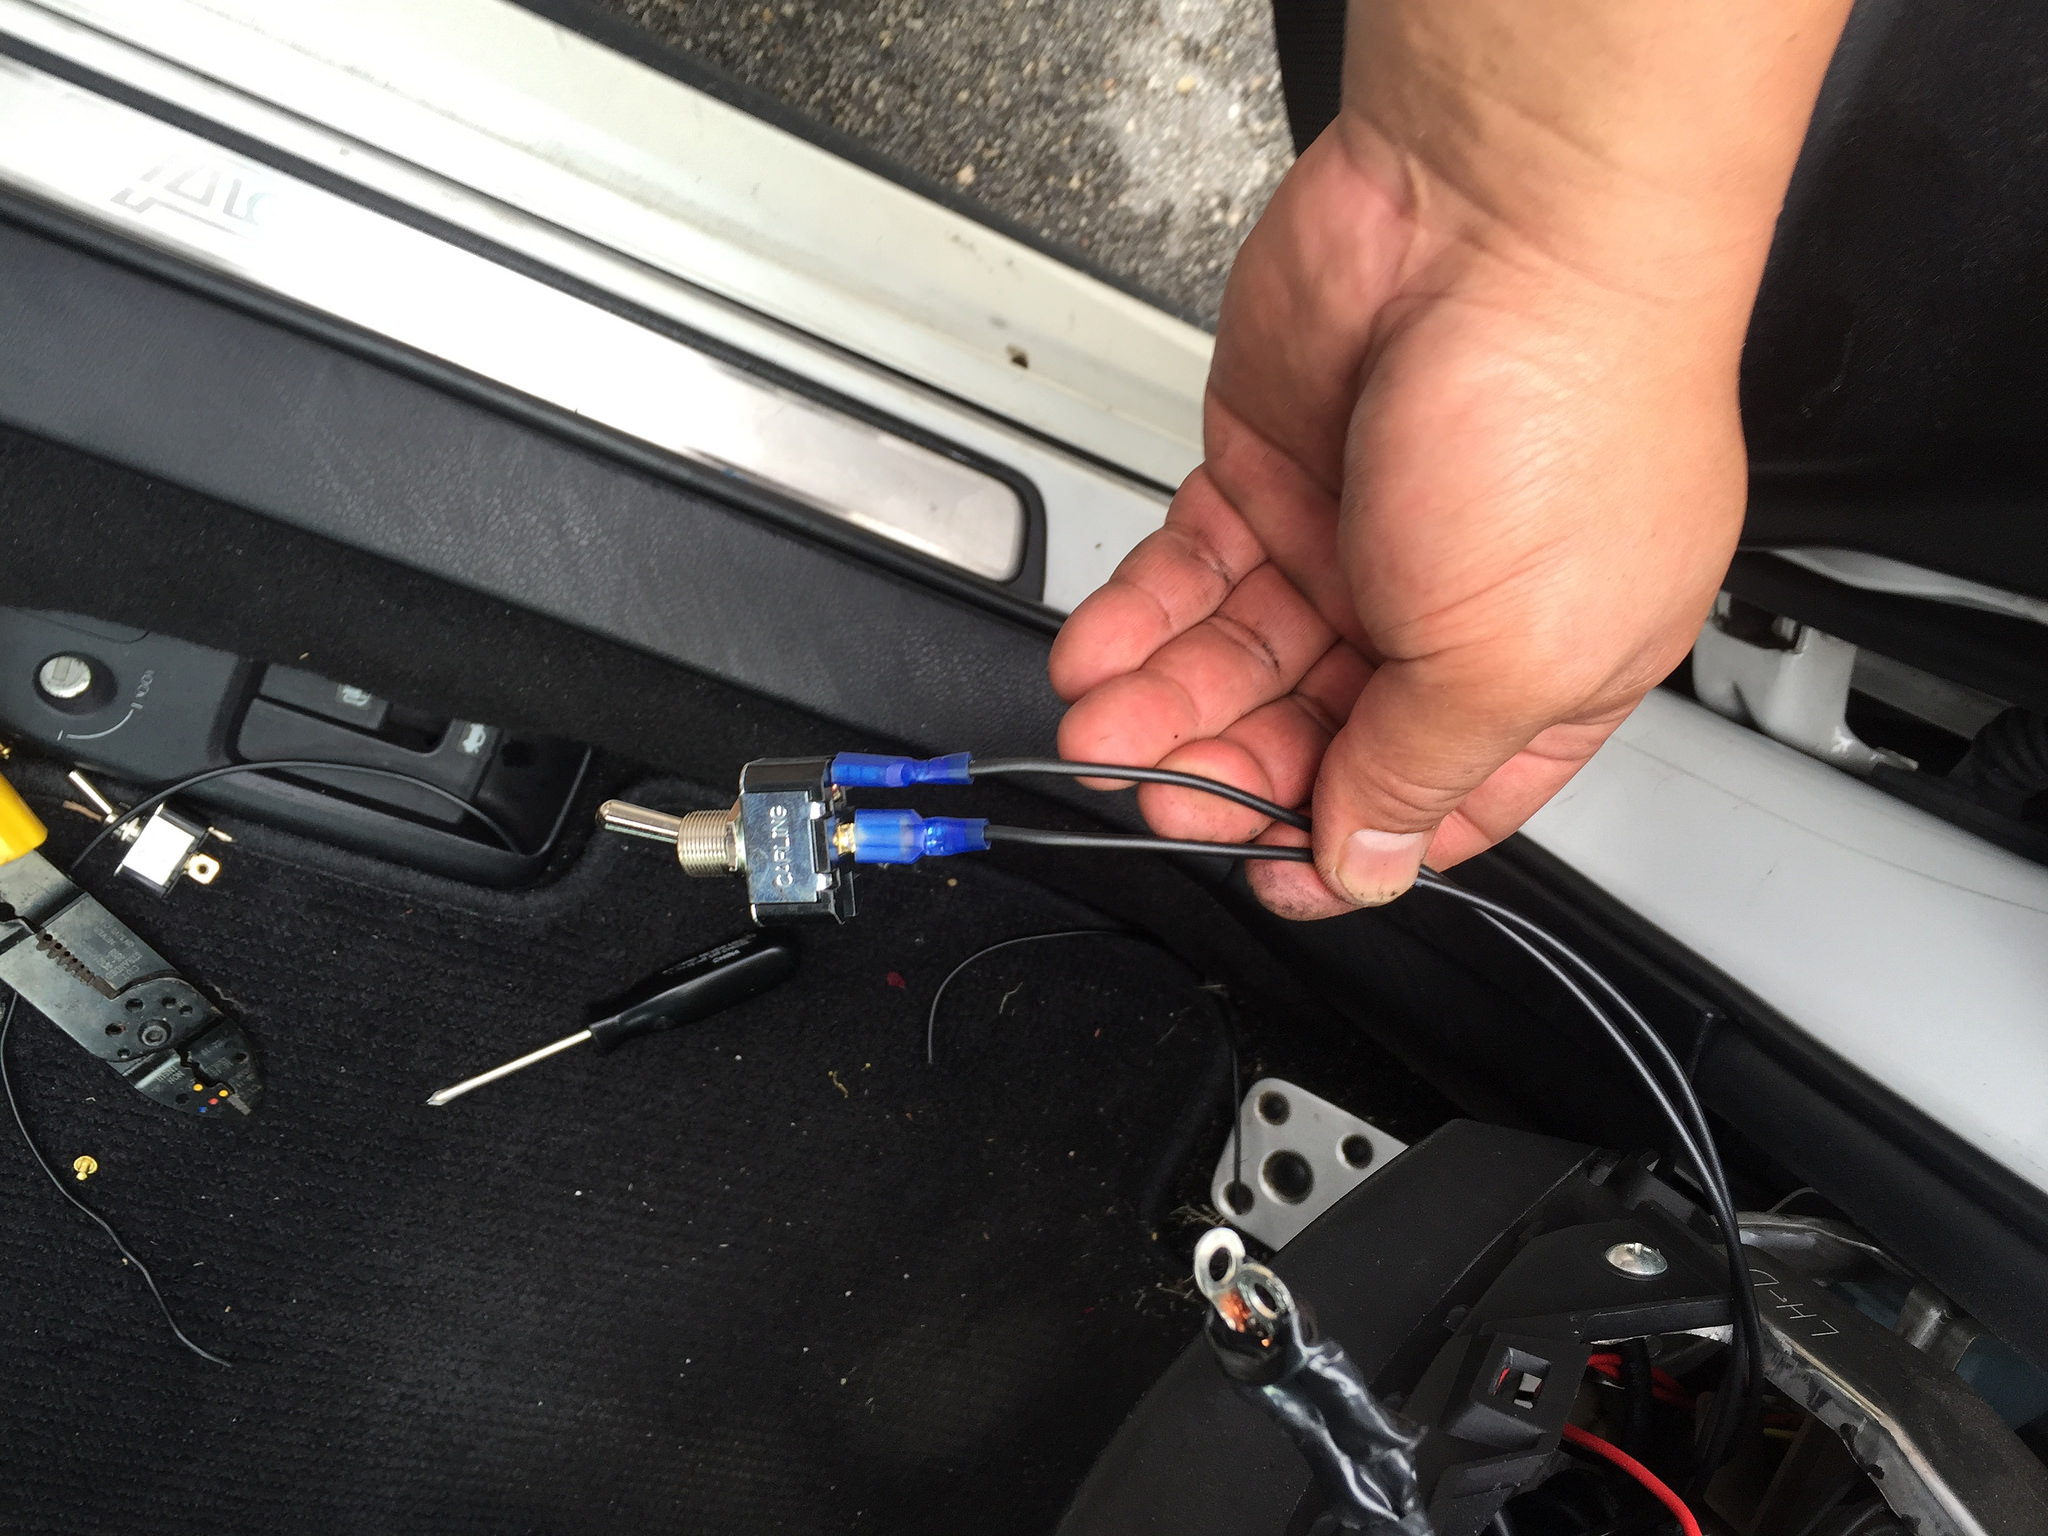
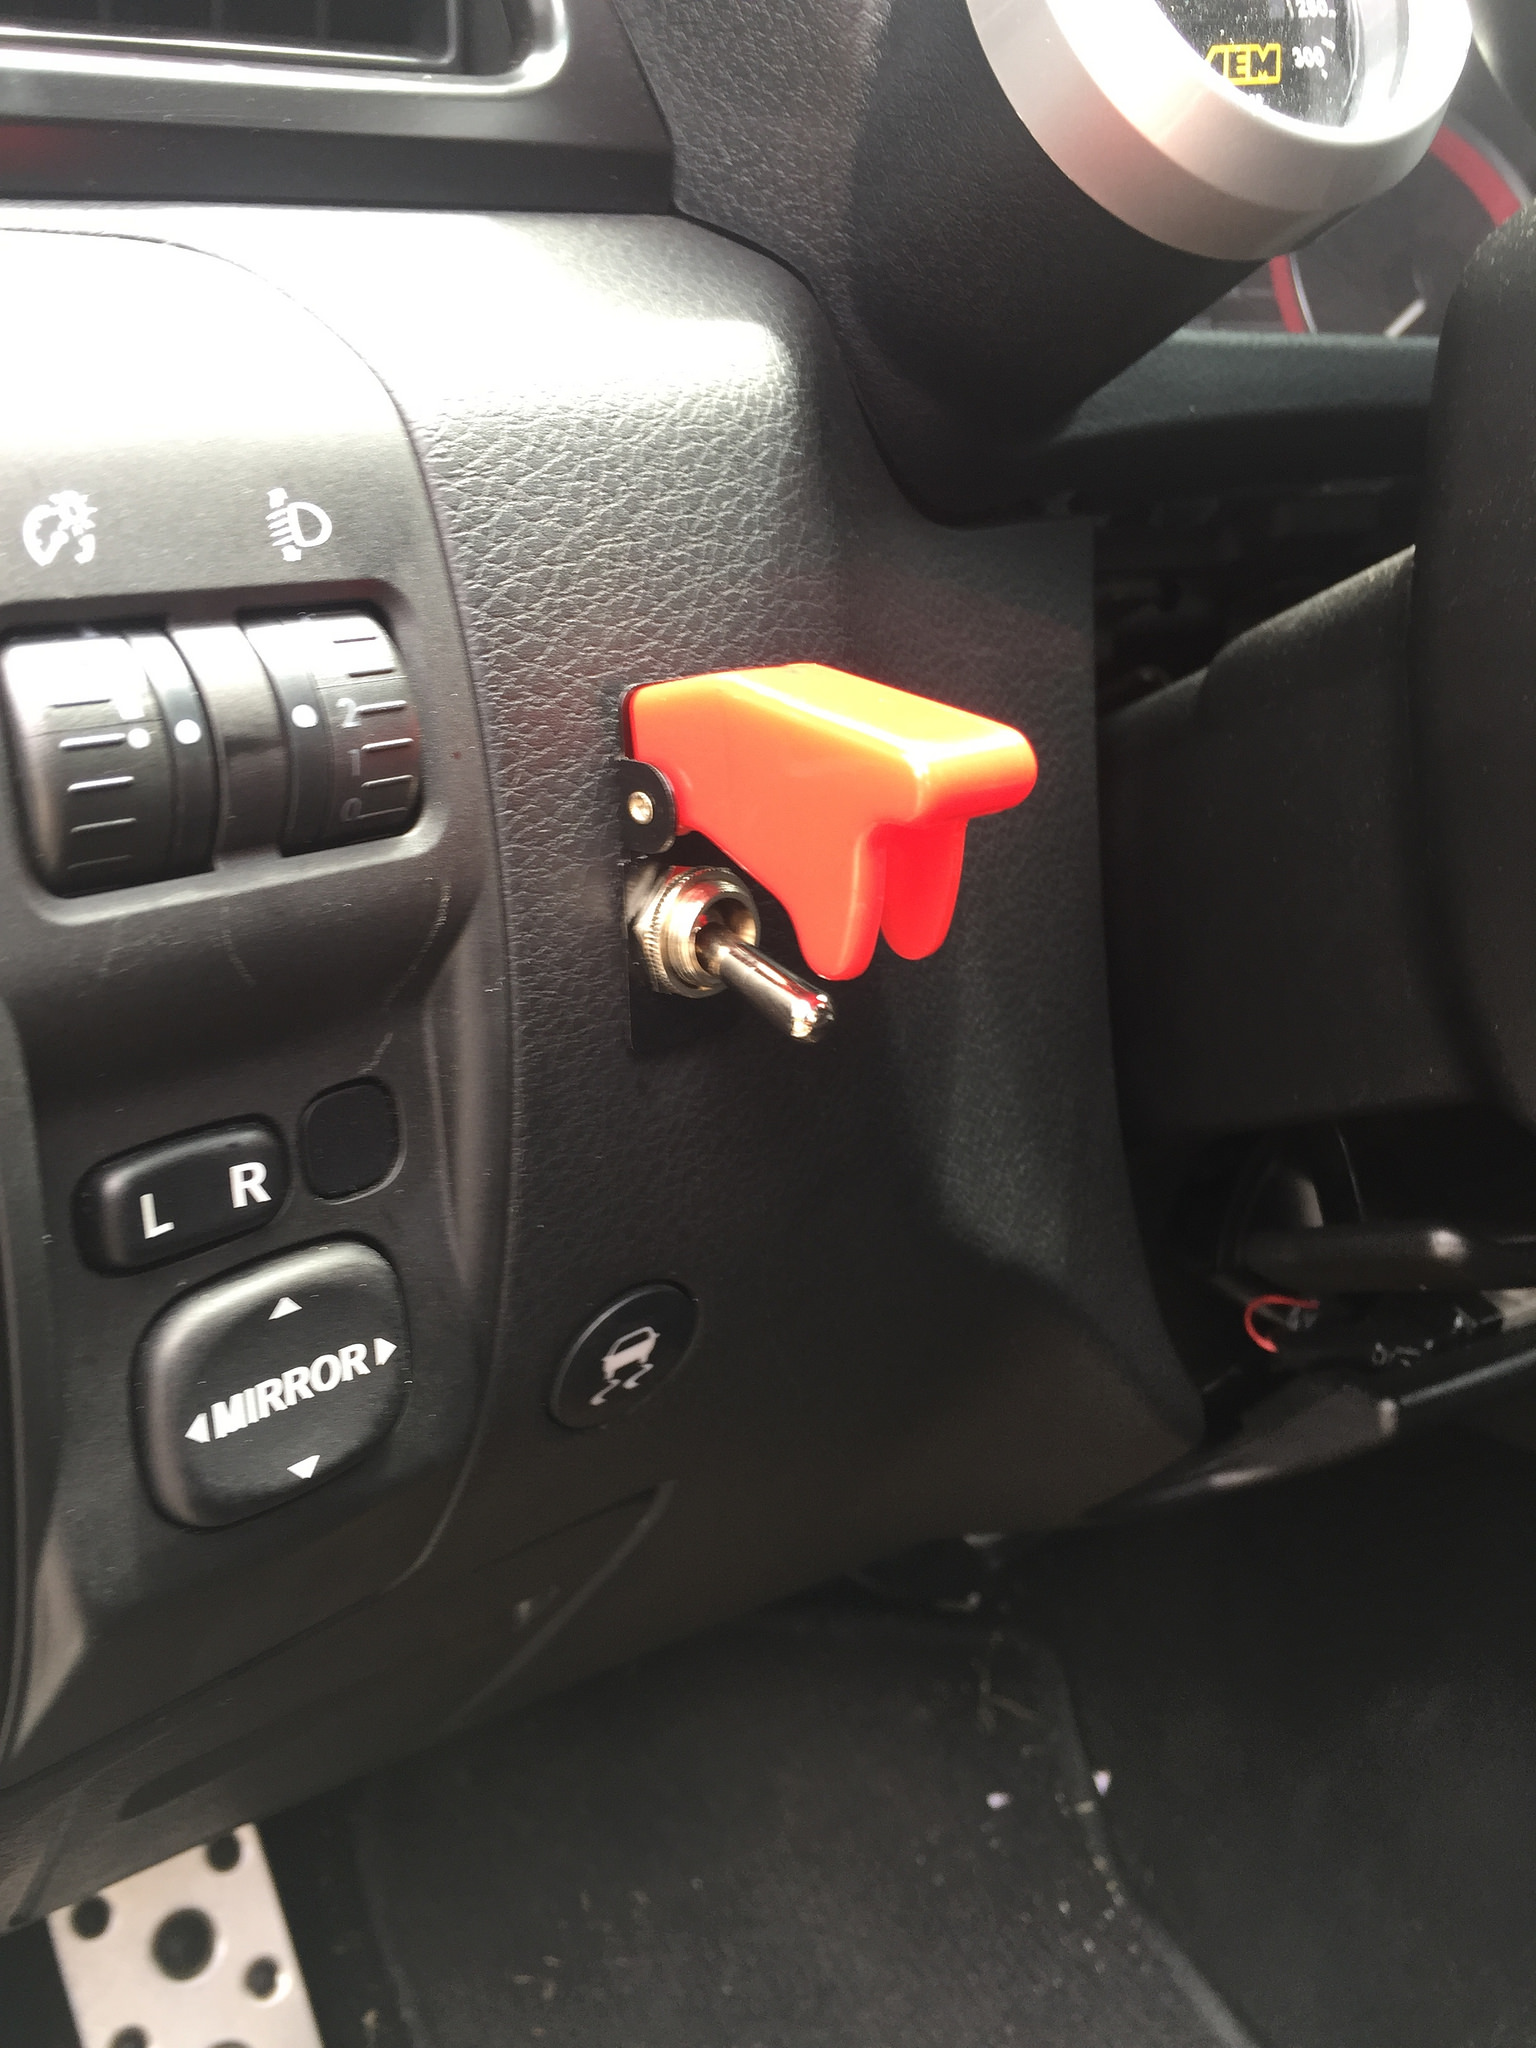
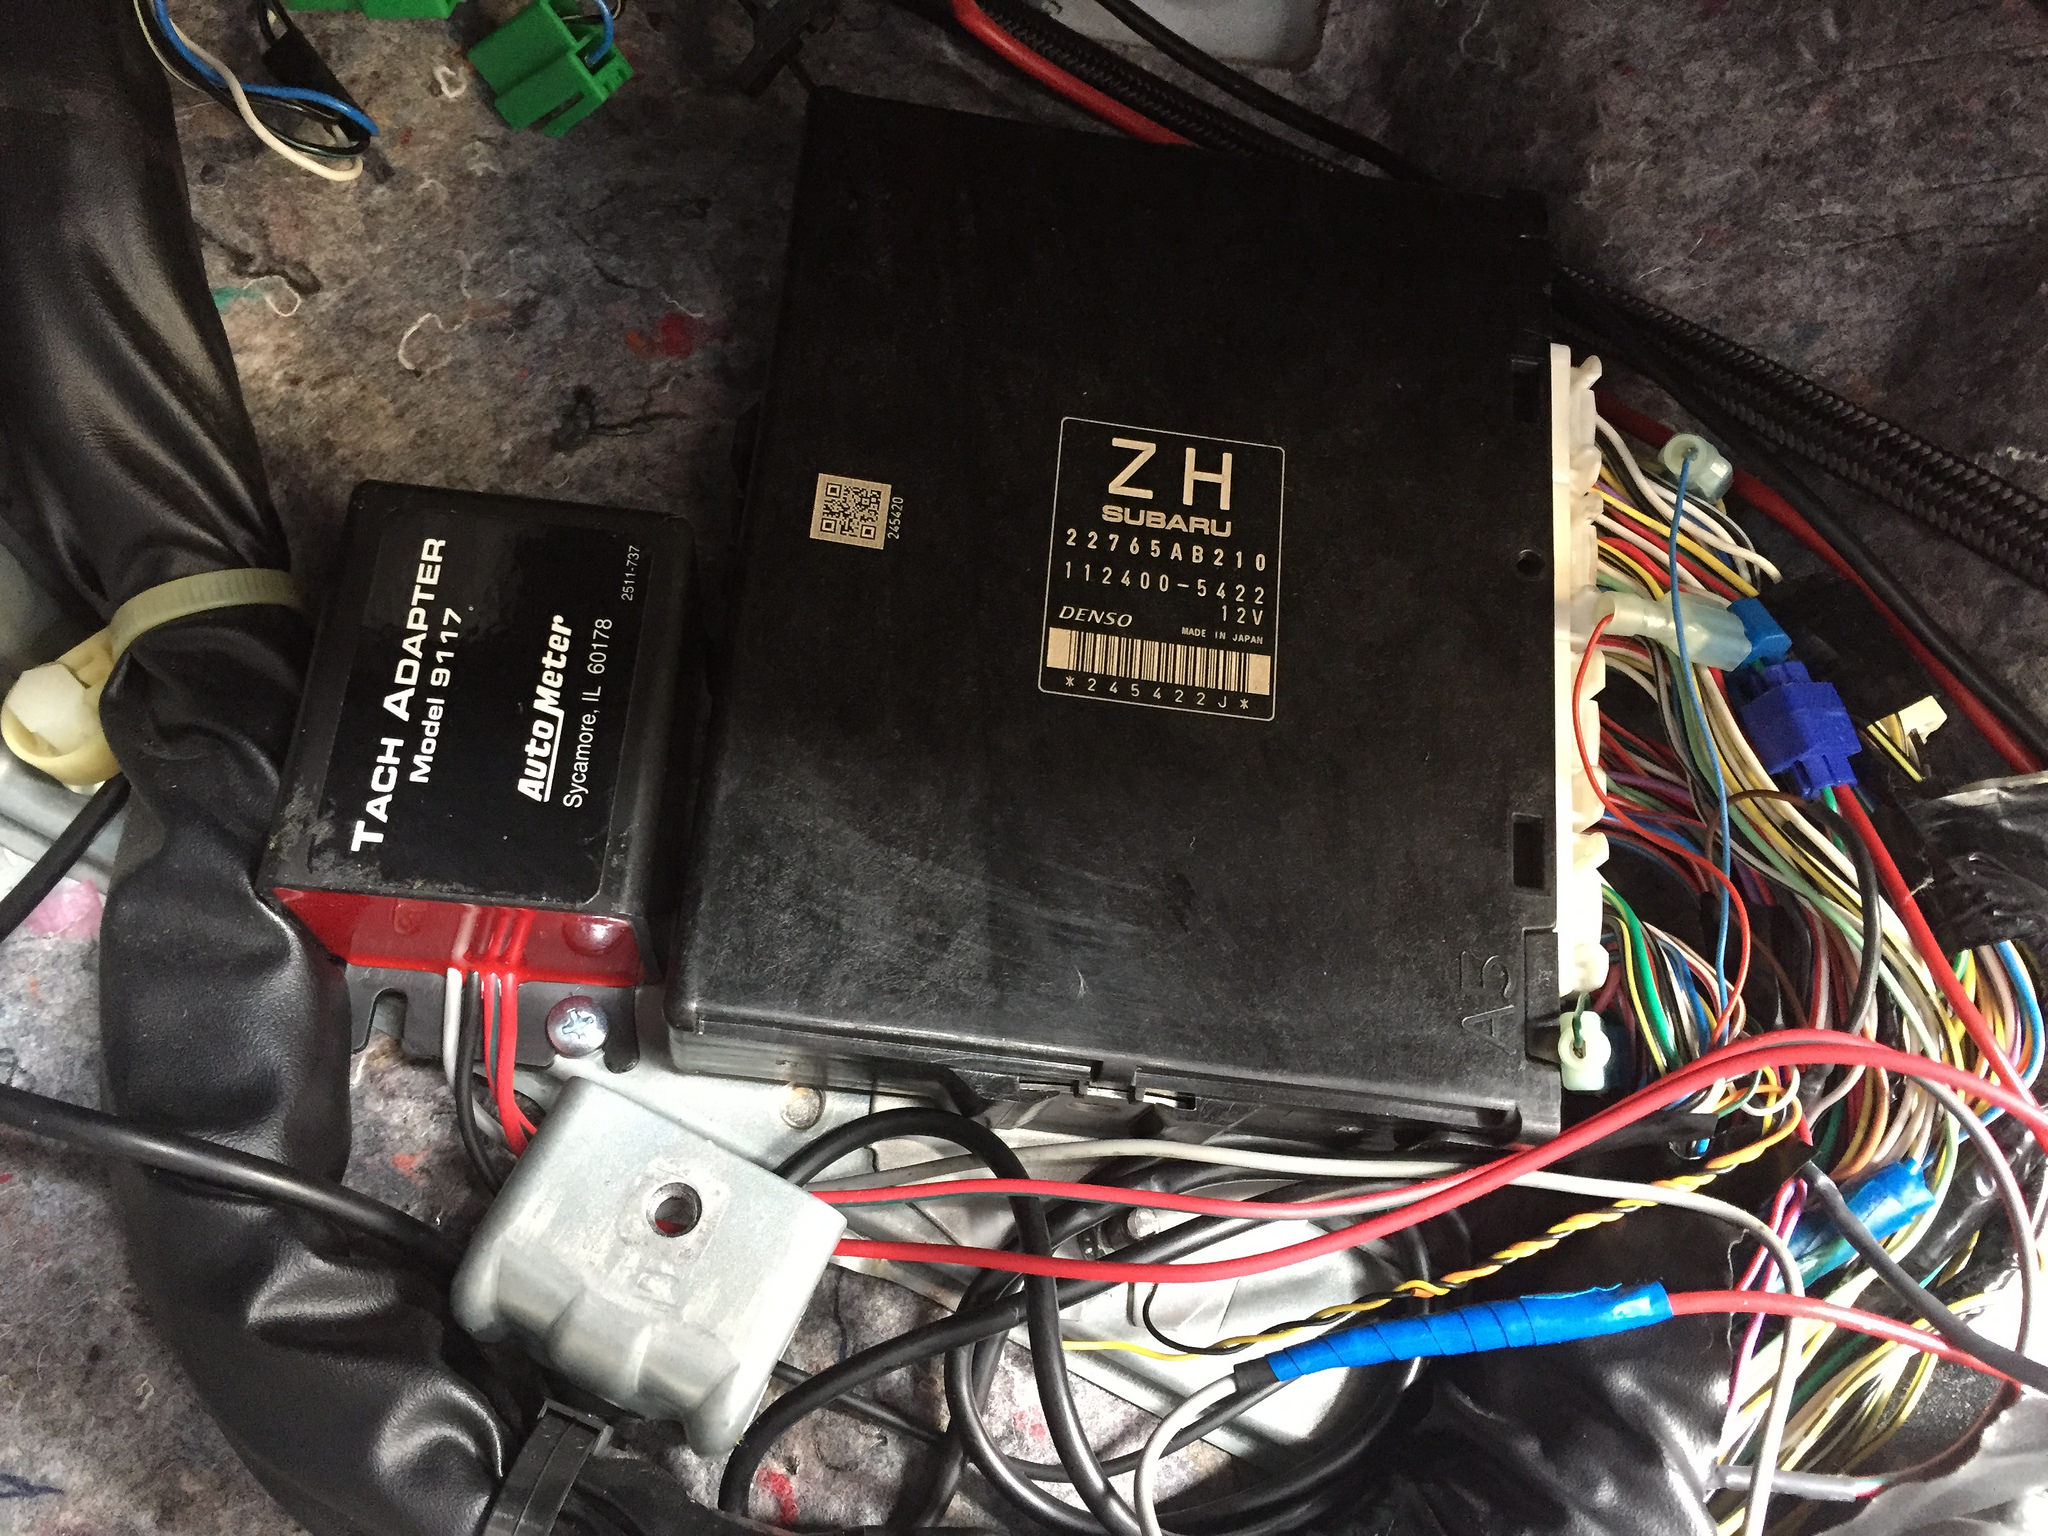
July 15': Aeromotive Fuel Pump Controller and Autometer Tach Adapter
August 15':
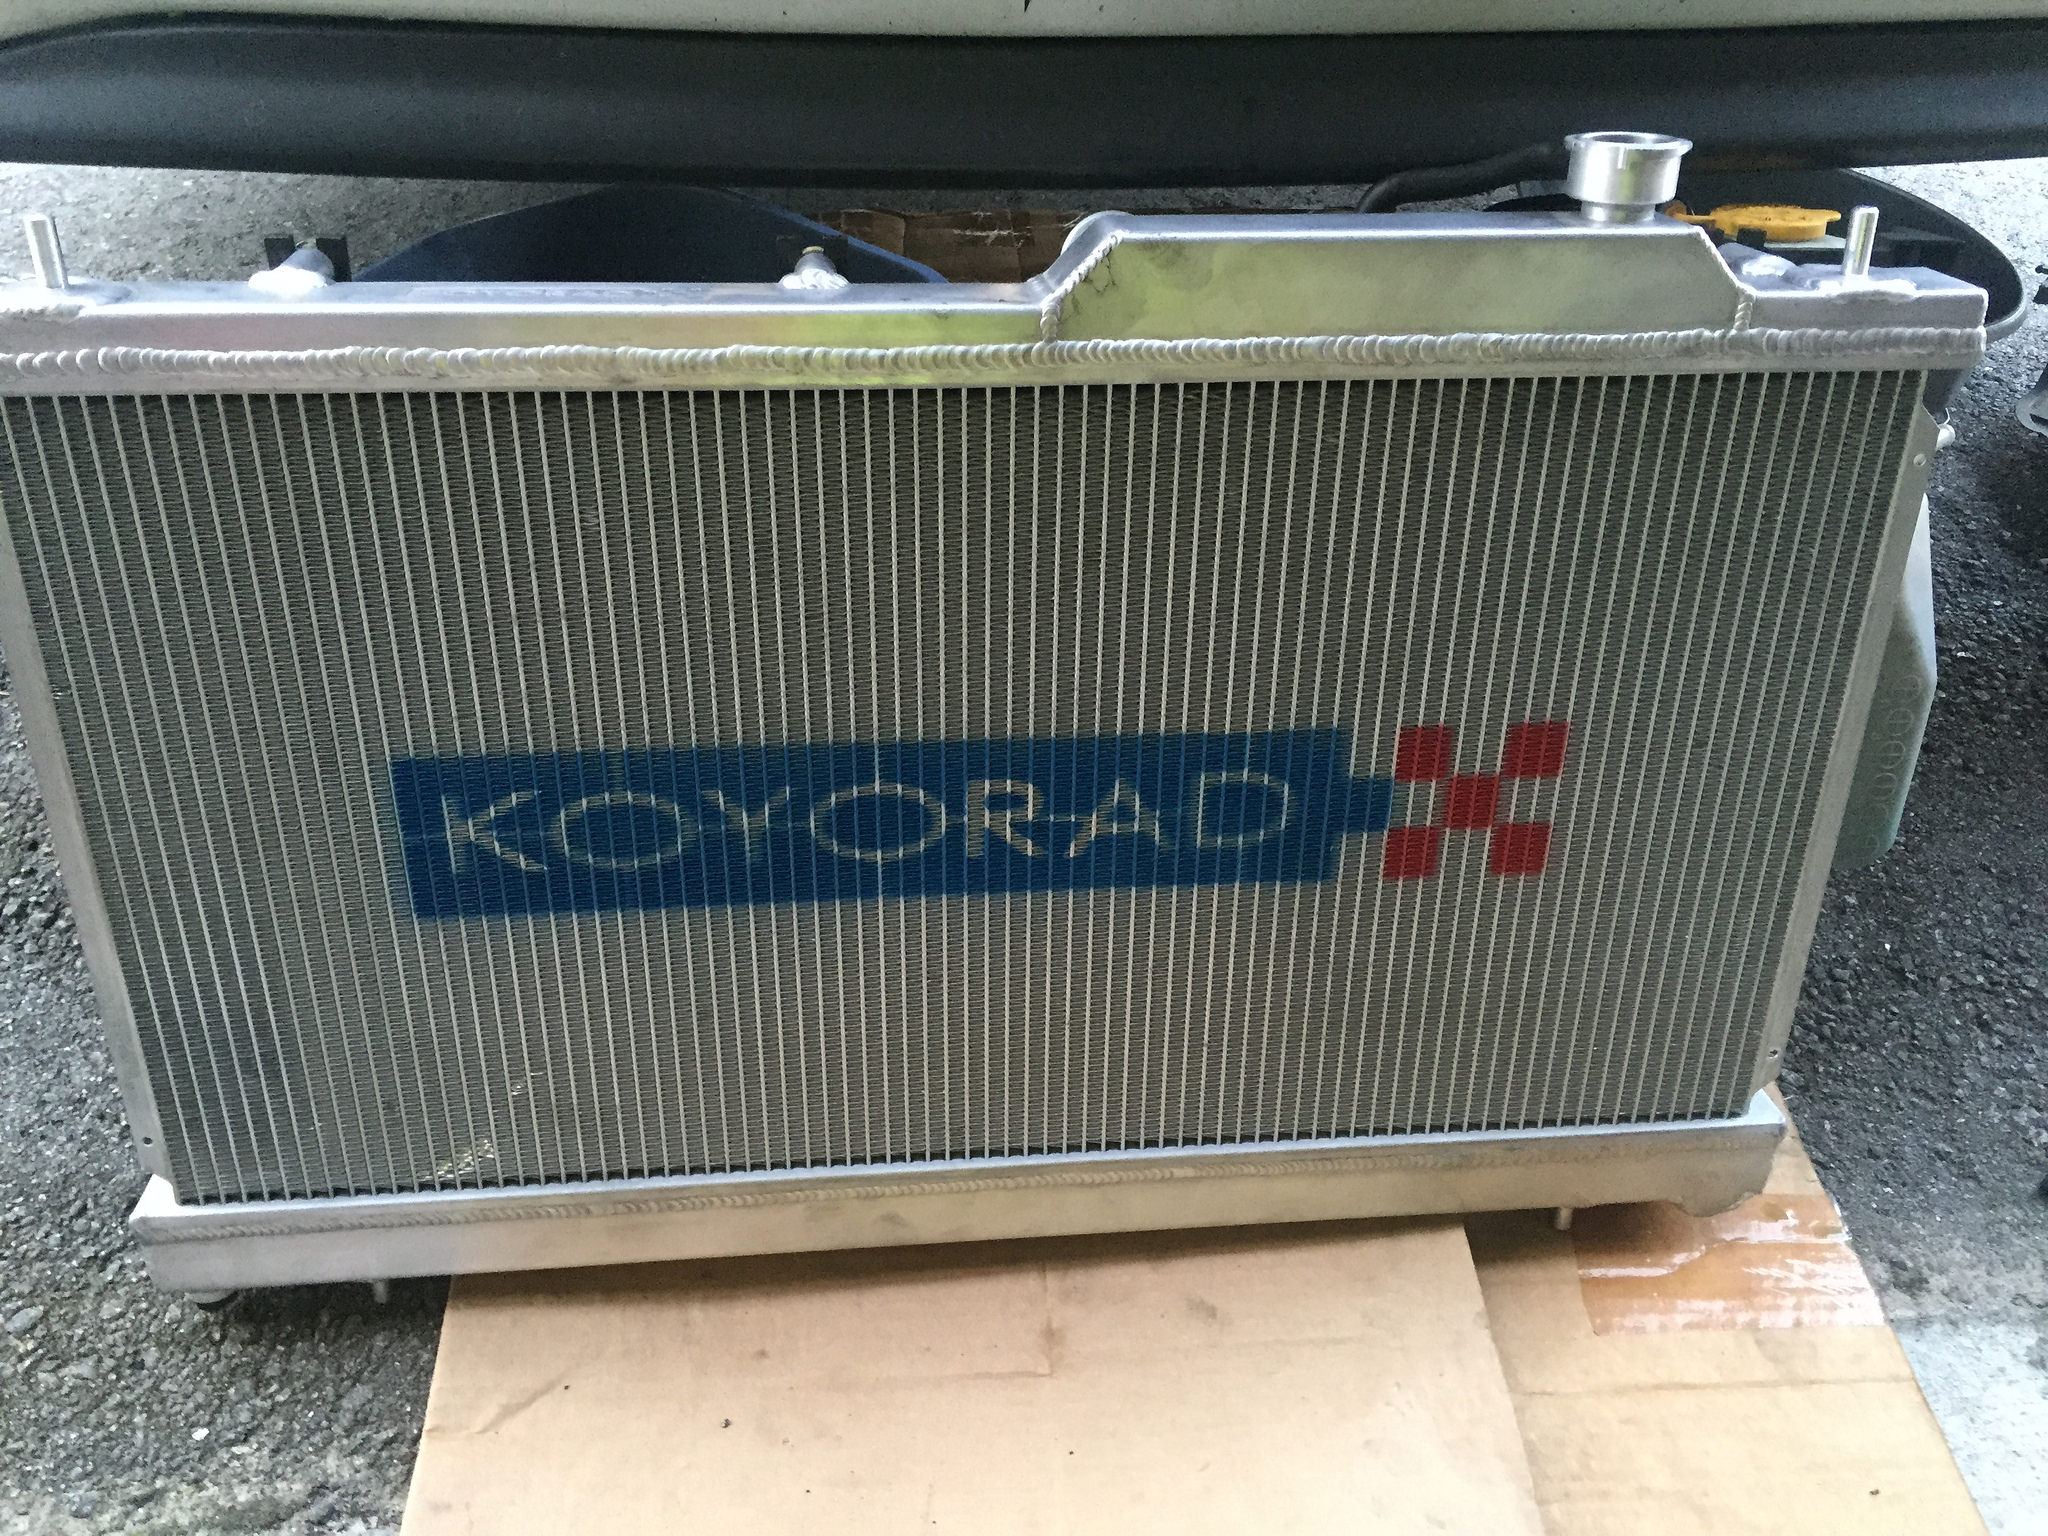
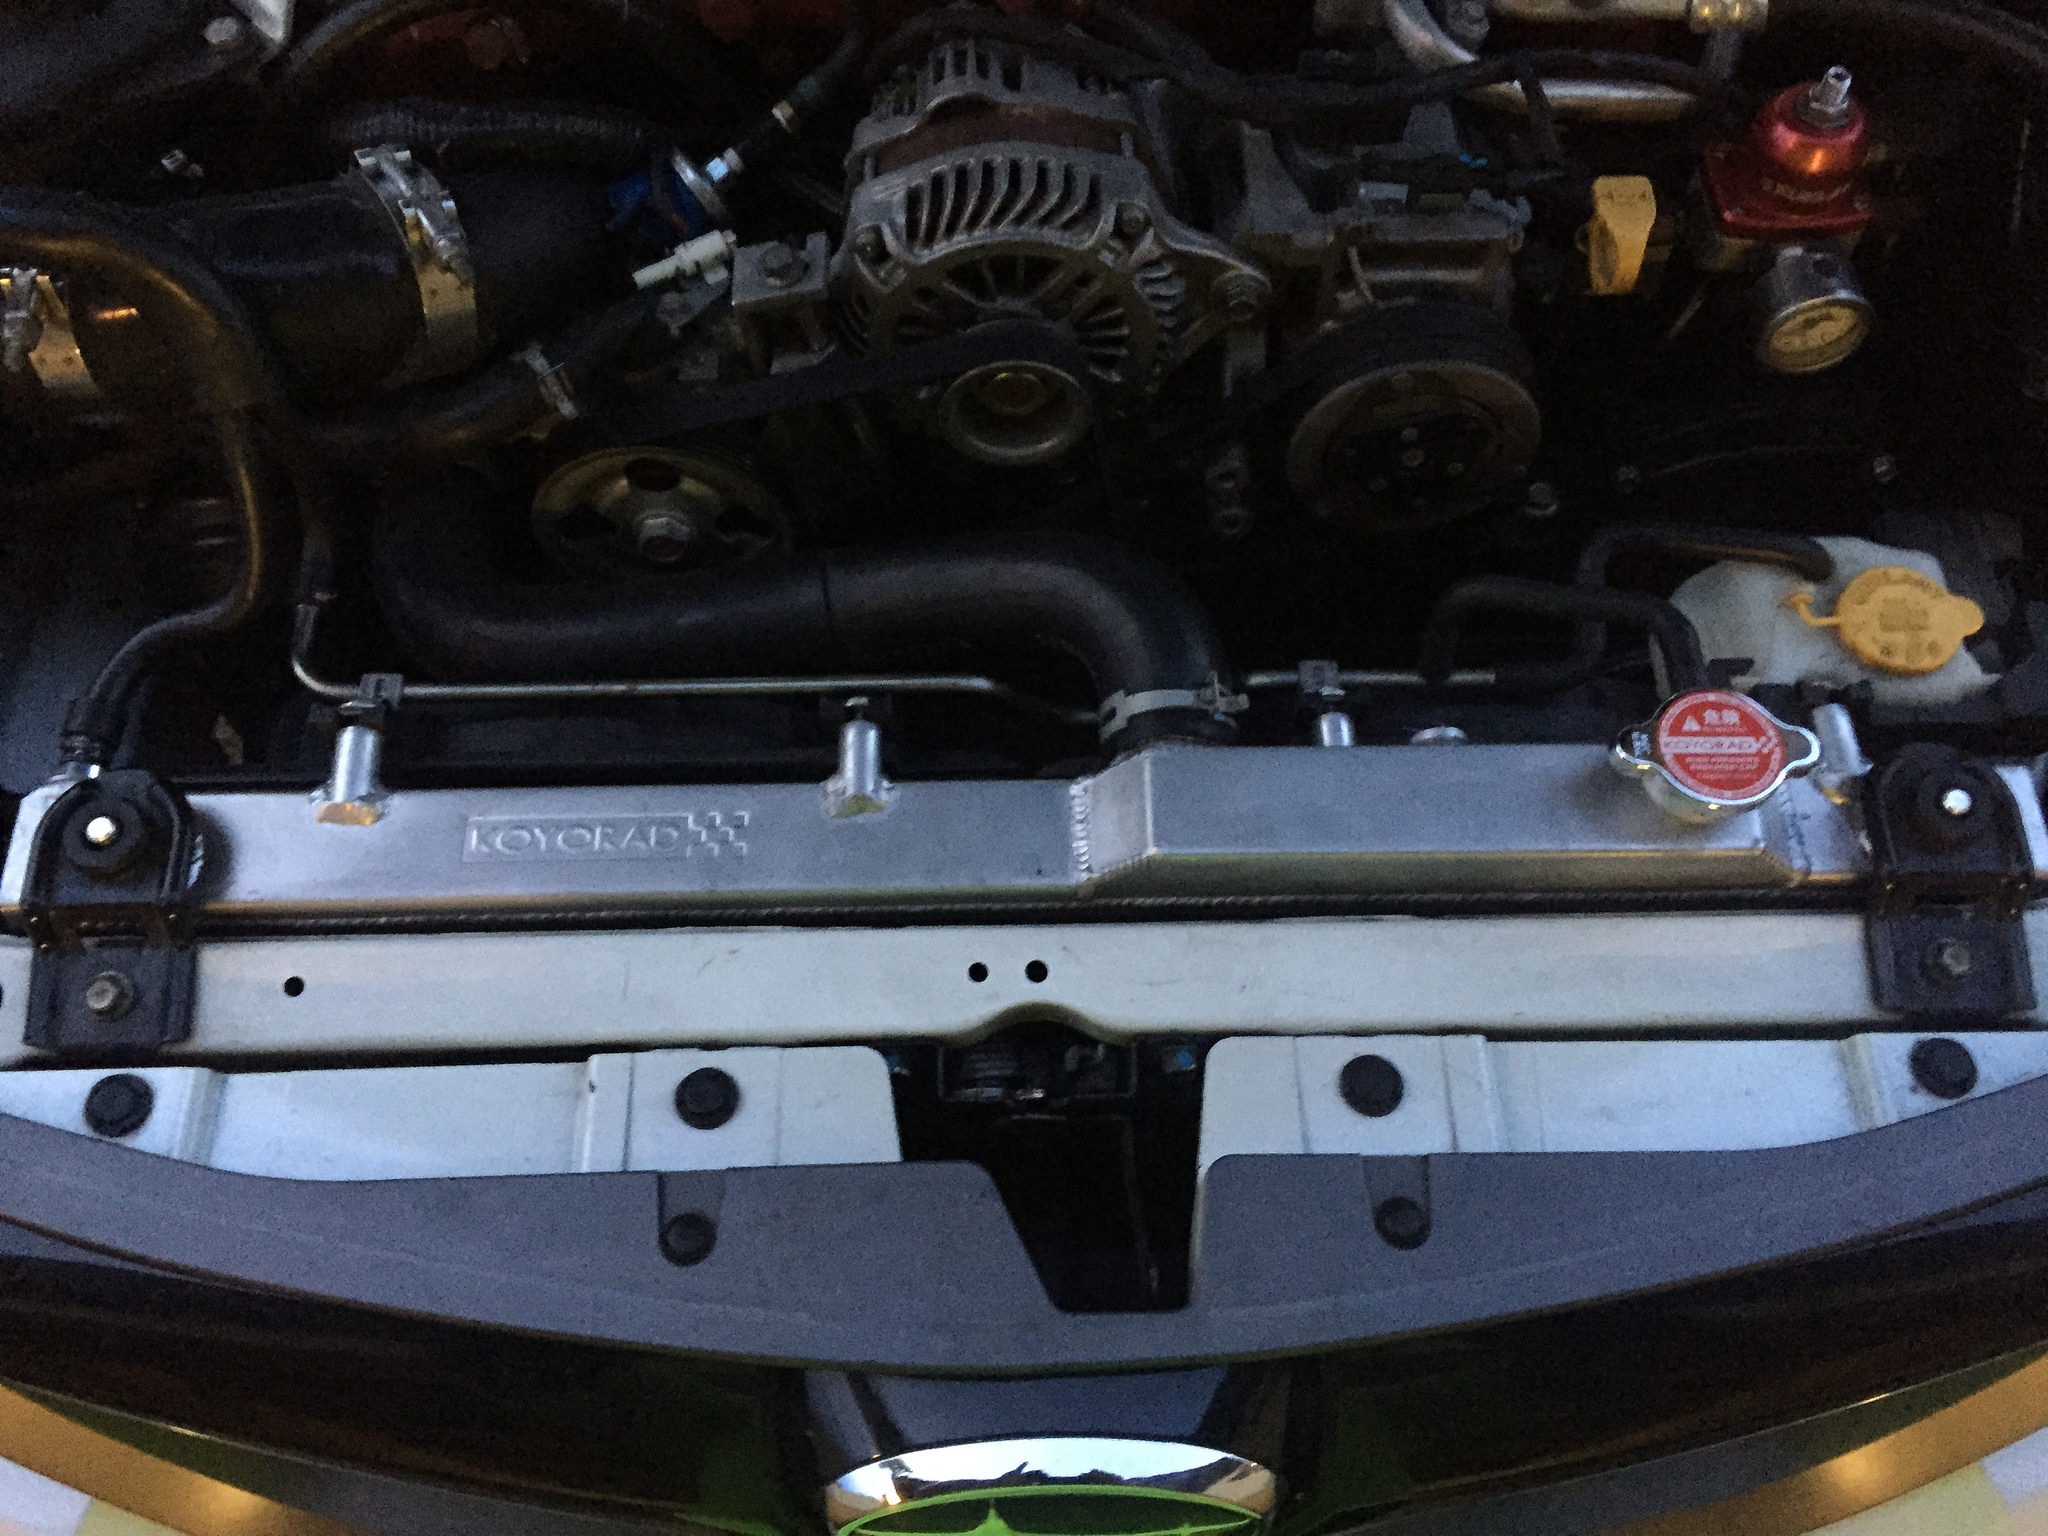
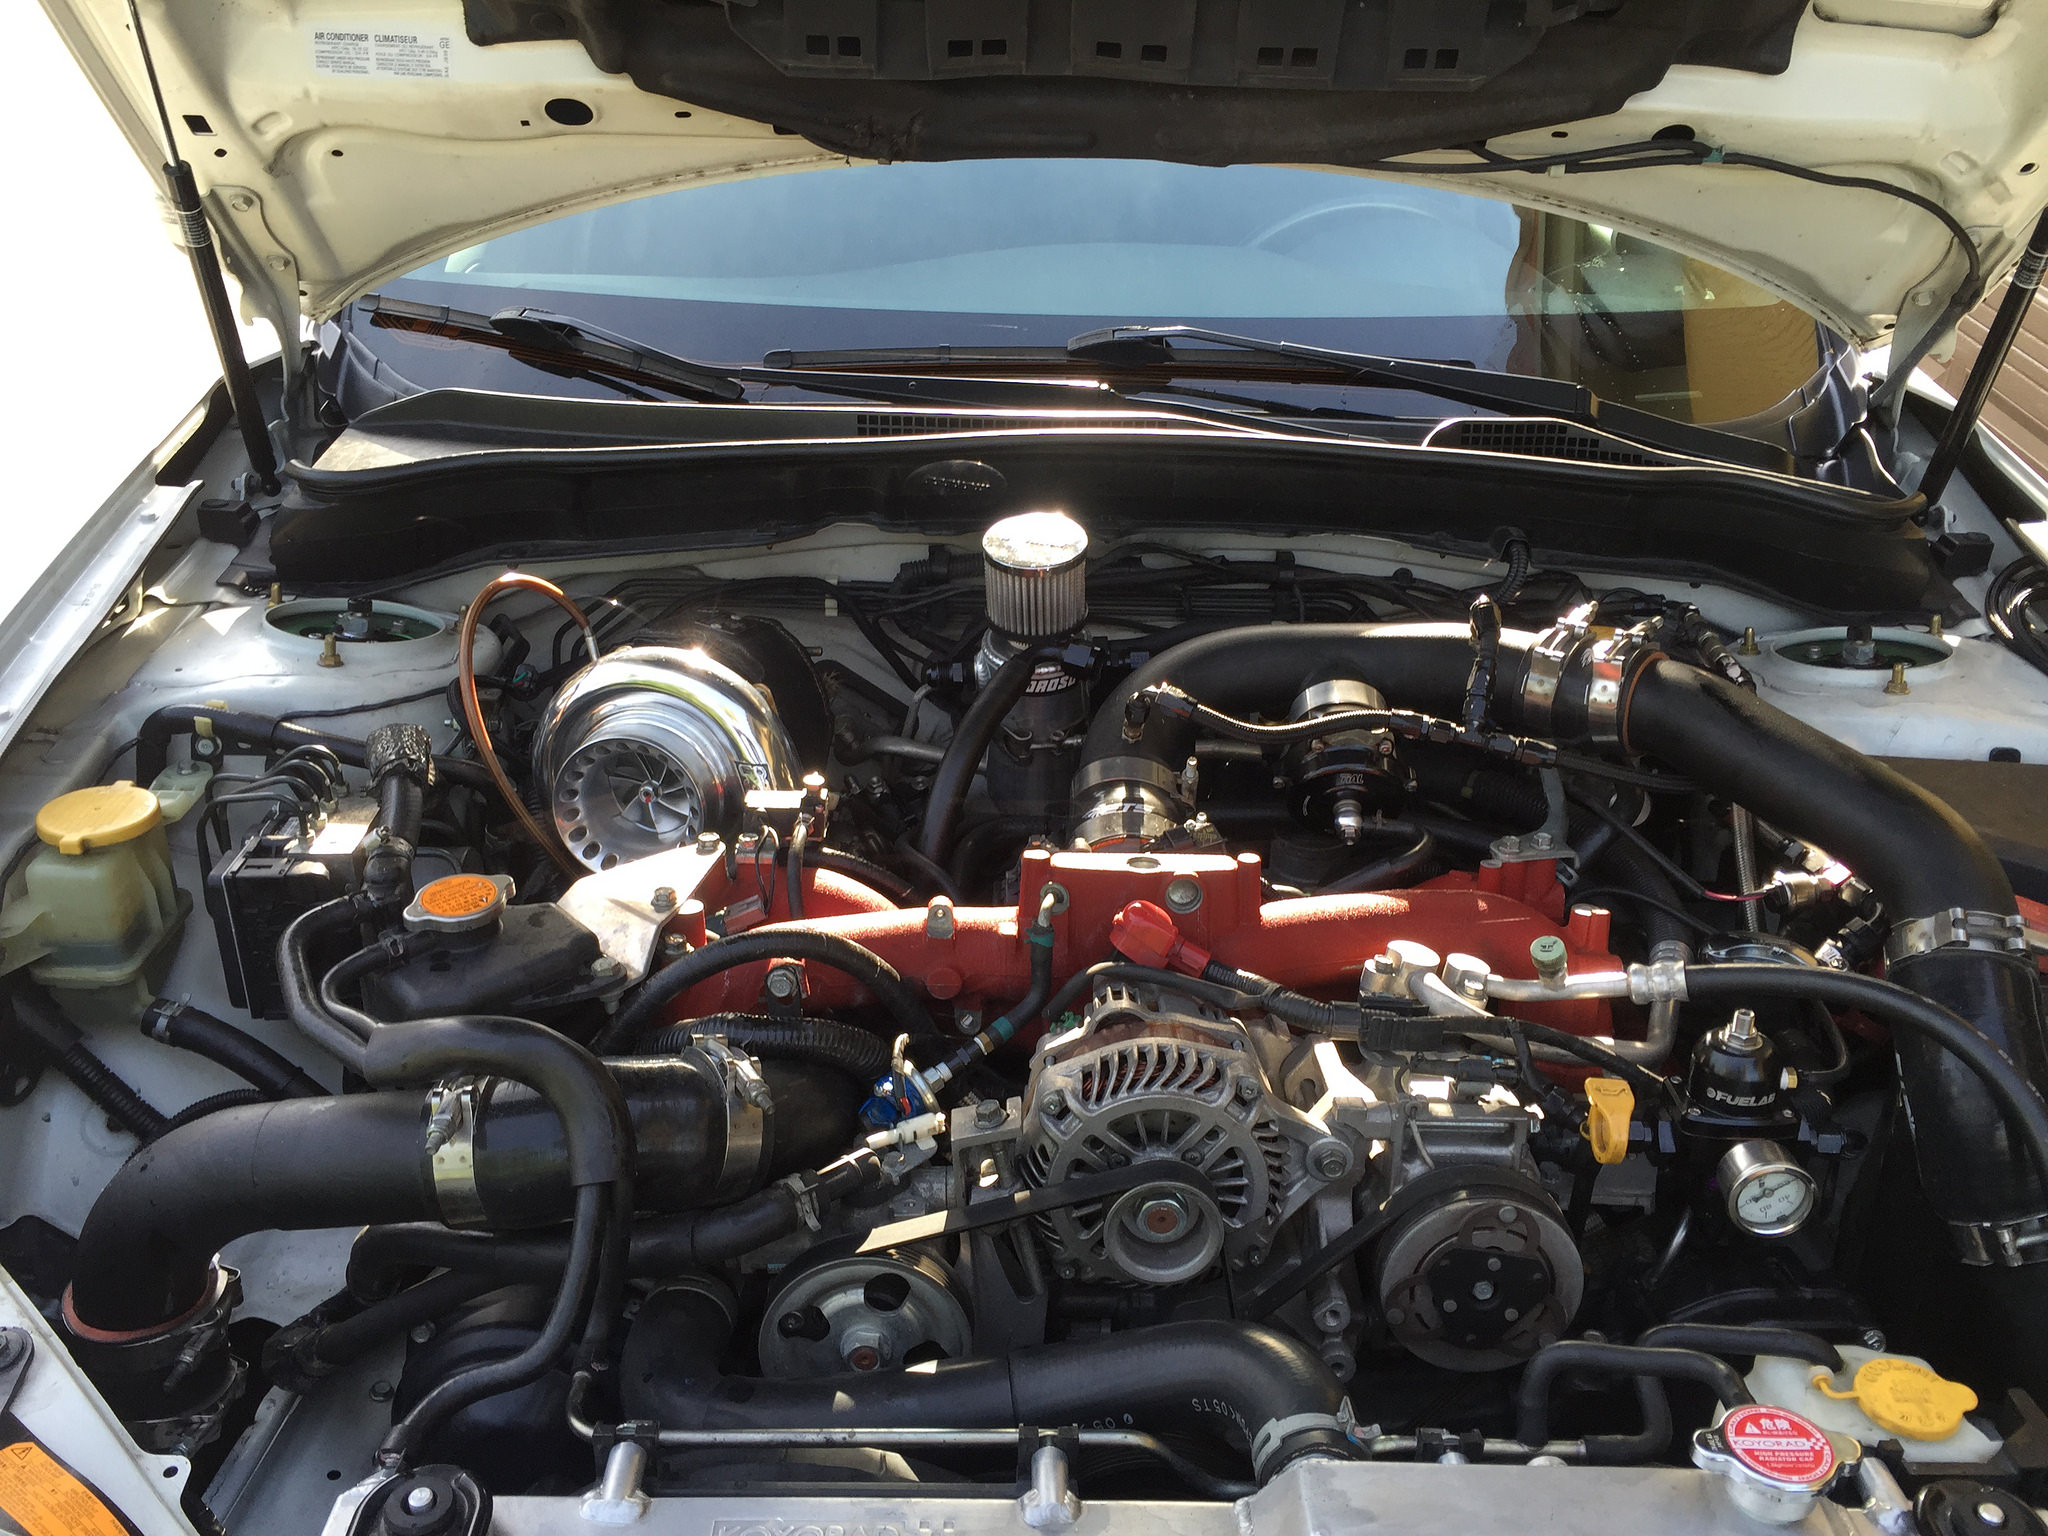
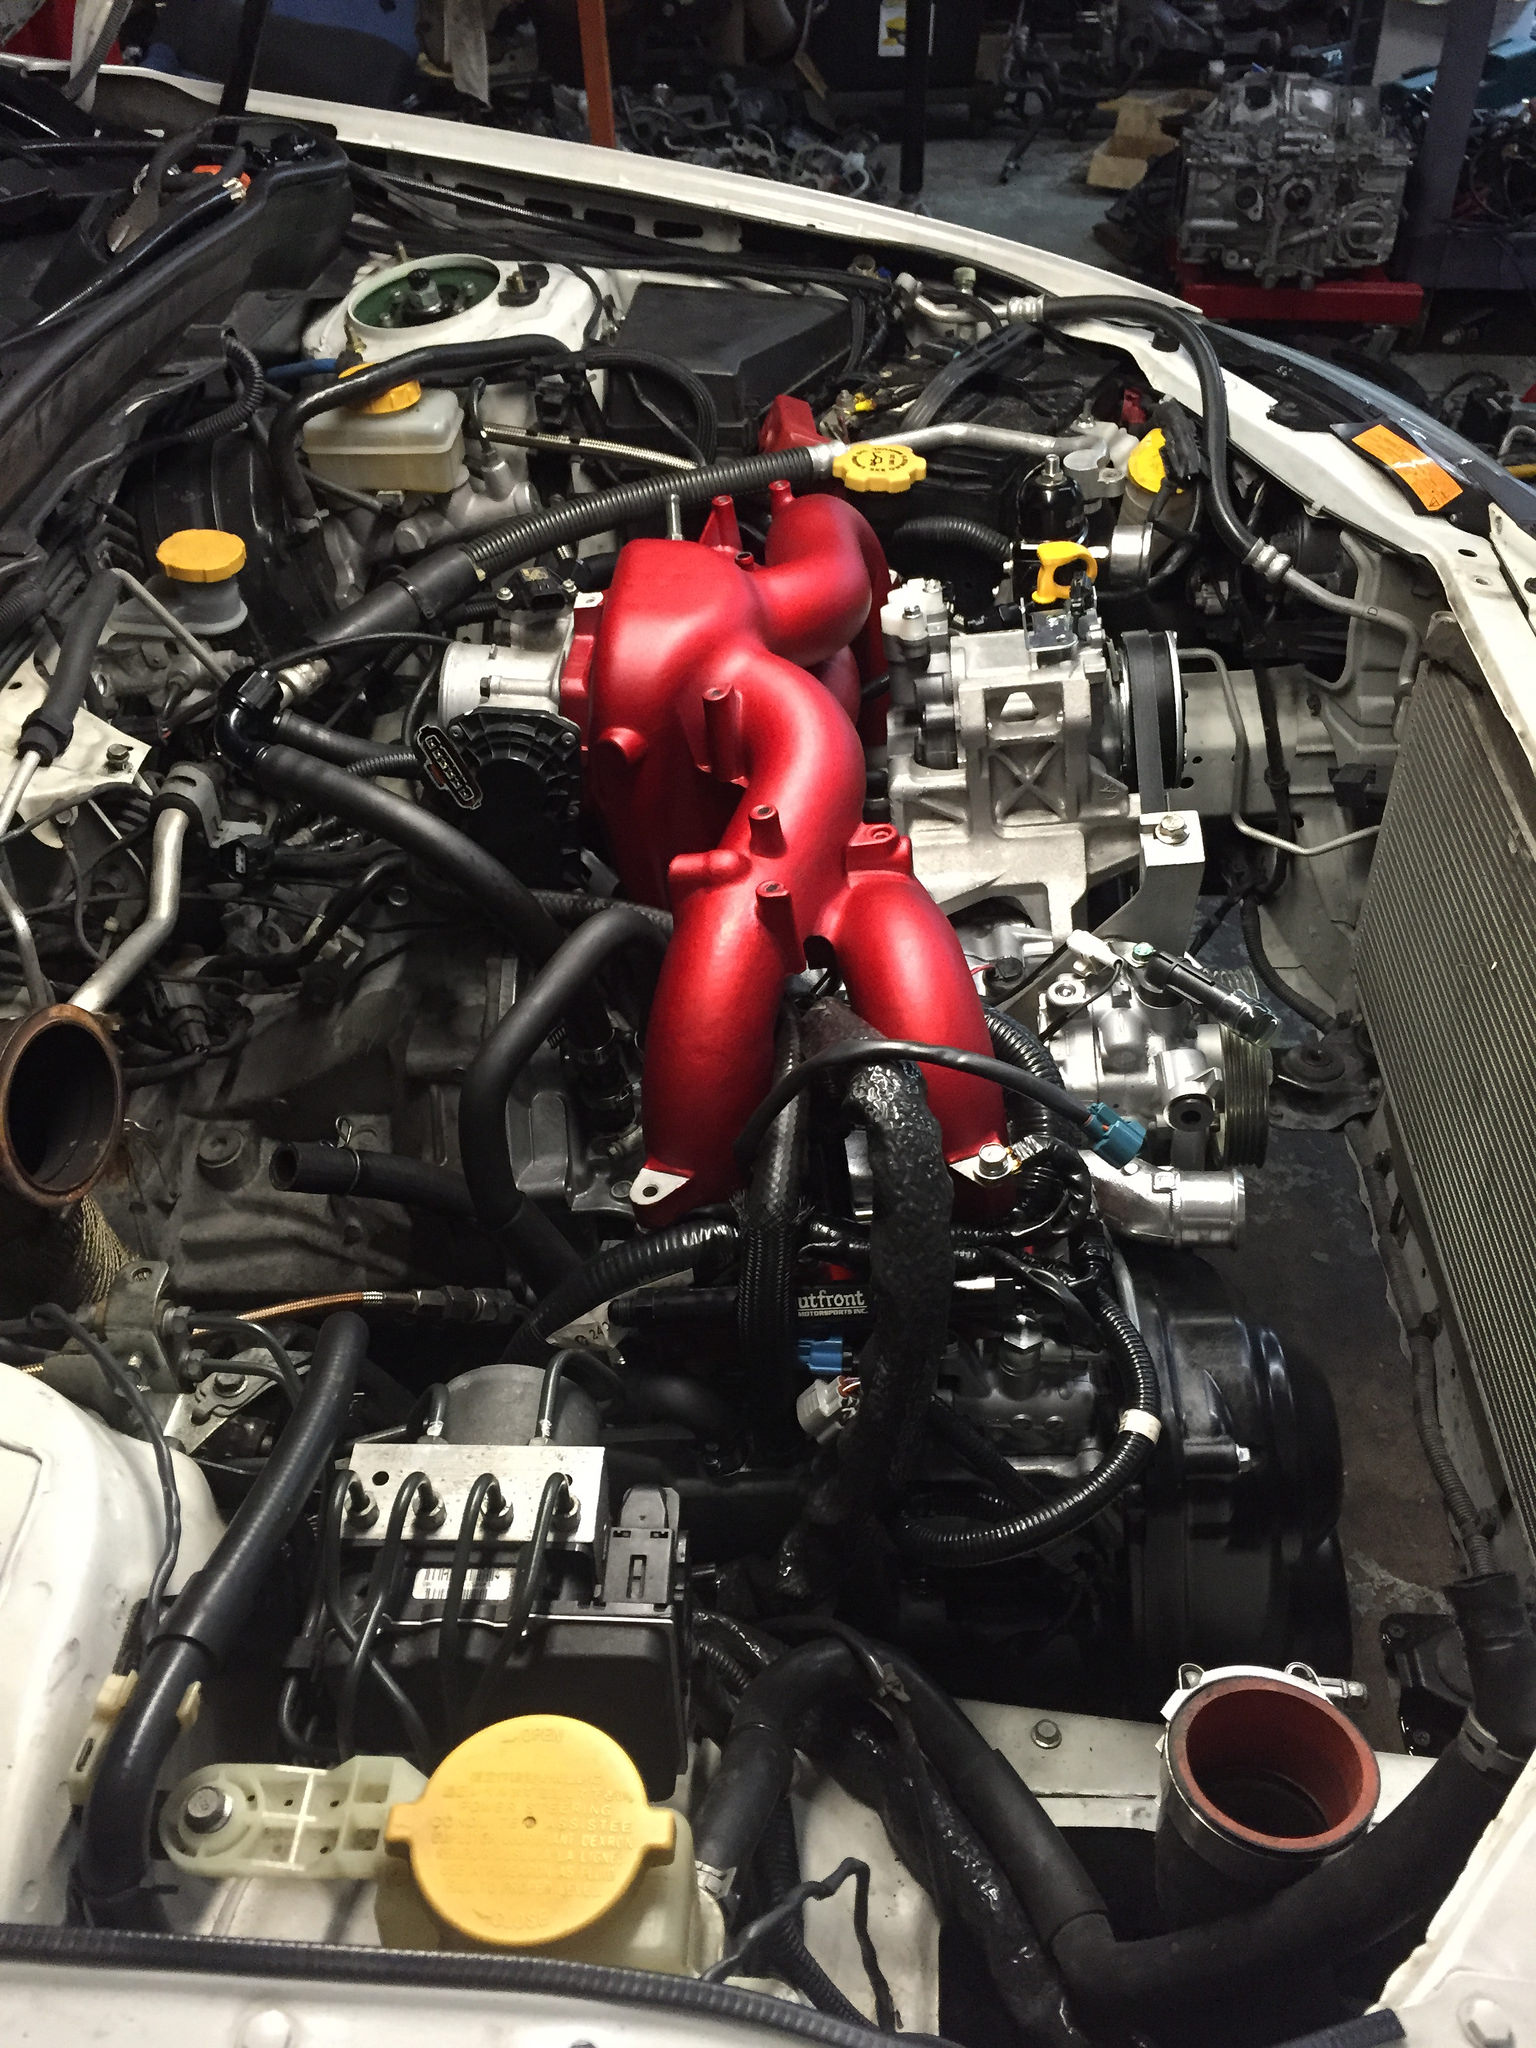
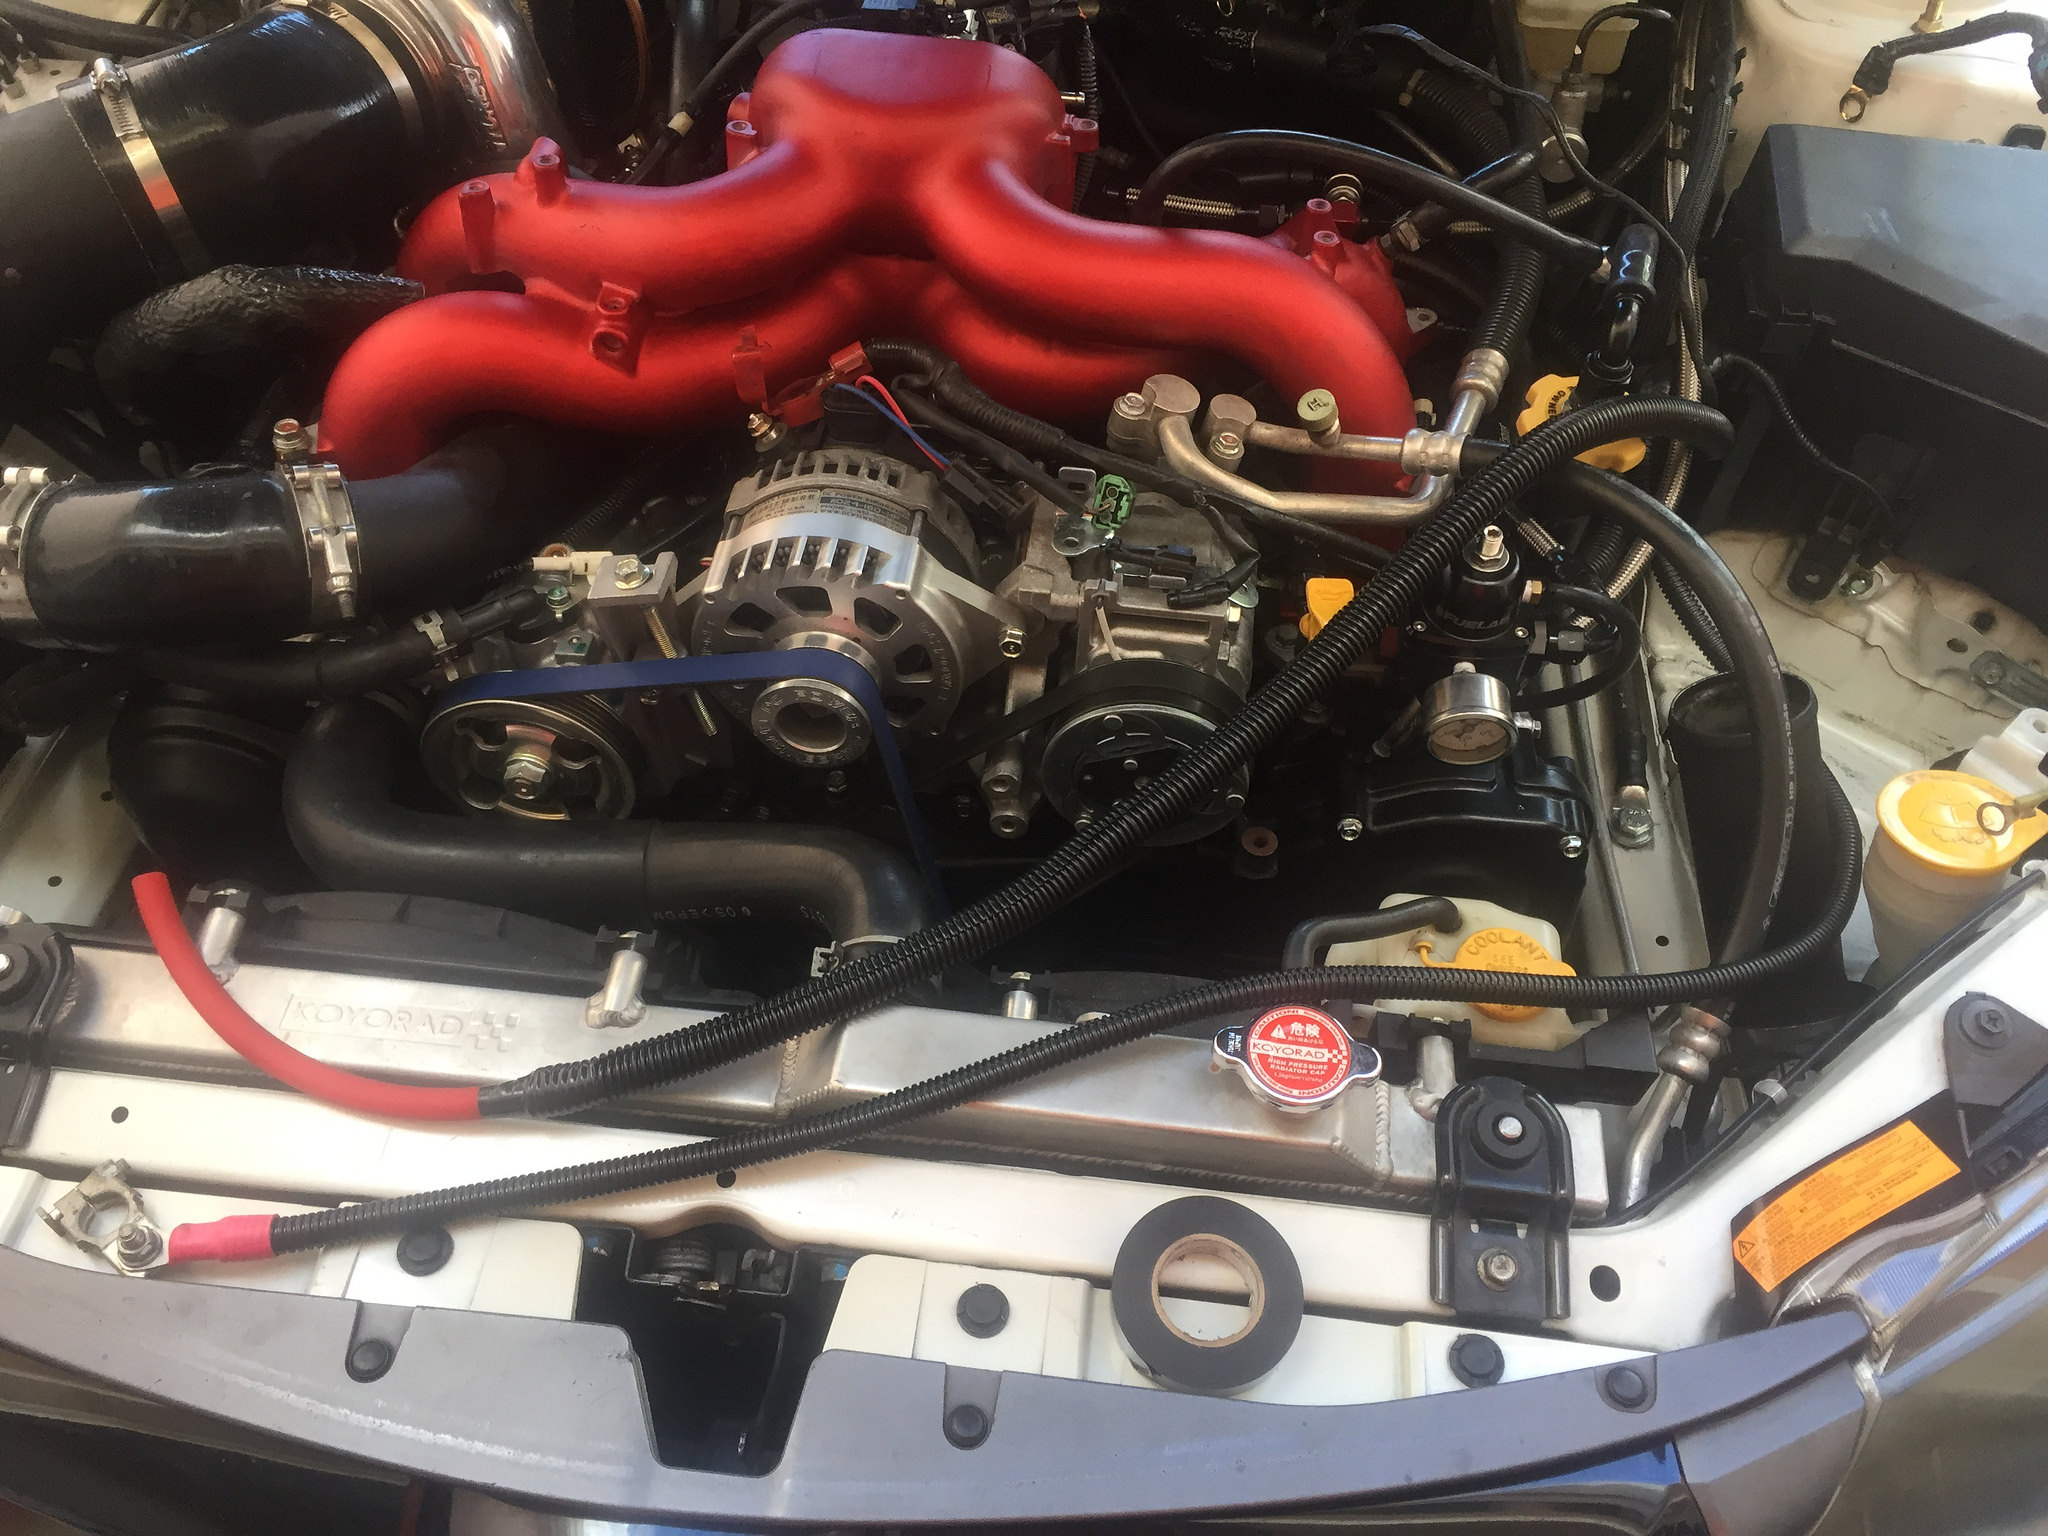
Koyorad Radiator
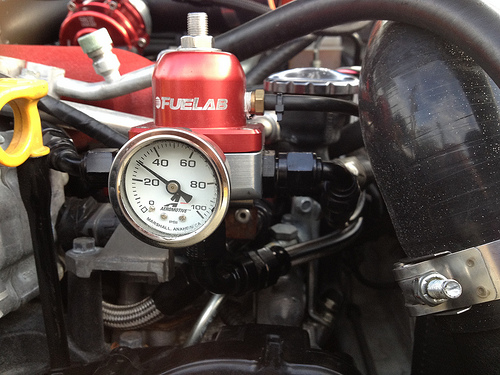
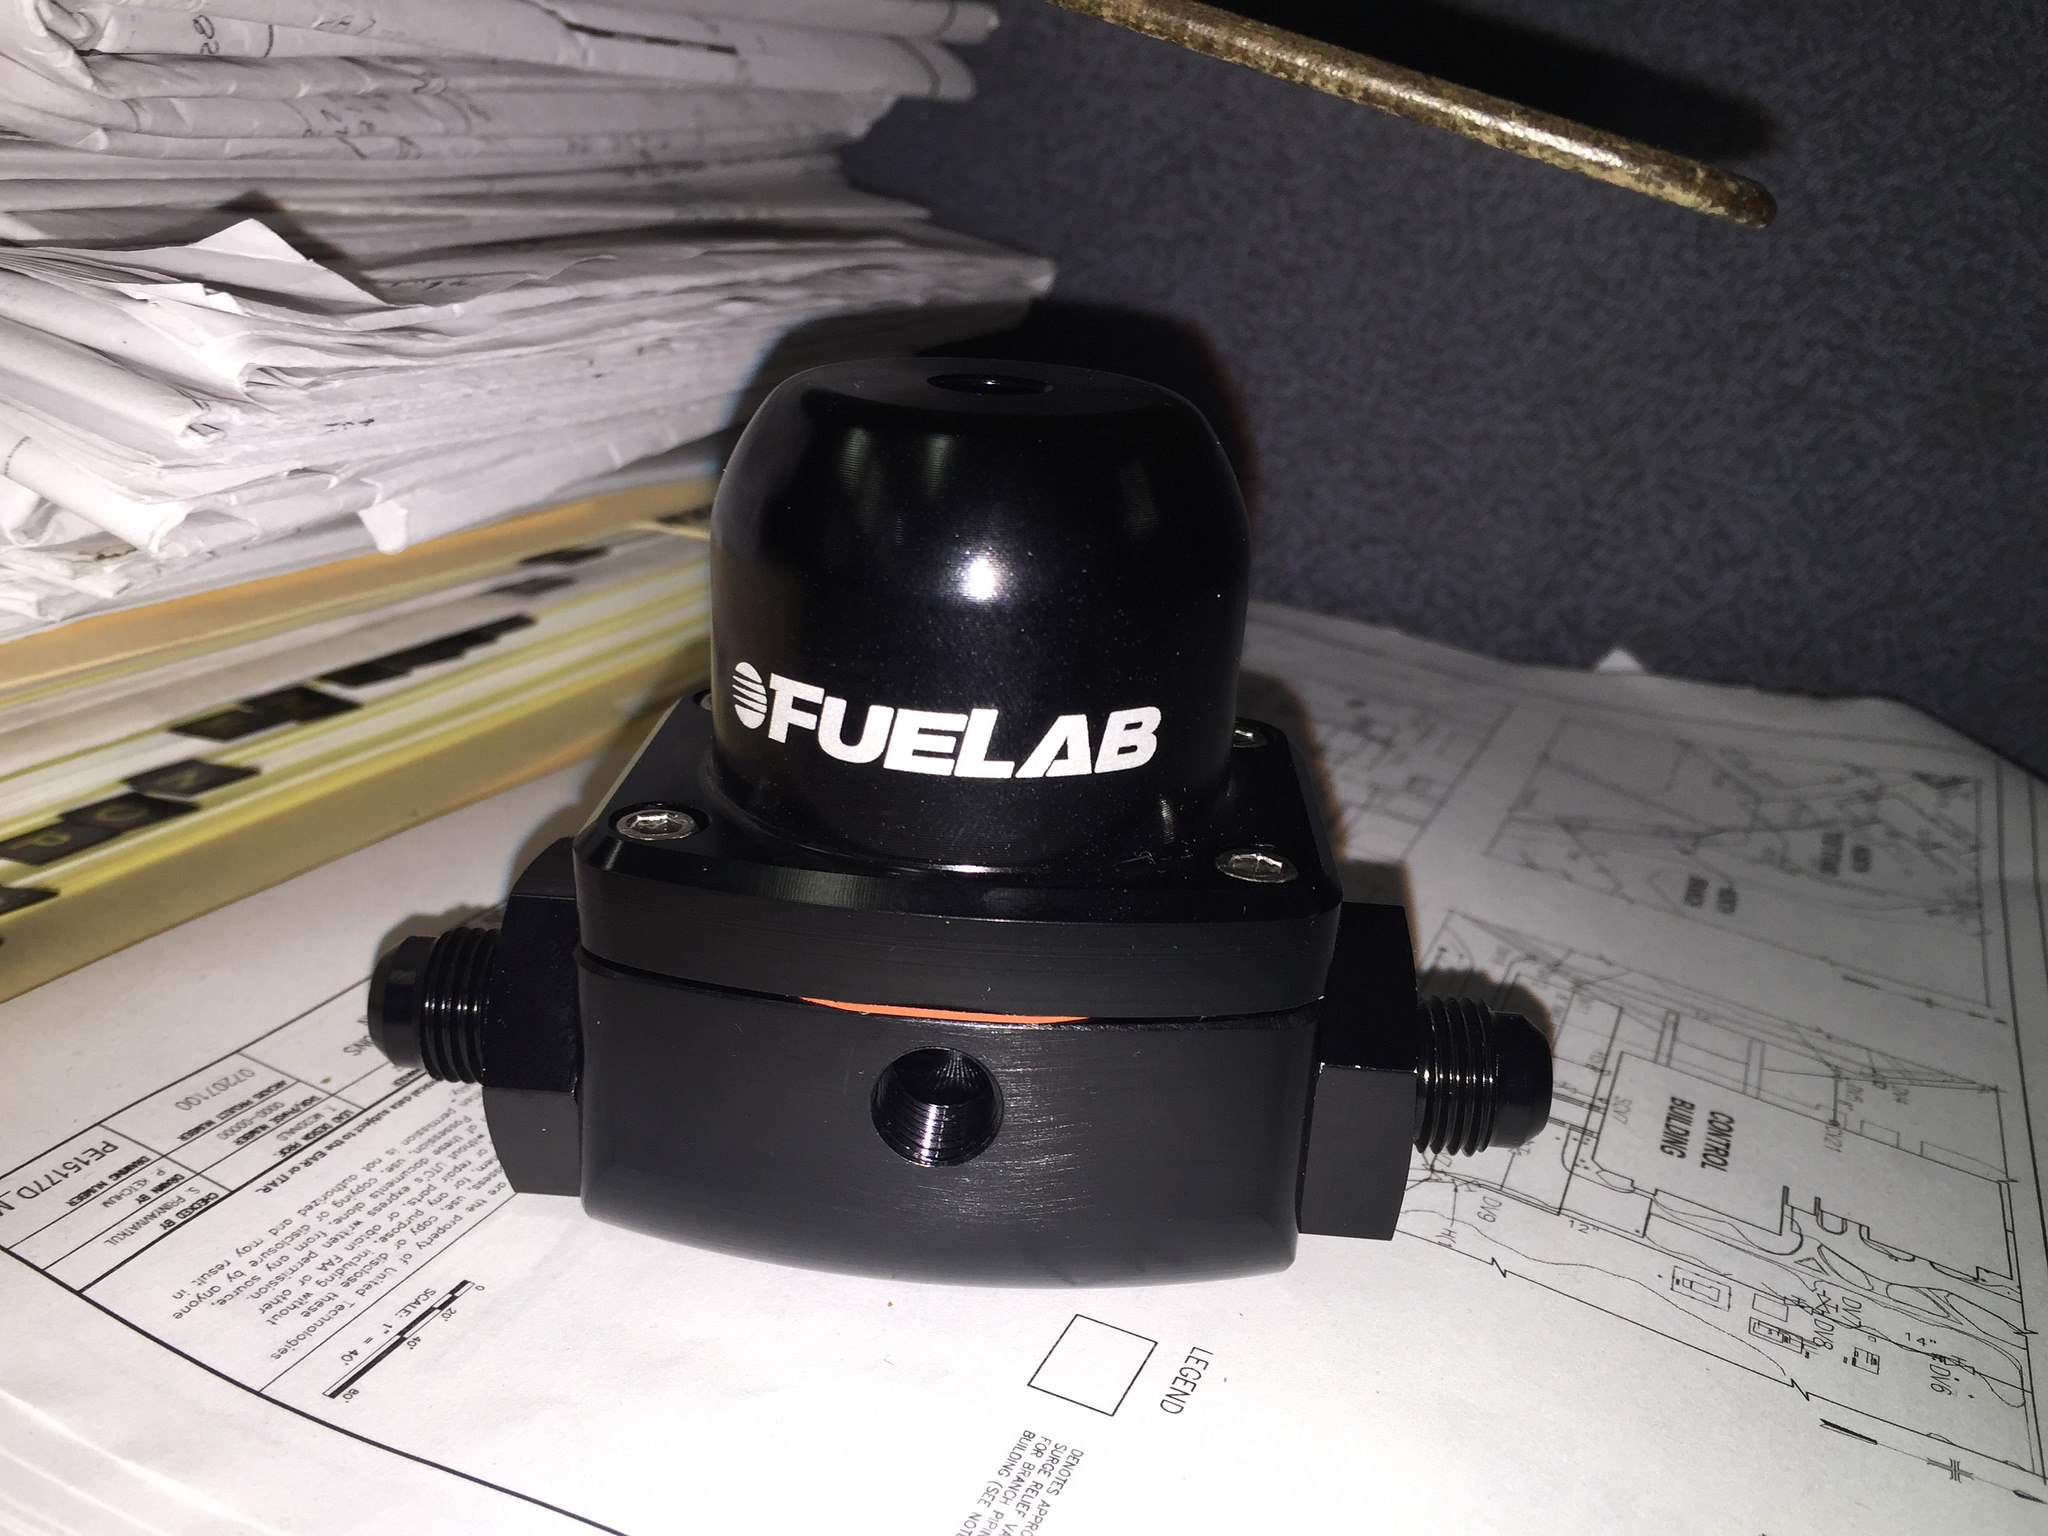
Fuelab Large Seat High Flow Regulator
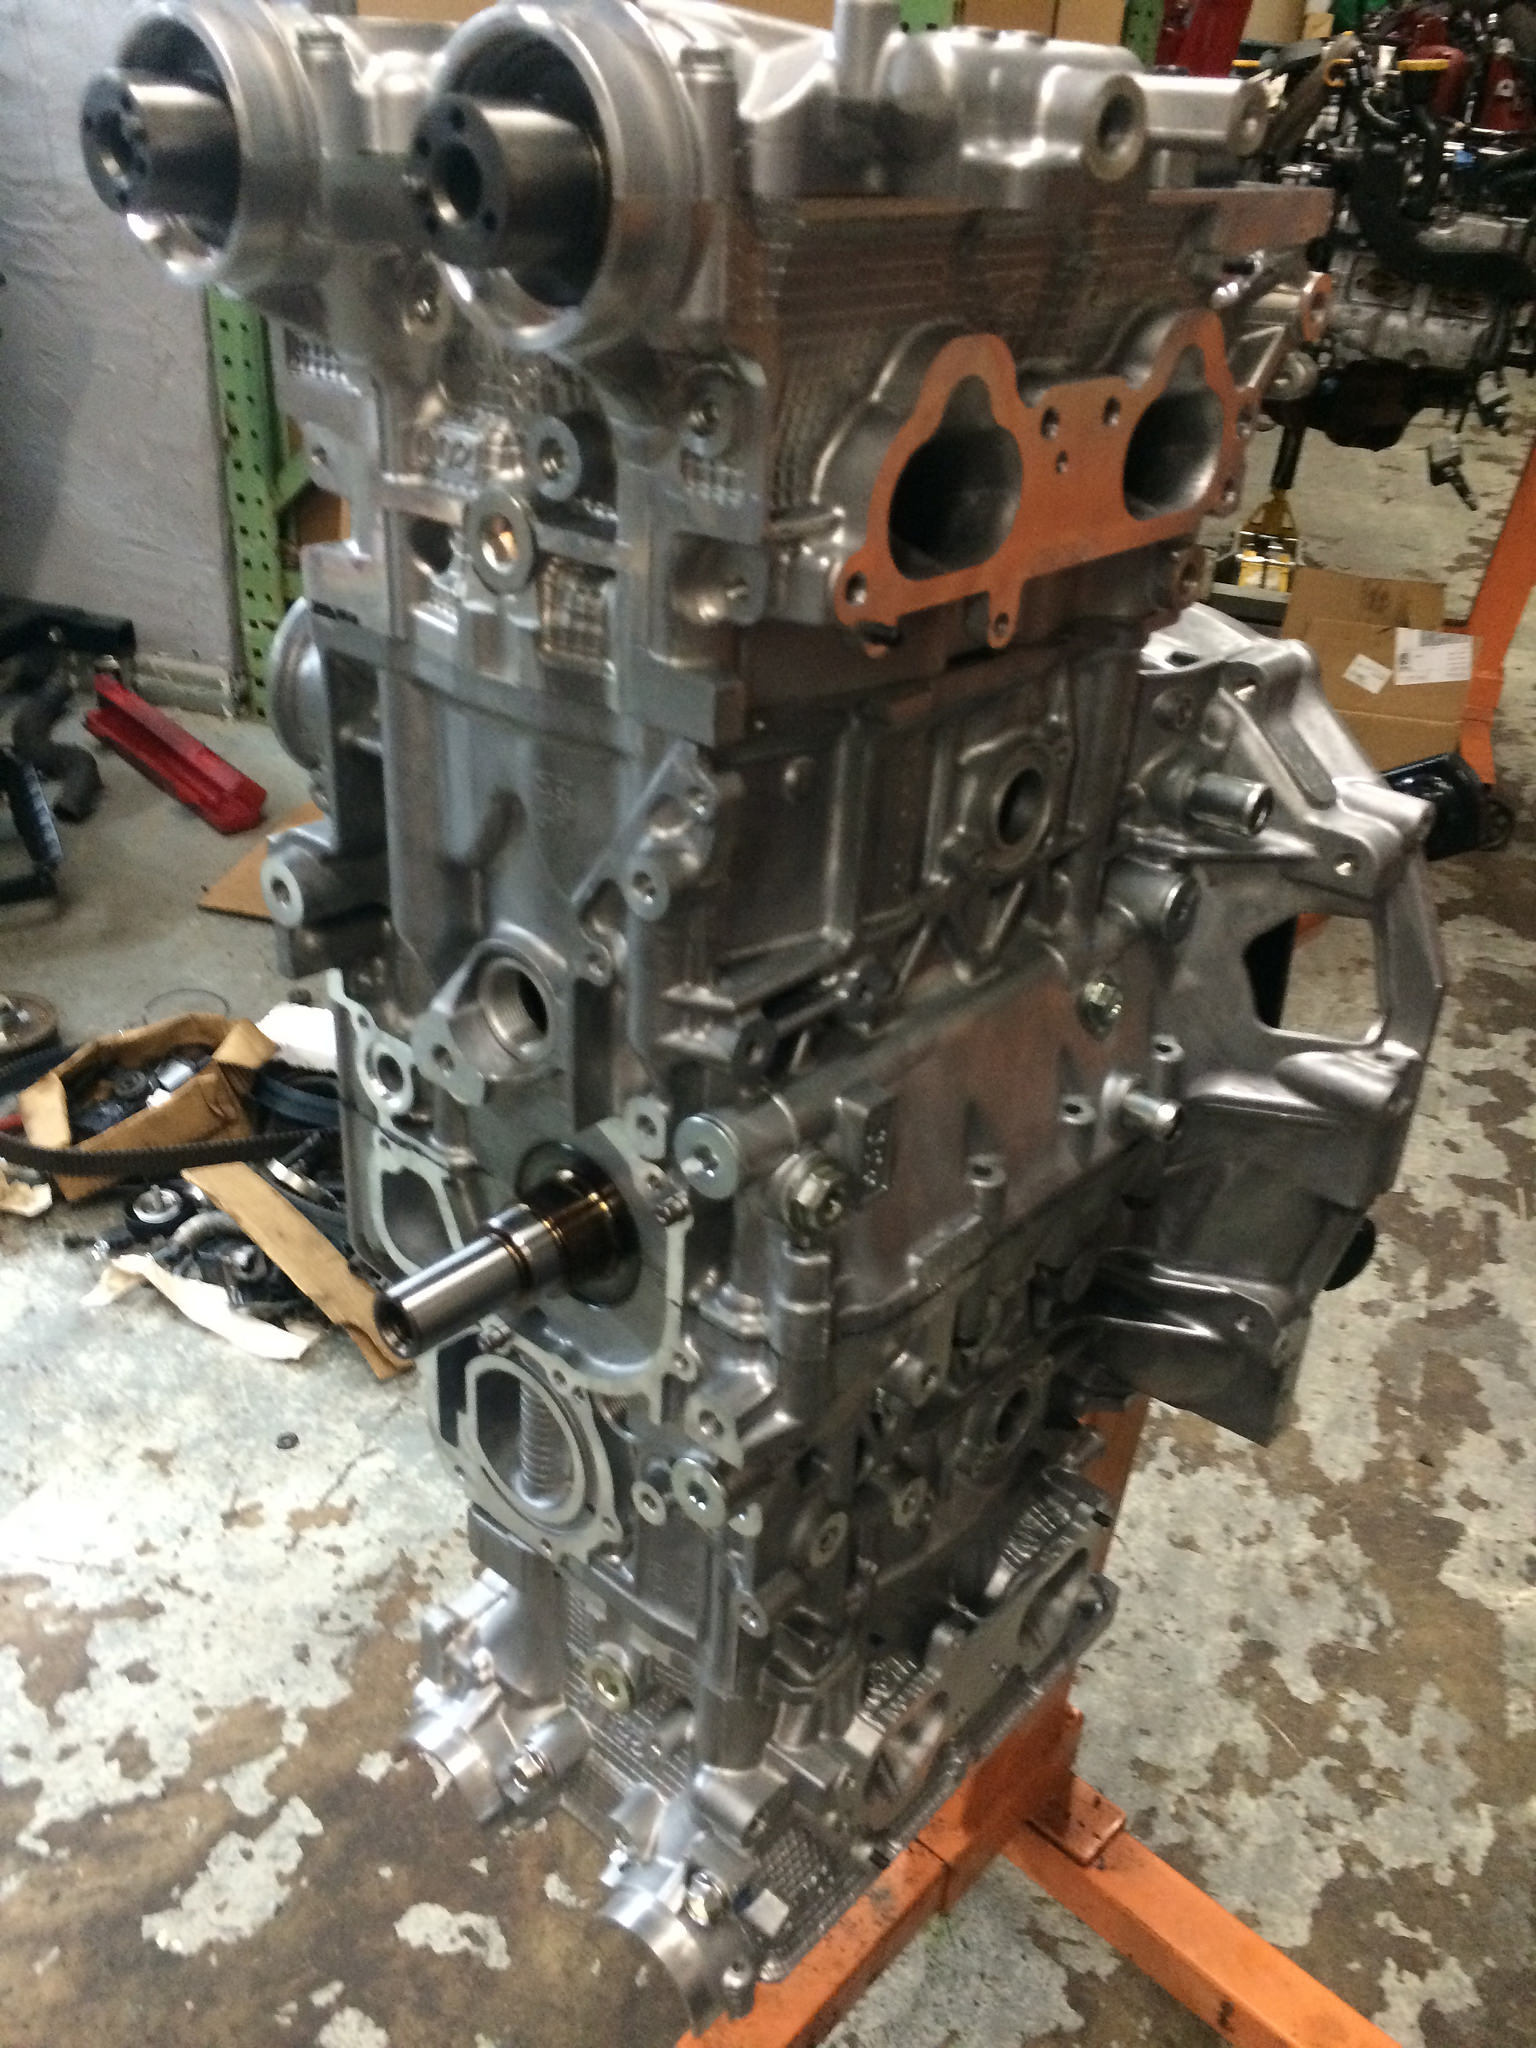
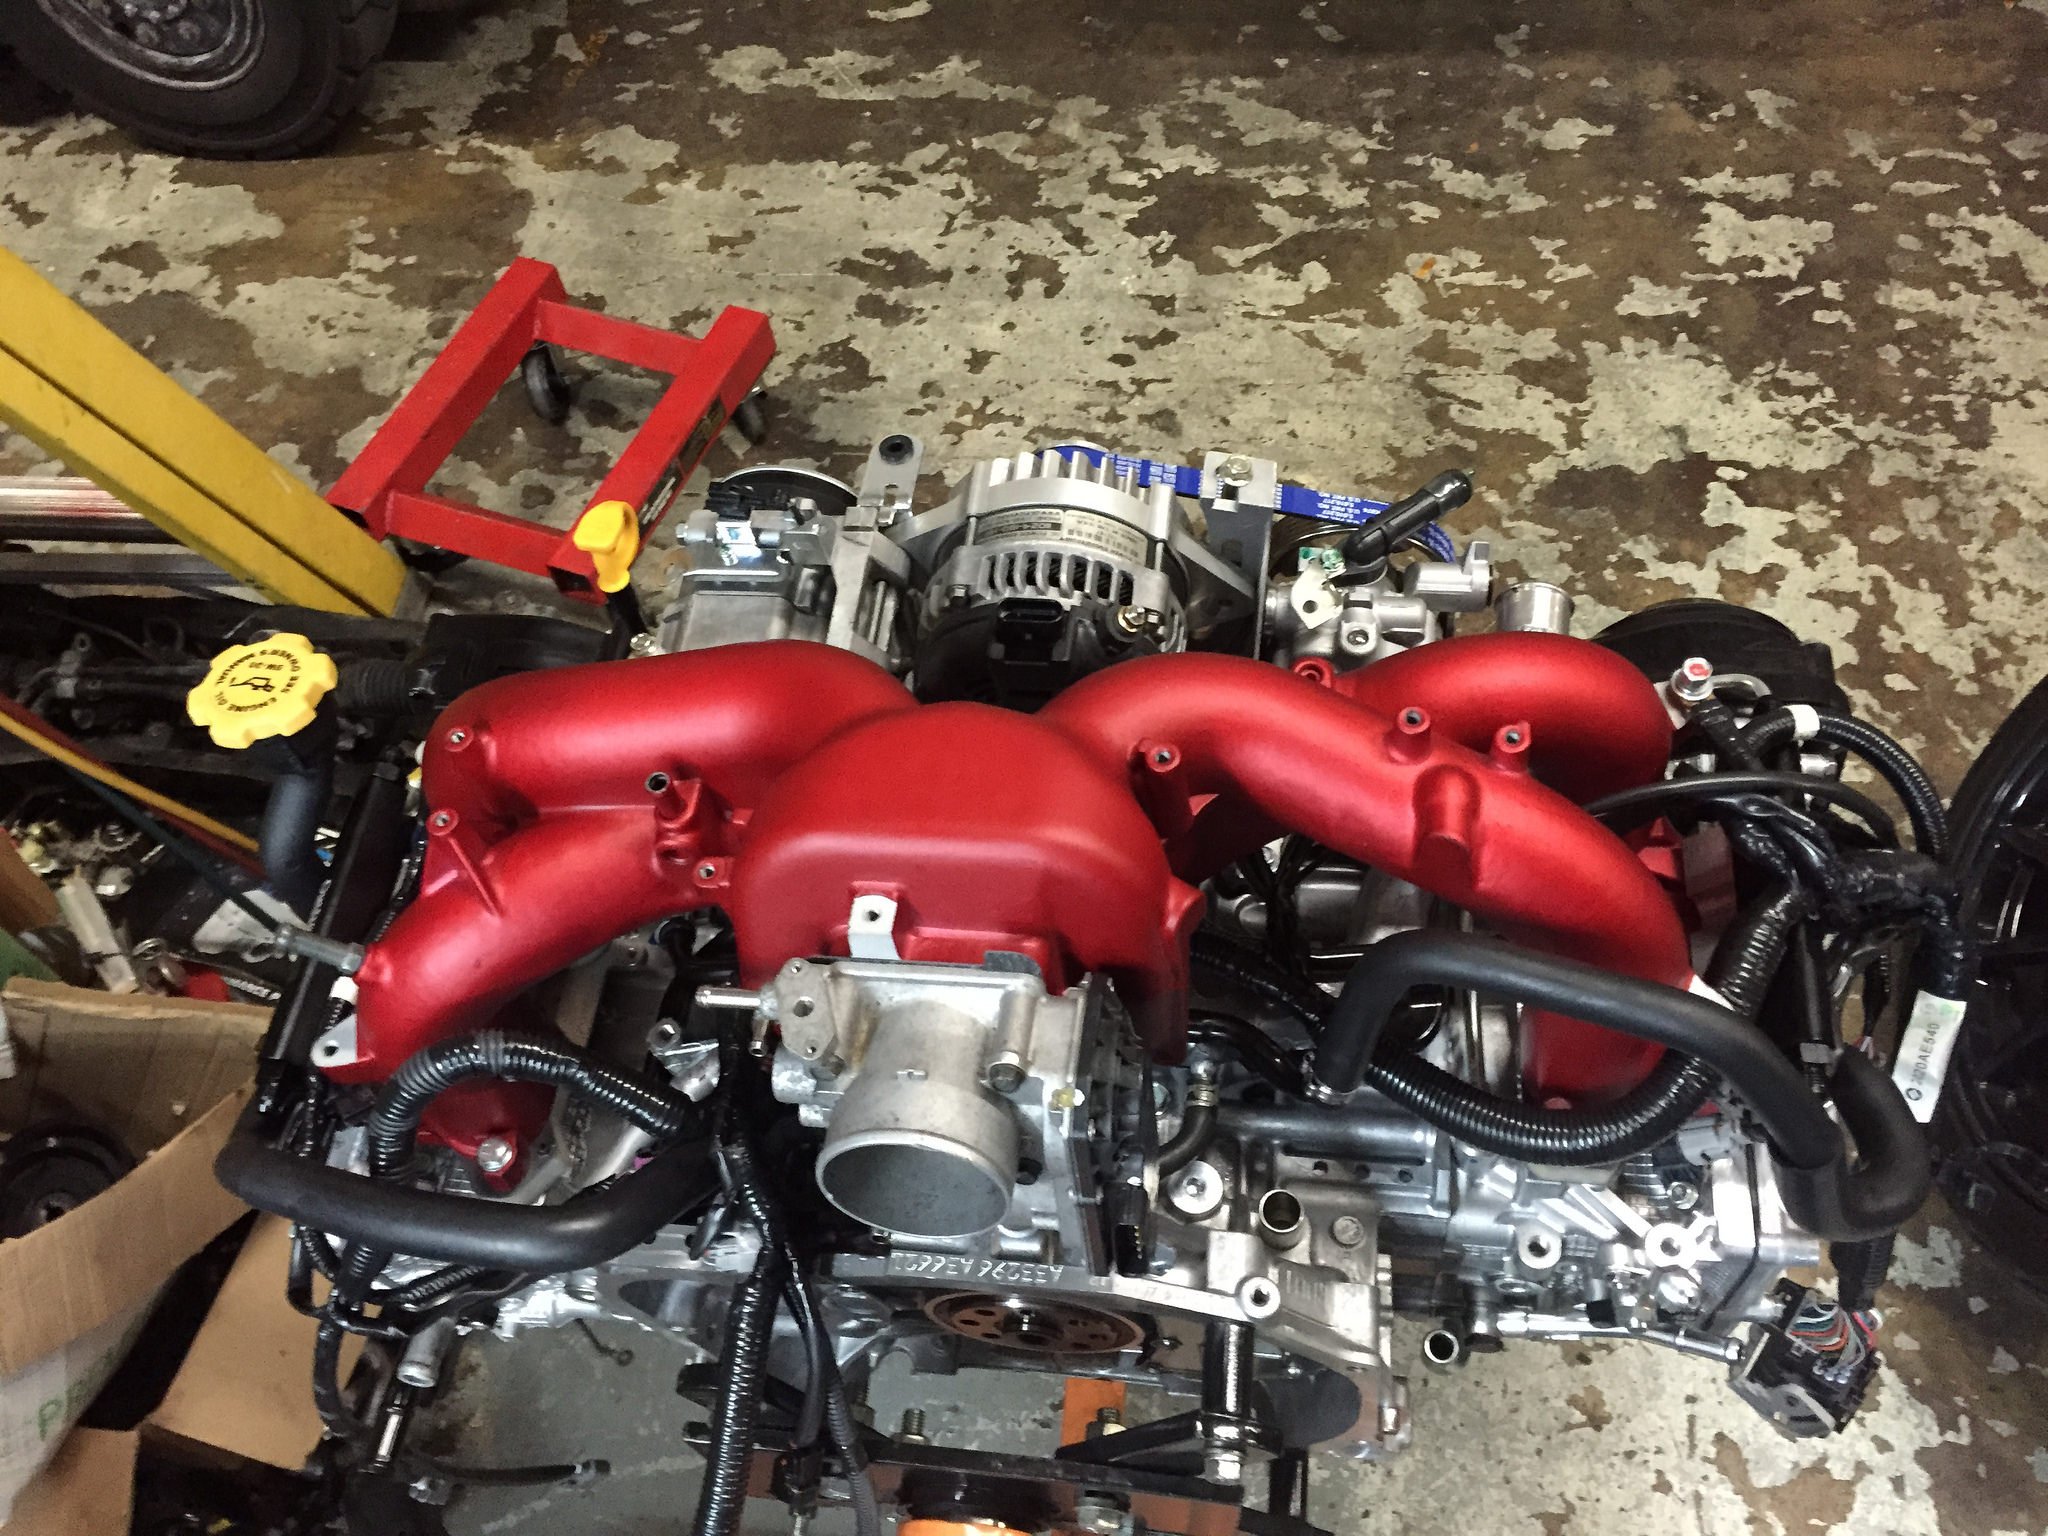
Block Assembly
 [/url]
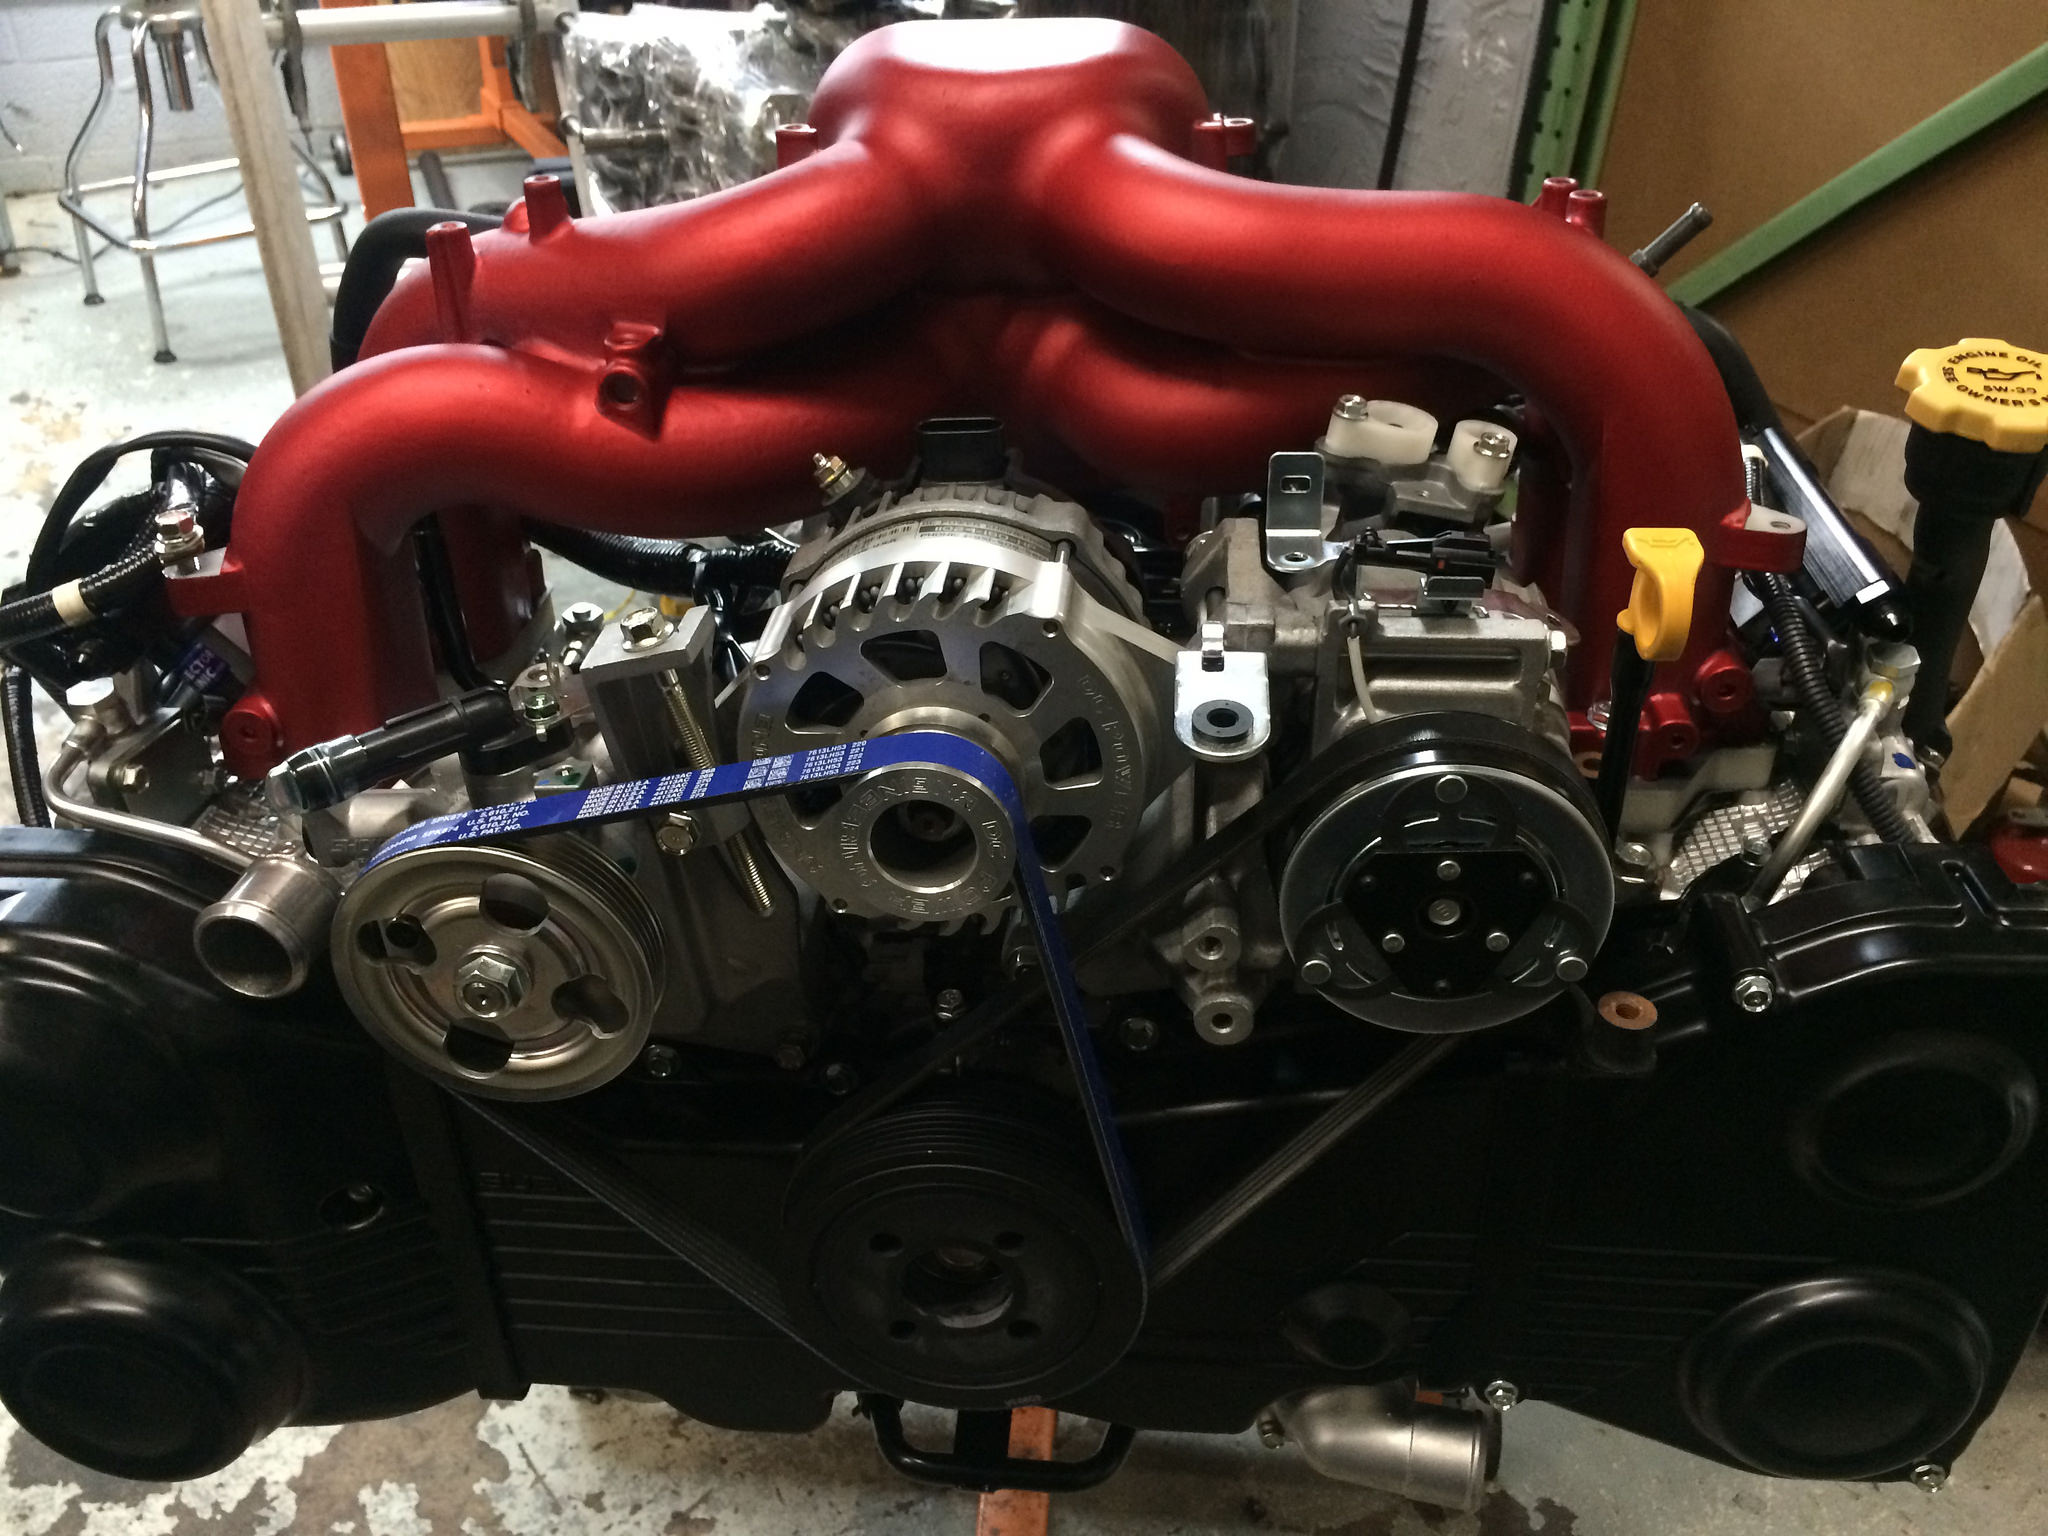

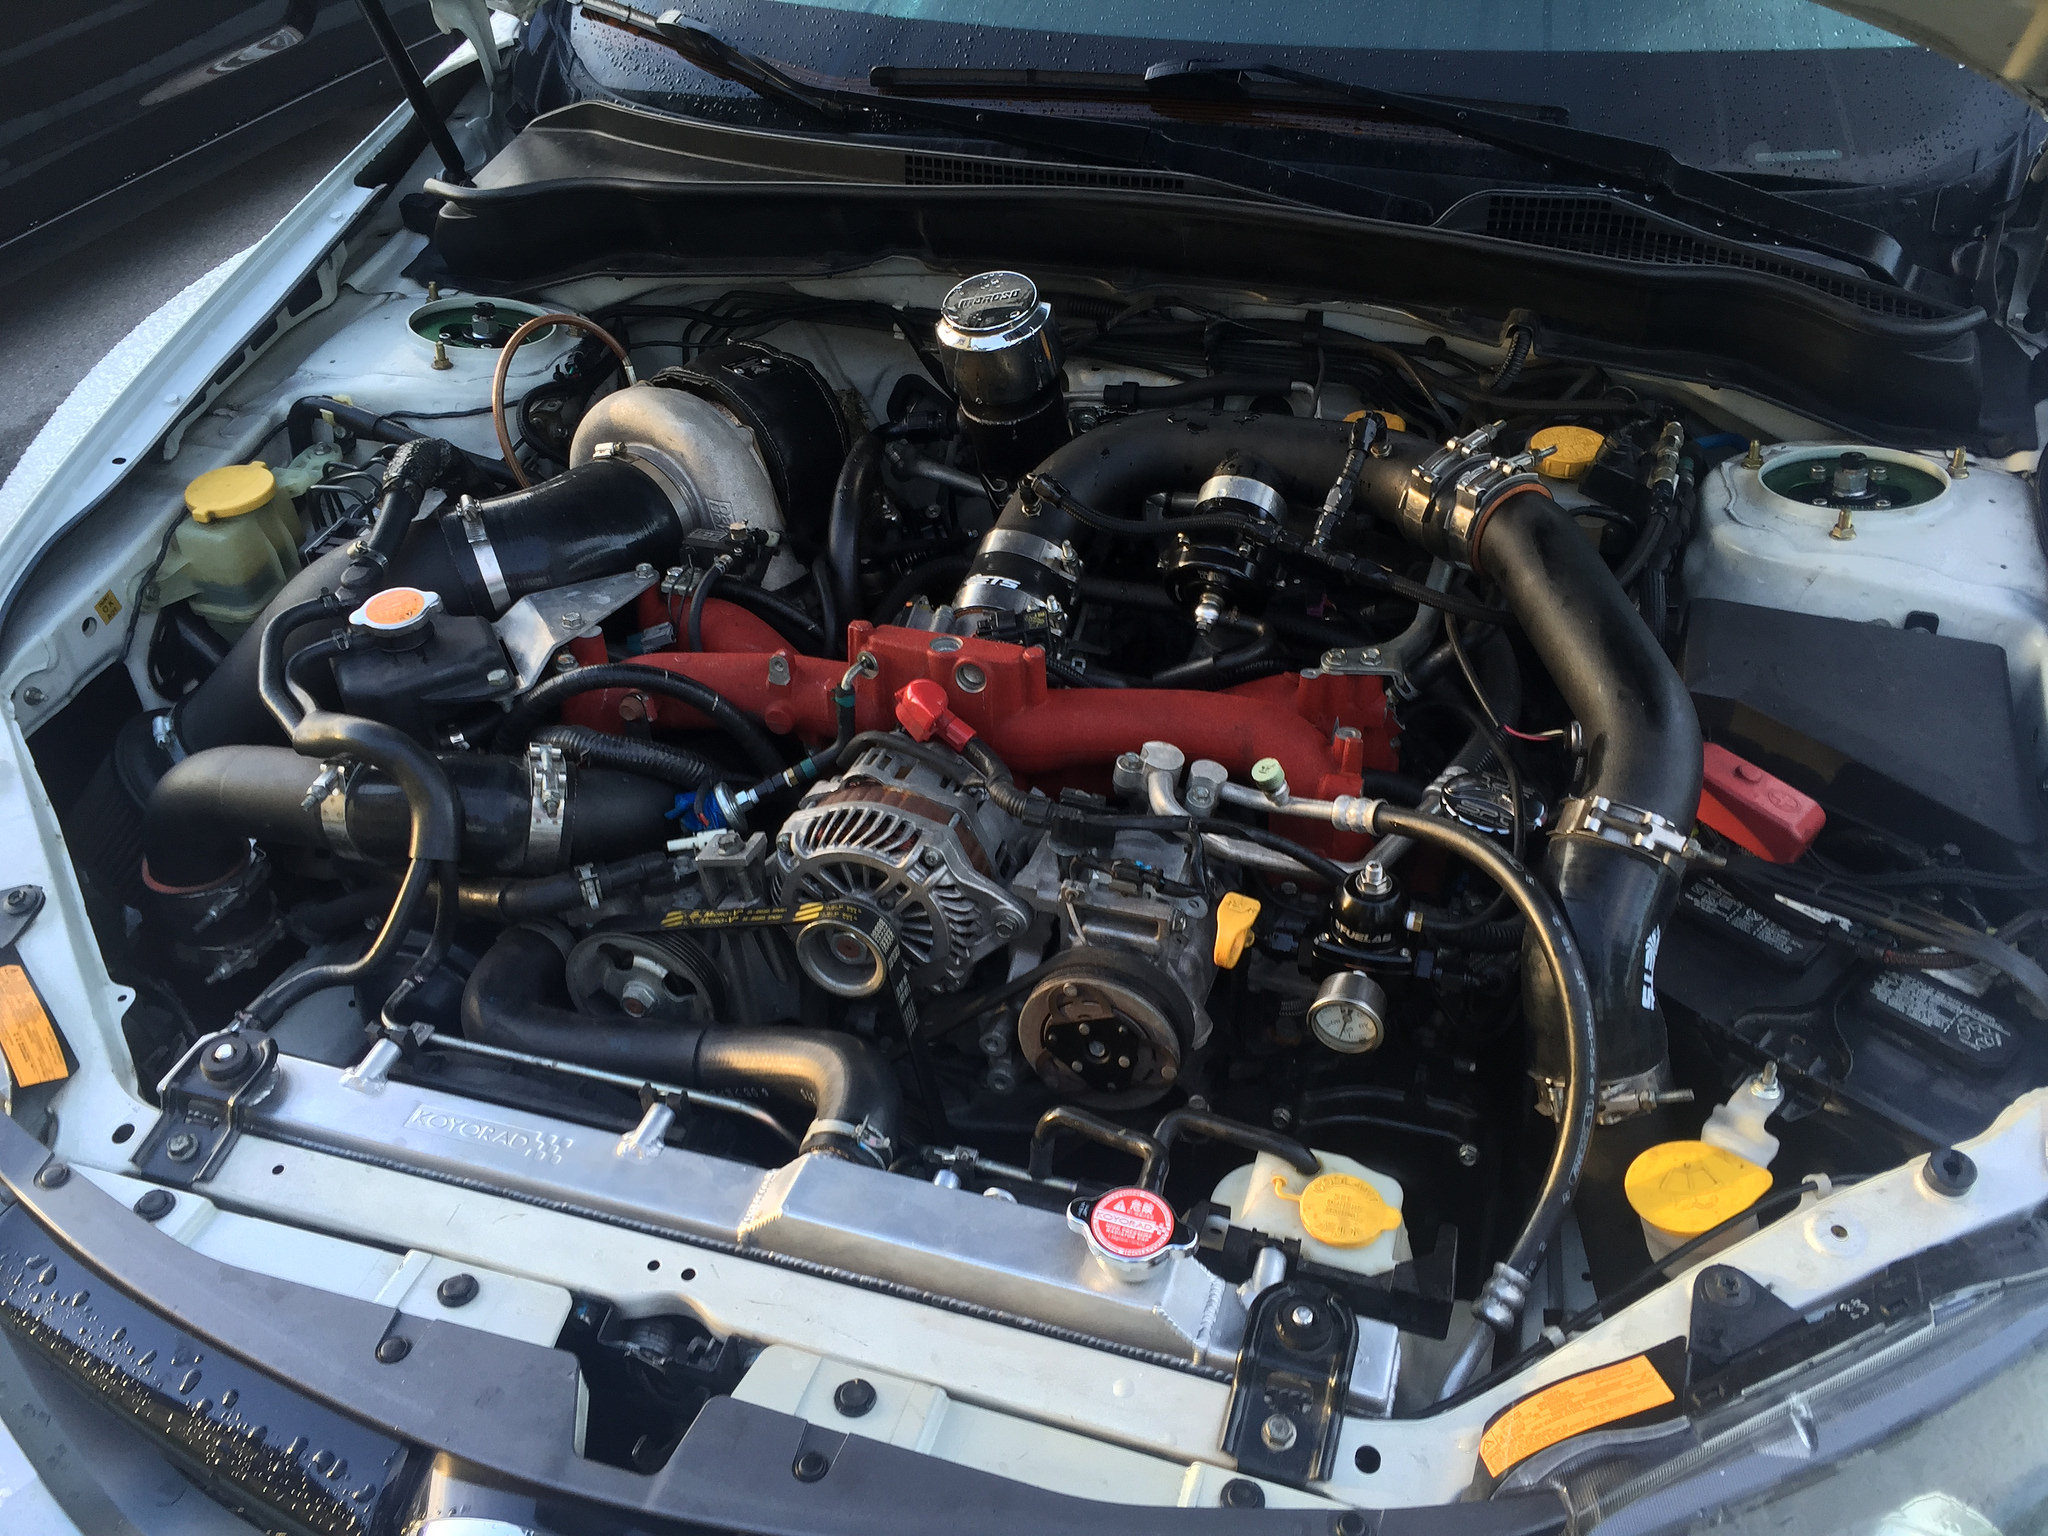
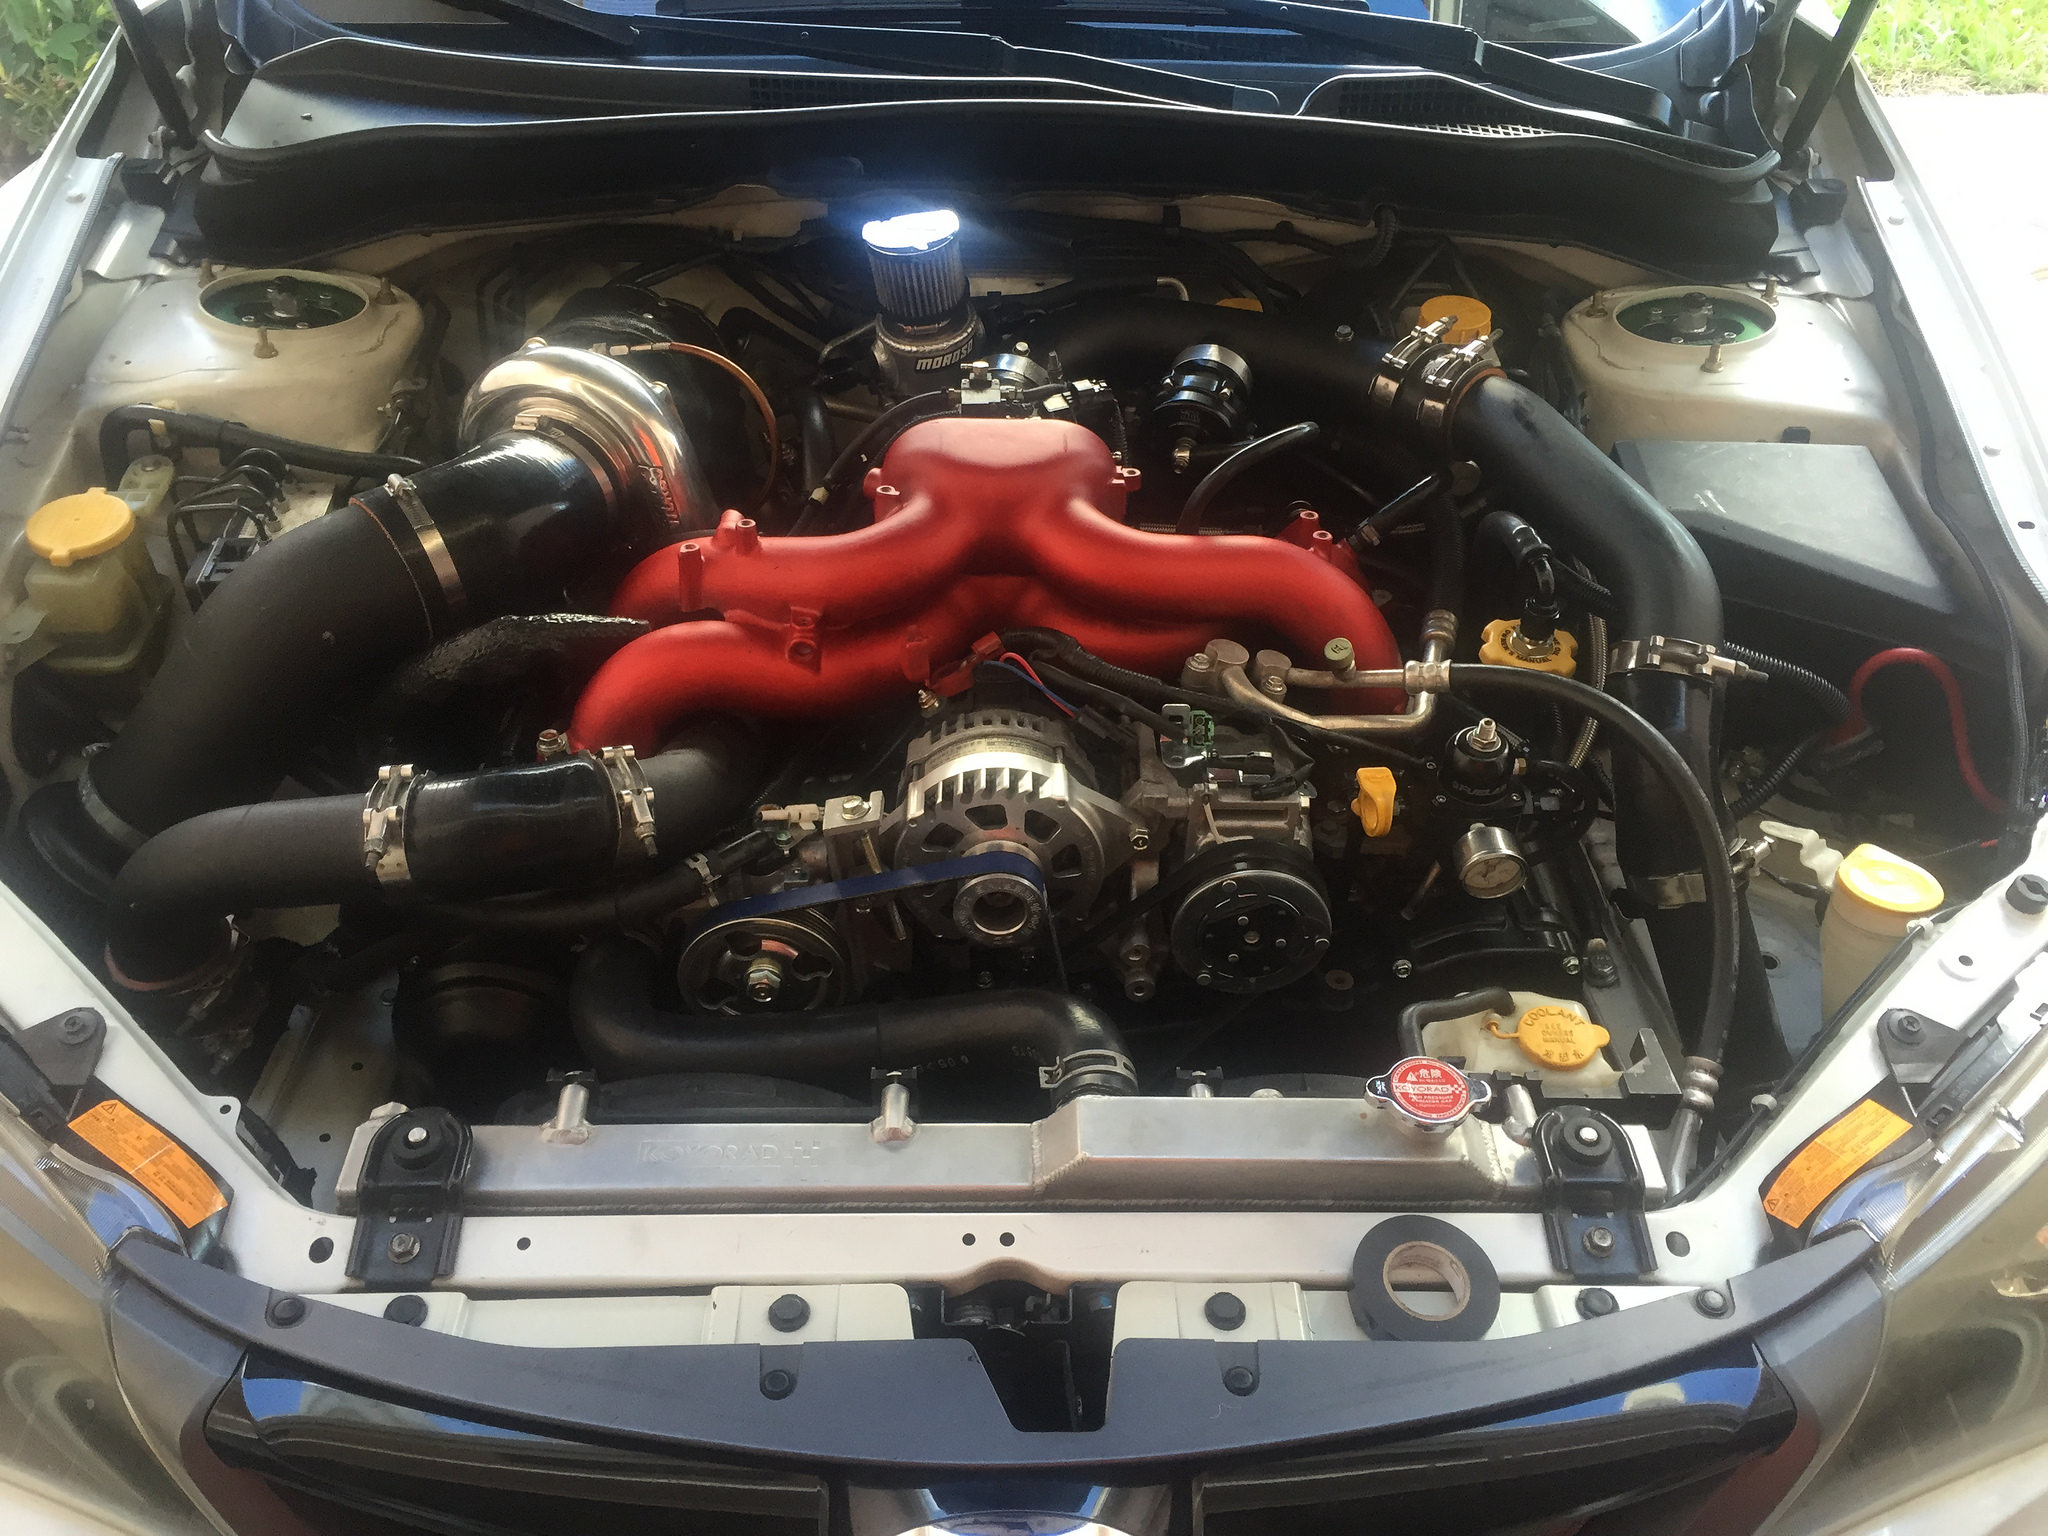
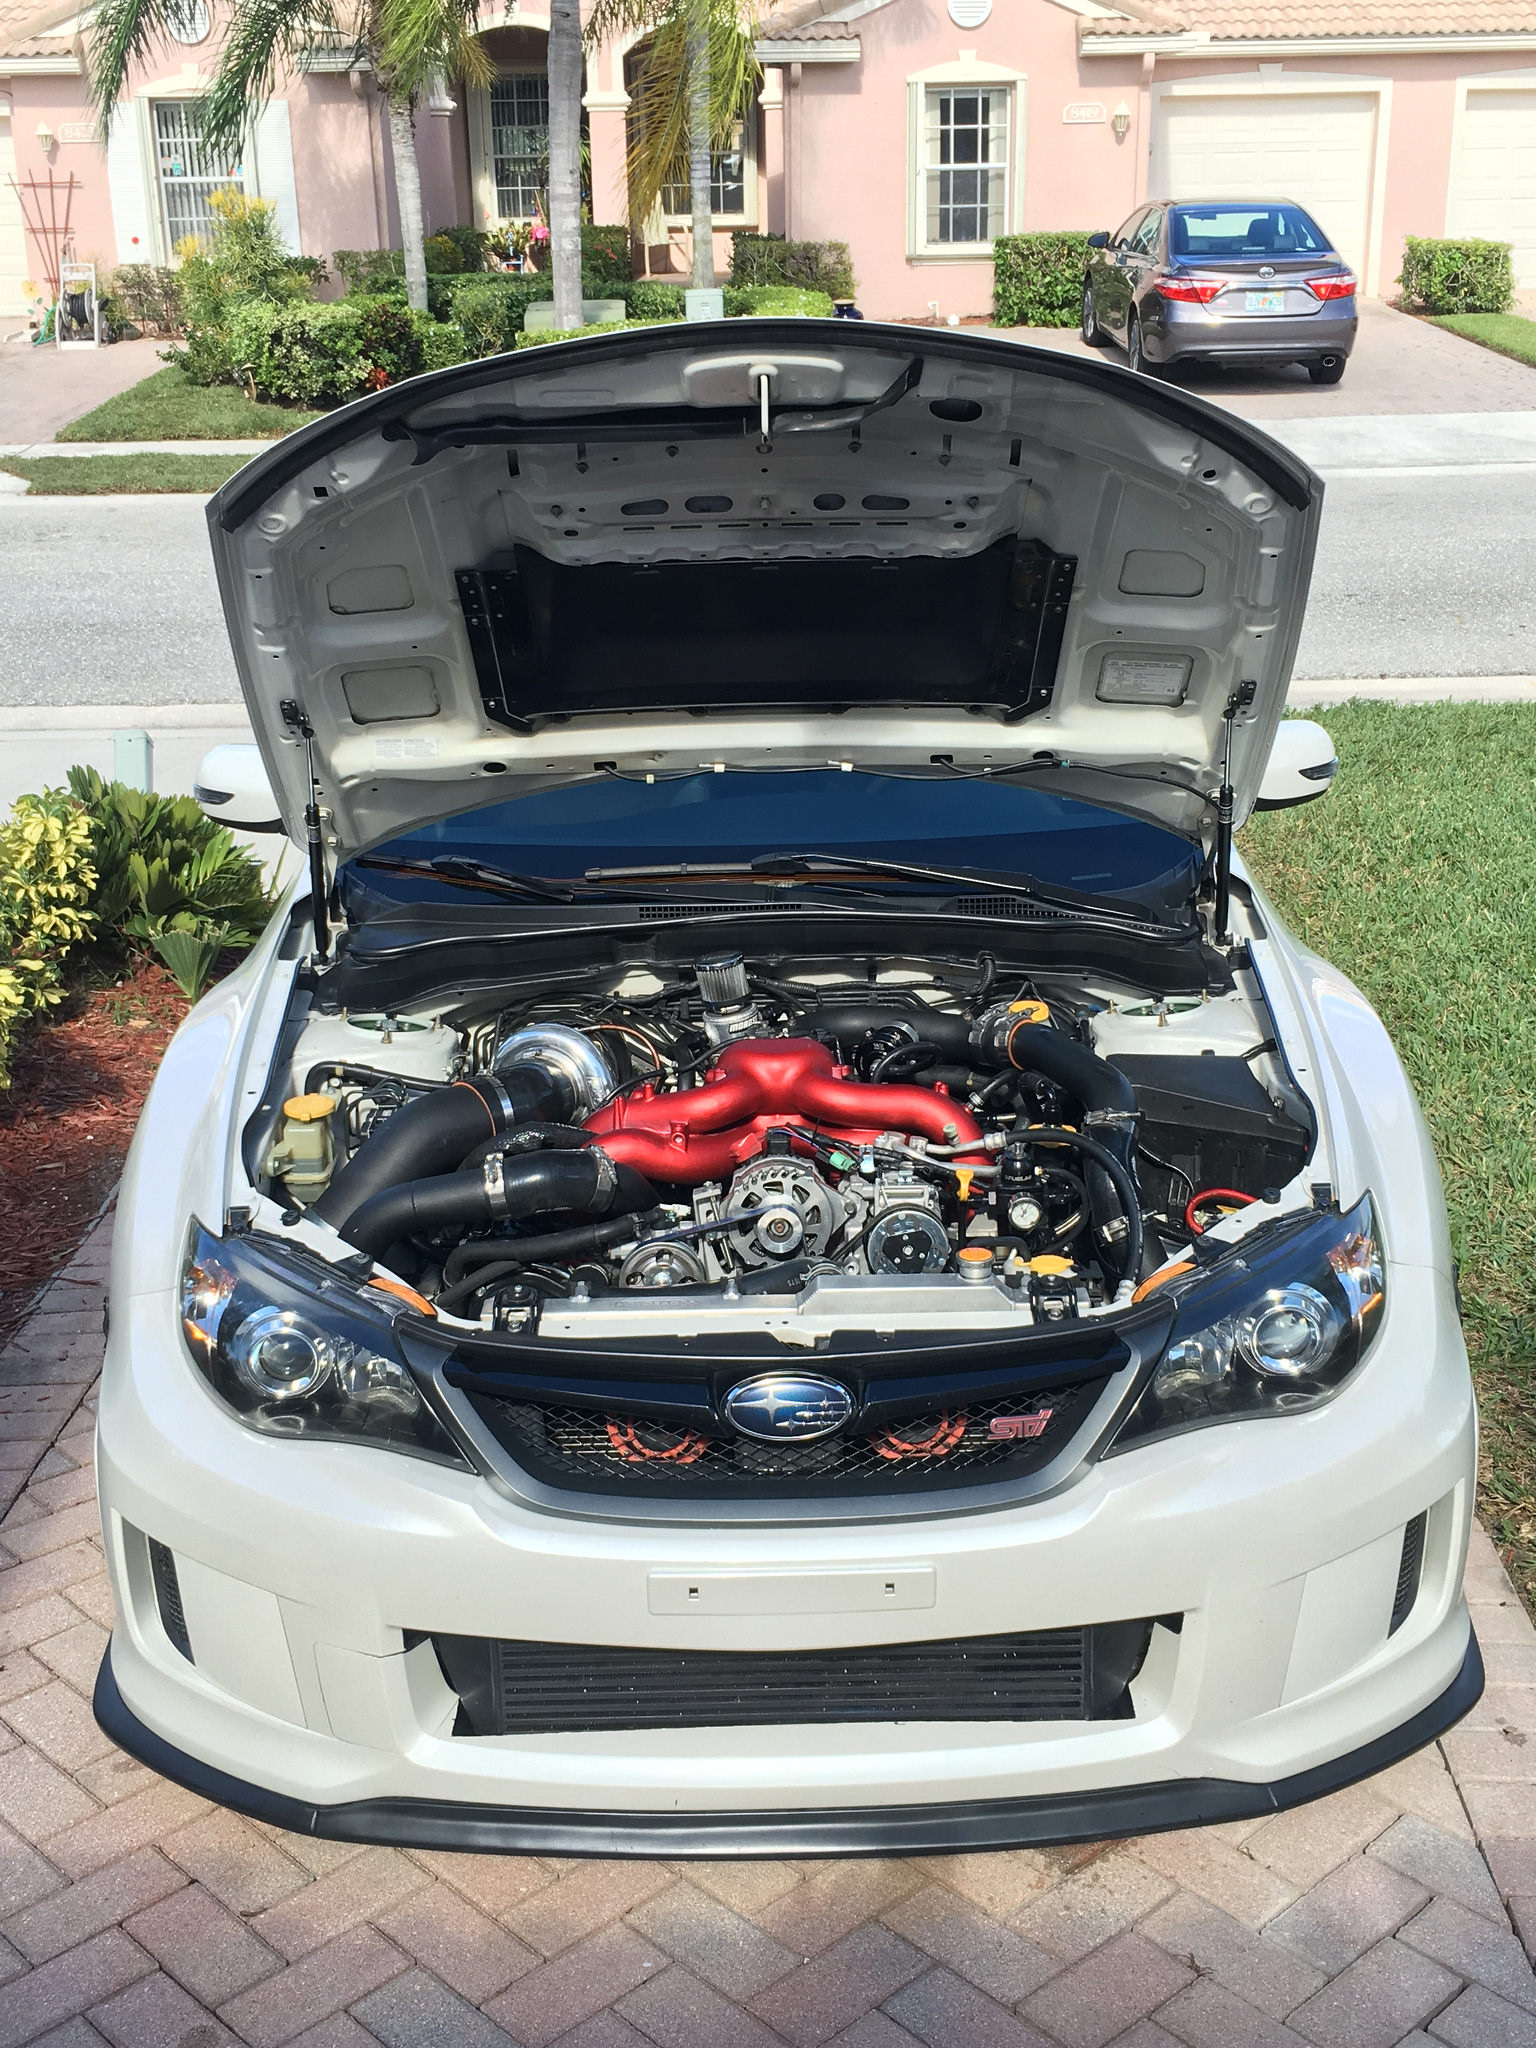
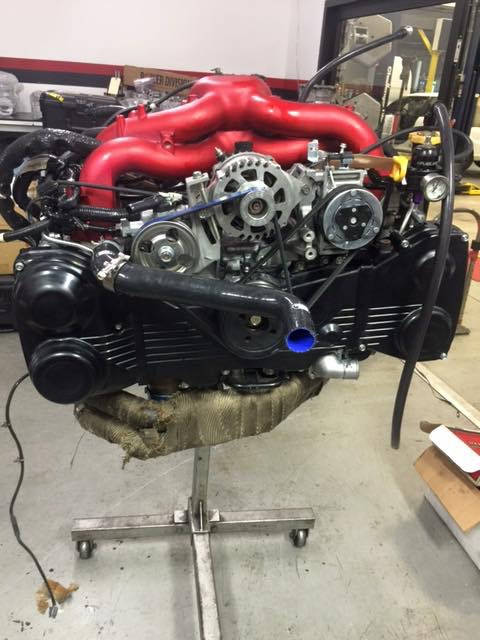
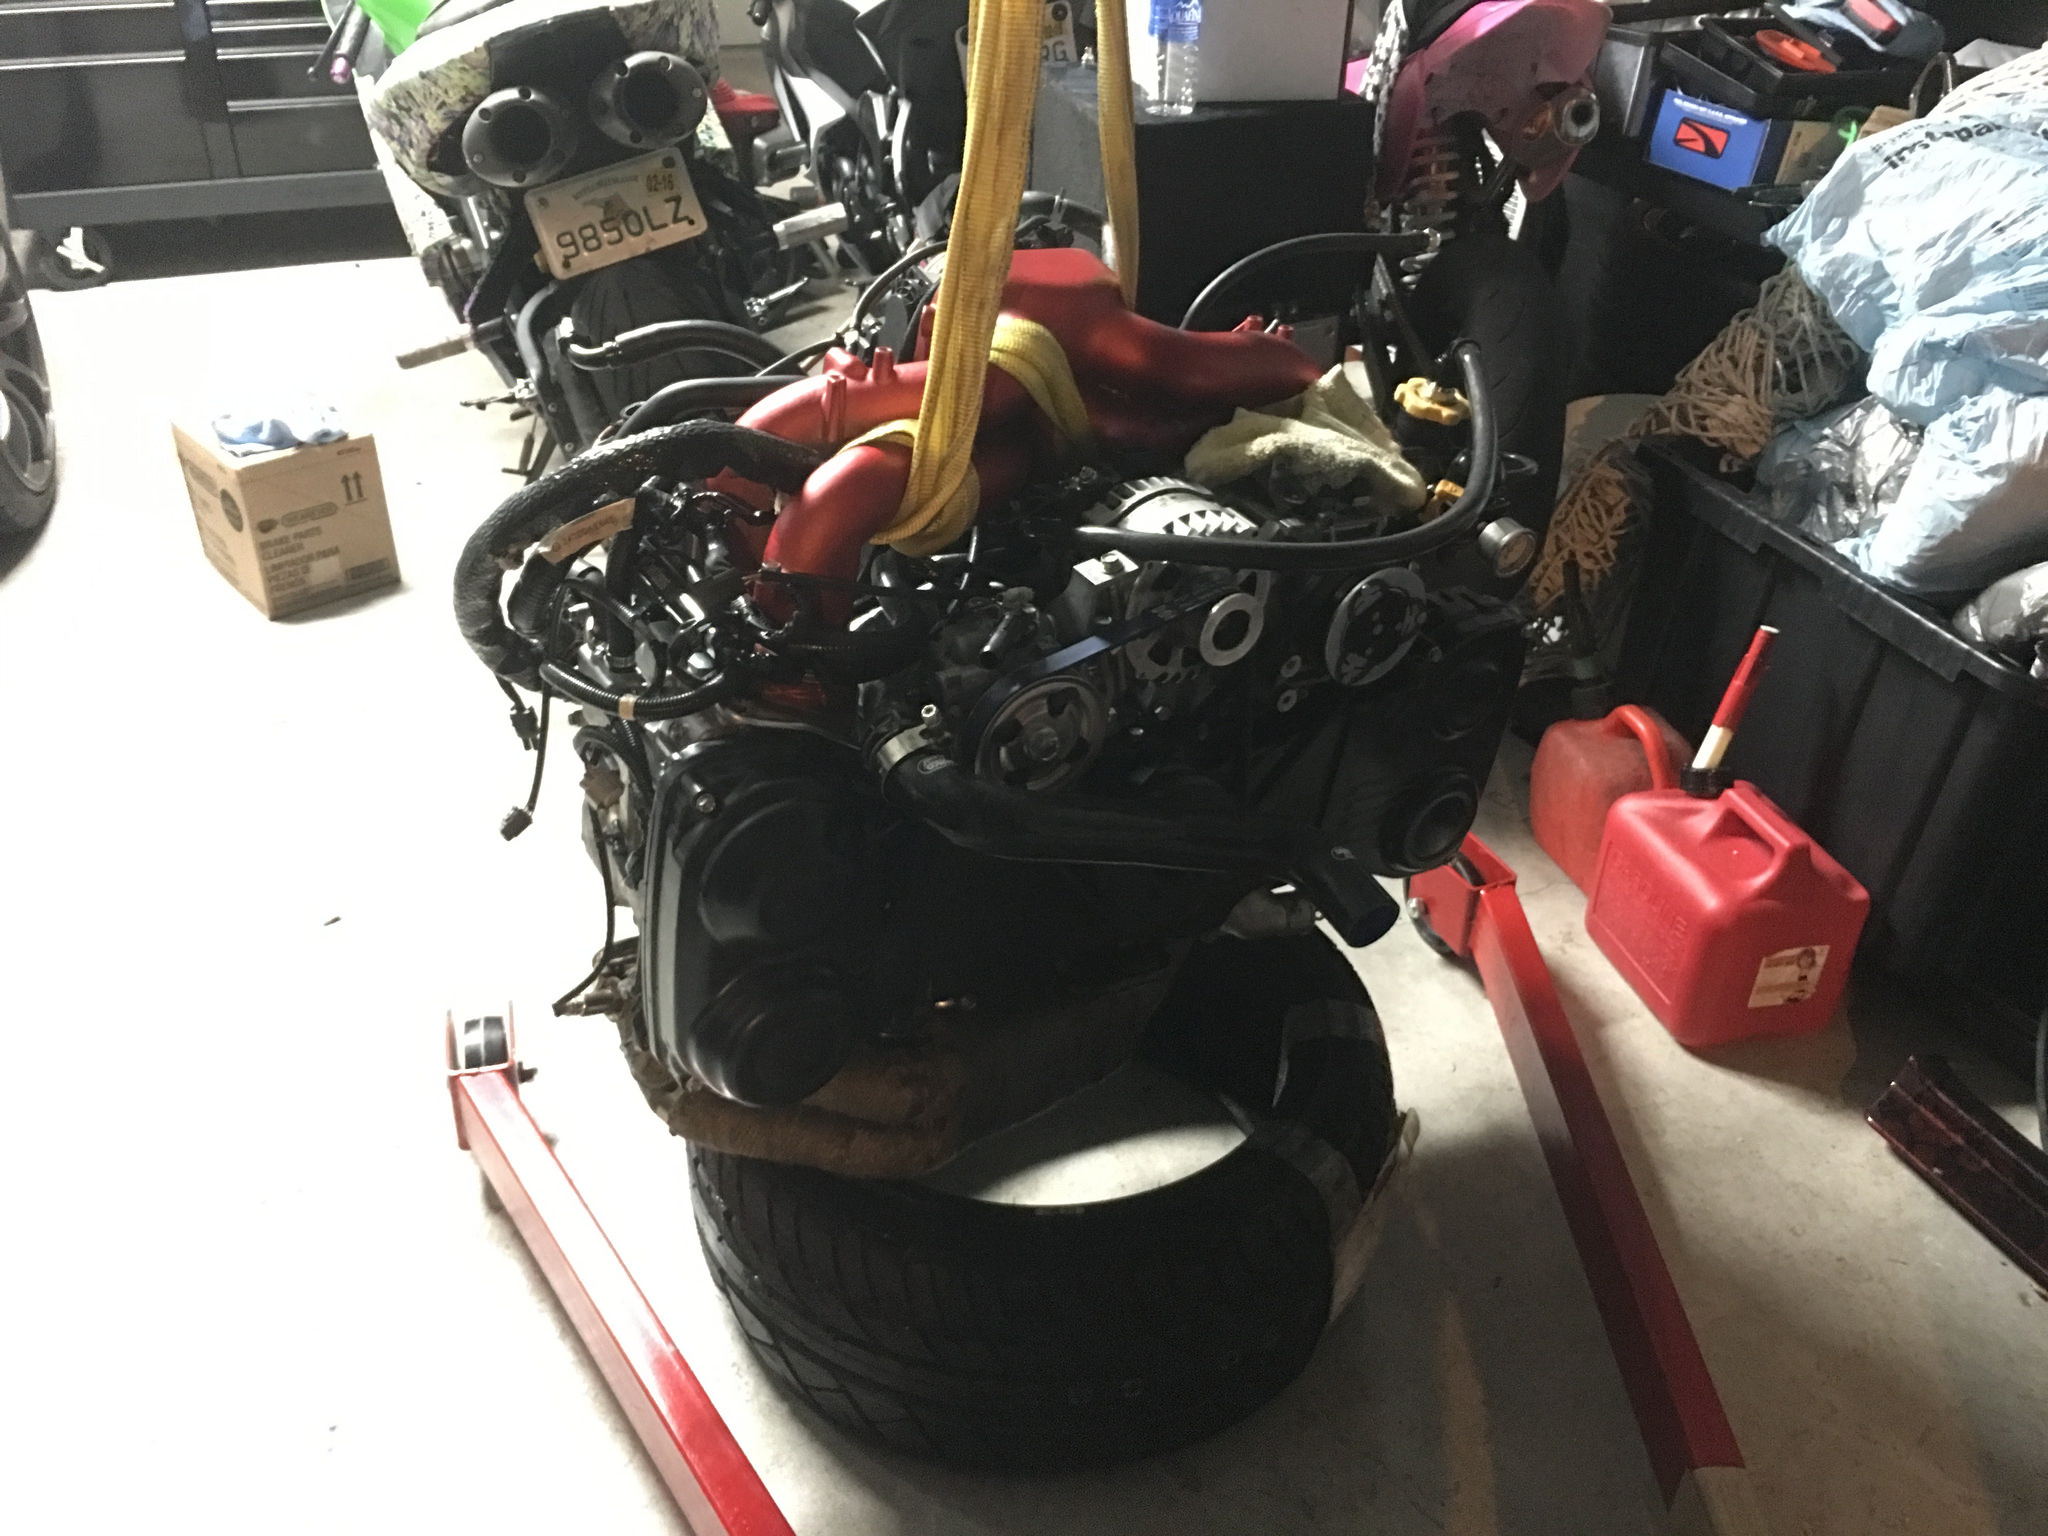
Motor Swap Time
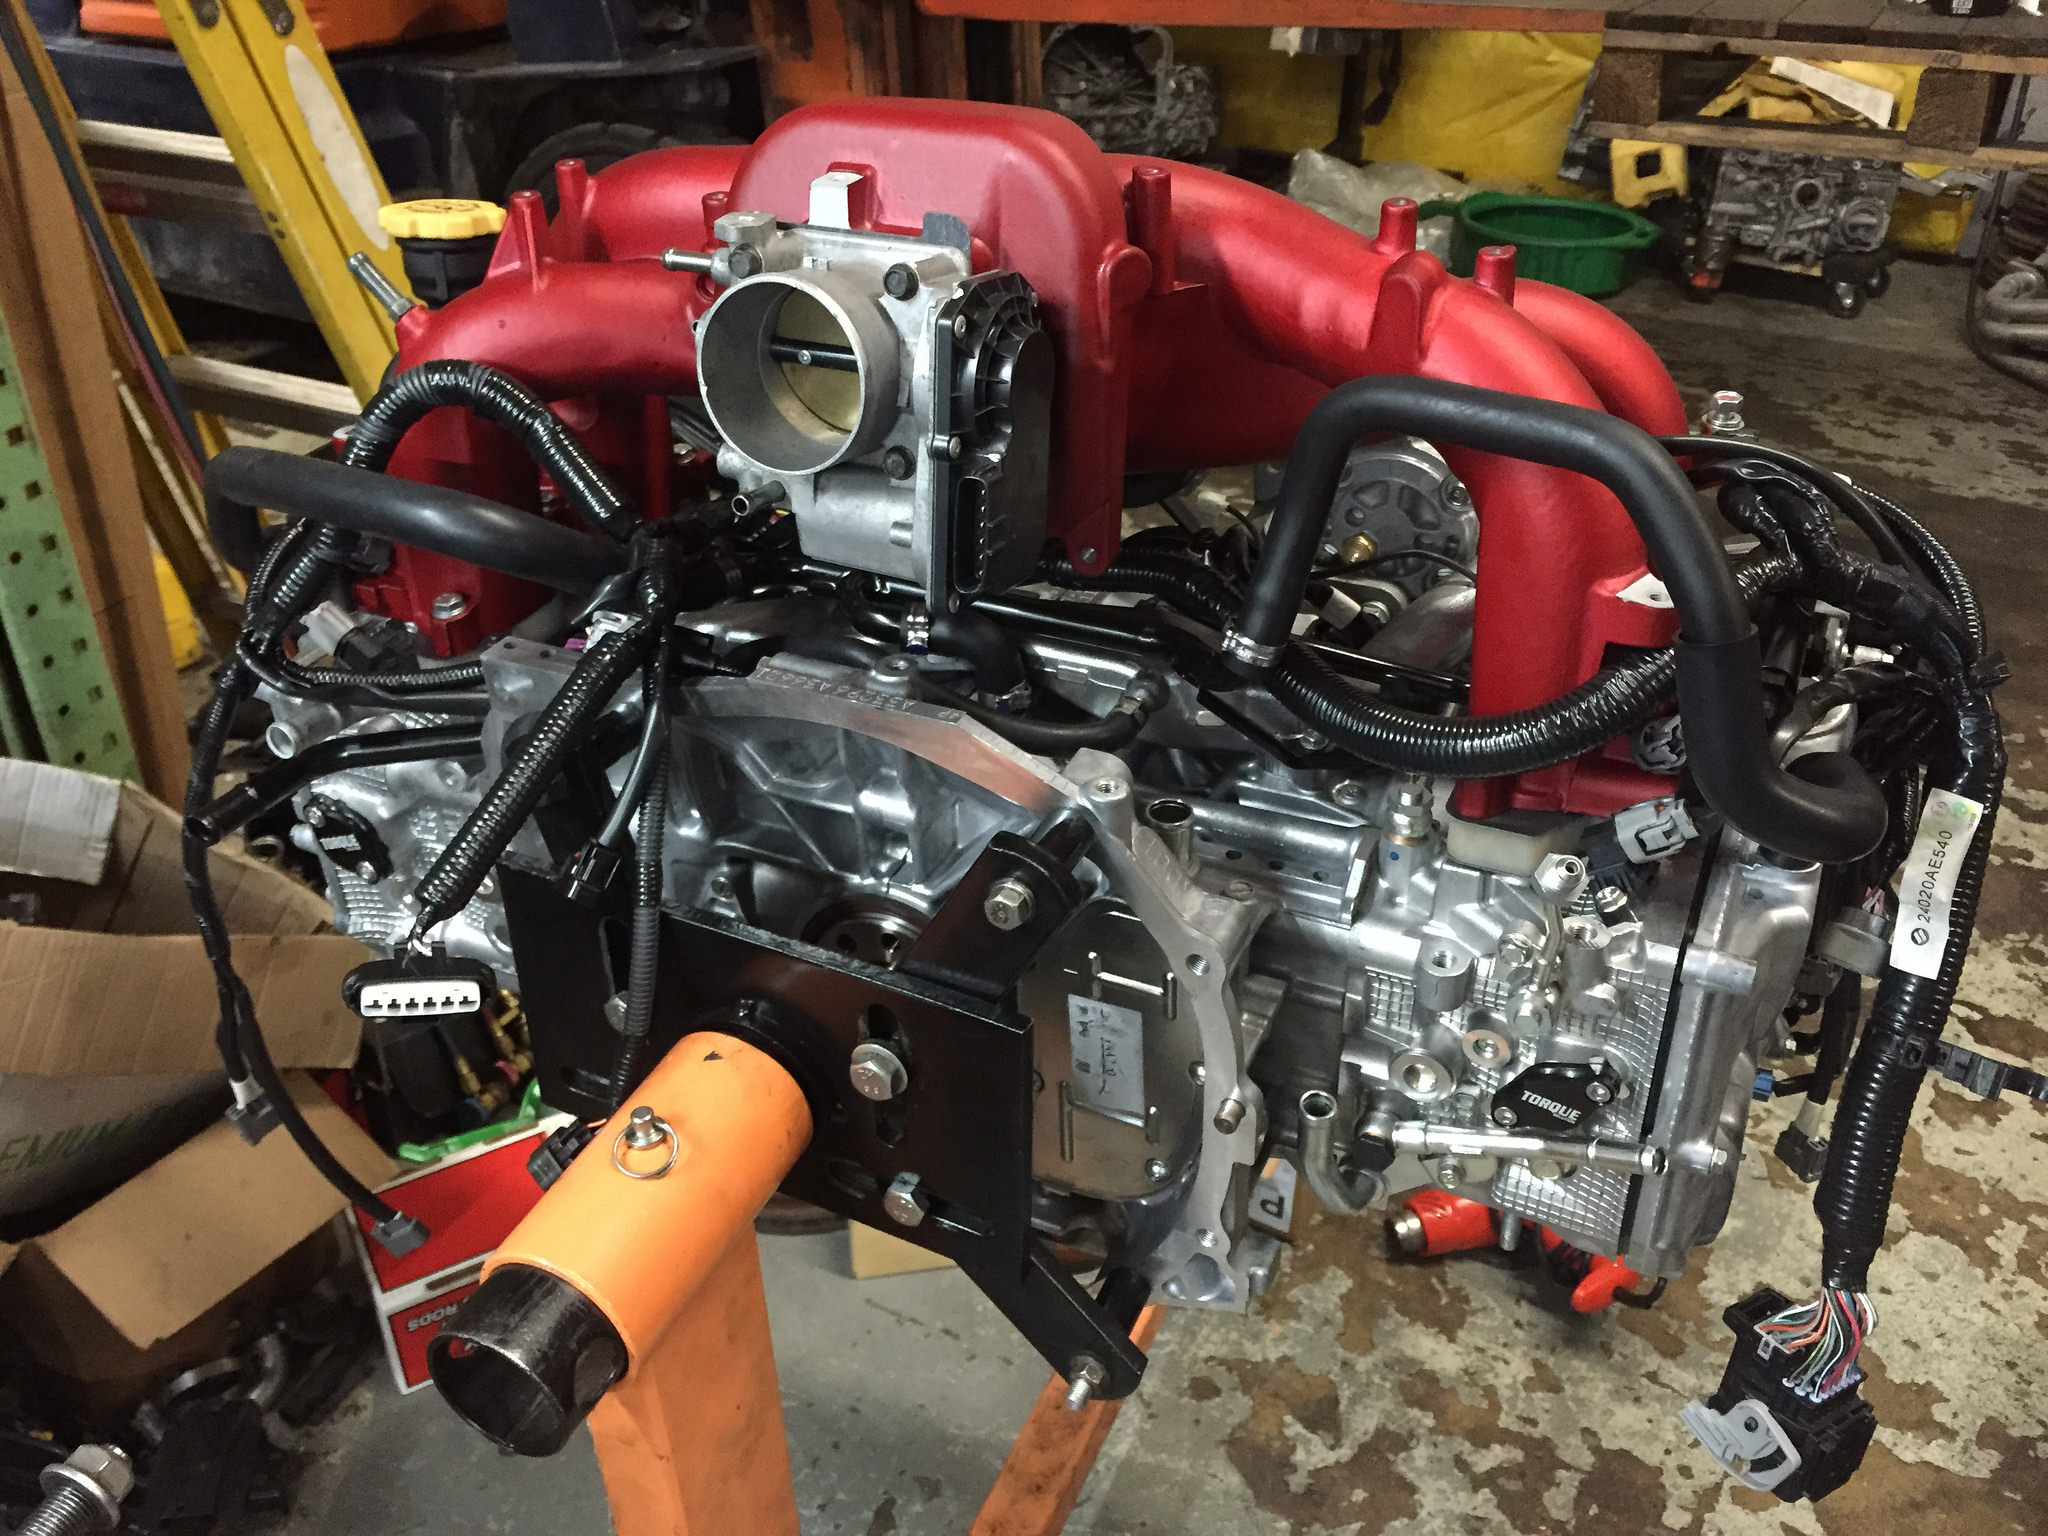
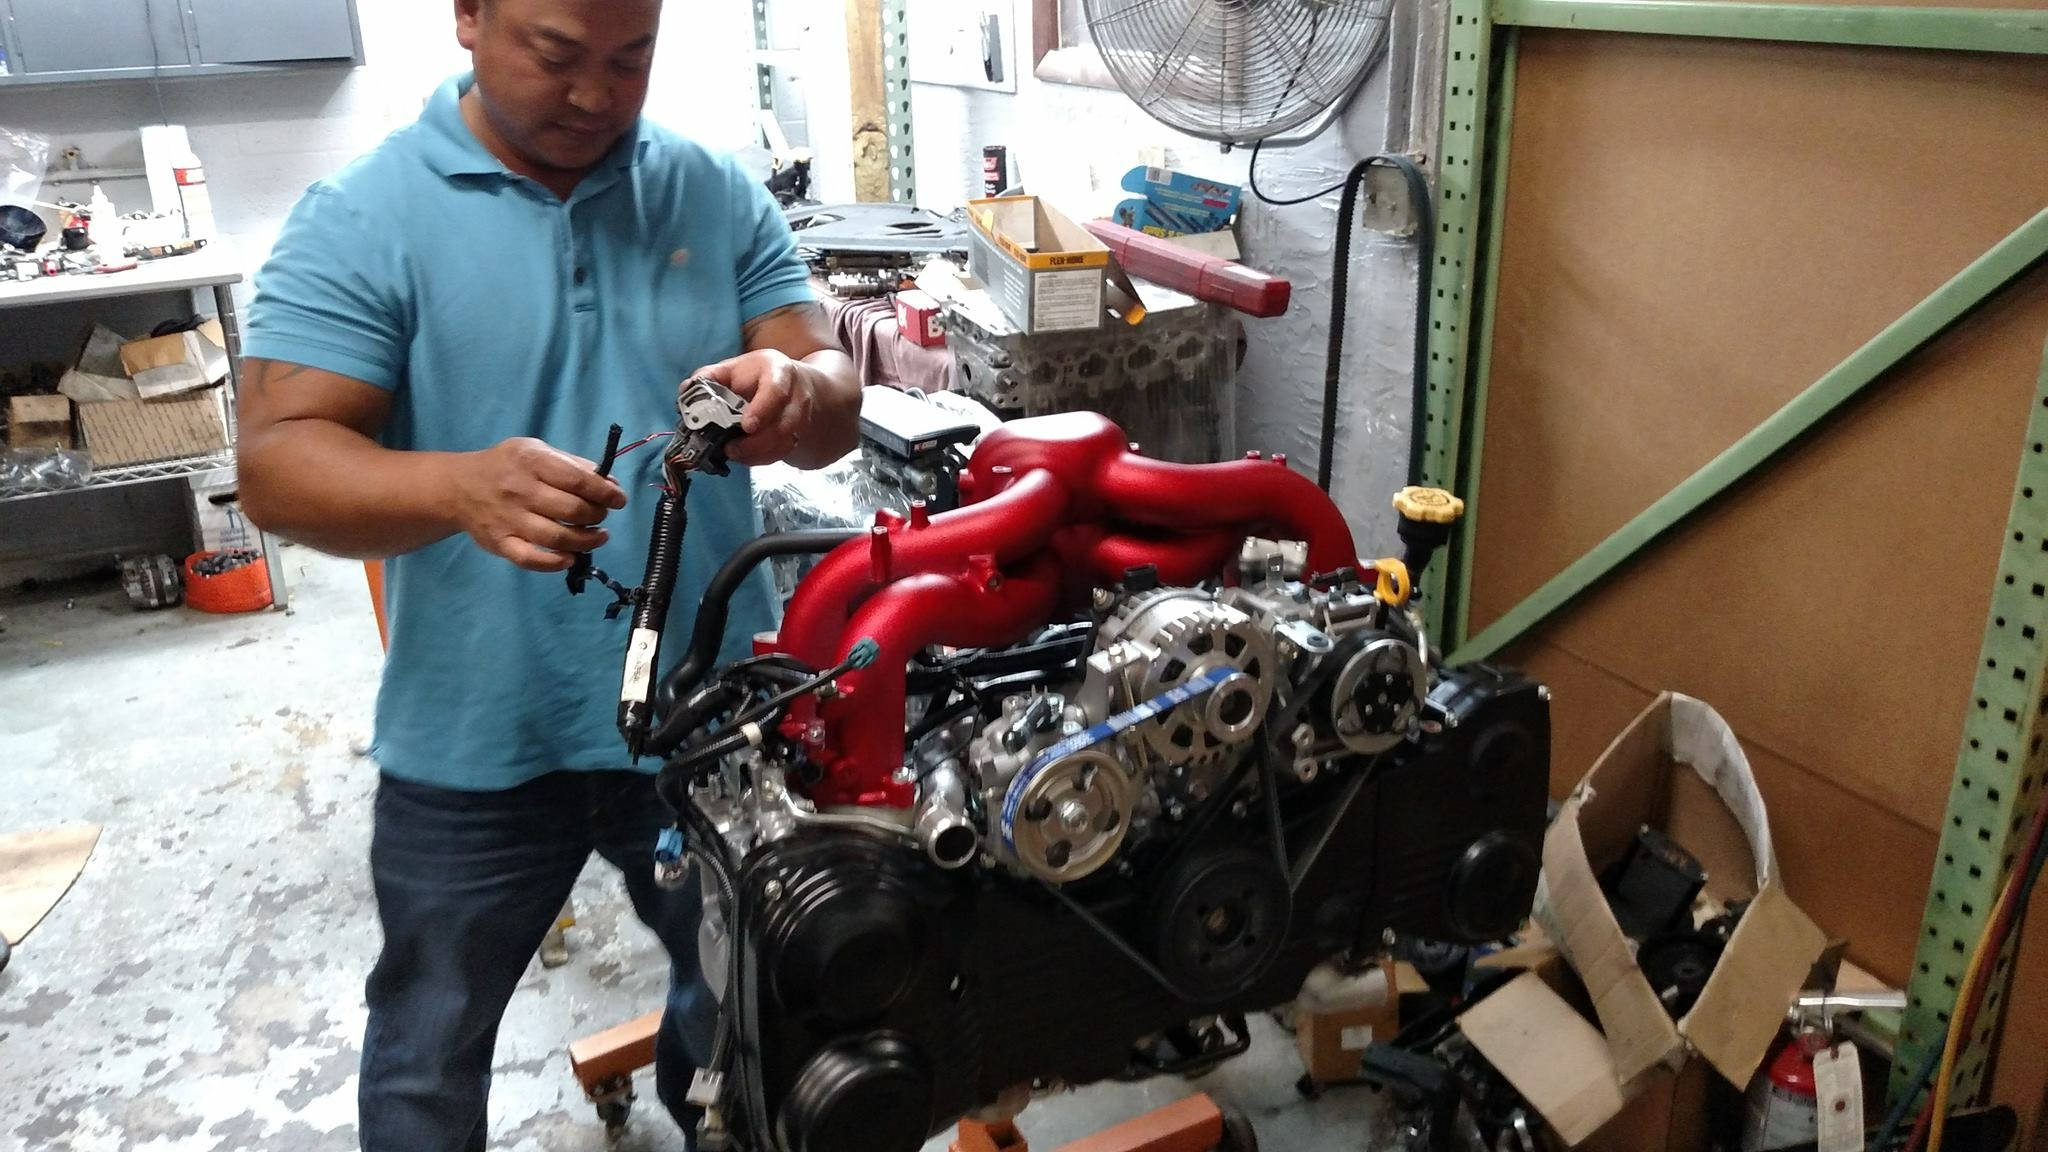
Progress being made.

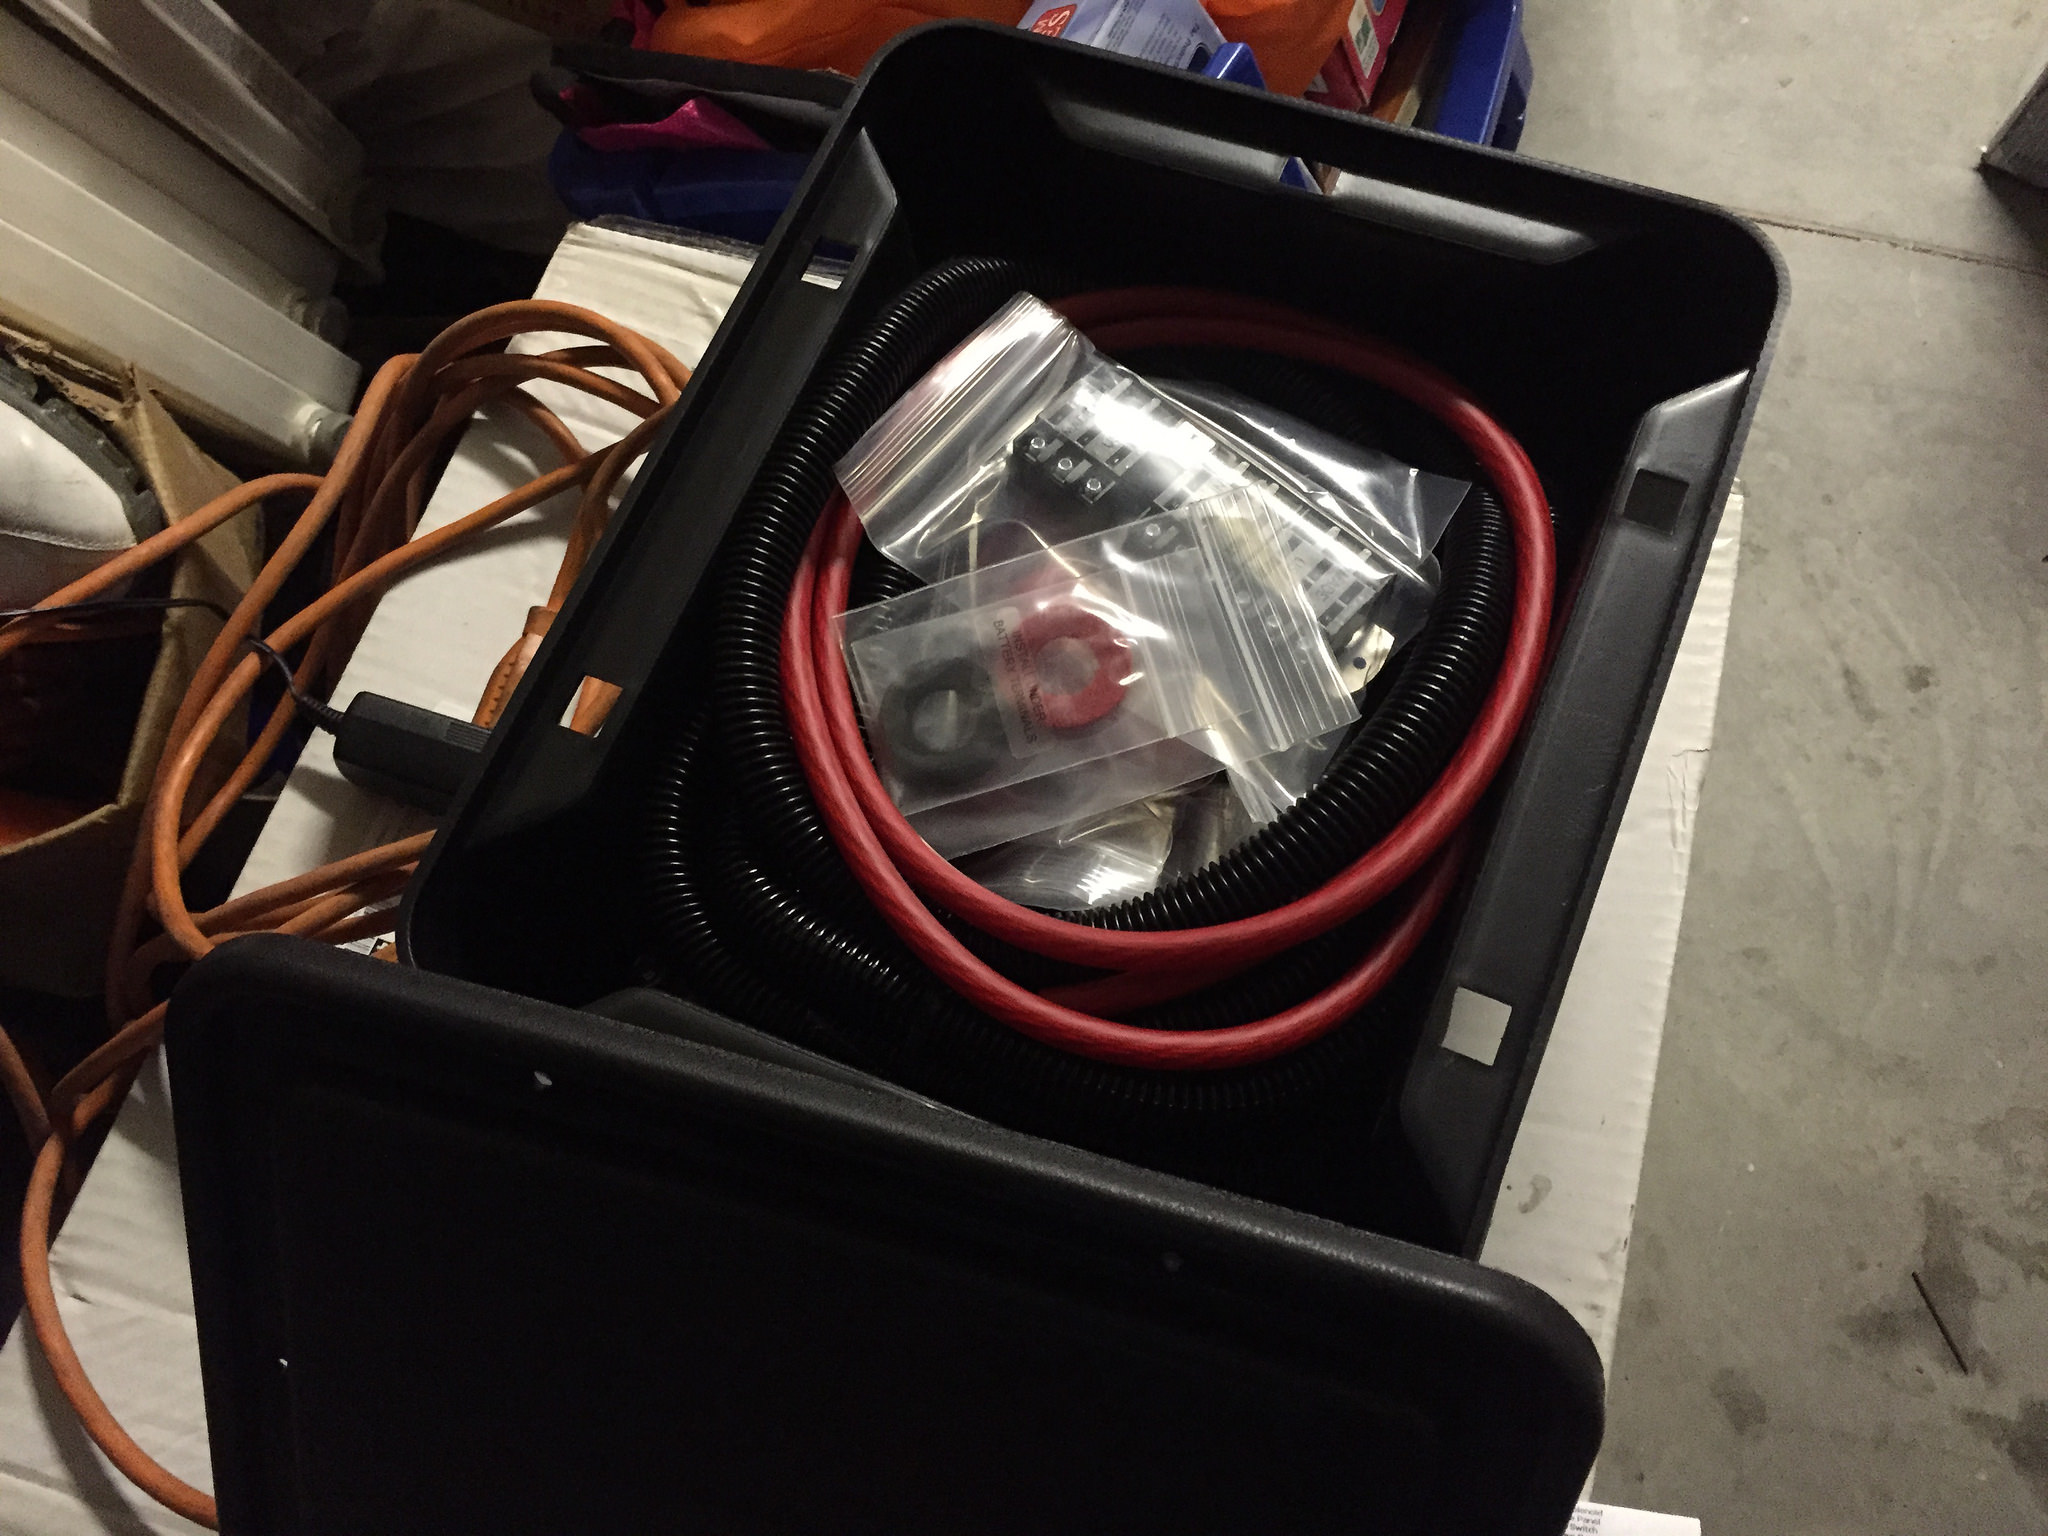
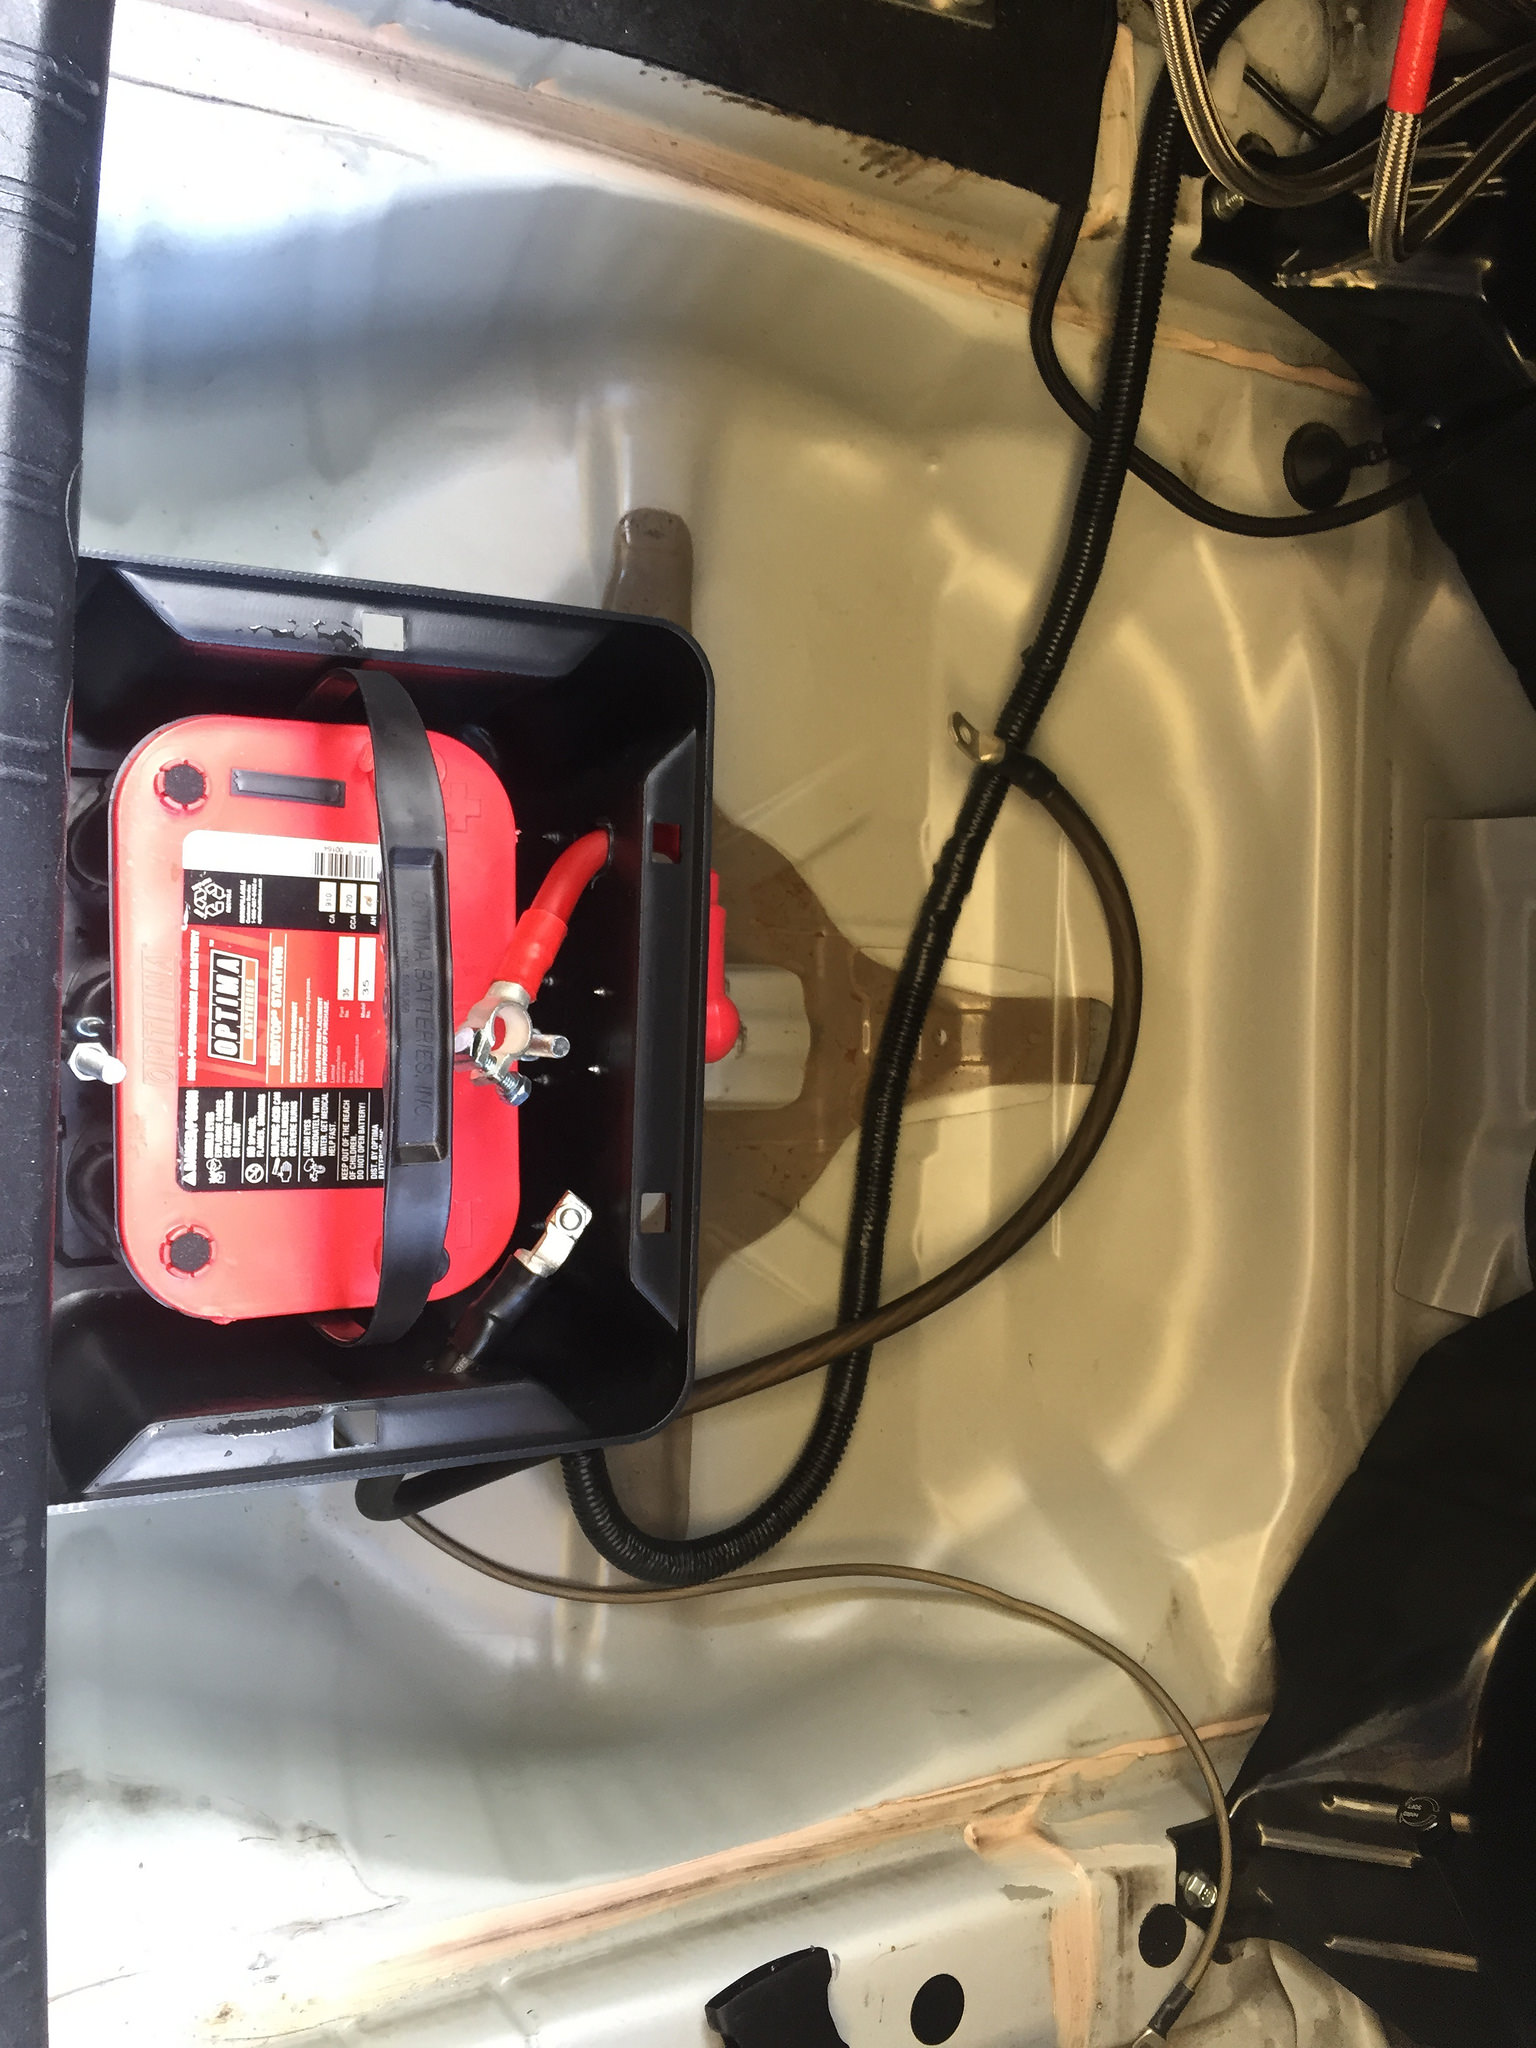
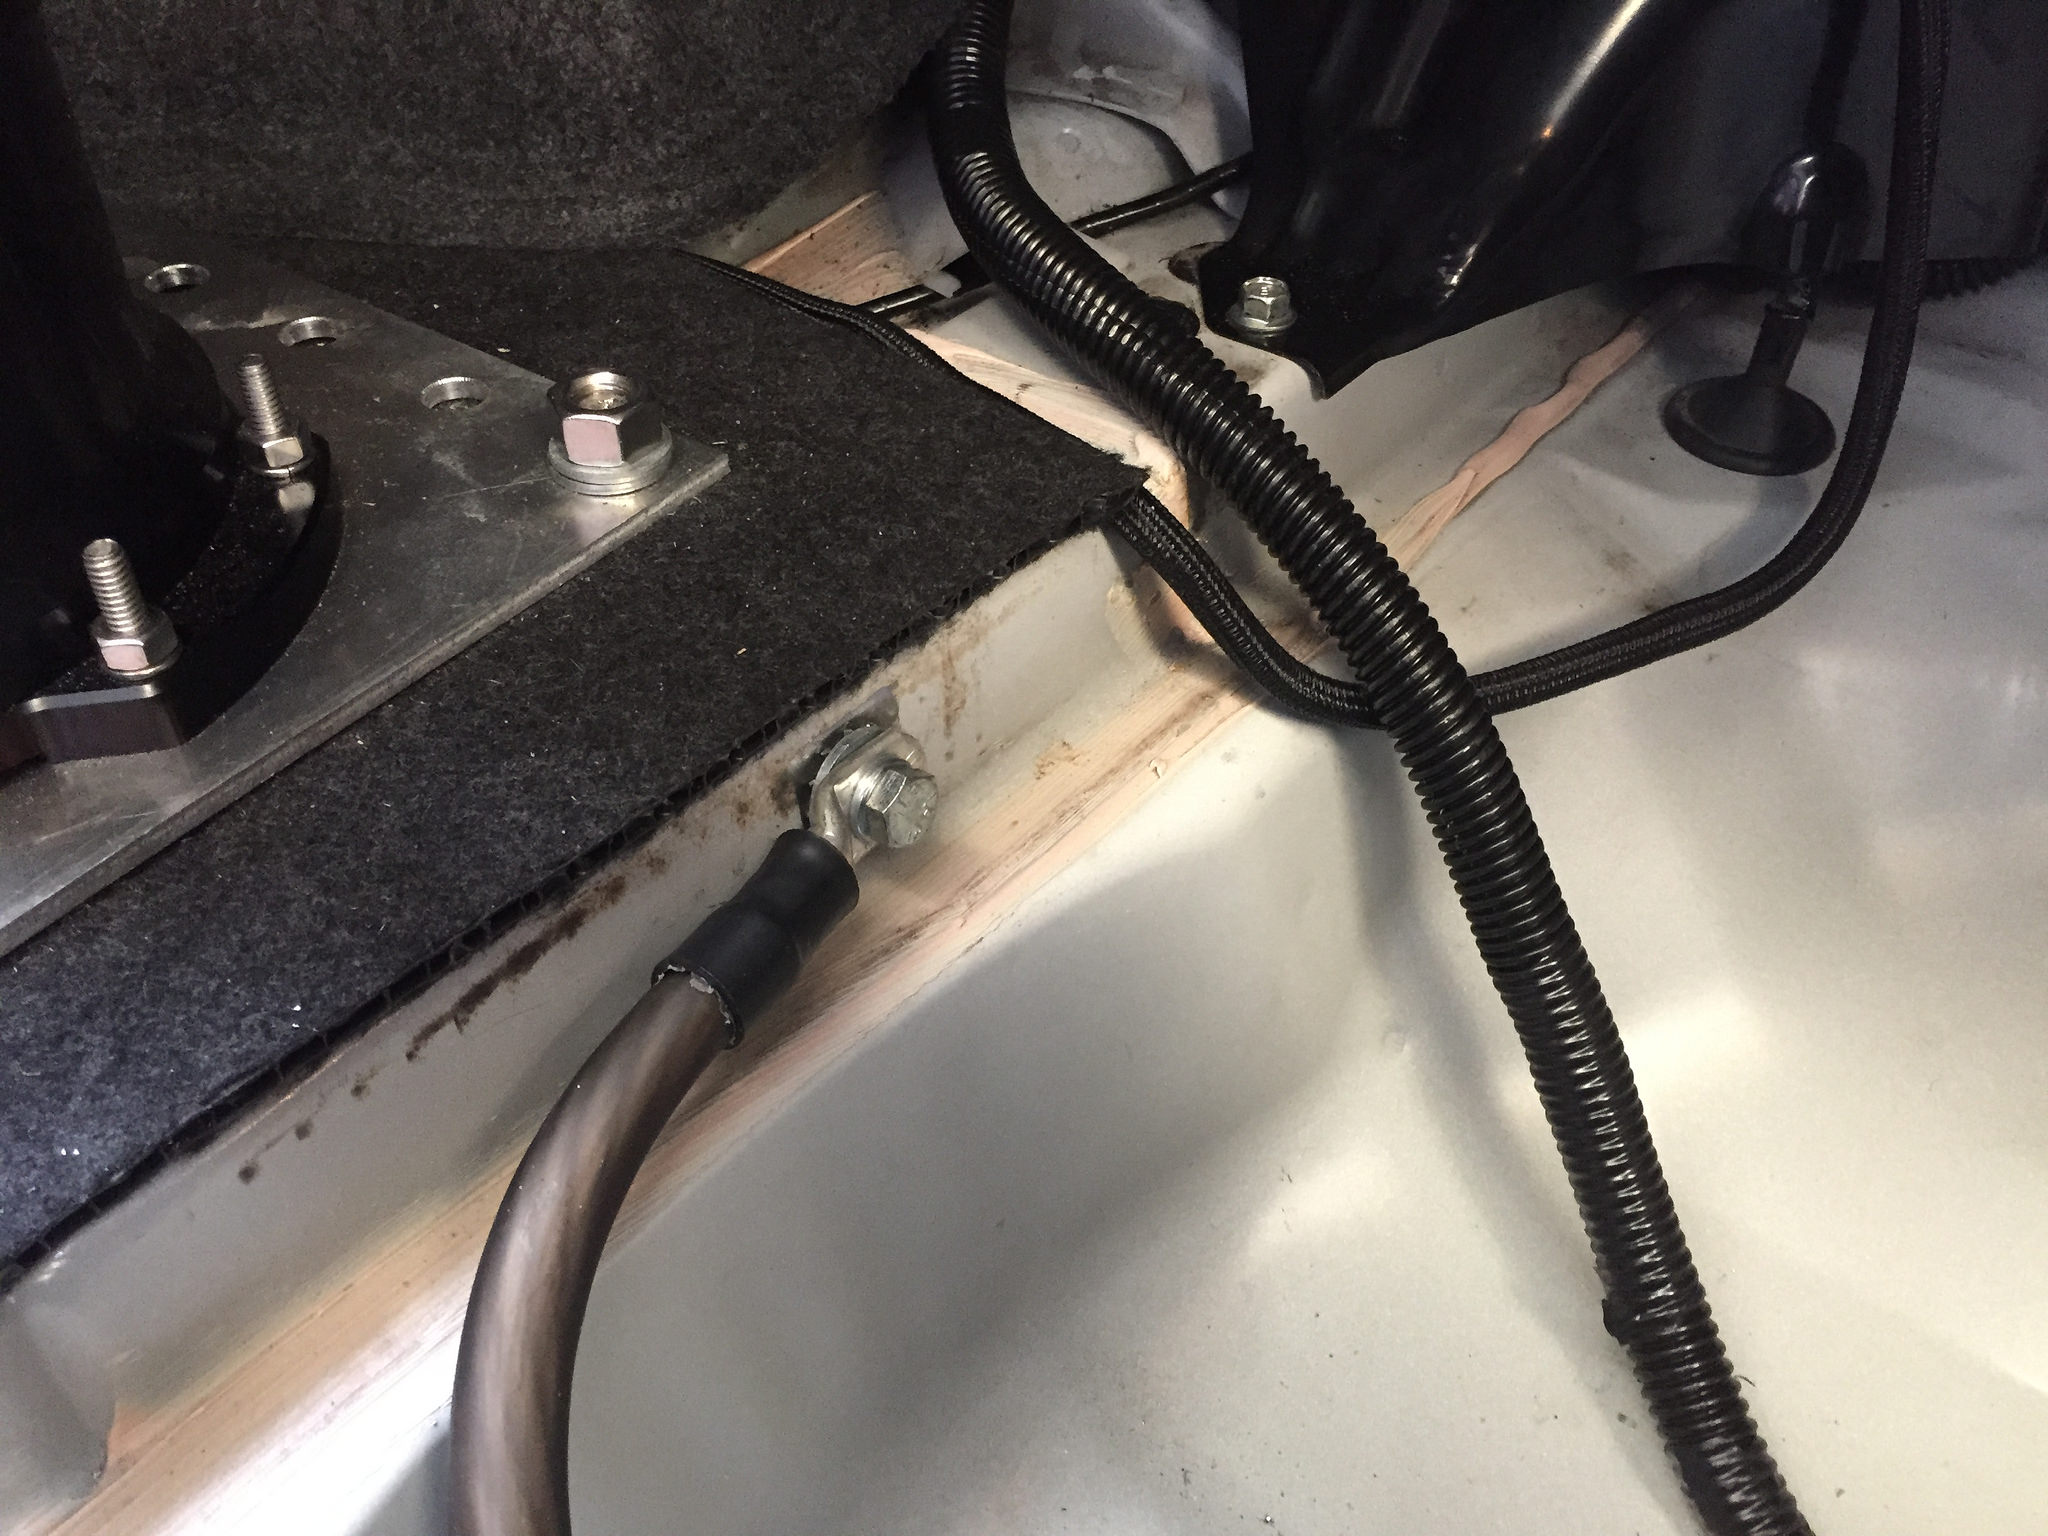
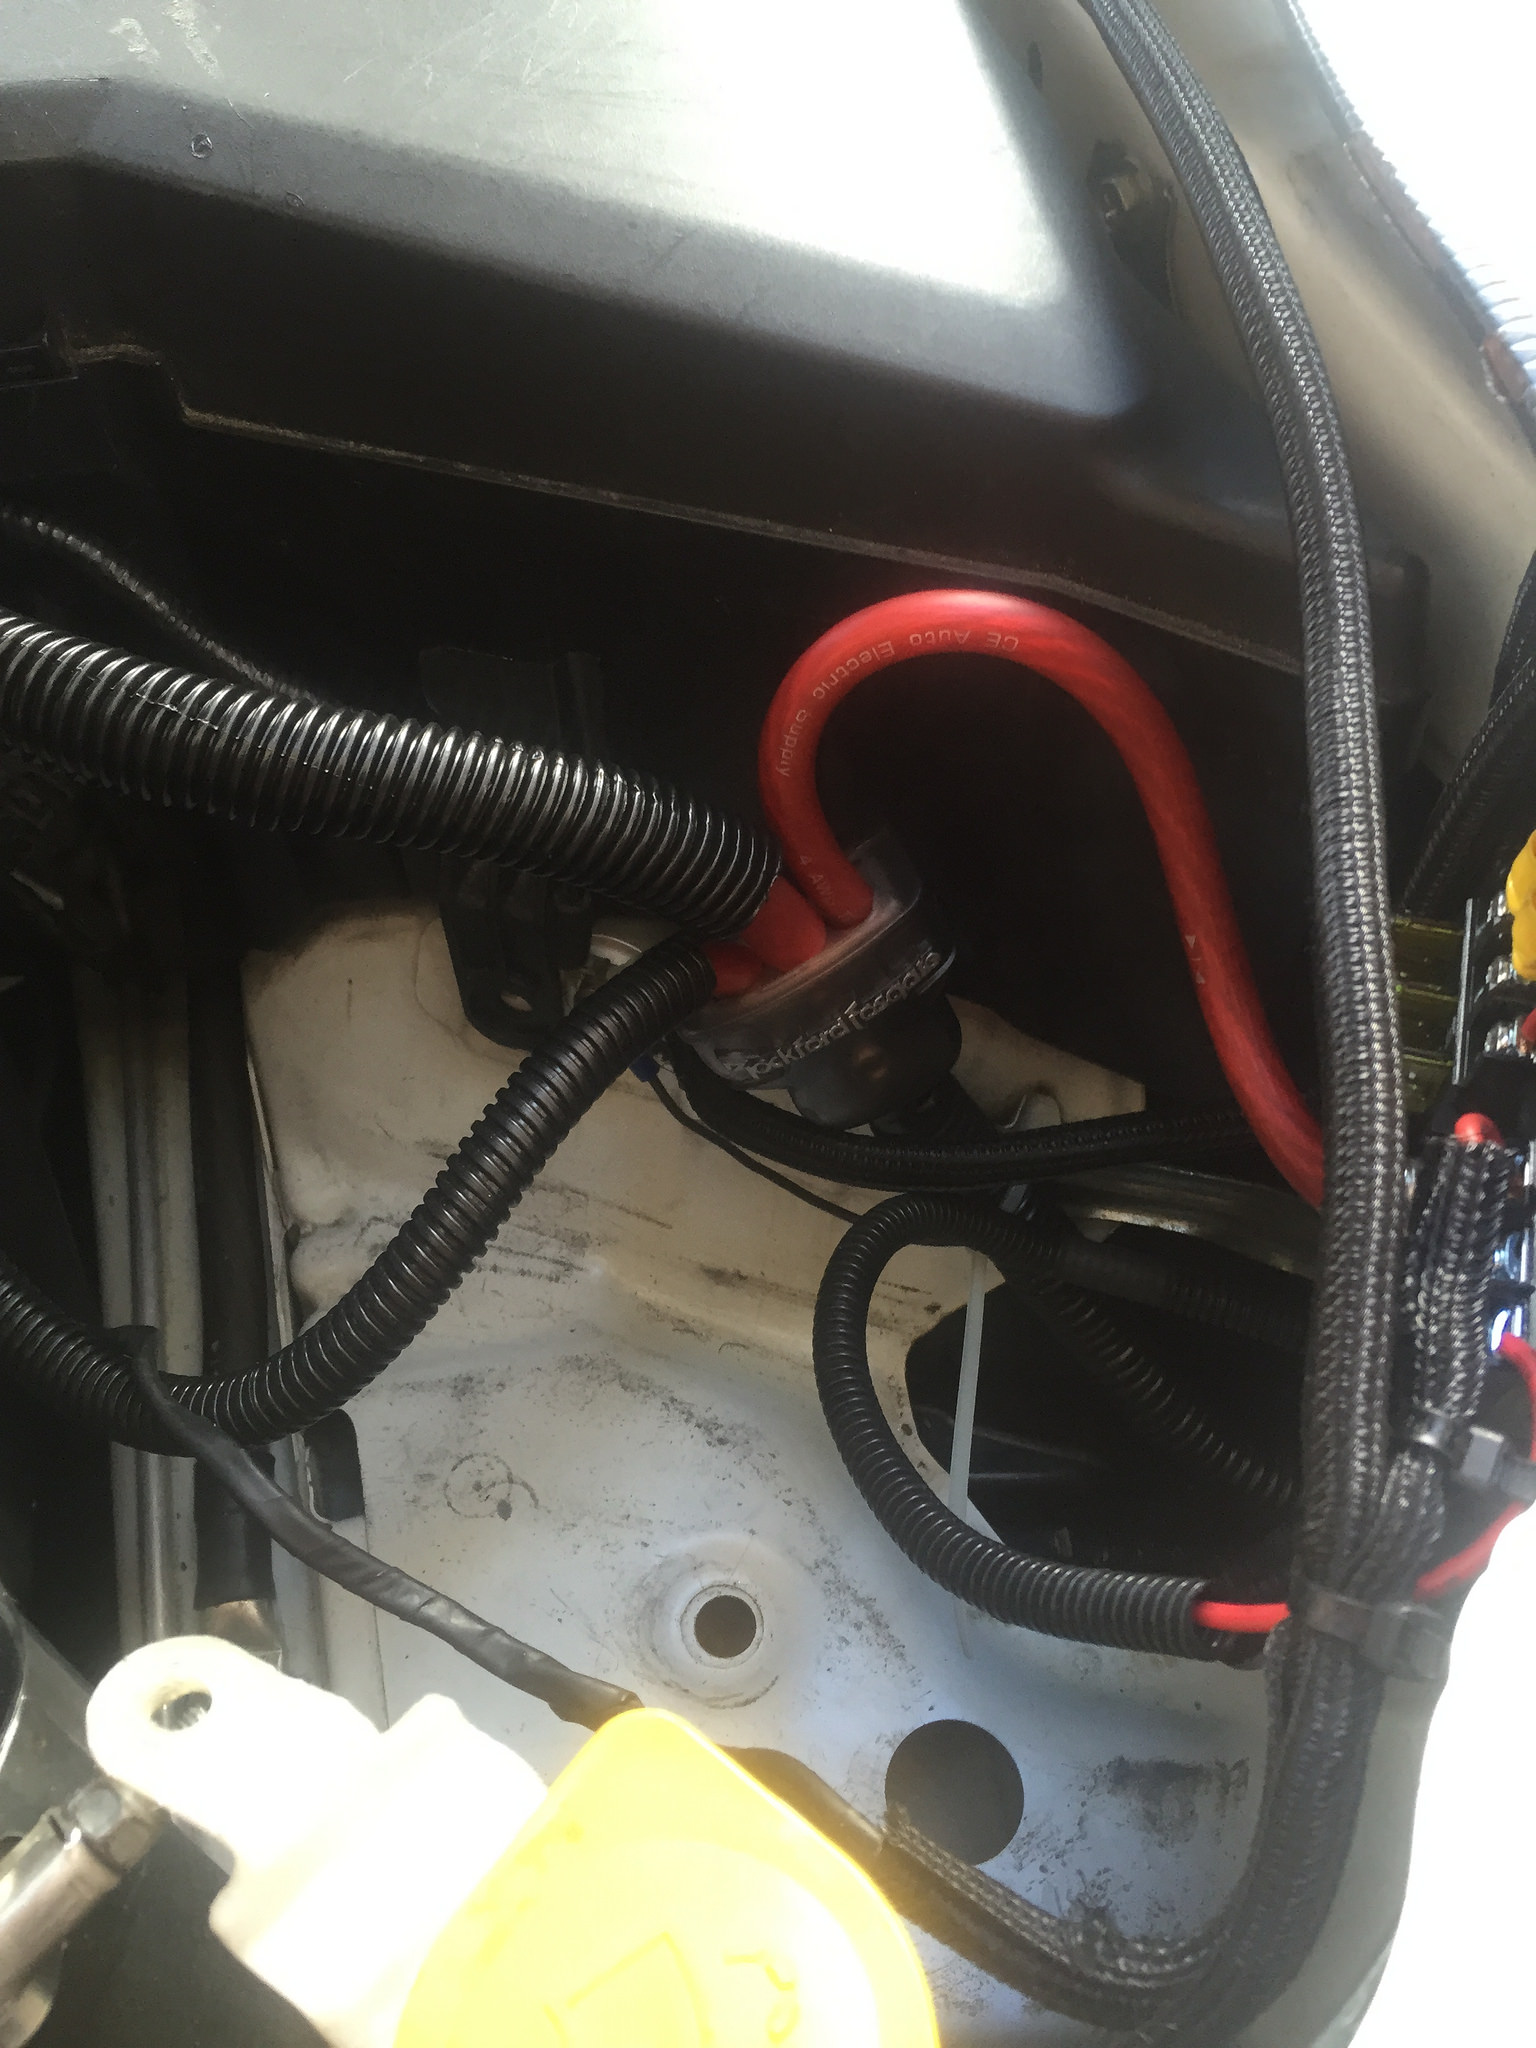
Finally finished the battery relocate, kind of
11/15:
New Ground Cable and Starter Cable

Ground to Frame
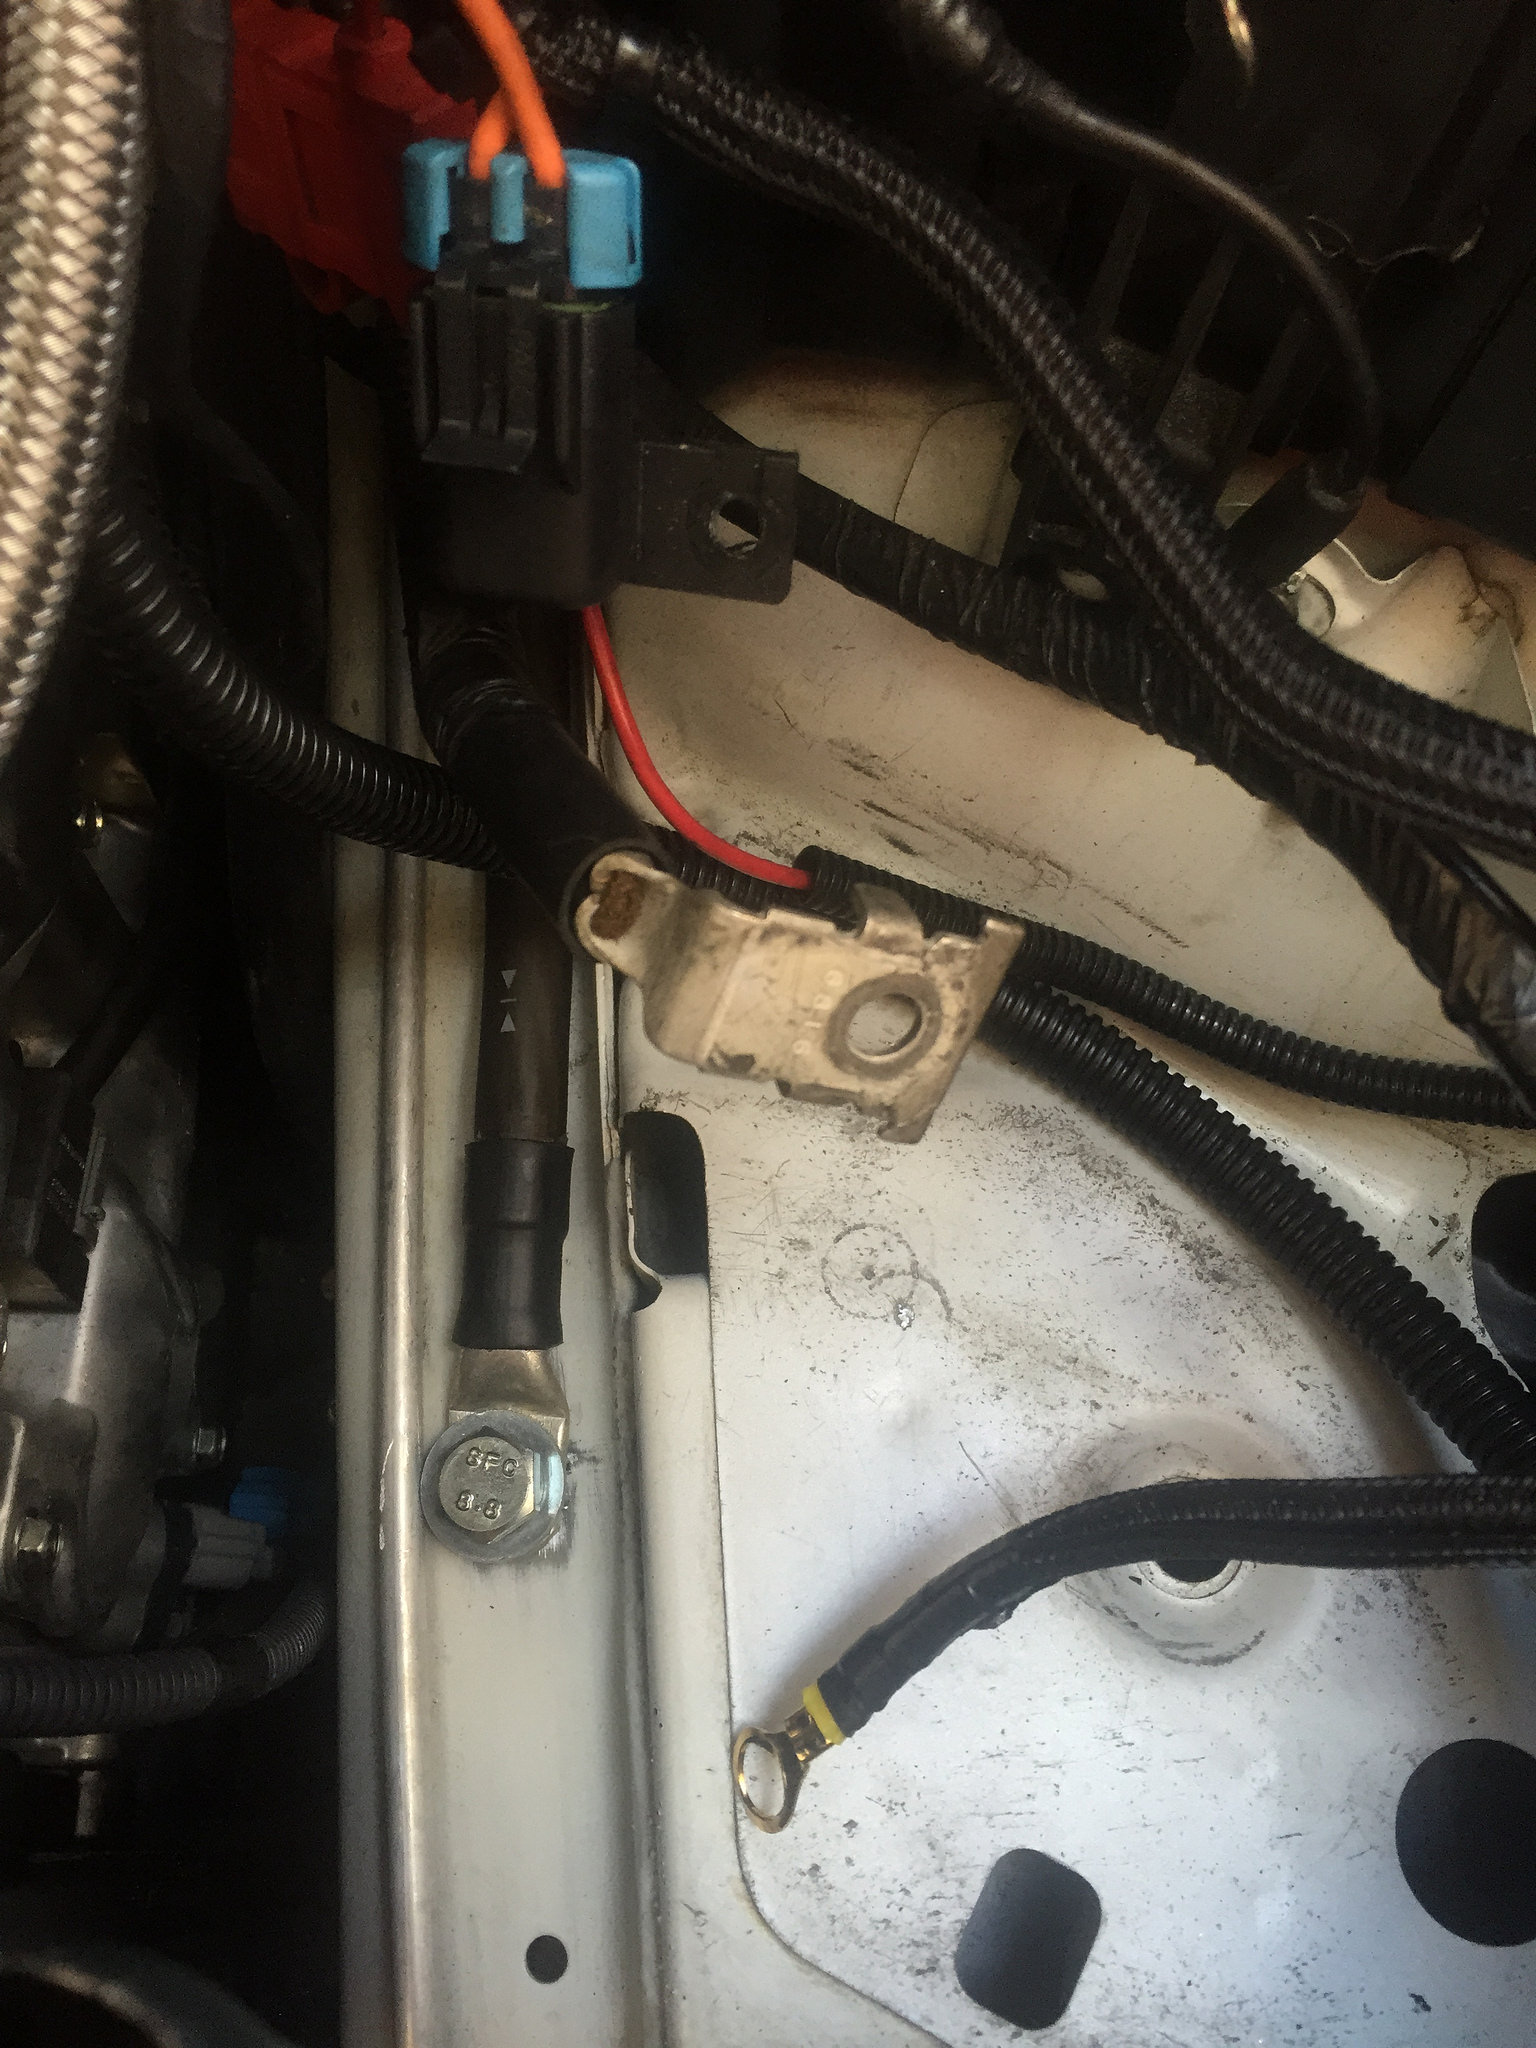
Extended cables from starter and from 120 amp fuse in fuse box from alternator
Testing before shortening lines etc.
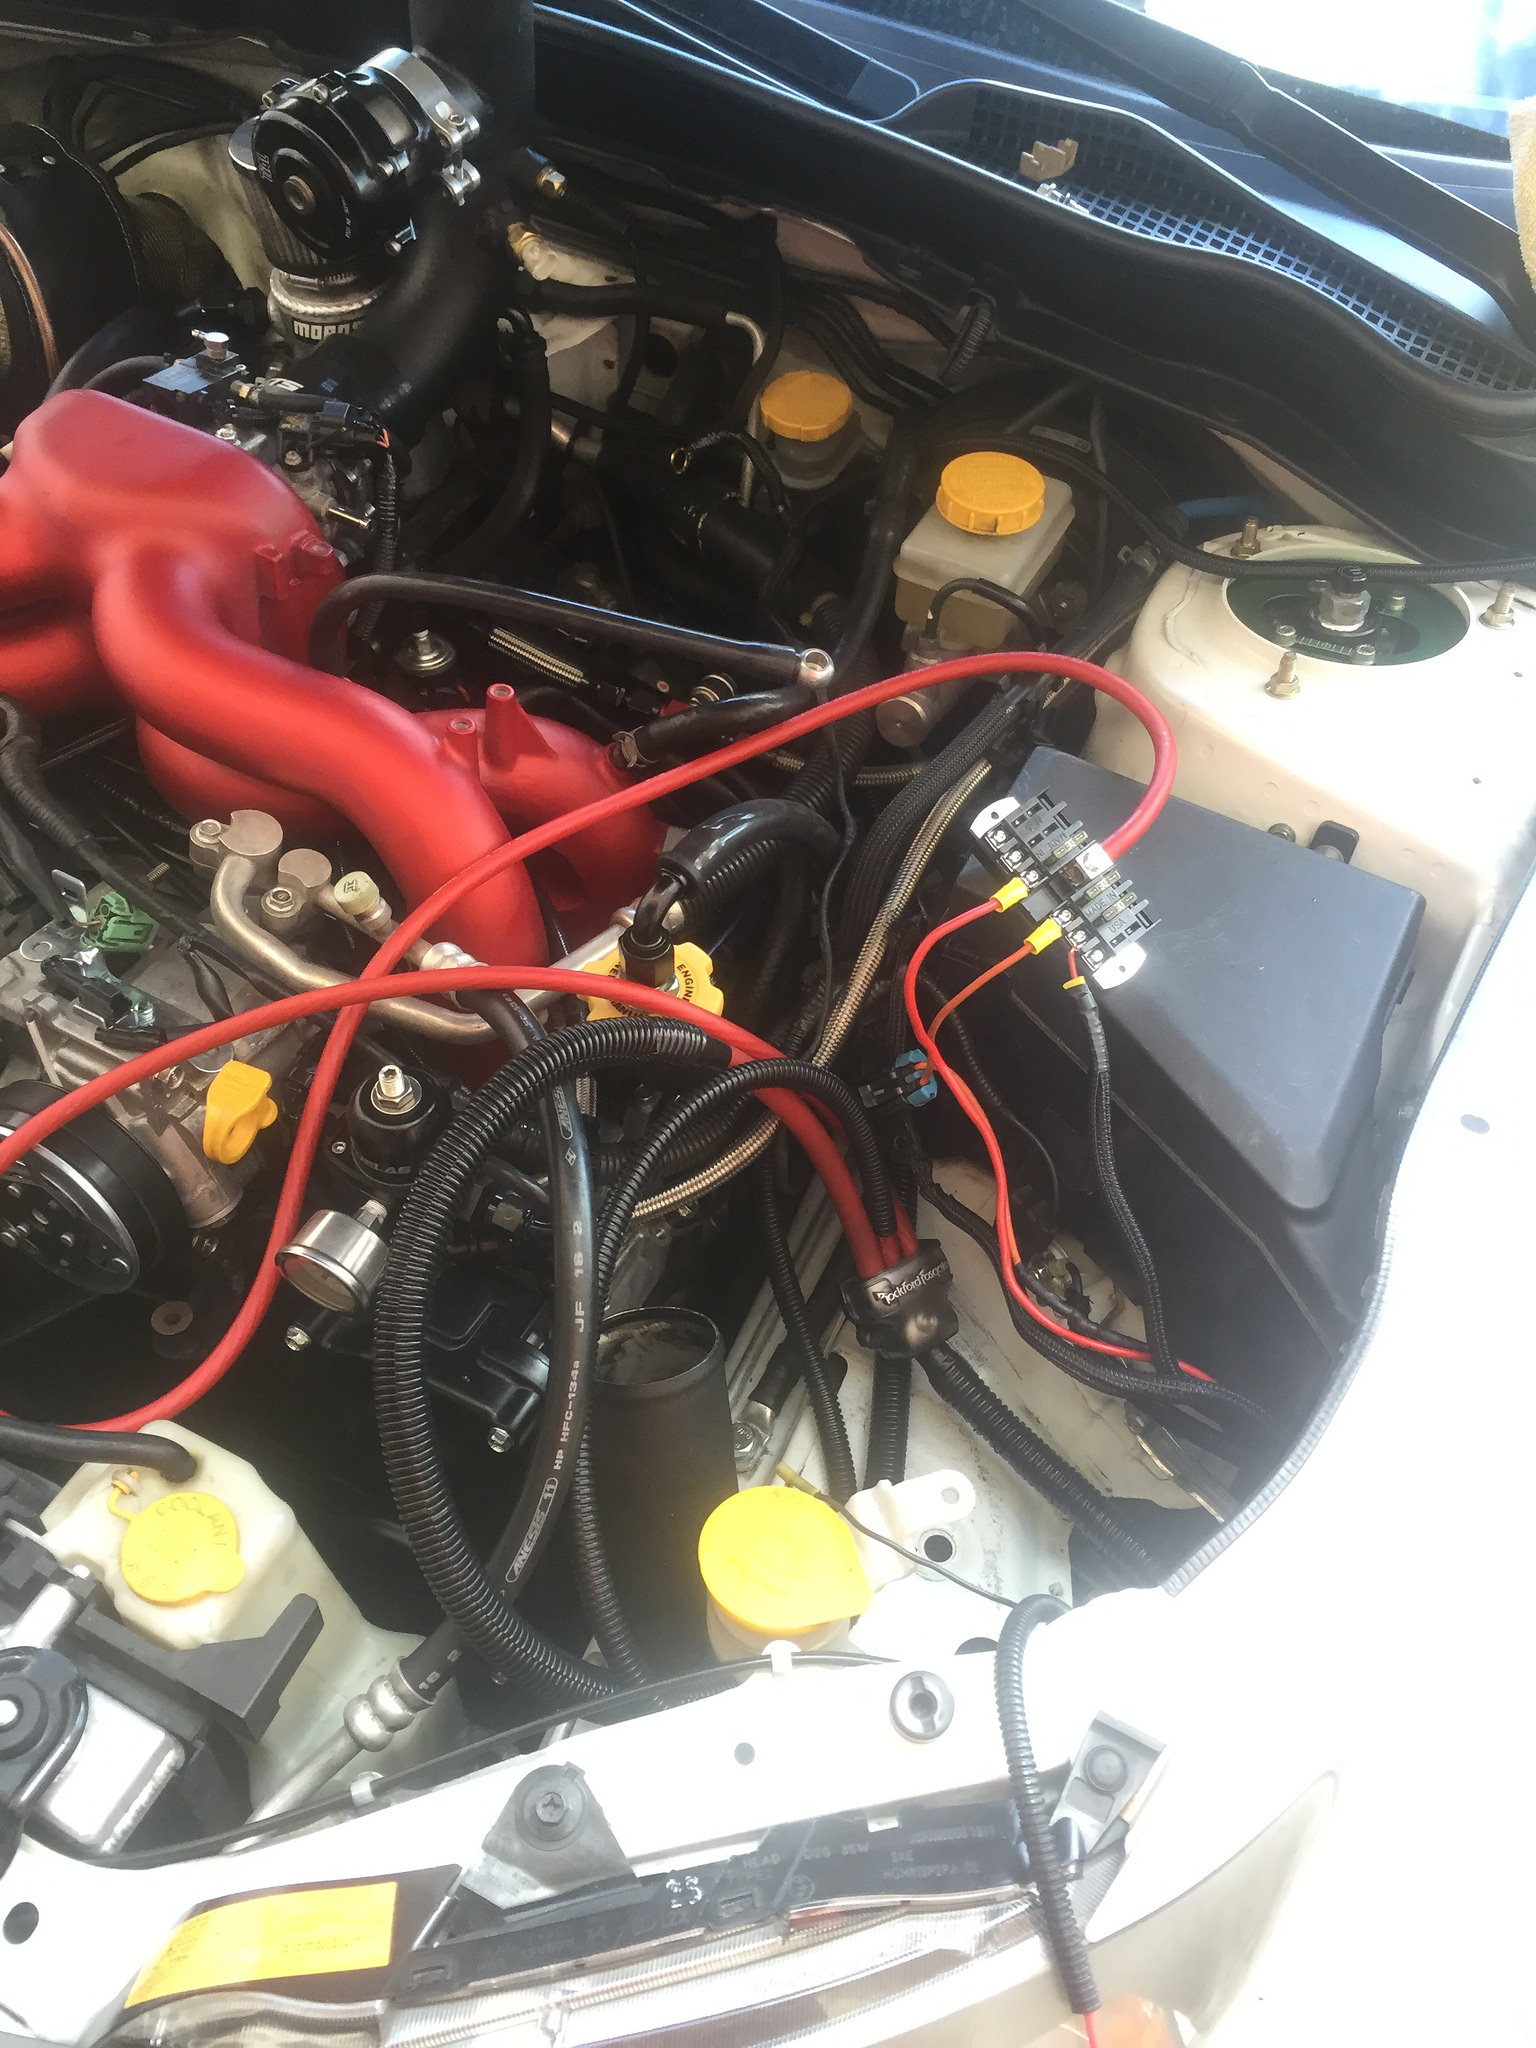
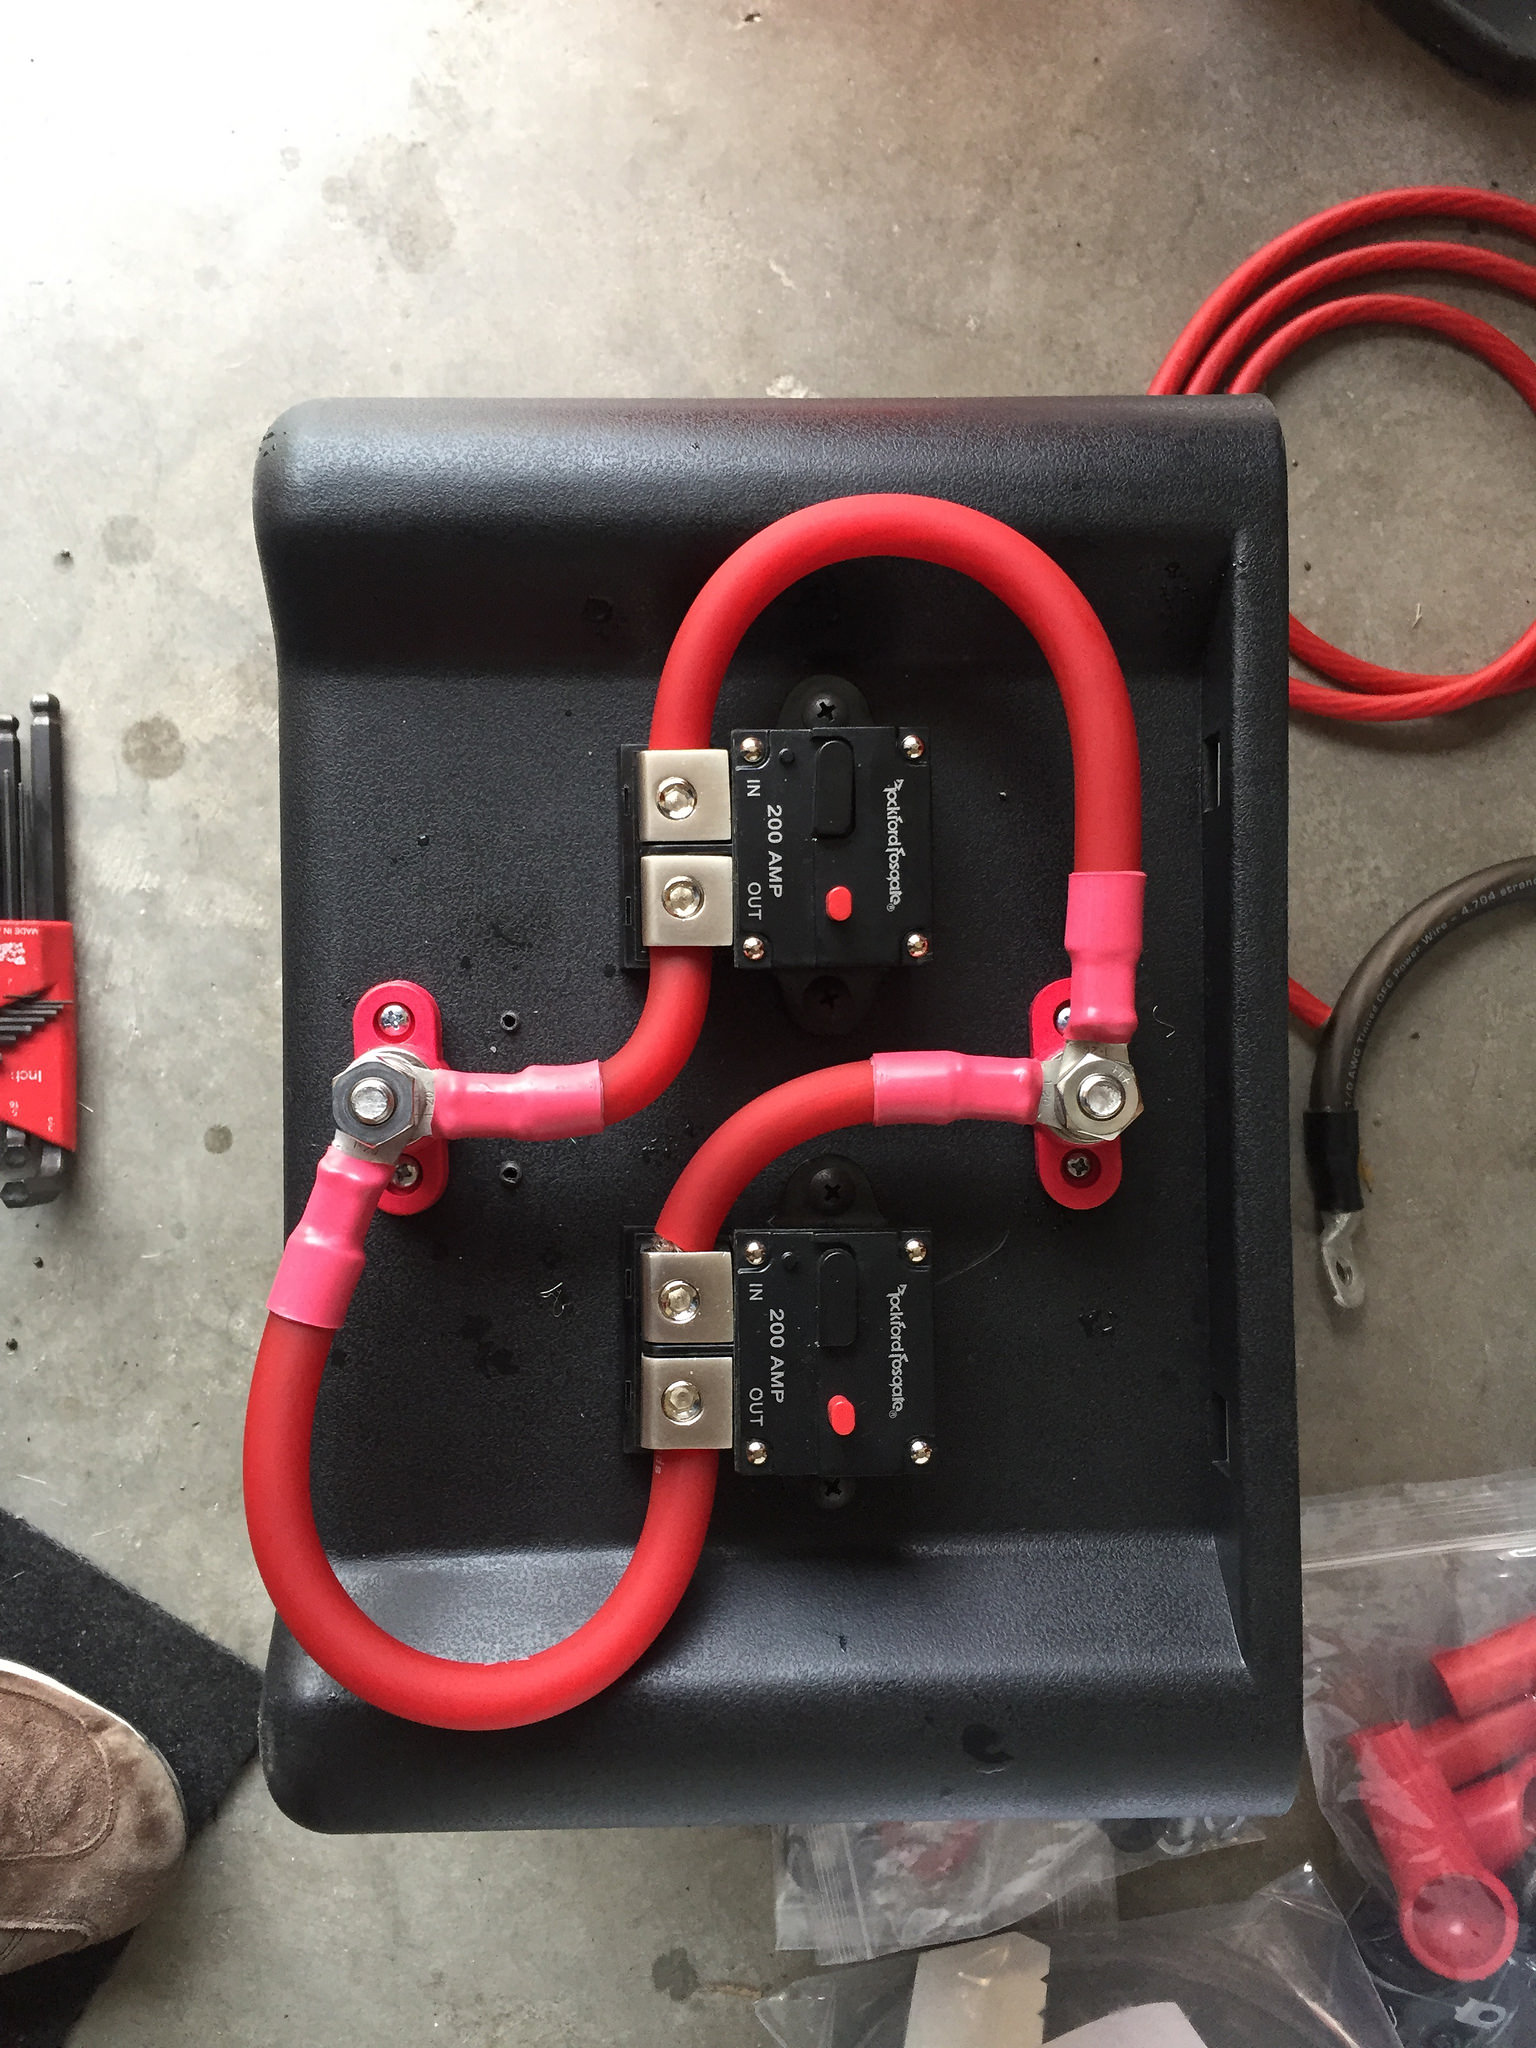
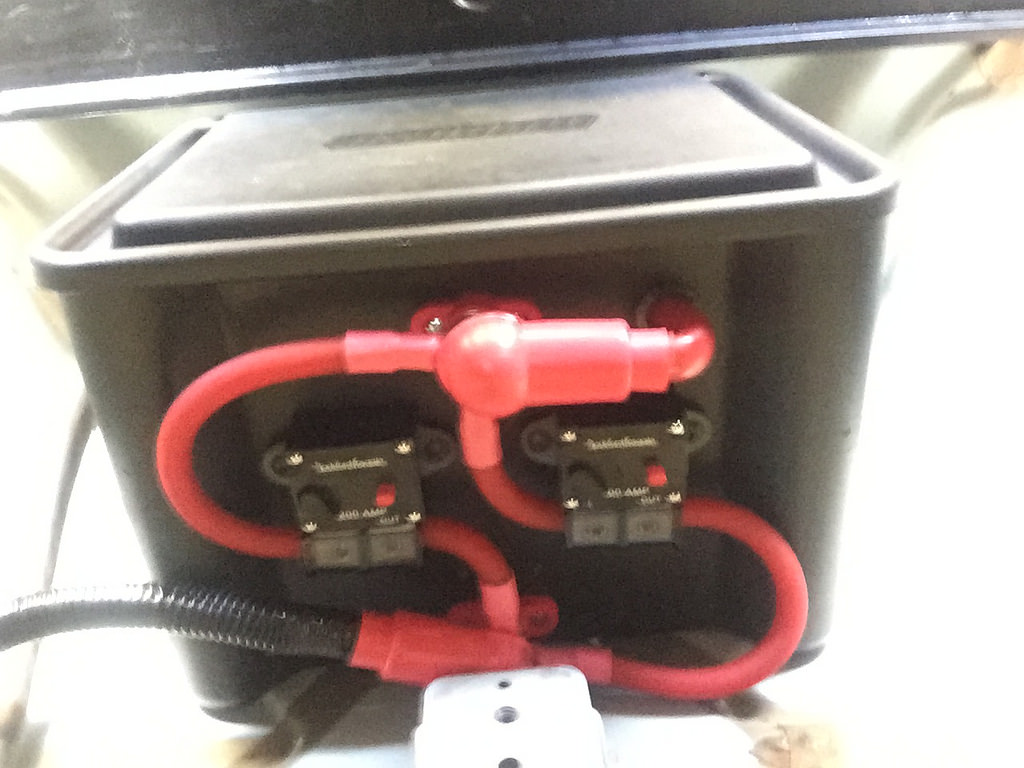
Accessory fuse panel
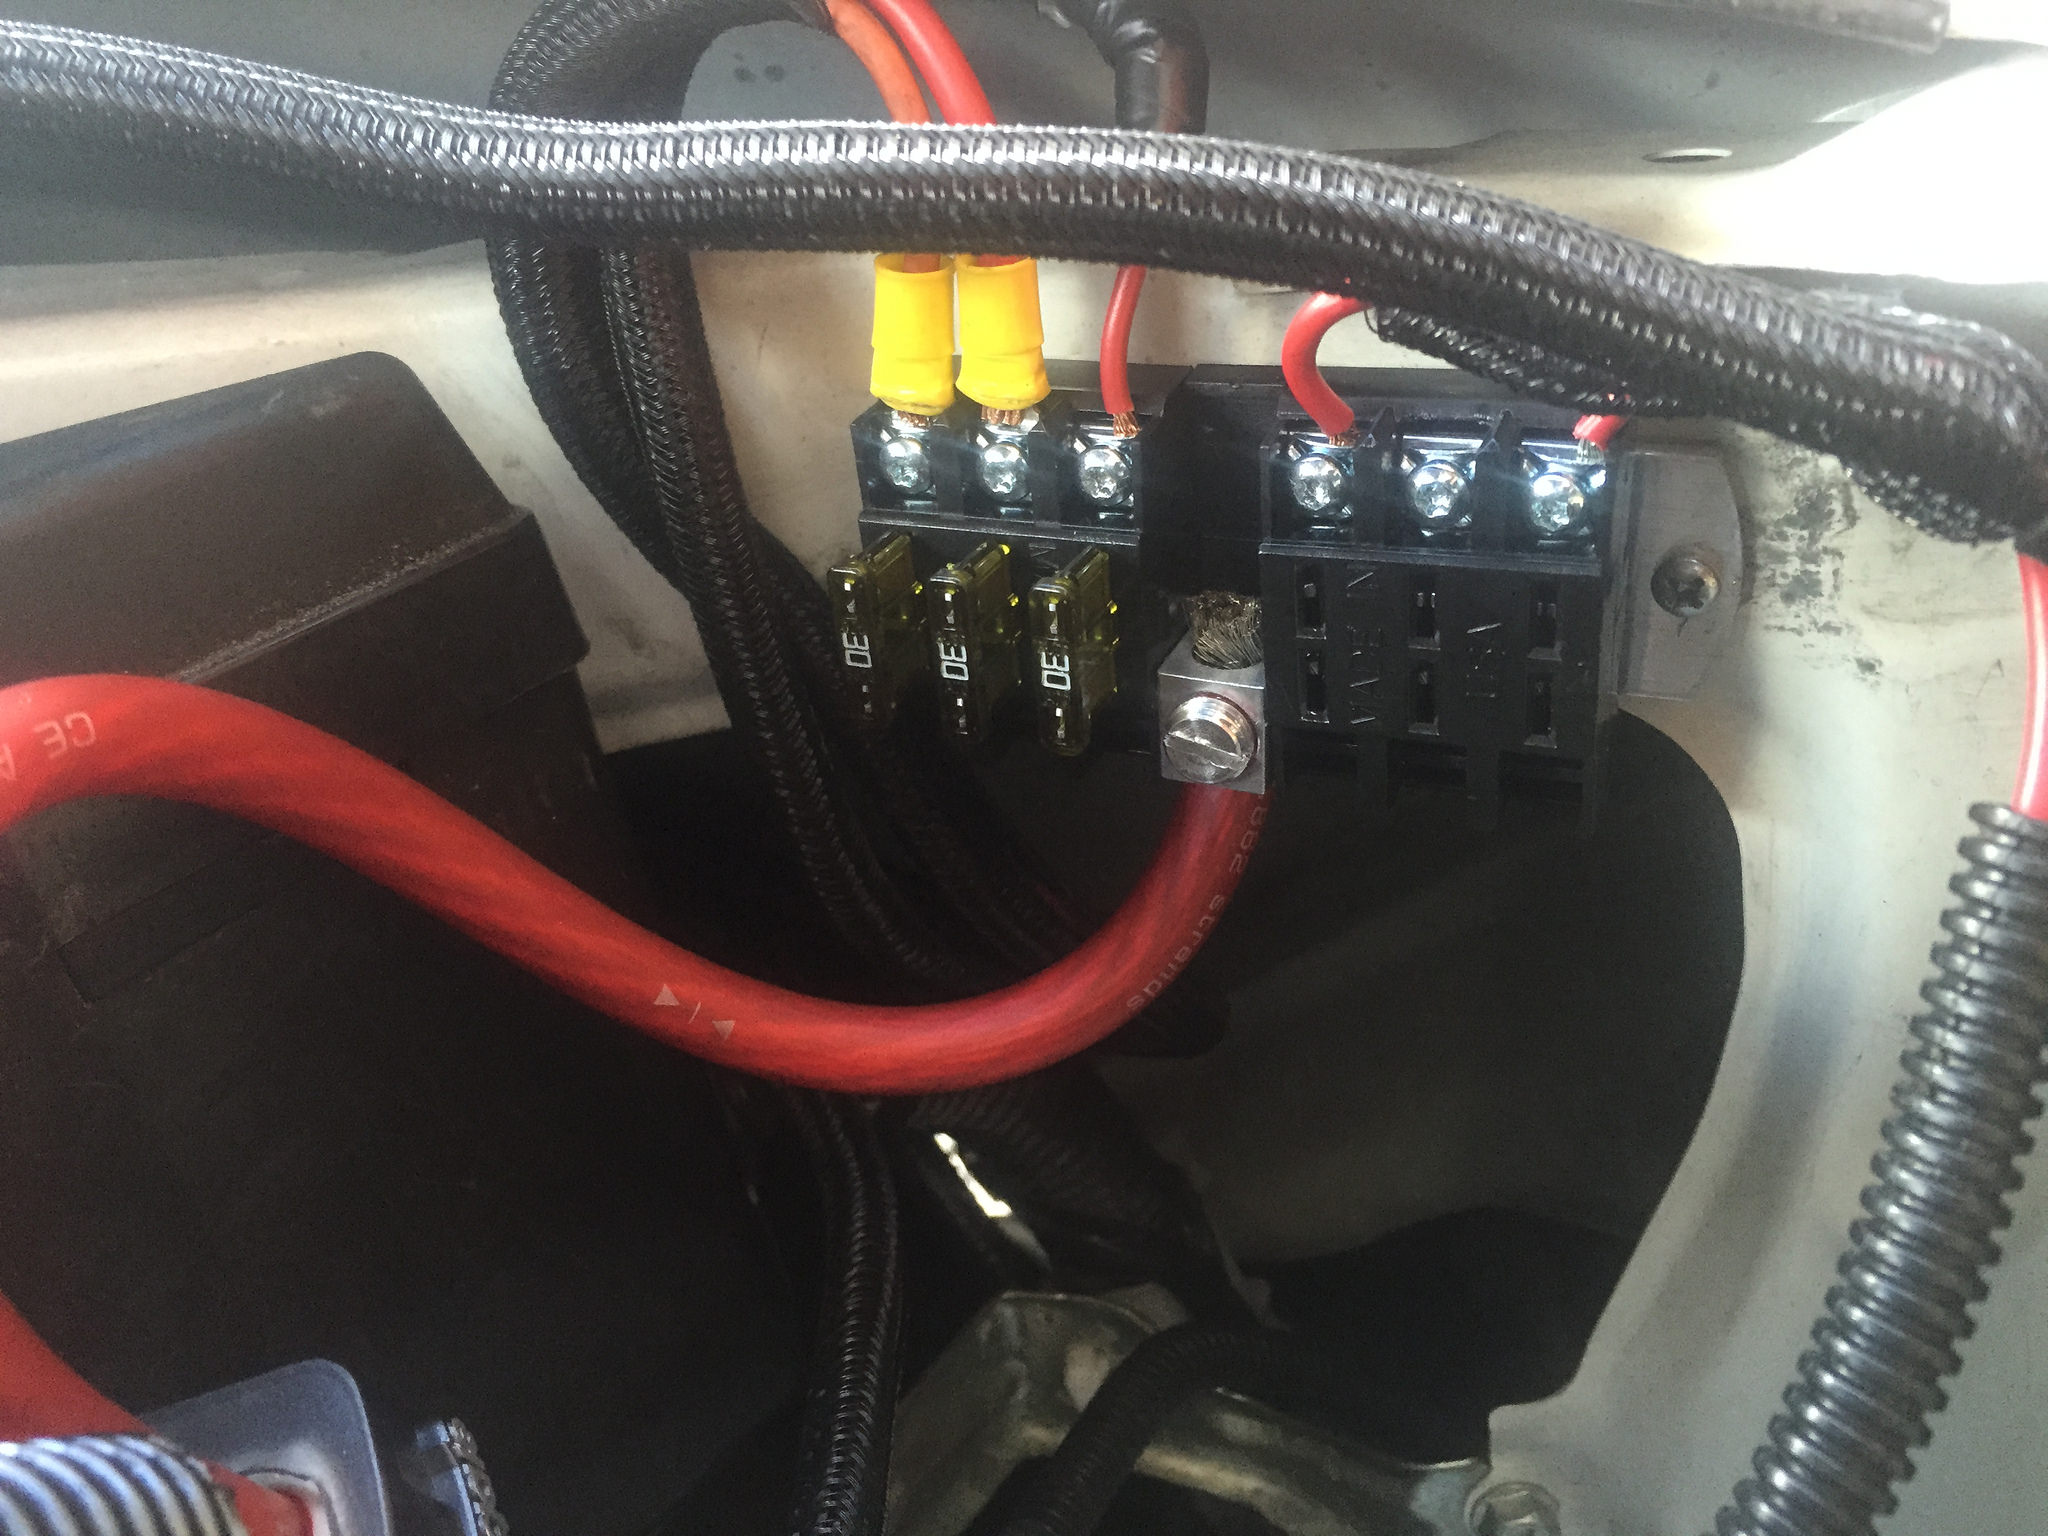
Main Distribution Block
Completed work
I'll go back and clean up the wires a bit more later. Just wanted to get things situated decently at the moment and drive around for a while.
Final Dyno Numbers:
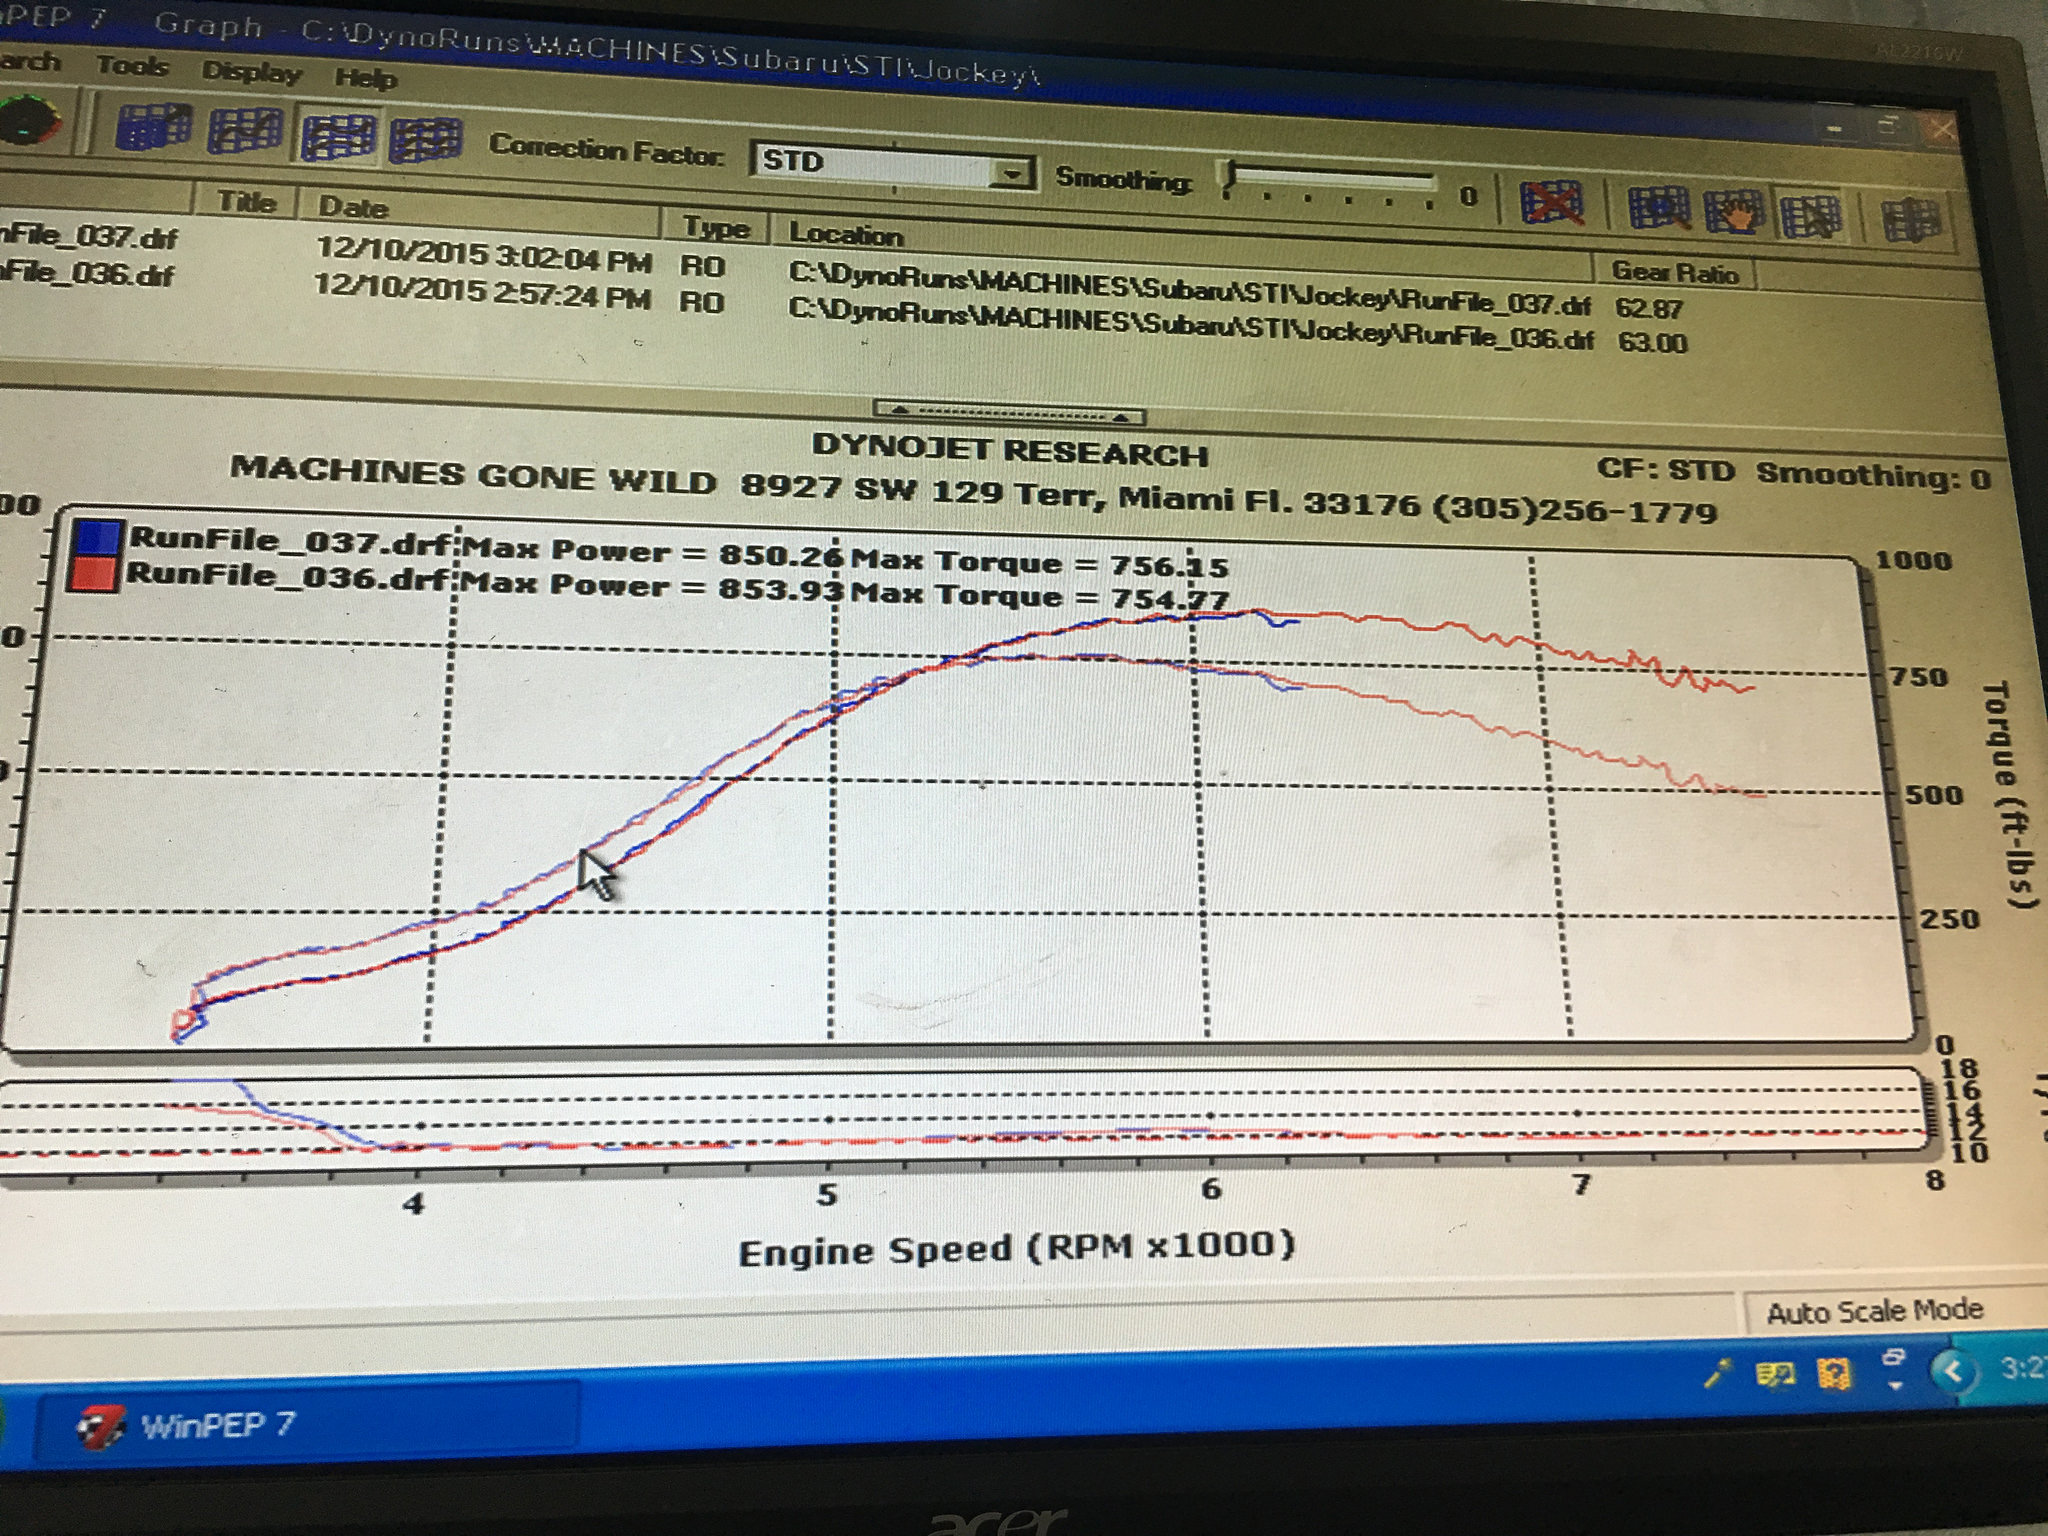
Tuned by Junior:
Dyno Video:
Birth of IAG Stage 4 Extreme Short Block. Going to be built with 14mm head studs, ARP case bolts, OEM crank, IAG spec Manley Pistons and Rods, oring, pinned
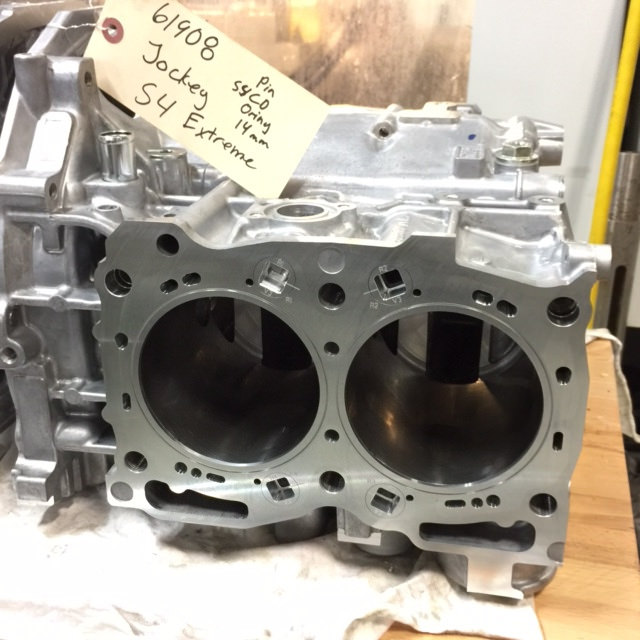
Ready for Line Hone:
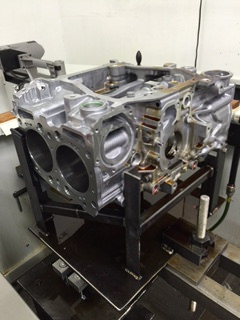
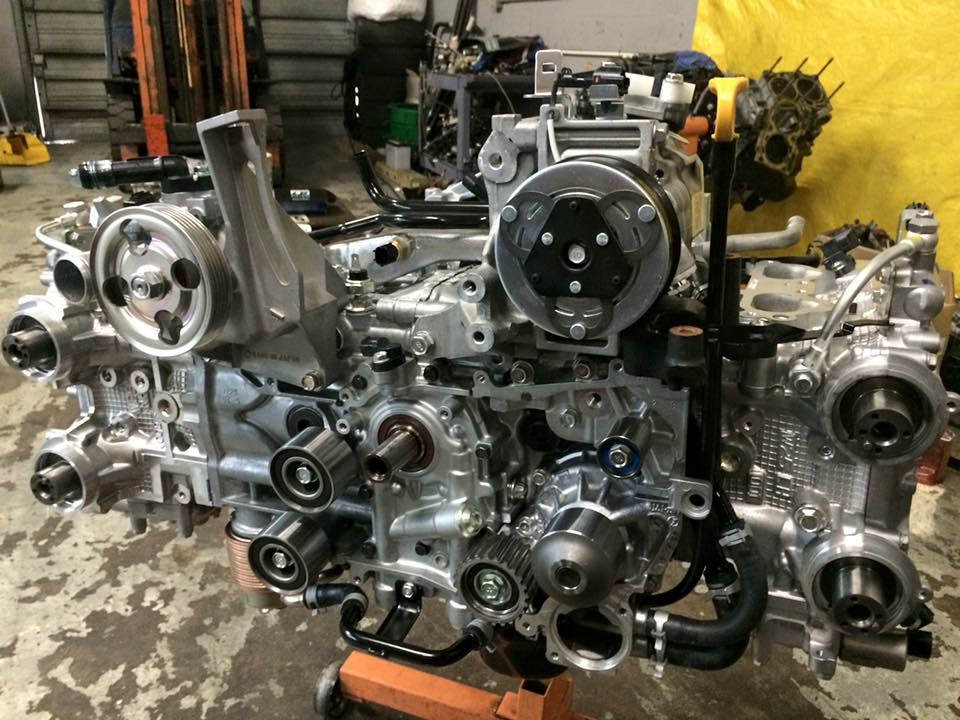
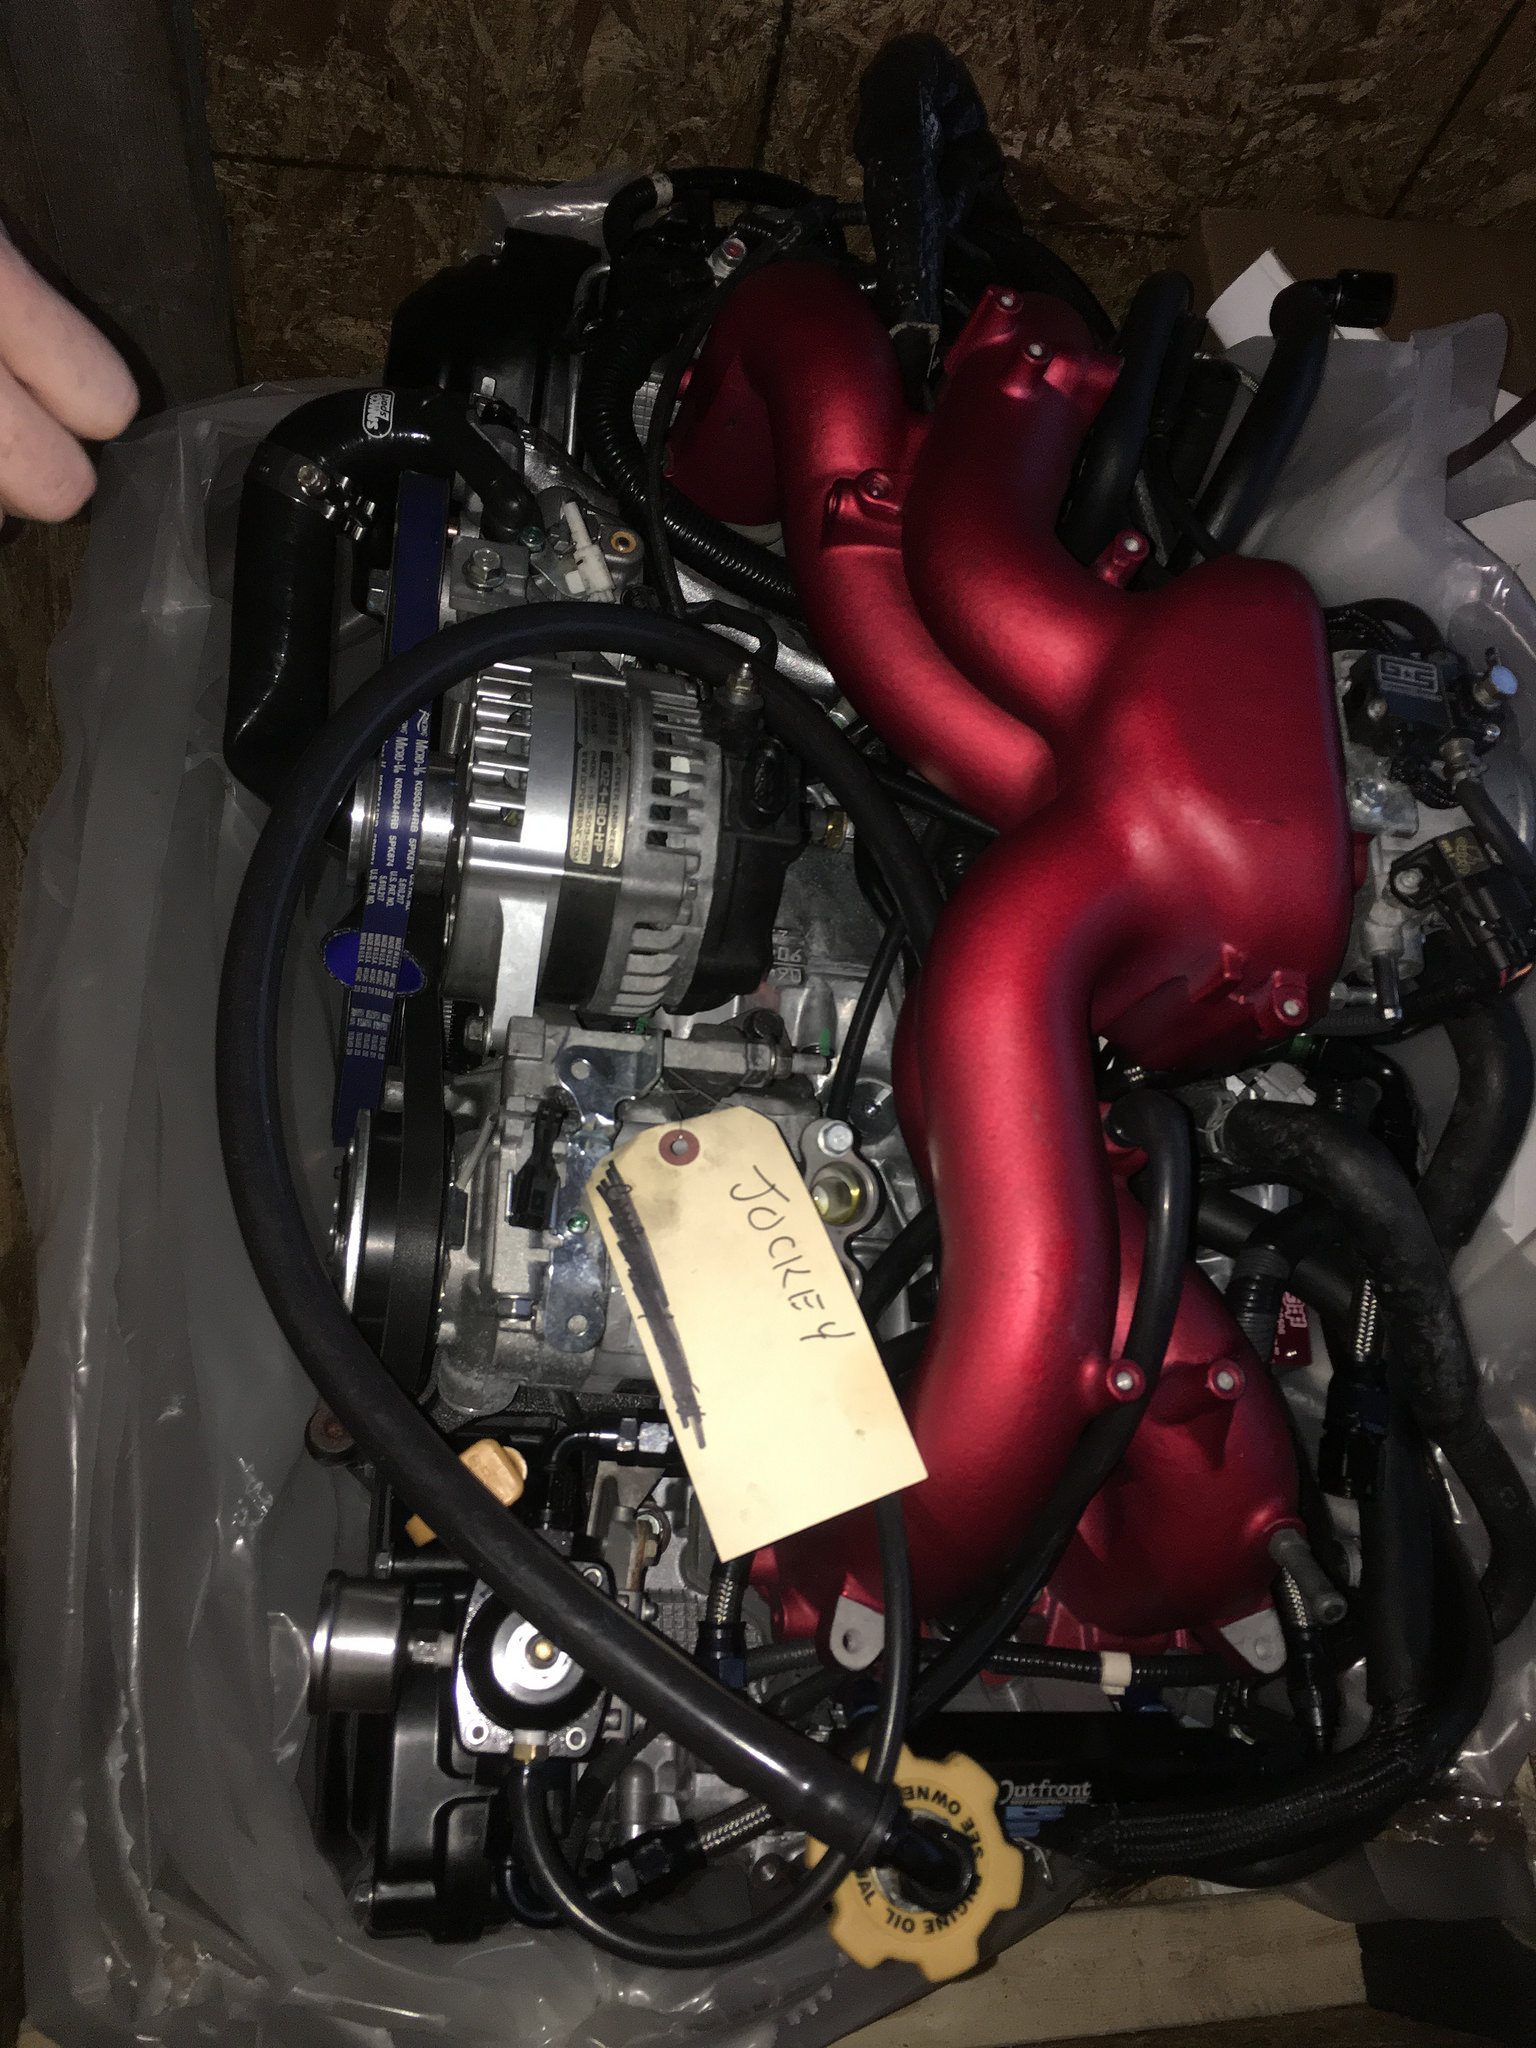
Reassembled Long Block by IAG:
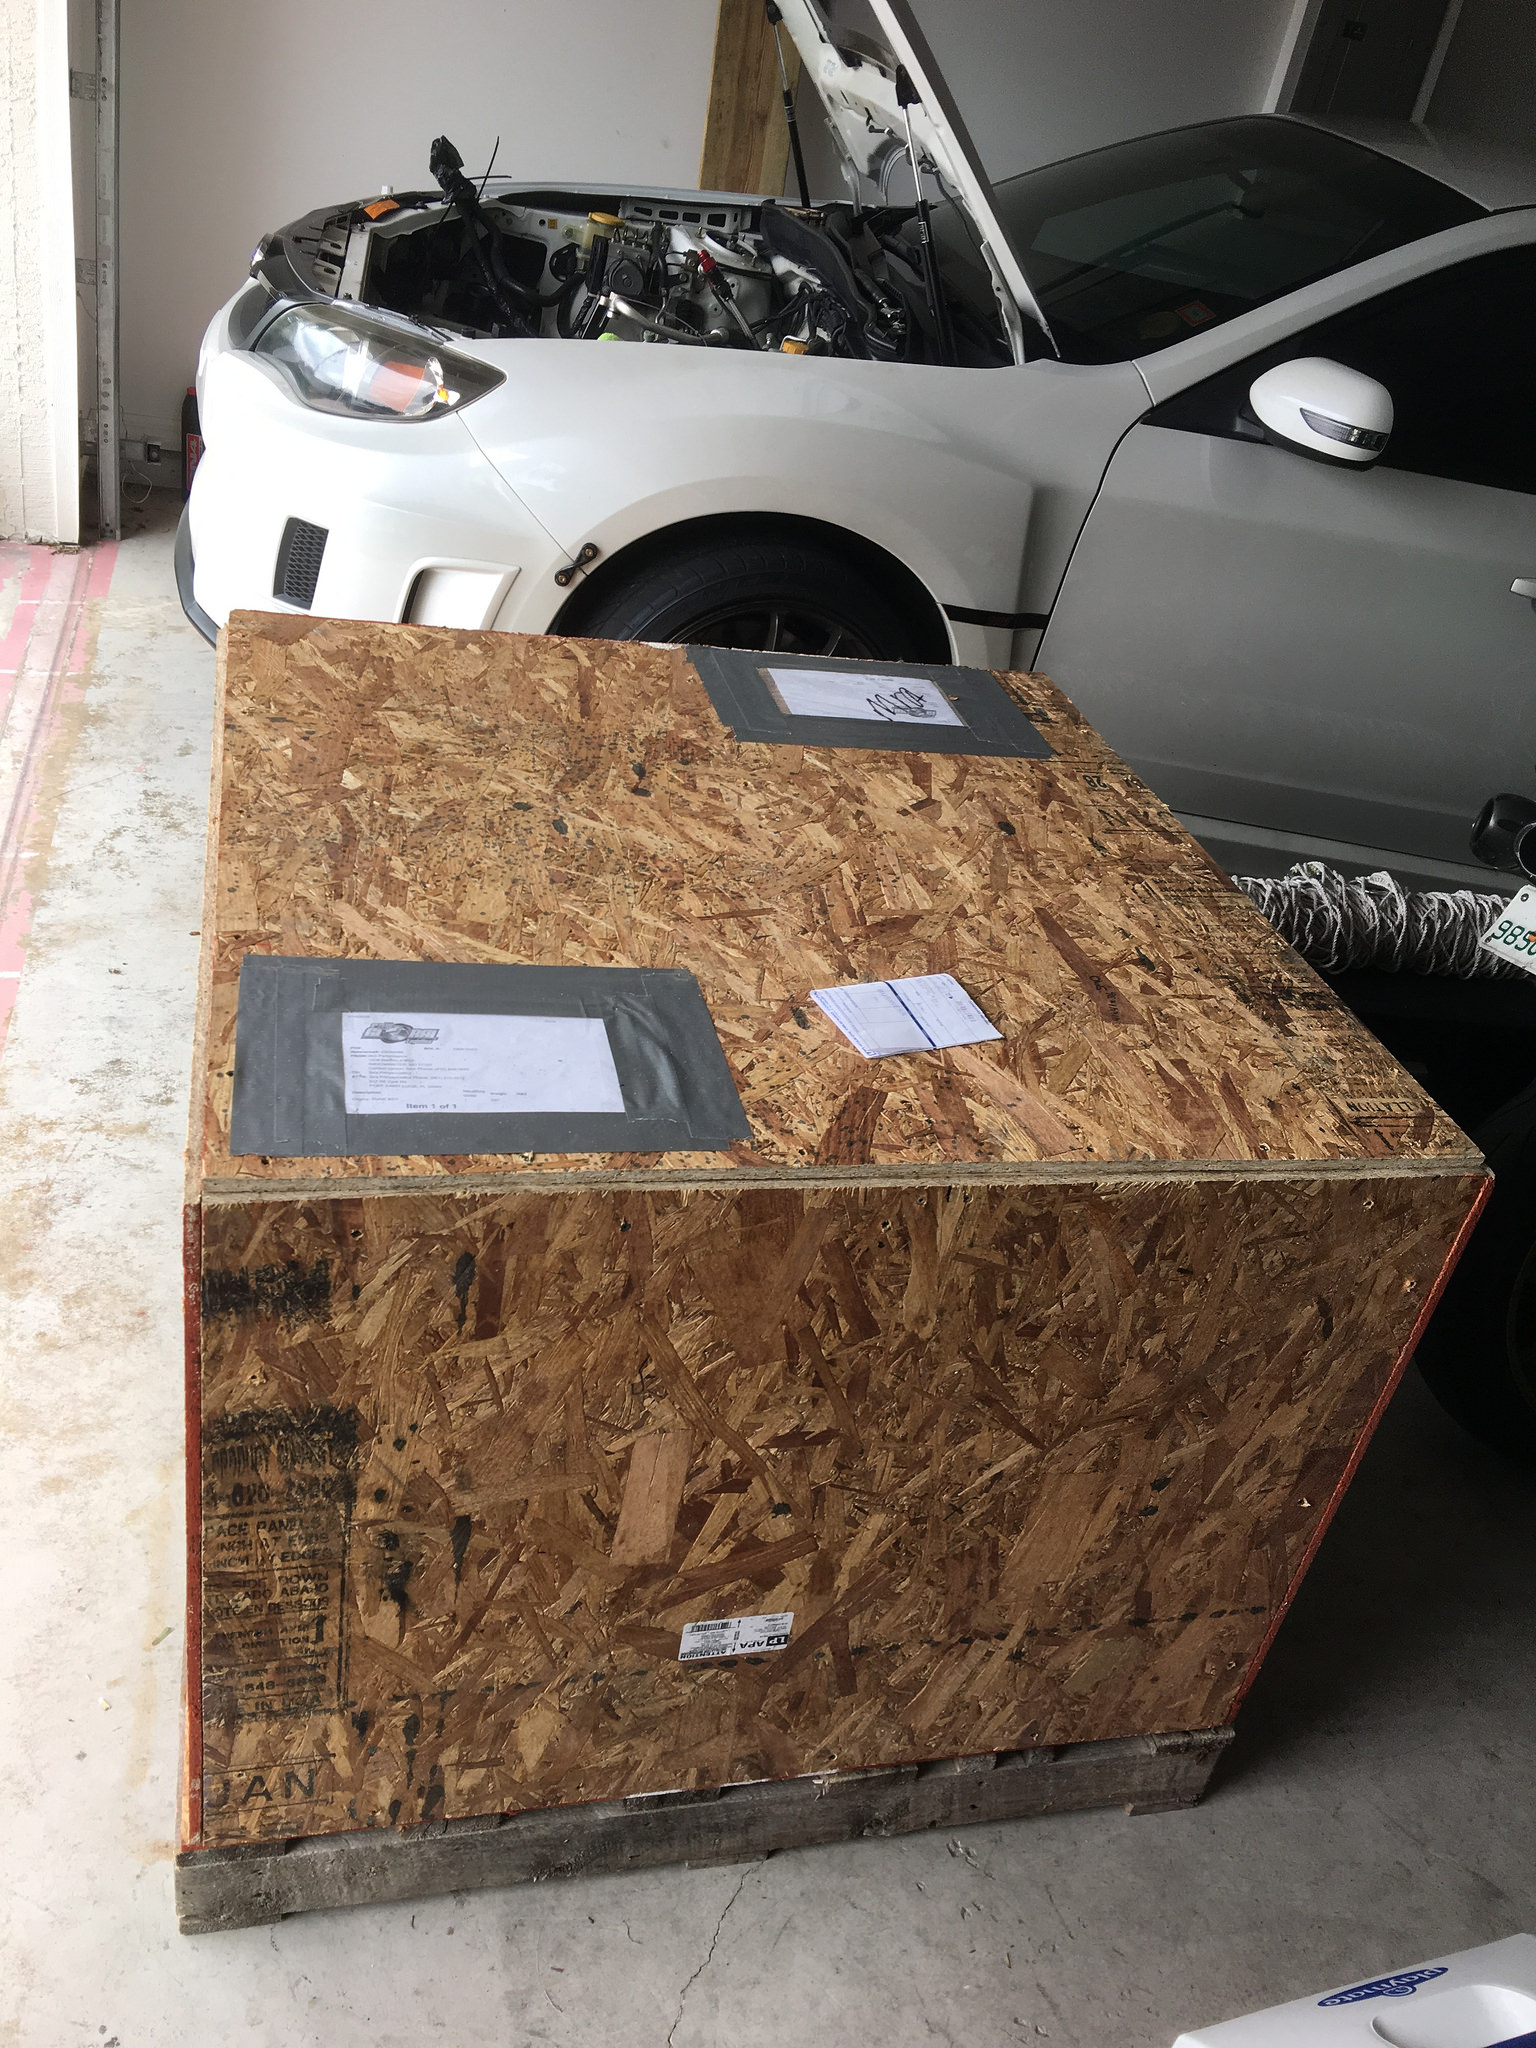
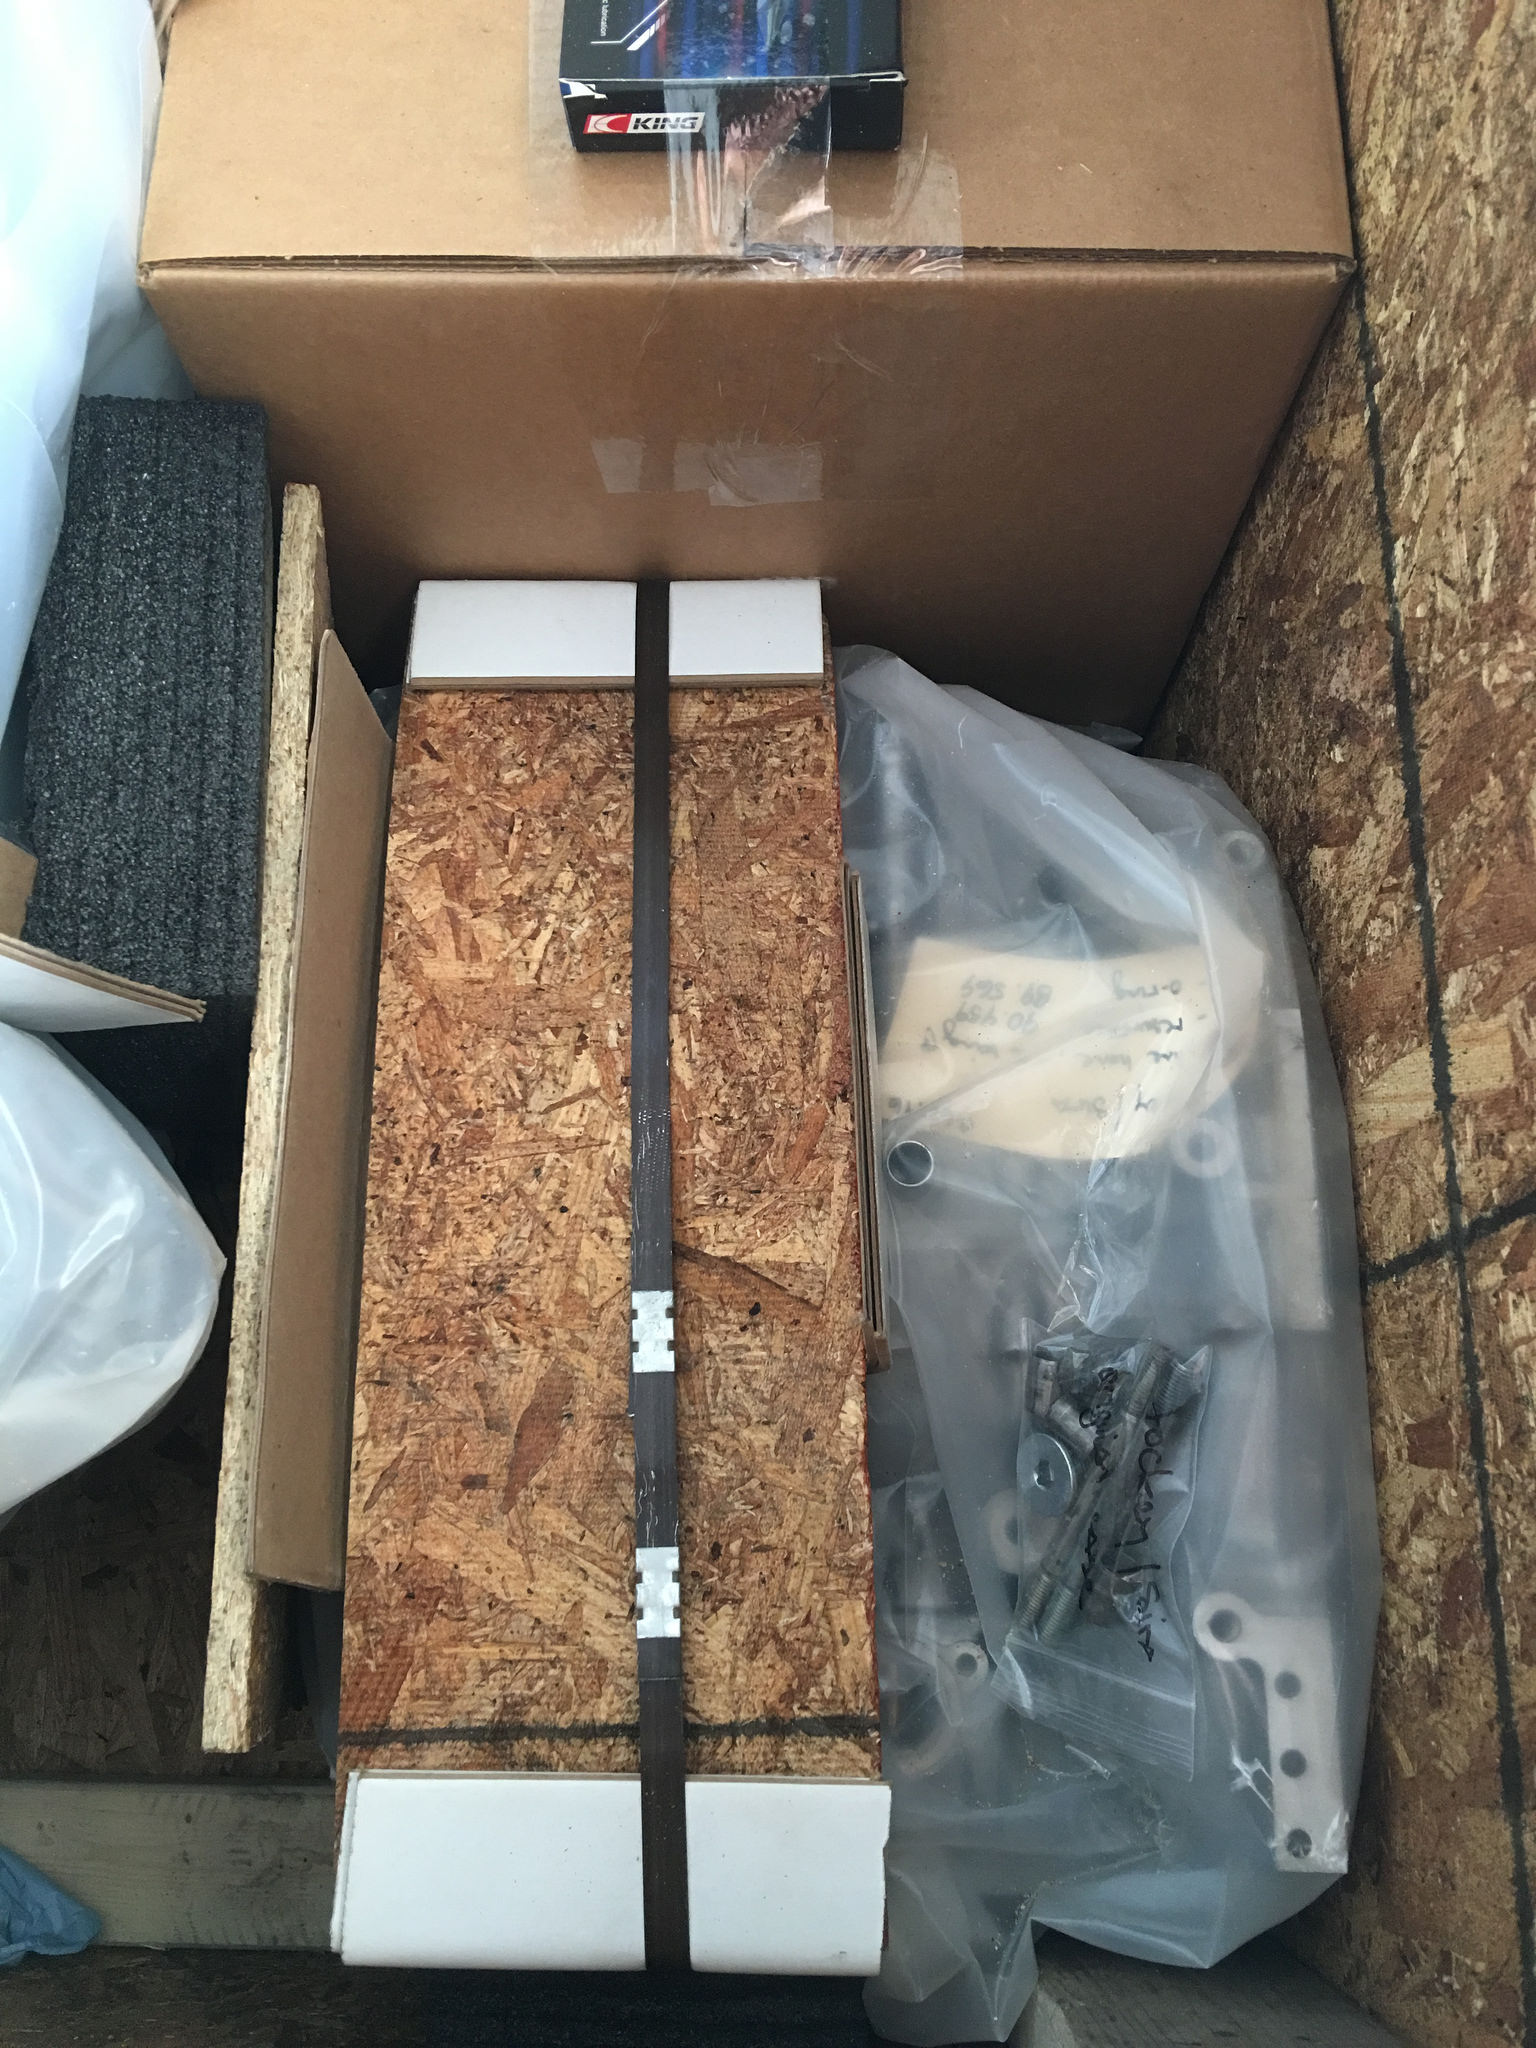
Opening the crate:
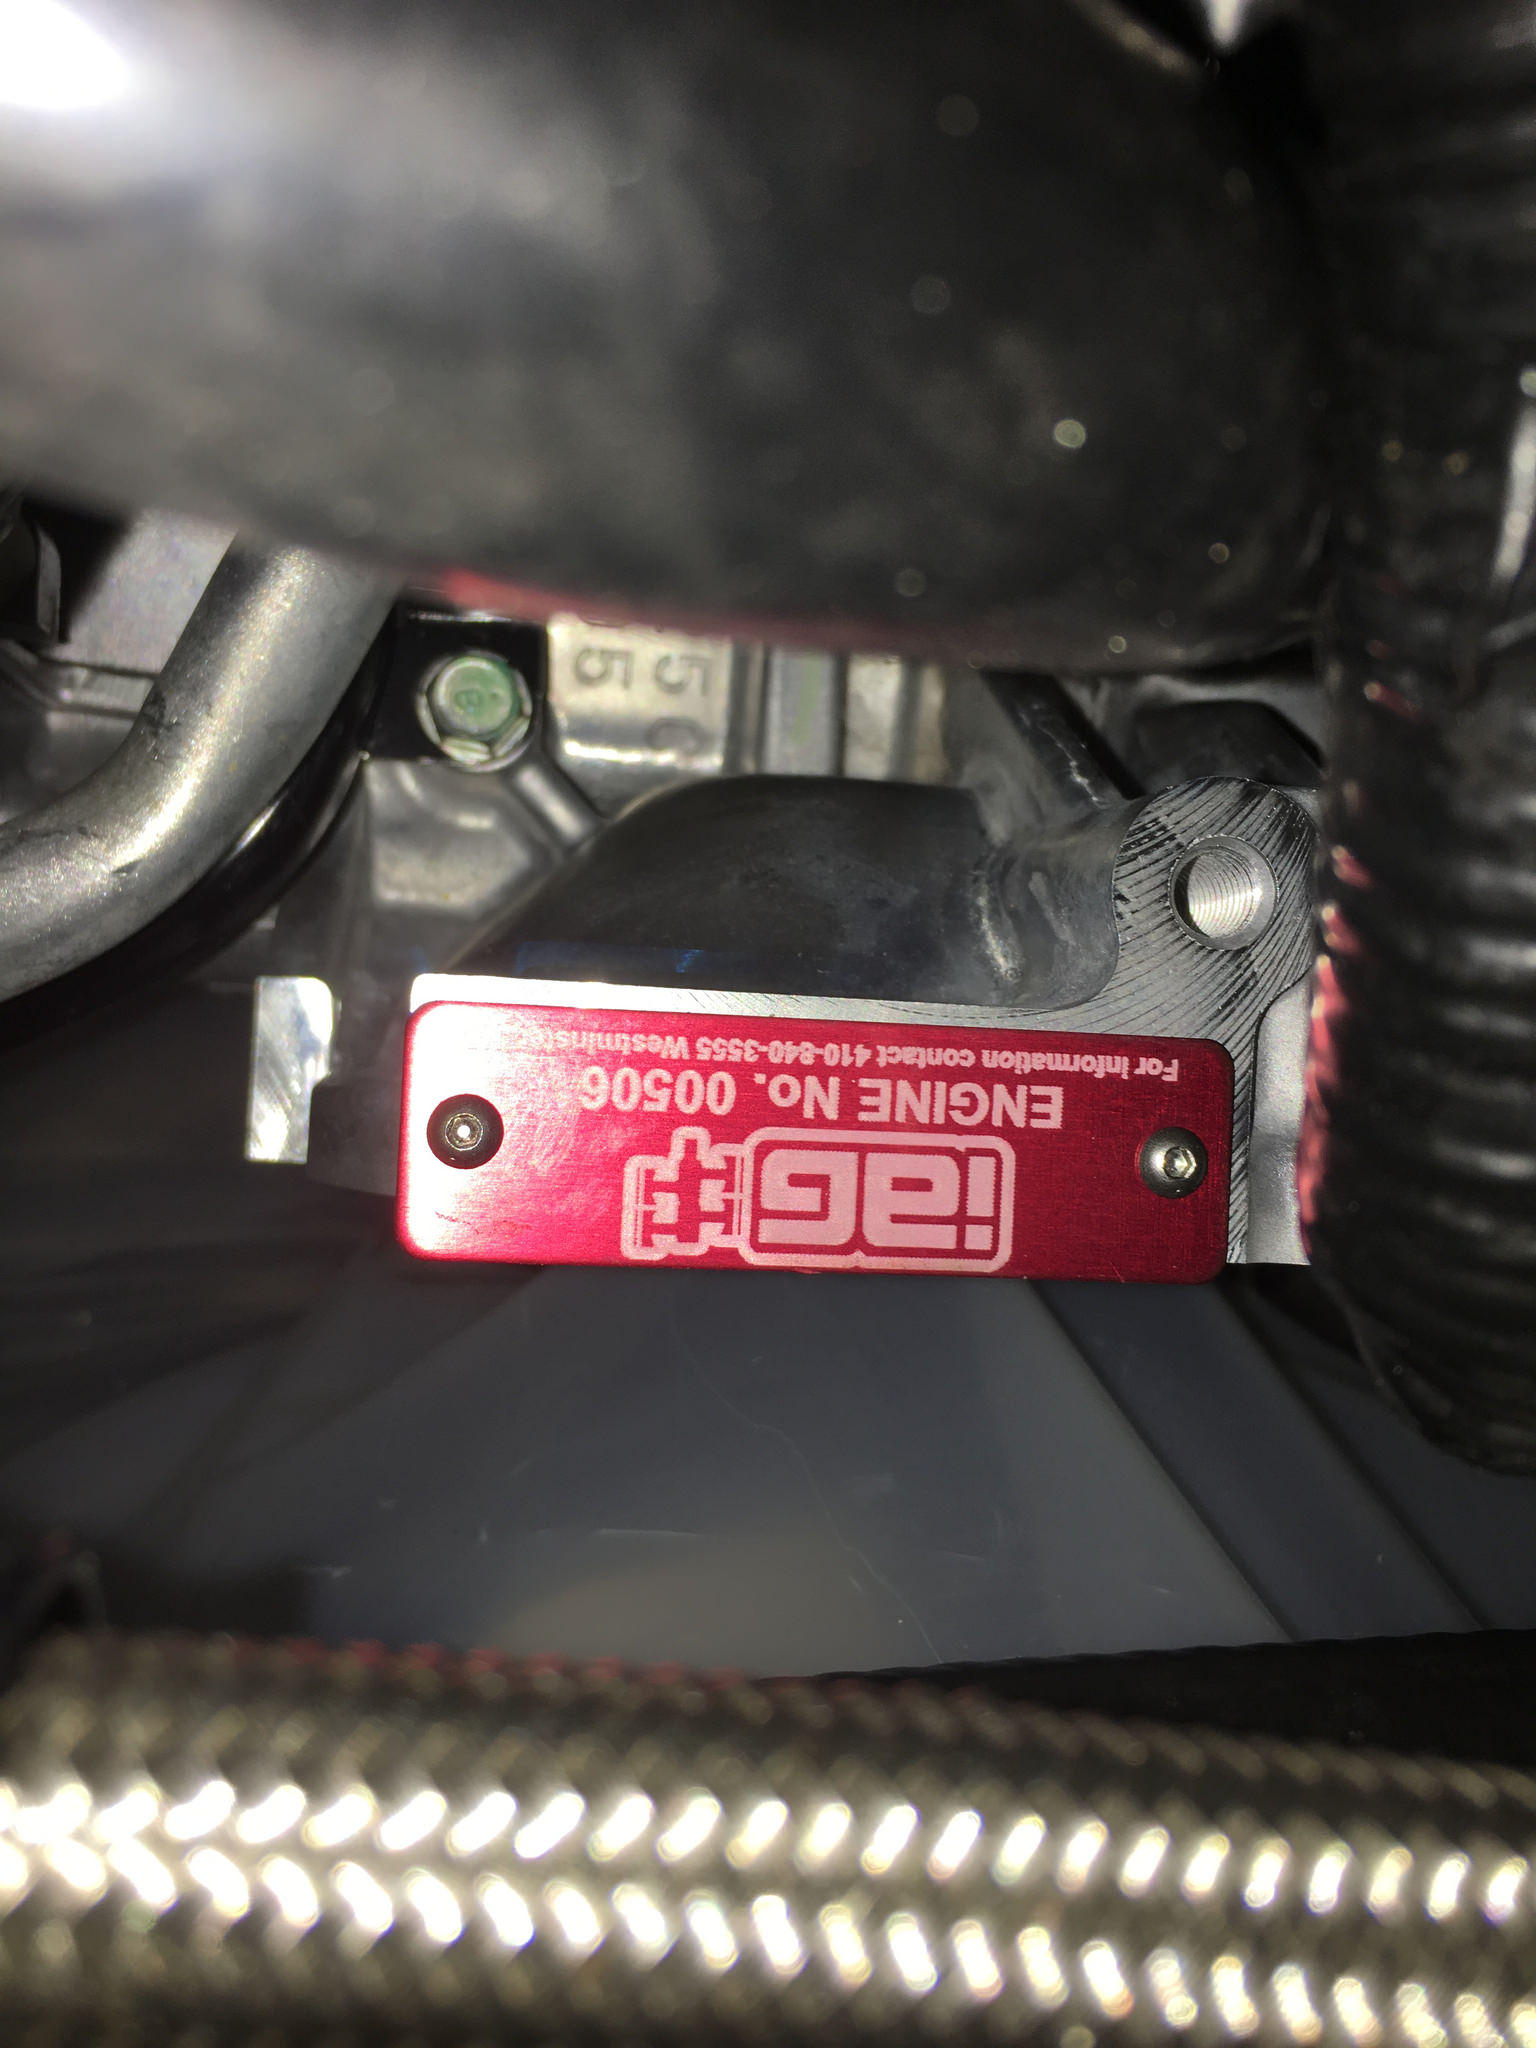
Outfront Block modified by IAG. Resurfaced, line honed, oringed
Line Hone of Outfront Block:
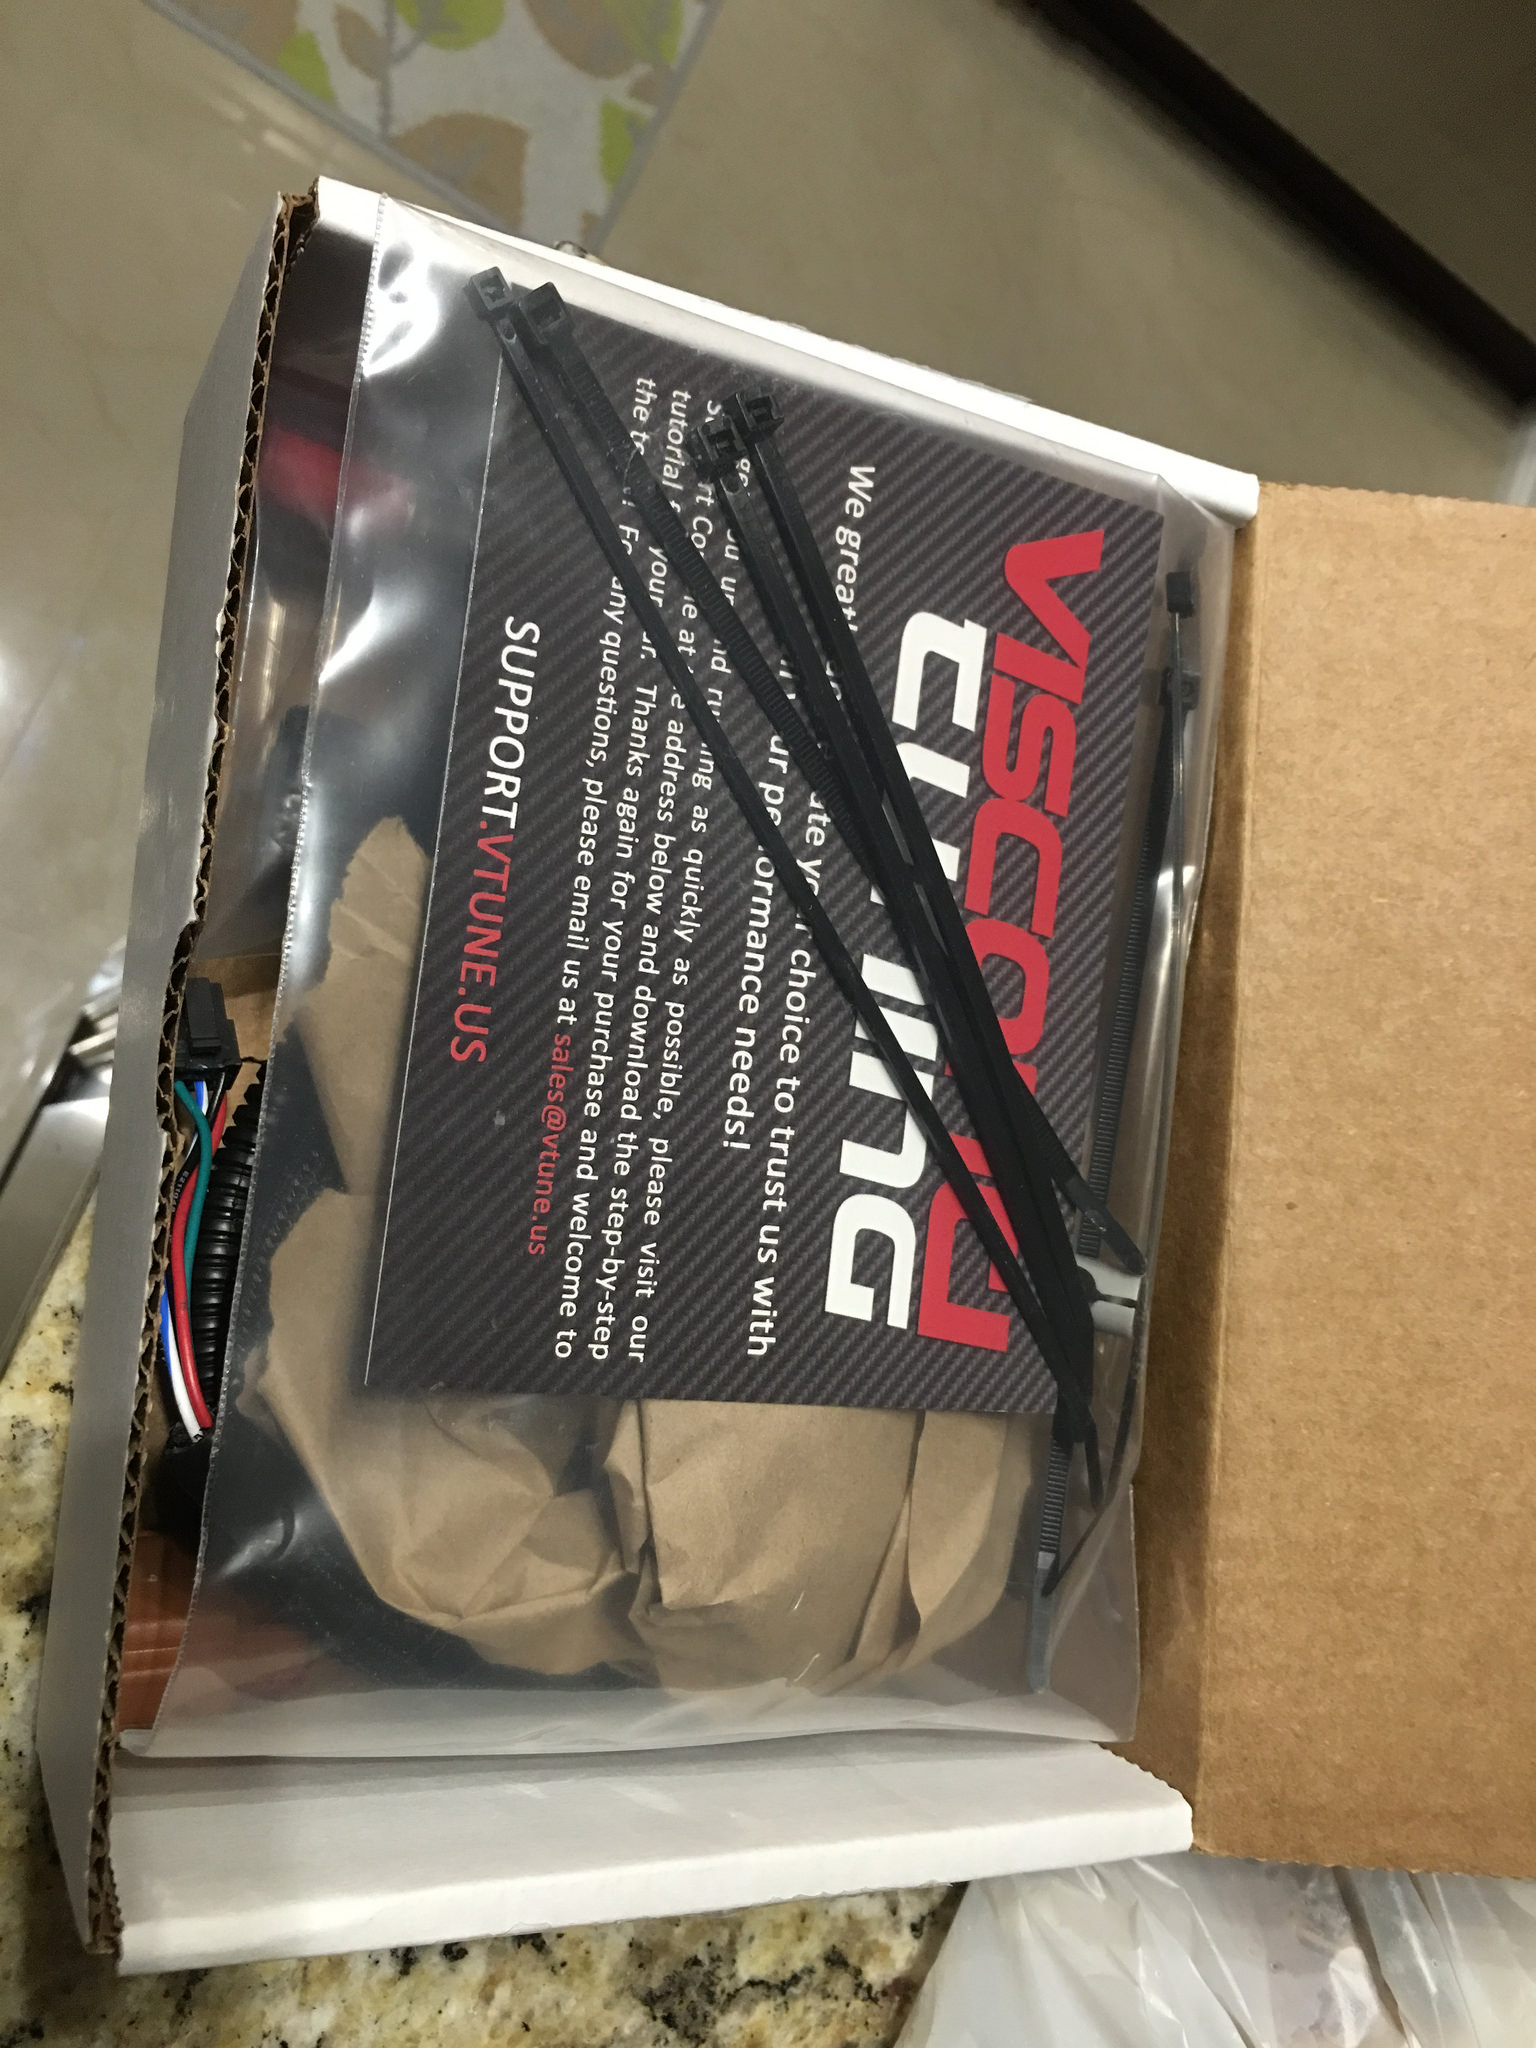
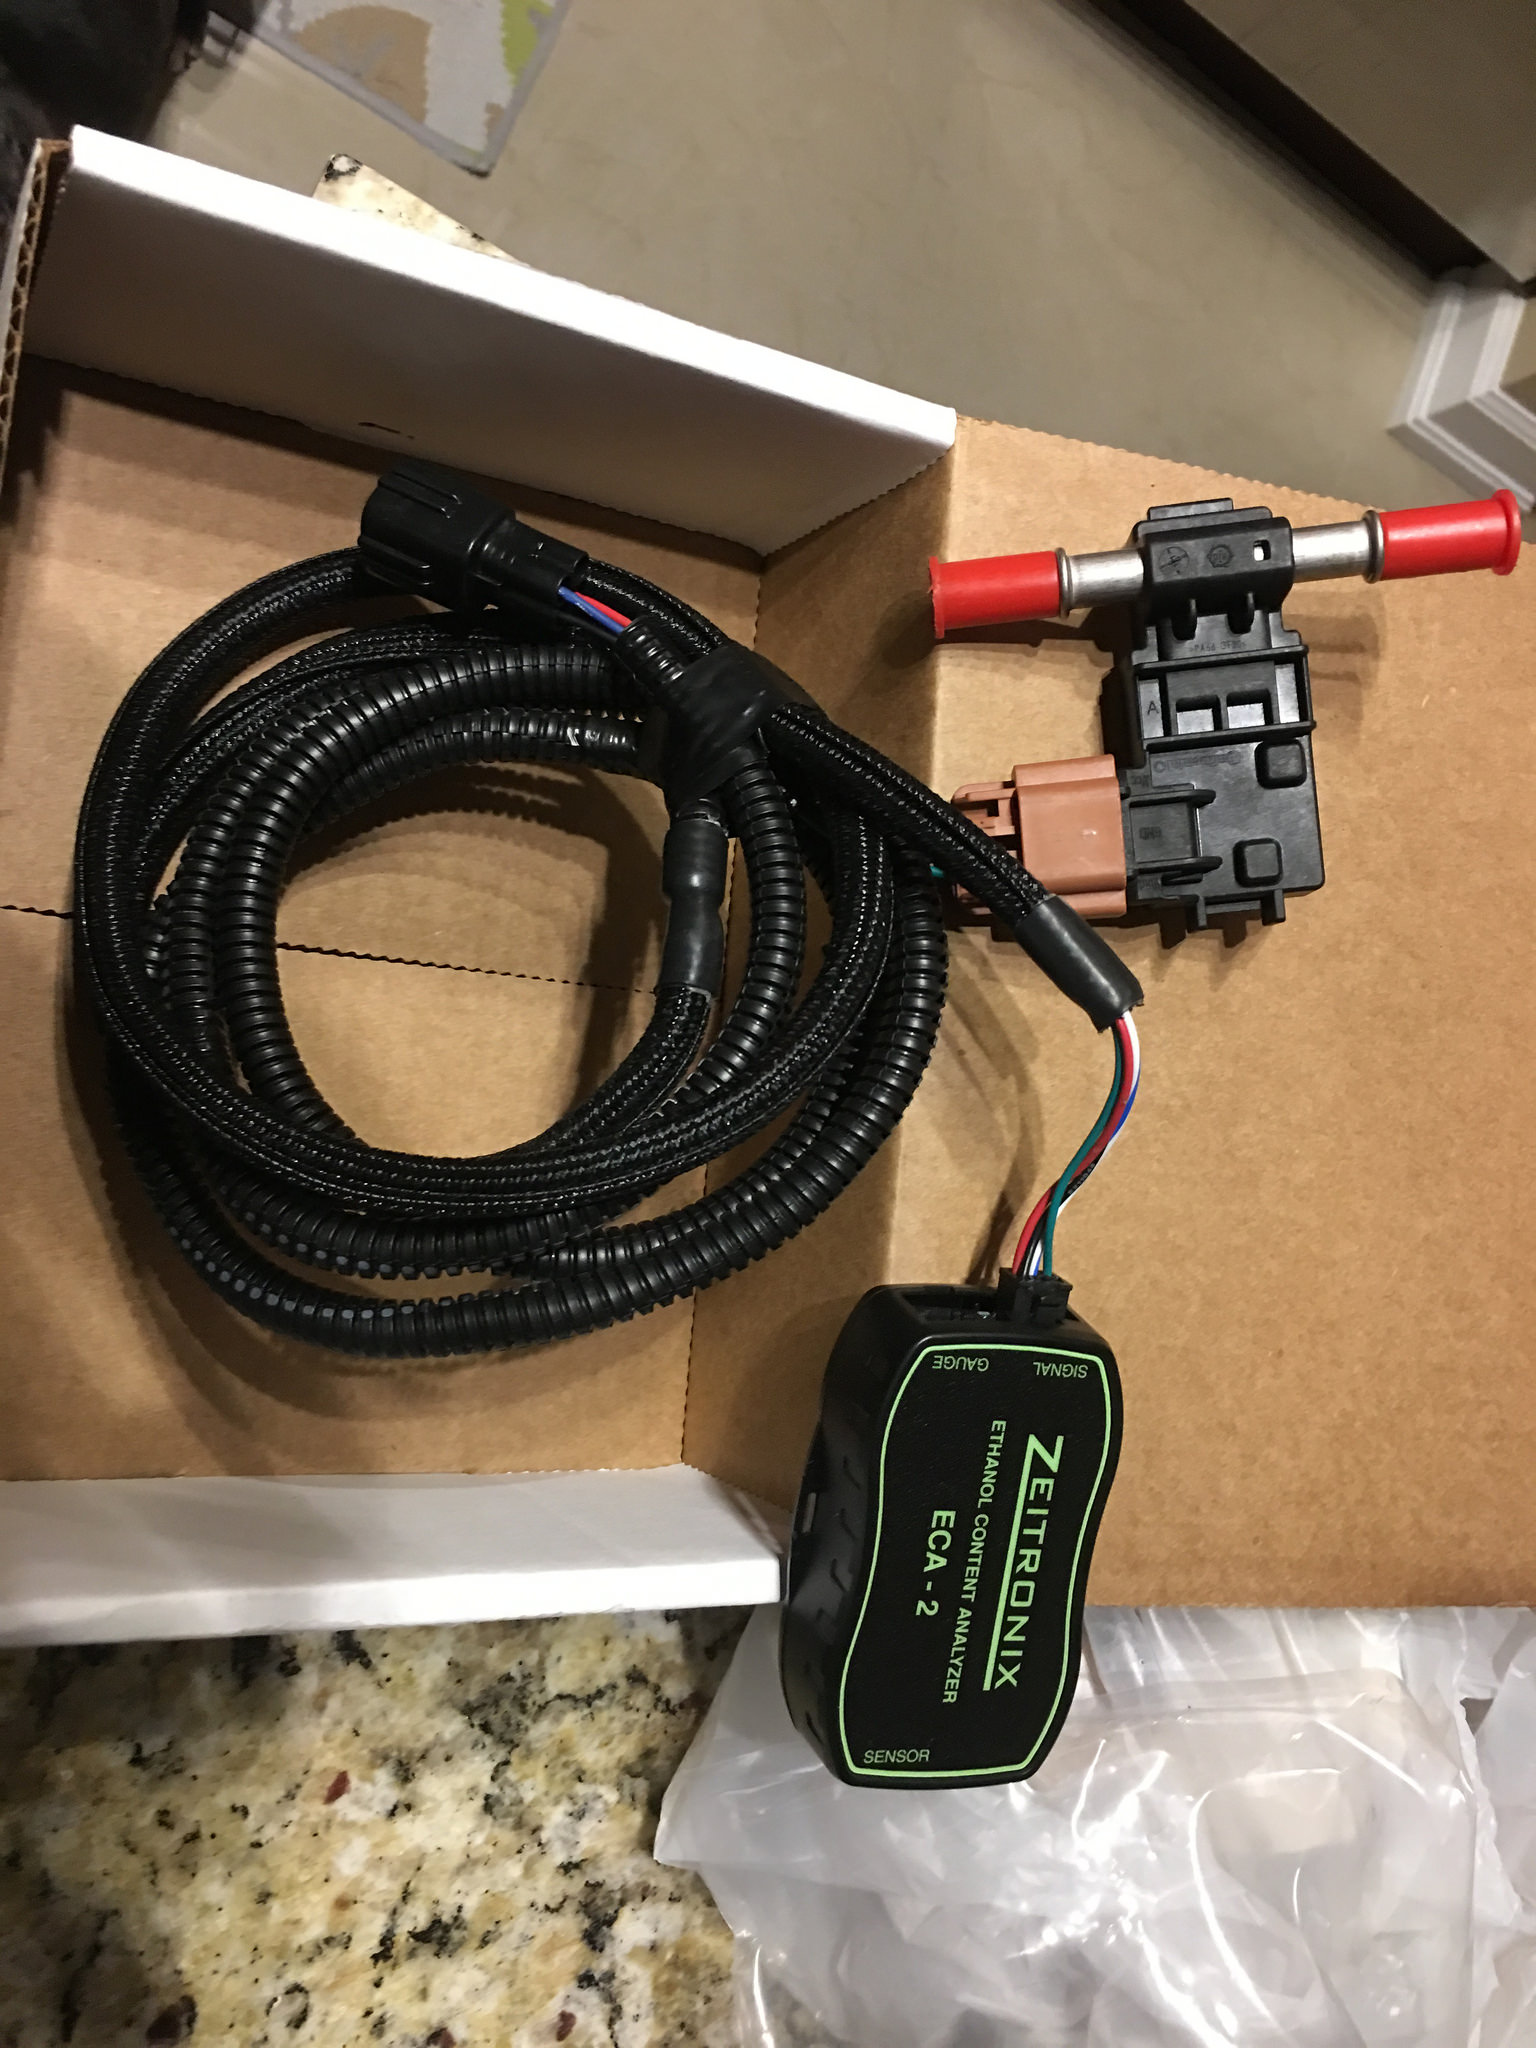
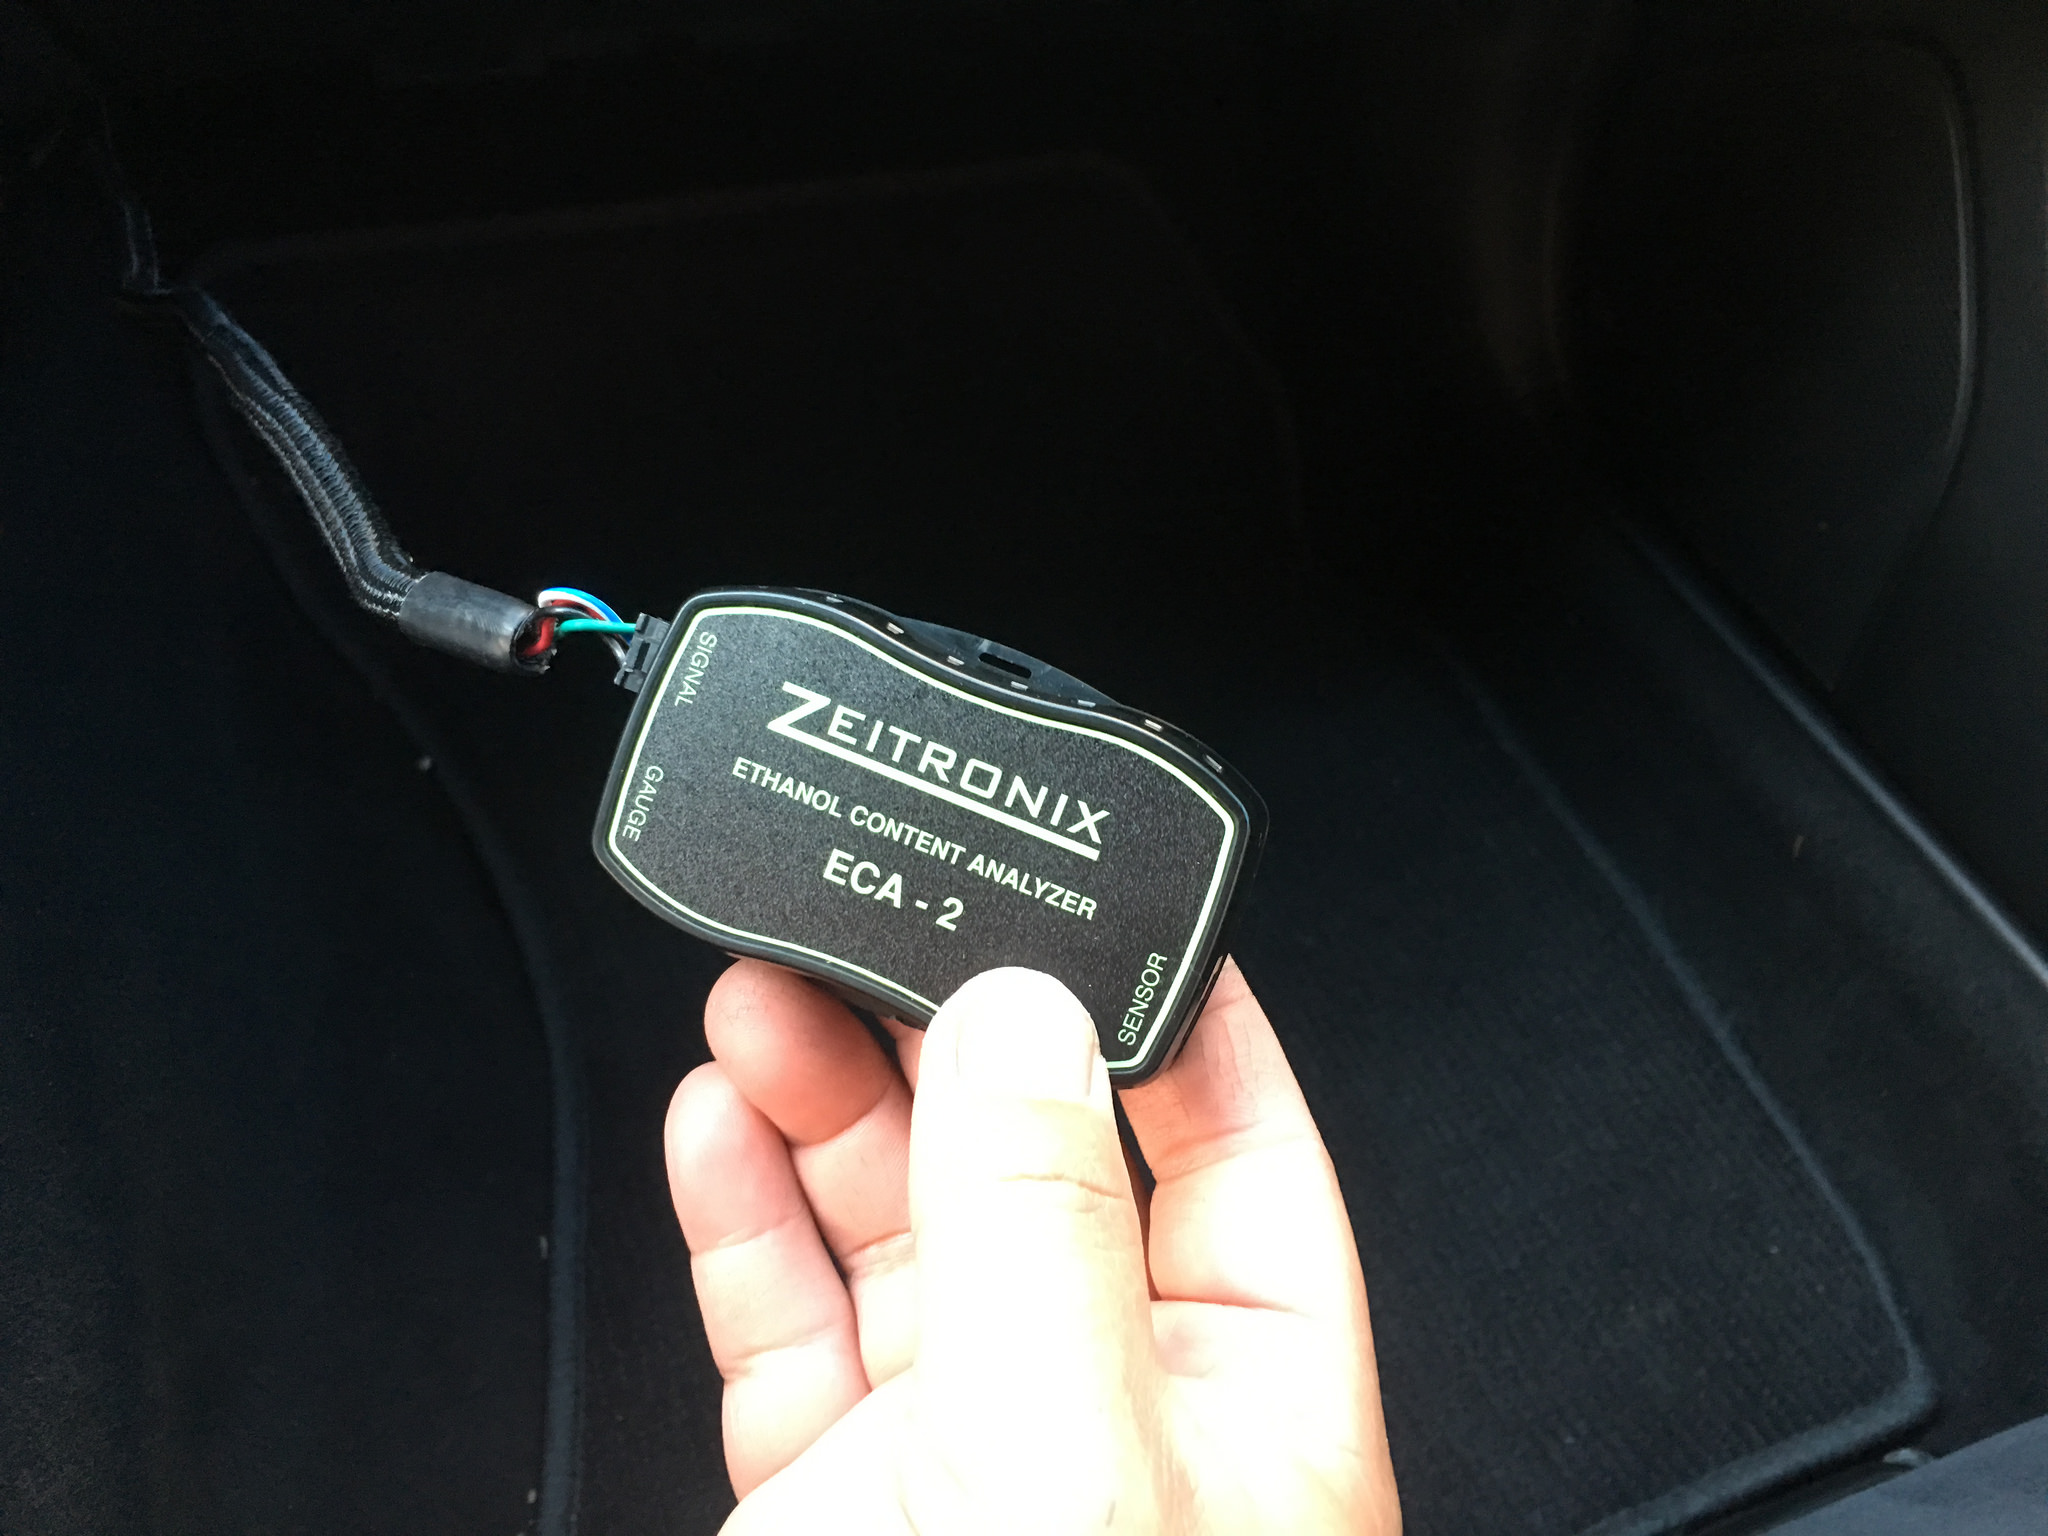
Visconti Flex Fuel Kit:
Great build and details!
Posted by Diggymart on 2/20/19 @ 1:21:20 PM