Audi UR Quattro Rally Build


( 13 )

6 minute(s) of a 357 minute read

12-8-2021

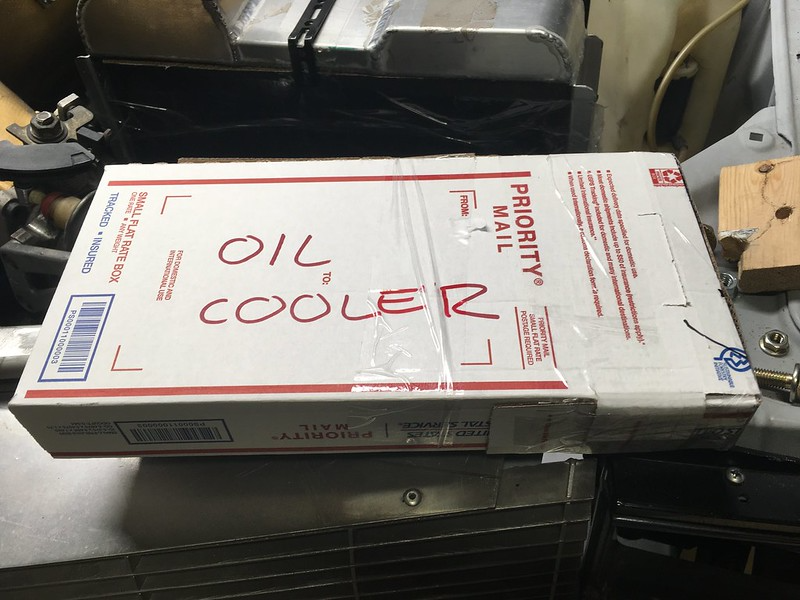
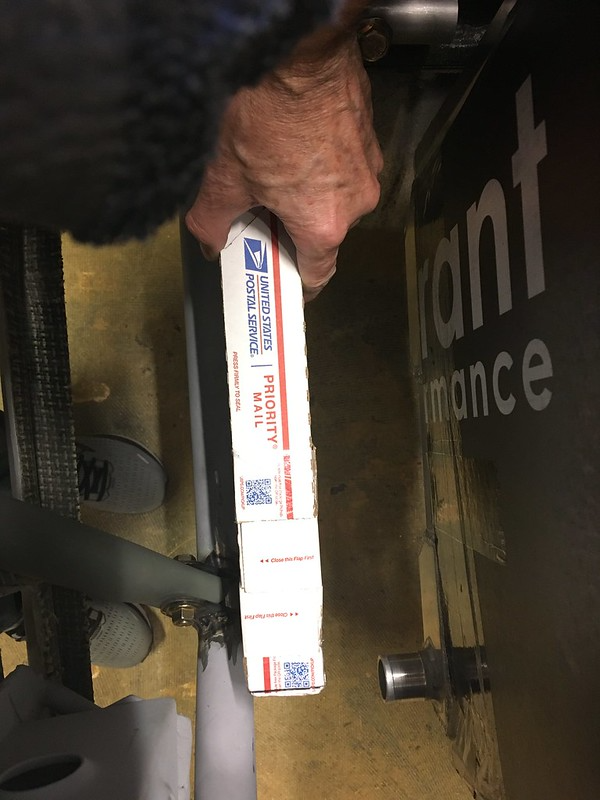
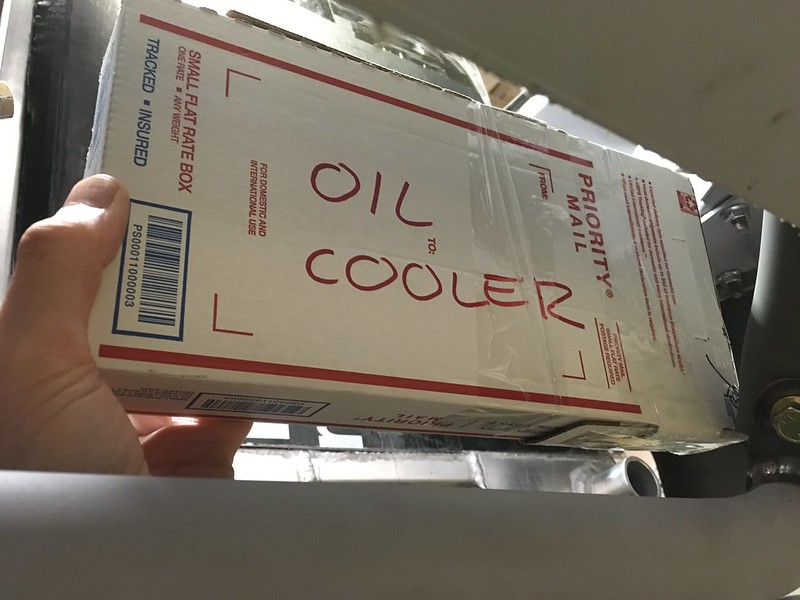
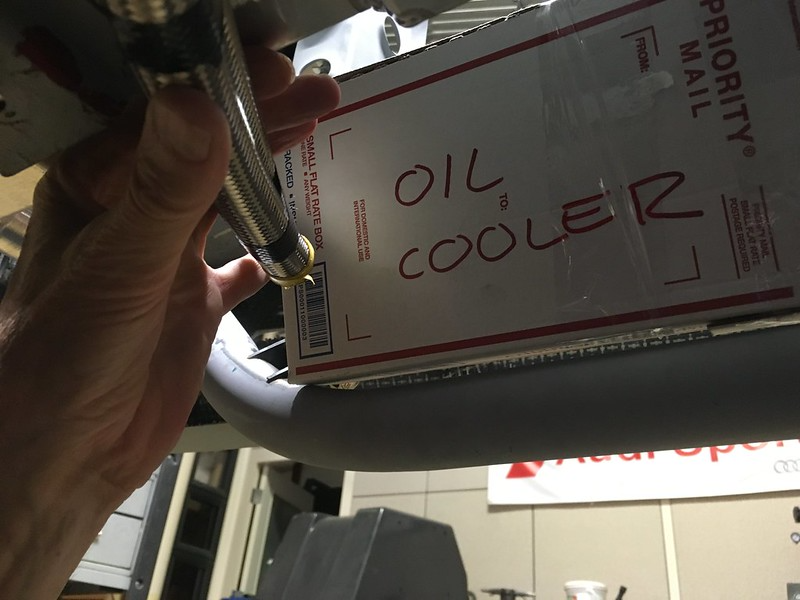
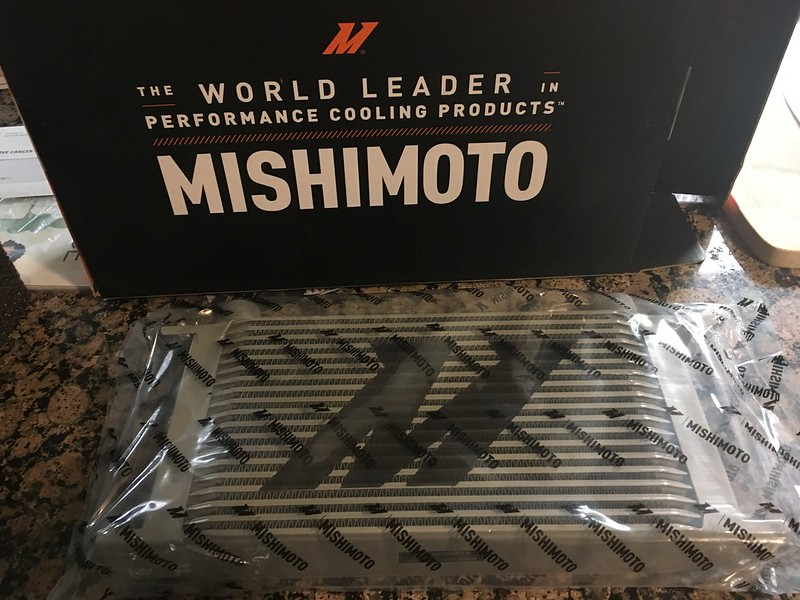
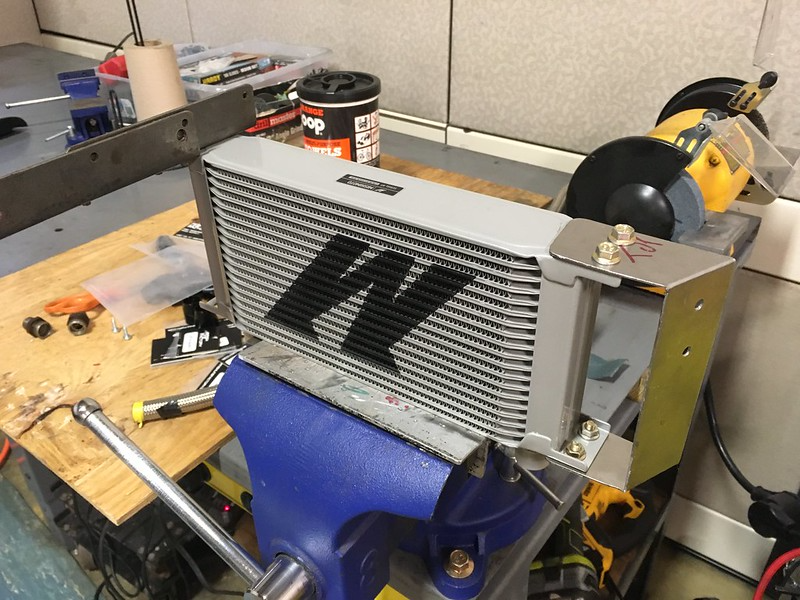
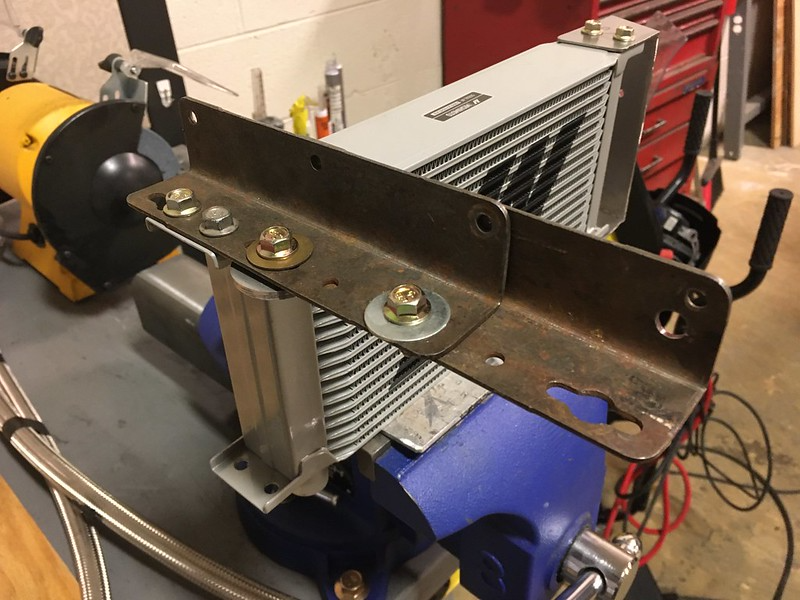
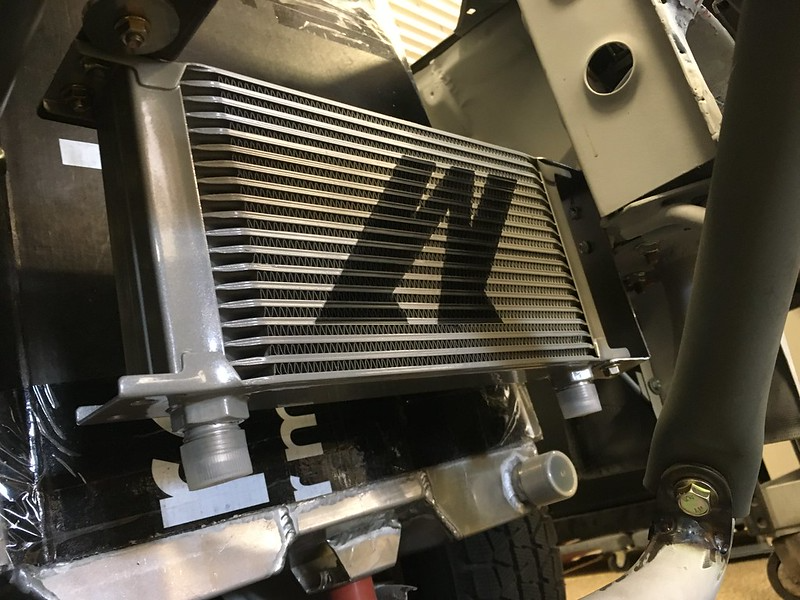
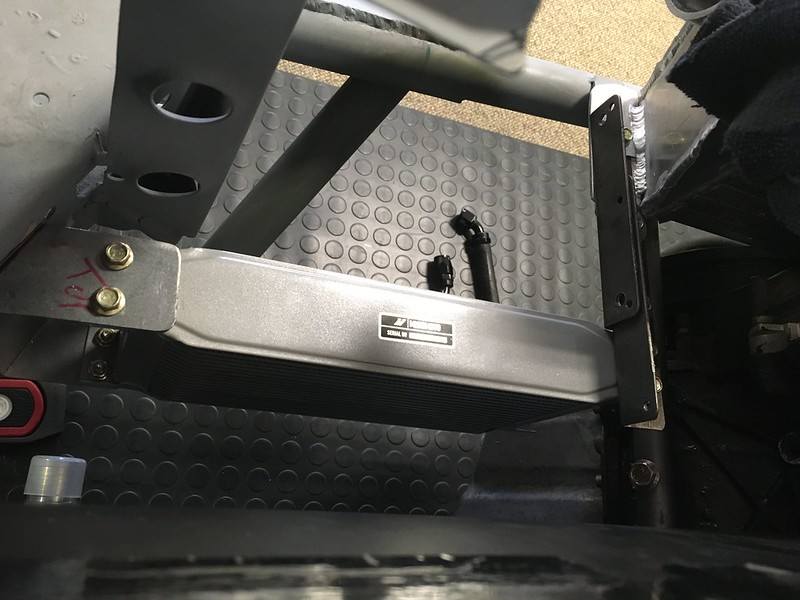
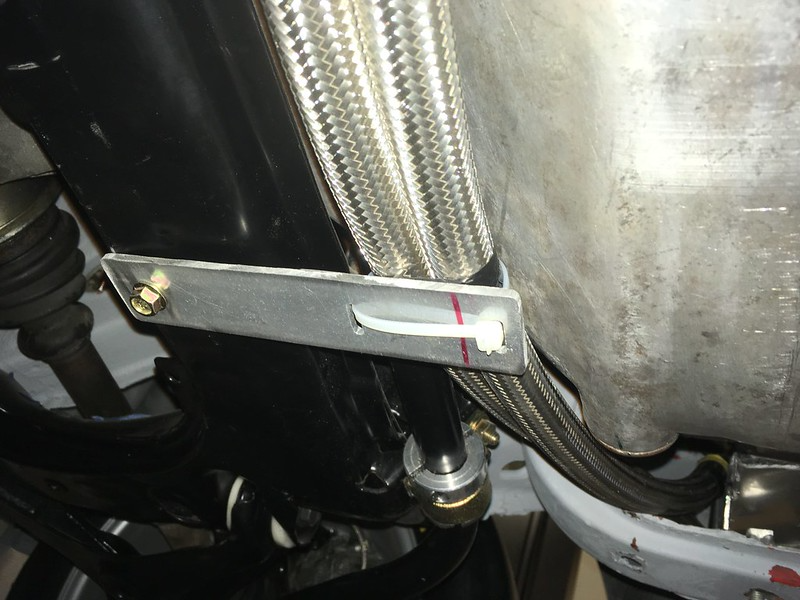
The Quattro rally cars all had a very iconic and loooong oil cooler tucked under their large, trunk mounted rear spoiler but we never wanted or needed the expensive dry sump oil system that goes with it so we are going to use a more traditional, front mounted oil cooler on this build. The stock oil cooler that came with our AAN engine is quite small, some would even say tiny, so we didn’t want to use that either.


So we had always assumed we would use something from the aftermarket but what to use and, more importantly, where to put it? We looked for some free space that would be visited by cool air and also be accessible by some oil lines. The oil system and consequently the oil cooler inlet and outlet, are on the right side of the AAN engine but there was no room there now we had relocated the alternator and added the bars for the skid plate. It seemed the only place for it would be in front of the radiator on the left side of the engine. Lots of room there but no obvious route for the lines was present. We couldn’t go round the front of the engine as that’s already full of alternators, bumper bars, intercoolers and other stuff and round the back of the engine is full of pipes, wires and steering arms. After mocking up the skid plate in cardboard (see previous blog) we thought there was possibly room to squeeze two braided stainless steel oil lines under the engine between the back of the oil pan and the front sub frame and anti-roll bar then squeeze them under the radiator to the oil cooler if, and only if, we mounted the oil cooler with the connections underneath AKA upside down.


We were skeptical of this because we were concerned that the oil would drain out once the engine was turned off and, if still hot when started again, would cause a small delay in flowing oil to the engine as it would have to fill the oil cooler first. We are not sure if this is a genuine concern but didn’t want to find out the hard way. After a short session with a tape measure, we determined that most of our oil cooler would be below the oil cooler inlet and outlet on the block and therefore oil would not drain out YAY!

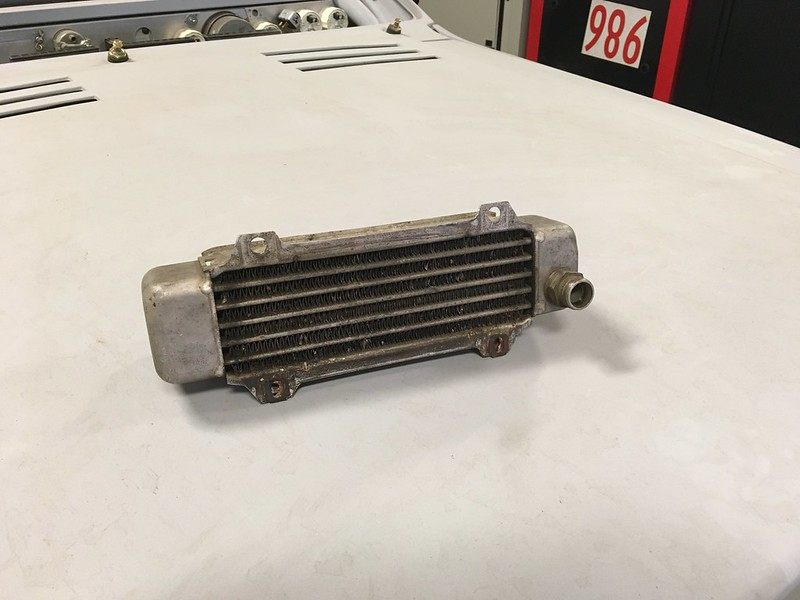
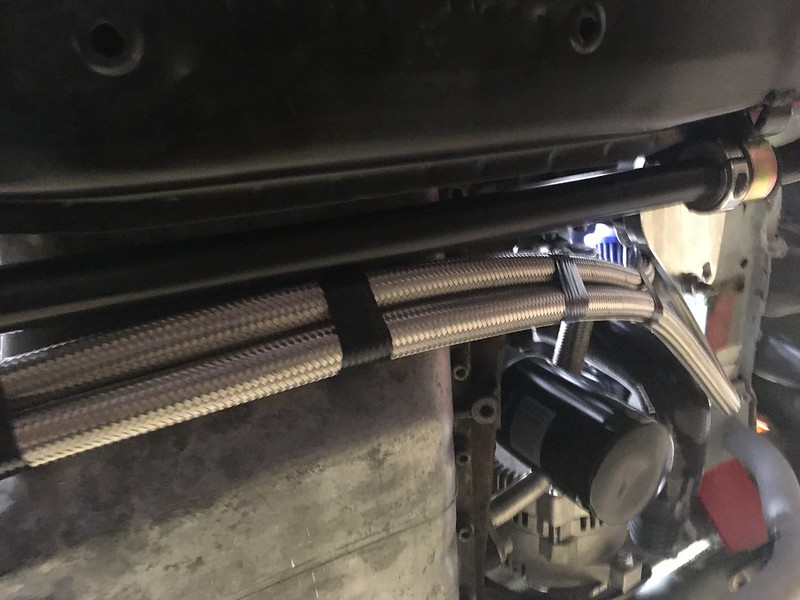
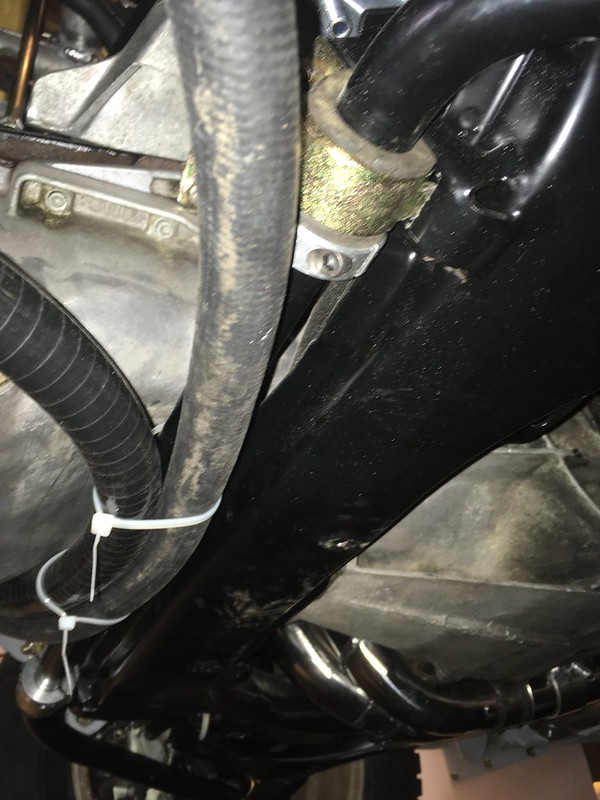
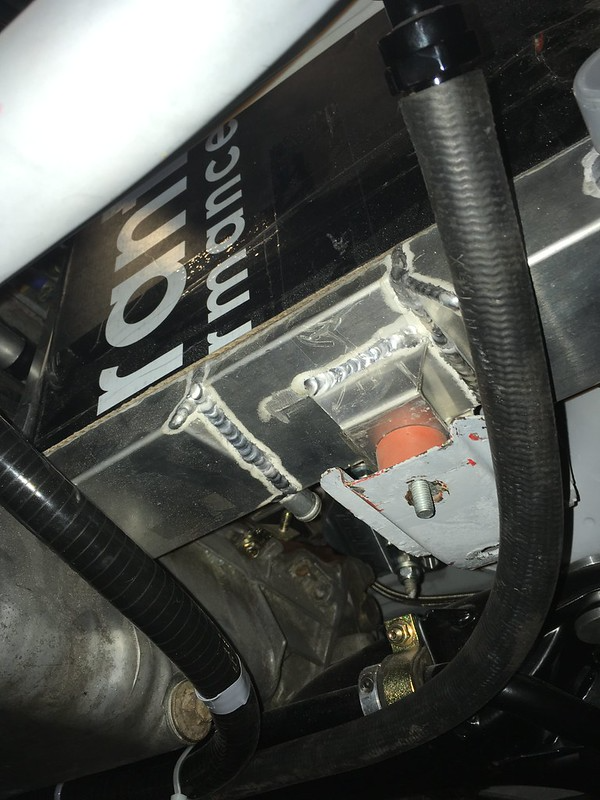
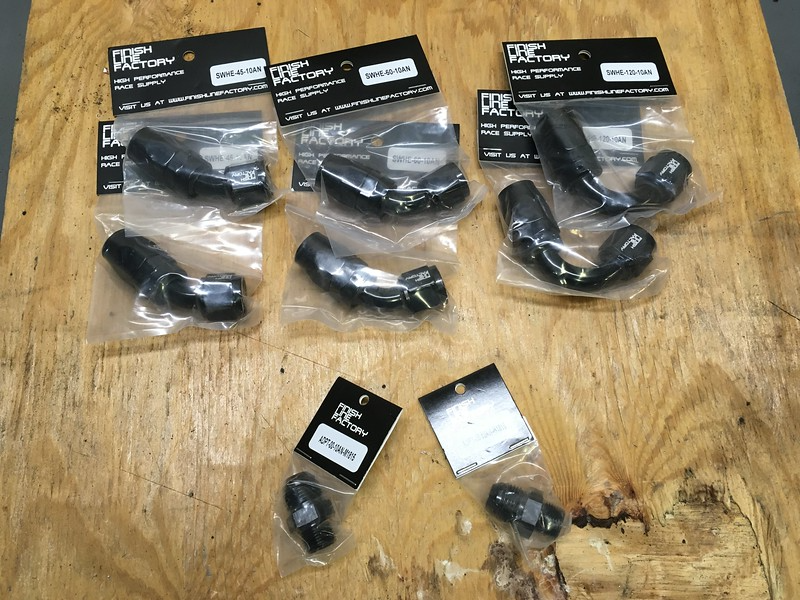
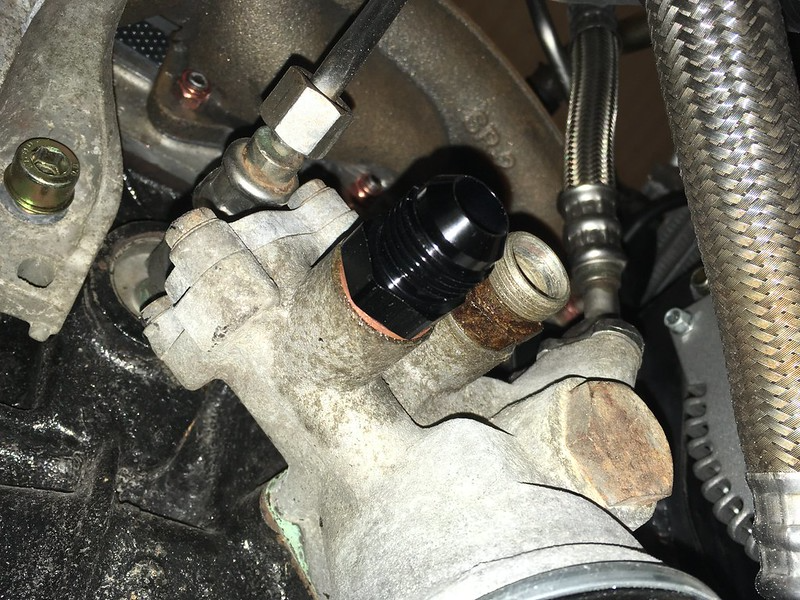
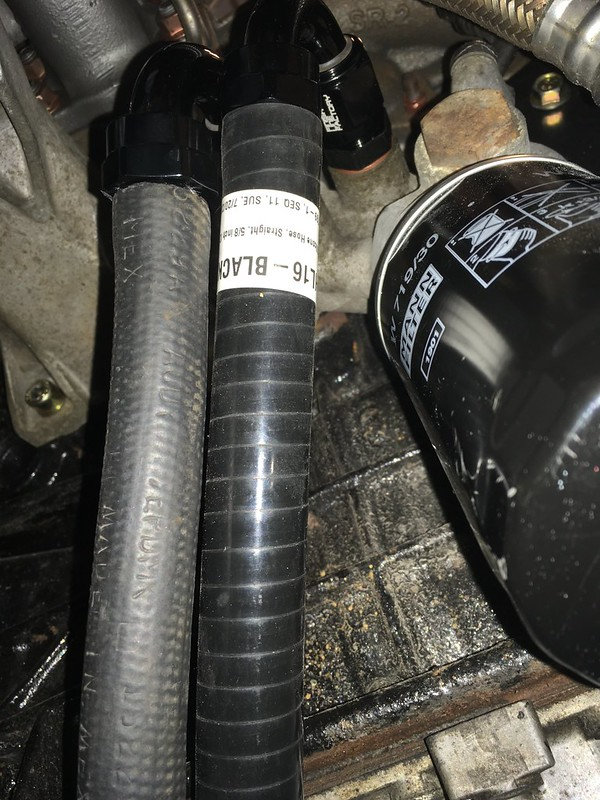
So, we started mocking it all up. Cardboard was required of course. We selected a cooler from Mishimoto but built a CAD model before placing the order; you know, just in case. We also ran some stainless-steel hoses under the oil pan to test that our intended route was indeed feasible. It was. So, we broke open the piggy bank and ordered some parts. AN fittings from Finish Line Factory, said Mishimoto oil cooler and some stainless steel lines.


We were happy to be able to easily remove the OE fittings from the block and replaced them with AN adapters. We thought they might fight us but it seemed that they wanted out of there...


Then we set about mounting the (WISHIMOTO?) oil cooler. We fabbed up a bracket for the left side that bolts to the frame rail (currently with self-tappers but ultimately with rivnuts and screws of course.) For the right side we mocked up some steel angle we had lying around and attached that to the intercooler mount on the bumper bar as they were coincidentally at the same height. We’ll make a nicer aluminium version during final assembly.


We’d order some 60* and 45* AN fittings from Finish Line Factory so could figure out which ones would line up best with the oil lines. We mocked all this up than realized we should secure the lines somehow as it didn’t seem like a good idea to have them sawing their way through the skid plate or worse, the oil pan. This bracket and (of course) a rally zip tie should do the trick.


So now, if we ever get this beast finished, we can be sure our engine oil will remain chill.


Comments

Lookin good. Pride in work and attention to detail

Posted by Cyphercrash on 3/5/23 @ 8:59:32 PM

Great update!

Posted by Diggymart on 10/10/21 @ 10:31:32 PM

Great build

Posted by tmprod on 3/4/21 @ 6:44:07 PM

Thanks for updating Paul! Ill have to check out your new shop soon!

Posted by diyauto on 12/24/20 @ 5:08:37 PM

Anytime.

Posted by team illuminata on 12/24/20 @ 6:34:09 PM

This will be a beast when finished, looking forward to it.

Posted by MPower on 10/12/20 @ 2:15:11 PM

Great build!

Posted by DIYauto_Admin on 9/9/20 @ 12:08:22 AM

Hey hi Sue!

Posted by Diggymart on 2/14/20 @ 4:12:57 PM

Looks like it’s coming together!

Posted by Diggymart on 11/21/19 @ 2:49:00 PM

Those stands look nice!

Posted by diyauto on 11/21/19 @ 2:47:08 PM

Incredible build! Love the photo's

Posted by MoonpieMagic on 11/8/19 @ 8:00:45 AM

Thank goodness for friends carrying precious cargo!

Posted by Diggymart on 10/10/19 @ 11:40:08 PM

Woo! Excited to check this thing out soon :)

Posted by diyauto on 9/13/19 @ 1:37:14 PM

Great teamwork!

Posted by Diggymart on 7/29/19 @ 3:11:58 PM

Great build!

Posted by Diggymart on 1/17/19 @ 7:24:29 PM

Thanks

Posted by team illuminata on 3/4/21 @ 10:30:06 PM