You must be logged in to rate content!
6 minute(s) of a 395 minute read
1-6-2022
Twice As Cool
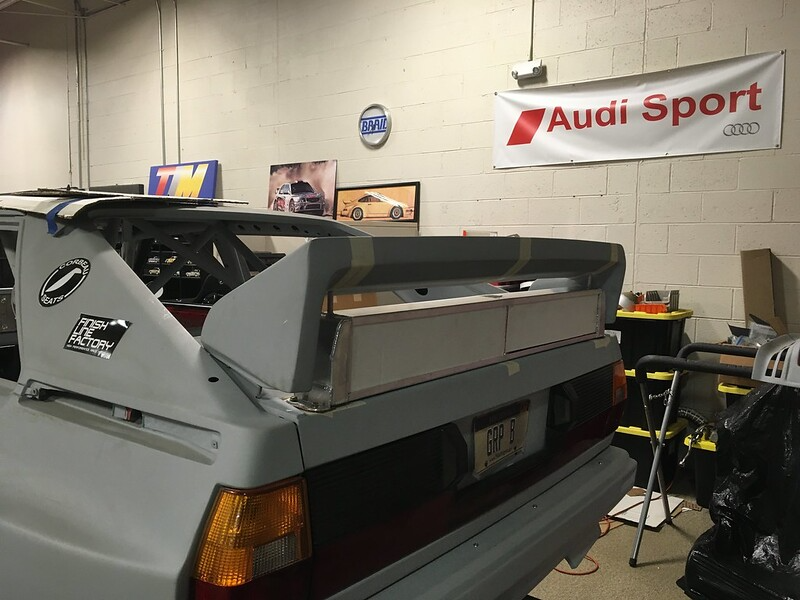
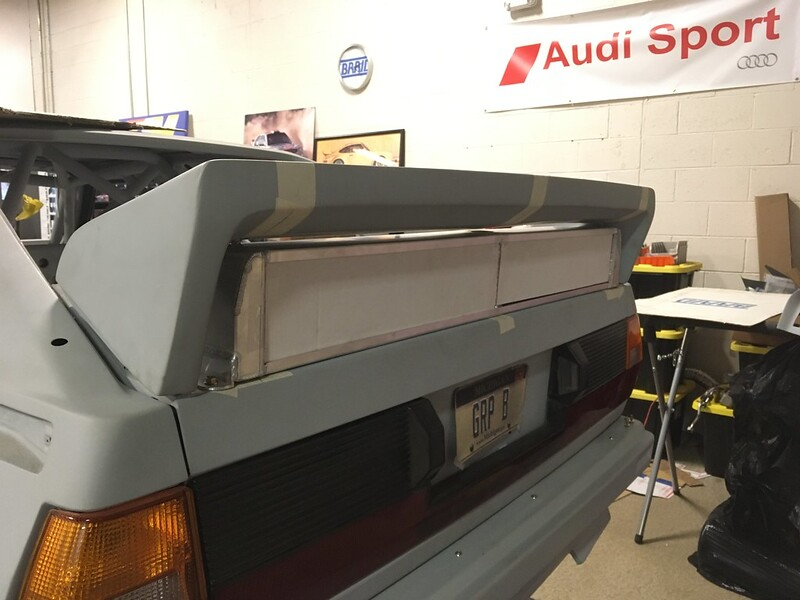
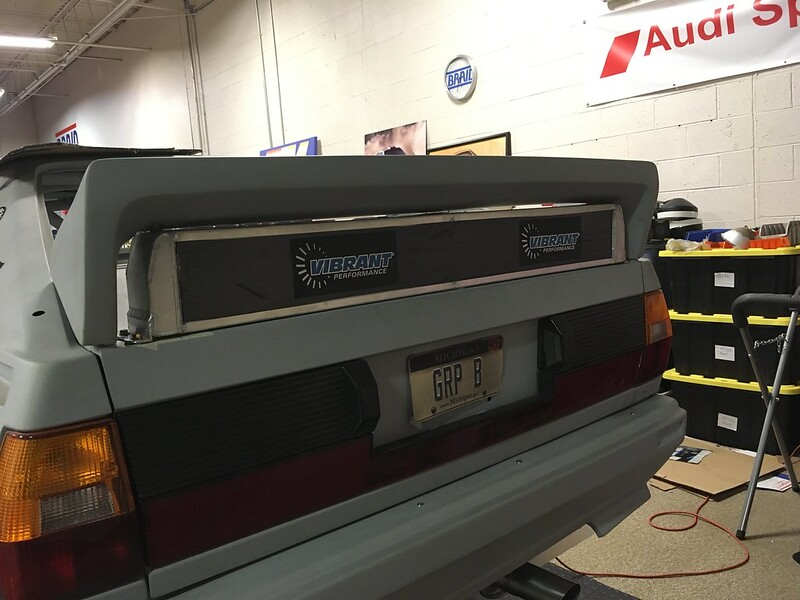
We know we said we weren’t going to “use” a rear mounted oil cooler but we never said we weren’t going to “install” one did we? The rear oil cooler on rally Quattros is so iconic that we couldn’t not have one. There are plenty of tribute cars out there that don’t bother with this touch but we just couldn’t give up on this detail. Soon, we started to wonder if we’d made the right decision however.
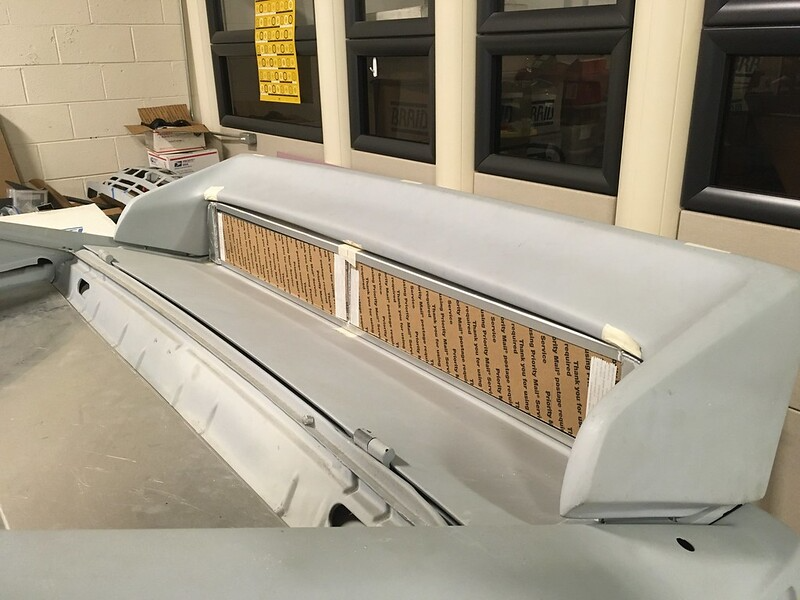
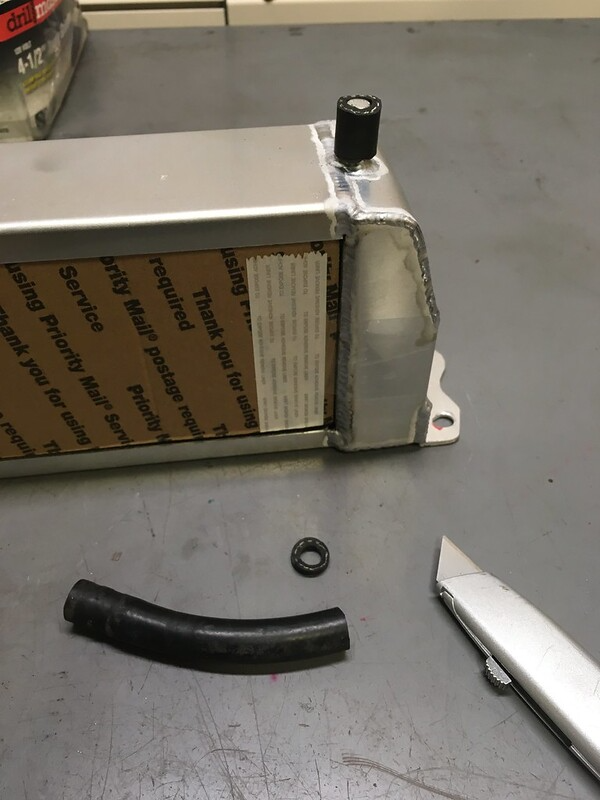
We knew we didn’t have the skills to create this wondrous icon so we dragged our trunk lid complete with spoiler over to nearby Four Seasons Radiator who made our custom radiator a while back. We told them what we wanted and they came back with two quotes. They would make a fully function oil cooler for us for around $650 or a non-functional one for around $450. After mulling over the idea of spending thousands of Dollars to build a dry sump system one day we decided that the extra $650 we’d need for a functional oil cooler would seem like a pittance so we opted for the more frugal path. Yes, we ordered a purely ornamental oil cooler; a fake, a pretender. Please don’t hate us.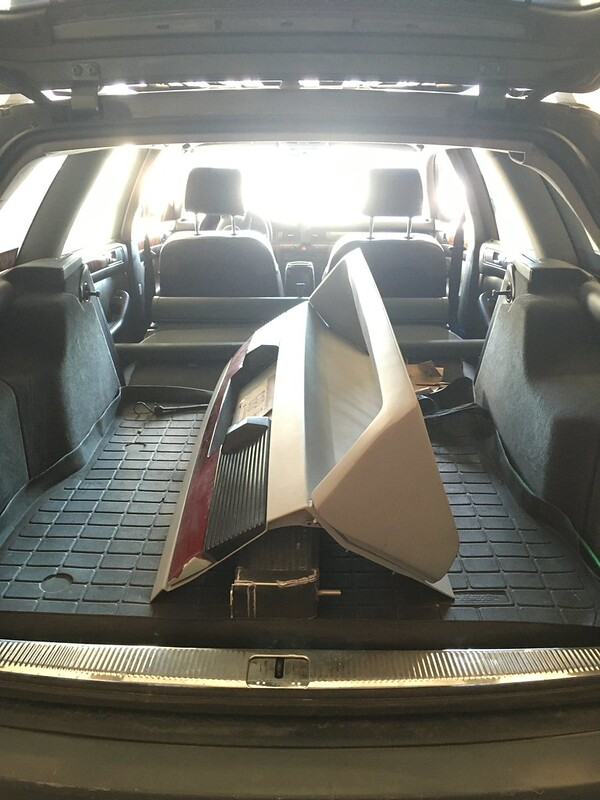
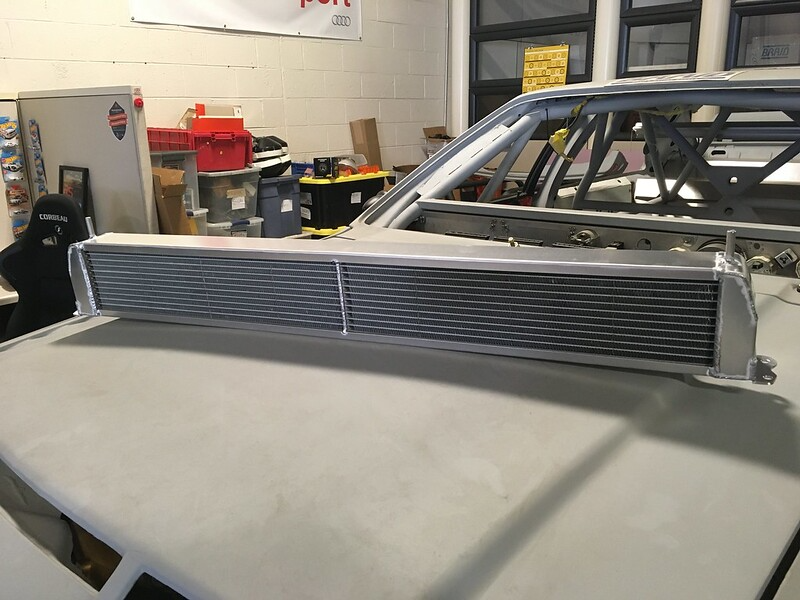
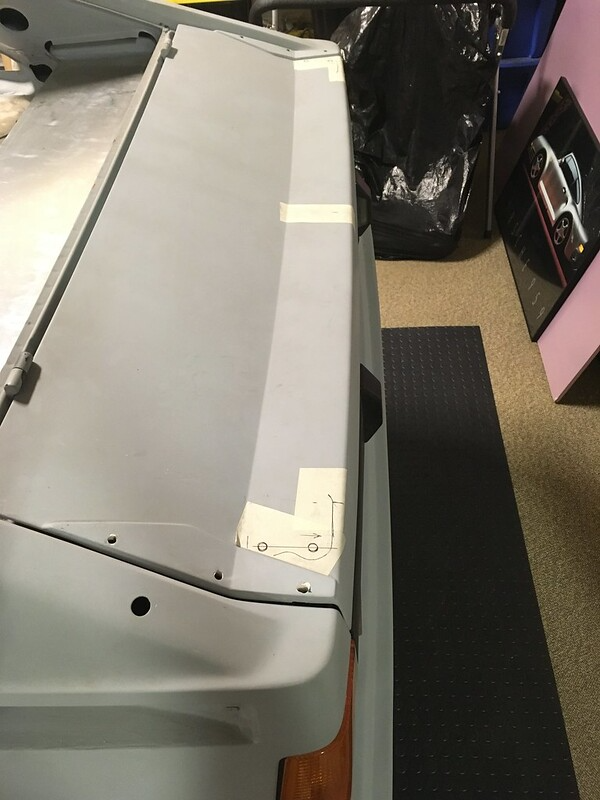
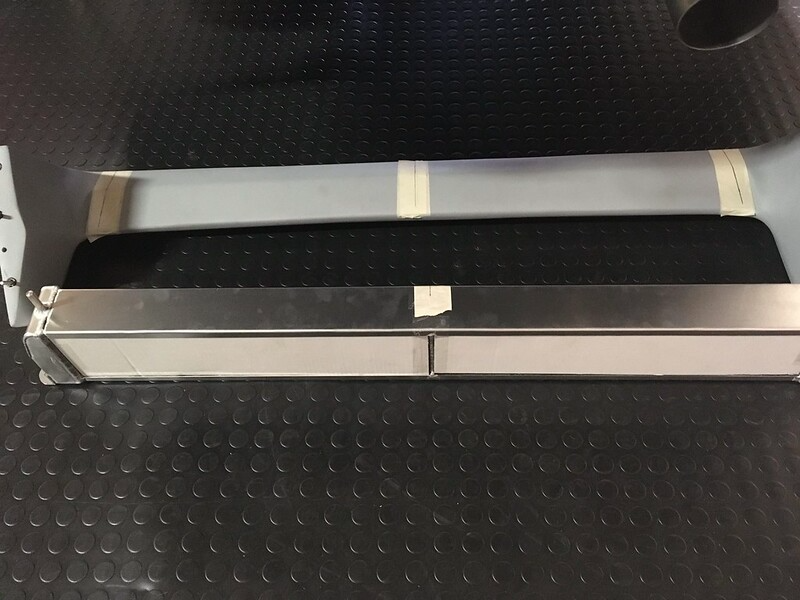

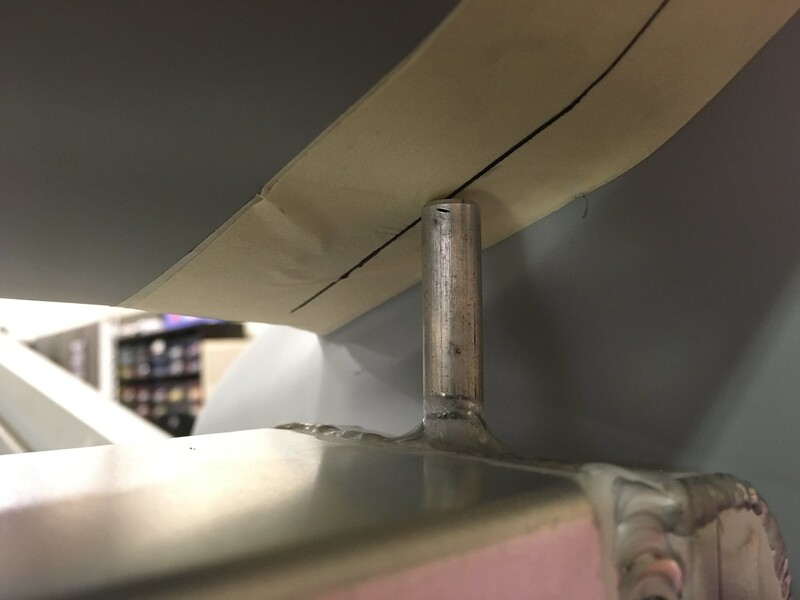
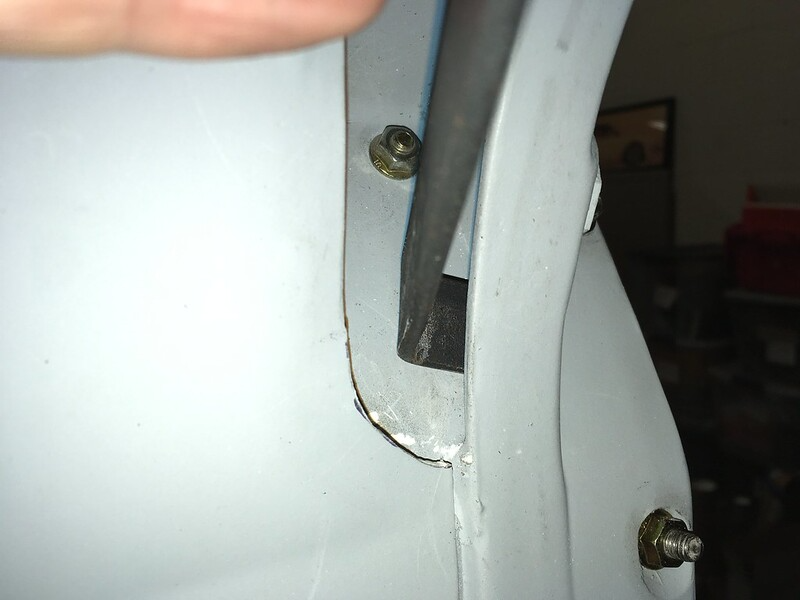
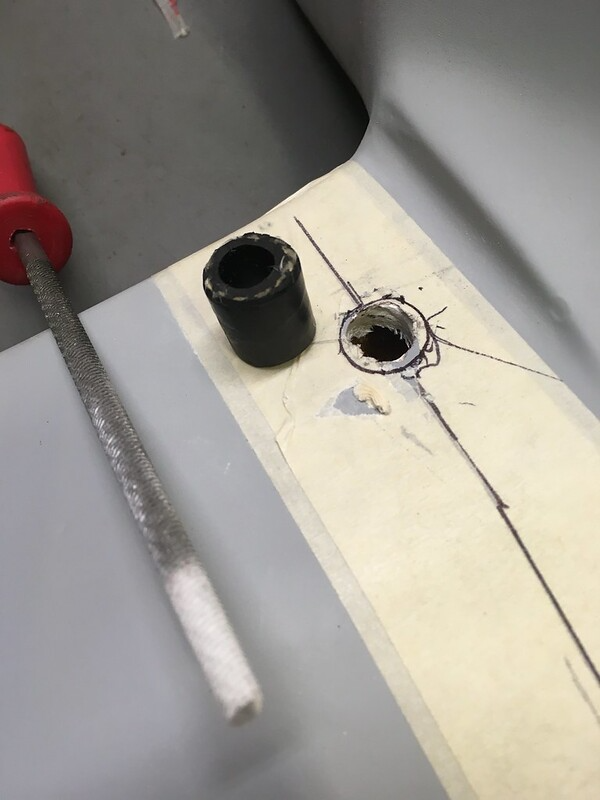
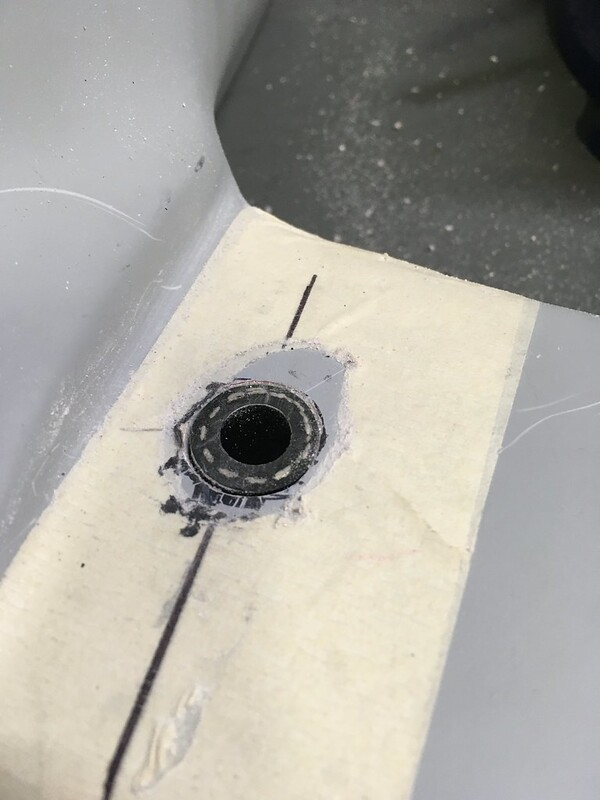
This left us with another problem. The mounting holes for the cooler were always going to be tight and getting a nut or screw in there would be a challenge that we’d just made easier at one end but harder at the other. We did manage but had to make a custom wrench to do it.


Comments

Great update!
Posted by Diggymart on 10/10/21 @ 10:31:32 PM
Great build
Posted by tmprod on 3/4/21 @ 6:44:07 PM

Thanks for updating Paul! Ill have to check out your new shop soon!
Posted by diyauto on 12/24/20 @ 5:08:37 PM
Anytime.
Posted by team illuminata on 12/24/20 @ 6:34:09 PM
This will be a beast when finished, looking forward to it.
Posted by MPower on 10/12/20 @ 2:15:11 PM

Great build!
Posted by DIYauto_Admin on 9/9/20 @ 12:08:22 AM
Hey hi Sue!
Posted by Diggymart on 2/14/20 @ 4:12:57 PM
Looks like it’s coming together!
Posted by Diggymart on 11/21/19 @ 2:49:00 PM
Those stands look nice!
Posted by diyauto on 11/21/19 @ 2:47:08 PM

Incredible build! Love the photo's
Posted by MoonpieMagic on 11/8/19 @ 8:00:45 AM
Thank goodness for friends carrying precious cargo!
Posted by Diggymart on 10/10/19 @ 11:40:08 PM
Woo! Excited to check this thing out soon :)
Posted by diyauto on 9/13/19 @ 1:37:14 PM
Great teamwork!
Posted by Diggymart on 7/29/19 @ 3:11:58 PM
Great build!
Posted by Diggymart on 1/17/19 @ 7:24:29 PM
Thanks
Posted by team illuminata on 3/4/21 @ 10:30:06 PM
Lookin good. Pride in work and attention to detail
Posted by Cyphercrash on 3/5/23 @ 8:59:32 PM