You must be logged in to rate content!
8 minute(s) of a 124 minute read
2-20-2011
Finally an Update!!!
I've gotten quite a bit of tedious stuff done in the last few weeks, but nothing of pictorial significance.
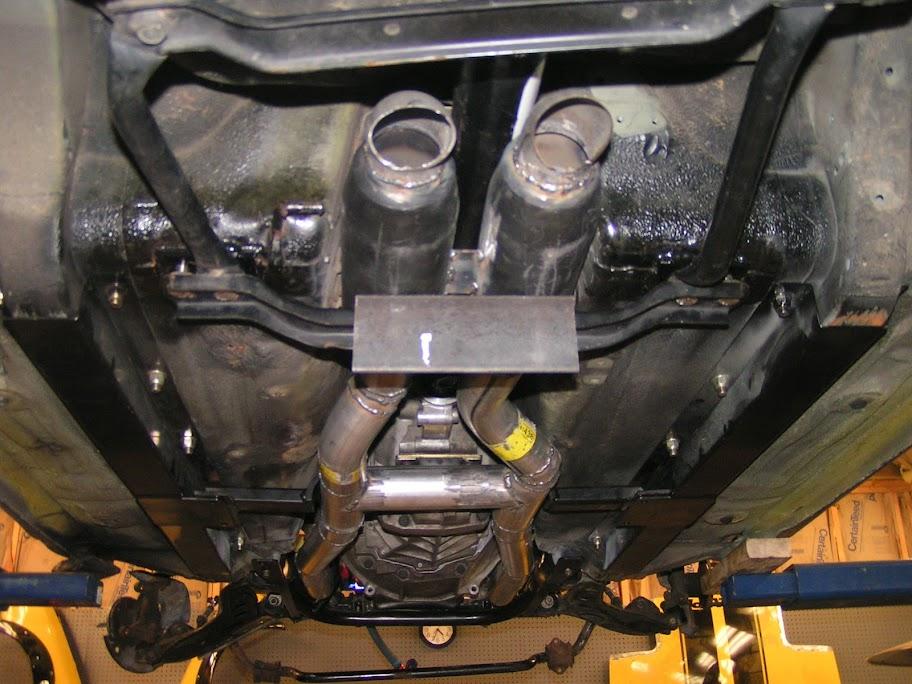
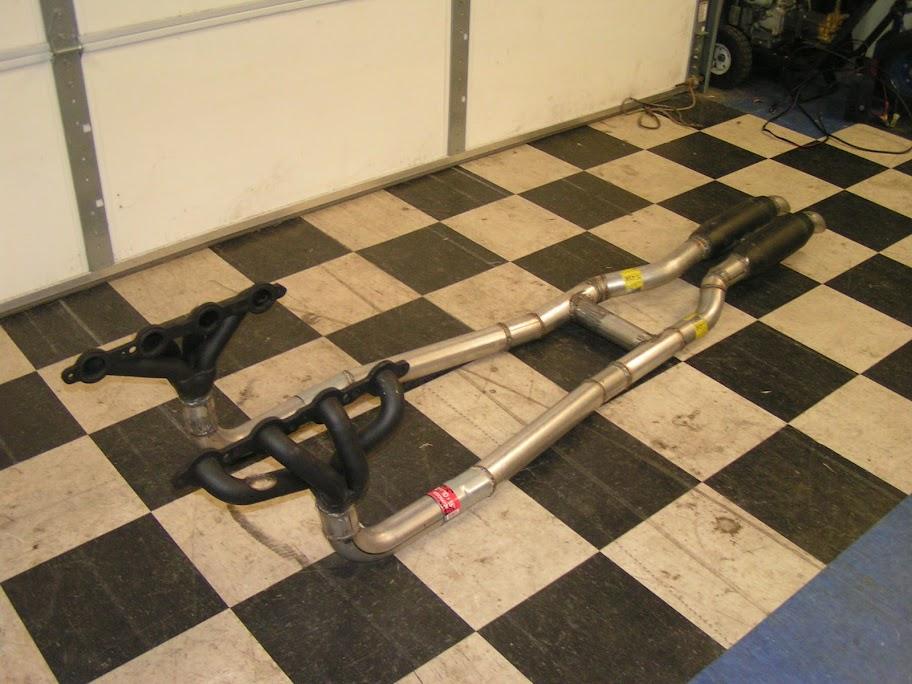
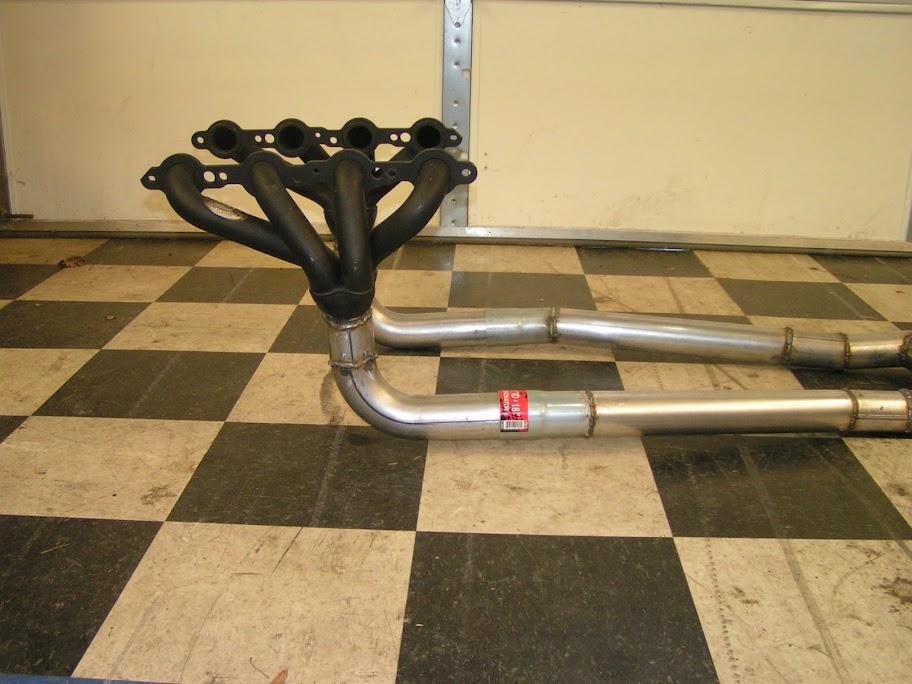
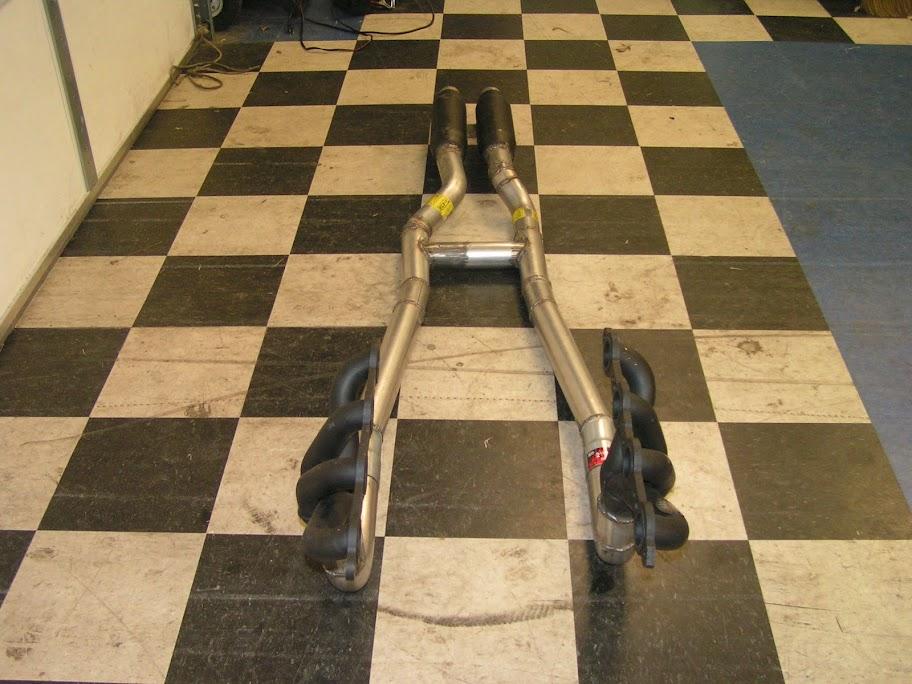
This weekend was exhaust time. I built the entire exhaust system for the car. I ended up going with Mororso spiral flow racing mufflers and a H pipe design. I purchase the pieces to build a X-pipe, but could not get it to fit, so H-pipe it was.
I extended the headers to the point where the engine and transmission meet. This gave me more room for my steering shaft by eliminating the 3 bolt flange and made it very easy to install/uninstall. I will be using stainless steel band clamps to attach the exhaust to the headers. (not shown in pictures)
I still have to buy some hanger rod stock and build some hangers, but that can be done another day.
I'm pretty happy with the outcome, but admit that it took longer to do than I ever anticipated. That is almost two full days of work. Now I know why people just buy a pre-built system.
I started painting my cage this weekend also. It was a great task when I got frustrated trying to get the exhaust together. There were many times when I needed to get away from the exhaust, and painting took zero thought and filled the void.
Cage pictures when I finish.

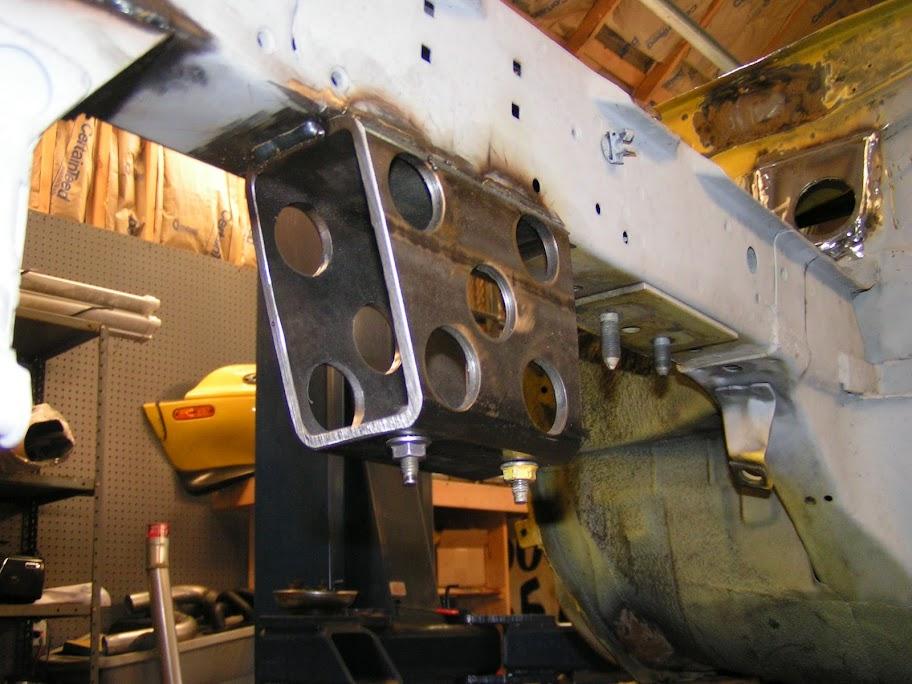
Angle iron used as a spacer.
3/6/11
Time for my bi-weekly update. I've been working, just been slack with the picture taking.
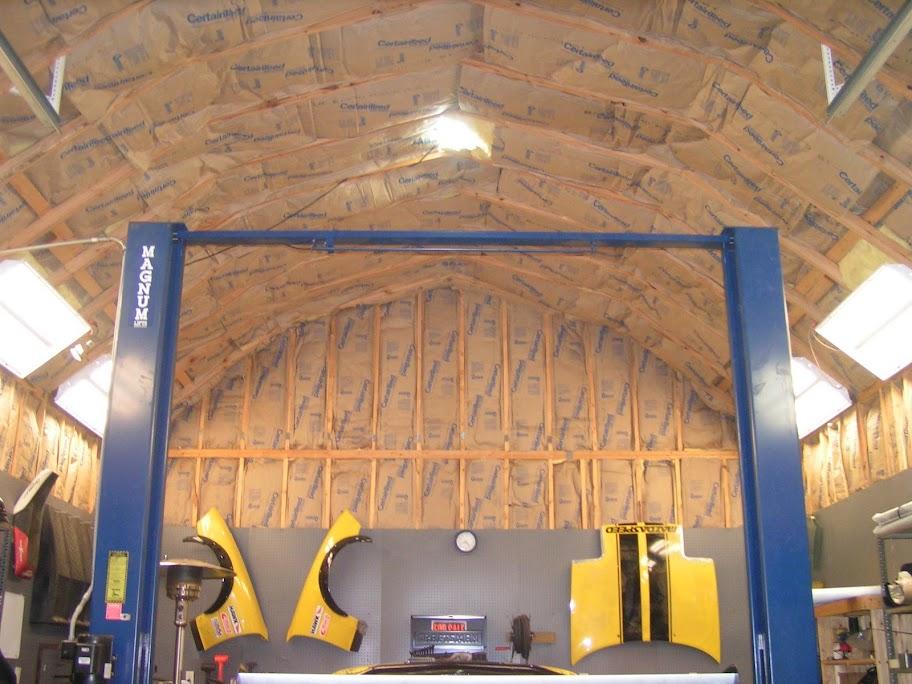
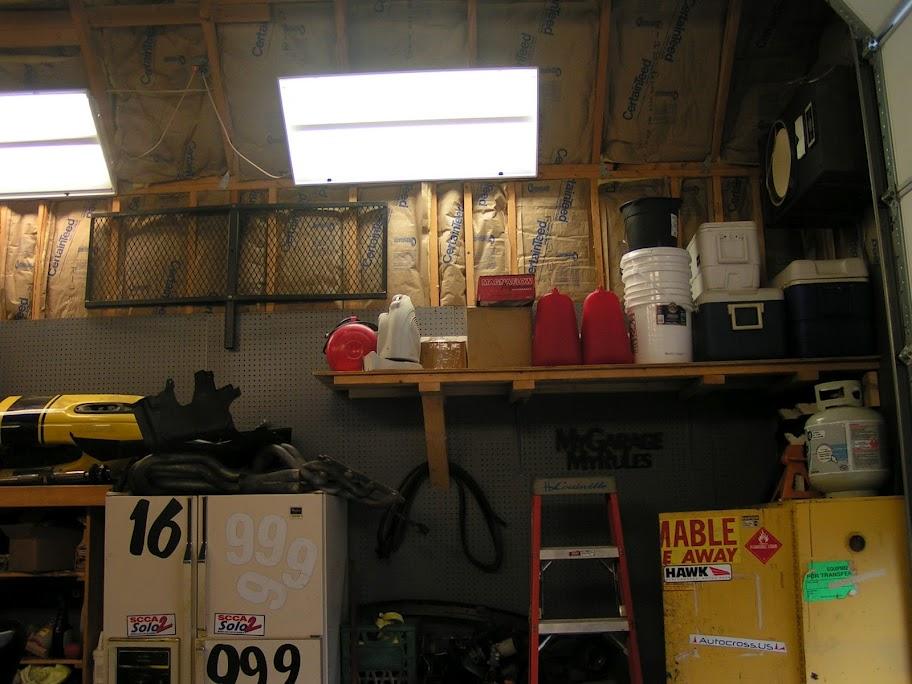
To add to the madness of getting this project done, I decided to take on another project and added insulation and pegboard to my garage. I'm really pleased with the results, just wished I would have done this a lot sooner. Do you realize how much stuff one accumulates in 6 years? Everything had to come out of the garage to put the insulation up.
Now onto the car.....
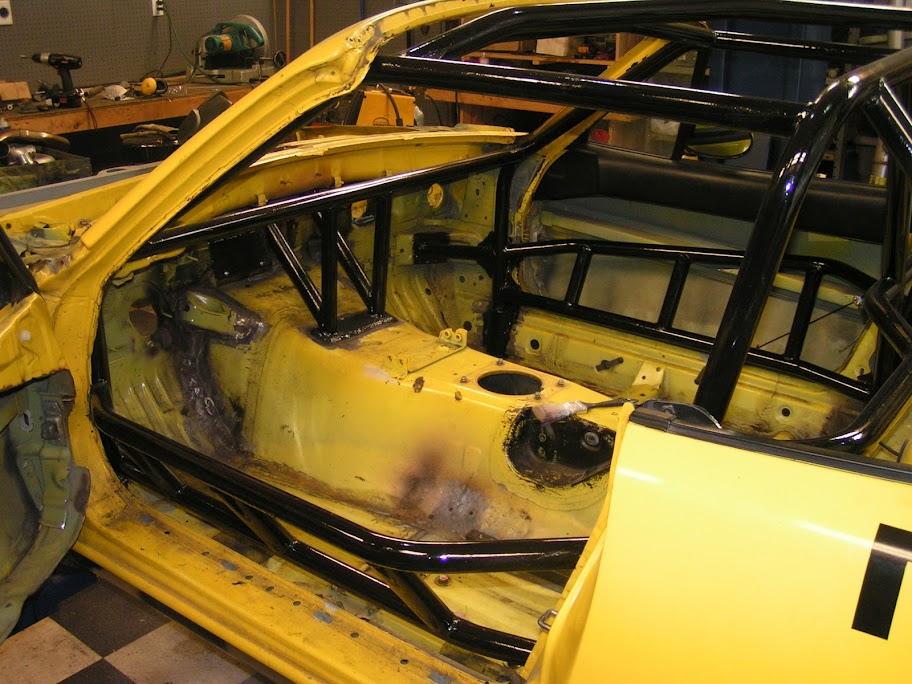
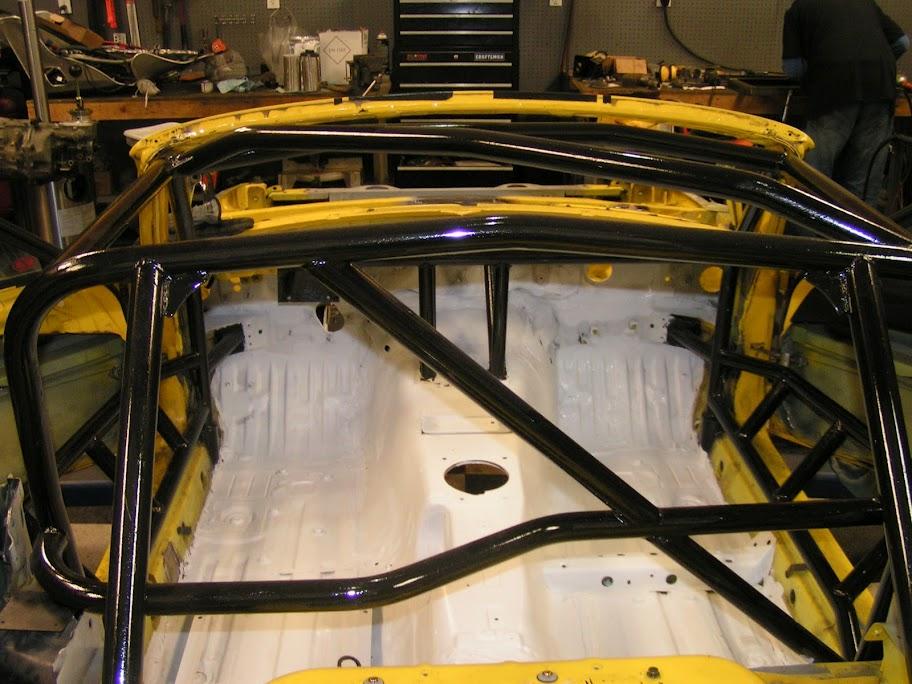
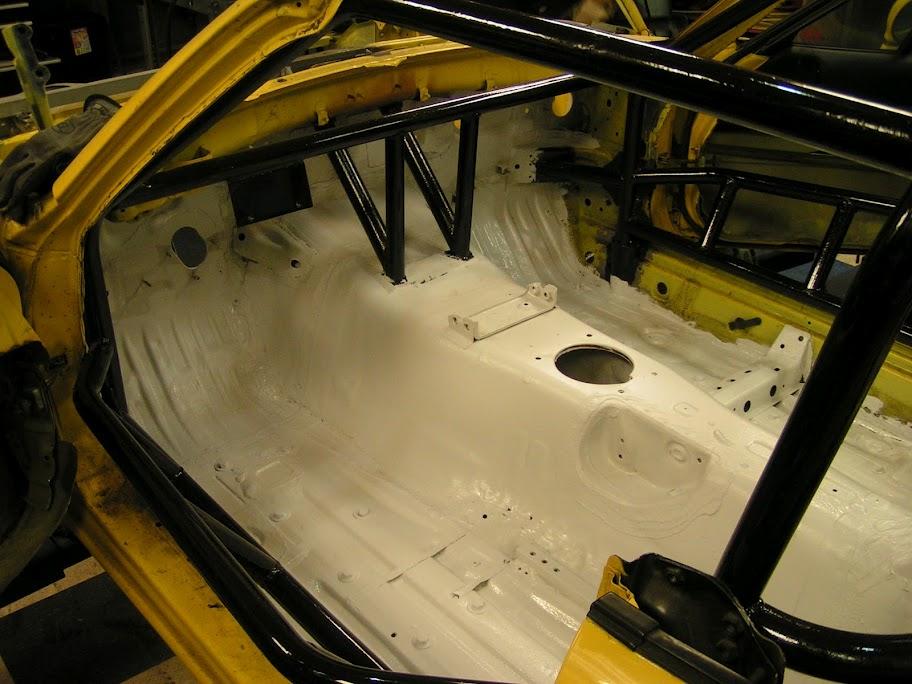
Cage painted with POR15 <<<-----Highly recommended. Brushes on and looks like it was sprayed with it dries.

Next up....
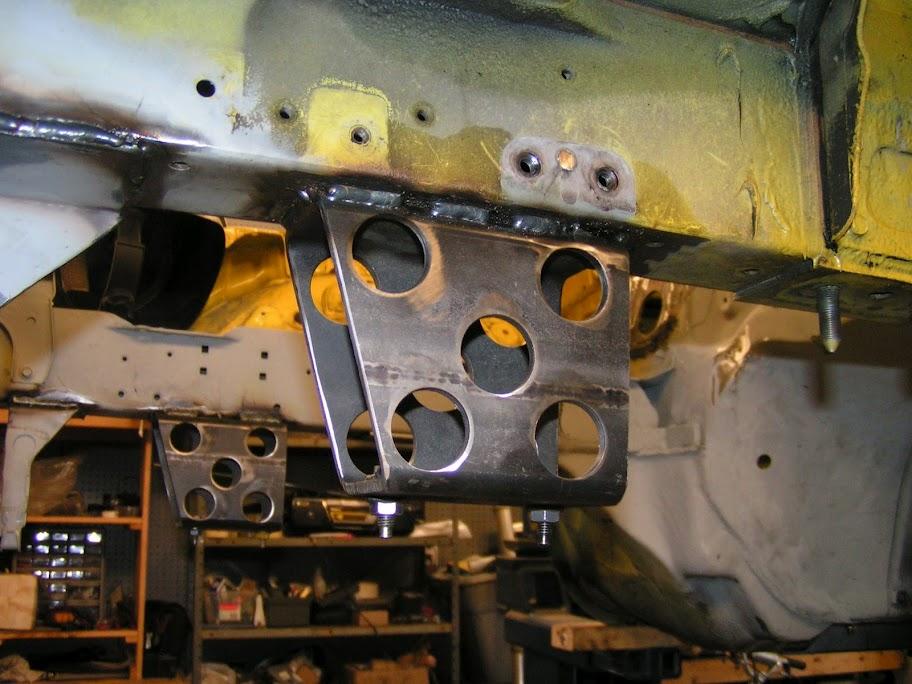
New sway bar mounts. Yes, overkill, but it was tubing that was available. At least I cut some holes to lighten them up a little bit.
I forgot to take pictures when it was all together. I will do that when everything is put back in. I can guarantee you that the swaybar mount will not break / bend.
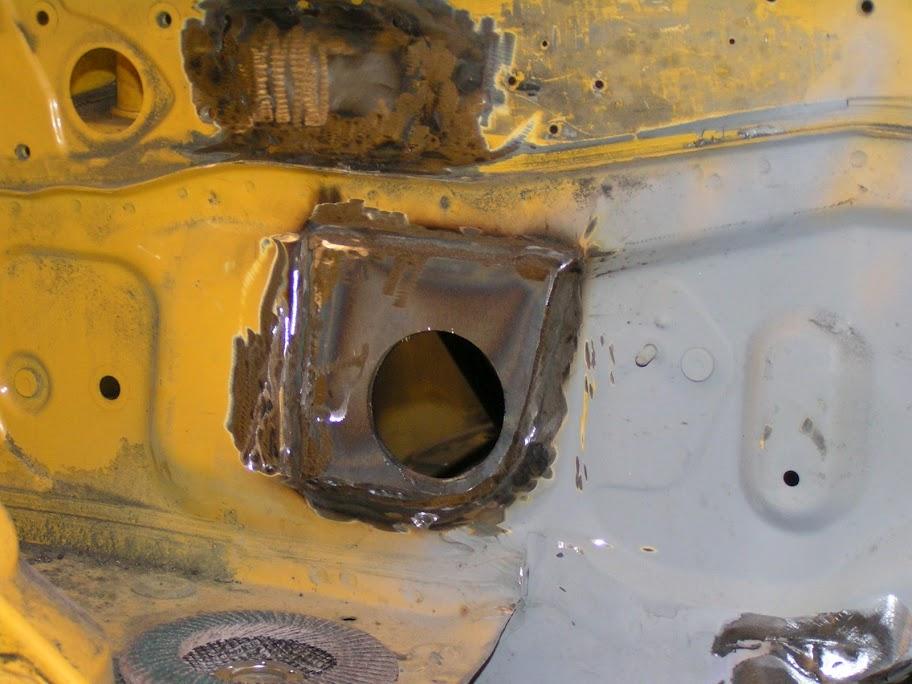
I test fit my harness last week and found that I didn't have enough slack to run it though the factory harness hole and make it back to the ECU. I had two options, extend the cables or make another hole for the harness to go through. I opted for the latter.
I welded in a piece of 10awg plate with a hole for the harness. I then used the hole in the plate as a guide to cut a hole out of the firewall. Notice the hole is right where the AC lines used to be. As you can see in the primed picture below, I added a little body filler and smoothed everything out to where it almost looks like it came that way.
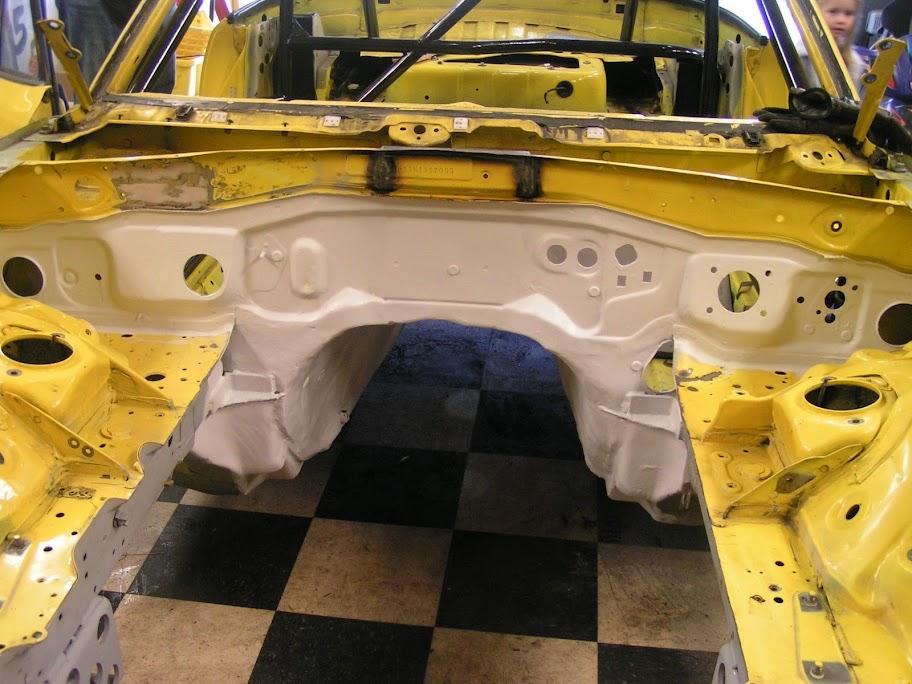
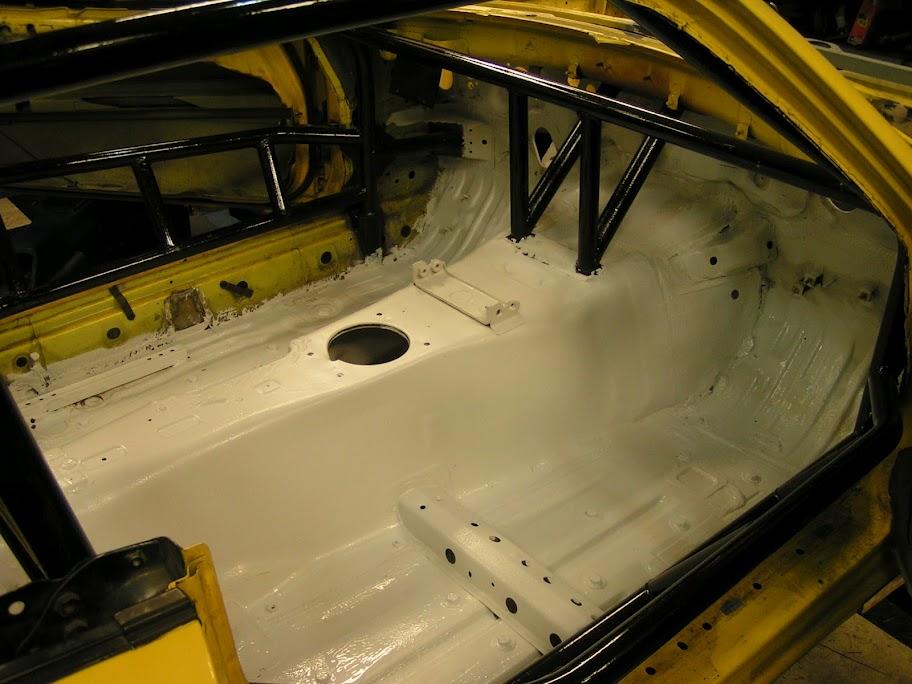
I plugged up the hole in the firewall where my intake ran on my SC'd setup, fixed the tranny tunnel where I got rambunctious with a sledge making room for the throttle pedal, scuffed, cleaned, and started laying down the insulation paint.
I ended up using an epoxy primer with a ceramic additive. (Hy-Tech Insulating Paint) The additive mixed in rather well, but left a little bit rough of a finish. I'm not going for the show car look, so function over form and all is good. I brushed on the tight spots and used a 3in roller for anything flat.
Both sides of the firewall.
Both sides of the tranny tunnel
Driver and Passenger footwell / seat areas.
Overall, it's been a rather productive two weeks. It's really nice to be at the point where I'm adding paint and ready to put everything back together. It finally feels like I'm on the downward slope and can see light at the end of the tunnel.
Of to the Dixie tour next weekend, then back to work. Must finish soon!
3/18/11
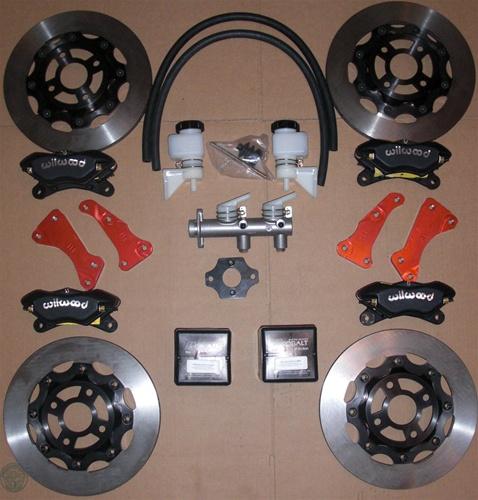
As much as I hated to do it, I hit the "EASY" button earlier this week. Hopefully the sale of the calipers I have will offset some of my cost.
I really want to finish this car up and make it out to the track in the next month or two. Designing a custom brake setup in addition to finishing up the swap in that time frame was going to be tough, if not impossible.
Another item off the list.
3/19/11
Today was rather productive....
I planned on prepping and spraying the interior and engine bay today, but a phone call last night change that plan.
My buddy, who helps me out with the parts that need to be machined / fabricated, called last night and said he was going to be in the shop today and wanted to know if I wanted to stop by and finish up my dash parts.
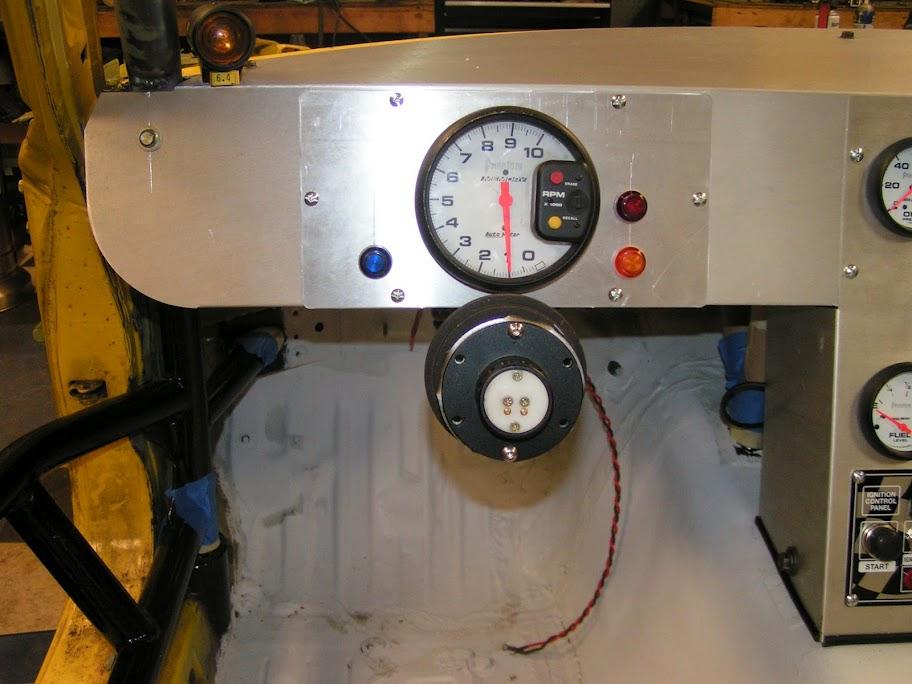
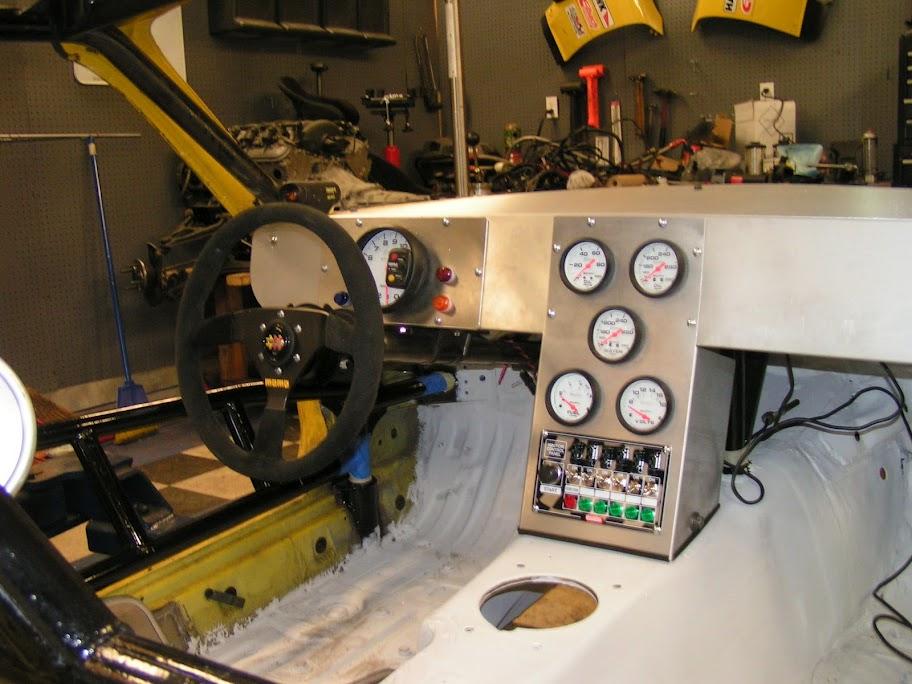
I jumped at the opportunity to finally get my dash done. (I gave him the drawings in November) I met him at his shop at 7am and by 11 I was headed back home.
I still had quite a bit of work to do get it looking like it does below. I had to weld in some mounting tabs, drill, trim, and fineness everything into fitting like I wanted. This took most of the afternoon to knock out.
Overall, I am extremely happy with the outcome. I didn't weigh it, but it doesn't weigh much. Everything is 0.0625in aluminum.
I will pull it all back out and get it powder coated before final assembly.


RED- Oil Pressure
ORANGE - Oil Temp
BLUE - Water Temp