You must be logged in to rate content!
6 minute(s) of a 124 minute read
3-27-2011
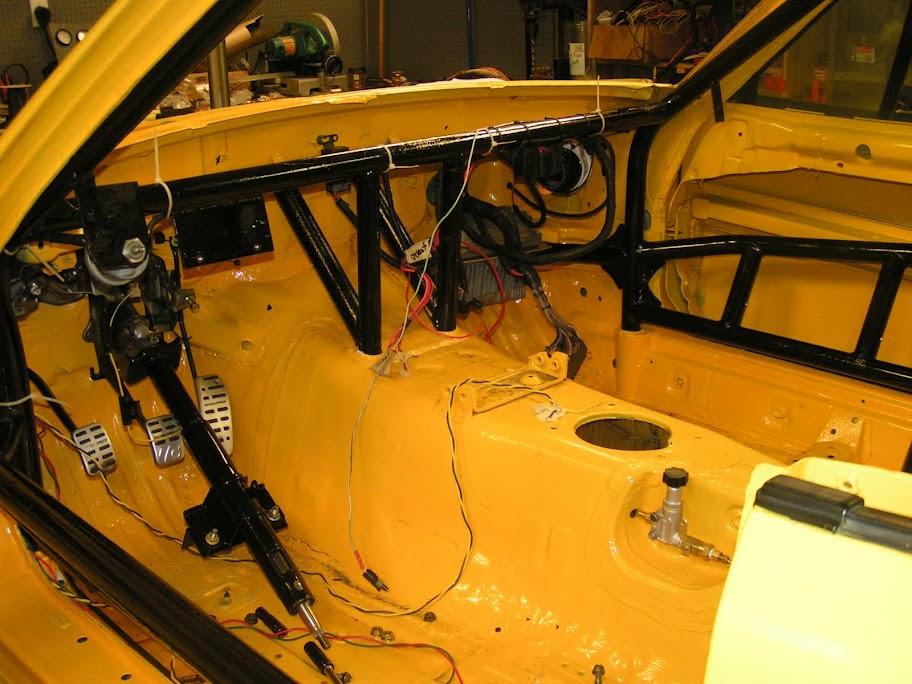
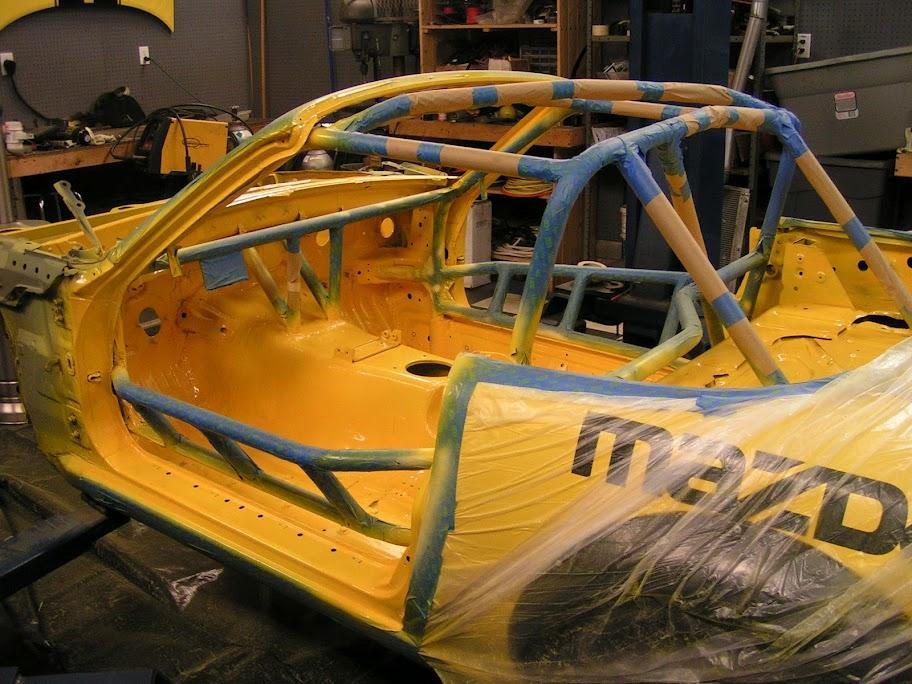
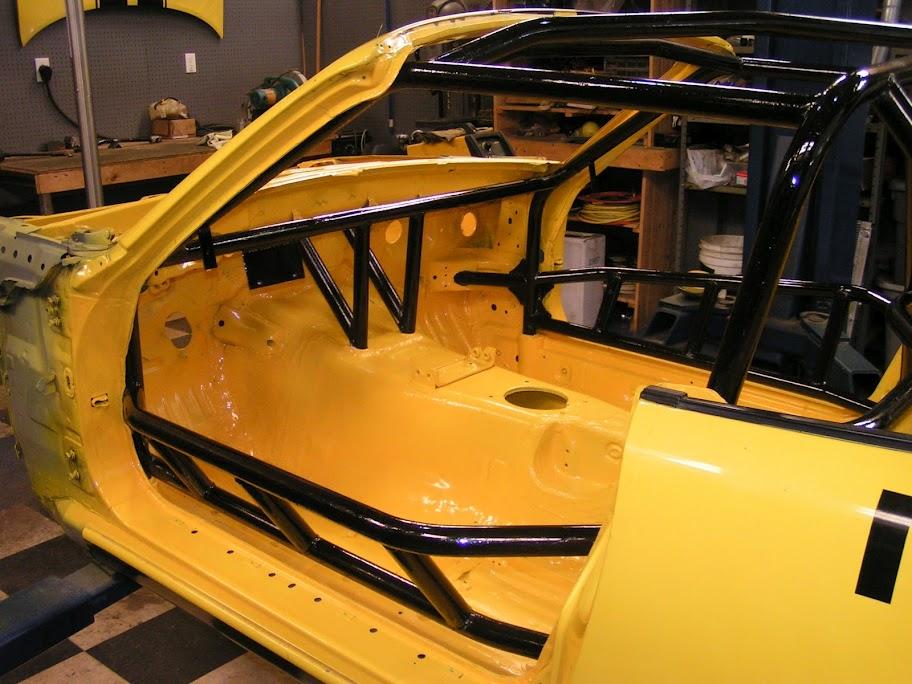
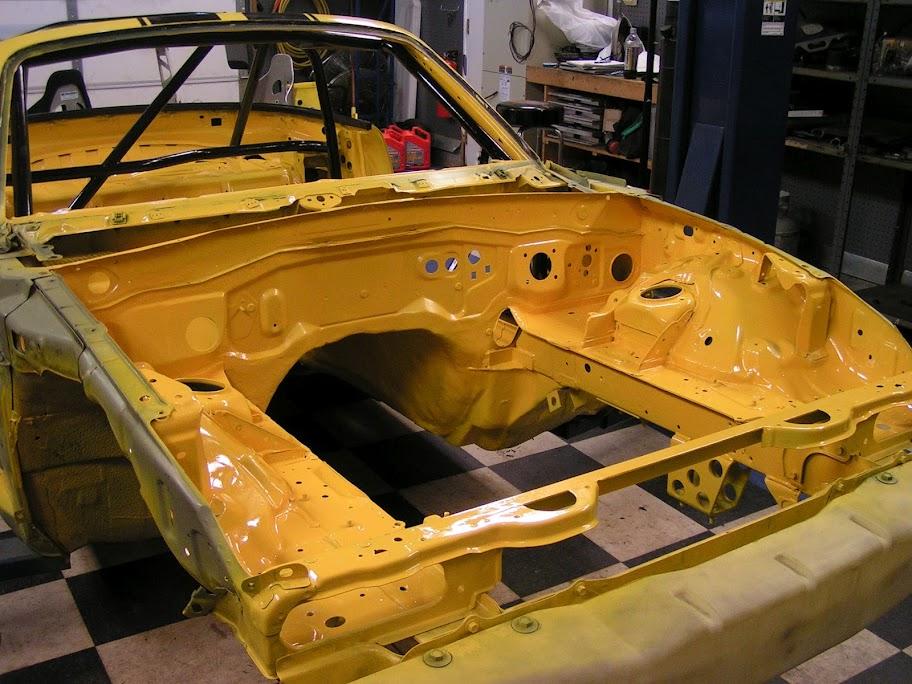
I have officially crested the hill and am on the downward slope. Everything has a fresh coat of paint and it's time to start final reassembly.
I spent several hours this week after work tapping up my cage and prepping the interior and engine bay for paint. I never would have imagined that it would have taken as many hours as it did to prep.
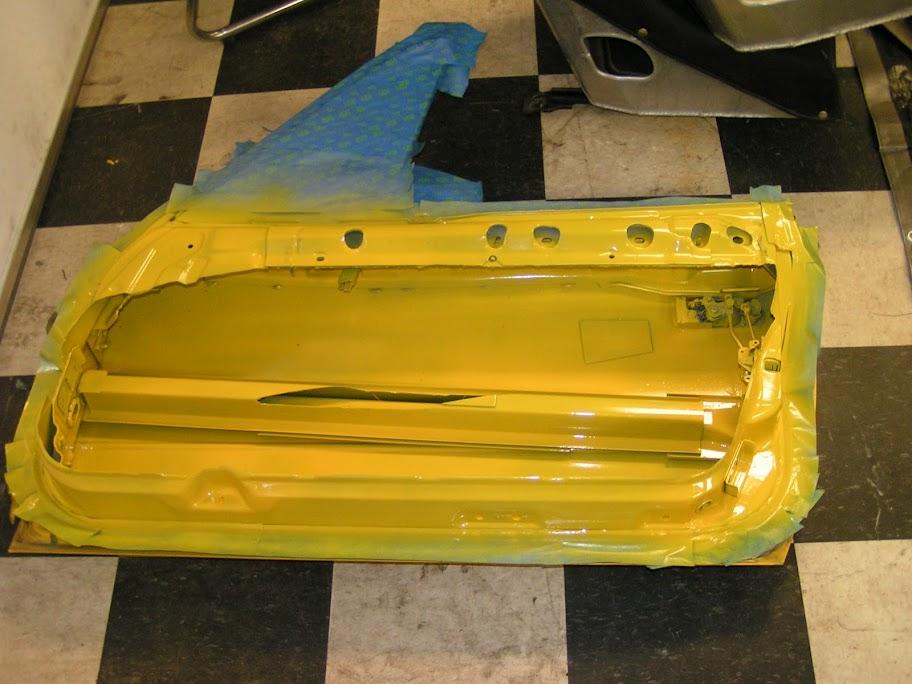
After a few coats of paint, it was time to undo all that hard work. Luckily my wife and kids came out to the garage and join in the fun.
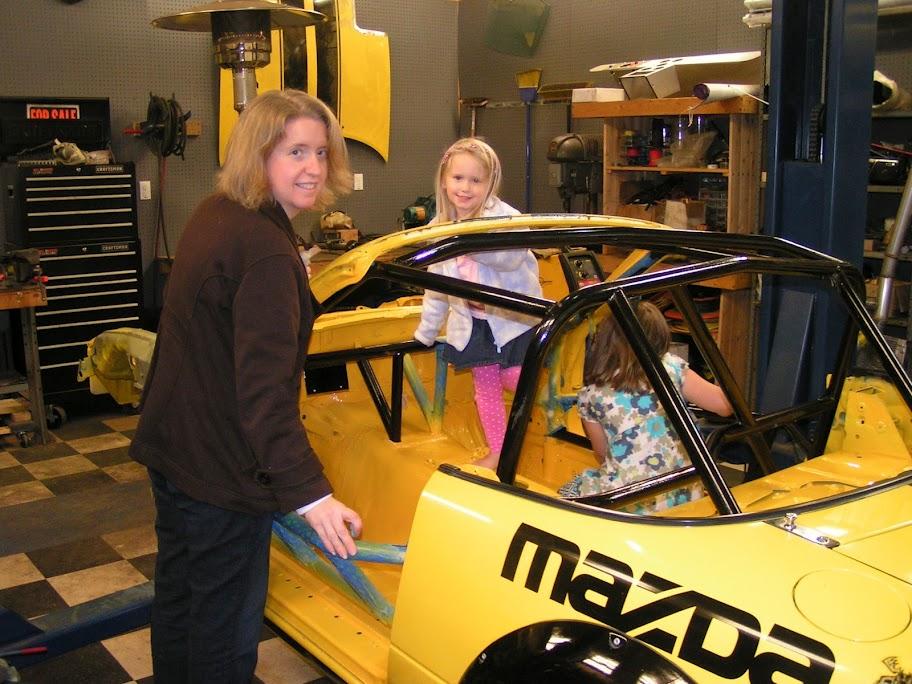
It was a lot of work. 2-3 evenings after work prepping, then pretty much all weekend painting, but the final product was worth it. I'm really happy with the way it turned out.
3/27/11
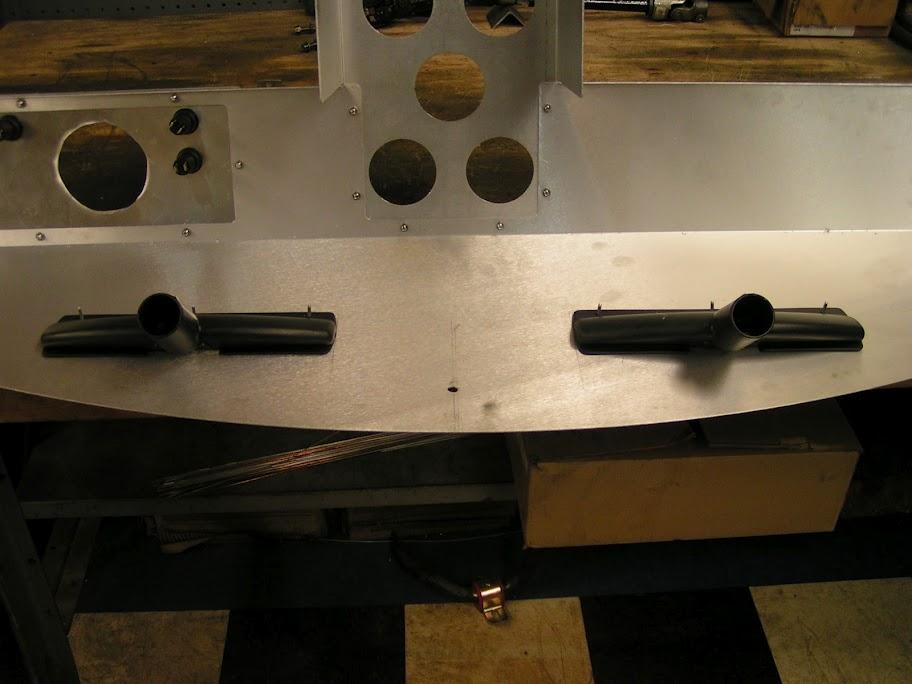
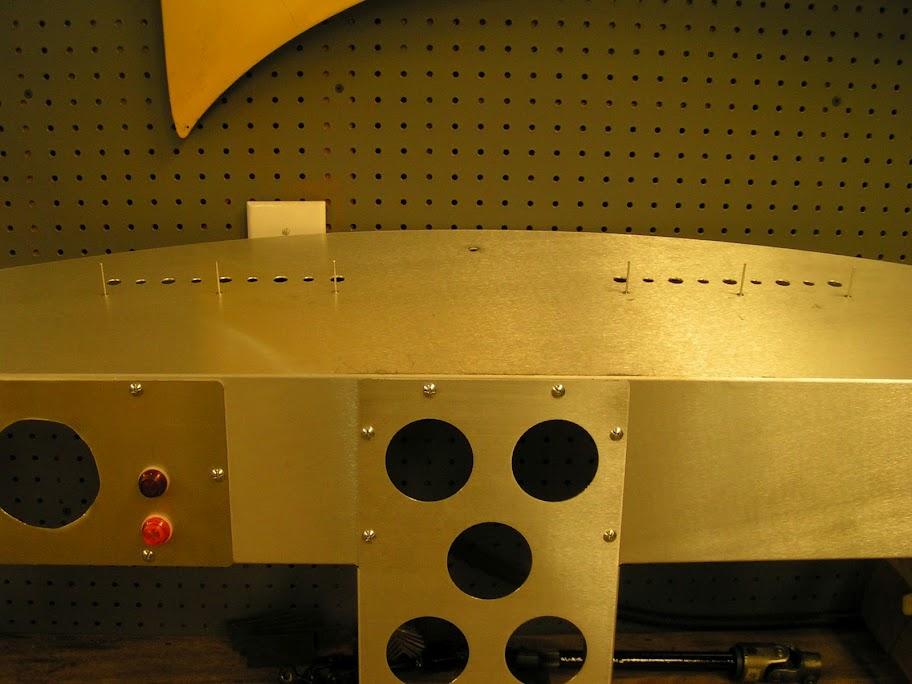
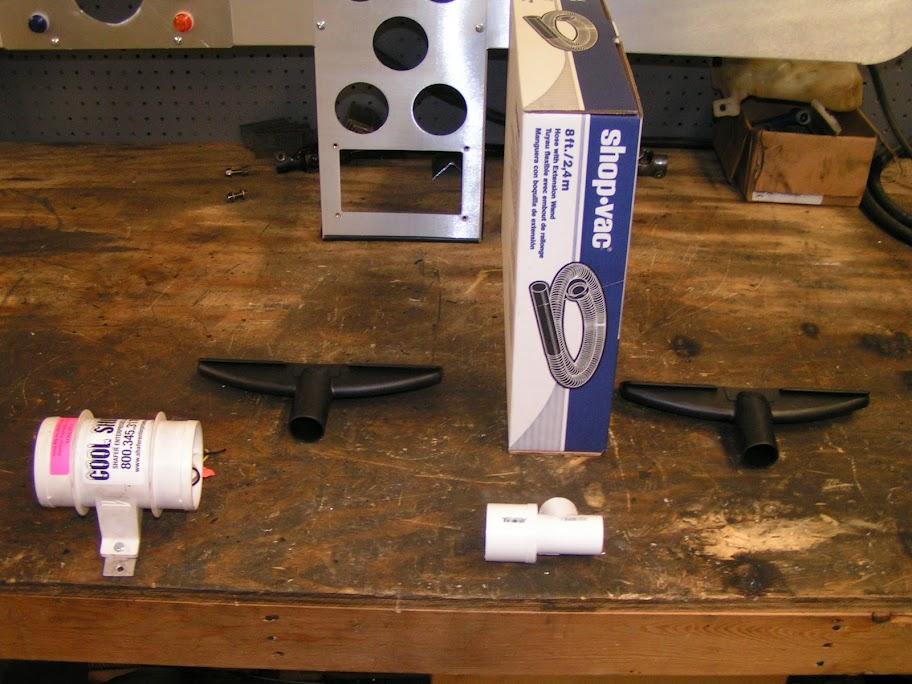
Next up was the defrost ducts for my custom dash. A quick trip to Lowes got me 90% the way there.
2- 1.25in Shop Vac floor attachments
1- 3/4 PVC "T"
1- 1.25 to 3/4 PVC Reducer Bushing (2in OD)
1- 8ft Shop Vac hose
1- 3in 12v inline fan (Cool Shirt fan, but easily found a local boat supply store)
1- 3in to 2in silicone reducer (On order)
Some 1/8in rivets, double face tape, and several strategically place holes in the dash, and my defrost system is done.
4/4/11
I got quite a bit of work done this weekend, but I'm at the point where it's hard to show pictures of what I have done.
I started off yanking down the rear end. For some reason, I thought the backlash seemed too loose. I know I set it per the RX7 factory manual, but I was second guessing myself.
I pulled in down from the car, broke it apart on the bench and took the measurements and it still set exactly where I thought. 10.5 micron backlash when the specs are 9-11 microns. Doh! A lot of work for nothing. At least I don't have to think about it any more. I even reset the backlash closer to 9, just because.
Next up I installed the emergency cut off switch. I planned on just installing it in the aluminum dash, but once installed I realized the dash was too flimsy. So I broke out the grinder and the welder and welded another tab onto the cage. Nothing better than grinding away a freshly painted cage. :bang: I'm sure it wont be the last time I do that before this build is complete.
I then added some paint to my headers. I ended up using POR20. It went on smooth and looks good. I guess time will tell to see if it holds up.
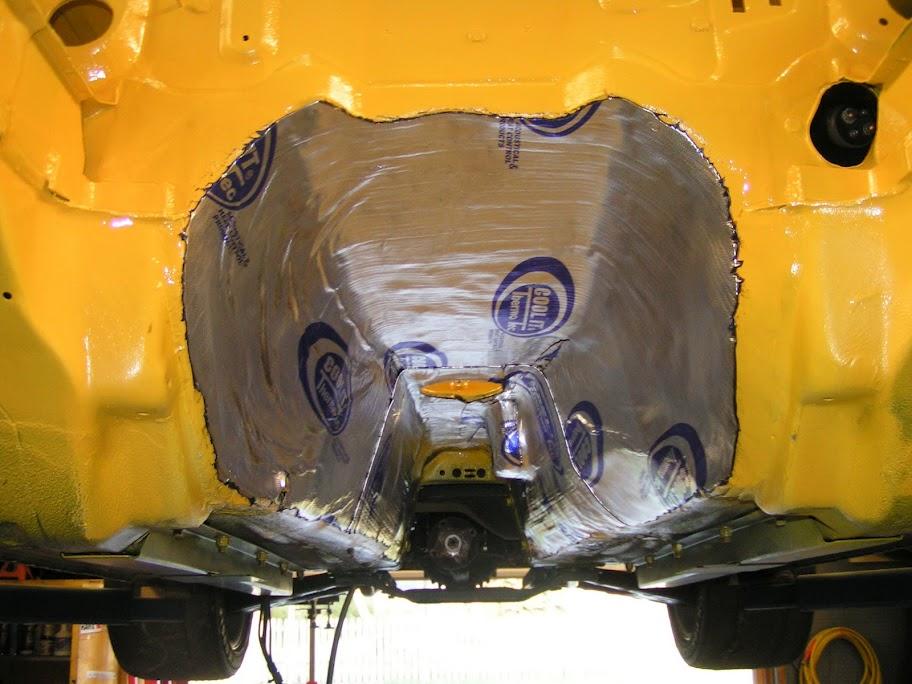
I ended the day installing some Cool-it insulation mat in the tranny tunnel. Added a little weight, but hopefully it will make up for that in the cooling it provides.

4/16/11
I'm officially at the stage in my build where I can work for dozens of hours and have literally nothing to show for it.
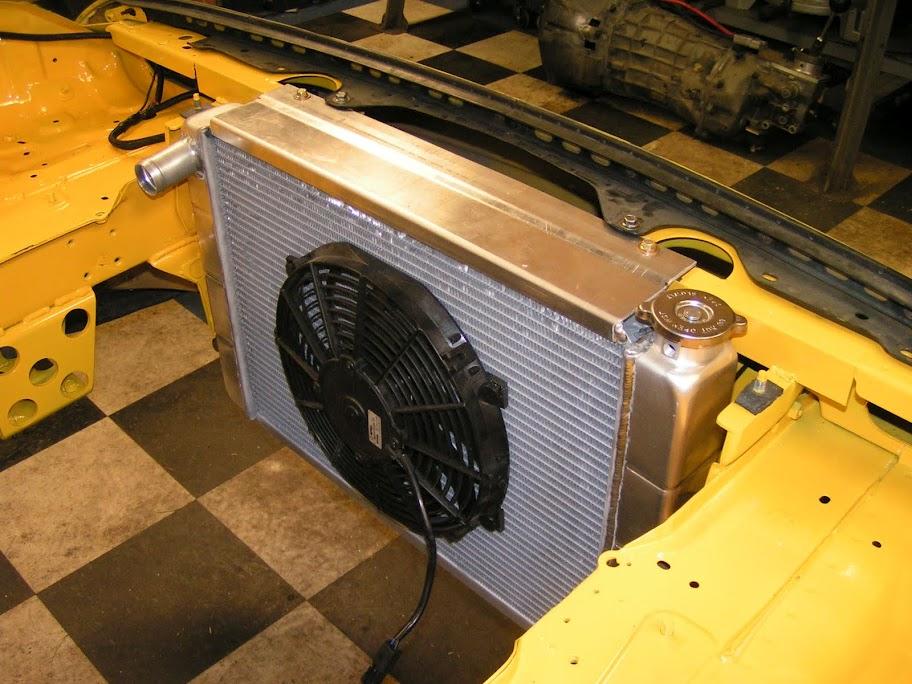
I did finally finish up my new radiator. I went with a generic GM race radiator and welded on mounts. The bottom mounts worked out first try. The top mount took my three times before I got it right. I'm fortunate the fab shop that helps me out is very understanding.
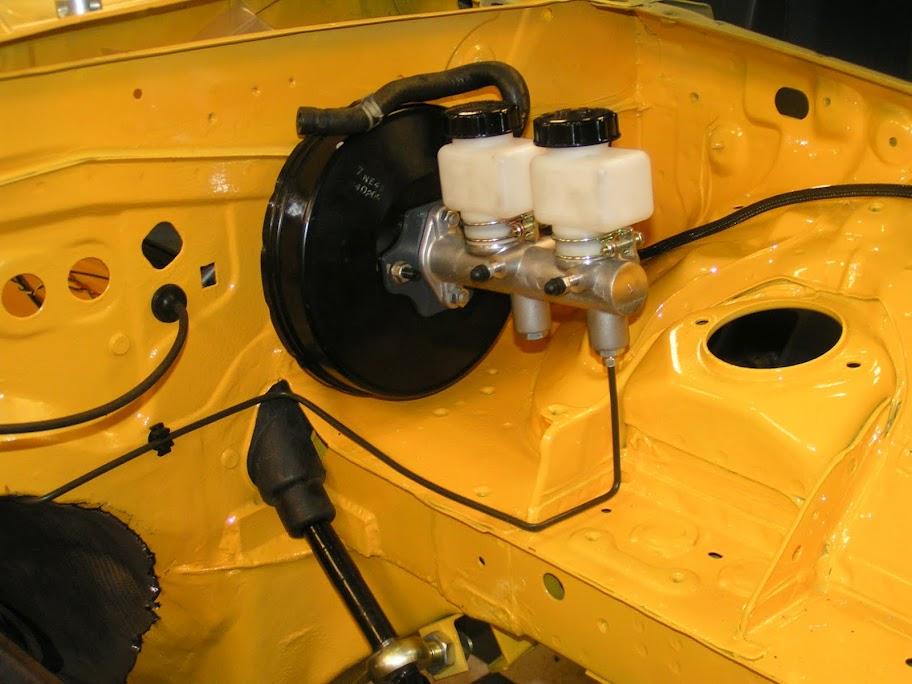
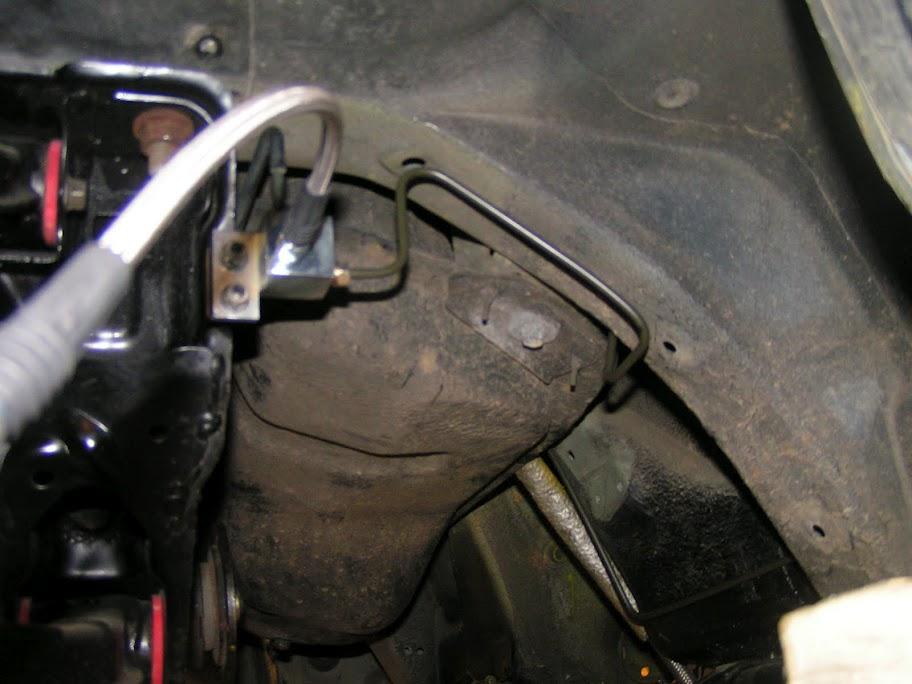
My V8R Brake Kit showed up this week, so I was finally able to get some work done with the brake lines. I finished up the rears and have the fronts about 95% done (I went back out the garage after I took the pictures below).
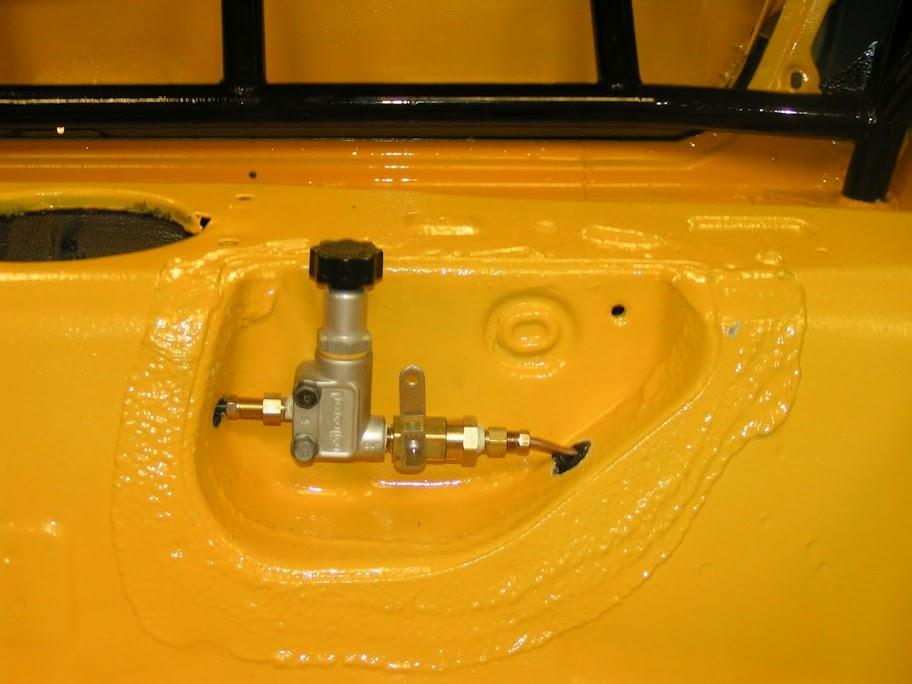
I reused a little bit of the original hard lines, but most is new. I plumbed in my proportioning valve where e-brake used to be, and added my new e-brake (ball valve). Not really an e-brake, but a parking brake. I really like having a parking brake when loading the car on the trailer, and this was the simplest way possible with the new brake system.

I've got the wiring about 75% done. I still have a lot of detail work, but the grunt of it is done. I'll throw some pictures of the completed dash later this week. Right now everything is a mess.