You must be logged in to rate content!
10 minute(s) of a 74 minute read
12-30-2009
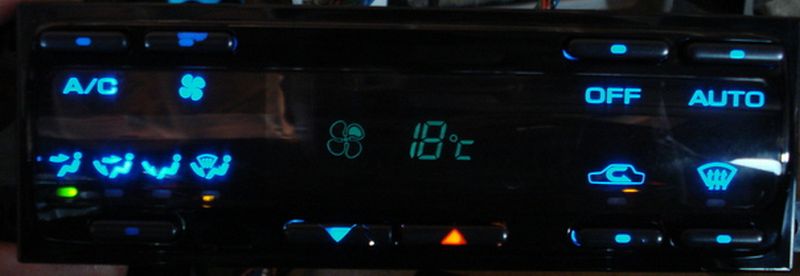
The digital climate control DCC with power on.
1-10-2010
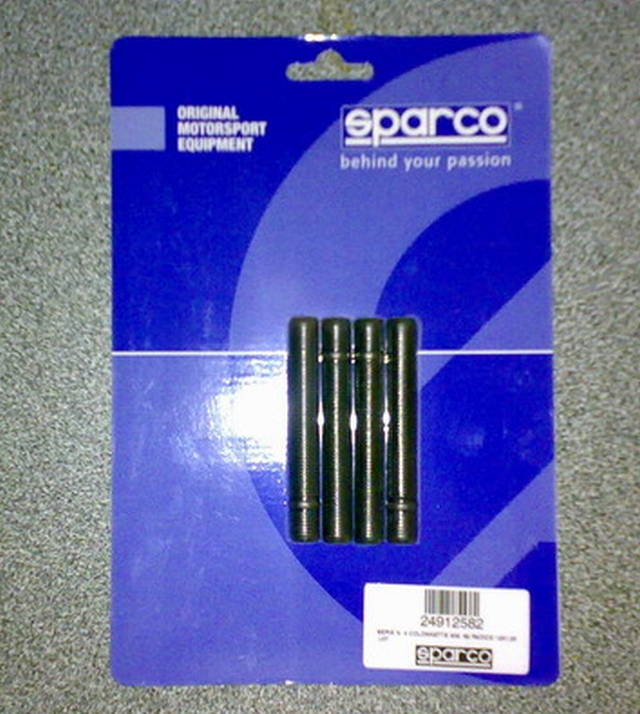
Some Christmas gifts


1-19-2010
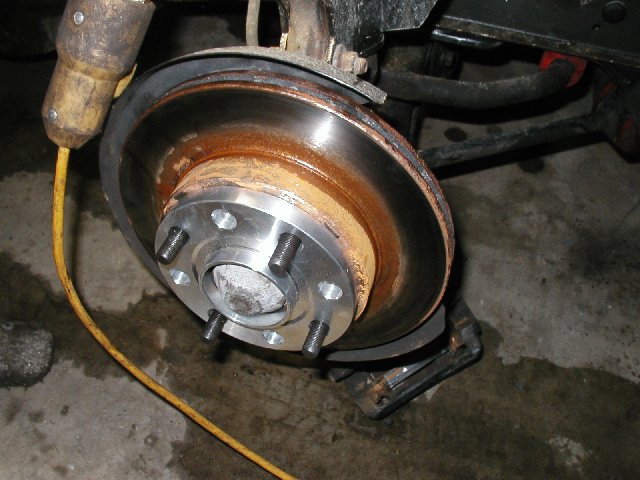
This is how to change the wheel studs to longer ones (not my car on some pictures)
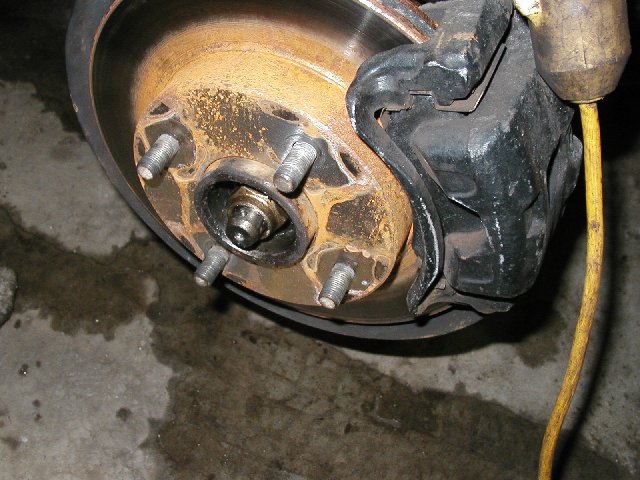
Remove the wheels
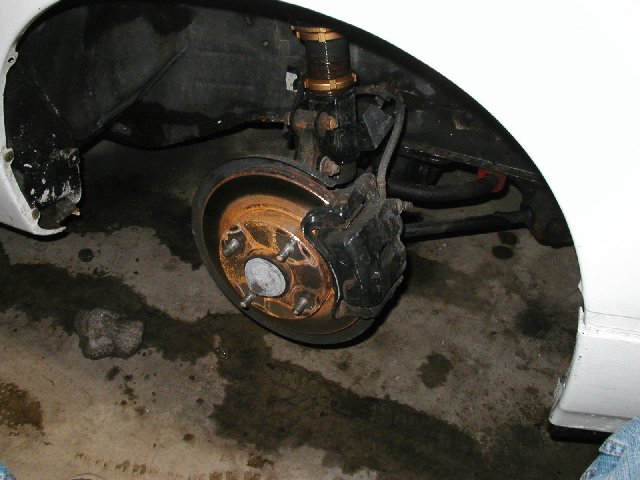
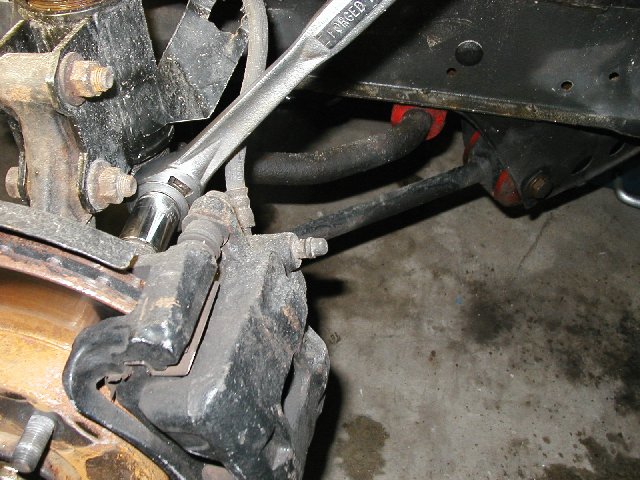
Remove the bolts on the backside of the brake caliper (socket 17) and hang it up with a bit of wire.
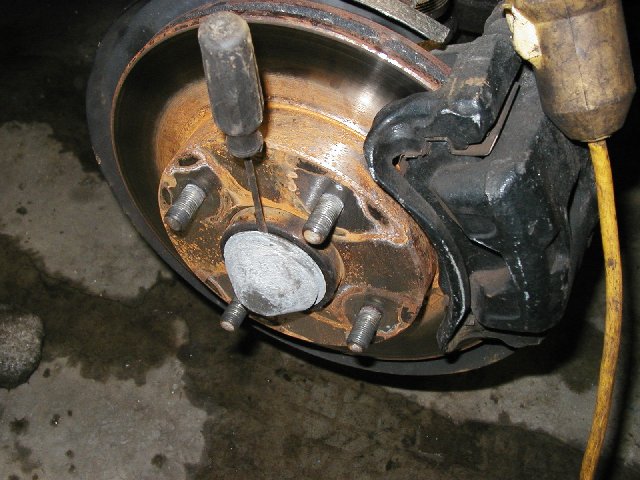
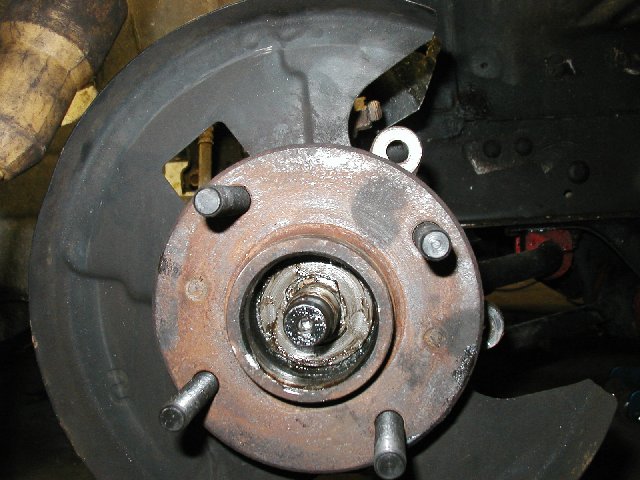
Remove the center cover on the wheel hub with a flat screwdriver.
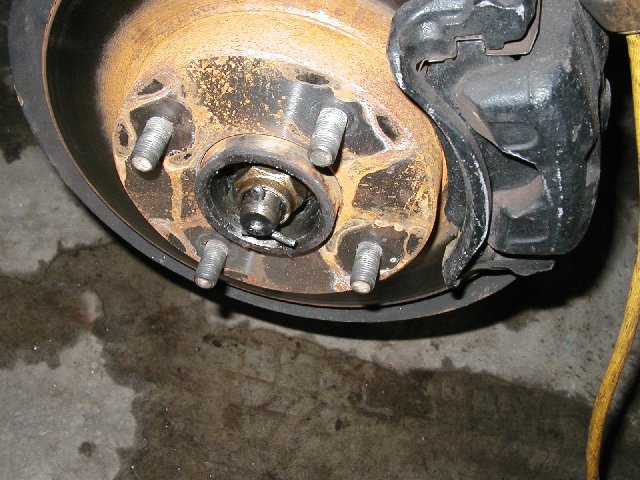
Remove the lock pin (replace with a new one)
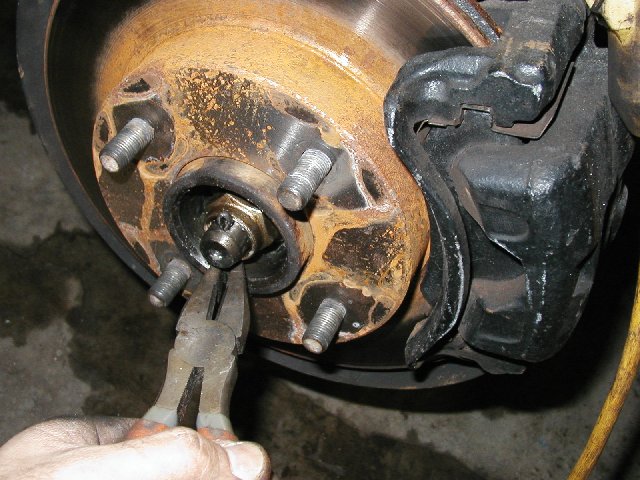
Use a pair of flat pliers, squeeze the legs together and press out the pin
Remove the centre nut (socket 32). The wheel hub will start rotating, use a long bar or equal between the floor and the wheel studs to hold the wheel hub in place.
When the nut is removed, take out the washer placed behind it and pull off the wheel hub
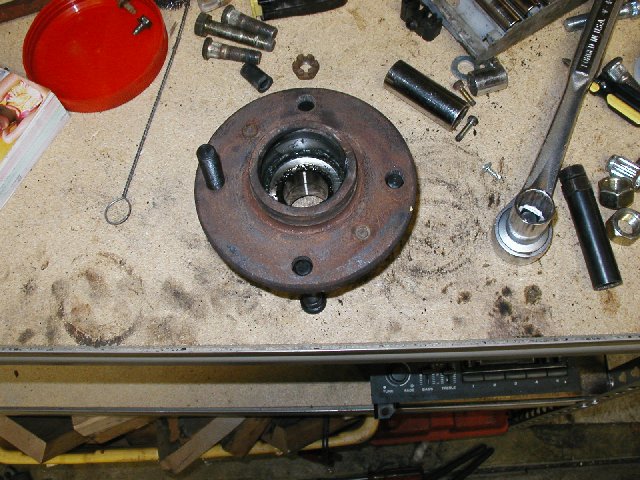
Press the old studs out. If you dont have a wise or equal, you can hammer them out.
Please try to avoid using to much force when smacking them out, every blow will make small dimples inside the bearings. If you use a small sledge hammer One firm blow is better than multiple smaller ones. Support from behind is good to save the bearings.
Place the new longer studs in correct position (splines). Carefully knock them in a bit. Important that the splines are correctly alligned. Use a larger socket and a wheel nut and tighten till the stud is firmly seated towards the back of the hub..
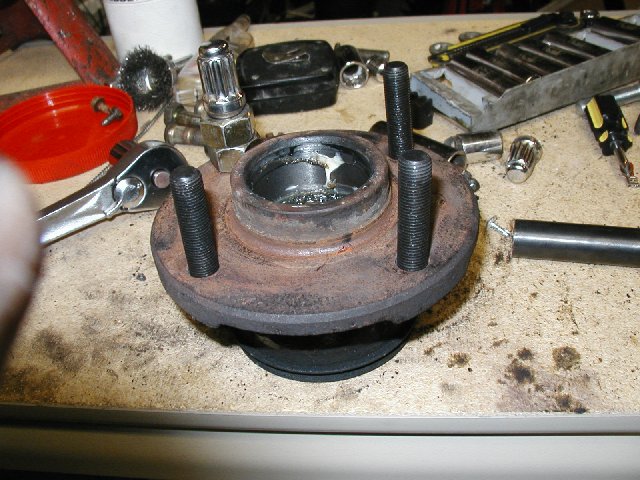
Clean all surfaces and put new grease on the bearing surfaces. If you plan to use larger brake discs in the future, it is a good idea to remove the splash guardbehinf the brake disc before you remount the disc.

Remount the washer, nut and locking pin. Assemble brake disc and spacer.
Remount the brake caliper
Mount the wheels and enjoy the wider stance
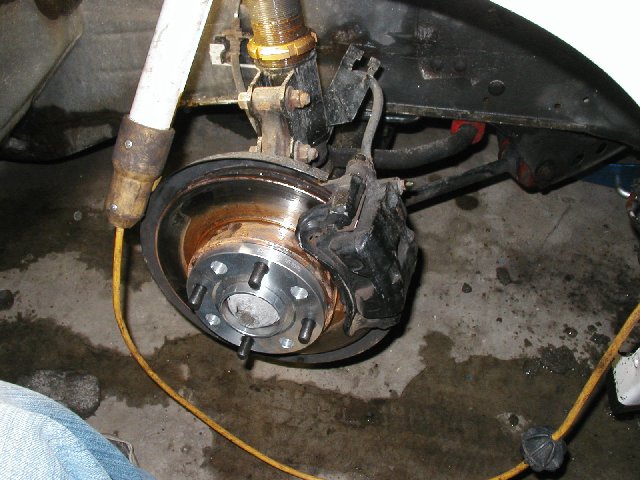
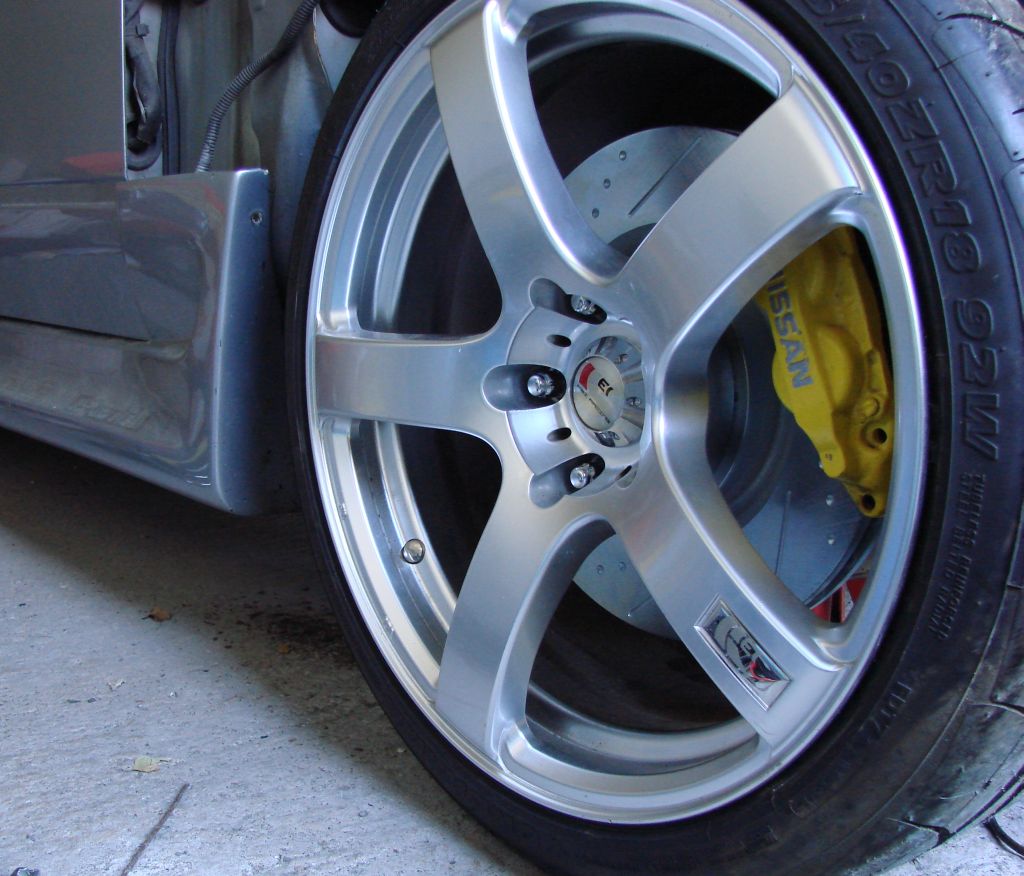
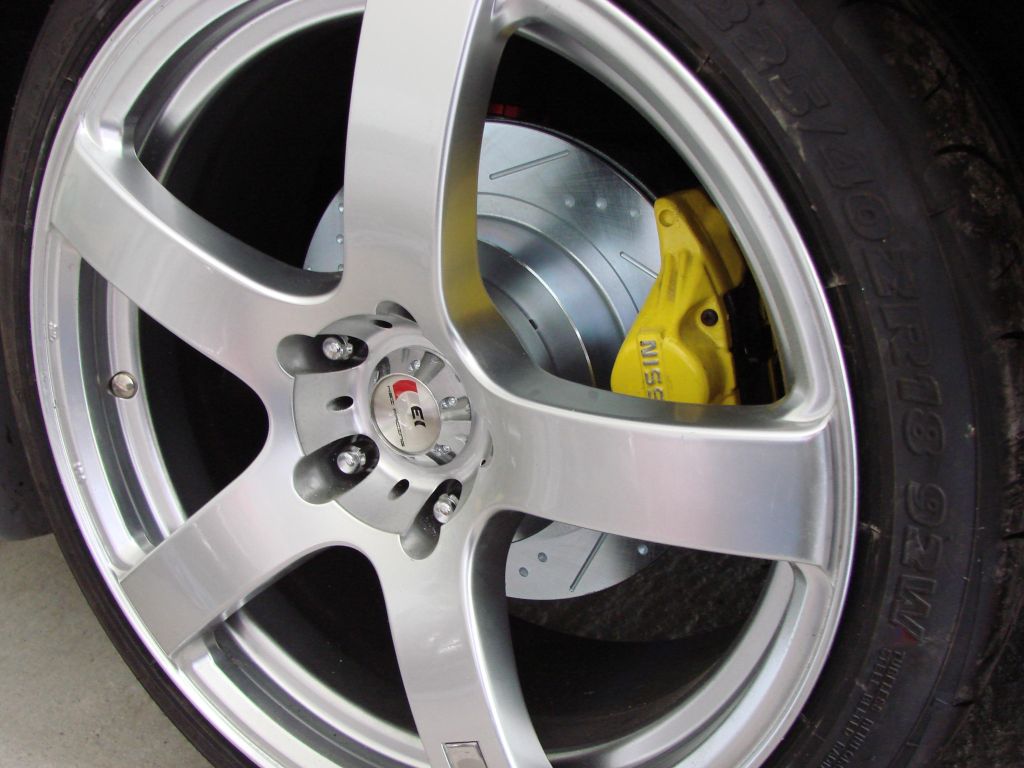
This is the result on my car (no spacers mounted yet and Camber not adjusted). This is also before the wider fenders are mounted.
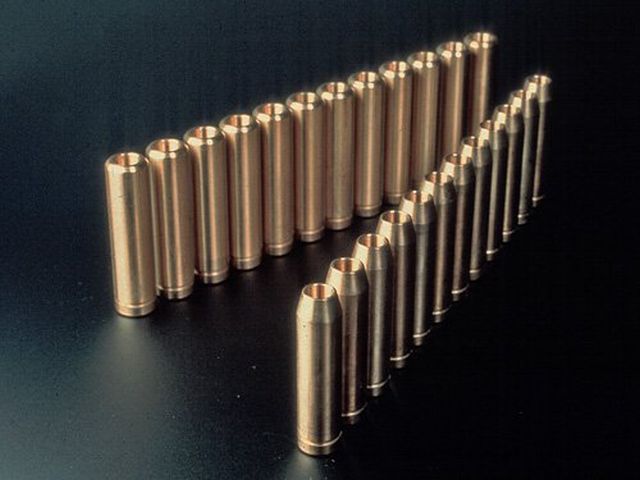
I use a 5-stud wheel hub with pin studs. Make life much easier
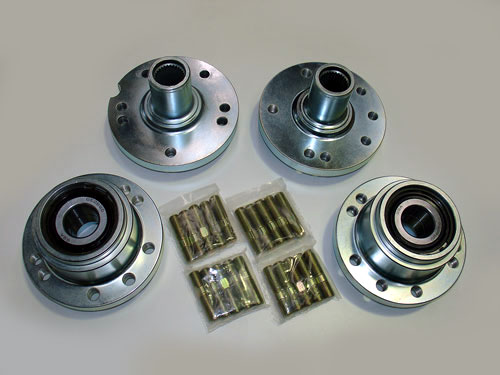
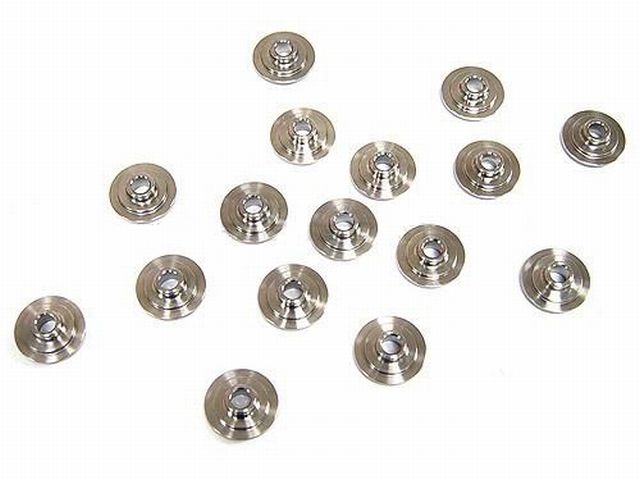
Longer studs
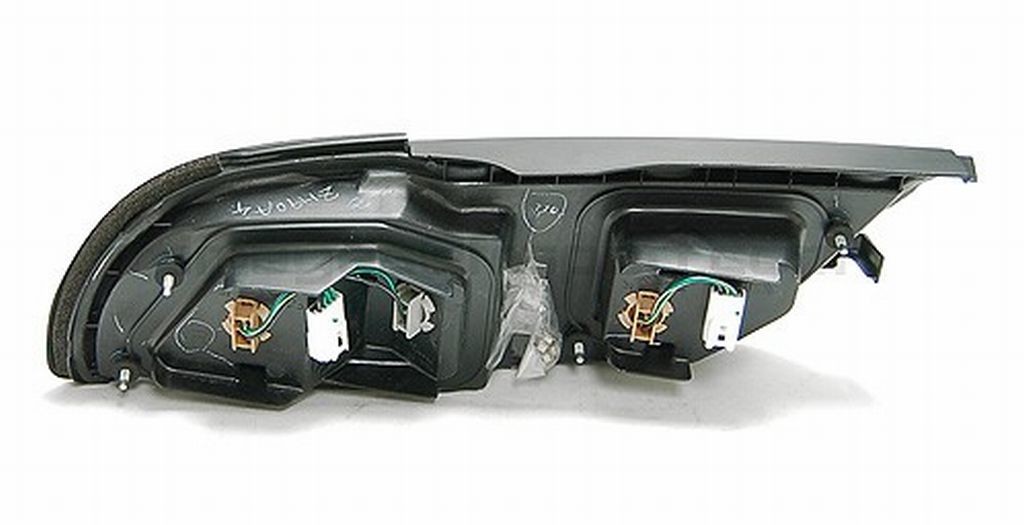
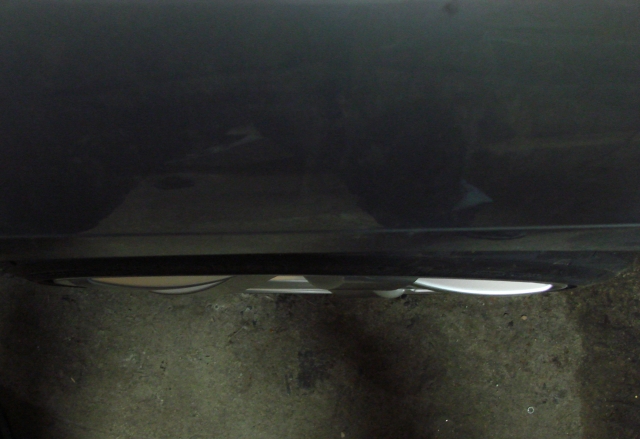
Front
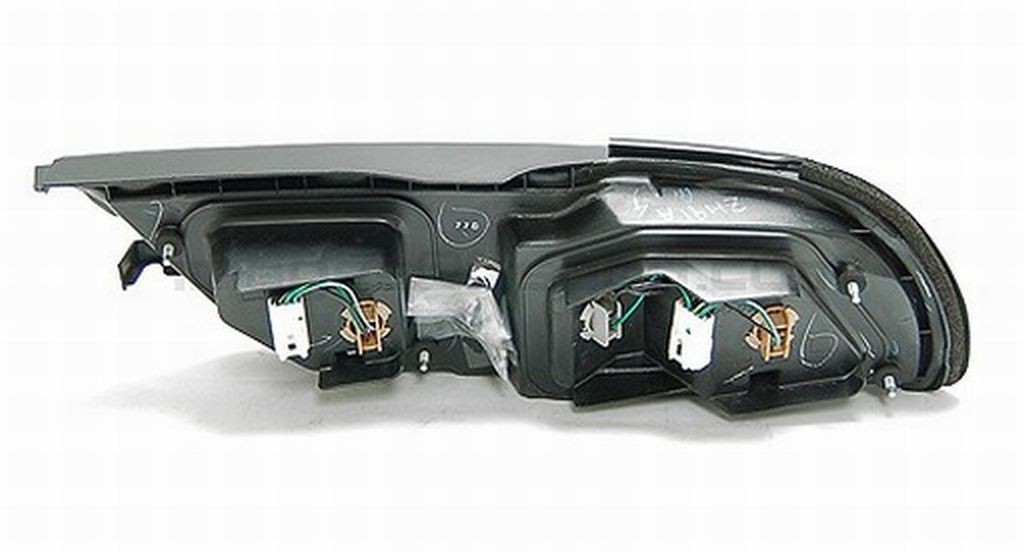
Rear
1-20-2010
Ooops!
A late New Years gift turned up aswell
1-21-2010
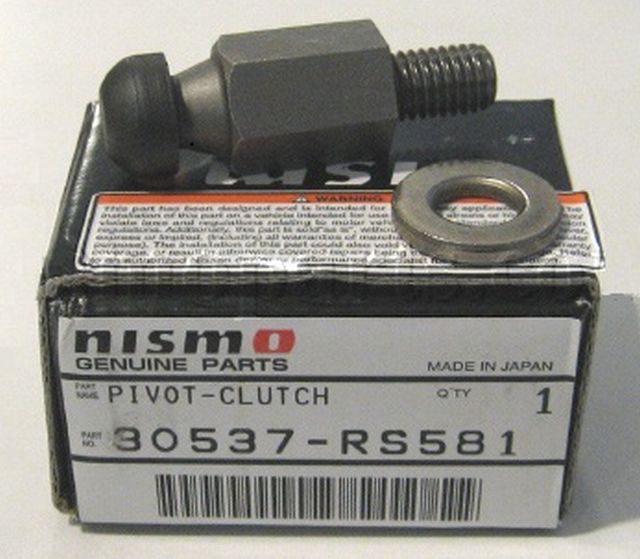
A small but important upgrade
1-28-2010
I do not want to mess around with lots of hard to reach screws and nuts so I looked around to find a good solution.
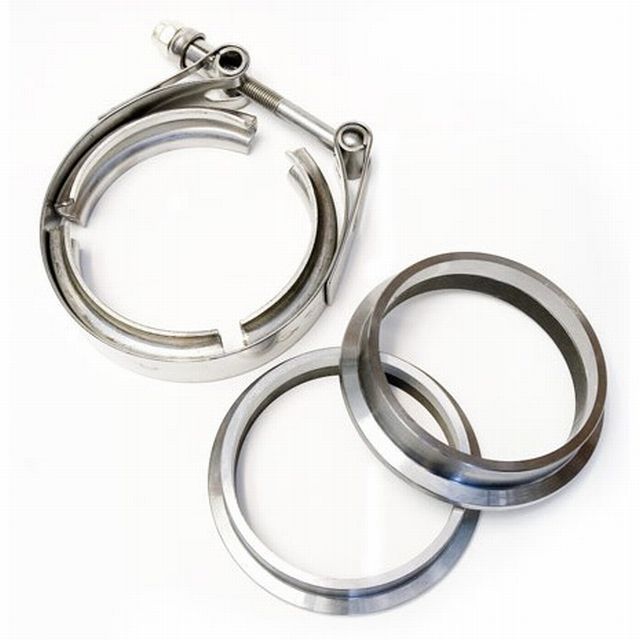
Thanks to Creatix I managed to lay my hands on a bunch of really good Stainless Steel V-band clamps and flanges. They make life so much easier eliminating the hassle with aligning bolted flanges. Easy to mount and dismantle.
I will use them on the exhaust system, the down pipe, the front pipe, the two wastegates and on the turbon
1-31-2010
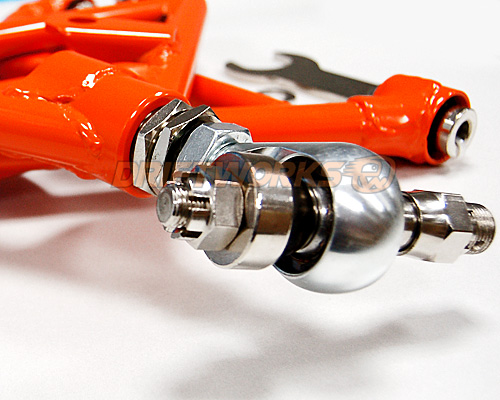
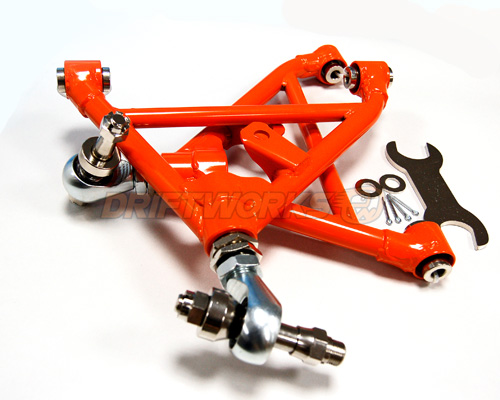
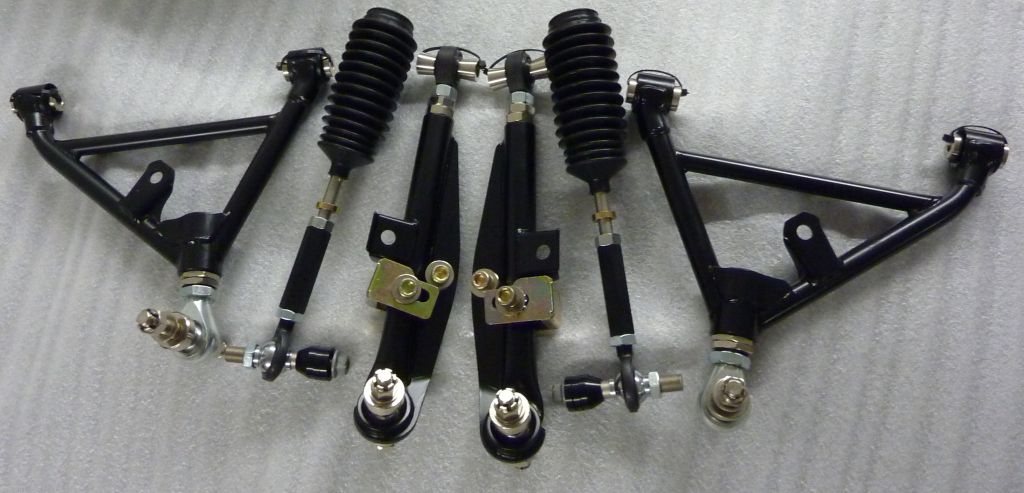
Today all lower arms got the same satin black touch like the SPL ends. Very classy. I like!
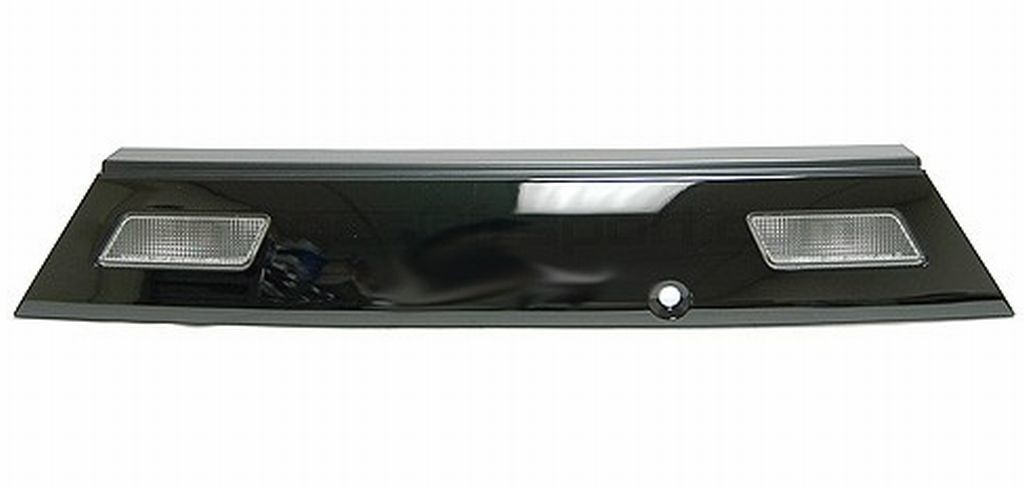
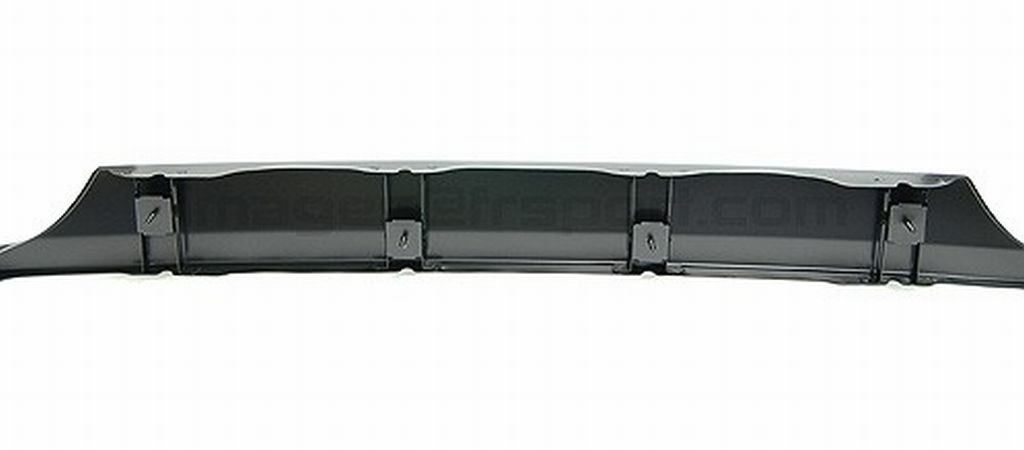
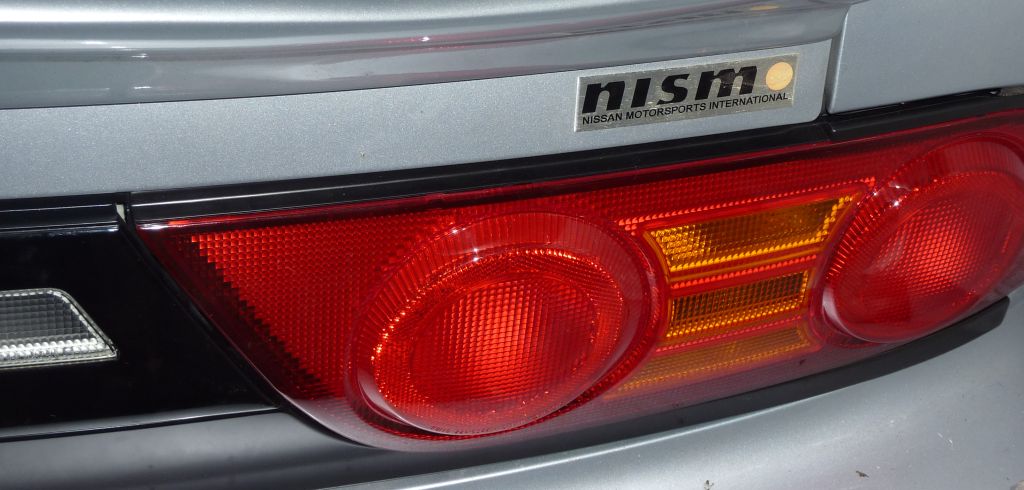
The Kouki lights are on. Super fit. I also changed the pins in the new boot lock assembly so I only have to use one and same key to all locks.
2-2-2010
Lots of action in the garage.
The head is improved one step further.
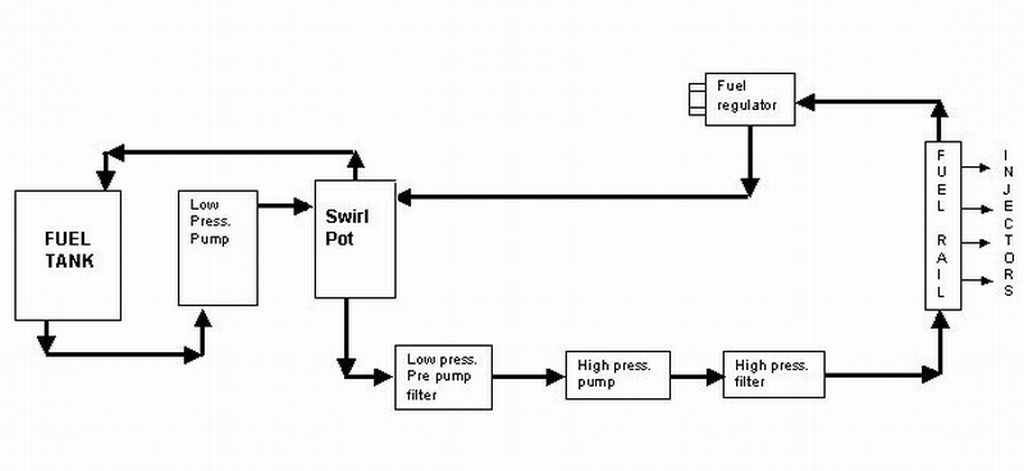
To eliminate fuel surge problems and fuel capacity at the track and during heavy acceleration, a surge tank is installed together with two Bosch 044 fuelpumps.


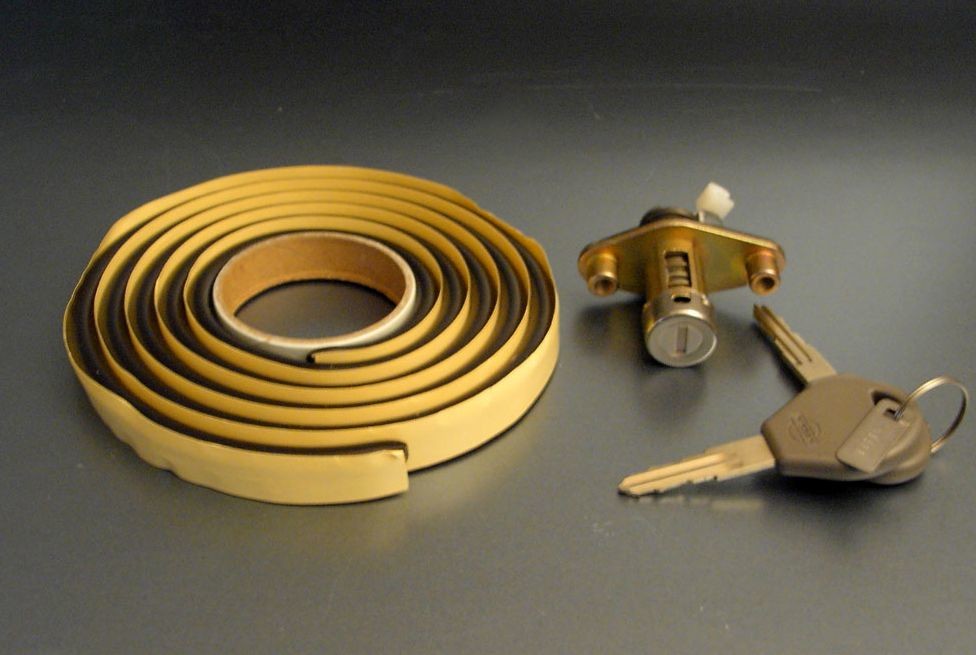
Included with the new Kouki lights, I got a new and longer boot lock-assembly. I do not want to have more than one key so I made a nice and easy modification.
Here is how to do it. I made a small "how to"
Enjoy.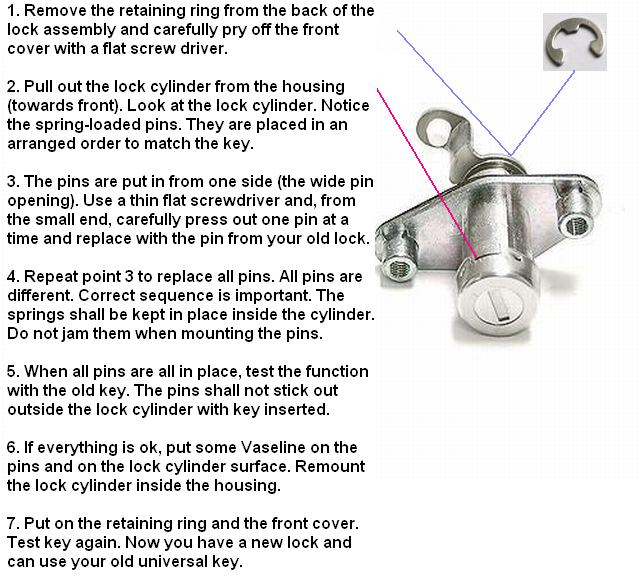
2-4-2010
What will happen when the fuel pump in the tank will suck air instead of fuel?
This could happen when you are on the track or during heavy acceleration. The fuel is forced towards the side of the tank, away from the pump. Especially when the tank is not full. The air will be pumped into the fuel line, onwards to the fuel rail and via the injectors into the engine.
Most of the time this will cause a noticeable decrease of power and it may also damage your engine.
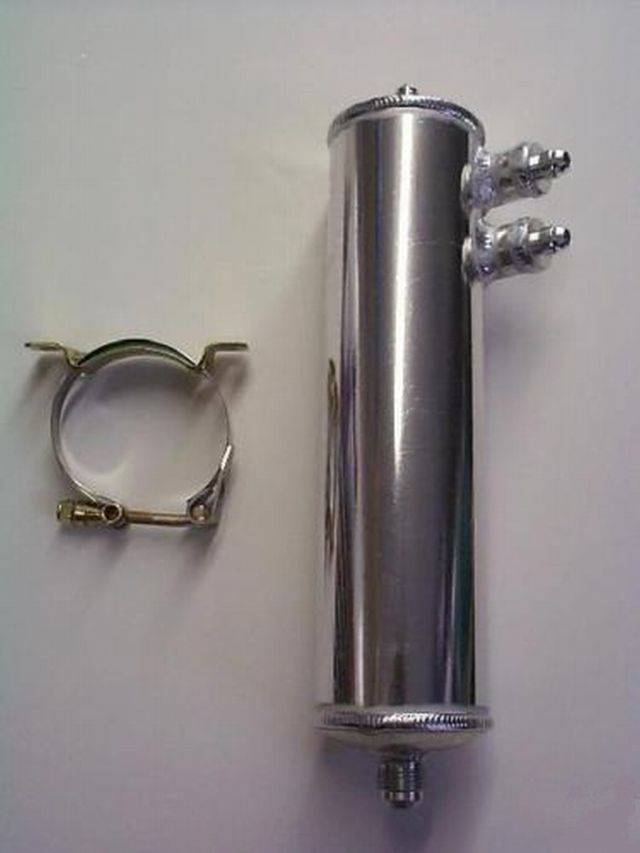
To stop air entering the fuel system, a surge tank / swirl pot is a very good solution.
I have tested a couple of designs and found two really well working versions. Which one to use is mainly a question of available space. Some install it in the boot, others in the engine bay. I will put mine in the engine bay.
If it is installed in the boot, use Teflon hoses. They are more gas tight compared with ordinary steel braided hoses and will prevent the smell of fuel inside the car. They are also resistant against E85.
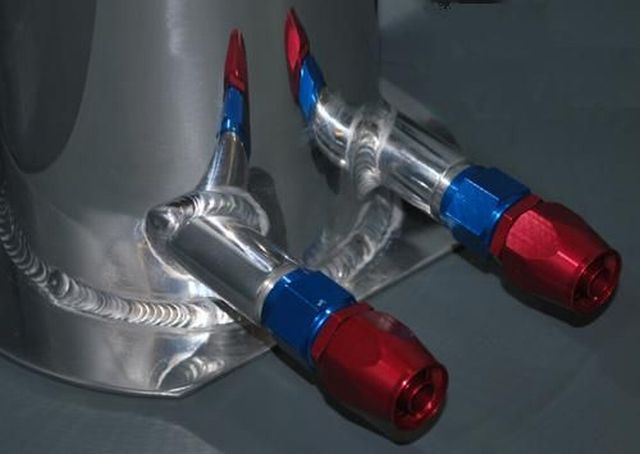
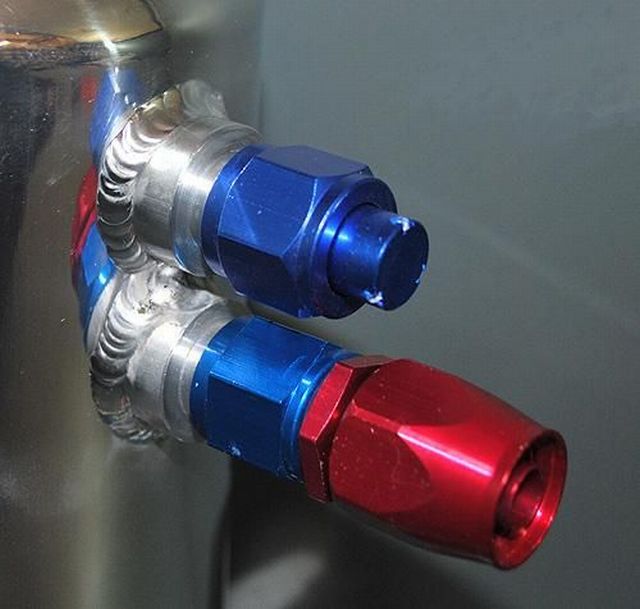
To connect the hoses to the surge tank / swirl pot, use AN-connections. Usual sizes like AN-6, AN-8 or AN-10.
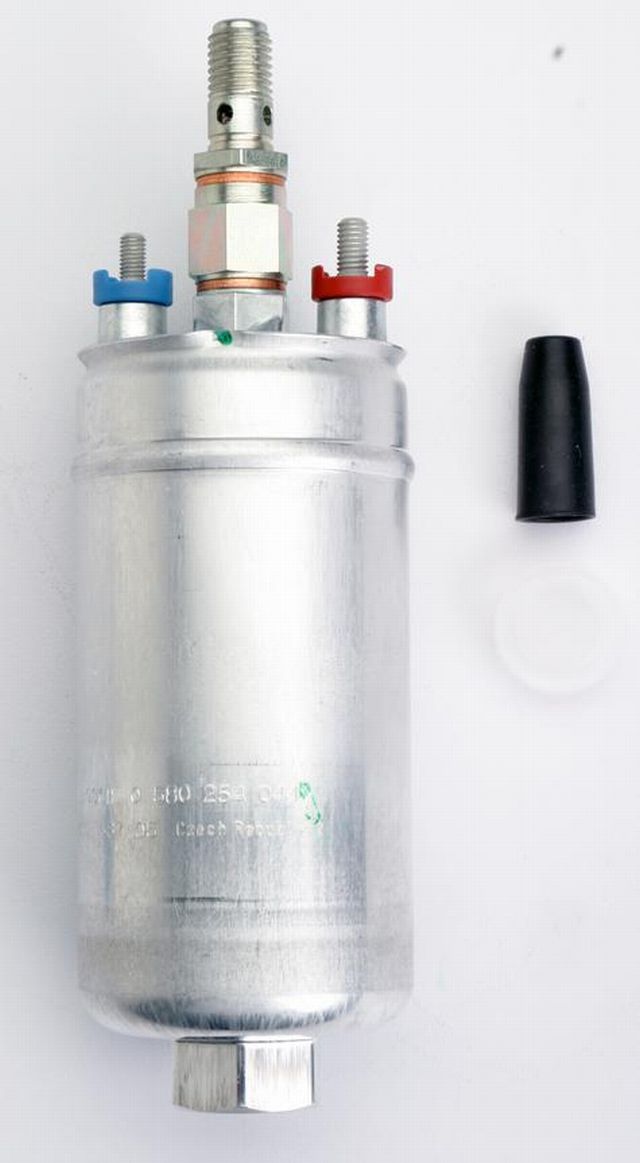
The installation is fairly simple. Remember the high pressure pump need rather much power and should be connected over a fused relay. It is recommended to use the ordinary pump power feed as relay control signal.
Boot installation
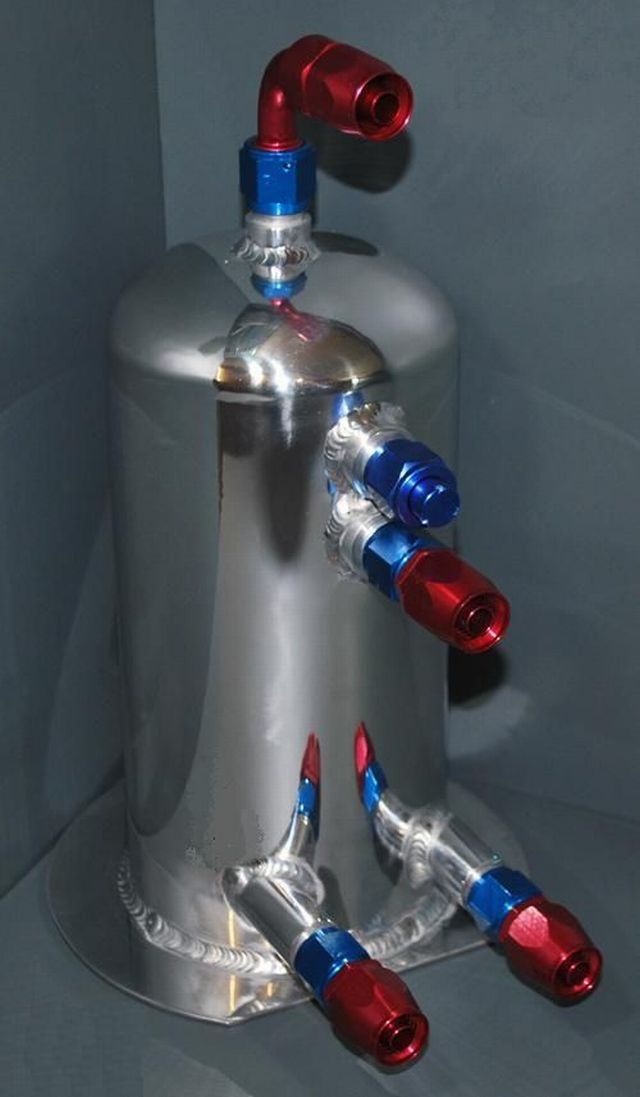
Engine bay installation
Bosch inline pump (0580254044)
Installation Diagram