You must be logged in to rate content!
13 minute(s) of a 74 minute read
5-1-2010
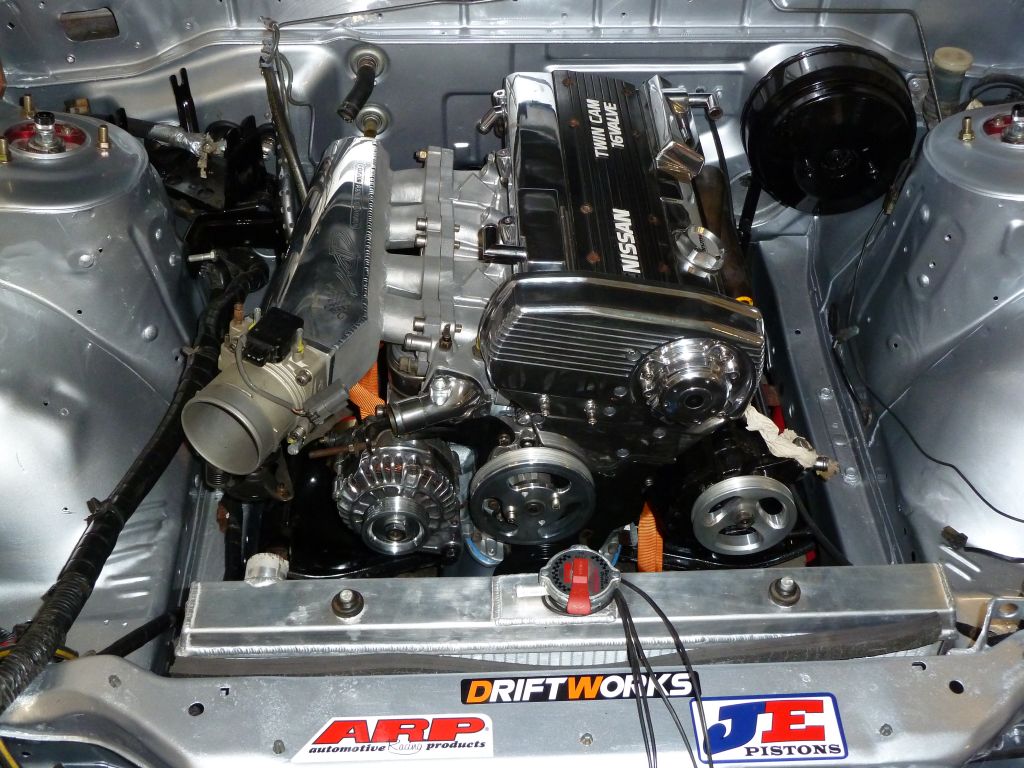
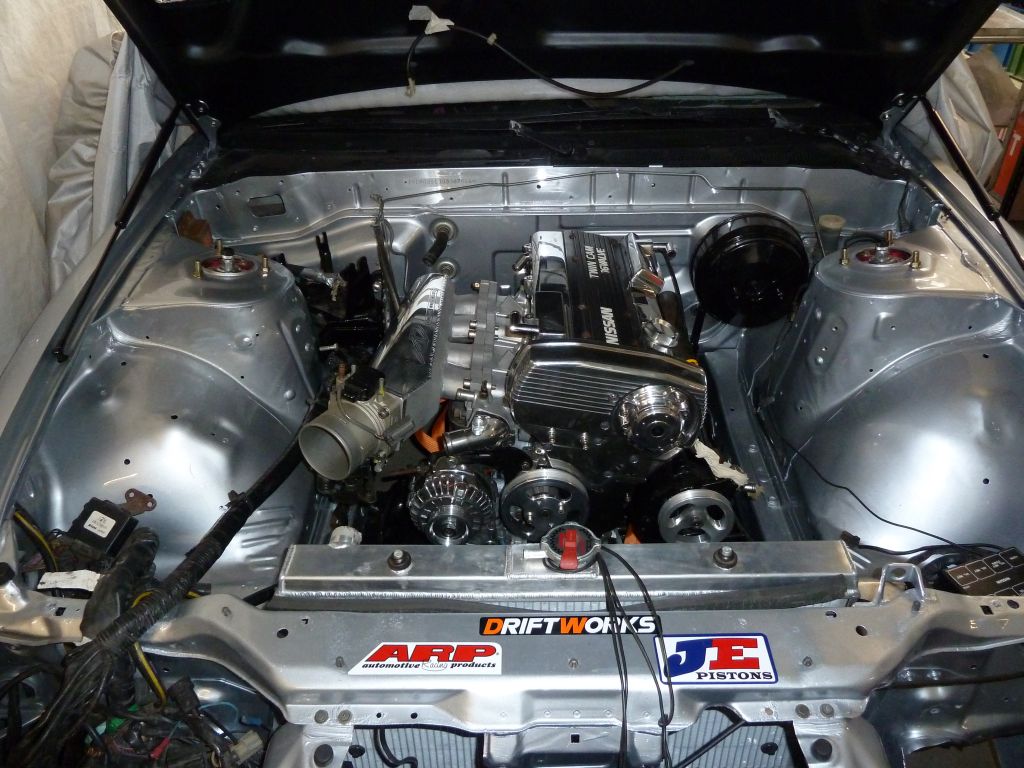
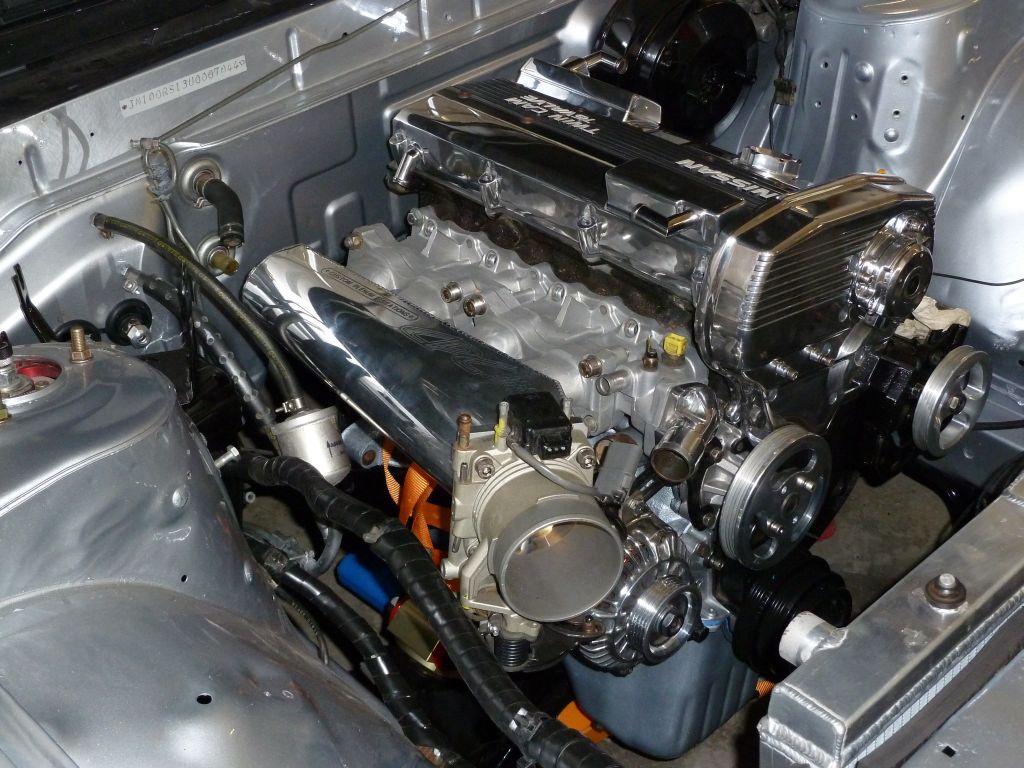
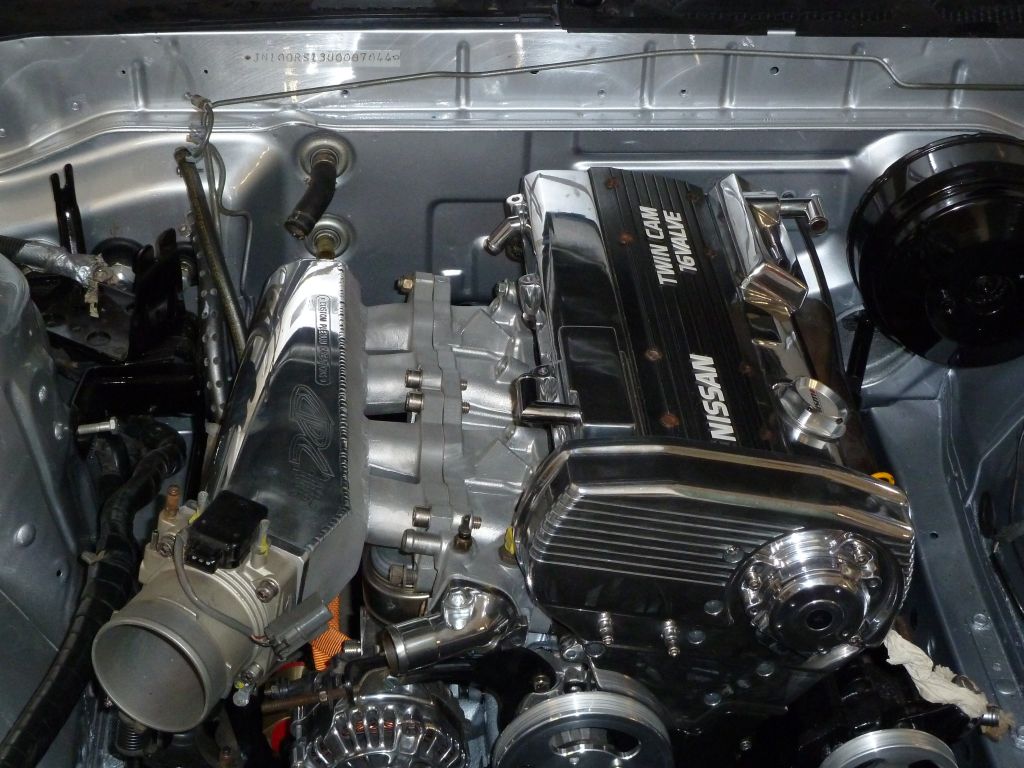
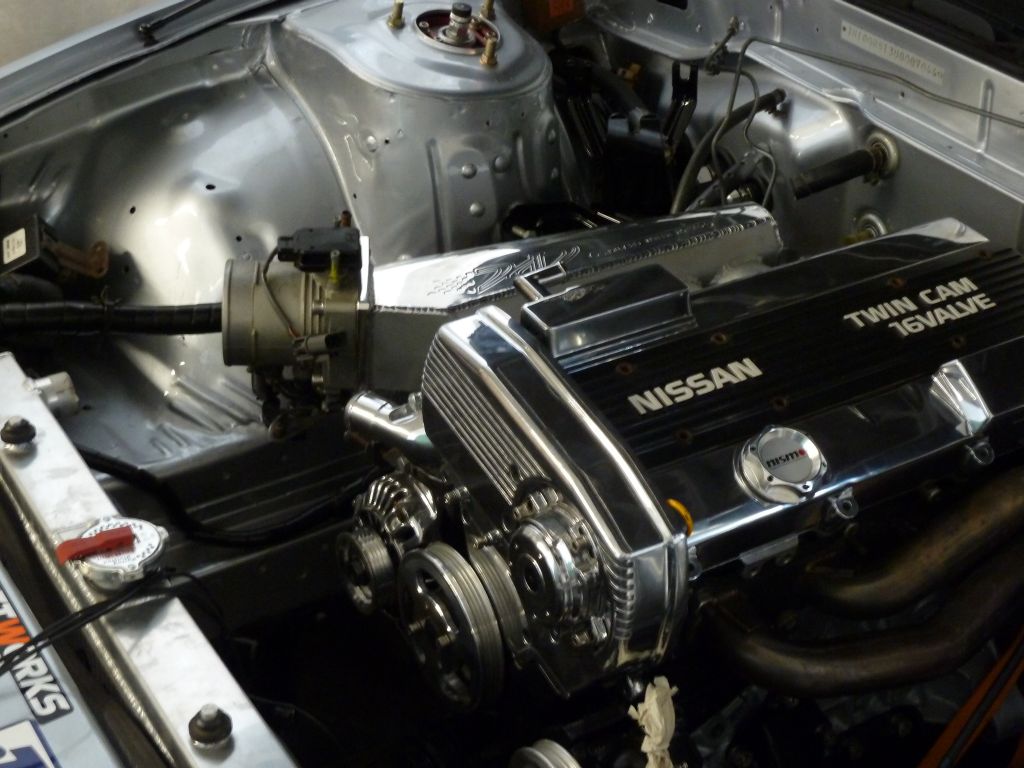
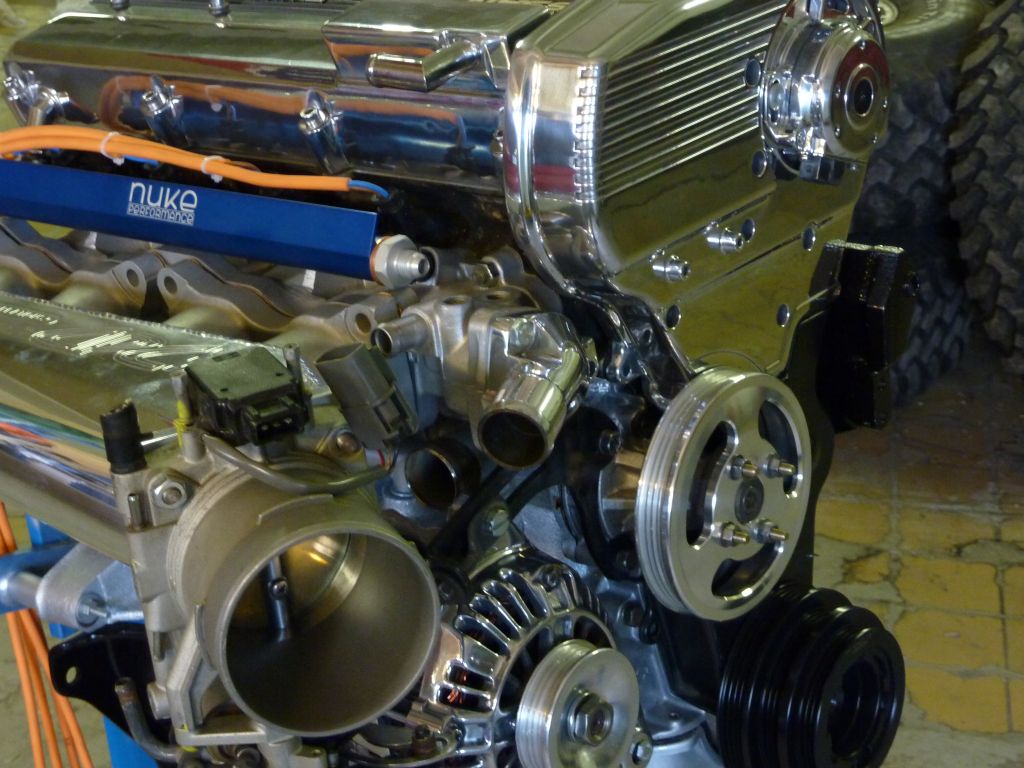
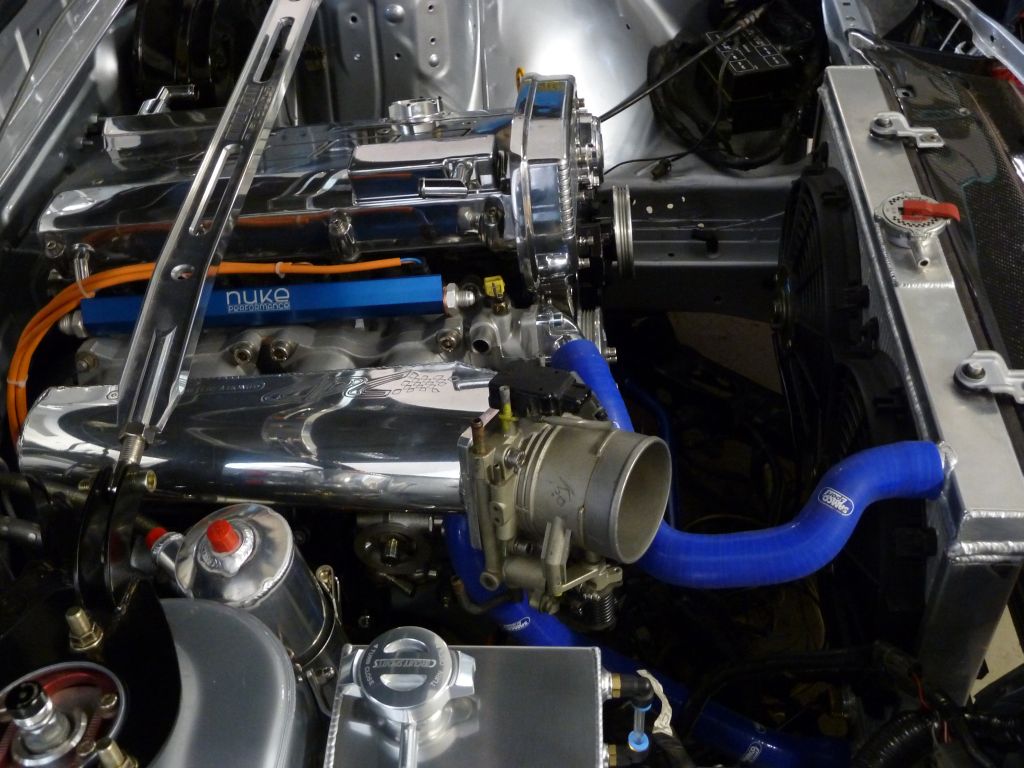
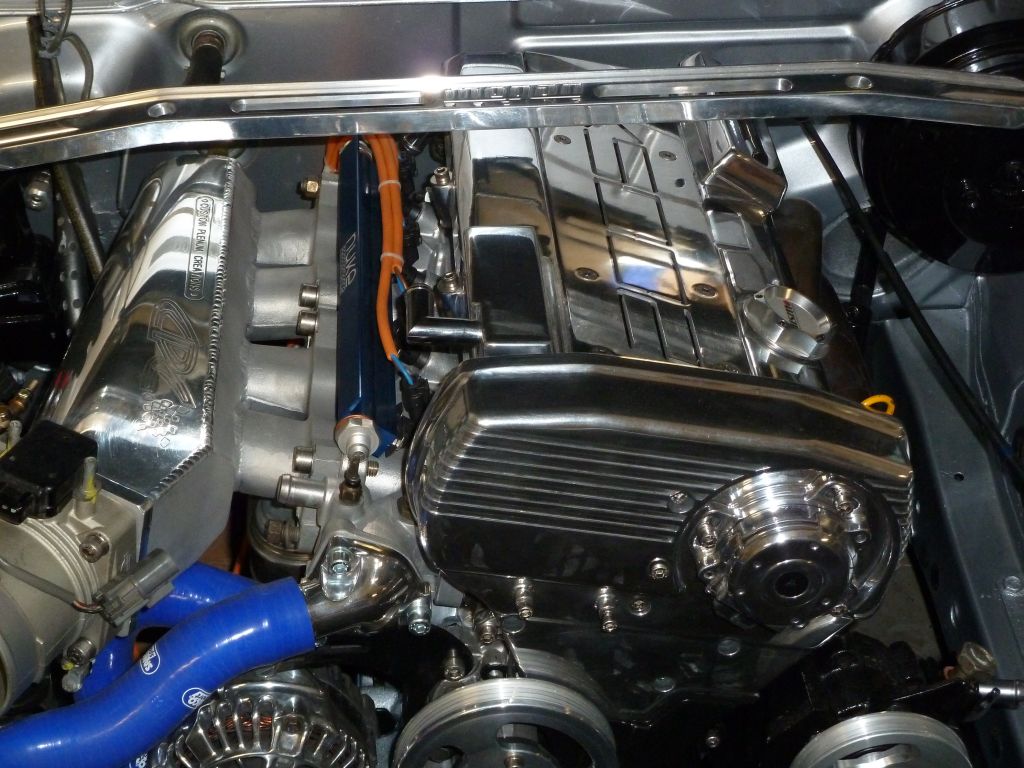
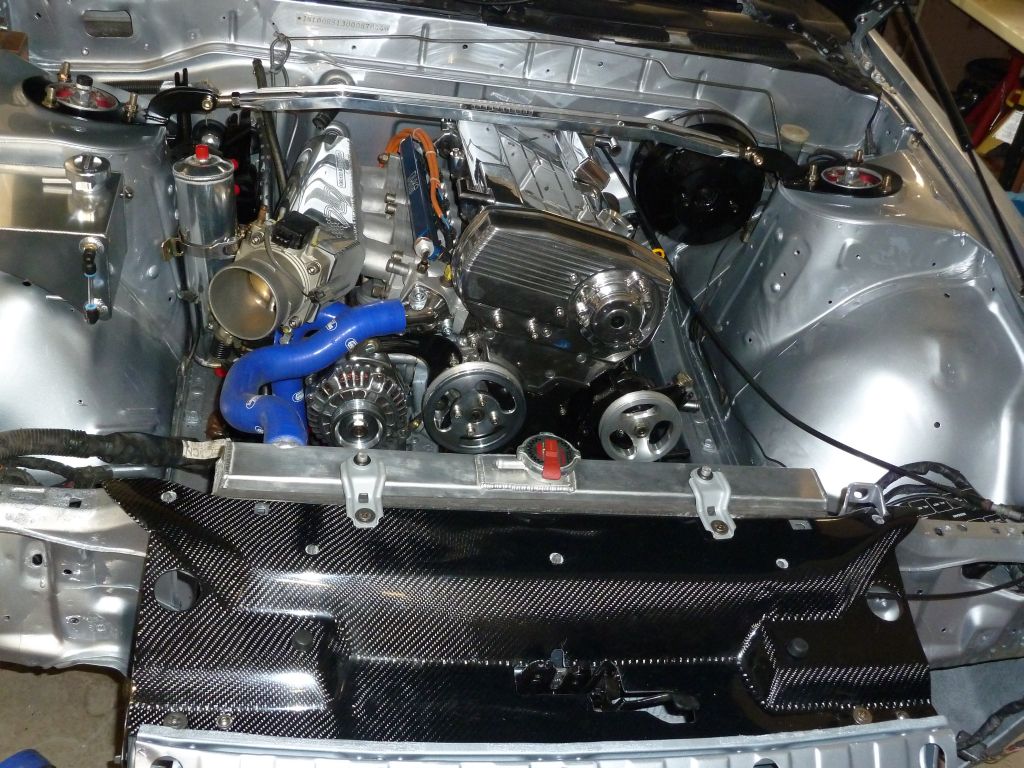
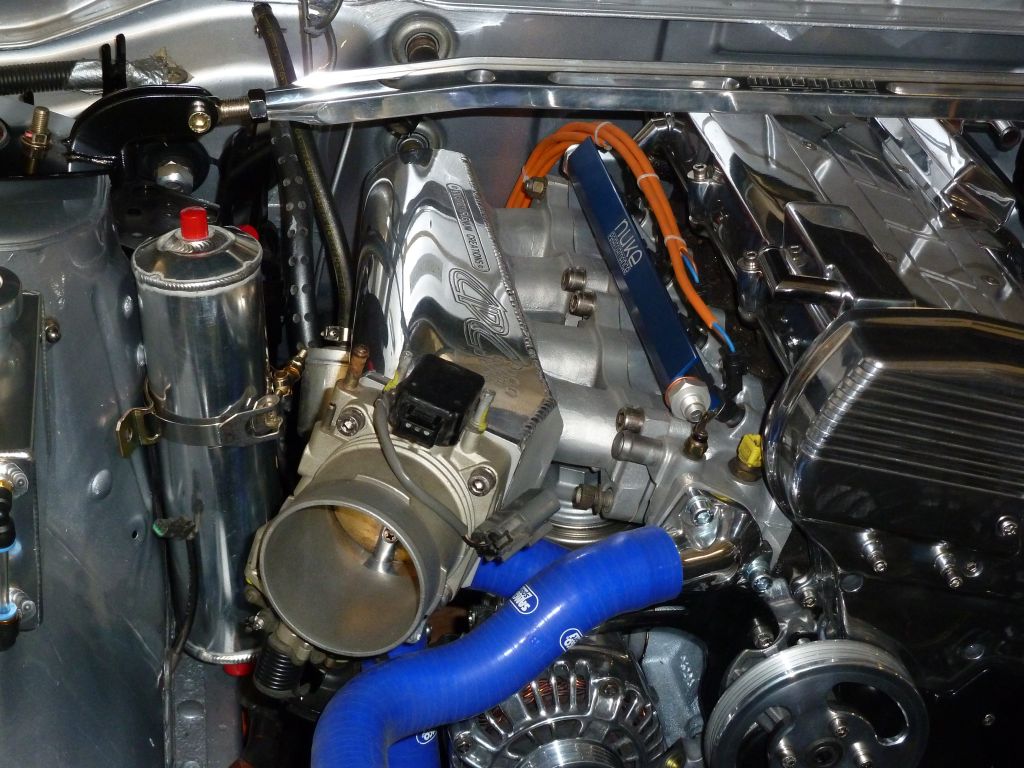
The improved engine bay
5-6-2010
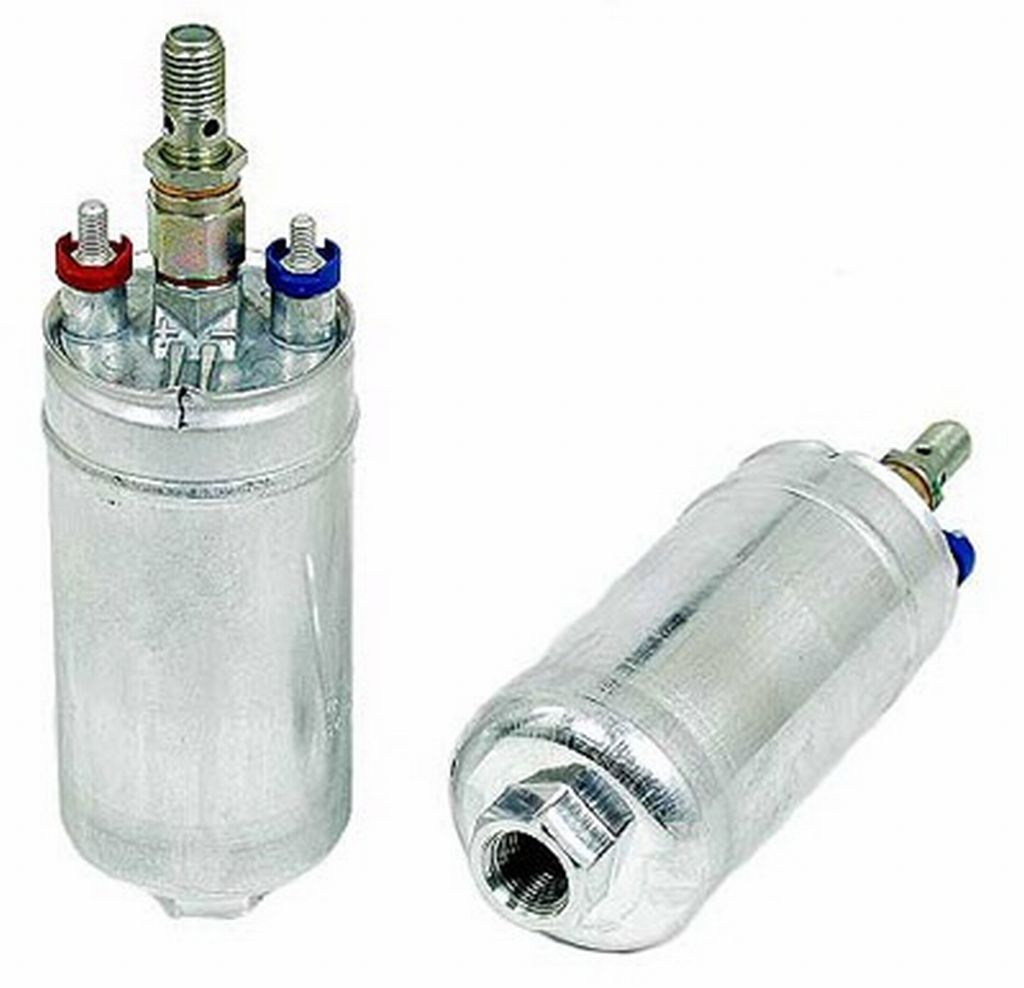
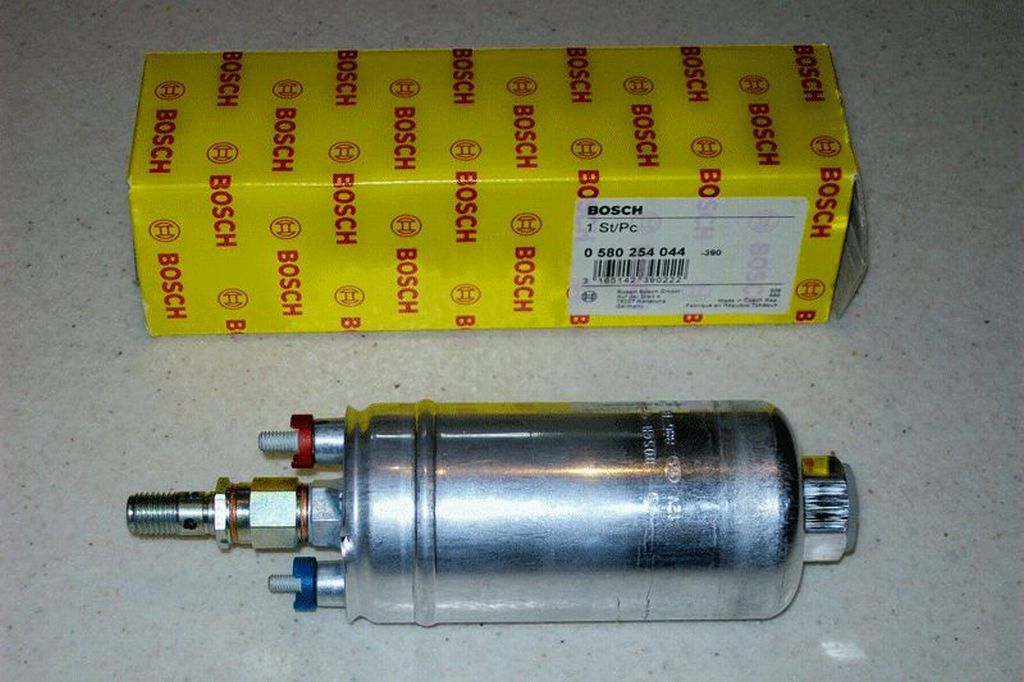
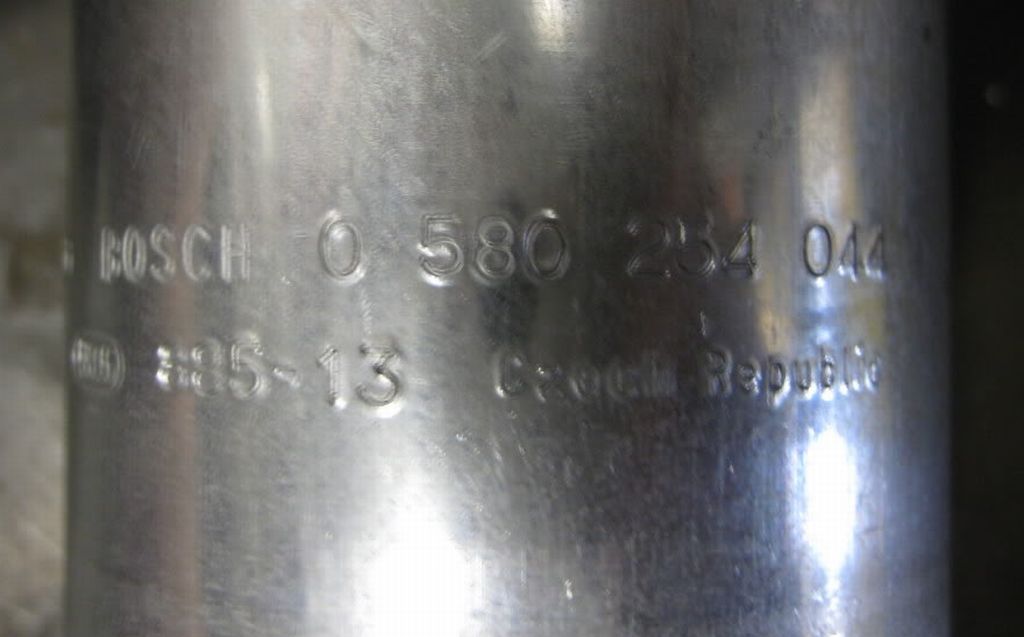
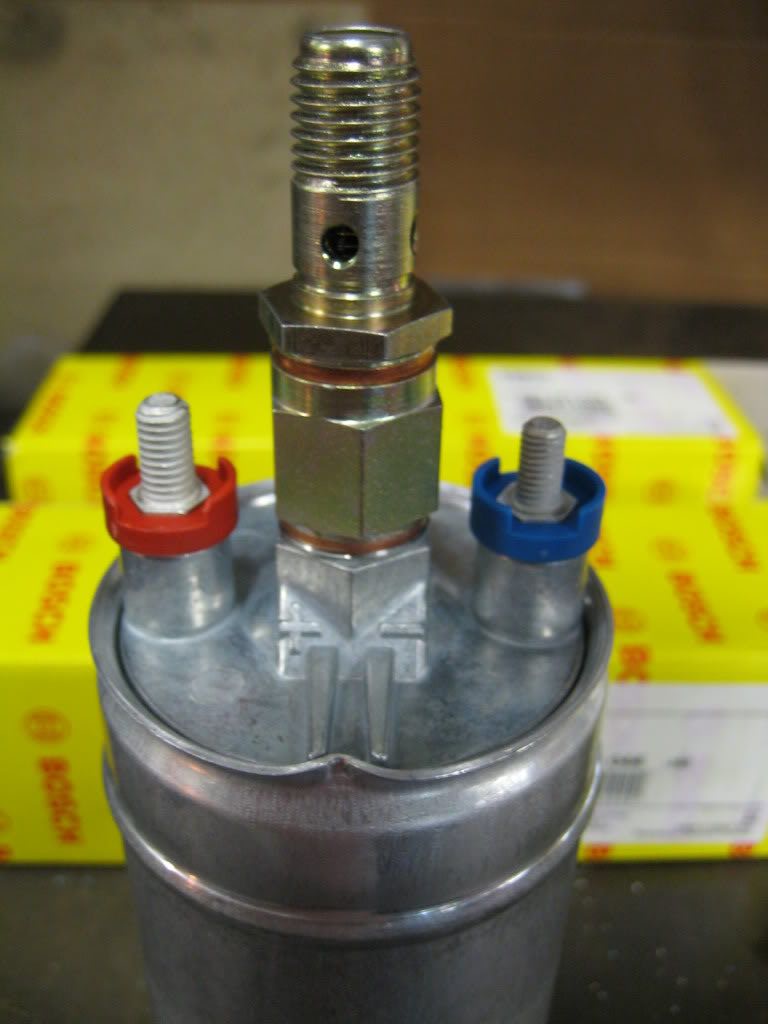
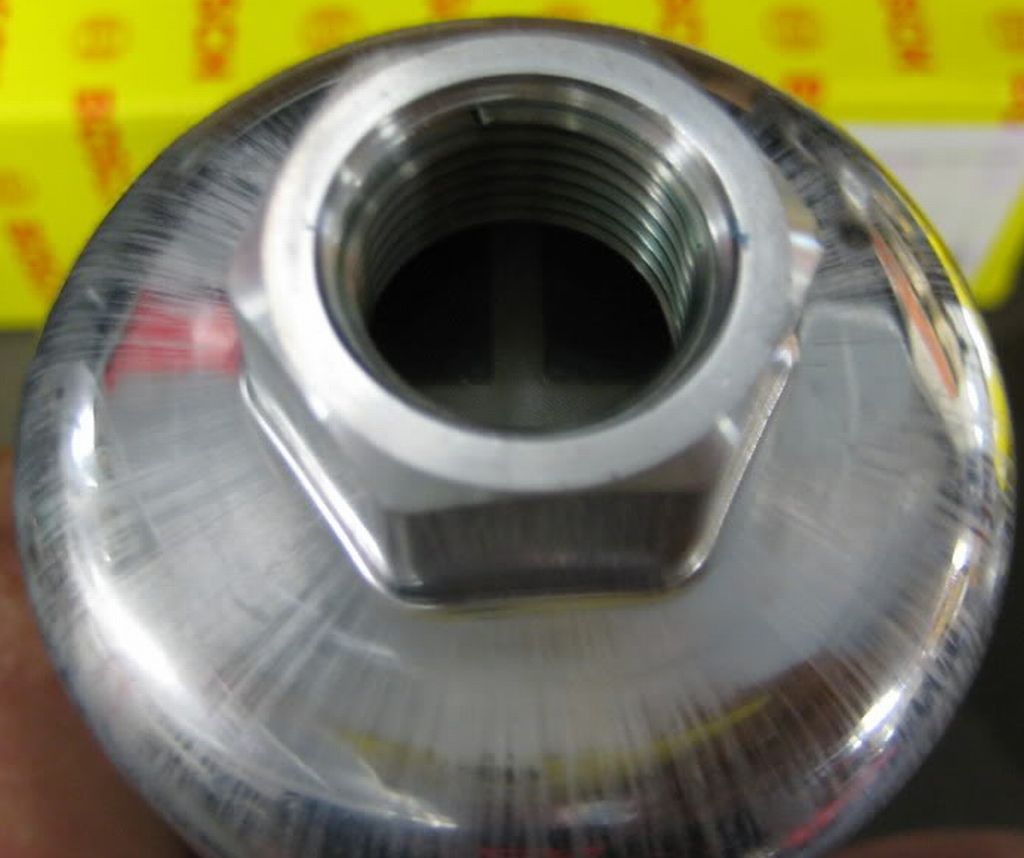
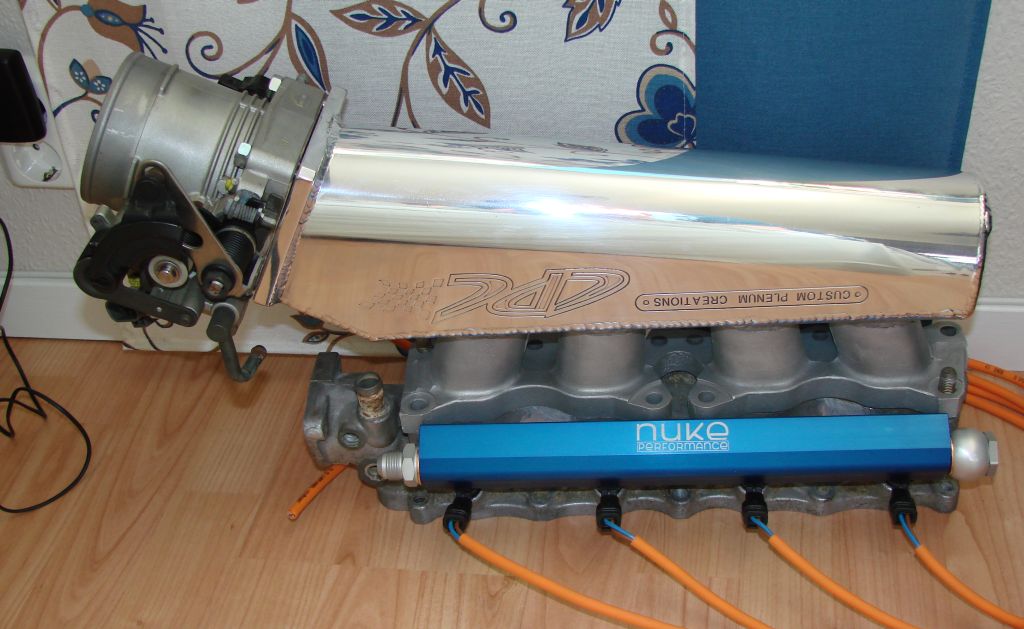
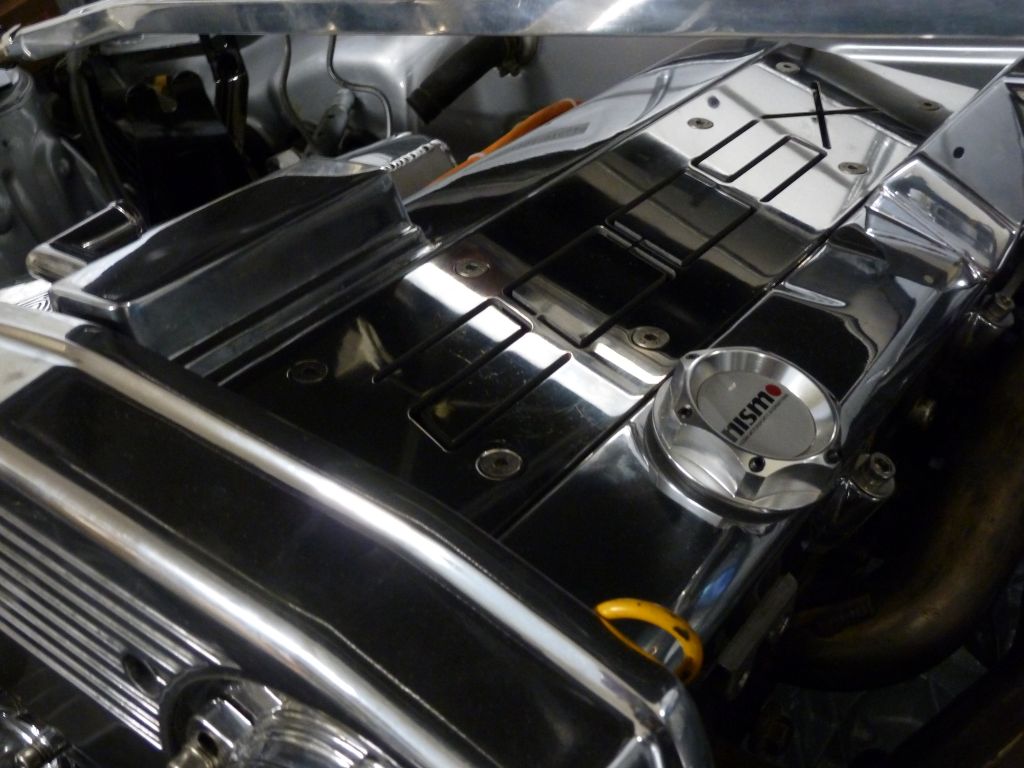
The Real Deal
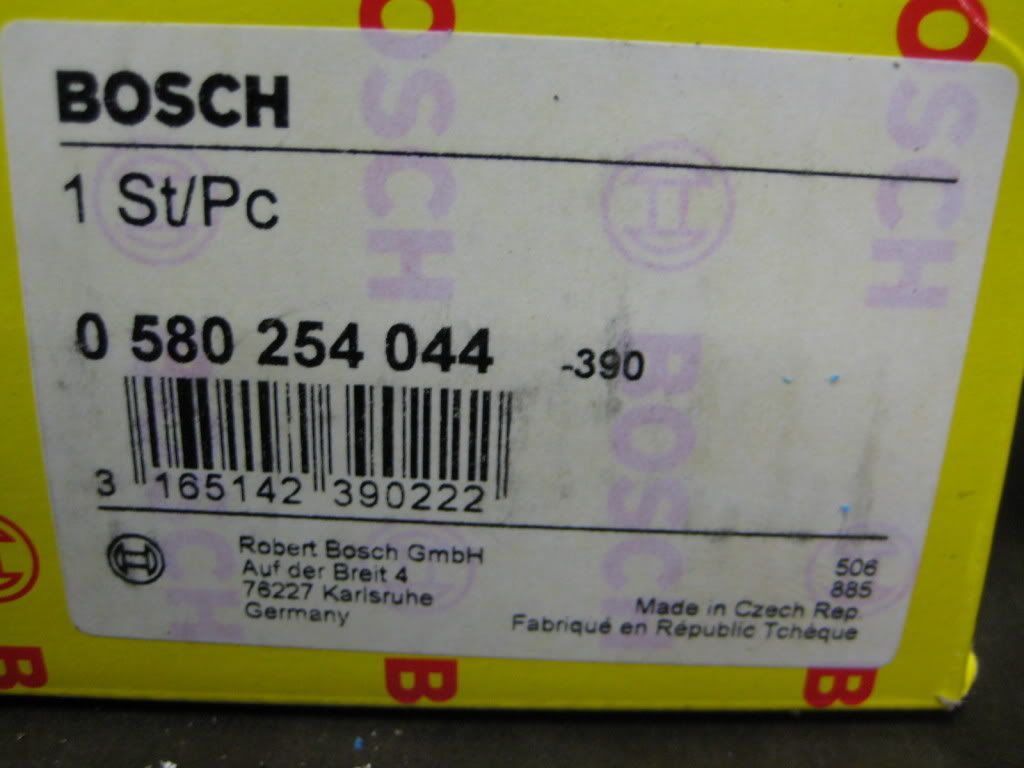
Two times Bosch 0580 254 044
Enough fuel/E85 for at least 1000BHP
5-6-2010
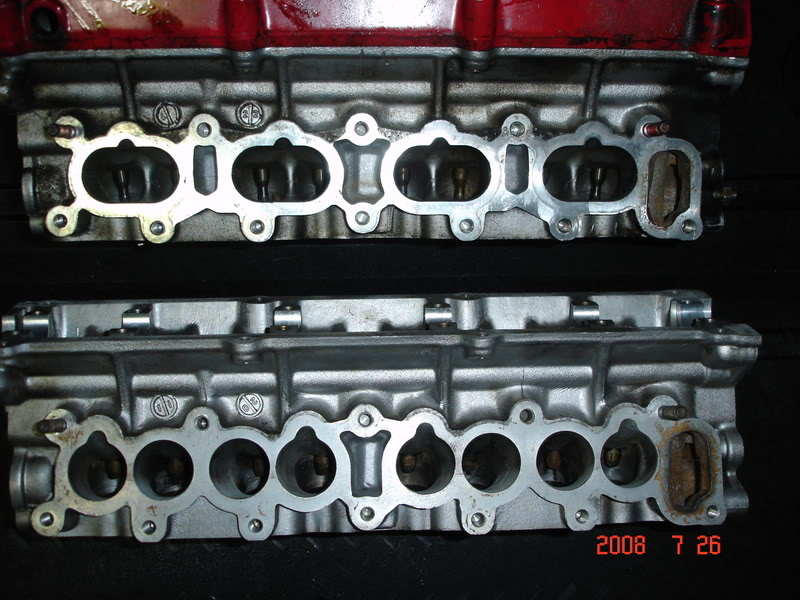
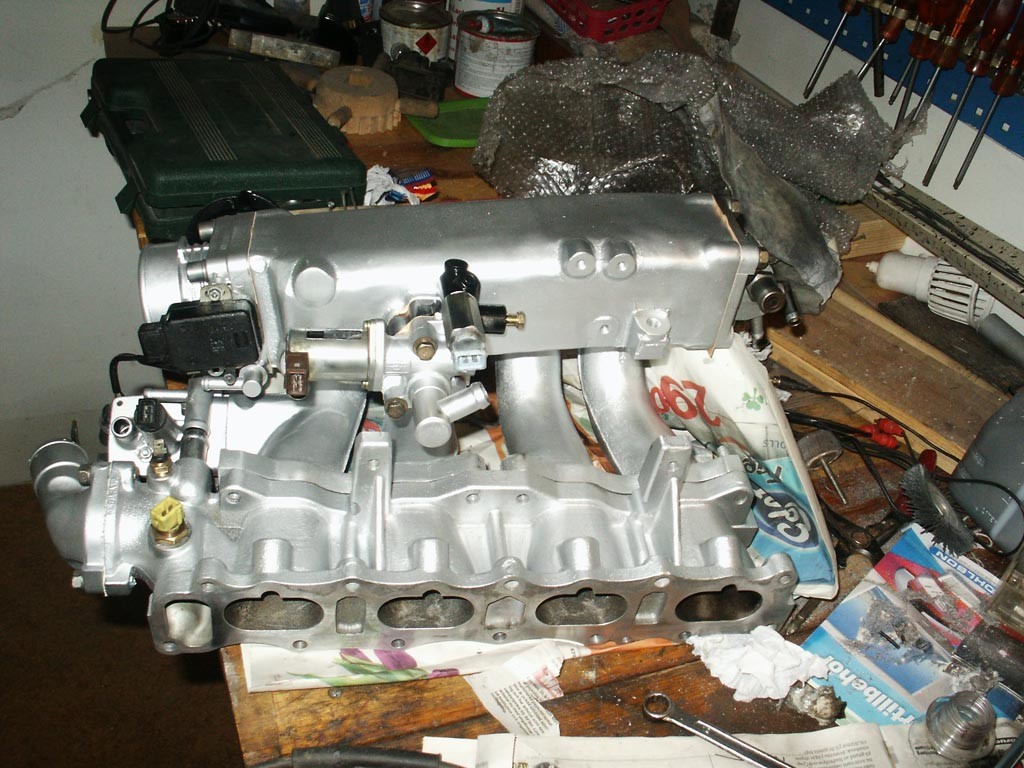
I would say thay are the same except fot the intake side. The block is the same and so is the ex mani.
Euro vs JDM

5-11-2010
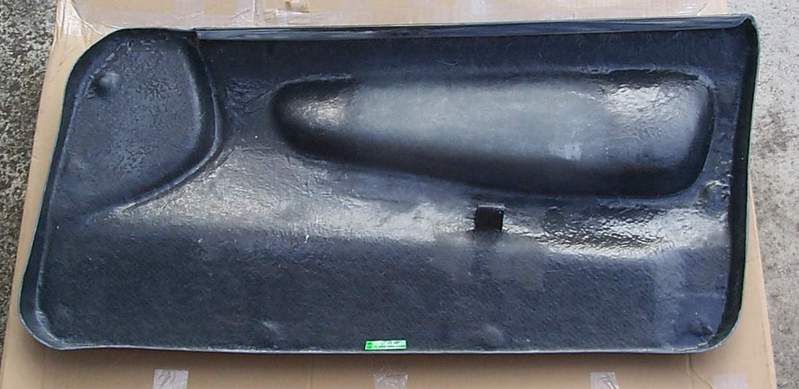
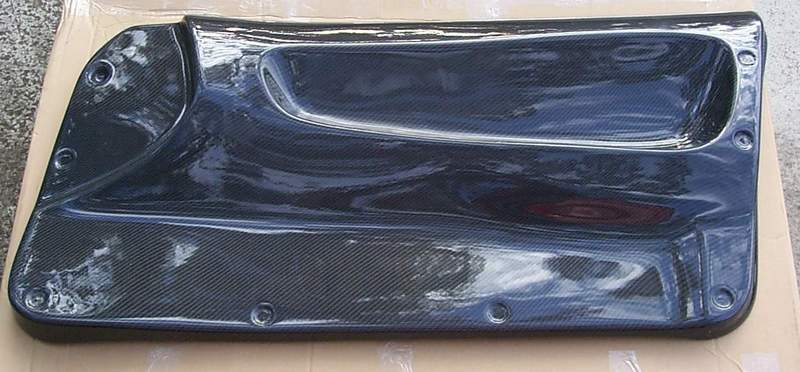
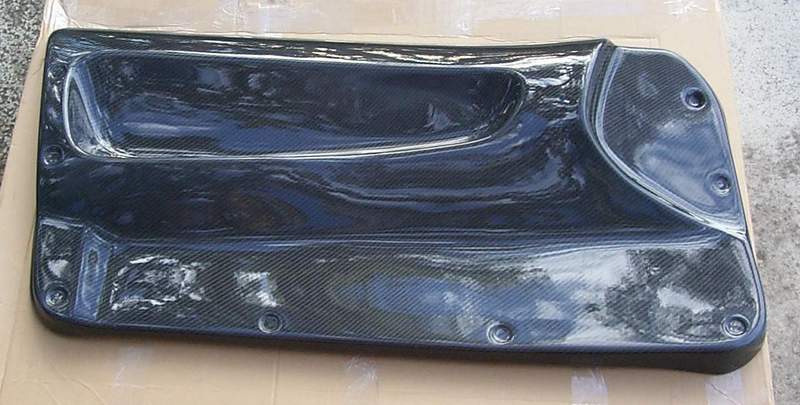
Some carbon stuff to make driving less heavy...or is it just a bling thing?

5-15-2010
Very efficient long weekend.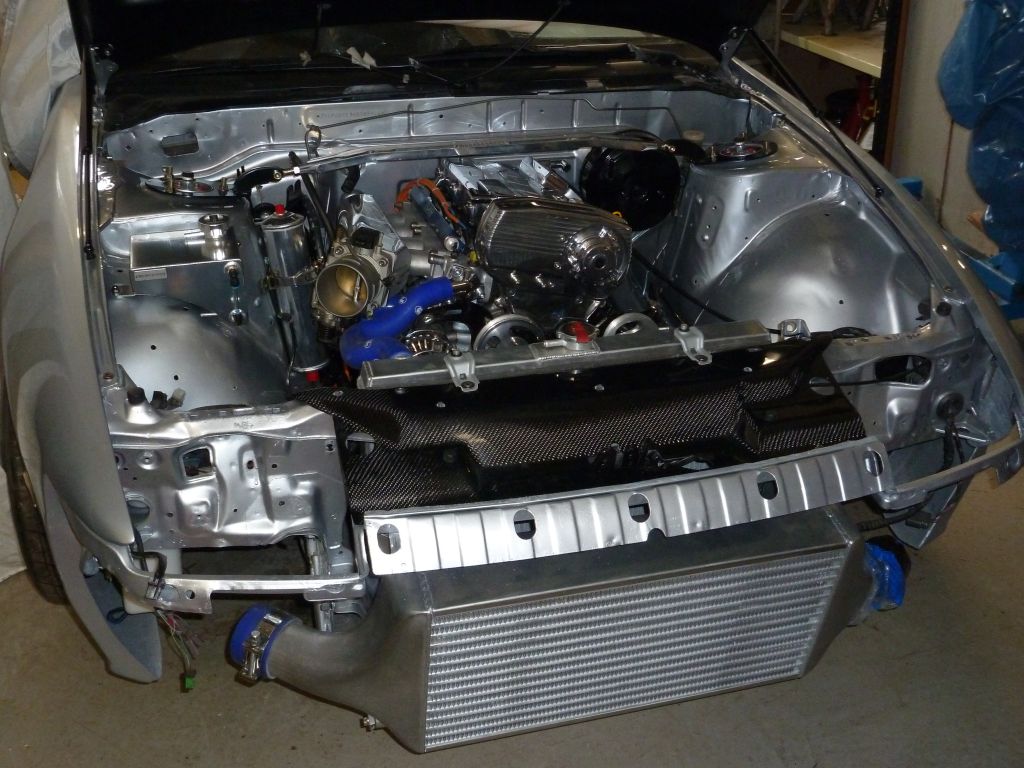

9-6-2010
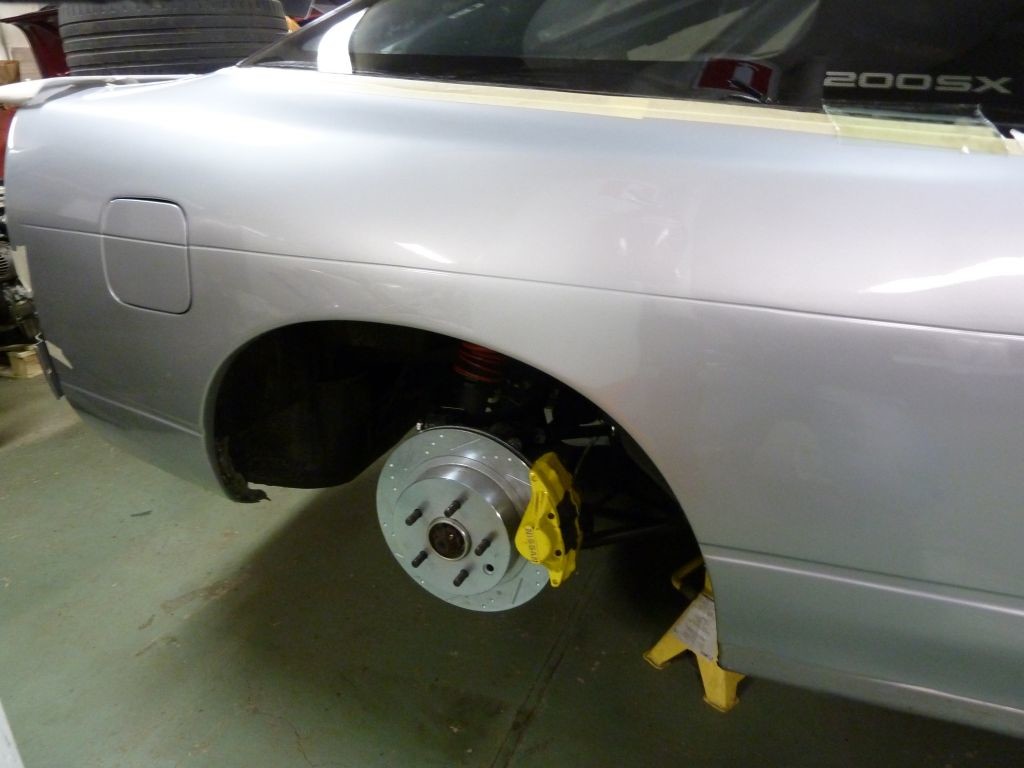
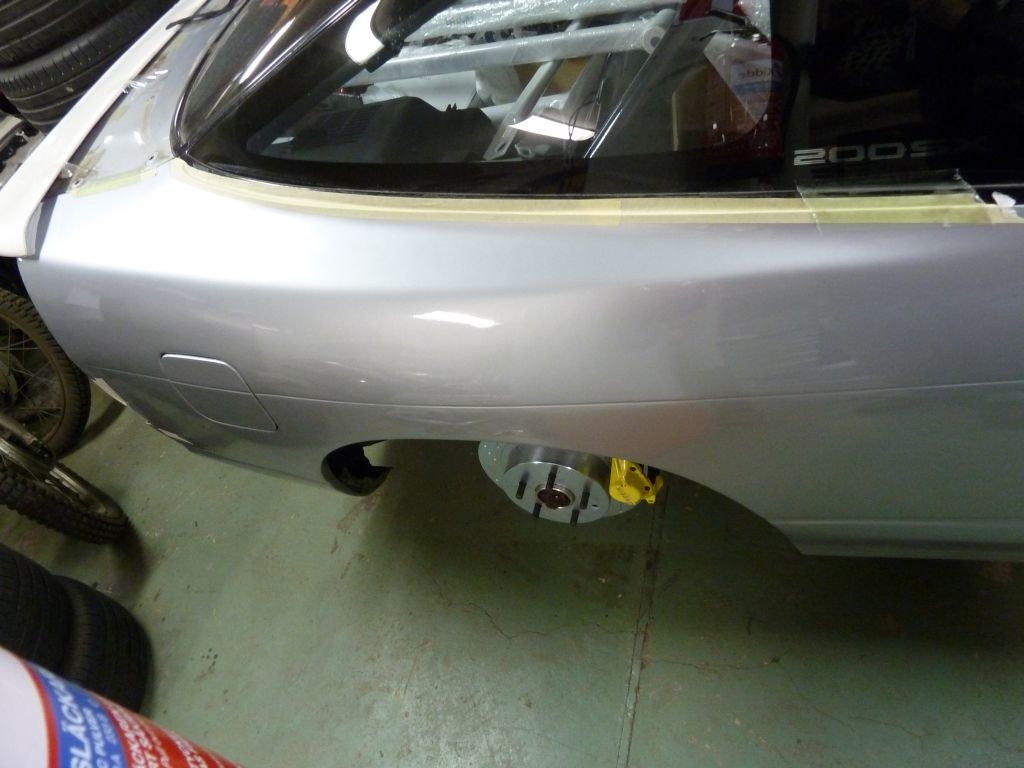
It hurt to cut the brand new front bumper, but it had to be done to maximize the cooling. This picture show the opening just before I started working with the epoxy and fibre.
9-7-2010
Thanks mates. I will post more whenever something new is available.
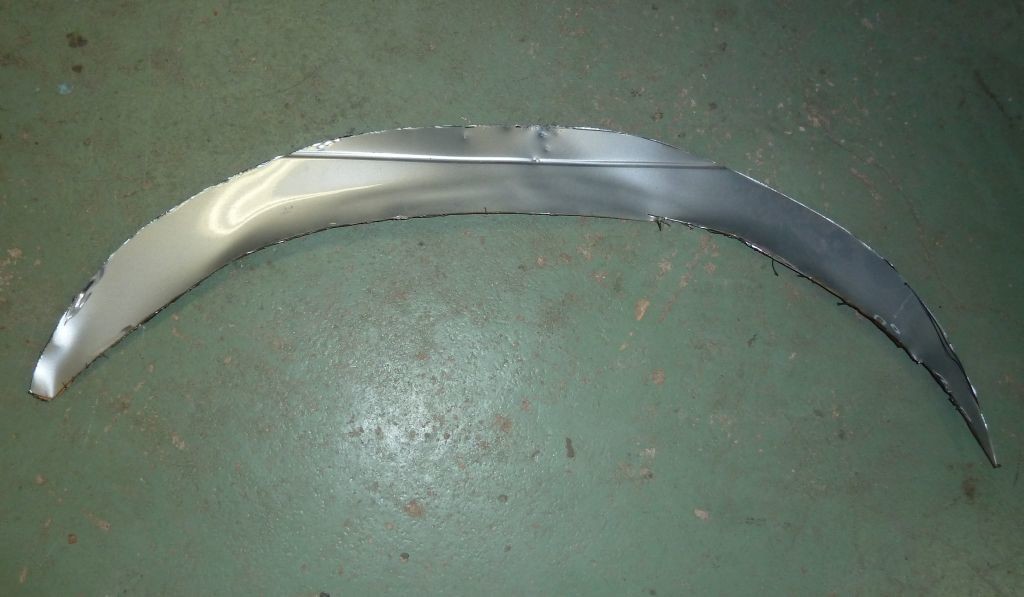
A picture to give you a hint about the size.
9-23-2010
Ouch!
Don't know what happened, sort of got me some extra rims
9-30-2010
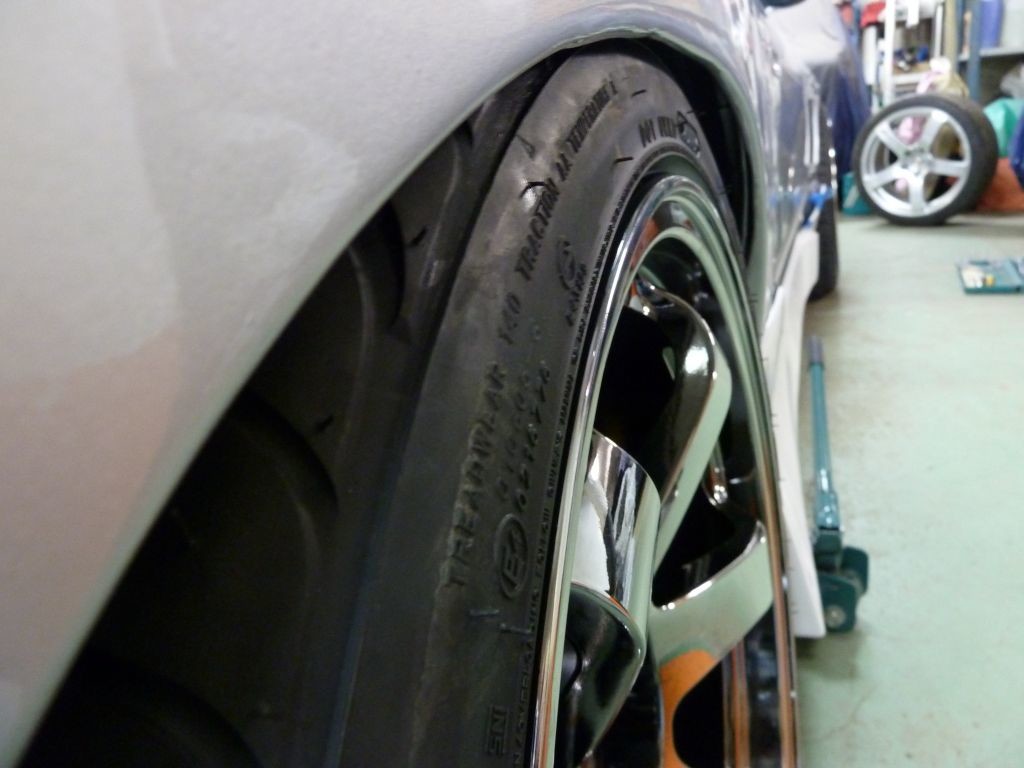
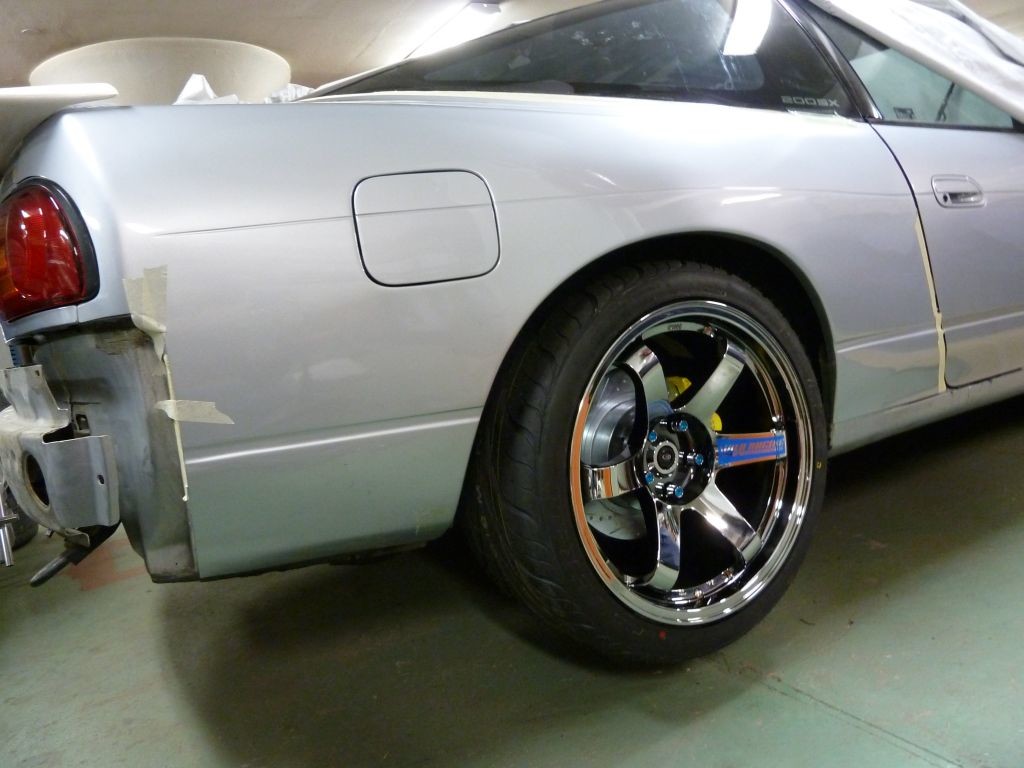
Thanks to Kloma wheels Tyres and graphix Anders I got new rubber on the rims
Semi-slick Federal 595RS-R 235/40/18 front and 265/35/18 rear.
10-4-2010
Will do!
Bought a large box of oil.
(8 l engine oil) Motul 300V Competition 15W-50 Racing lubricant for racing cars
(5 l gearbox oil) Motul Gear 300 75W-90 Racing gearbox lubricant 100% Synthetic – Ester based
(6 l LSD oil) Fuchs Titan Race Gear 90 LS High Performance Limited Slip Diff Oil (formerly known as Silkolene BOA 90 LS)
(1.5 l brake and clutch fluid) Motul RBF 660 Factory Line race brake fluid
10-8-2010
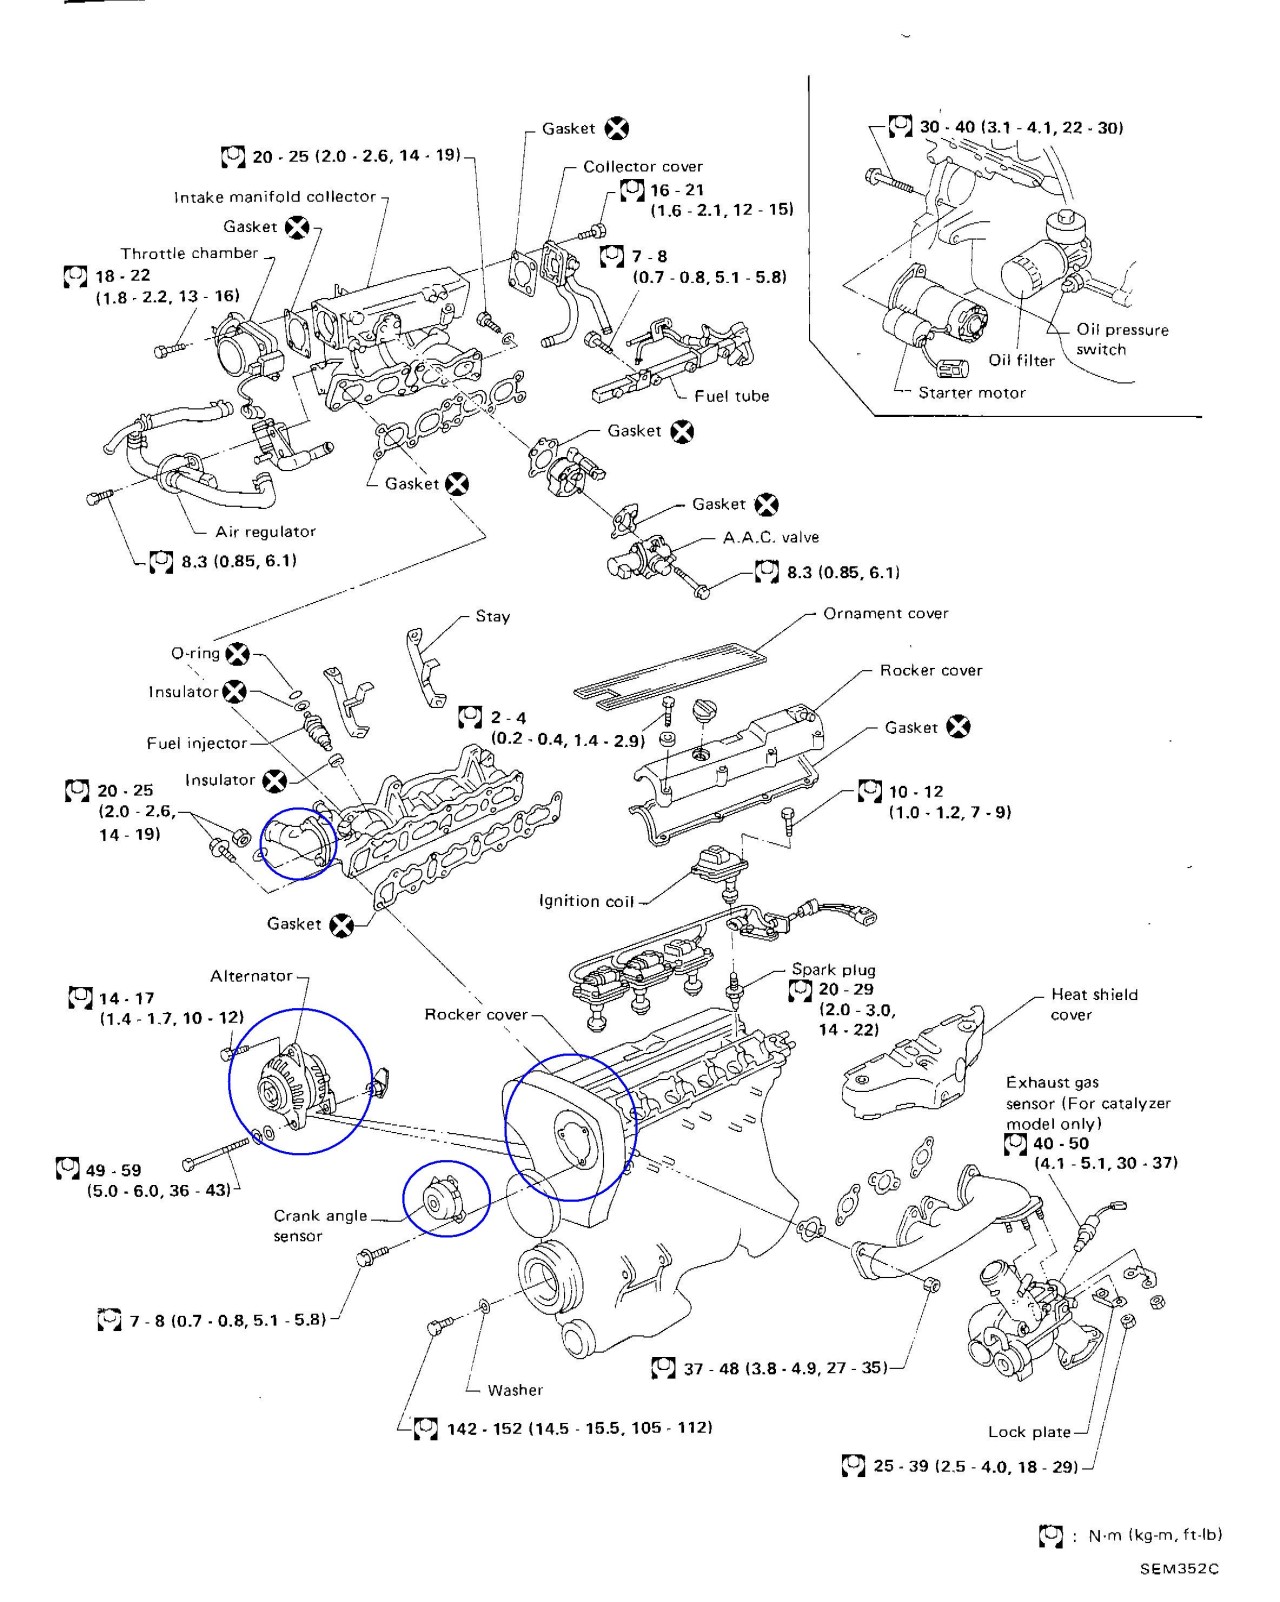
The original watercooled oilcooler, mounted on the engine block under the oilfilter, is sometimes creating a problem and has to be removed. It could be a problem with the function, available space etc. In my case the reason is a heavily tuned engine with high boost pressure. This create a very high local temperature rise. Let us call it a local thermal water explosion. This local temperature rise create a high local pressure in the cooling system and this could make the original oilcooler crack and cause a water/oil leak.
There are some ways to solve this problem, this is how I chose to do it:
Original oilcooler is hidden under the intake manifold and behind the alternator.
Original oilcooler. It is mounted on the block with 4 bolts.
Here it has been dismounted.
A close up to show how it looks behind the oilcooler. It is important to remove all trace of old gaskets and paint. The mating surface must be smooth and clean since this is the surface where the oilfilter/sandwich plate is sealing snug and tight.
In the centre you can spot the original stud. This is to be dismantled (twist it out like a screw).
Original stud dismounted.
In Nissan FAST software, part 15213P is found. This part is only used on engines without an original oilcooler mounted on the engine block.
It is named "Stud, oil filter" and Nissans part number according to Nissan is 15213-W040A. I have ordered one and will test it to be 100% sure it is the correct part.
The valve I will mount in the filter holder.
Stud, 15213-W040A, mounted in the block (the four bolts and the gasket shall be removed).
Now you can select if you would like to use only a filter, an external oilcooler, a filter relocation kit or a combination with all of them.
I use them all.
Oilcooler thermo plate.
Mounting an oilcooler and a thermo plate.
Filter relocation kit.
10-14-2010
Yesterday I was informed the new R-tyres are on their way and they should be delivered to me today. The flush fit wheel air valves have also been shipped. Soon time to get it all assembled and balanced. Exciting
I have that kind of valve on my other wheels too and they bring a nice touch to it.
10-23-2010
It turned out very well with the flush valves on the new wheels I use for the R-tyres. Pictures to be posted after next round in the garage. I will have to remember to always keep the air fill adatper in the car from now on.
When the tyres were mounted on to the rims, they had to pump them up to more than 4 Bar of pressure. It sounded like a big cannon in the tyre shop. My poor ears...I wasn't prepared at all... at least not when the first tyre went on.
10-24-2010
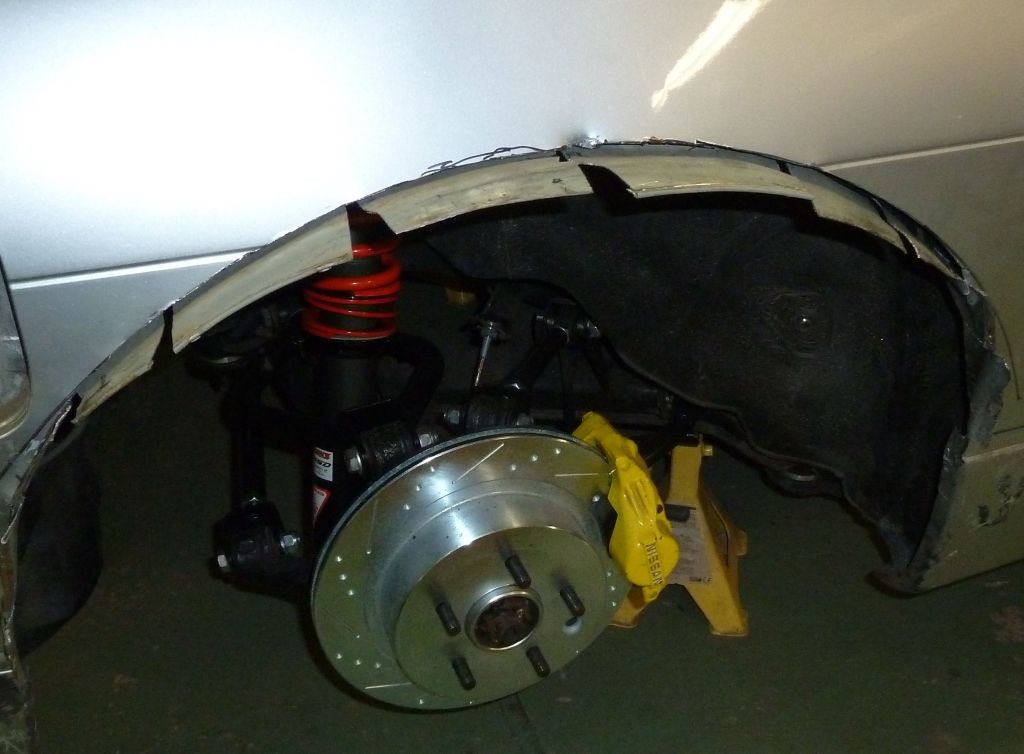
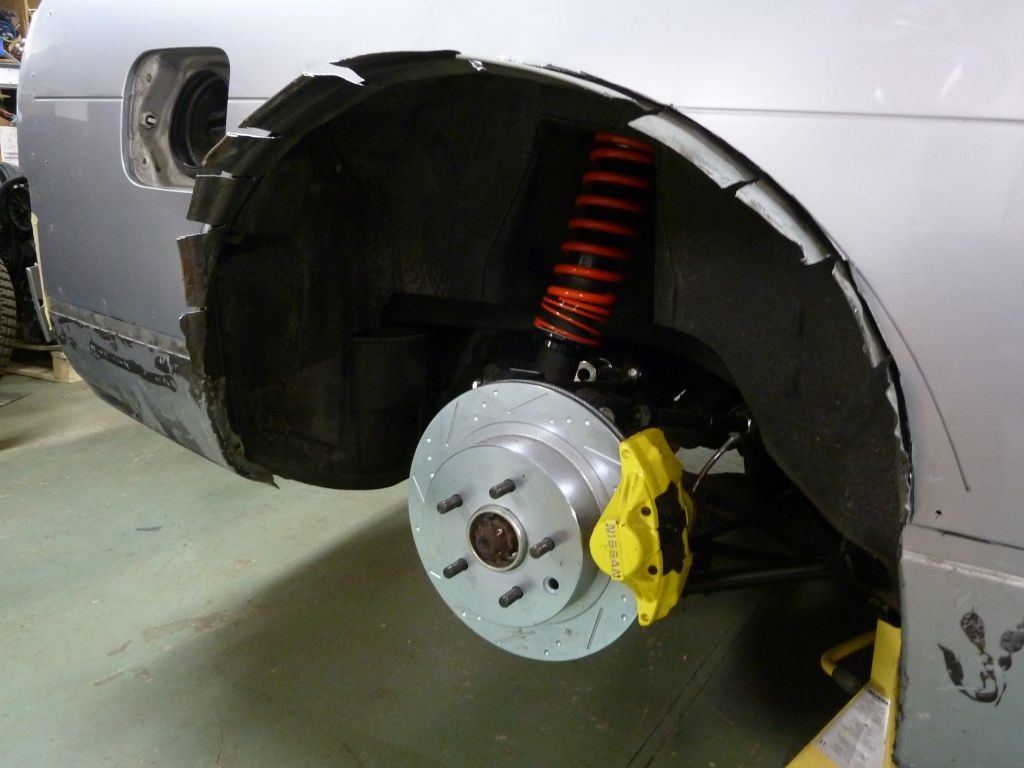
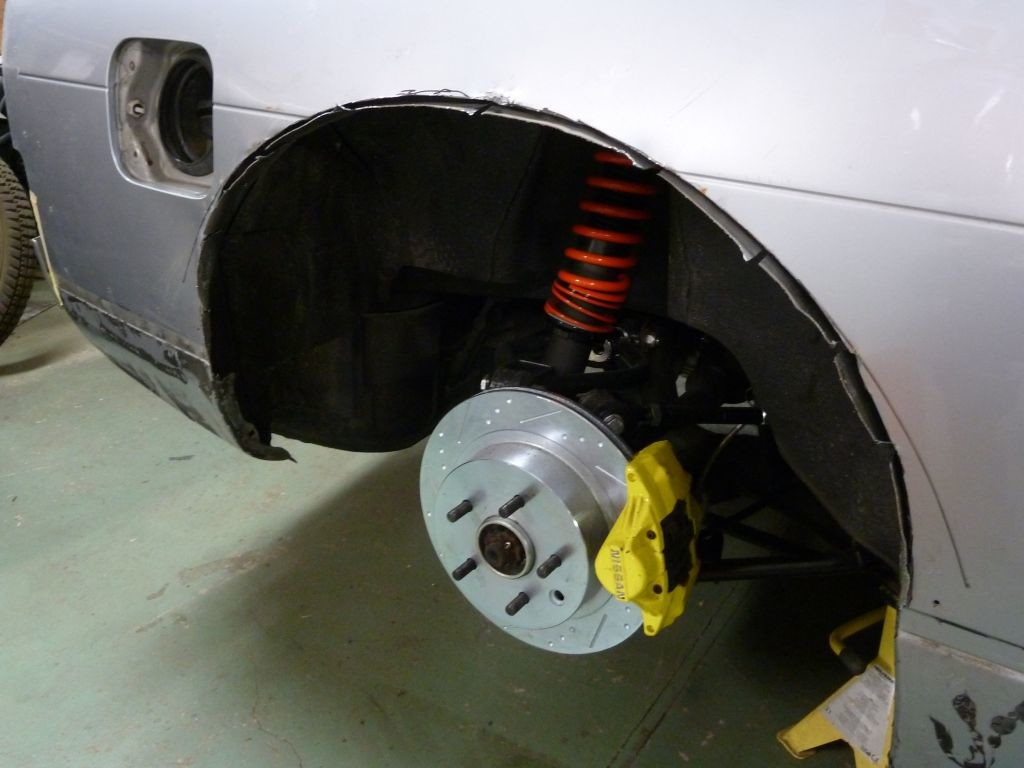
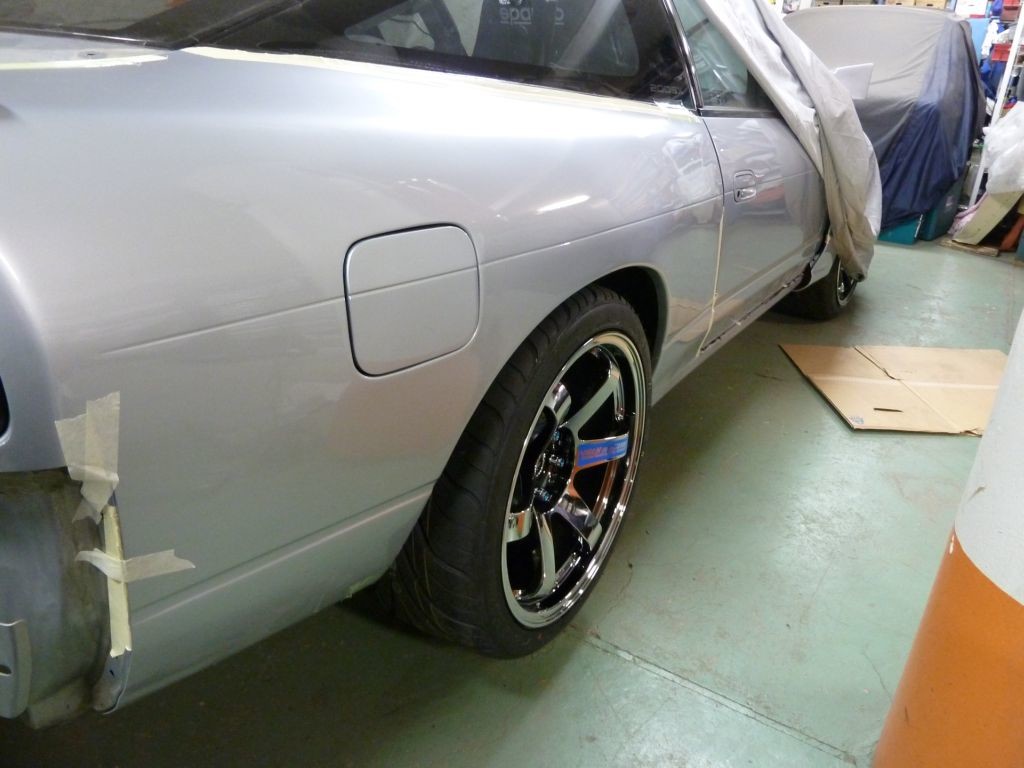
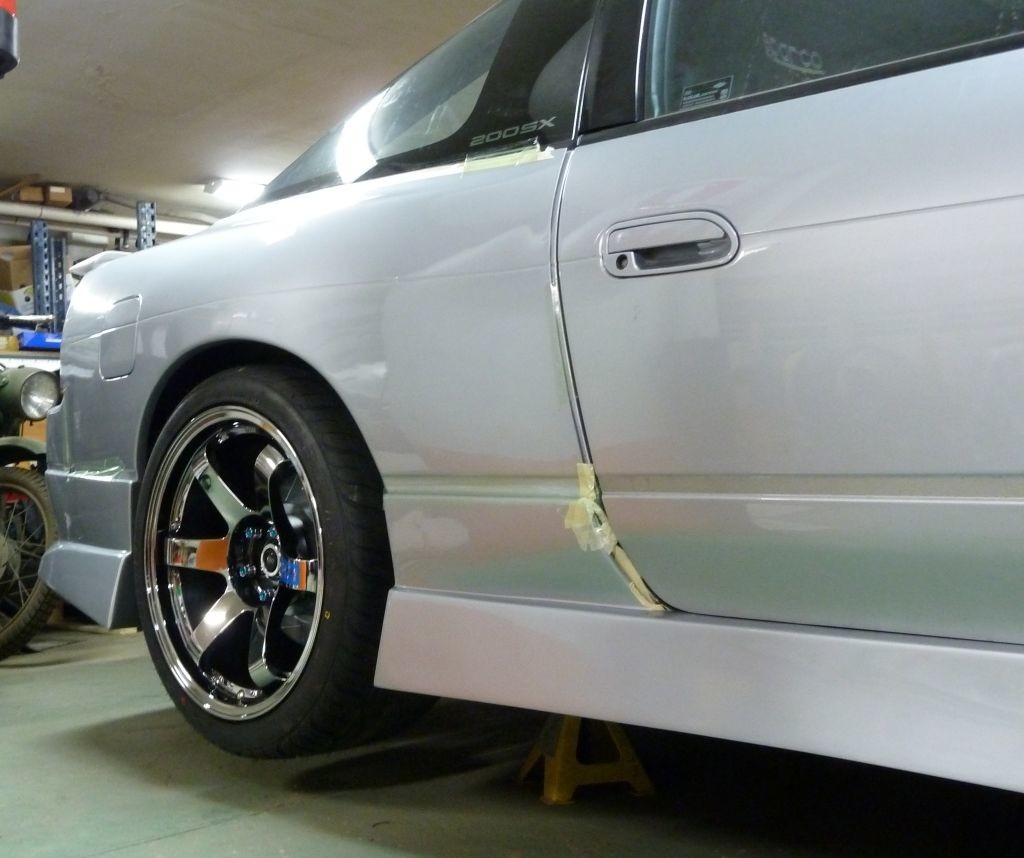
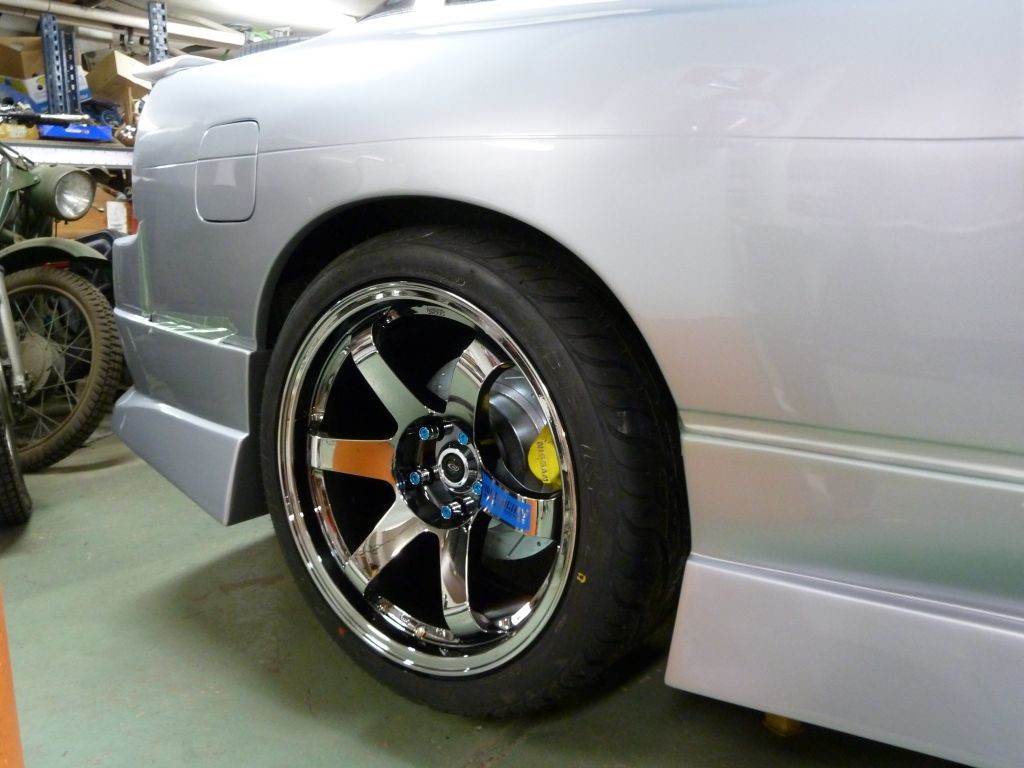
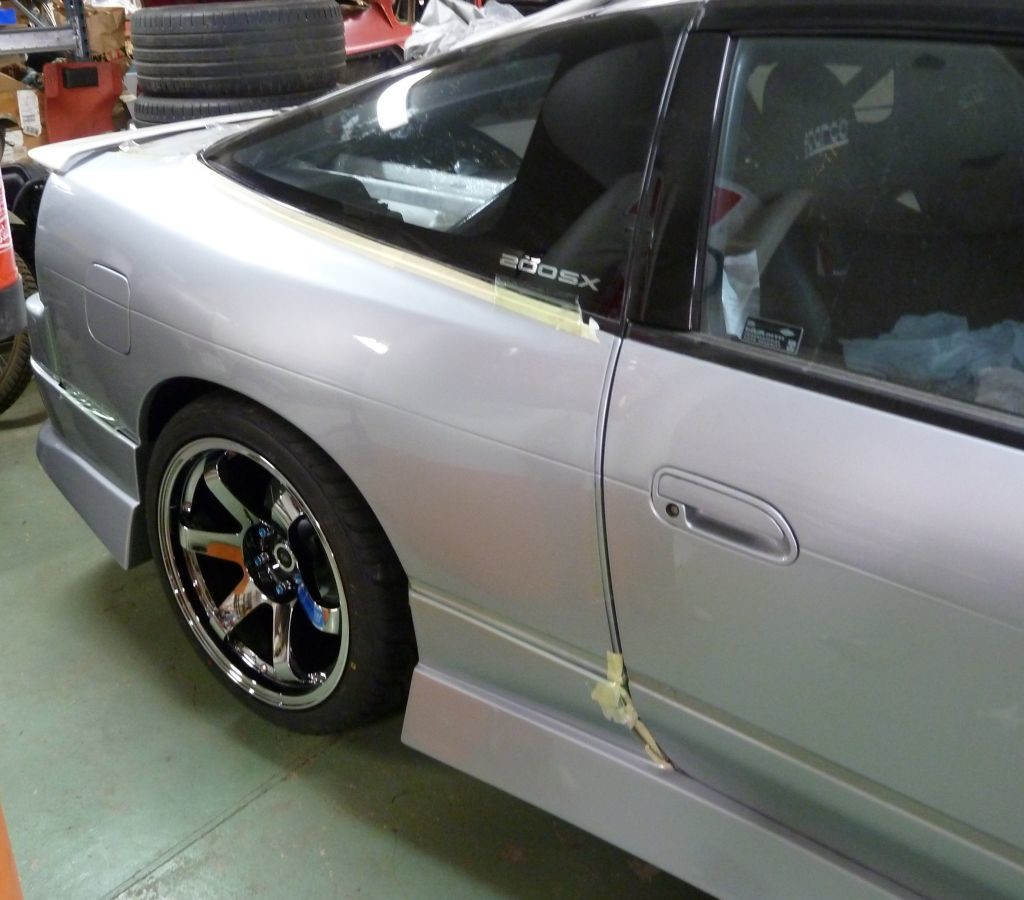
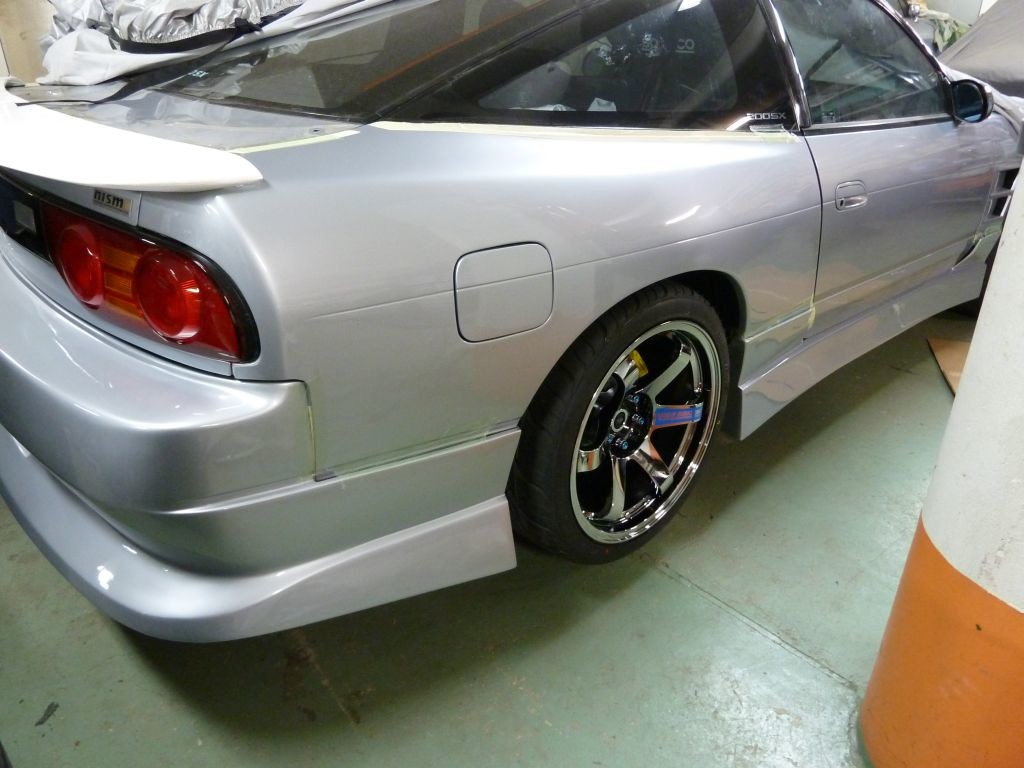
Mounted some parts. It will be ok but as shown, there is lots to adjust regarding wheel alignment and I will also adjustthe track both front and rear. At the rear, there is plenty of Camber but still a slight gap between the tyre and the fender. At the front, there is also some space for adjustments. I will decide how much I want to slam the car when the coilovers have settled. The steering angle has improved with the spacers mounted on the inner tie rods.
1-28-2011
1-5-2014
Remains hinged baffles, cleaning and painting


1-5-2014
I am about to decide between a couple of lid designs. A simple version like the S14 or a more thought over dito.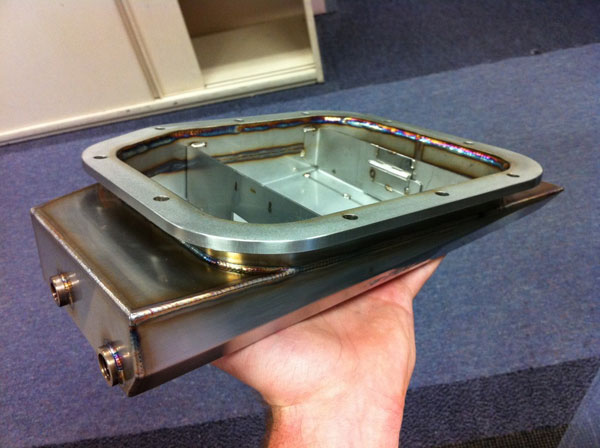
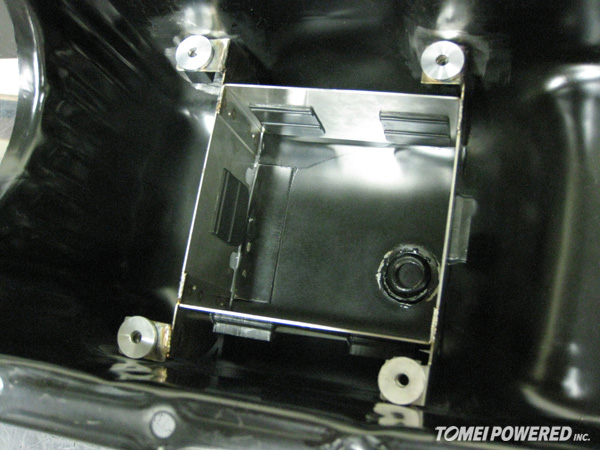

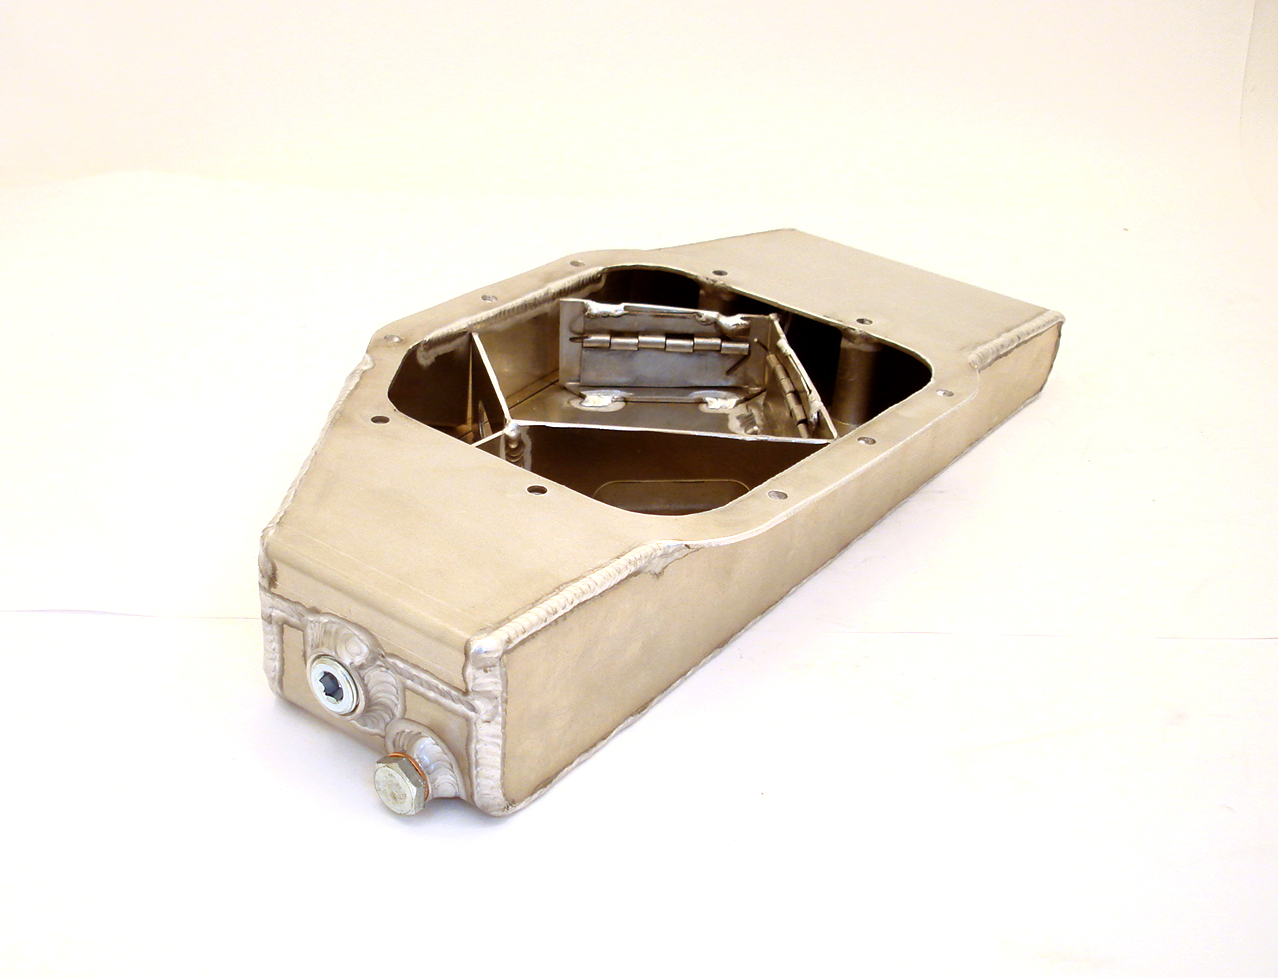
1-20-2014
I have now decided to make it similar to the pictures. The hinged trap doors will be adapted to the extended side wings. The function as in the youtube video.
6-23-2015
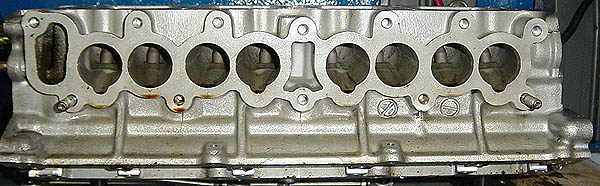
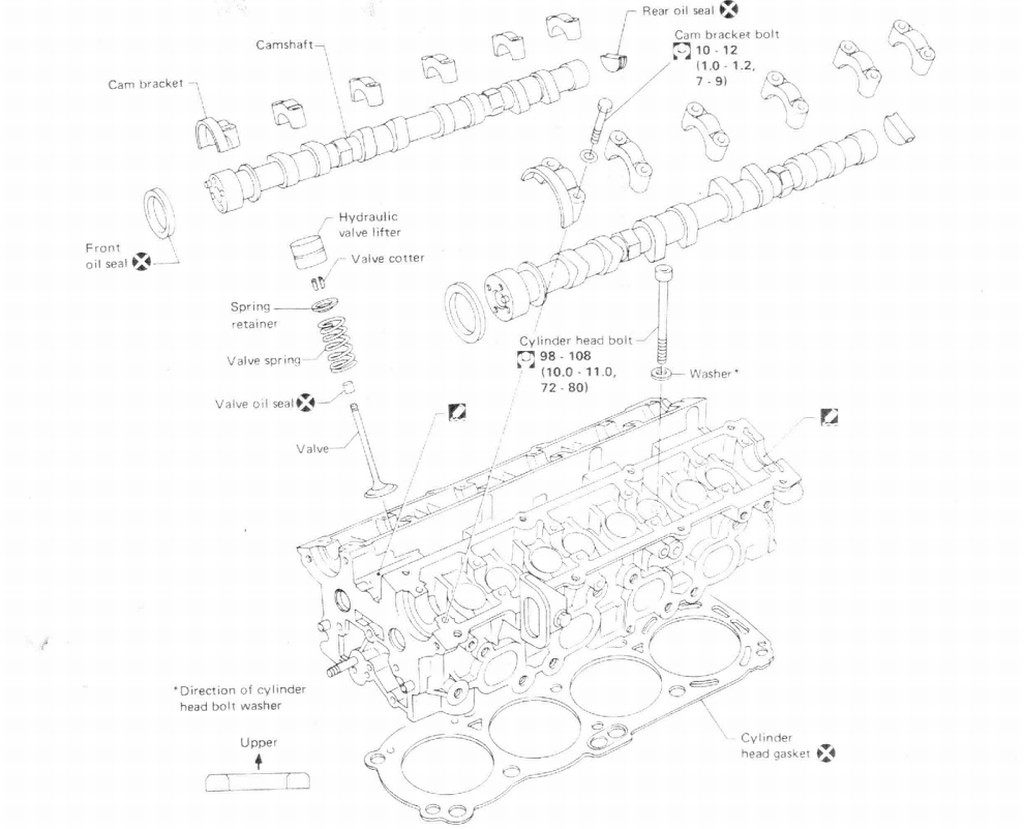
A check valve is installed in the cylinder block of the ca18det. This valve is a part of the oil lubrication system and is easily neglected when the motor is refurbished.
The Check valve is located in the block between the 3rd and 4th cylinder. You have to remove the cylinder head to access the valve. In the picture you spot a triangular/oval shaped cutout in the head gasket, slightly upwards to the left of no 4 head stud a small hole is located. This is the exit hole of the check valve. The purpose of the check valve is to maintain pressurised oil in the hydraulic valve lifter channels.
When cleaning my engine block I flushed it wit hot pressurised water and dried it with compressed air and an air gun. Extra care was taken to flush the oil channels from both directions. From oil pump towards head and vice versa. When flushing from the oil pump area, a thin powerful water spray came out of the hole in the check valve, In the other direction the valve blocked the water. A good sign of a fully operational check valve.
The pictures show:
1. Engine block with check valve installed.
2. Check valve removed
3. Check valve (broken).
4. If it is not possible to flush the oil channels direction from the oil pump towards the check valve, you have to remove the valve. The valve is hard to remove without destroying it. Nissan no longer store these check valves (part no 11036-D4200). If needed you have to ask a mechanical work shop to make one for you. You will need to bring the old valve and the engine block for them to measure and make it right.