You must be logged in to rate content!
12 minute(s) of a 74 minute read
2-5-2010
Got a Haltech solenoid to control the boost very accurately at each load point.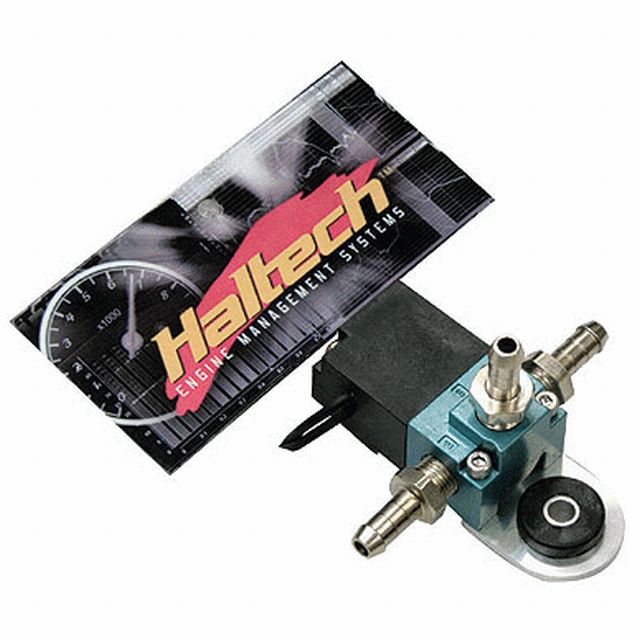
This is how it will be installed but with the exception that I will use two external Tial wastegate valves.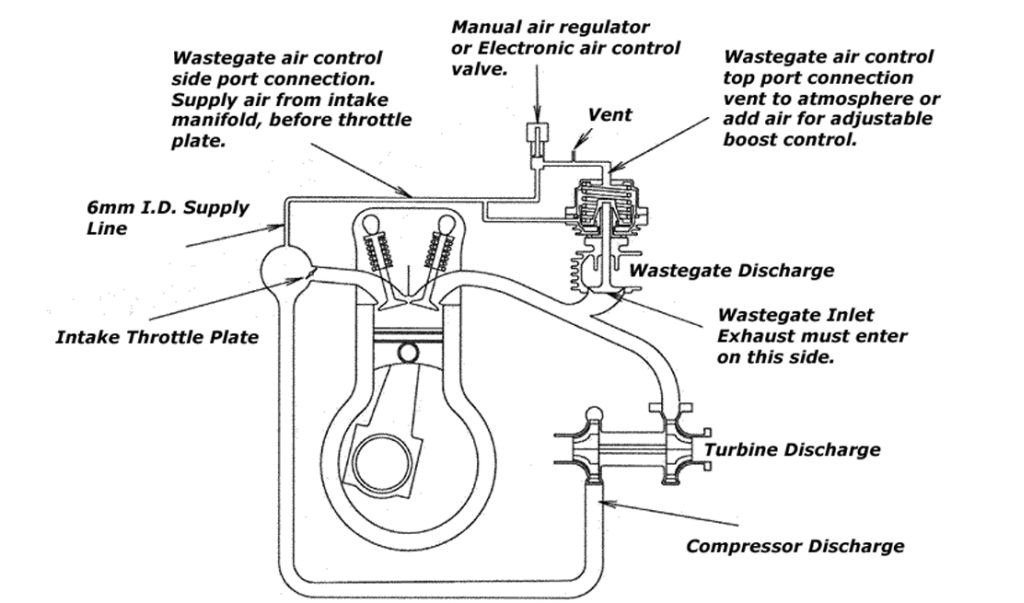
2-9-2010
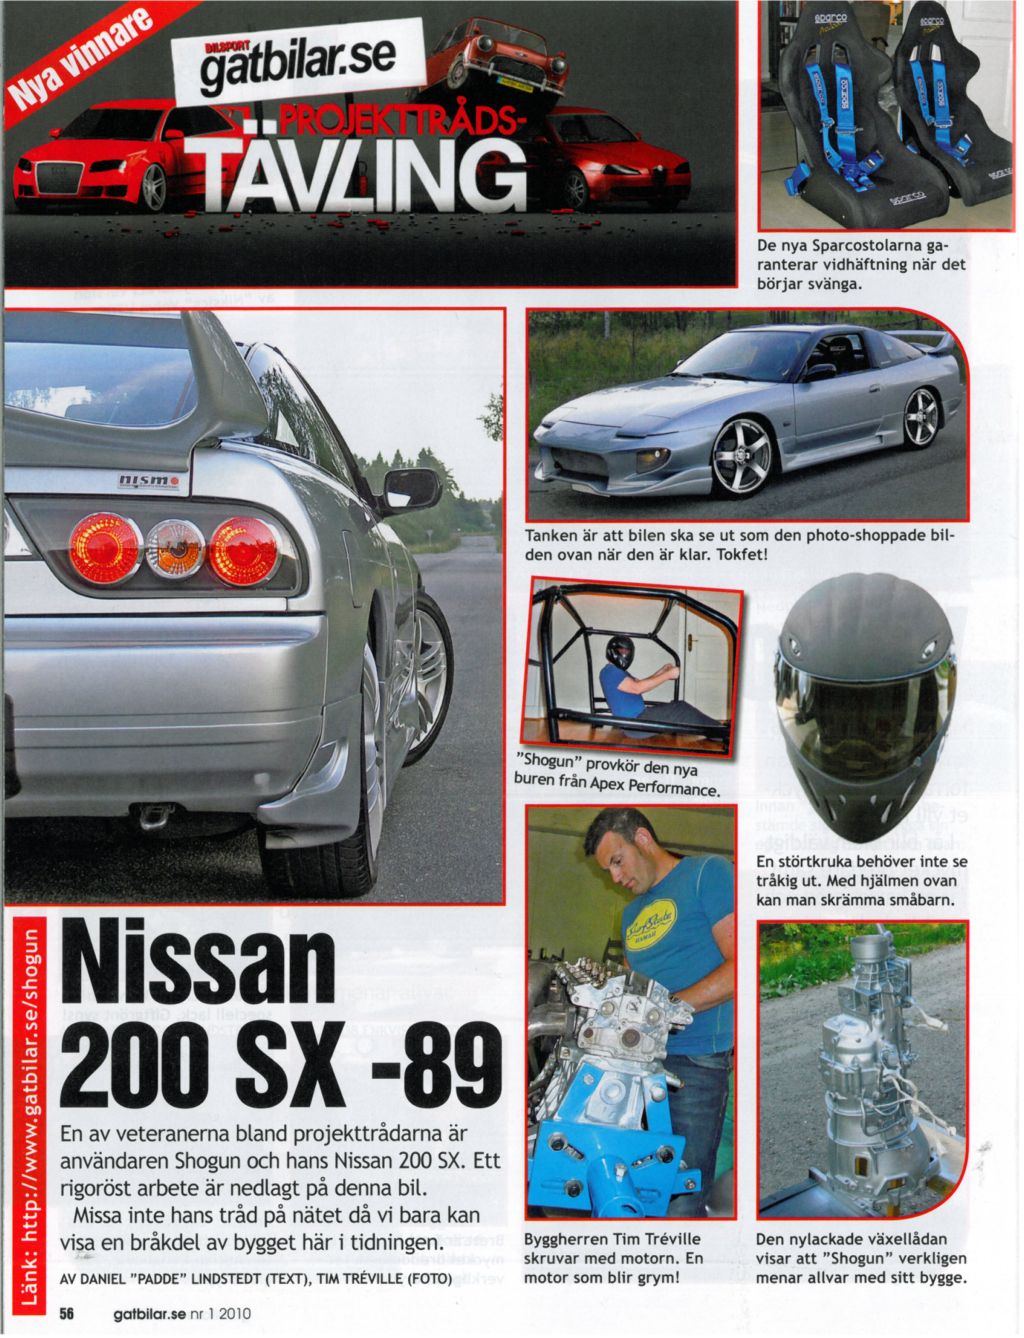
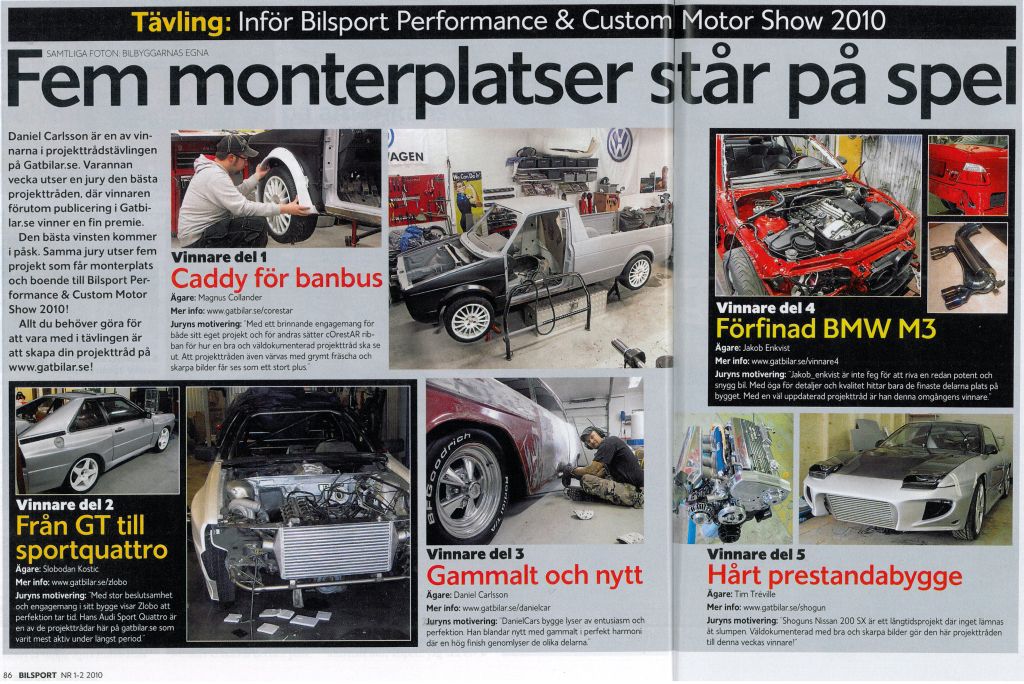
This story has quite recently been published in a Swedish tuning magazine. The styling will of course look very much different with the Wide Body, new Front Bumper and more
Thanks mate
Another short story published in 2010. Winner Round 5.
2-19-2010
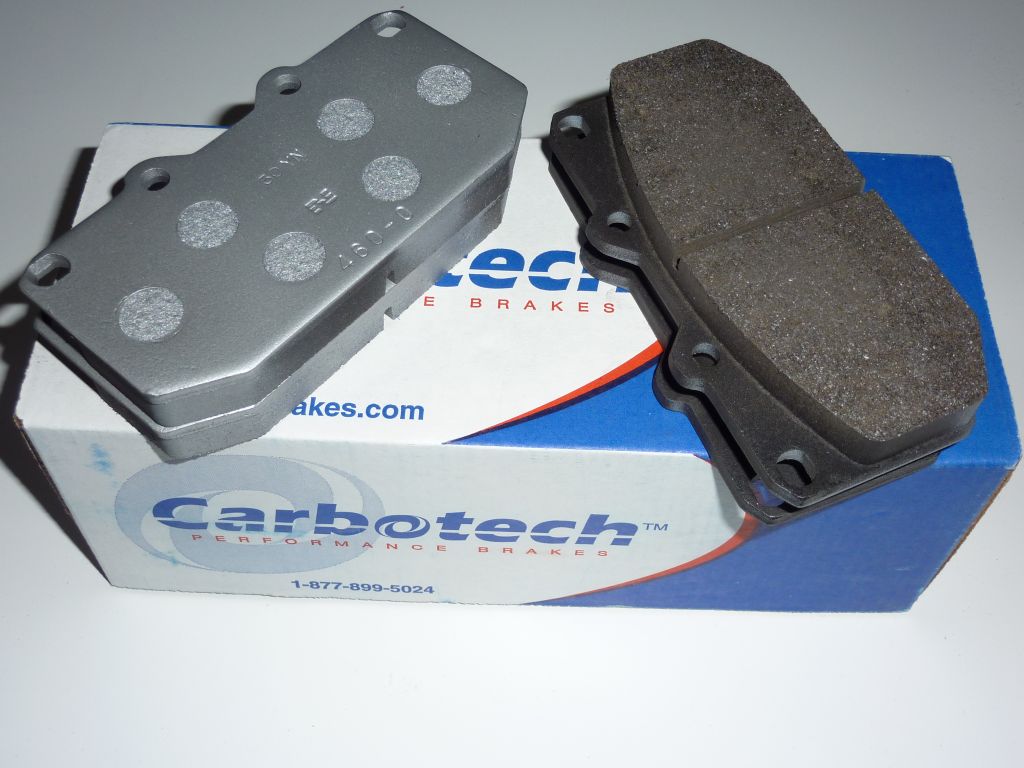
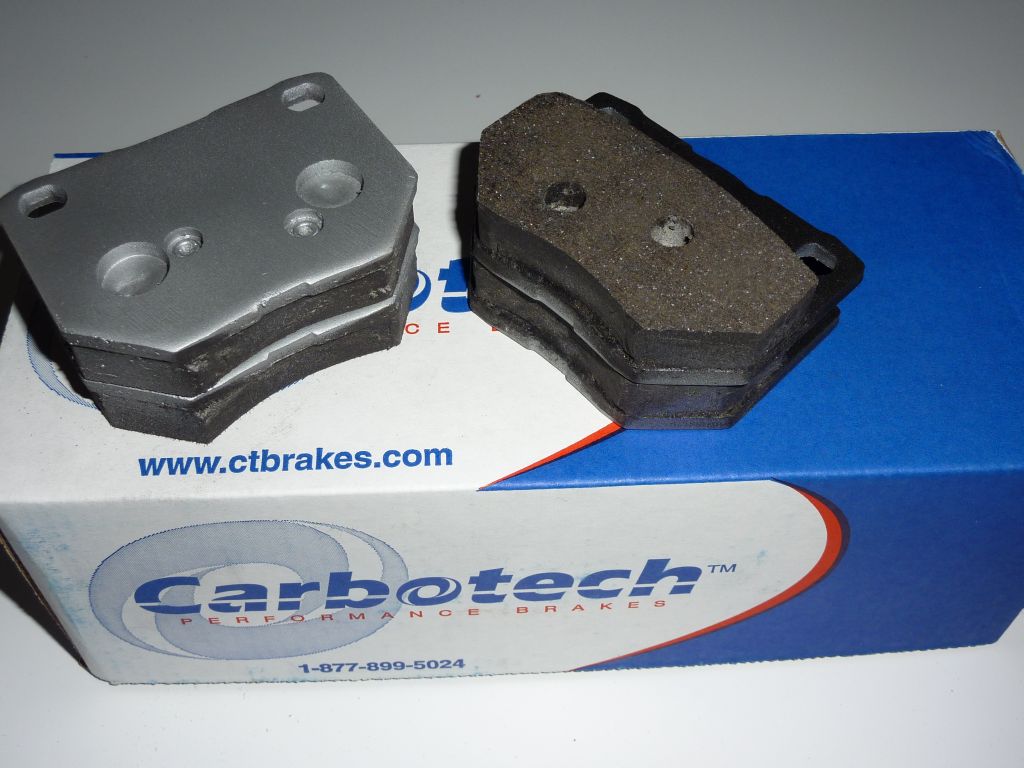
A complete set of new Carbotech XP8
Front
Rear
2-21-2010
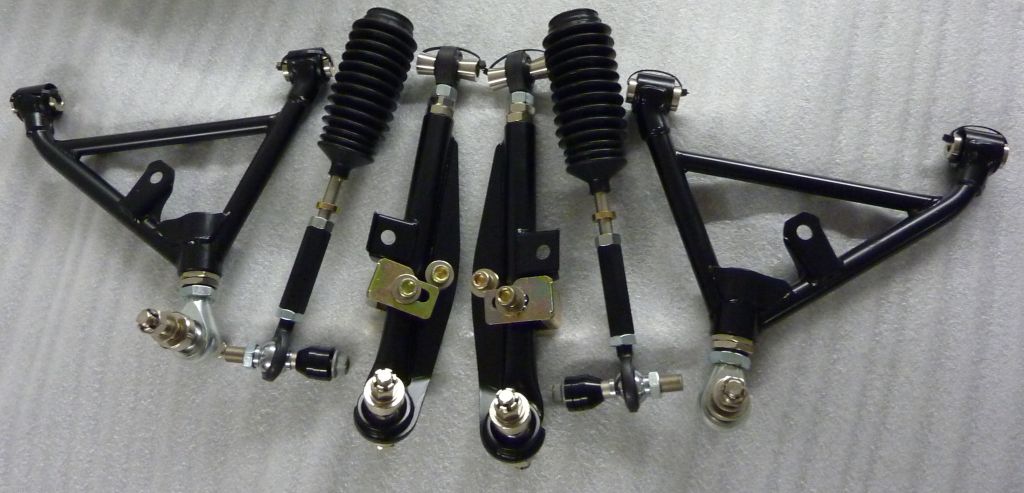
Some of todays work:
New bushes on the steering rack.
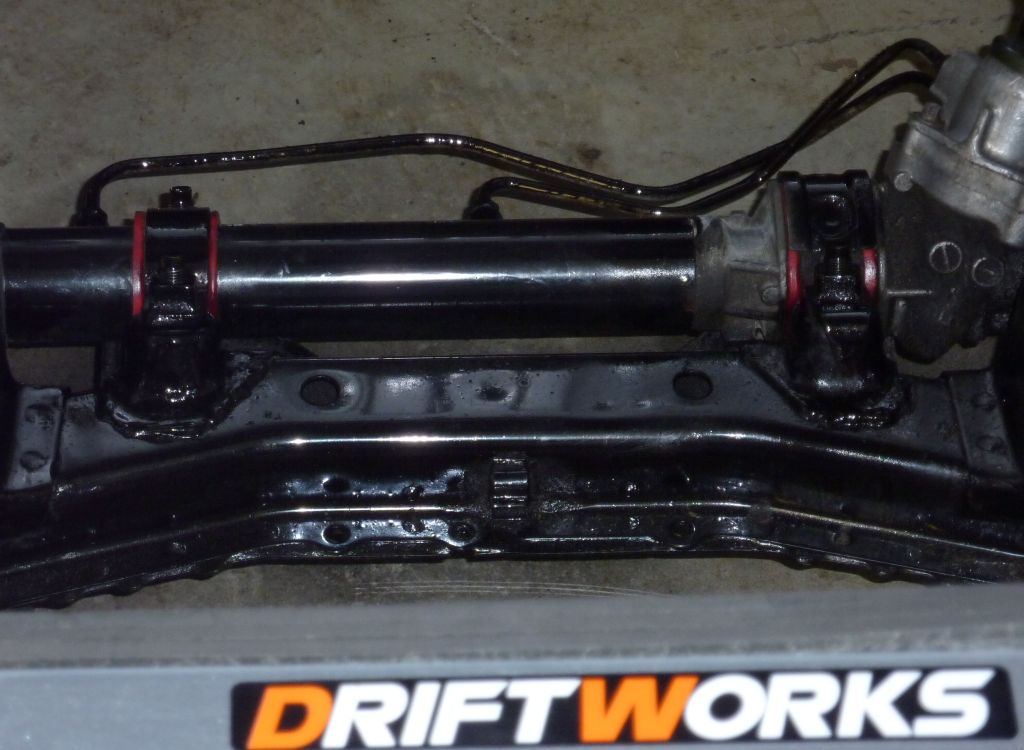
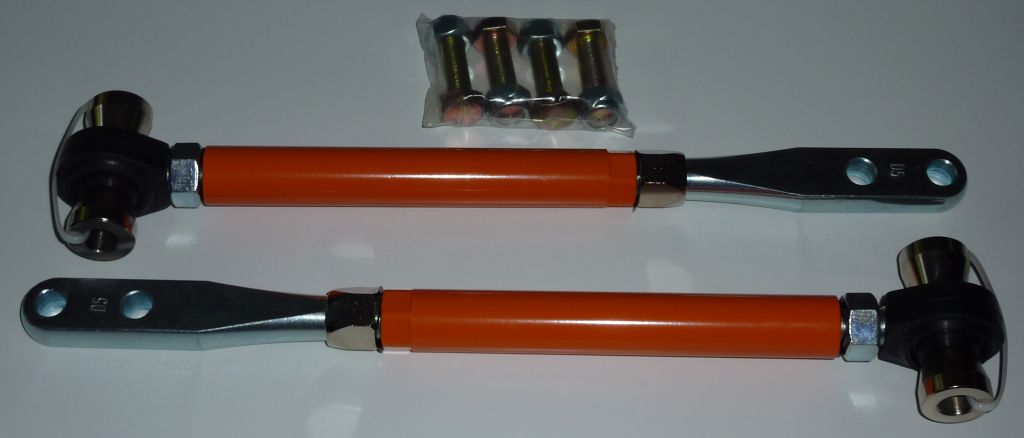
SPL and Tein outer and inner tie rods and Driftworks lower arms.
Thanks man.
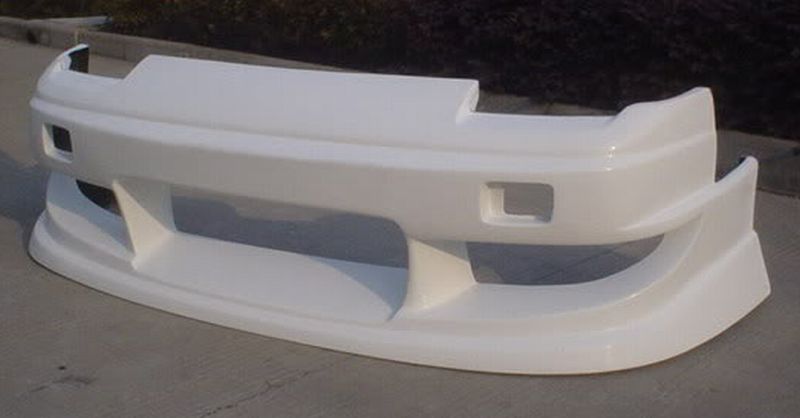
Front bumper has been on the car for 10 years and I have just changed it. Now I have a Works9.
and I'll keep the wife. She is excellent

2-25-2010
They are made by Driftworks in the UK. Very well made. I just resprayed them since I don't fancy orange arms
Here is a copy/paste from Driftworks homepage:
Product Information
The Driftworks Suspension Line. As used on our 2006 D1GB Championship winning 200sx.
Driftworks adjustable lower control arms with pillowball ends allow you to accurately set the track (the width of your wheelbase) of your drift/track car. They eliminate every last bit of unwanted play that a normal bushed lower arm would give you, by using high quality spherical bearings to replace the rubber/poly bush.
This means the suspension does exactly what you set it up to do, without having to account for the dark art how 'bush play' effects alignment.
On the front arms the use of the spherical bearing means that whatever you set your castor to (tension rod length), there is no binding from the inner bush being forced out of it's natural angle, when the tension rod pulls the front lower arm forward..
The adjustable steering bump stops allow you to set maximum steering angle for your car. Please be aware that the adjustable bump stop is a generic item, that may require slight modification to get maximum steering angle on your individual car, as Nissan use different knuckles with different cars. Bump stops are adjustable as the maximum steering angle position is set on an individual basis, as it changes with castor angle (tension rod length).
Easy to fit. Just measure the length of your standard arm, and use the tunbuckle adjusting system, to set these arms to the desired track width. These arms must be used with our adjustable tension rods. Please ensure you retain enough thread in the adjuster on the tension rod, as the wider you make the track, the longer your tension rod will need to be to acheive the same castor angle.
Our front and rear lower arms are an important part of the puzzle in any fully sorted suspension setup on a RWD Nissan. They are manufactured to the same extremely high standards as the rest of our suspension range, using high load Japanese bearings, and maximum penetration welding.
Do not confuse these products with cheap imitations that use dangerous bearings and low strength welding.
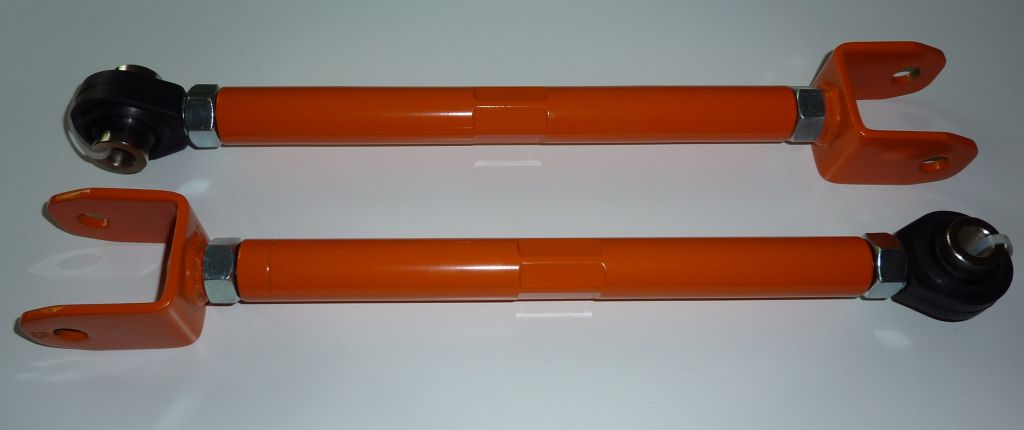
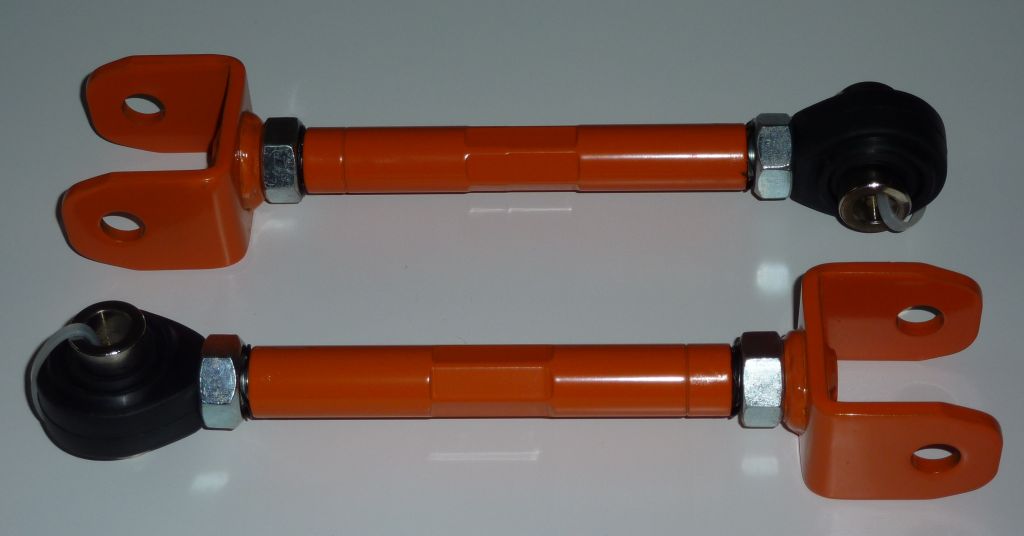
Original color
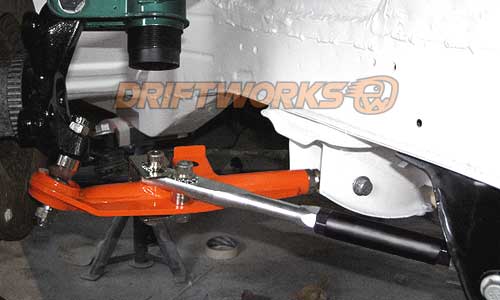
Mine resprayed satin black
2-27-2010
Bought some 30pcs of Mikalor Supra Clamps in different sizes.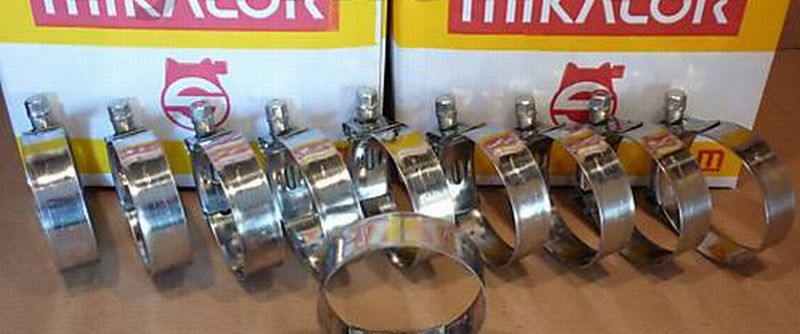
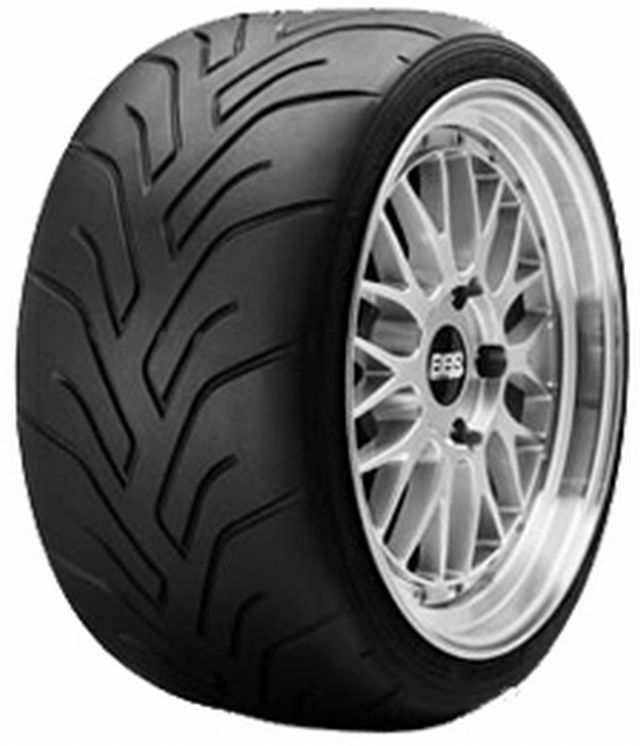
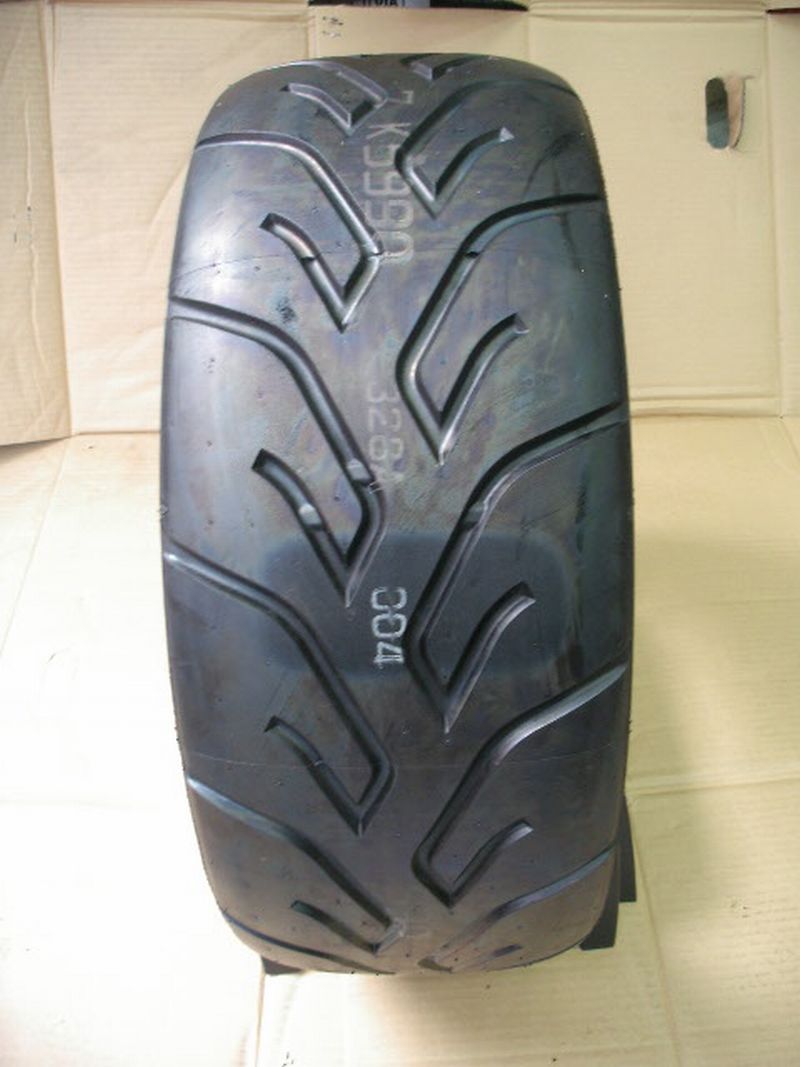
If I can afford it (yes I can) I am possibly investing in a good set or tyres.

3-23-2010
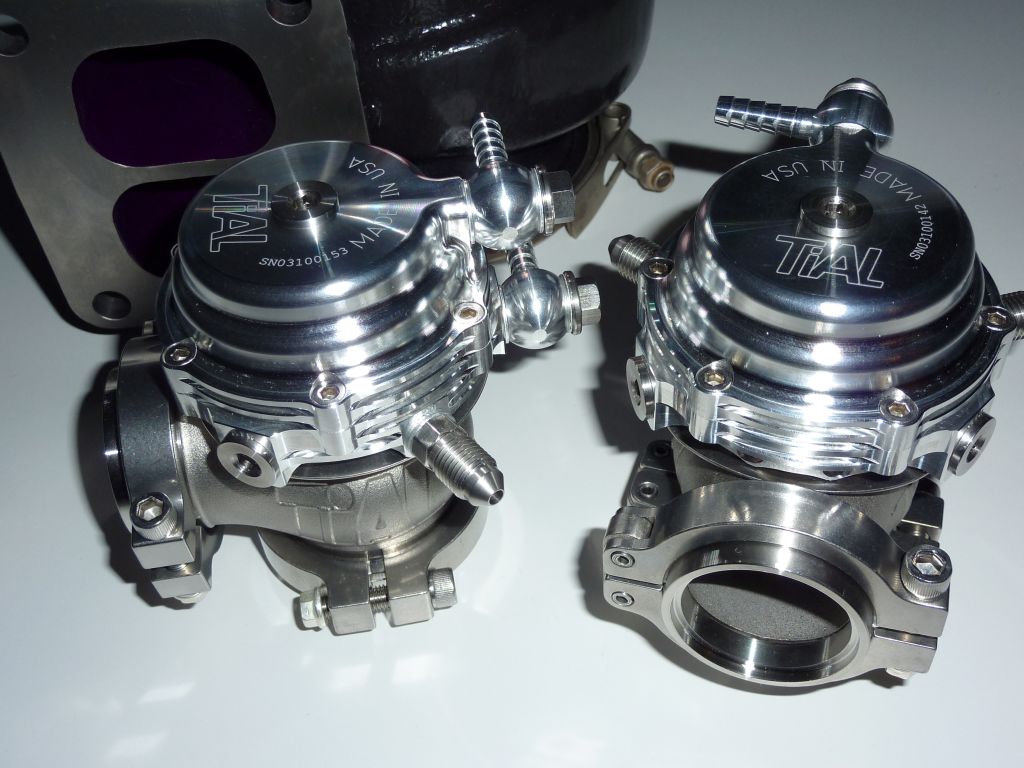
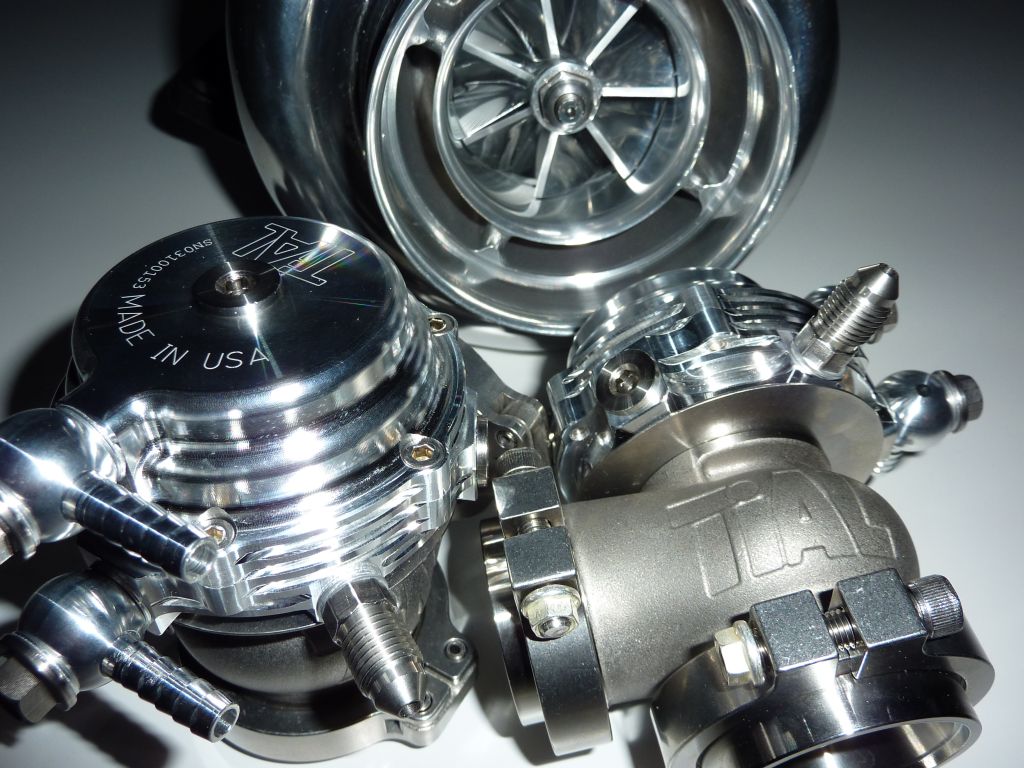
Picked up my new Tial waste gate valves from Svensk Turboservice yesterday. They came straight from the Tial assembly line in the USA.
Worth waiting for! They are the new, upprated version with integrated water cooling.
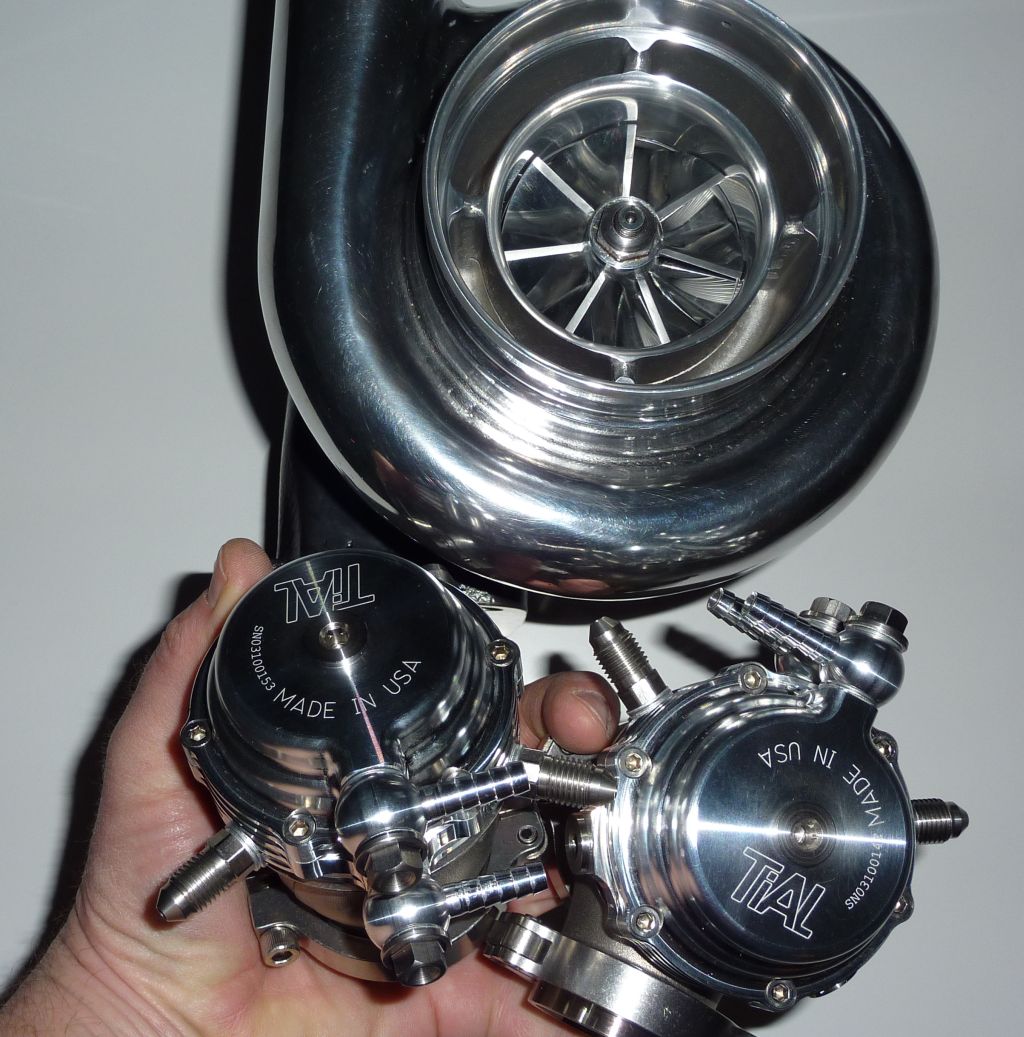
How small are they? I compared them with the earlier bolt on 38mm Tial WG and I can tell you. They are very small! Good! Since I do a twin installation and there isn't much space to talk about.
MV-S V2.0
This revamp features water cooling ports, three bottom air ports and two top air ports. Water ports are not required for operation, but come in handy at road racing, the top hat is close to the turbine housing/down pipe or when the engine bay doesn't get a lot of airflow. Air and Water ports are clearly marked so there is no confusion.
(mine are silver/aluminum coloured).

Sometimes the difference between big and small is very obvious
3-30-2010
The new Driftworks adjustable suspension arm kit. Soon to be Satin Black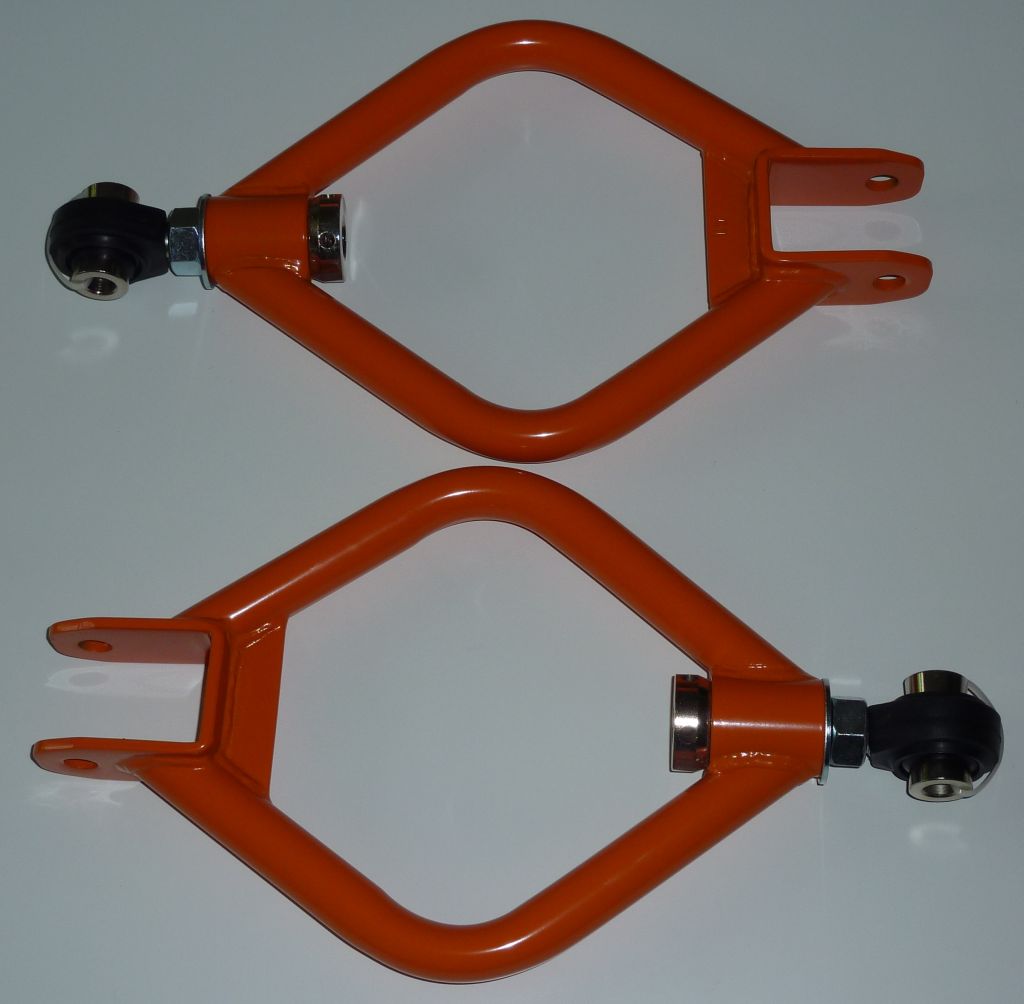
3-31-2010
The MVS v2 has five air ports and two water ports.
(three bottom air ports and two top air ports).
My new turbo doesn't have any water cooling. There is as you know a water cooling system on the engine, used for the original T25-turbo and I will reuse that for the Tial MVS (with new piping). You are right, there is water in and out on the MVS.
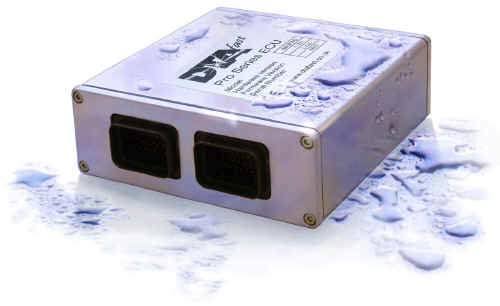
Connection of the air ports will basically be like Tial suggest and I will use a Haltech electronic 3-way boost valve together with my new DTAfast ECU.
I have a bunch of different springs to install in the MVS and I will use a basic spring load of 1-1,7 Bar (14-25 Psi) and with the Boost valve the Max Boost will be set to about 2,5-2,8 Bar (36-41 Psi).
This together with all other tunings will result in some +700HP.

4-11-2010
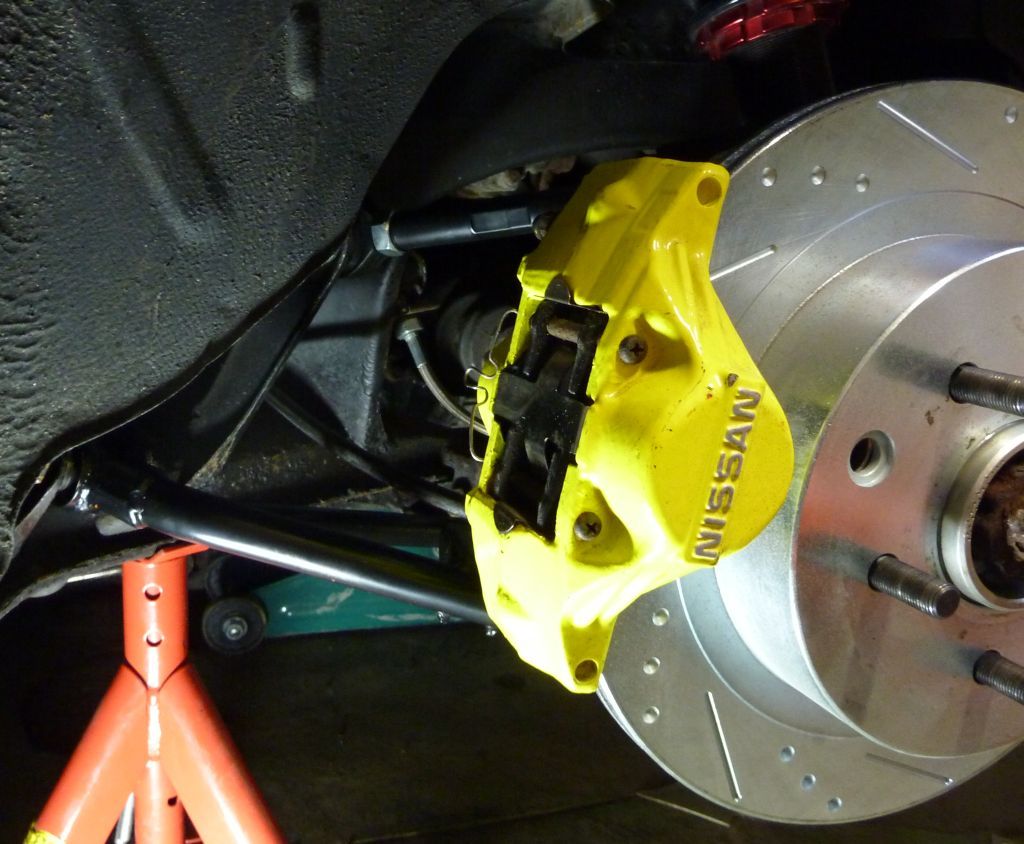
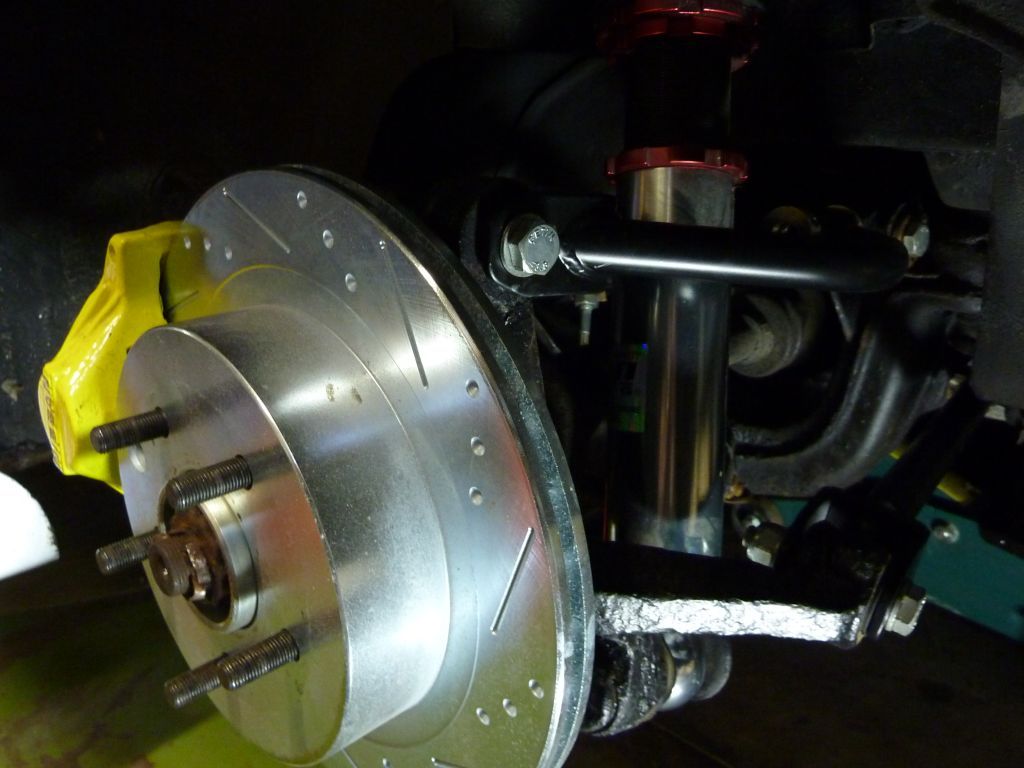
All new control arms are now painted satin black and the front suspension is mounted and finished

4-16-2010
Today I made a major investment.
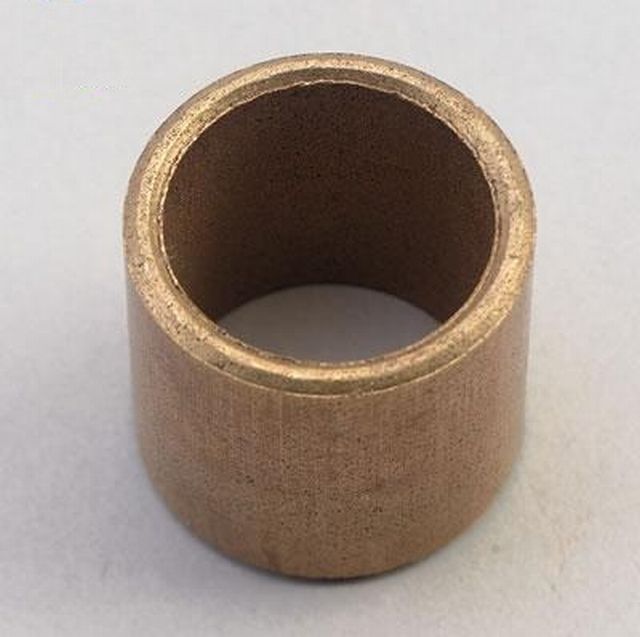
I bought a spigot bushing for a massive $8
Part no. is 32202-7f401
For those not familiar with the term, the spigot bushing is a bronze sleeve bearing in the tail end of the crankshaft which carries the nose of the gearbox input shaft to provide proper alignment of the clutch disk.
Soak it in oil for a day or two before you install it. The oil penetrate the tiny holes in the bushing.
The old one is removed with a rod just a tad smaller than the inner diameter of the bushing and some ordinary grease. Fill up the hole with grease, put the rod inside the opening and tap it with a hammer a few times.
The rod will press against the grease and the grease will force the bushing out. May take some harder taps if the bushing is a bit grumpy.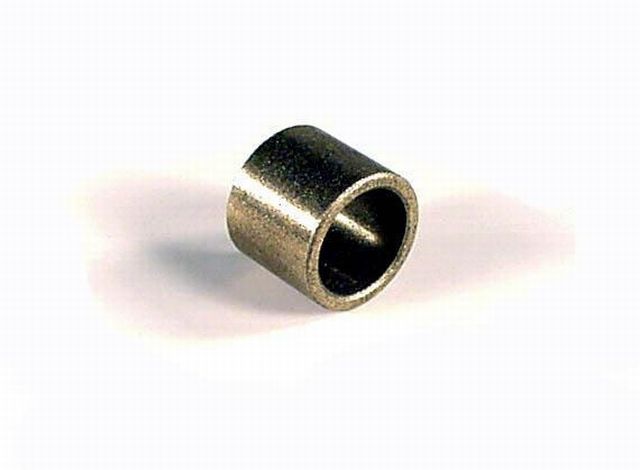
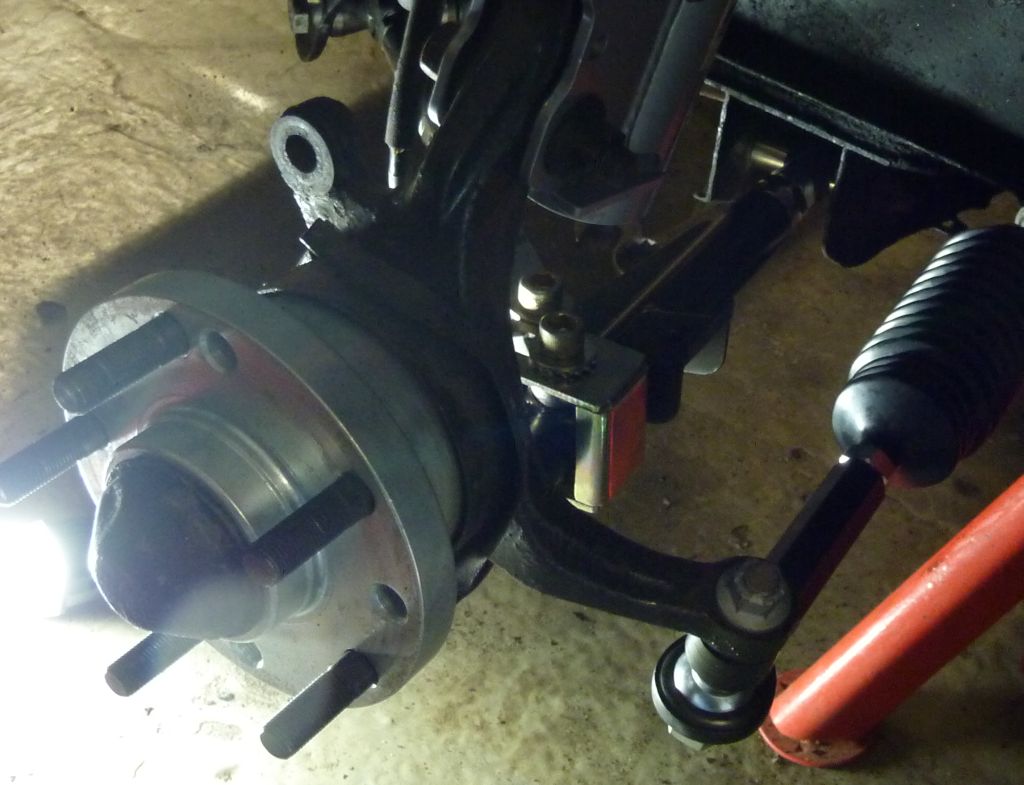
4-16-2010
Today I installed all rear lower arms and suspension arms I got from Driftworks.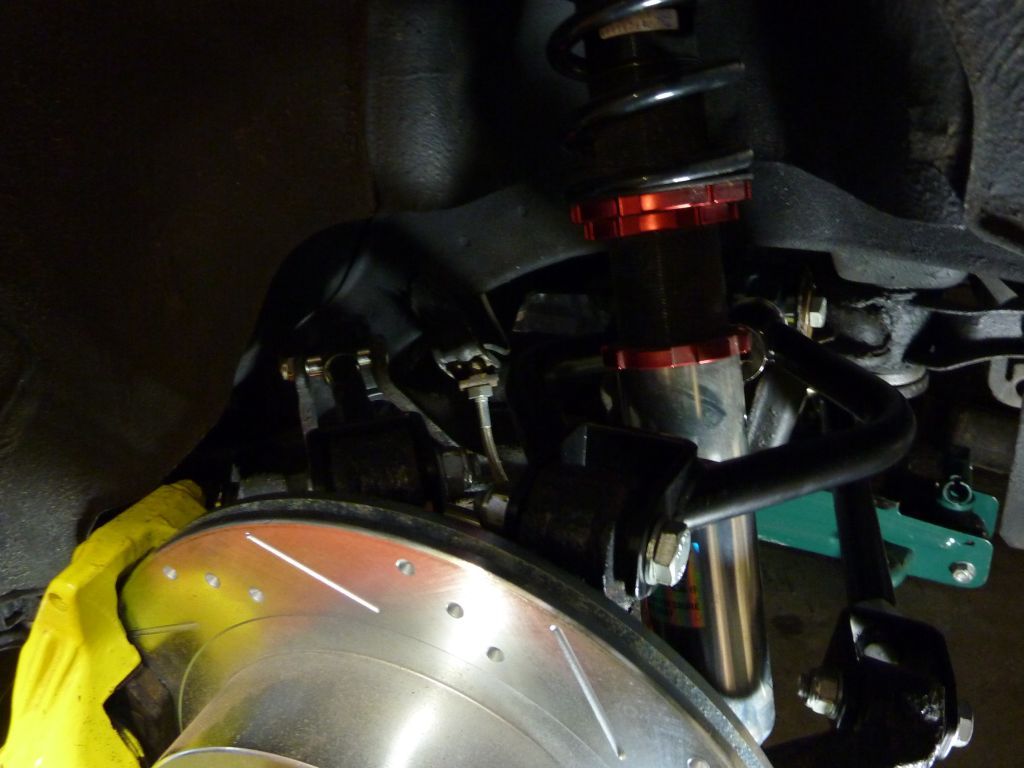
4-21-2010
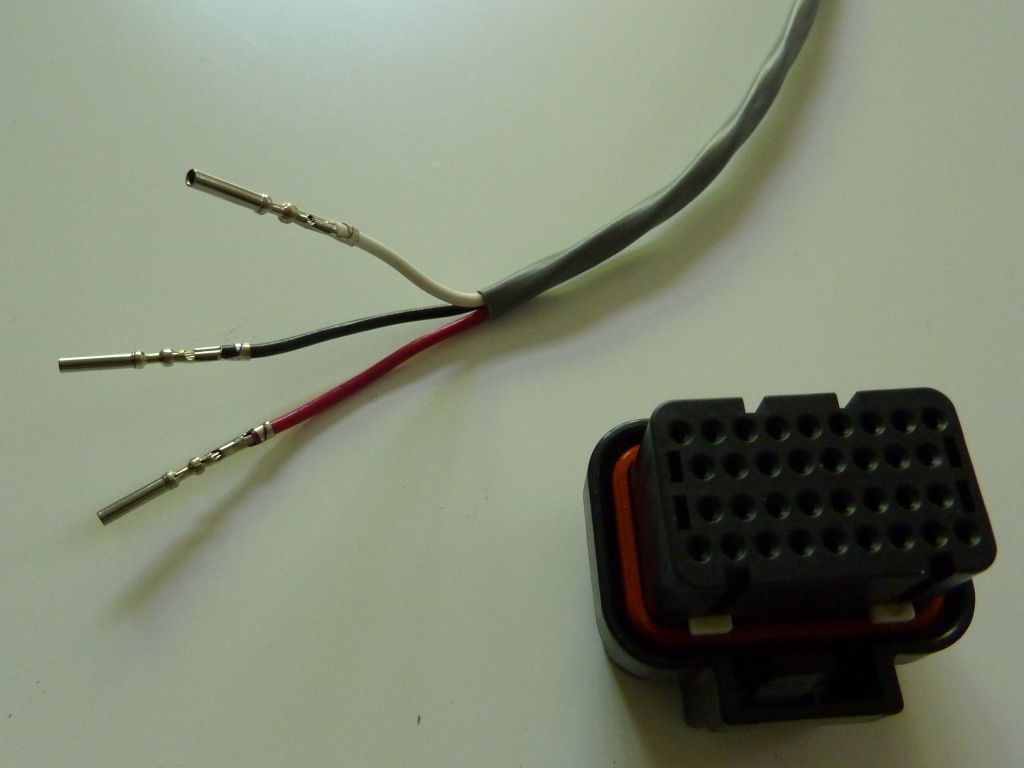
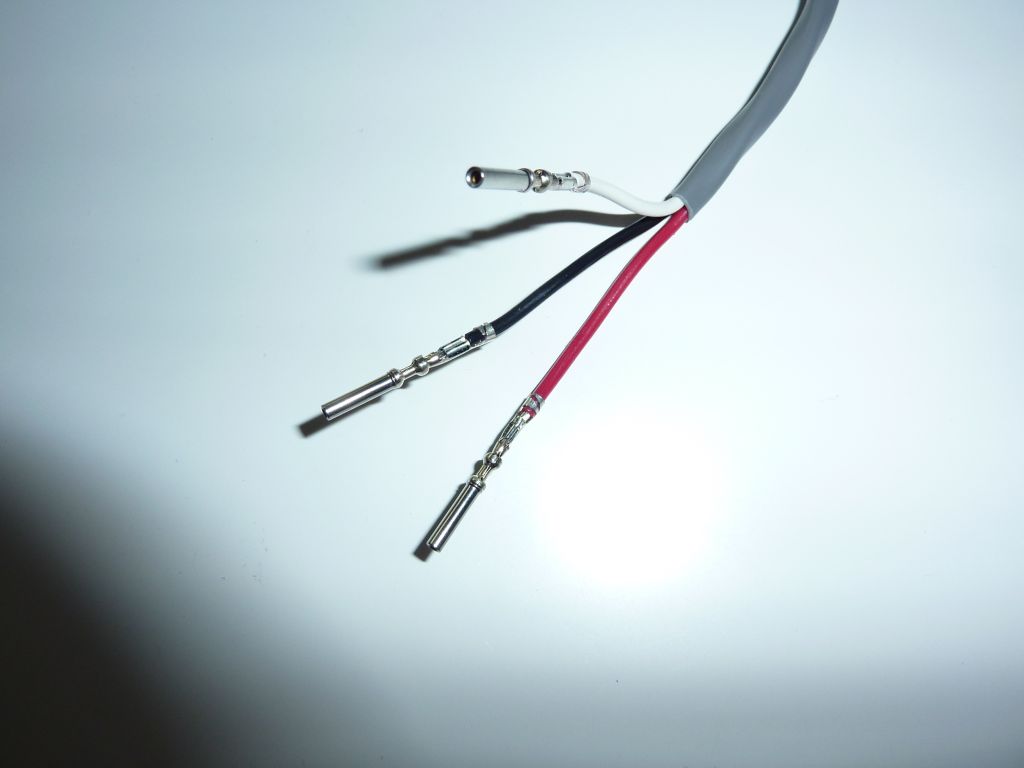
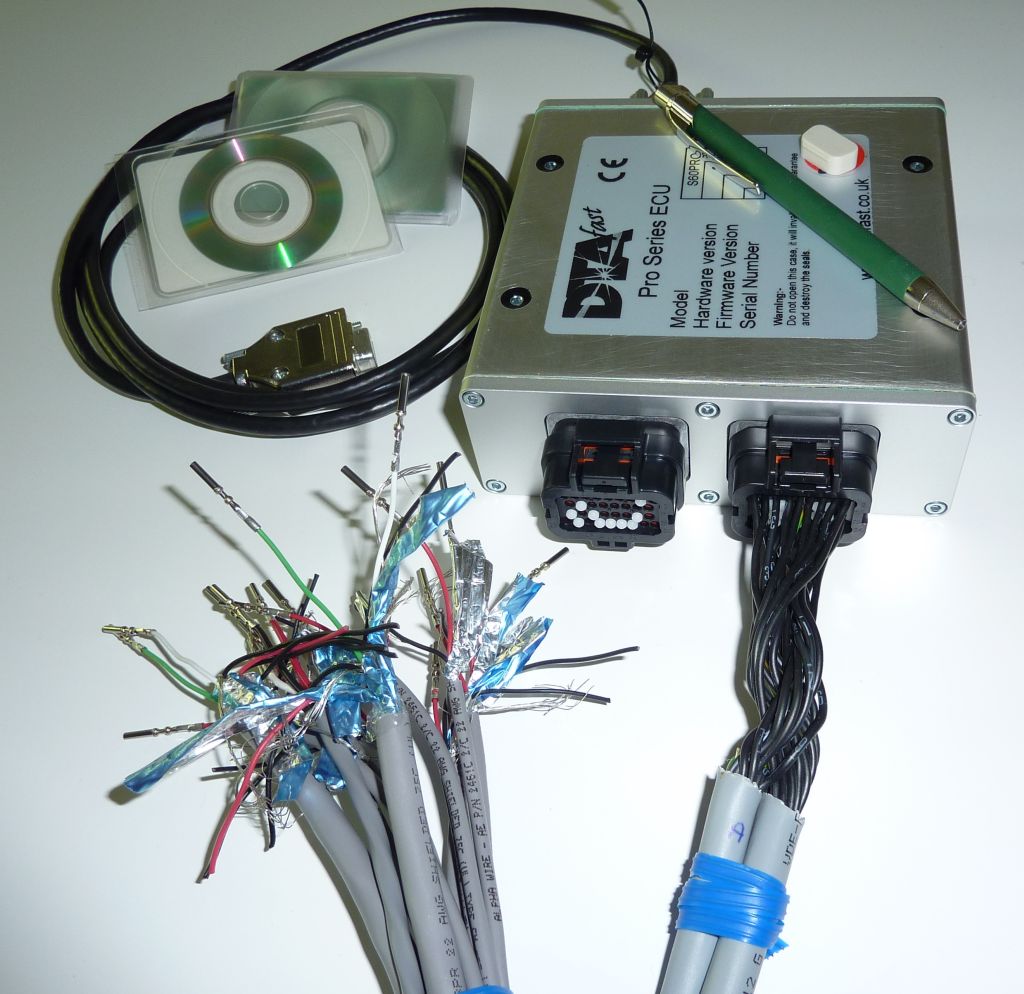
Lots of pins to crimp on the cables for the DTA-ECU. Only remain some heat-shrink tubing and they are all done. The photos show the sensor cables. The Power cables I finished earlier.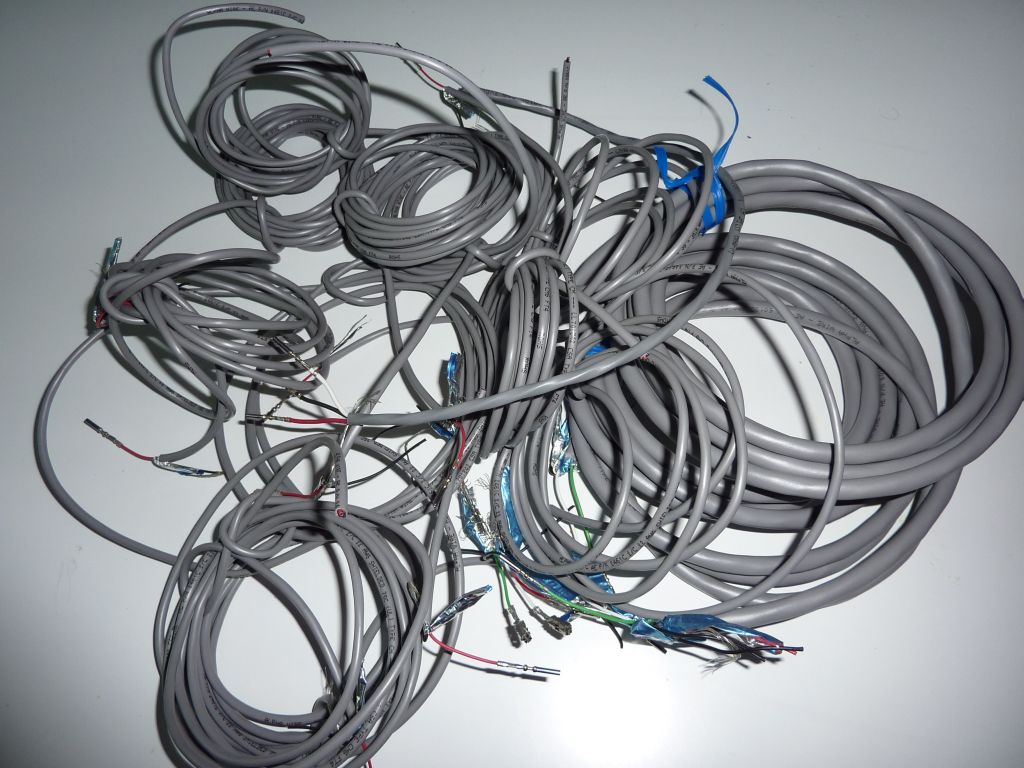
4-22-2010
The entire DTA-package turned out to be quite small but oh so powerful
4-24-2010
Good! There is room enough

4-28-2010
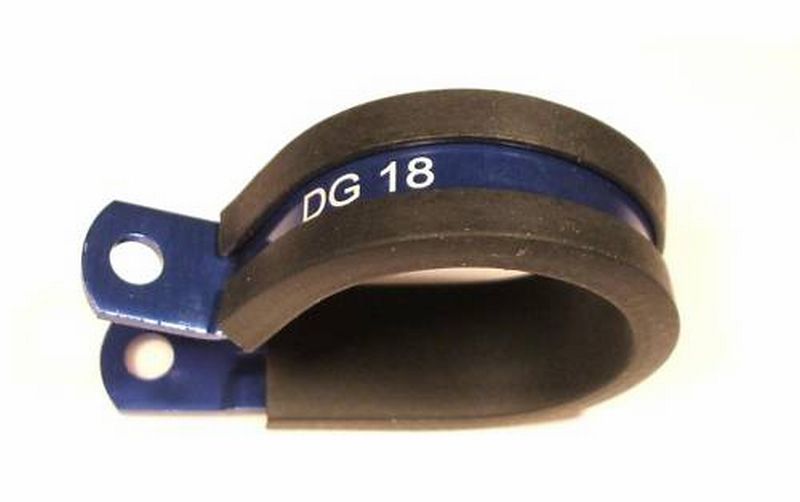
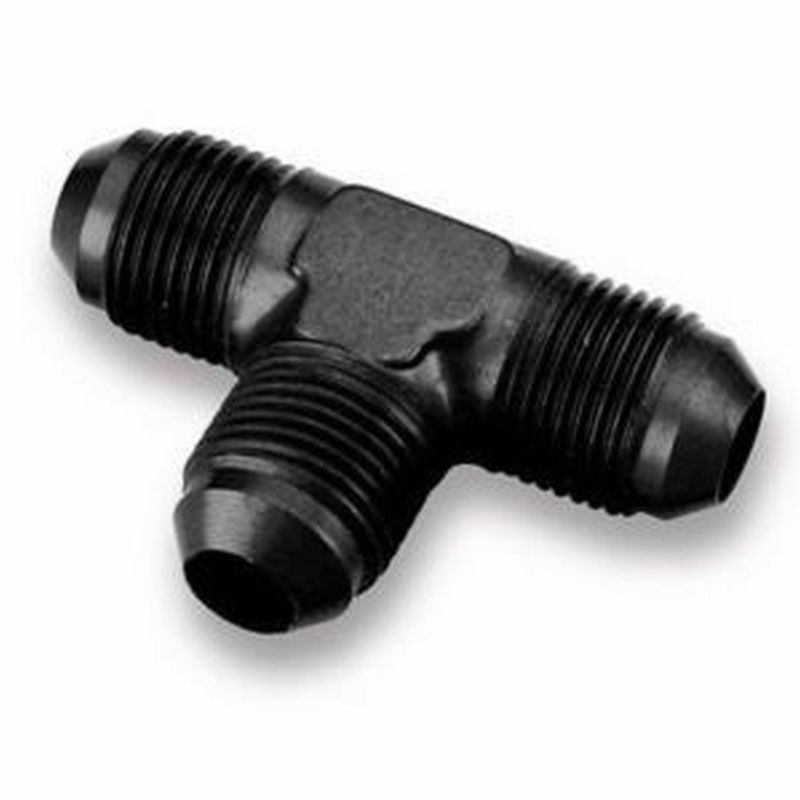
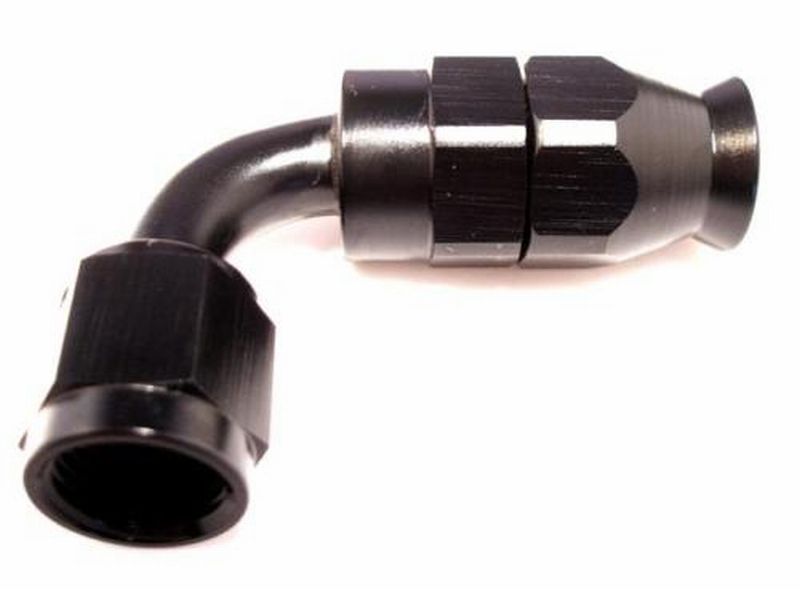
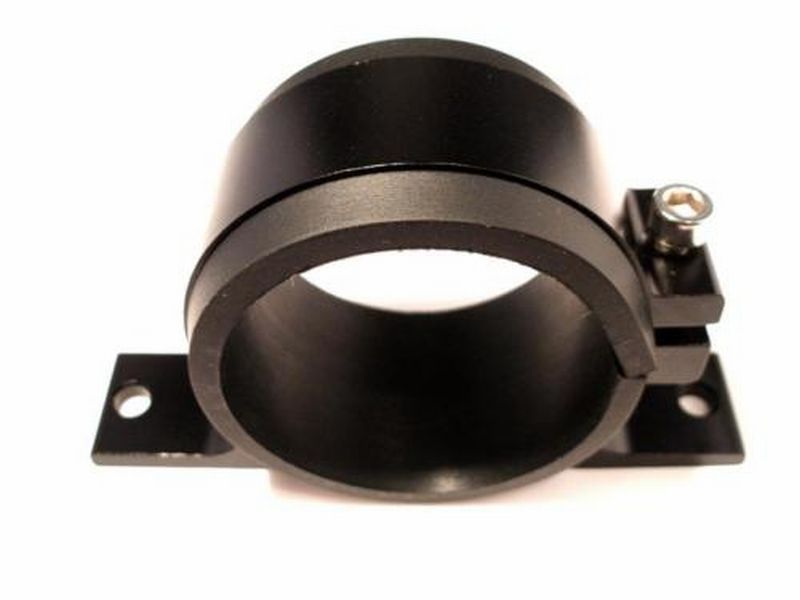
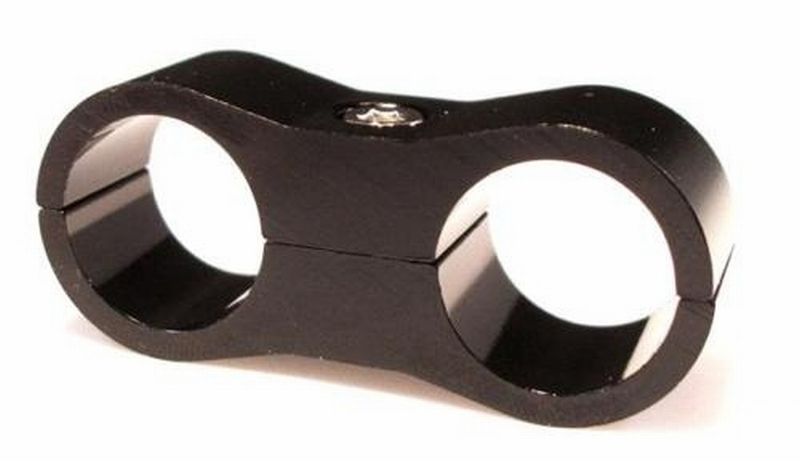
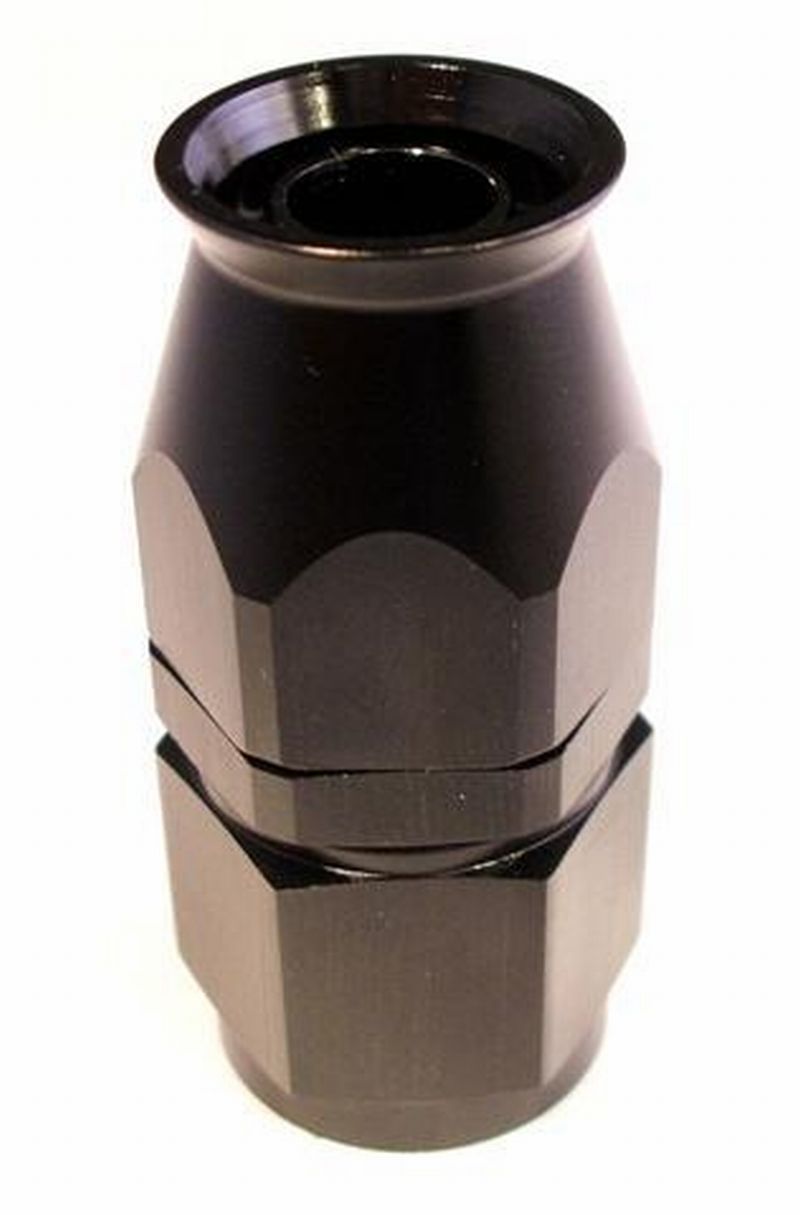
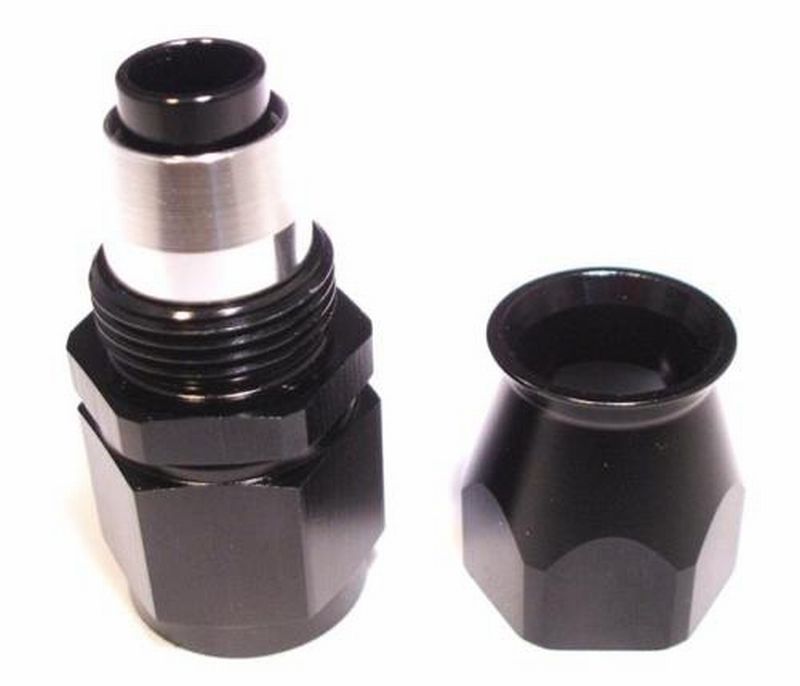
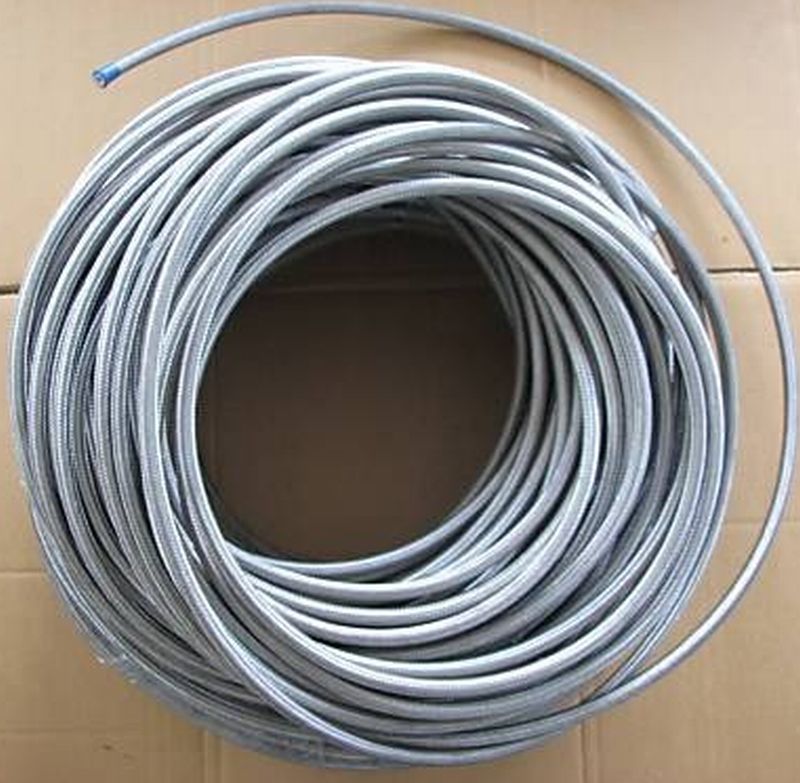
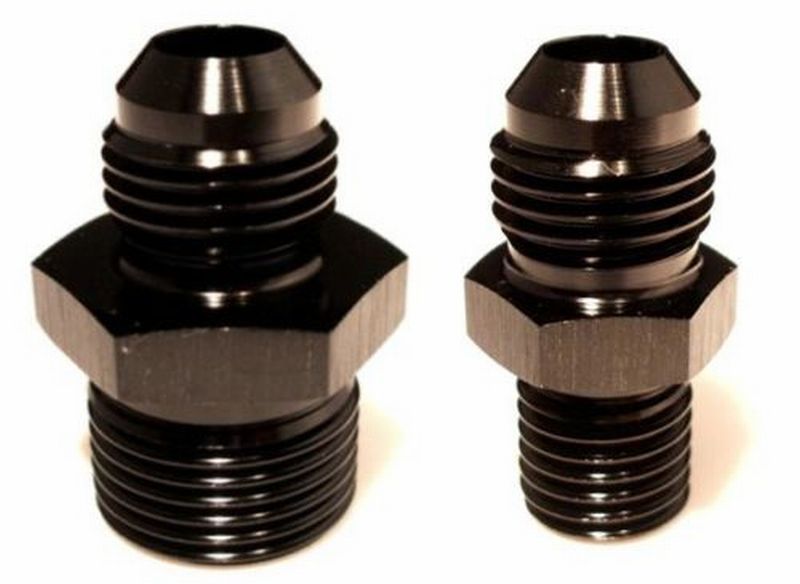
Some tiny bits for the fuelsystem Teflon Stainless Braided Fuel Hose is nice.