You must be logged in to rate content!
3 minute(s) of a 45 minute read
1-23-2014
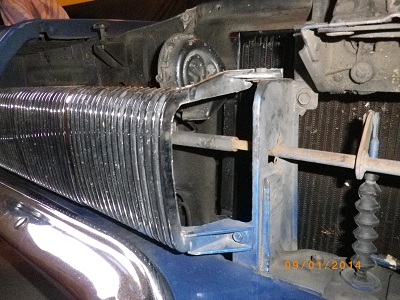
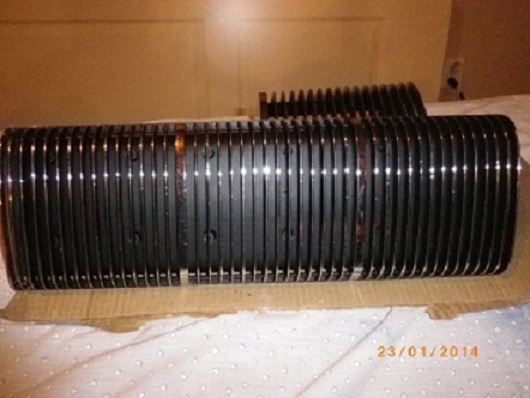
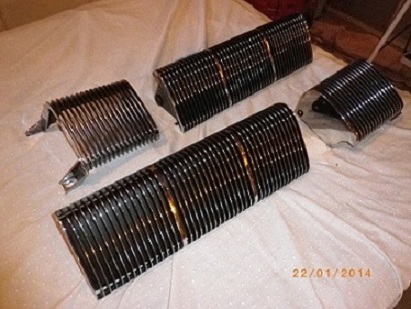
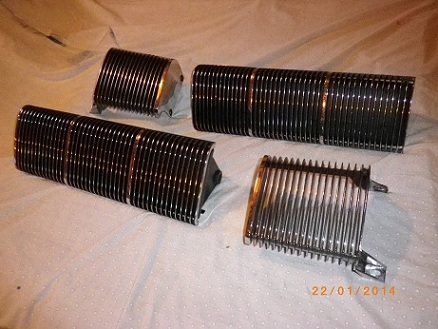
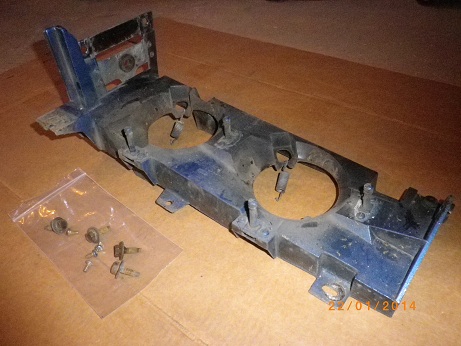
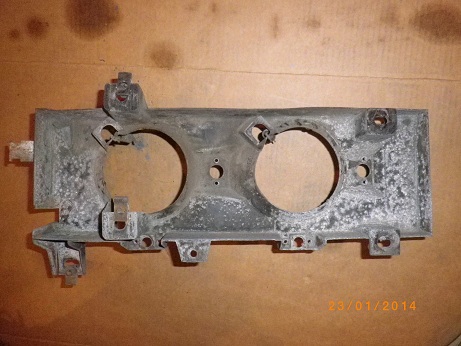
Grill & Eyelids before:
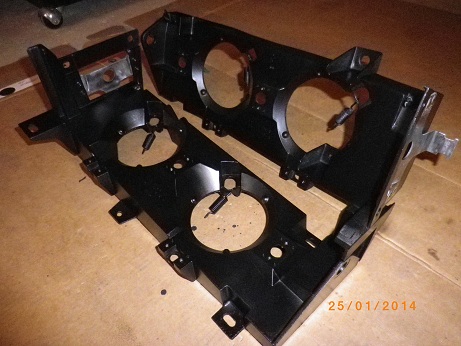
Became this:
Little further view:
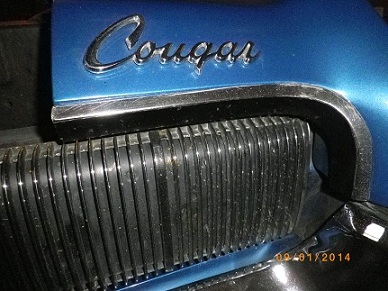
I am pretty pleased with them, my wife feels my patience has incraesed thousands times!
2-3-2014
Headbeams were repainted... could not remove all the corrosion, especially in the back, but they still look much better
WITH BEAMS IN SUPPORTS:
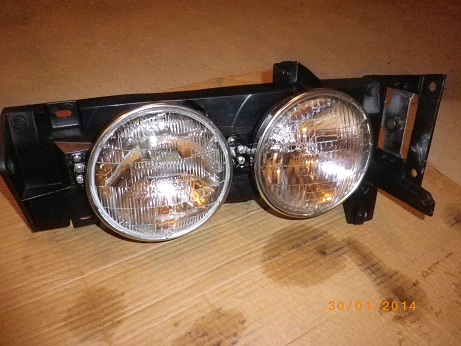

I am happy with that.
I cleaned up the windshield washer reserveoir to a satisfatory level but a bed of dirt remains in the pump housing, under the pump. This will not be visible when the unit will be put back in place, but it bugs me. I can not figure how to remove the pump without damaging the seal, shop manual says the reservoir and the pump can not be seperated and must be serviced as one unit... well well anyone who would have done it sucessfully would be welcome to share the trick.
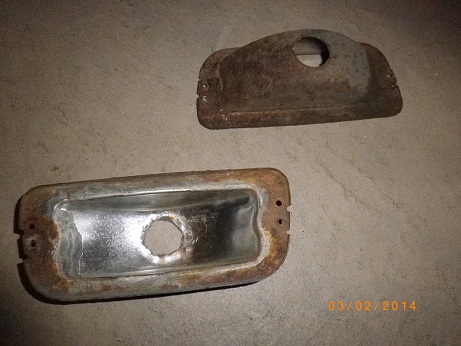
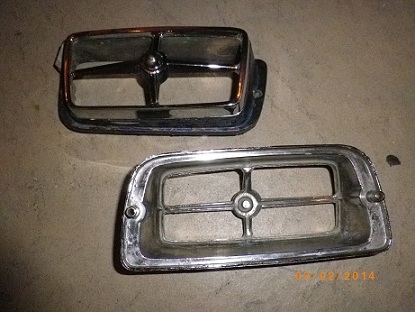
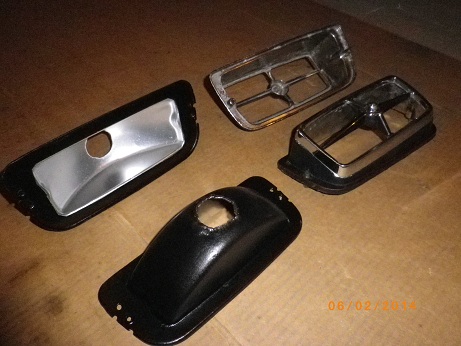
2-7-2014
Still on my way, now with front turn signals:
I am now facing plenty of rusted & stripped bolts and I broke a few (even while using a penetratig solvent to free them up) with the actual result that I can not remove the front bumper nor the reinforcing bars attahcing bottom of front fenders to the frame. I am not comfortable using a torch to heat them up.