You must be logged in to rate content!
8 minute(s) of a 206 minute read
7-11-2009
I know 17 pages right! LOL Now go read Guy's thread! Thanks for the compliments!
Here are a few pics from the last time I worked on Cindy. I didn't have time to update that night. Plus the fact that I was very frustrated with Cindy.
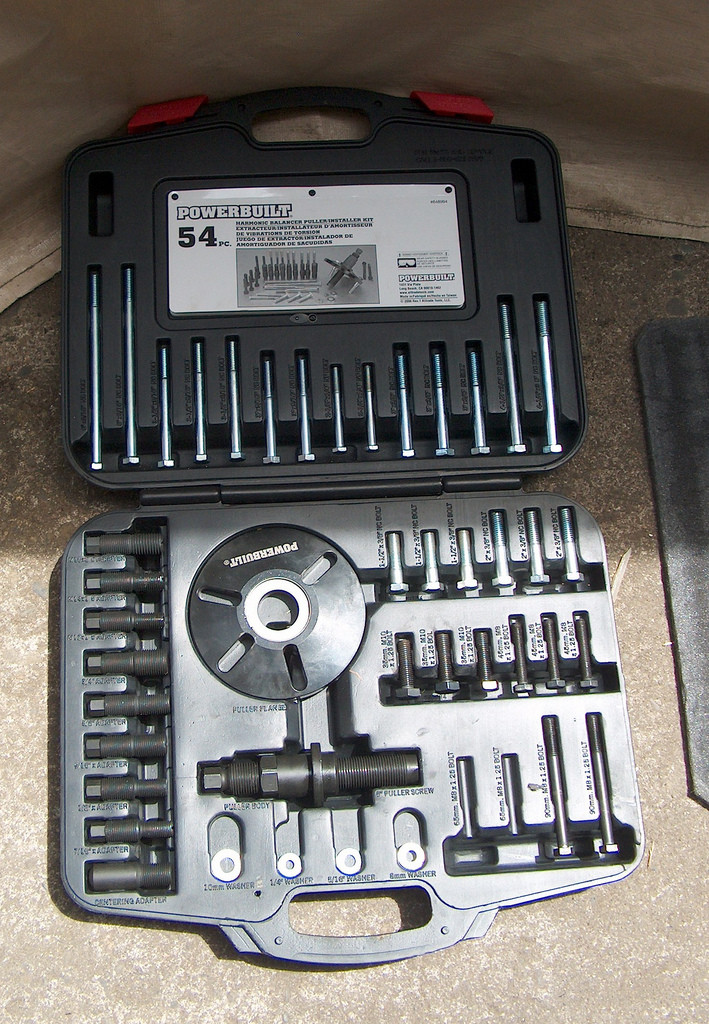
I went to a different auto parts store and rented another installer/puller. I finished what I started before the other installer broke last time.
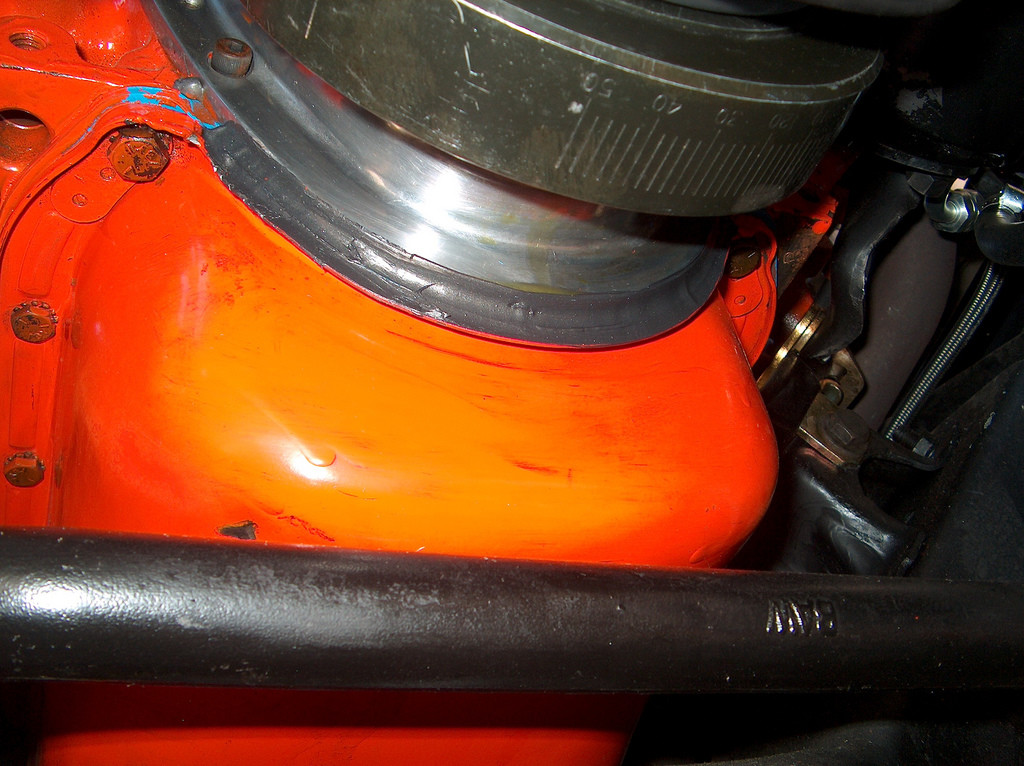
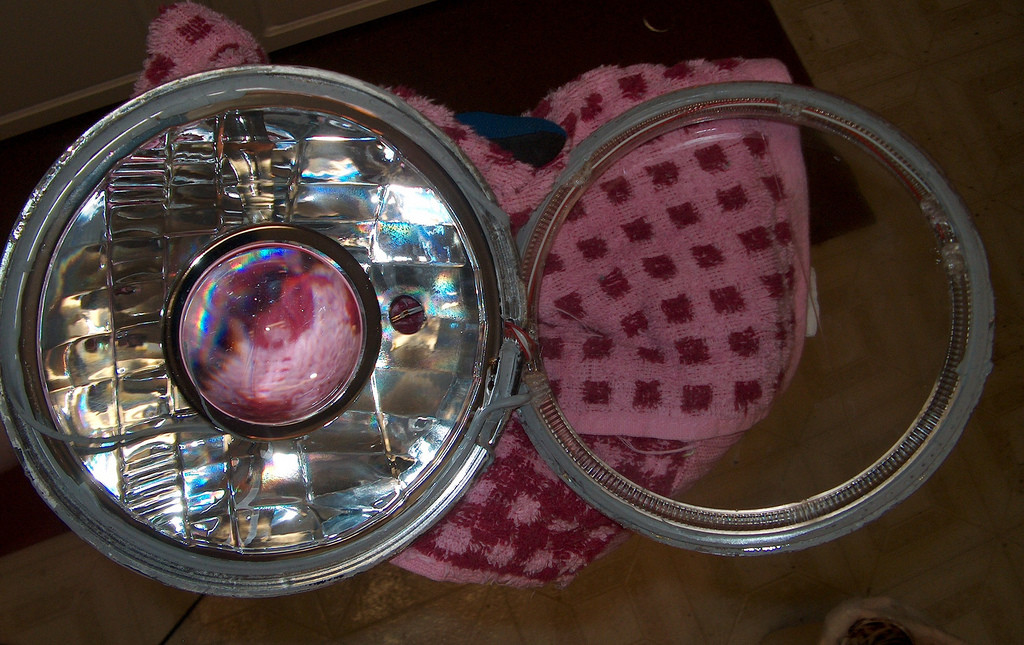
Okay, so I'm guessing that this is a before shot? After I installed the dampener?? I'm not sure. You can clearly see oil leaking down from the dampener.
I finished everything up, and took Cindy for another test drive. Came back, and guess what? Oil freekin everywhere. Hopefully tomorrow I will be able to go back over there and reassess the situation.

Sorry for the piss-poor update. I think maybe tomorrow I'll work on rewiring the headlights. This oil thing is quite frustrating for me.
7-14-2009
I'll have to do some digging. I didn't know there was a oil pan difference. I know this is the first time I have went with a one piece oil pan instead of the classic cork style. Everyone I talked to said the one piece gaskets are great. Just my luck, the first time I try one, I have a leak! LOL
Well the weather man was wrong on their forcast this weekend. They called for a light chance of rain Sunday, and highs in the 80's on the rest of my days off. It rained. I have been a bit frustrated with Cindy, so I decided to take care of a different project.
I did a lot of research looking for a different/better head-light setup. First and foremost, you should rewire the headlights so they get more power. Cindy is outside, and it's been raining really hard, so I couldn't get that project done. But I will be doing that part next. There is a great write up on this site too, by the way.
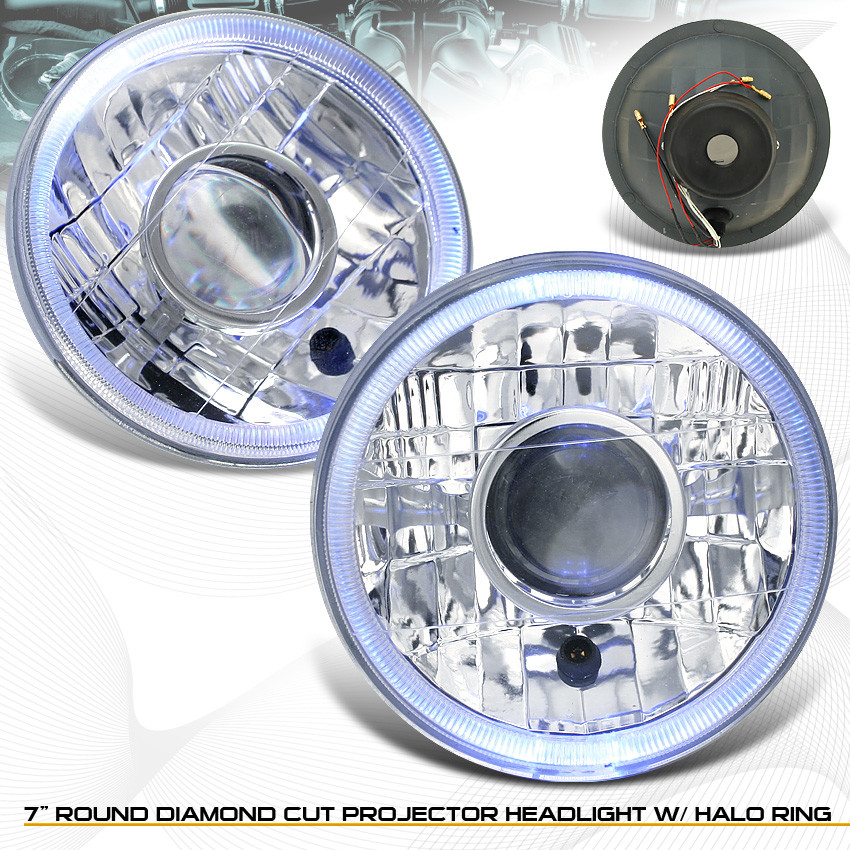
So, it seems that you can have much better headlights by going with a cheap projector H4 style ebay light. They're cheap, and are supposed to work quite well. Some people claim that you have to modifiy the stock headlight mount. I don't know if you do or not because I haven't actually mounted mine.
Here's what I did.
First I ordered me a set of cheap projector headlights. I went with the ones that have the halos in them. I thought it would be neat to have the halos, although its not a "must have". I later found out that you can order lights without the halos, but oh well...
I ordered mine from "Racing_Guys" on ebay. I did some searching around and they seemed to be the best bang for your buck at the time. I started off with a bit of bad luck actually. You see, when the lights showed up one of them were broken. I emailed the seller and they said that if I left positive feedback they would send me another set. A couple of weeks later, another set showed up, and I left positive feedback. Good Seller!!
Here's what they look like:
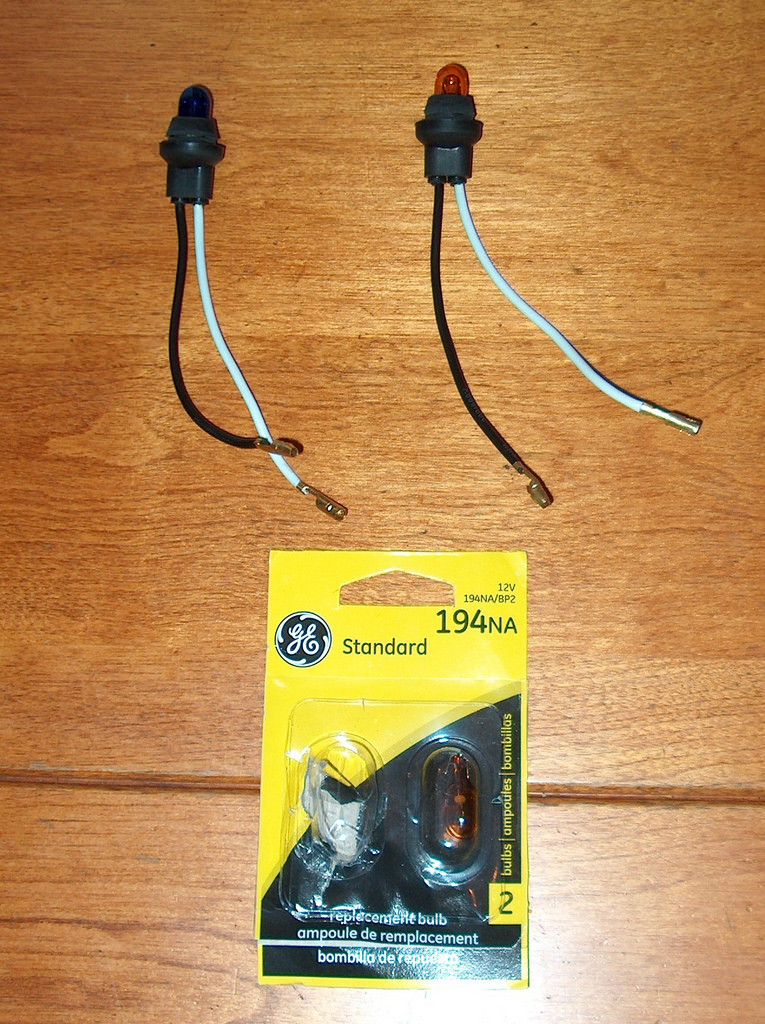
I'm not a big fan of the blue, plus I think it may be illegal in my state. So I decided to modify mine to have amber lights. First thing I did was take the protective boot off the back, remove the light bulb, and also remove the smaller blue light.
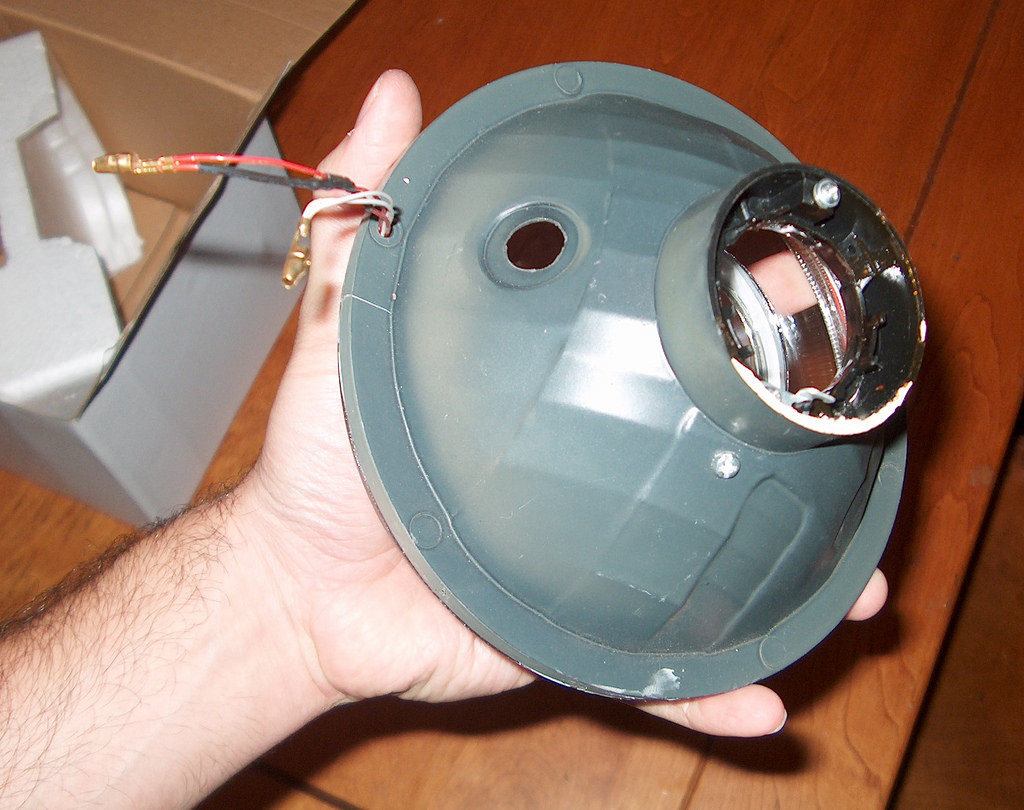
Since I'm going with Amber, I decided to replace my blue lights with Amber ones.
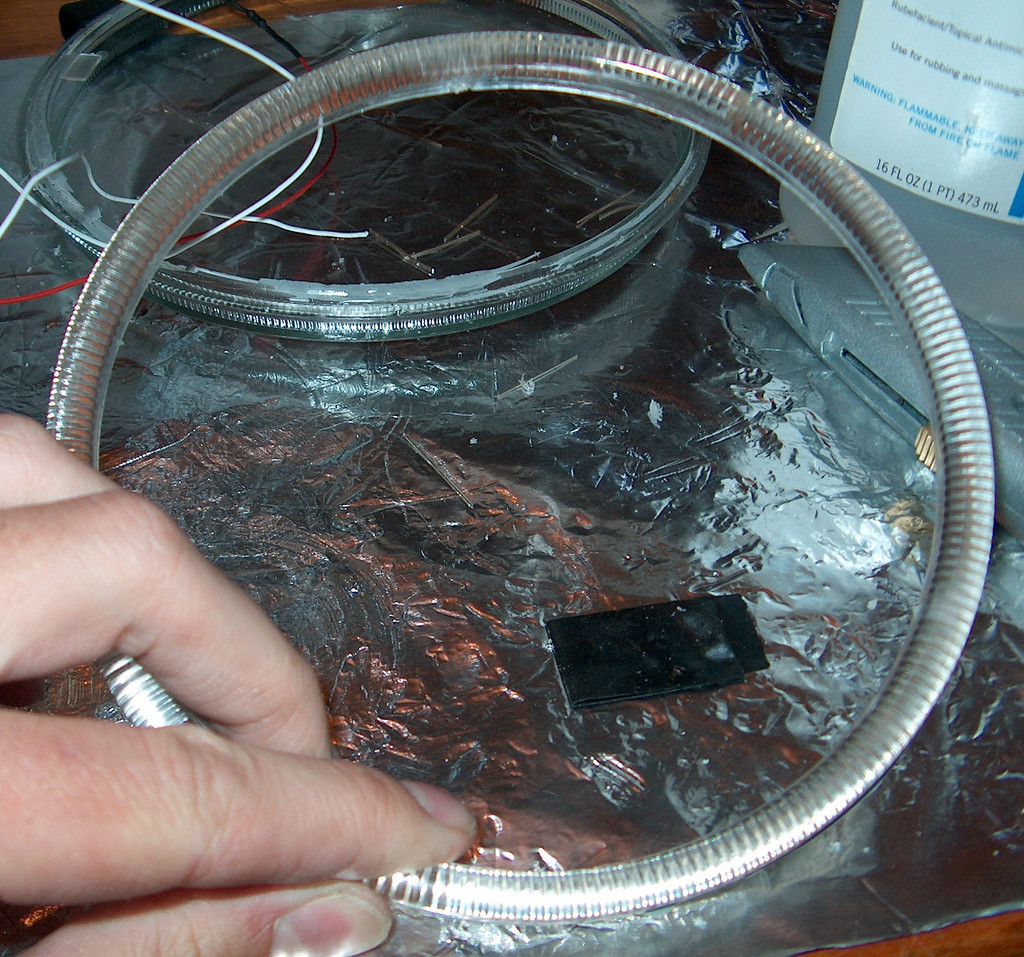
So now that my lights are naked, I baked them at 275 degrees for 15 minutes to loosen up the glue. After 15 minutes, I pried them apart and got a stanely knife in between the glass and plastic. Then I carefully cut them apart. Be careful, the glass retains all the heat.
I let them cool down and then I cut out as much of the "glue" as I could.
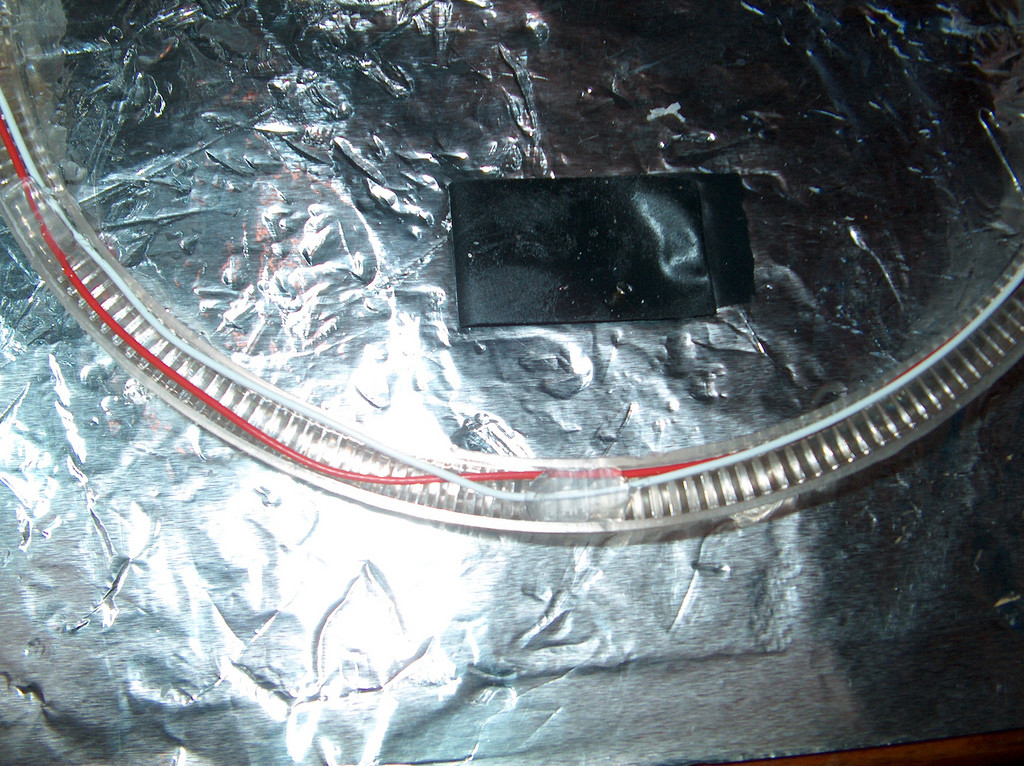
Here is a pic of the halo part. It's just a plastic piece that rests inside the lens.
So inside the halo is a small wire that connects to two LEDs. There are two pairs of LEDs, one on the top part of the halo, and one on the bottom.
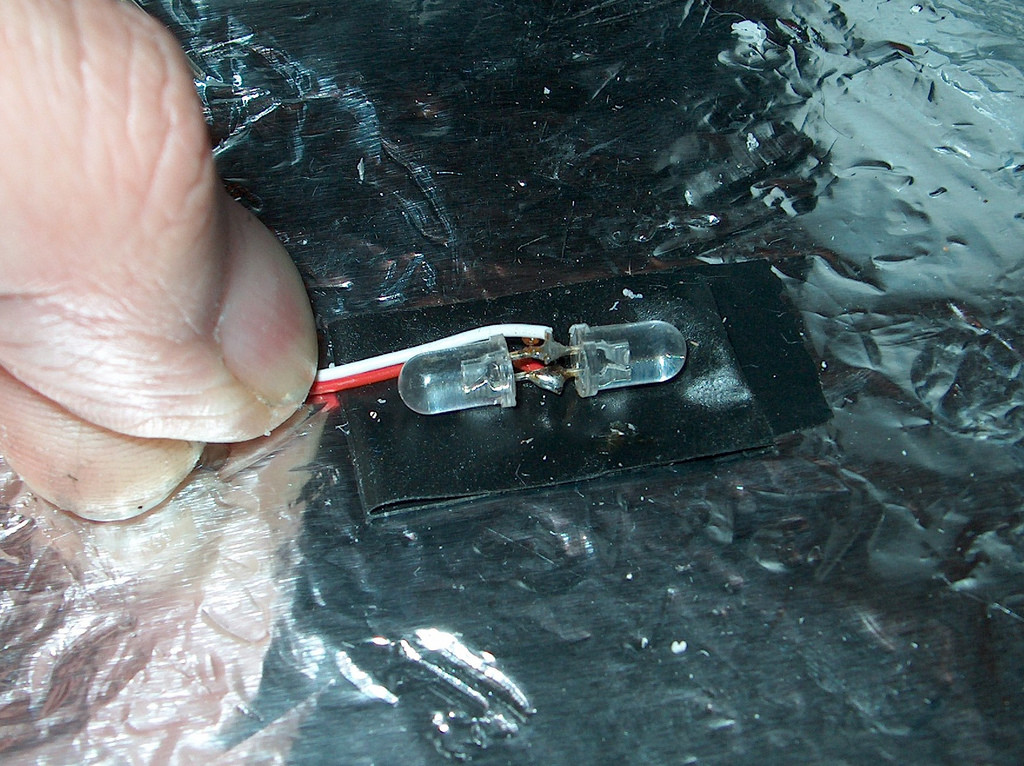
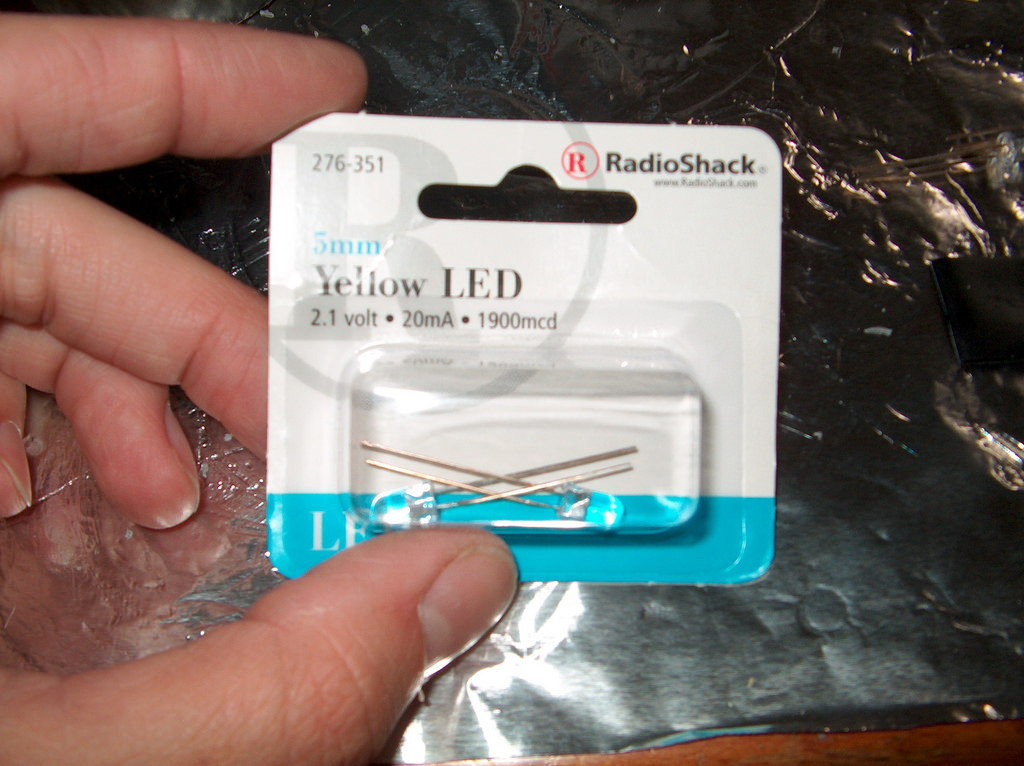
Here are the LEDs that I am putting in instead of the blue ones. I know it says that they are yellow, but they actually come out amber. I was planning on ordering LEDs off the internet so I could order the exact brightness that I wanted. I stopped by my local Radio Shack and they happened to have these in. You can see the brightness is 1900mcd. That should be enough, but I wouldn't go any lower than that. I would shoot for around 3000mcd, but I'm just not patient enough to order them. LOL
So I put down a piece of electrical tape. I trimmed down my LEDs and stuck them to it. Make sure that you solder them together the right way. I just copied the way the blue ones were installed. I soldered them together and then soldered the set in place of the blue LEDs.
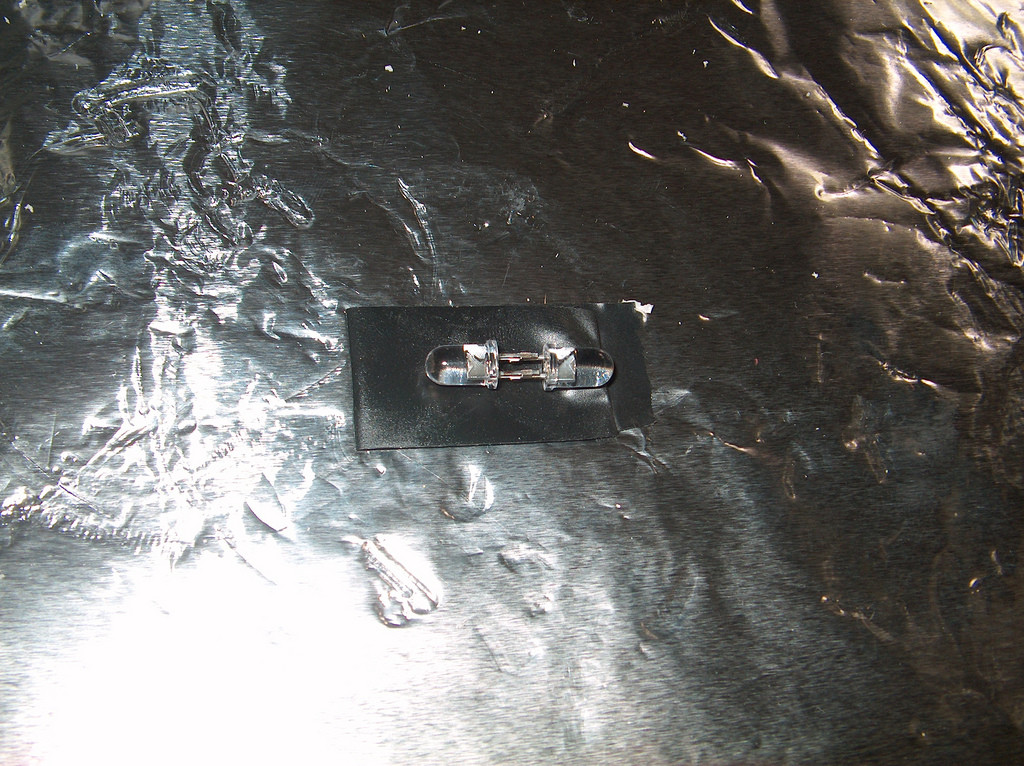
Next I put the LEDs and wire back into the halo part. I put a dab of glue from my glue gun to hold the wires in place. (I also ran outside to my car and tested them on the battery to make sure they worked)
After I made sure they worked, I cleaned up the whole assembly with windex and glued them back together. I used Loctite "Stick and seal" because it said it worked well with plastic and glass. I sure hope that I never have to take them apart! LOL I think they're together for life...
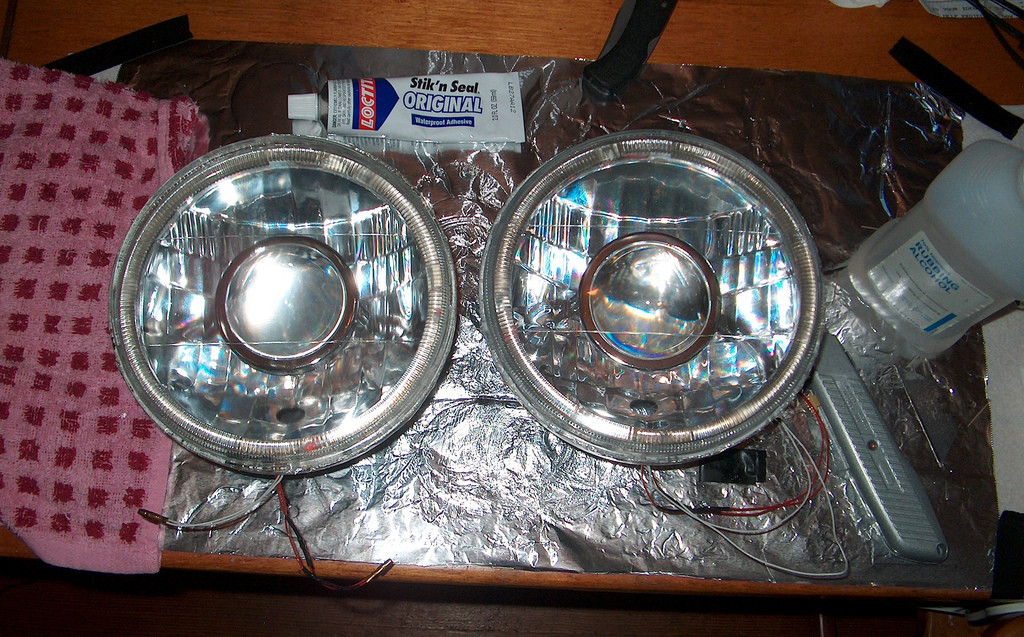
I wanted to mention that if you get any glue where you don't want it, I used rubbing alcohol to remove it before it set up. That's why you see it on hand in the pic.
I spent quite a while at the store examining all the adhesive, glue, and sealant choices. I didn't really know which way to go. The silicone's specifically said not to use them on vehicles. The epoxy's said that they would destroy plastic. Oh well, they're glued for life now! LOL
Okay so I was waiting for it to get a bit darker...
I ran outside and took a quick teaser pic so you guys would have an idea of what they look like. The plan is to wire them in with my blinkers.
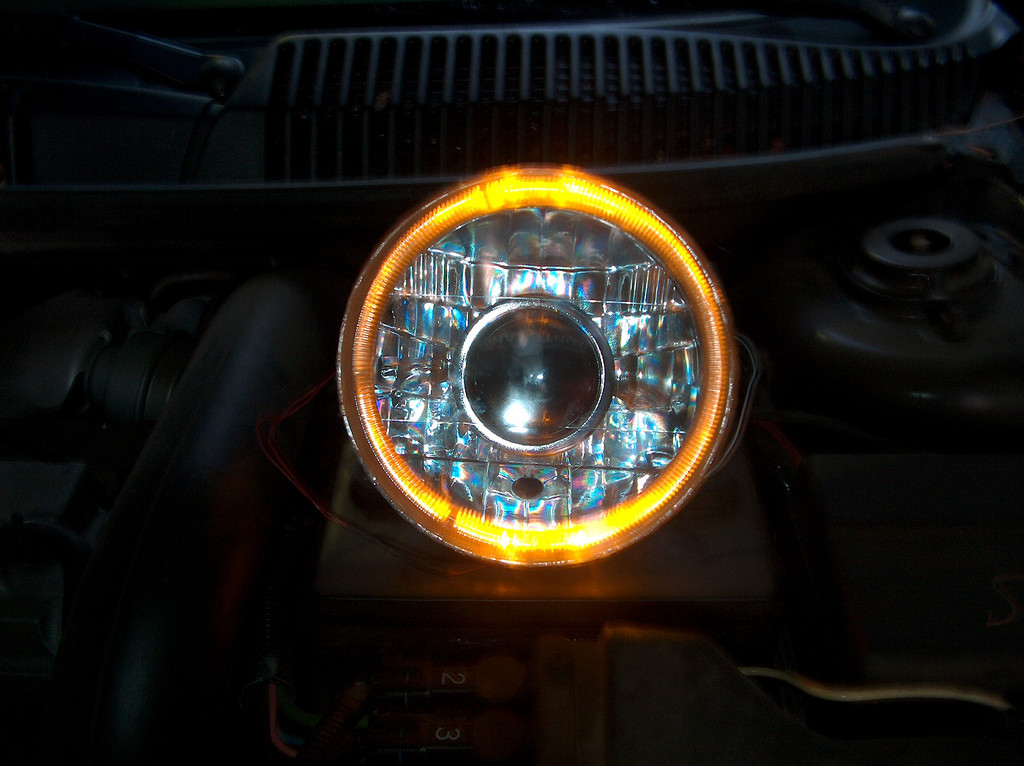
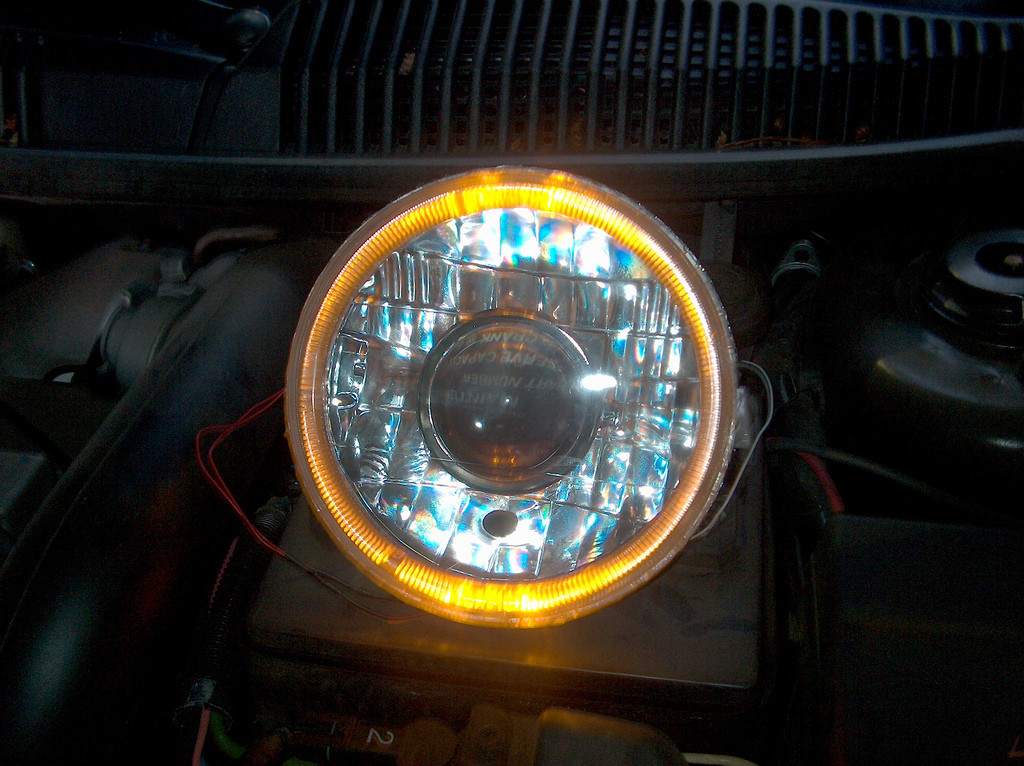
It's hard to take good looking pictures at night, but you get the general idea.

Love the old camaros
Posted by Diggymart on 4/27/20 @ 2:39:52 PM