You must be logged in to rate content!
9 minute(s) of a 206 minute read
7-13-2010
I kinda got back into it again today. I dropped the oil pan (again ) It's been leaking in the front and the rear. I plan on replacing the rear main seal. I did find something interesting though. This crack in my oil pan certainly can't help my oil leaking problems. LOL
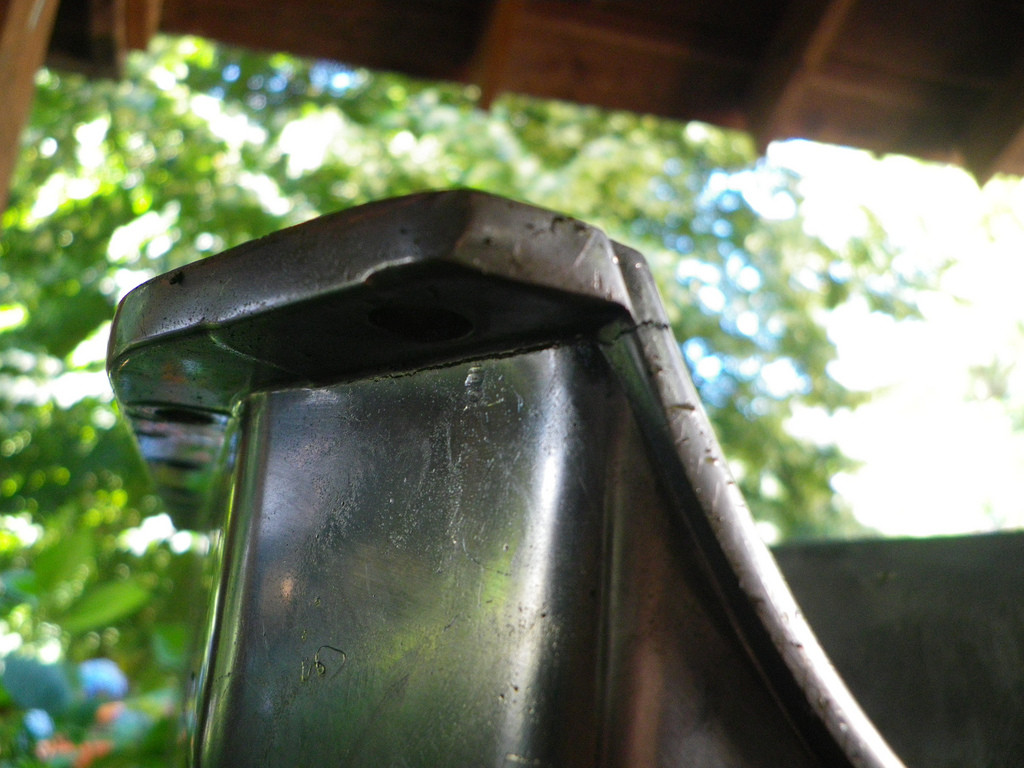
What's weird about it is I didn't over torque it or anything. I didn't even bother calling Summit on it because I've had the pan so long.. Even though I haven't driven my Camaro, at all.
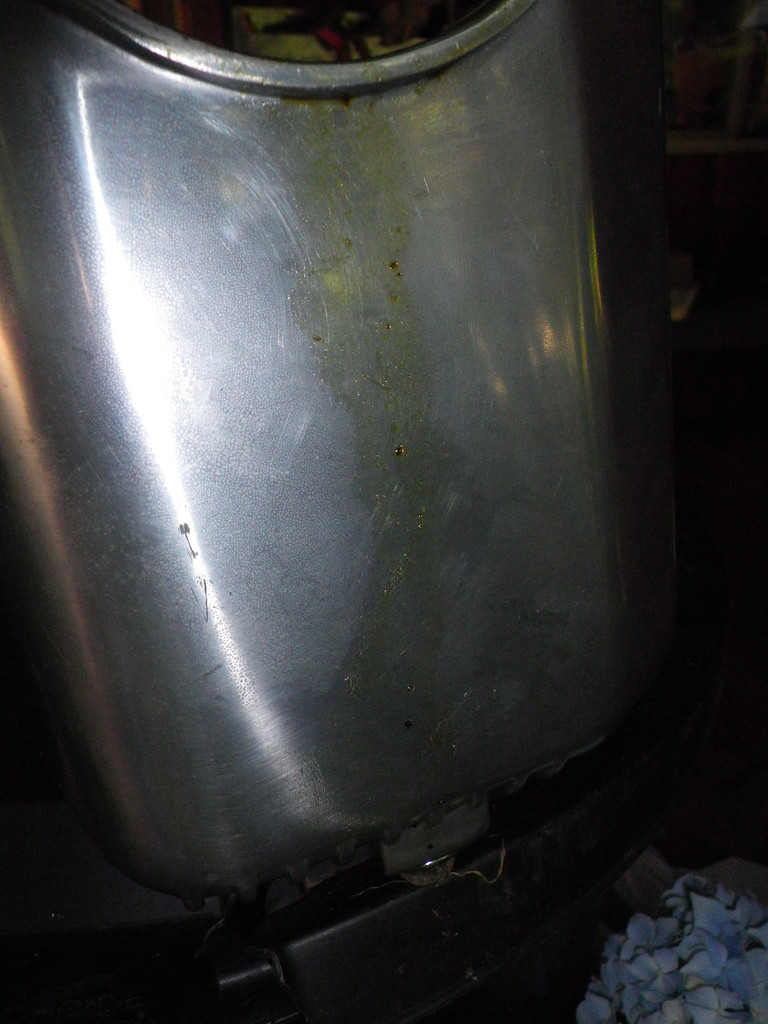
Here's a pic of the back of the oil pan just illustrating where the oil was leaking.
While I have the oil pan off I am going to install my Summit Harmonic Balancer and my fancypants ARP balancer bolt.
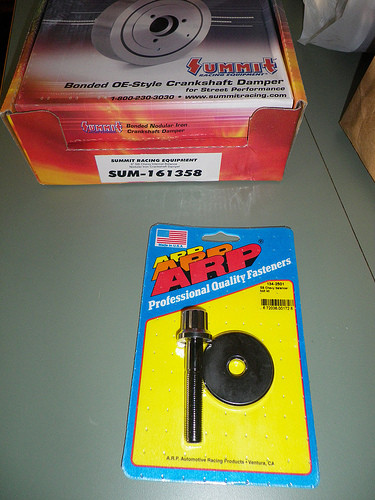
Here is my Summit Balancer VS my Fluidampr. I'm going back to a stock style setup. I'm going to sell my Fluidampr.

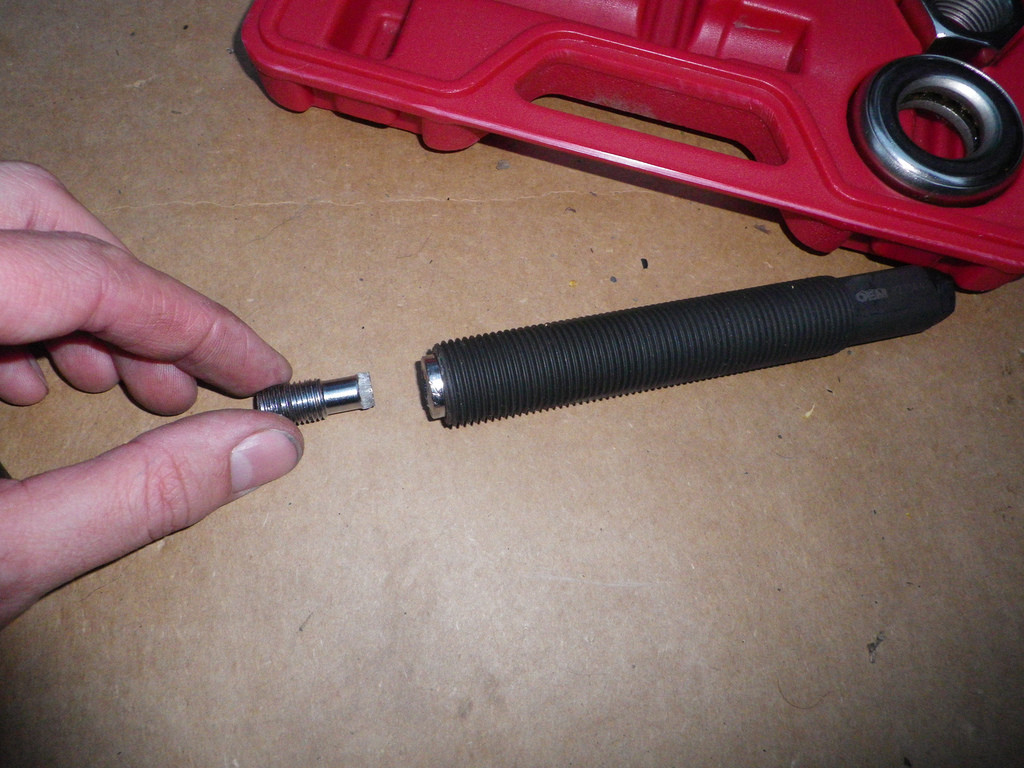
Unfortunately, I broke the balancer install tool. LOL I wasn't doing anything crazy, but I did manage to get my Summit Balancer installed.
Well, now I have to wait on my replacement oil pan. I'll be out of town for the next few days, but hopefully my pan will be here when I get back and I can get it installed. We'll see.
7-17-2010
Thanks man. I later learned that it's an electrical connector primarily used for industrial electrical connections.
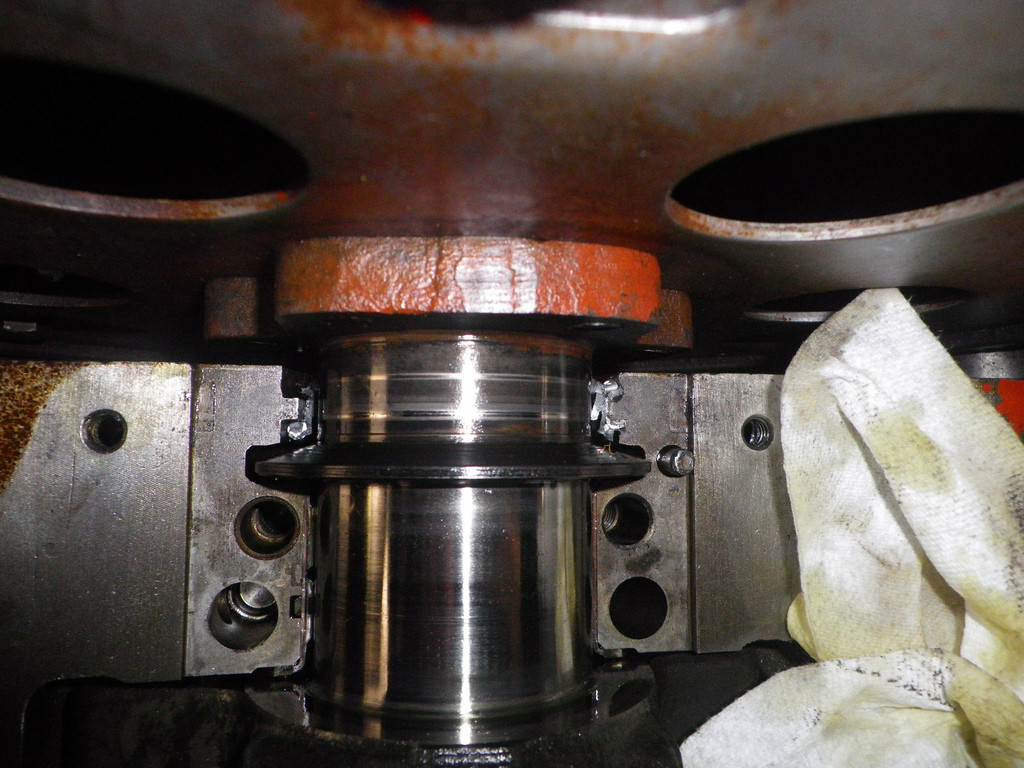
I started to replace the rear main seal today. I have never done this. The first thing I did was turn the crank until it was in this position so it would be easier to get to.
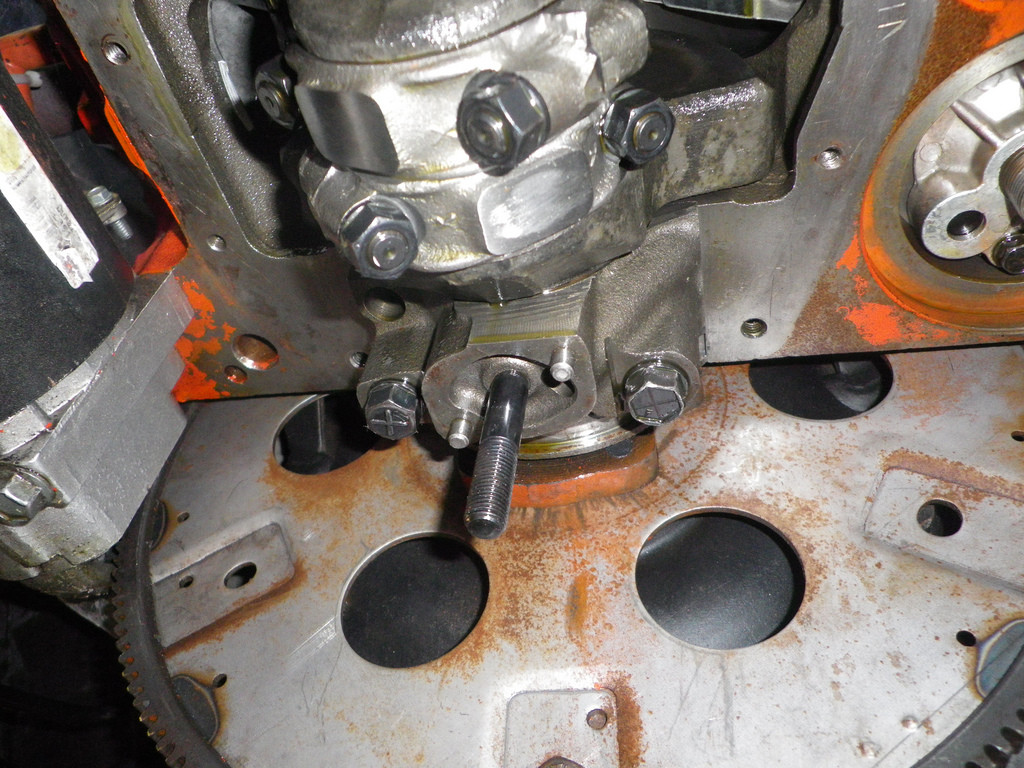
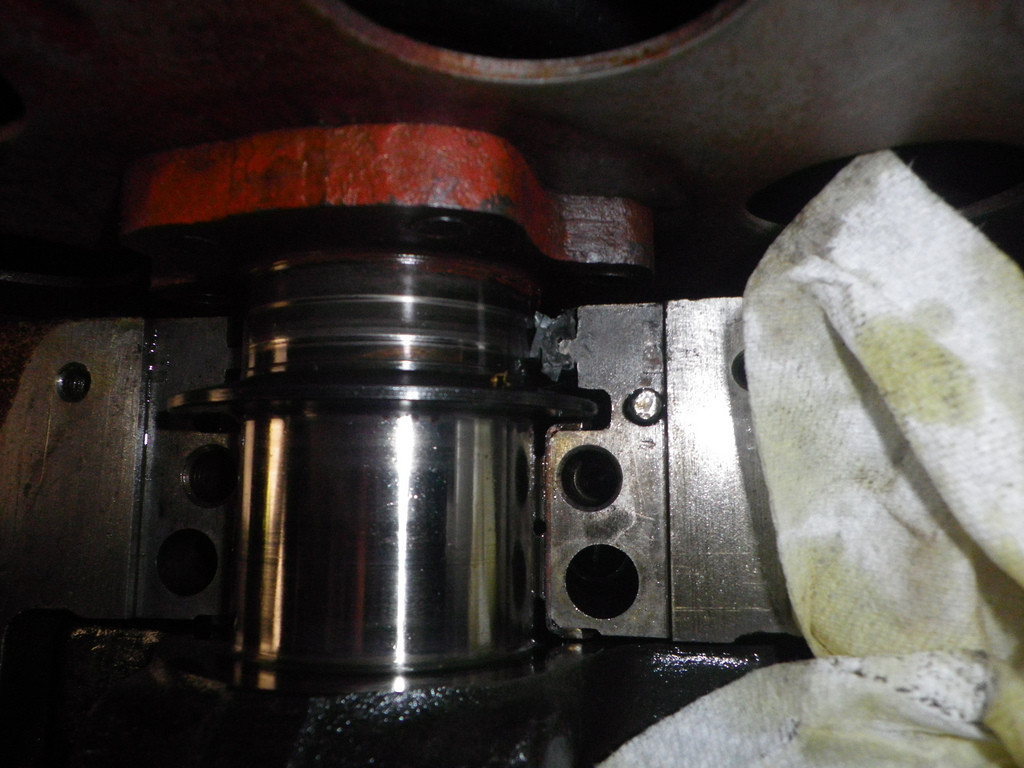
After that I removed the piece where the rear main seal is located. (Main cap?)
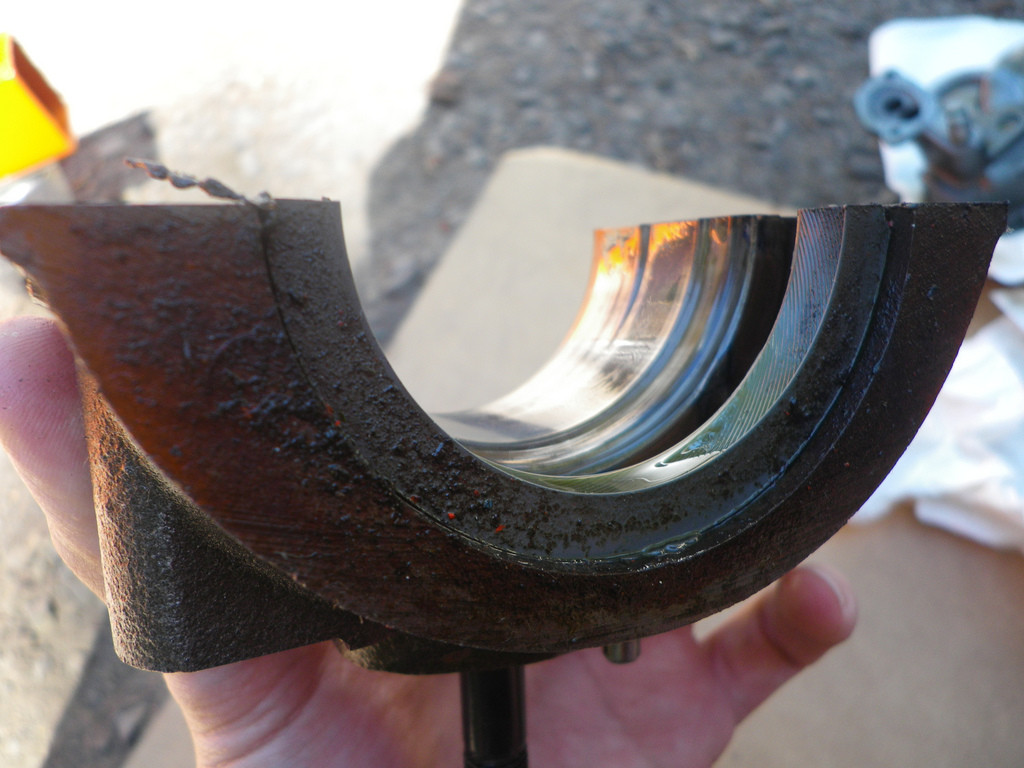
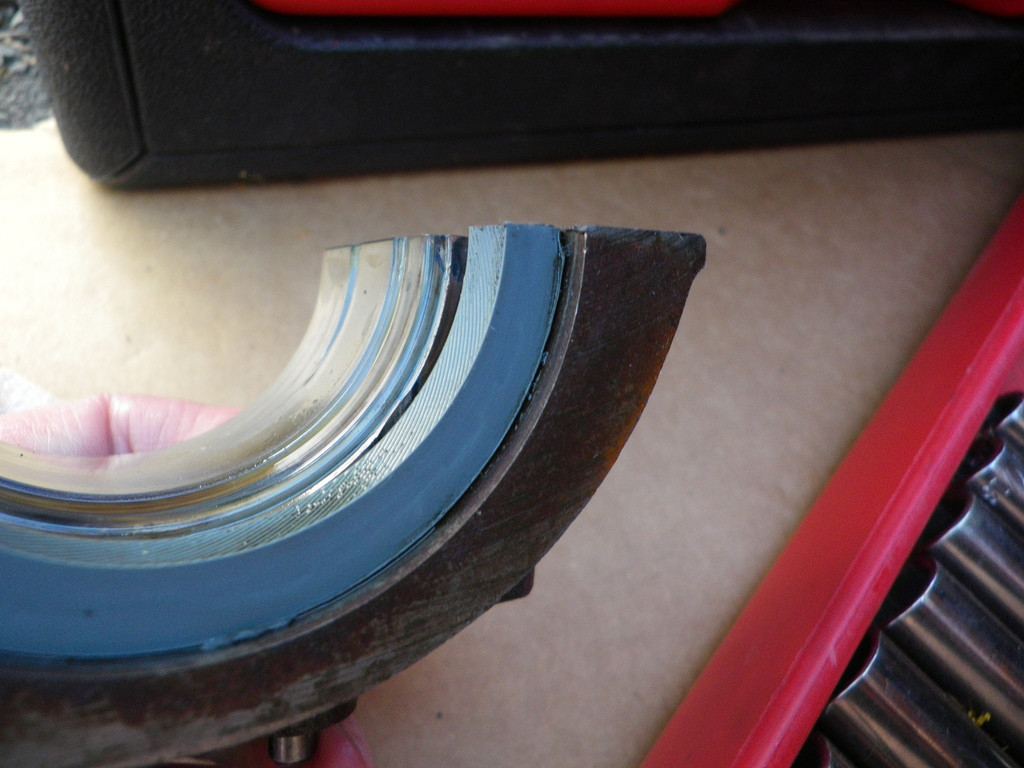
Here is what it looked like right after is was removed. Does it look like it was leaking?

Here is what the other side of the block looks like.
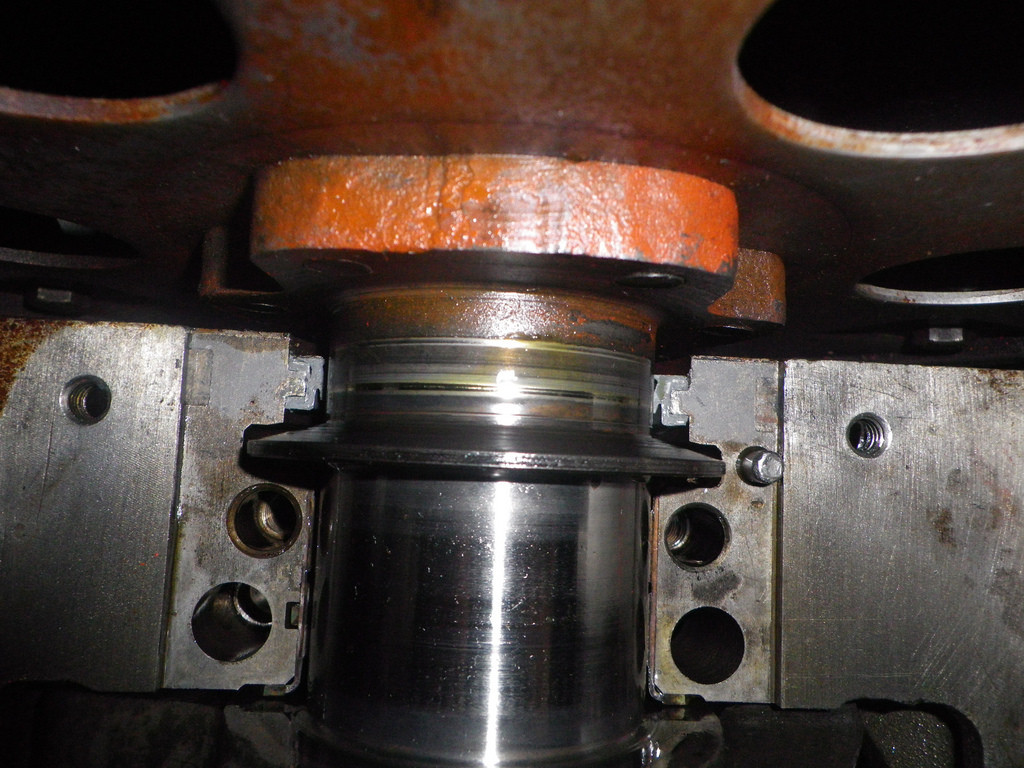
Could it have been leaking here? There is a small gap under the seal.
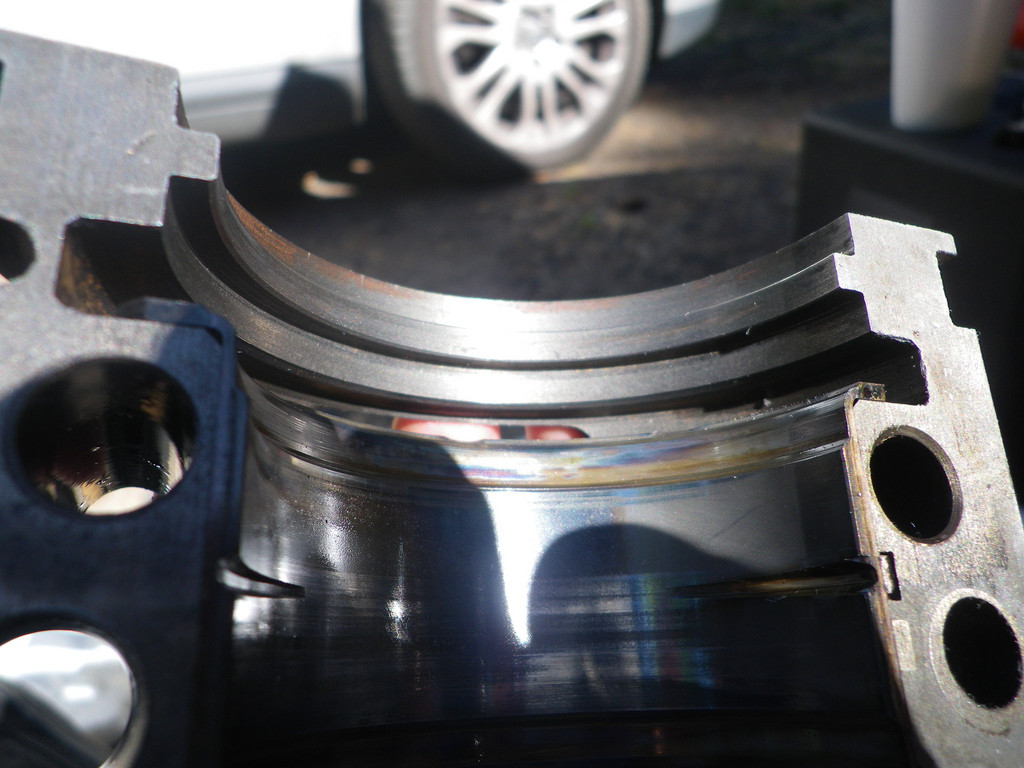
Okay, so the person that assembled my engine put silicone under the seal. Is this normal? I was planning on putting some silicone where the two parts meet, but not under the seal it's self. Should I put a tiny bit of silicone under the seal?
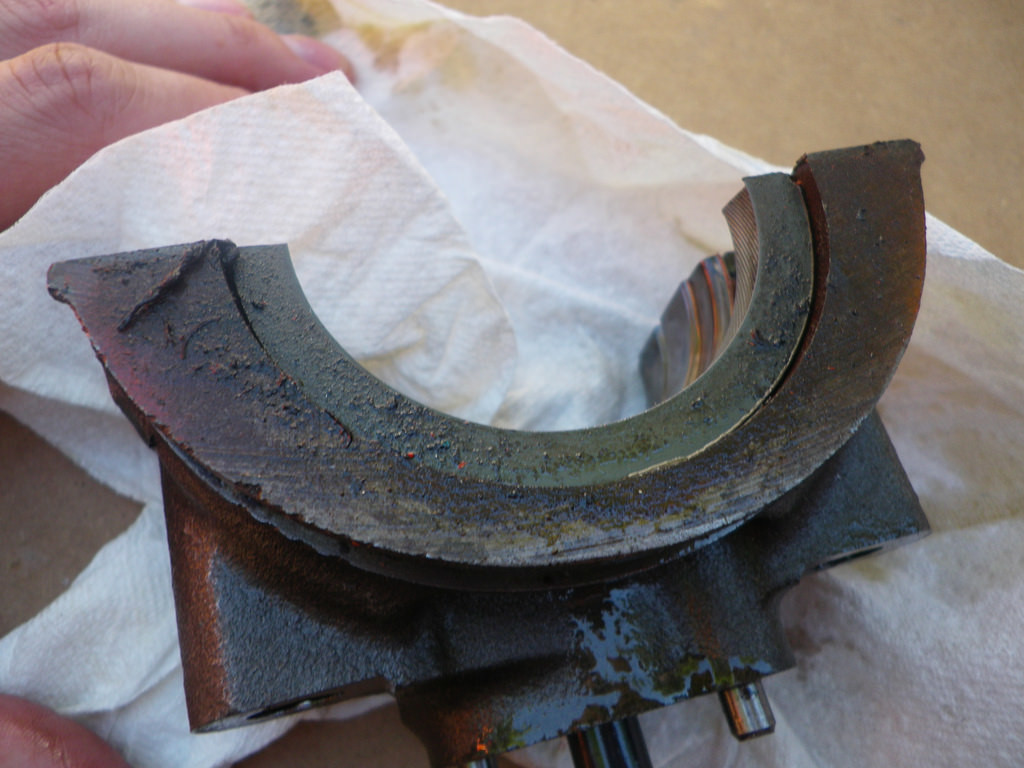
Here's a pic of it all cleaned up.
I ran out of time for the day. Now I wont be able to get back at it for 2 more days. I'm going to carefully tap out the upper part of the seal and spray brake cleaner up there. Try to get it as clean as possible. When I install my replacement, I want to offset it a tiny bit so that the seal doesn't sit evenly with the block like my old one did. Hopefully this will cure my oil leak woes.
7-19-2010
Today I replaced my rear main seal. I carefully tapped on the old seal until it started to push out the other side. I had to tap on both sides to get it to loosen up. The person that installed my rear main seal used a tiny bit of silicone and so it was harder to get out.
After it was bumped out a little bit, I grabbed it with needle nose pliers and pulled it out the rest of the way.
Check out my replacement seal. Notice anything different?
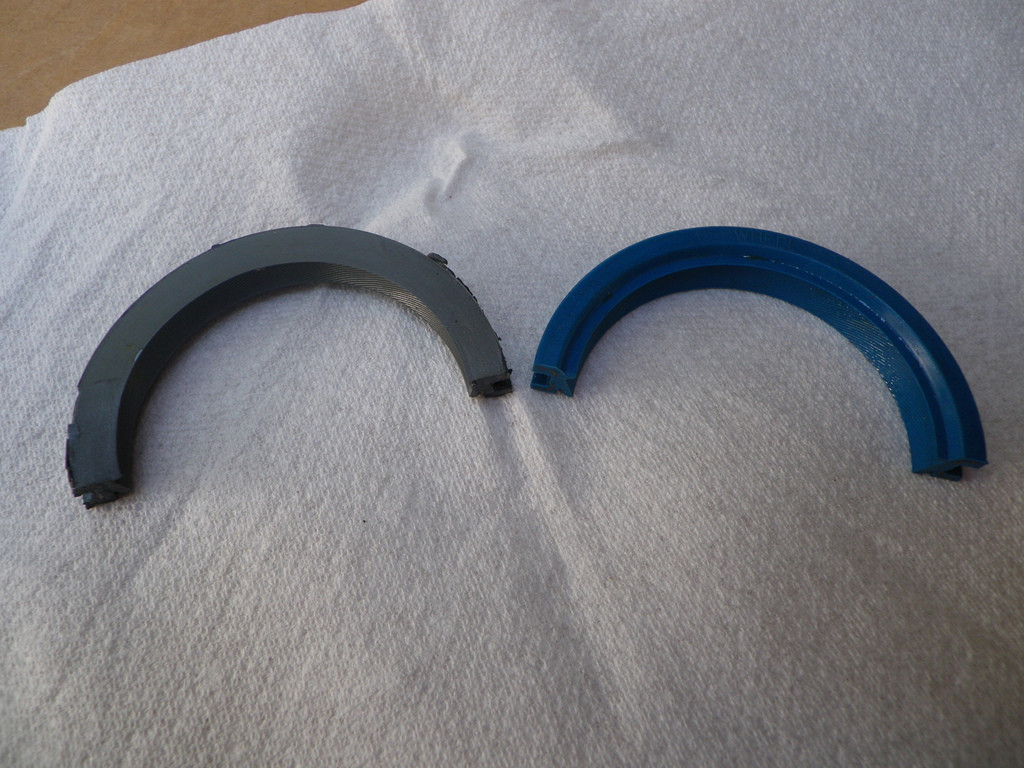
At this angle you can see that the mating surfaces are moved over a tiny bit. My replacement seal rides on the crankshaft in a different location. A nice surprise for me. So if/when you decide to do this verify which seal you have.
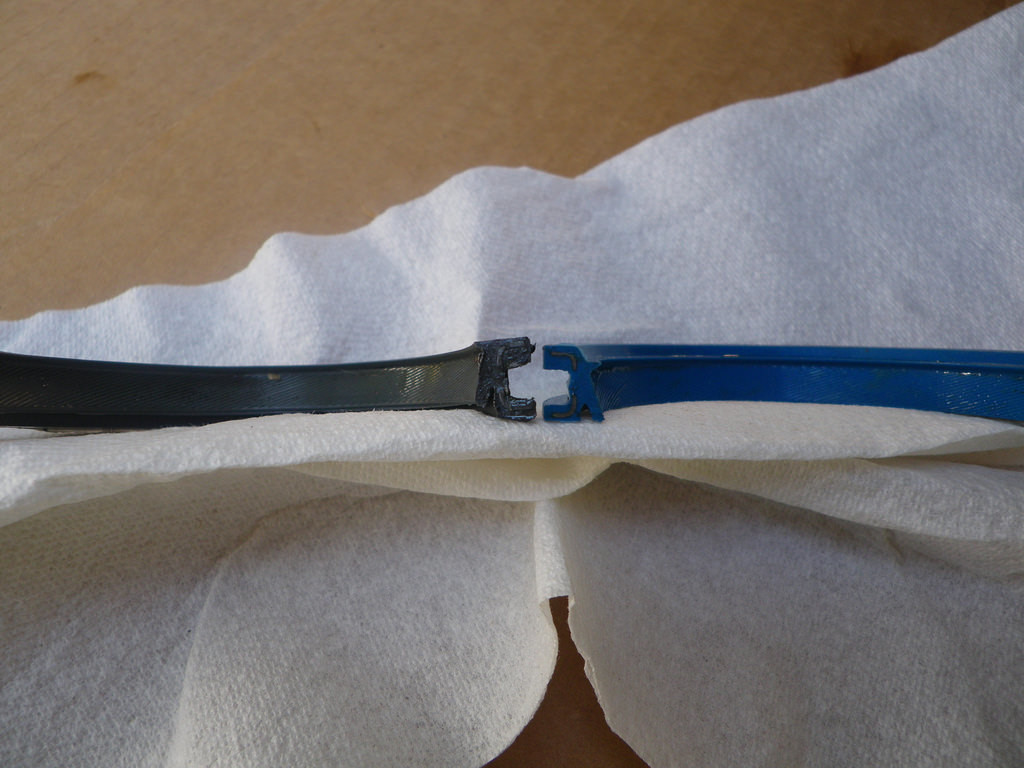
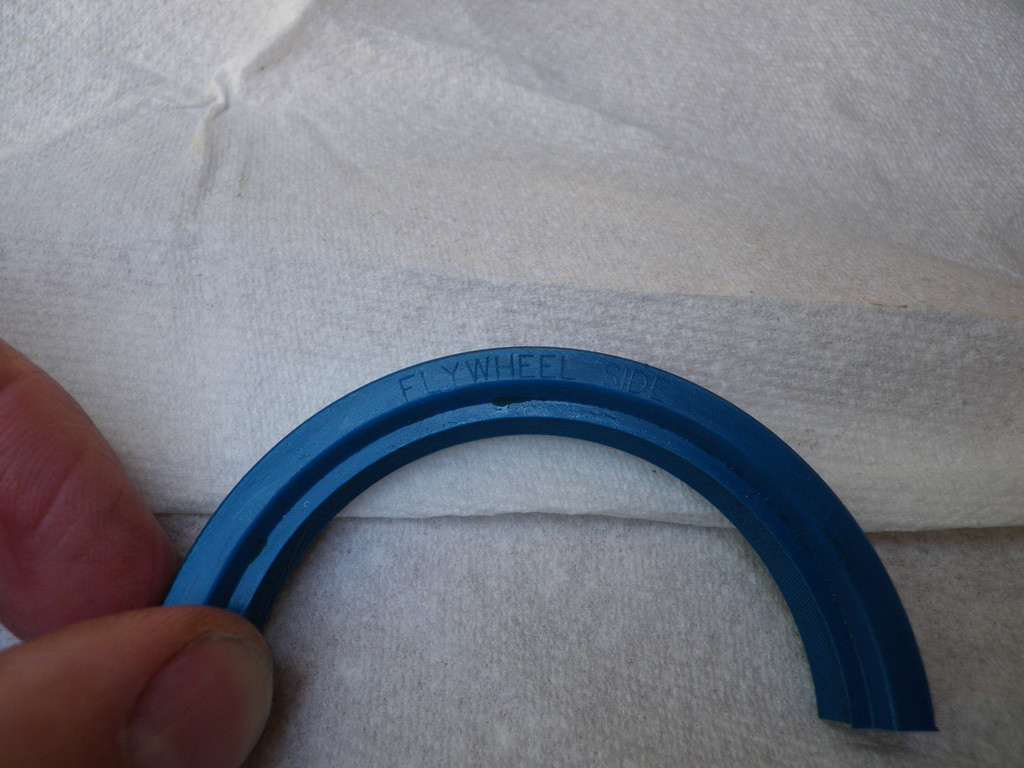
The replacement seal clearly says which side is facing outward from the engine. Apparently this is a somewhat common problem. Make sure you put the seal in facing the correct way!!
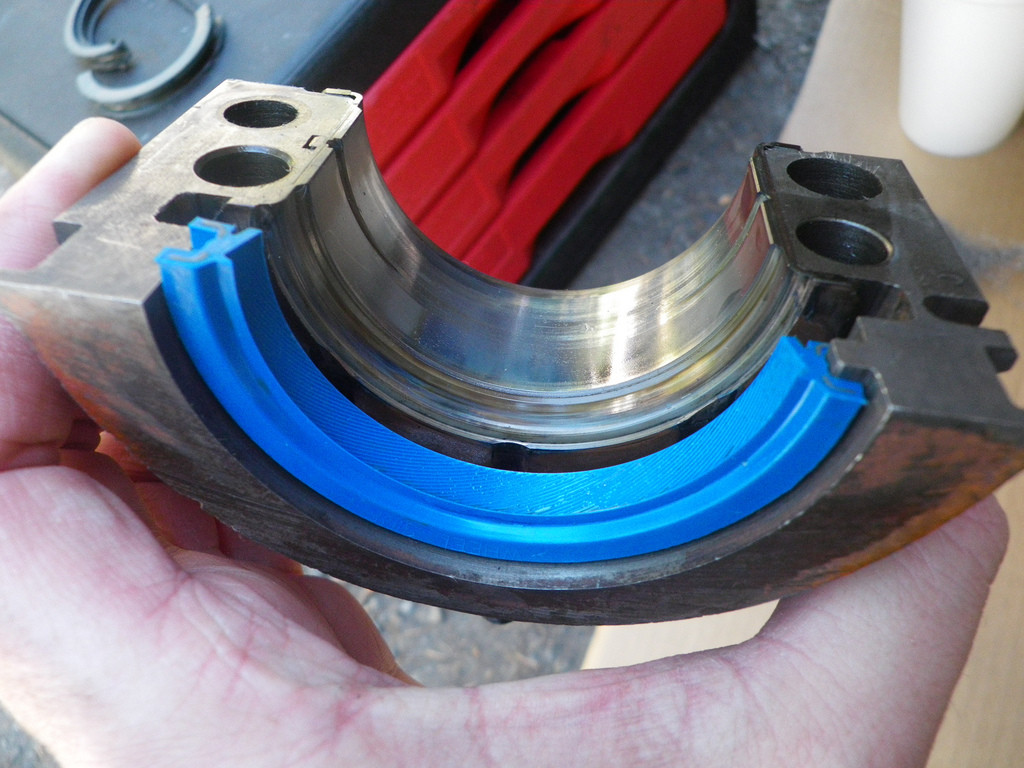
One of the tips I was given was to install the seal slightly off from the main cap's mating surfaces. You can see that it's only off a tiny bit so that the seal and the cap don't have to seal in the same spot.
After this pic, I put on a tiny bit of silicone. The instructions say to put it on the metal mating surfaces, not the seal itself.
Next, I pushed the new seal and main cap into it's former location and torqued them down to 10 ftlbs. I let the silicone setup for about 20 minutes and proceeded to torque them down to 70 ftlbs.
Hopefully I wont have any leaks!
10-11-2010
Okay, I finished up my oil pan and started her up. The oil pan didn't appear to be leaking, but my transmission lines sure were. They were leaking on to the headers really bad. So, I had to replace them.
Here is the thread I posted in the transmission section. >>HERE
Fittings on a TH350 are NPS not NPT. The transmission will accept a NPT fitting, just be sure not to over tighten them.
I decided to piece together my own kit instead of buying Summit's kit. I do like the look of the nickel plating that comes in the Summit kit, but decided to save a few bucks and go with the classic blue. Also, I want to route my lines out of the way so I decided to order 15 feet of line instead of the 10 feet that would have came in the kit.
Summit's kit costs 173.44 (Includes a cooler. I already have one.)
SUM-220649 (x2) Cooler fittings
SUM-221301 (x4) Hose ends
SUM-230615 (x1) 15' hose
RUS-640520 (x1) Trans fittings
Total 111.64 + shipping
I like the Russell fittings better than the ones that are included in Summits kit. I know they're a bit spendy but hopefully they'll be done right this time and I'll never have to deal with them again.
I had considered ordering a new hard line from online tube. They're asking 75.00 for a stainless steel line.
Below is how I installed my braided lines.
First off, it turns out that 15 feet wasn't enough to route them where I wanted to. I had planned on routing them along the frame rail, behind the battery, around the core support. I didn't have enough line to do it that way, so I ended up routing them under the core support where the frame ends near the bottom of the battery.
So here is where I mounted my transmission cooler.
Previously, I had the stock lines running to the stock cooler in the radiator. After that, they ran to the B&M cooler, and back to the transmission. I have a transmission temperature gauge installed. After monitoring the transmission, I do not believe that it is necessary, in my application, to have it installed that way. Instead, I ditched the stock cooler, and just installed my aftermarket one.
Here is the setup I used to remove the stock lines from the transmission. If you are planning on doing this install, or something similar, I recommend purchasing a set of crows feet. It made the job 1000 times easier. I picked up my set at Harbor Freight.
Here's how I cut them.
First wrap the part that you want to cut tightly in electrical tape. Then I cut them quickly with my angle grinder with a cut off wheel.
Tightly and quickly are key here if you don't want too many frayed ends.
After that remove the electrical tape and trim frayed pieces if necessary.
Next, pound this piece of the fitting on the braided hose.
Insert the rest of the fitting.
And tighten.
Here it is all done.
I didn't take any pics of the lines installed on the transmission end. It's basically the same though. There is no need to use Teflon tape on the AN fittings, but you do have to use them on the fittings in the cooler. This is because the fittings in the cooler are the actual part that's doing the sealing.
One thing that I would recommend is to screw the fittings together and apart a few times before you install them. I had to do this to get the anodization off.

Love the old camaros
Posted by Diggymart on 4/27/20 @ 2:39:52 PM