You must be logged in to rate content!
7 minute(s) of a 206 minute read
11-18-2009
Thanks guys!
I've been keeping myself busy designing the stereo system. The weather has been to cold and rainy to work outside.
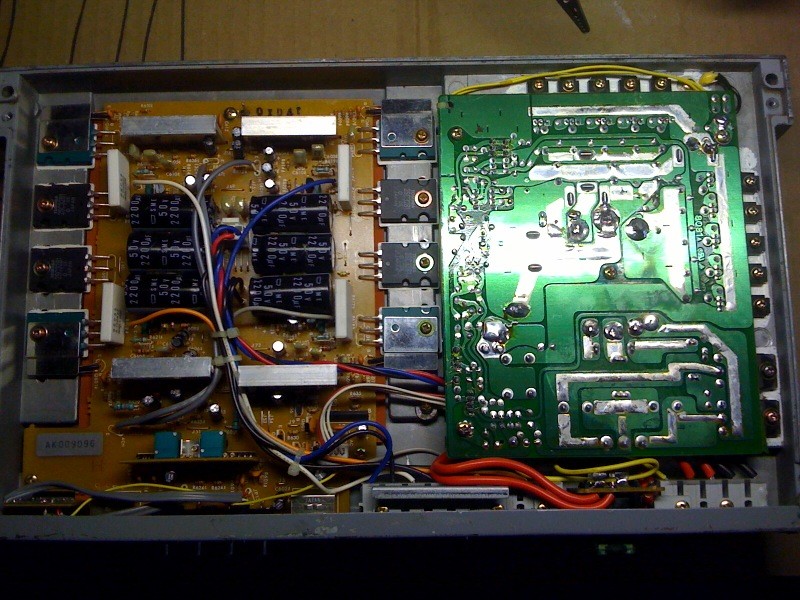
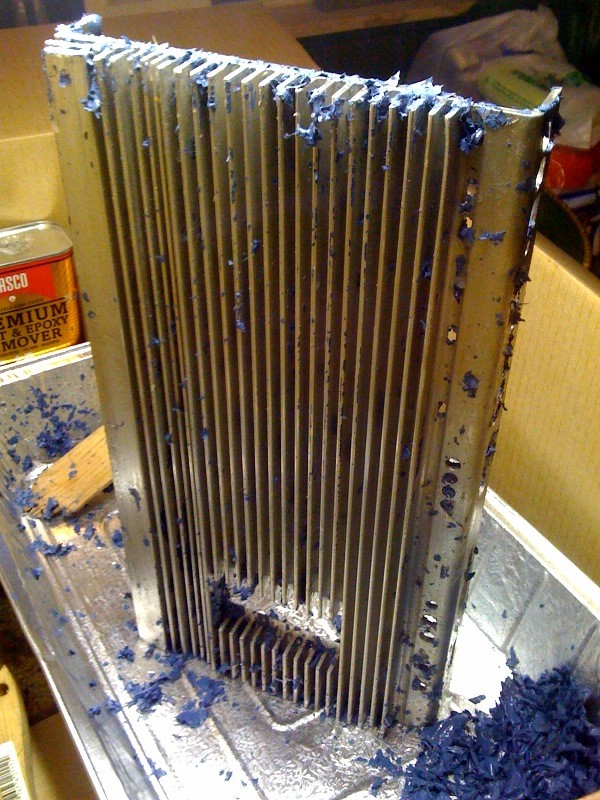
First of all I've been cleaning up this old Soundstream Reference 1000sx. You can see there is dust/dirt and minor corrosion.
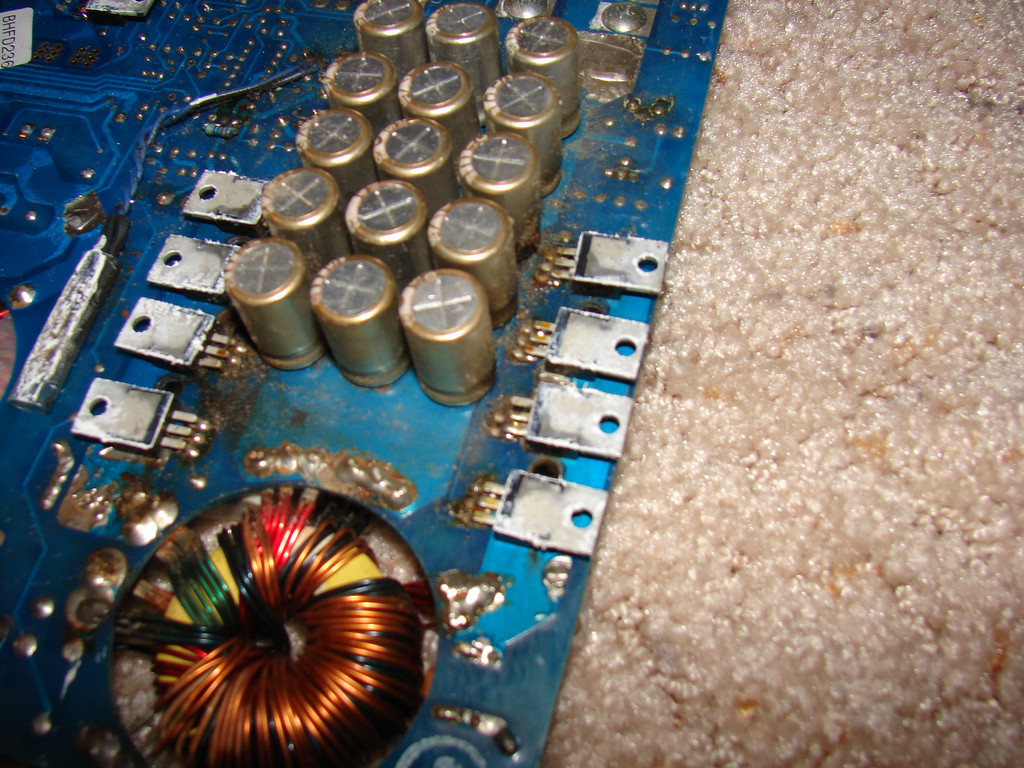
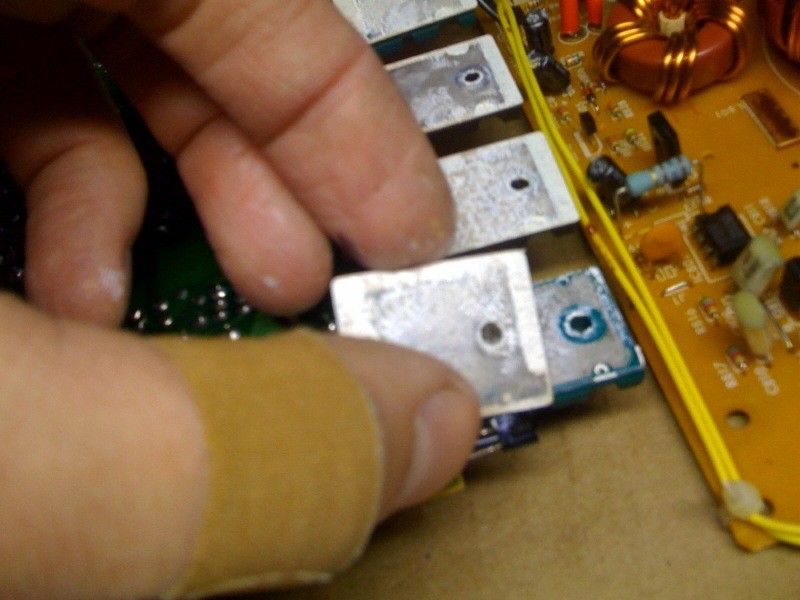
This is something I had never seen before. Where the board met the enclosure was this weird paper. After doing some googling, I found out that it acts as an insulator. I was worried that I wouldn't be able to find a replacement piece of paper.
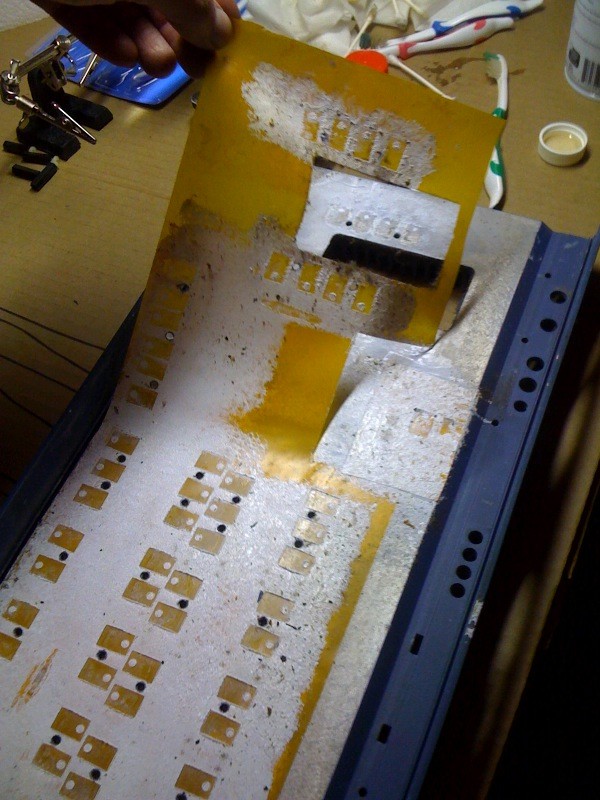
But it turns out that it cleans up well with rubbing alcohol.
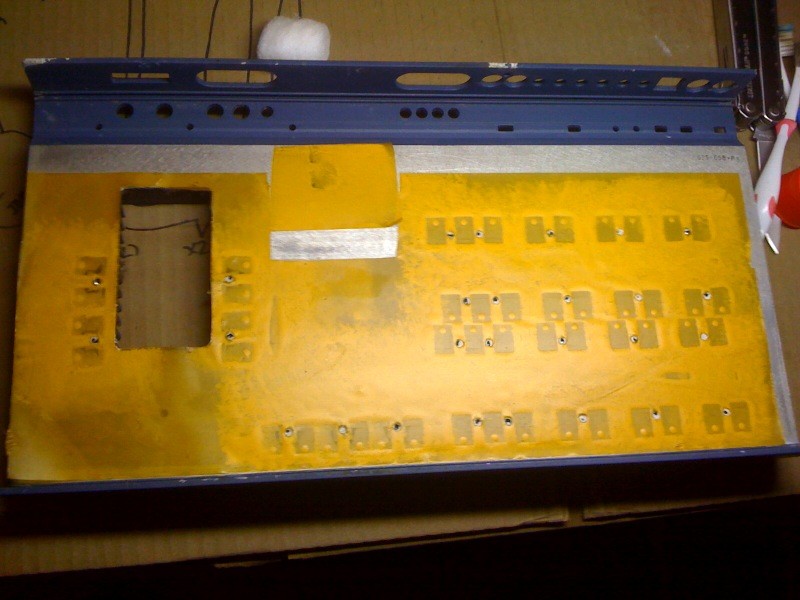
Here it is all cleaned up.
After that I moved on to my other amplifiers. A/D/S/ PQ20's.
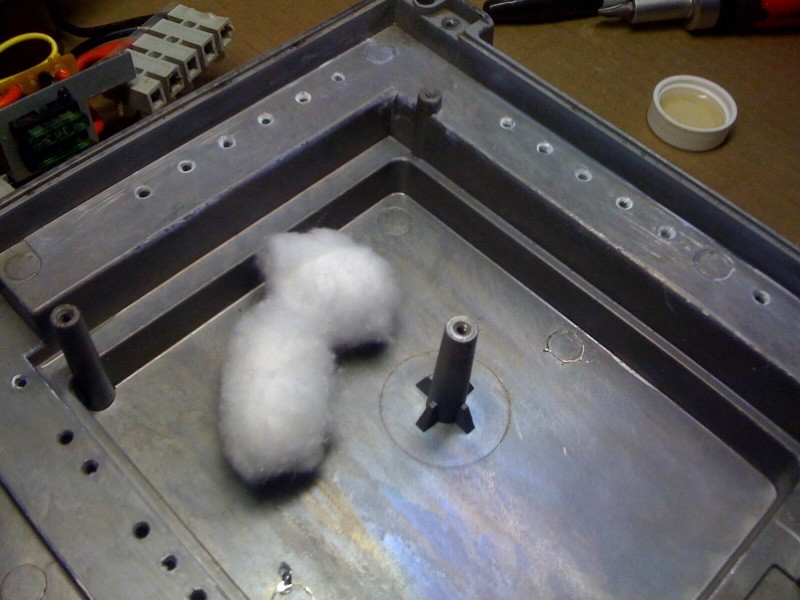
This amplifier is a much simpler design compared to the Soundstream. I took it apart and cleaned it up like the Soundstream. This is what the ADS uses as insulators.
All cleaned up.
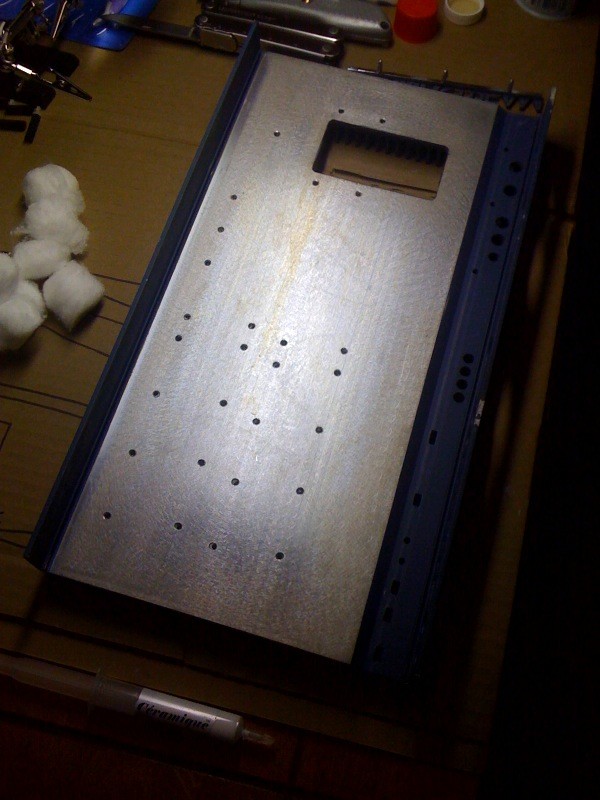
After that I moved on to stripping the paint. Something about how this looks always creeps me out a little bit. LOL
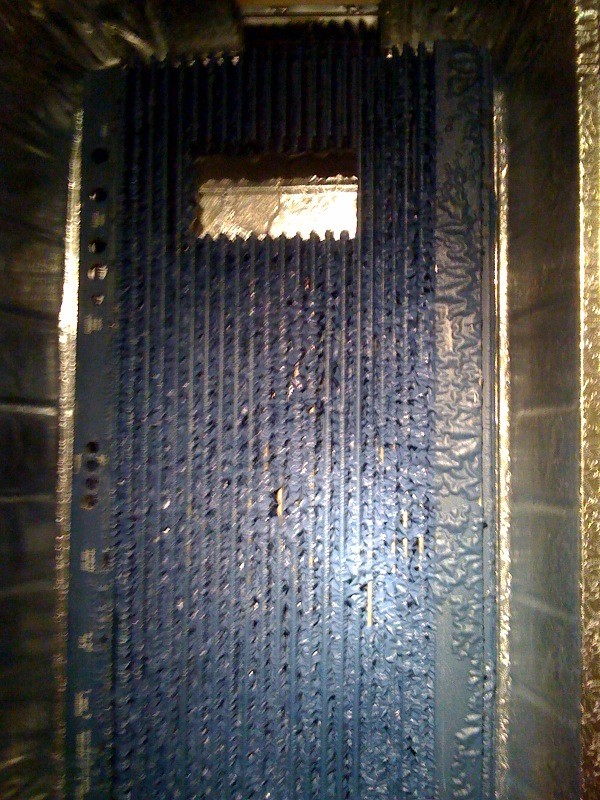
Almost done.
My original intention was to have all three amps powdercoated. I looked into it. First off it would have cost about 100.00. I think I could probably deal with that, but after I got to talking to the guy and looking for a powdercoat that I like, the total became 160.00. That's ridiculous. So, I decided that I'm just going to paint them.
Meanwhile, I've ordered some cable, and 30 RCA ends. I plan on making my own RCA cables. I still need to order speaker, power, and ground wire.
2-22-2010
Thank you to every one of you! I really appreciate the comments. I know I didn't do everything right, but hopefully people can learn from my mistakes!
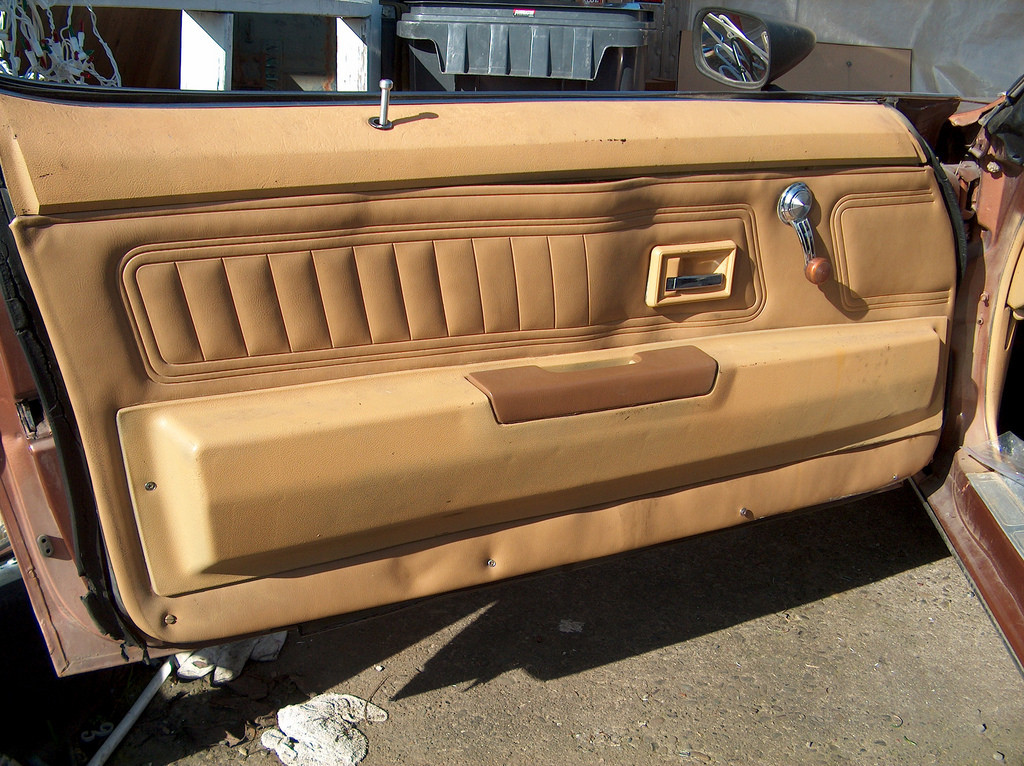
Here are the "custom" door panels that I started with. The previous owner tried to change the interior over to tan, from black, but didn't do the best job. (I added the billet door lock knobs, BTW)
When I got the door panel off I discovered that someone cut a hole for a speaker at some point. Terrible location for a speaker by the way.
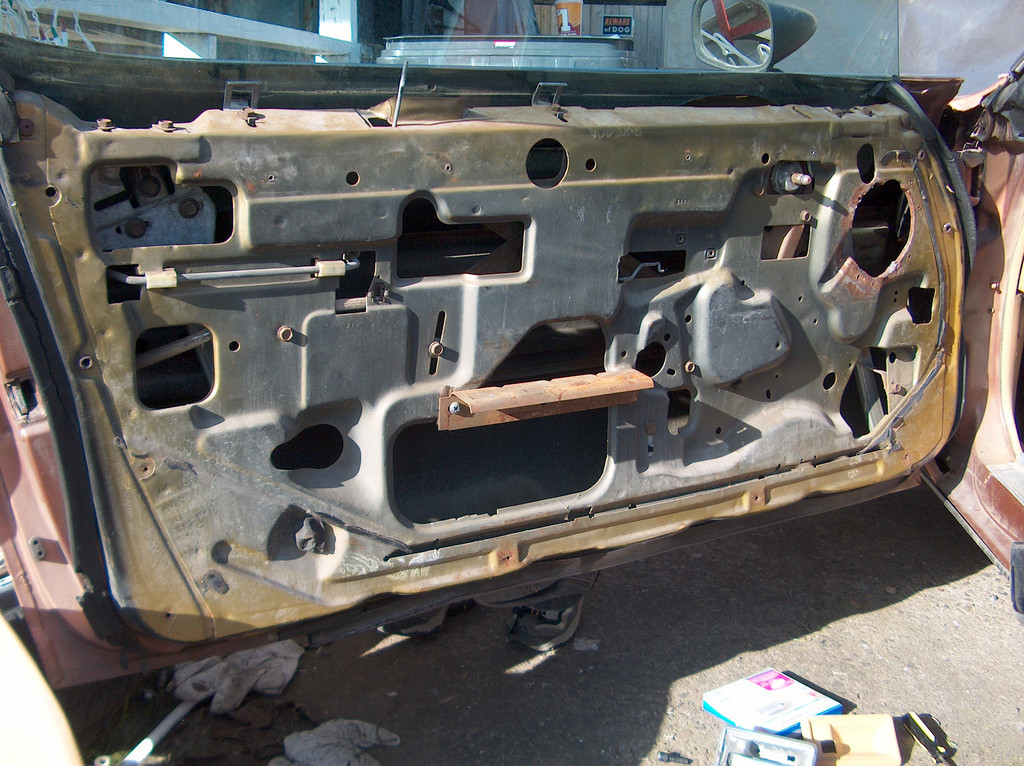
After that I cleaned the inside of the door out. Then I removed what was left of the stock plastic. Next, I wire wheeled all the surface rust off, and finally I hit it with some rust preventative paint.
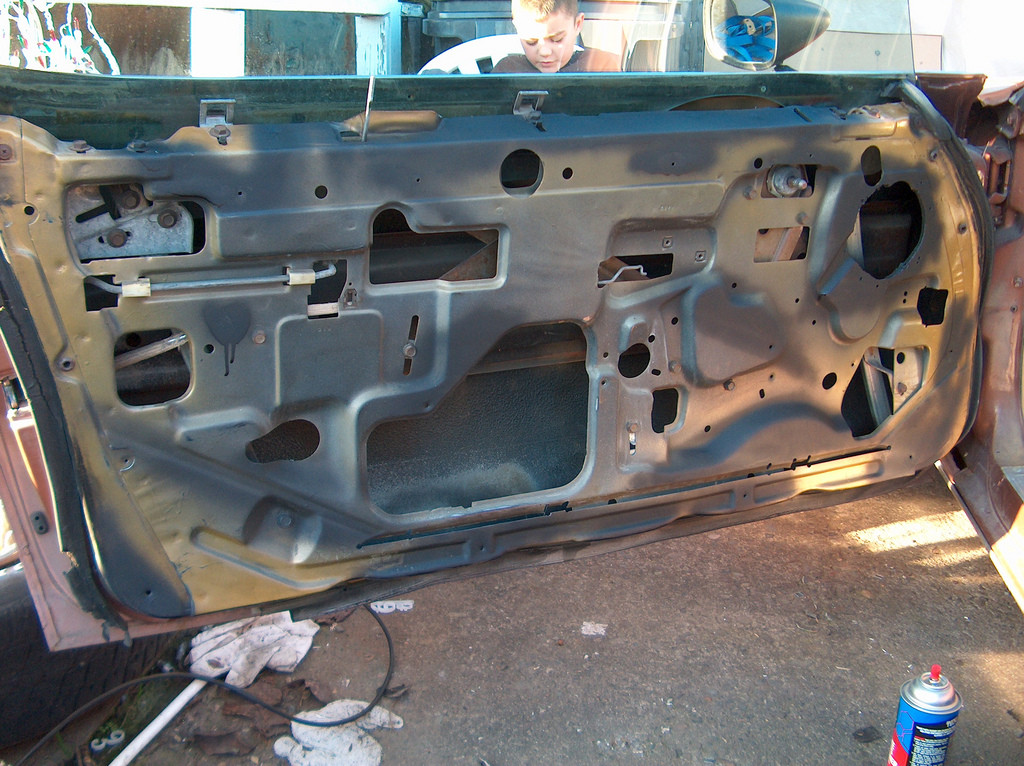
Right now I'm working on getting the window felt cleaned up and removing the door lock surrounds. After that, I need to modify my year one panels for those pieces.
Hopefully the weather will hold out one more day so I can finish up this little part of the install. On a side note, I did pick up a new oil pan gasket, and a new rear main seal. Before I tear it all apart again I want to jack the car up, clean everything and see if I can identify for complete certain where the oil leak is coming from.
The last time I checked it wasn't the intake manifold or the oil sender. It seems like it has to be the rear main seal. Do you guys think I should try to replace it in place, or pull the engine? I've never replaced one while the engine was still in there.
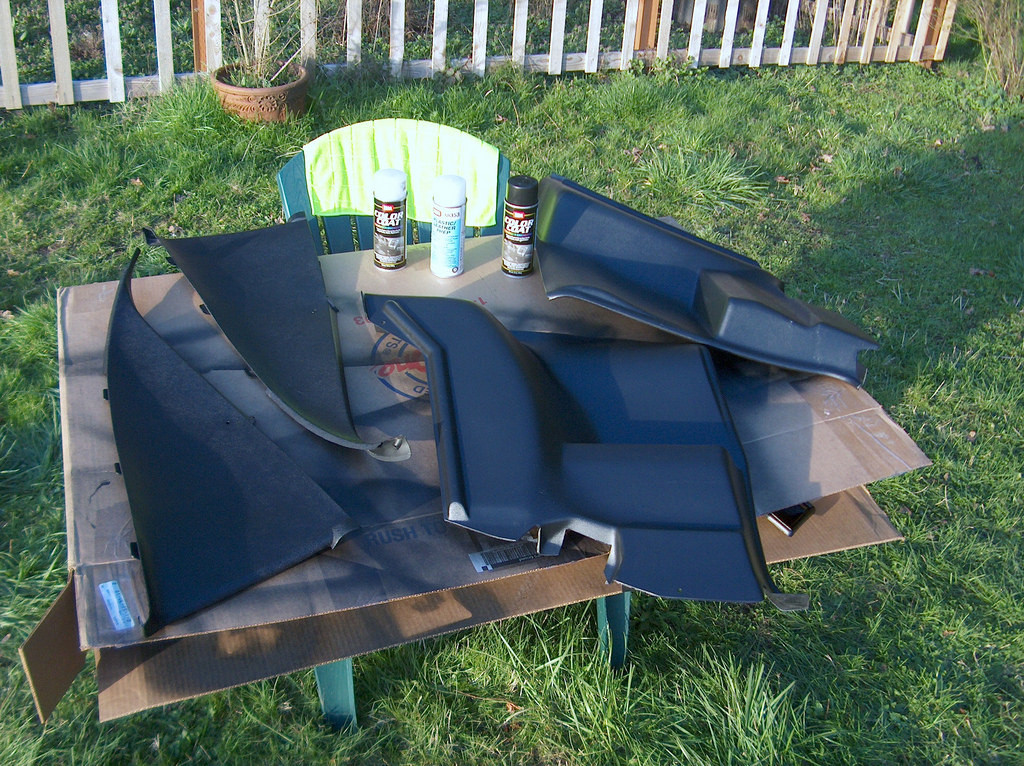
Unfortunately today I didn't make it over to my father's house to work on my car. Instead I got to go to the dentist! Yay! So I worked on prepping some of my other interior parts.
A while back I searched around for what people recommended using for interior paint. The SEM brand paint is what I decided to go with. I think I ordered mine from amazon.com.
I ordered 4 different paints:
SEM Plastic/Leather Prep 38353
SEM Landau Black 15013
SEM Satin Black 15243
SEM Low Luster Clear 13023
The Landau Black is for plastics (Door panels, Sail panels, Kick panels, etc.) and the Satin Black is for metals. (Head-liner surround) Low Luster Clear is for both.
I used the plastic prep first then shot two coats of the Landau Black, followed by a nice coat of Low Luster Clear. I didn't think to take a before shot, but the difference is quite amazing. Besides the gouges and scratches in the panels, they look brand new!
Sorry for the terrible pic. The sun was setting. This picture really doesn't do them justice. They look great!!
3-3-2010
Thanks!
The weather has kind of sucked around here lately. I did manage to get a tiny bit done. Basically I decided to mess around with POR15. I bought a little kit like the one here:
http://www.por15.com/SUPER-STARTER-KIT/productinfo/SSKB/
I followed the instructions in the kit and cleaned, then prepped the surface. Then applied the POR15. I wish POR15 made an aerosol product. That would really be ideal for me since I don't have an air compressor.
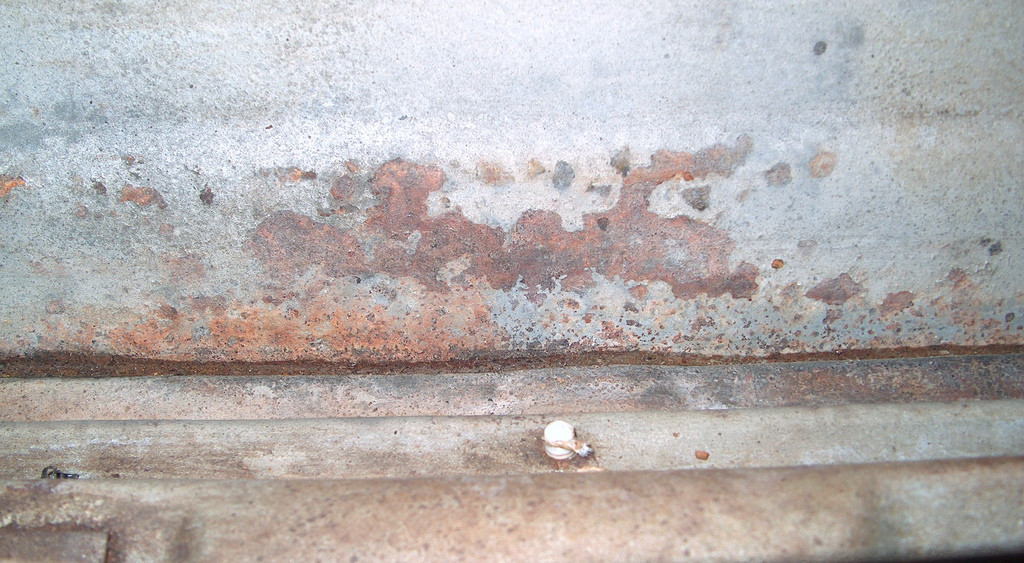
You guys can see my door above. In so-so shape, but nothing too bad for their age.
Here's after wire wheeling down.
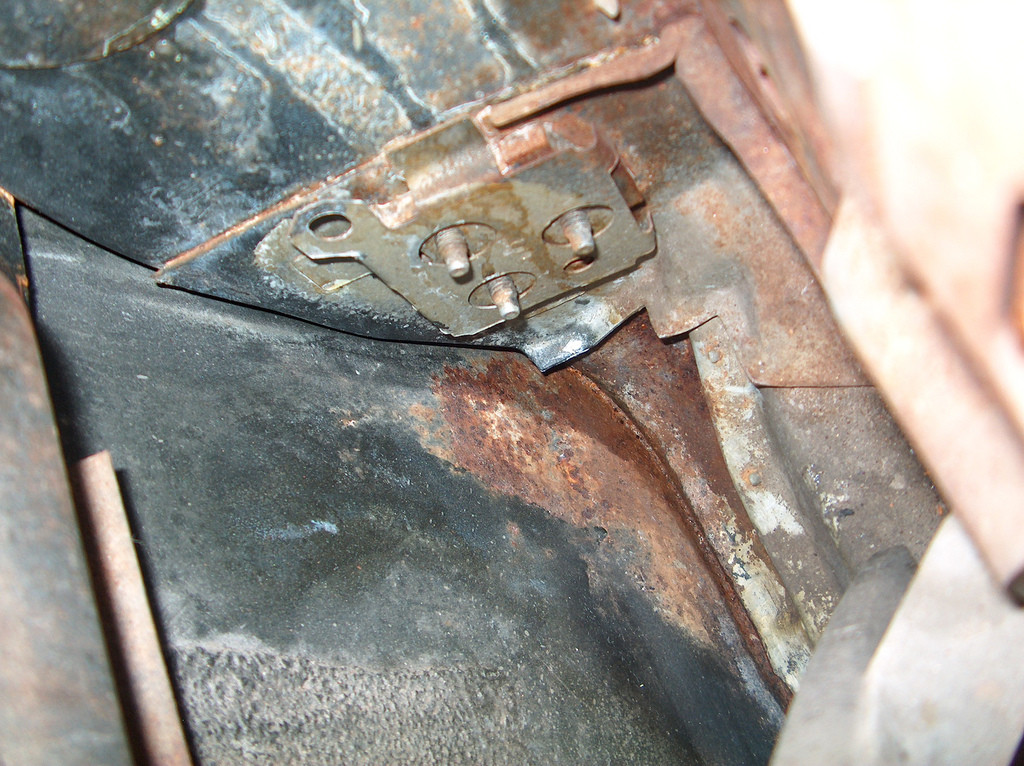
Here's the bad spot in the corner.
...and after I applied POR15.
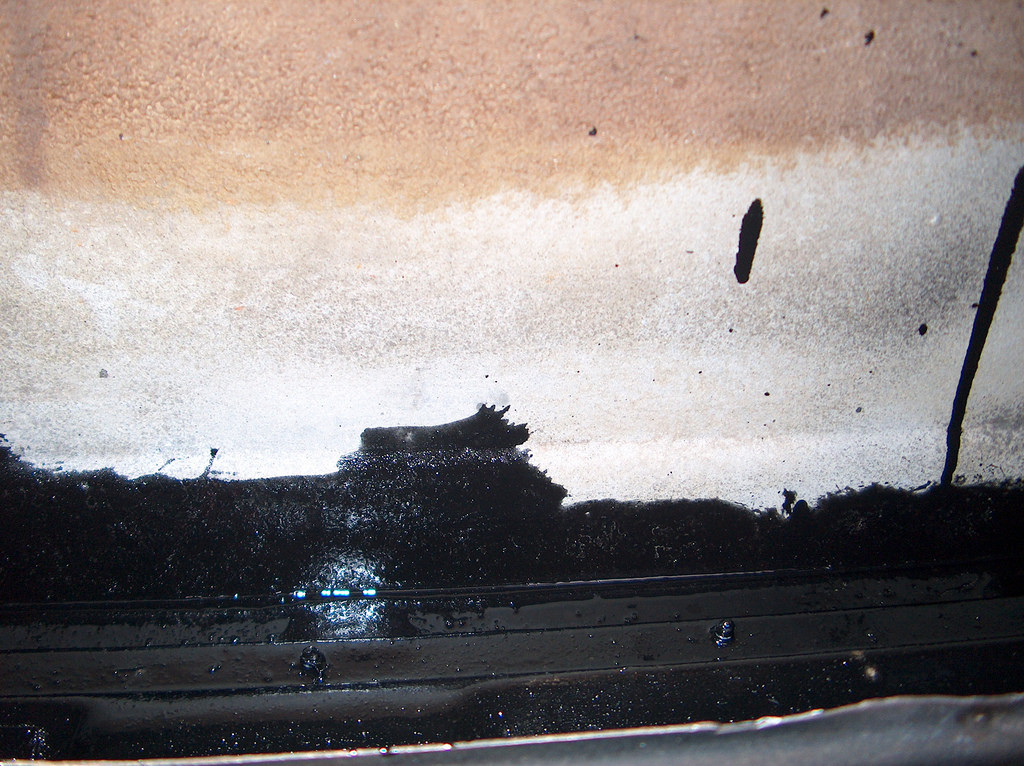
I cleaned and painted all the spots I could reach. I don't really know how you would get all the spots without taking the door off and completely taking it apart. Again, another project for when I have a shop! But for now, I think they are better than they were before, although I know they aren't as good as I would like them to be. I just couldn't reach everywhere!
Love the old camaros
Posted by Diggymart on 4/27/20 @ 2:39:52 PM