You must be logged in to rate content!
9 minute(s) of a 668 minute read
10-20-2014
Jims-87YJ, 106 pages and it all starts with page 1. It's been a while since I've gone through all the pages but I do remember not only all the project pictures but everybody's involvement, a big to everyone who has helped keep this thread going.
As for this truck being a thing of beauty, I can't count the amount of time I've just sat back and imagined the finished project and the finished look, it's getting kinda exciting.
Hi Jeff88, not yet , well actually I did take some time in spring and collected about 20 truck loads so I have some well seasoned wood ready. Although I do want to get some this fall yet.
Here's where we have to have a time strategy. I have odd and ends that still need paint. Some of these items are for assembling the front fenders and grill area. I'm planning that as much of the warmer weather we have right now I want to get as much as I can painted. This way, over the winter I can assemble much of the truck. If I pull myself away from the truck project I may regret not getting as much done now to keep myself busy all winter.
If I have it figured right, I hope to paint the bed in spring and shortly there after first test drive. Now remember, this is coming from someone who thought it would be done in June 2013.
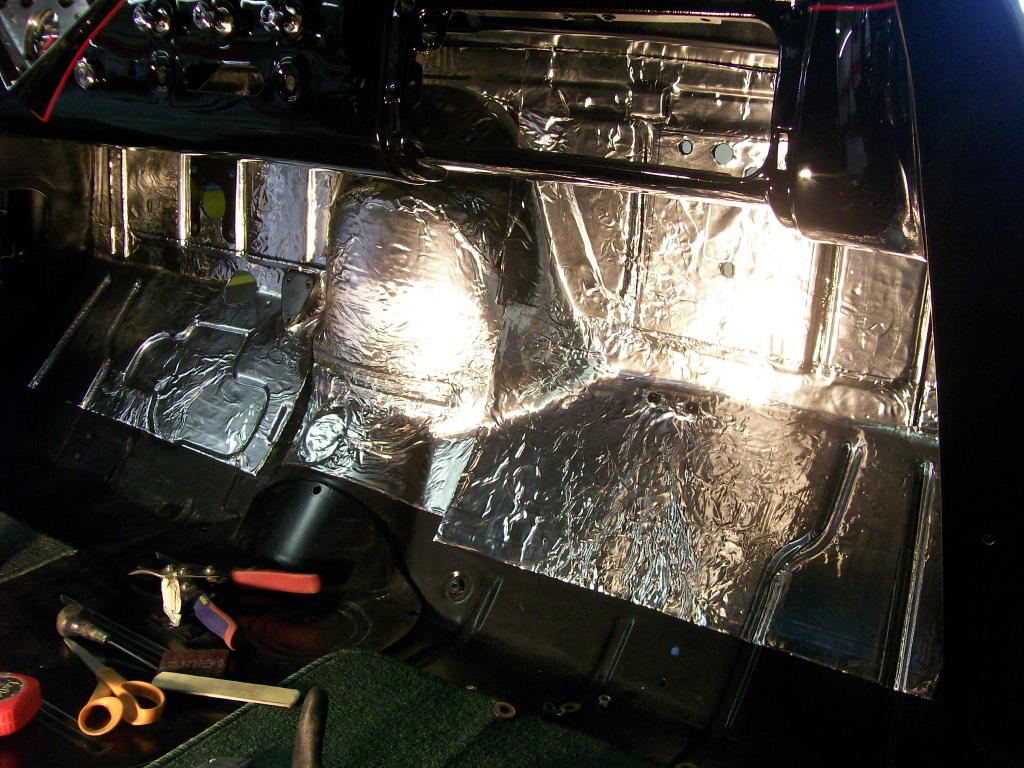
Ok, back to the shop, I've started laying down and fitting the sound deadening stuff on the floor. Pretty decent stuff to work with so far.

10-31-2014
I'm still working on the truck. I had a set back.... after all the sanding and buffing on the hood I decided to repaint it.
I opened the garage door all the way about a week ago, it was near sunset and the sun was able to shine to the back of the shop where the hoodwas. As I looked at the hood to enjoy the shine I noticed some sparkles in the finish. They were in the front of the hood, right where one would see them as they stood in front of the truck. I waited a couple of days trying to ignore the sparkles but they just bothered me more. It seems some of the silver metallic had transferred onto the black.
After 1000 grit paper then some taping, a couple coats of black and clear, it's sanded and buffed and I will not see those sparkles again.
The hood issue got in the way of interior work but I had to paint it before the weather turned too cold.
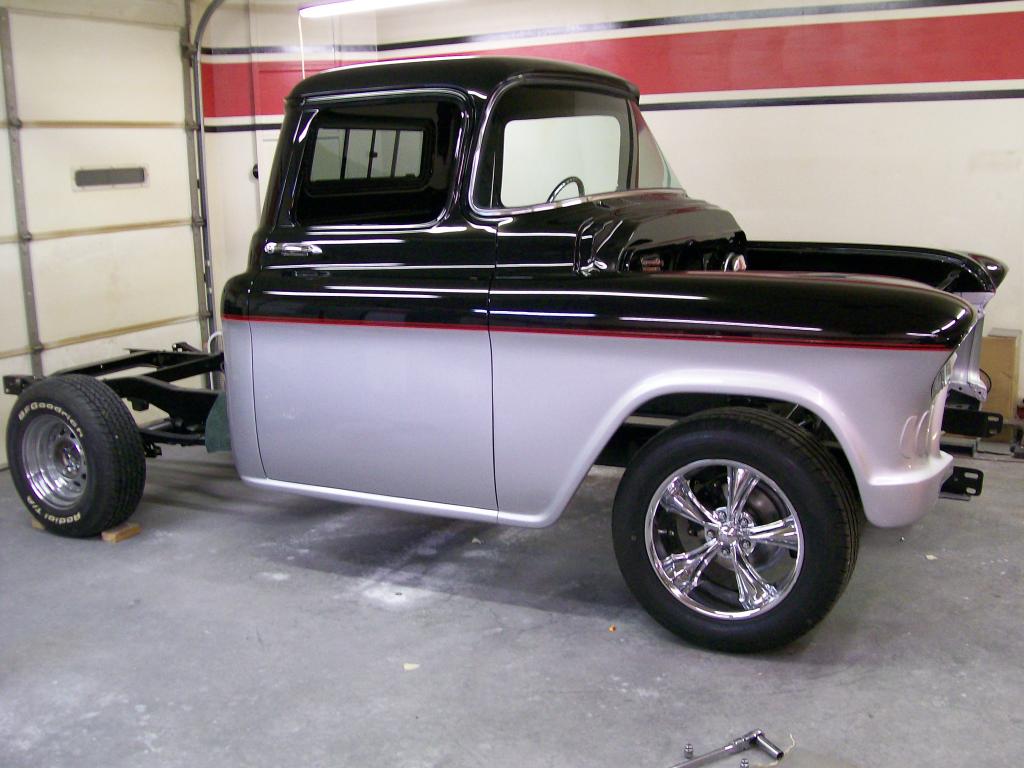
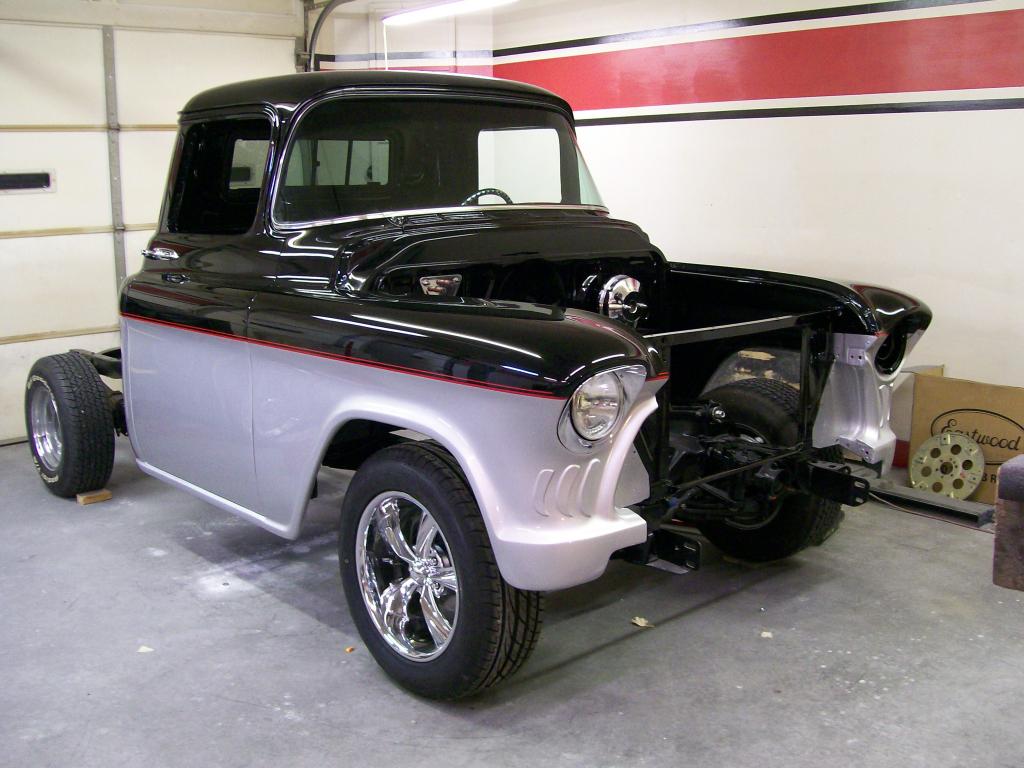
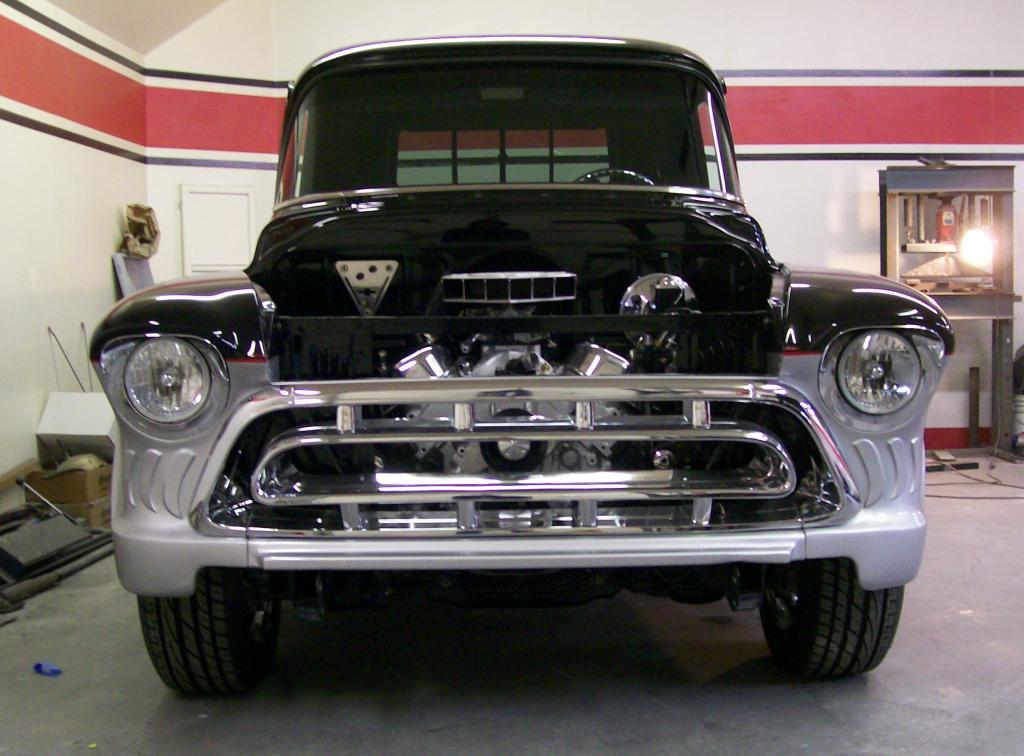
I did take the time to assemble some of the truck, it's moments like this that after years of work you just need to sit back and enjoy the view.
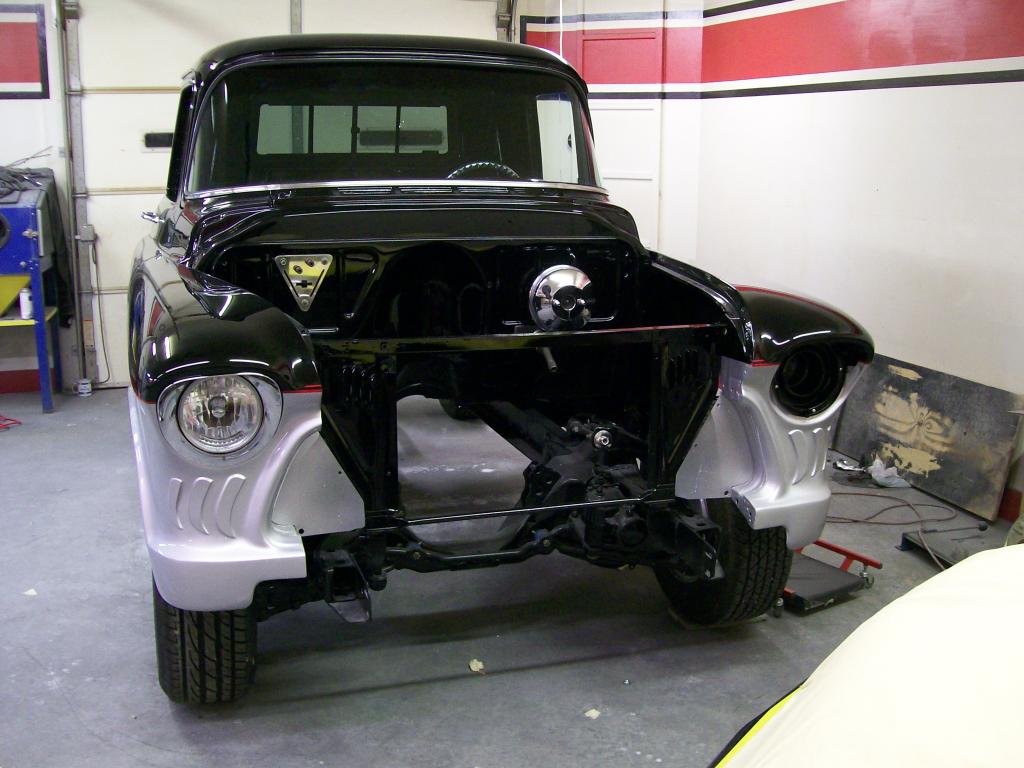
While restoring old vehicles it's important to keep things on their proper order. Such as... I'd really like to install the engine a transmission but I have a couple of pieces to paint since Sunday is supposed to be mid 60'S. I have to manually push the truck outside and if the weight of the engine was in there I couldn't push it back into the shop. Once the weather turns cold for good I can start installing the drive train.
I have to install the door windows and am going to due a light tint on them, I've never tinted windows so I figure doing them uninstalled would make it easier.
That's were we are for now , Jim
, Jim
11-3-2014
Thanks guys, I agree, it's looking great.
I have begun installing the sound deadening stuff. I don't remember why I chose the Jegs brand but I'm very pleased with it. Once I figured it's characteristics it cuts, shapes and adheres pretty cooperatively.
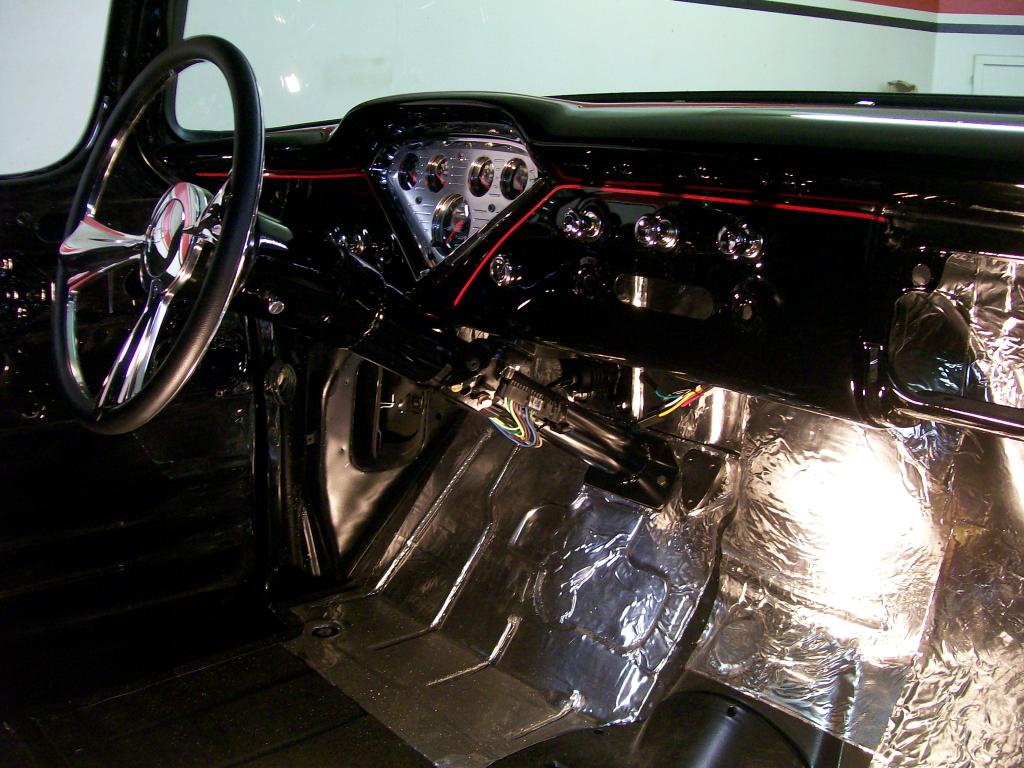
Soon I should be into the wiring and at the moment I'm dealing with the weather striping around the side wing windows to prepare for door glass installation.
11-4-2014
Thanks you Gojeep, I'm about at the stage we all work for, seeing the colors working well together.
I have a couple of outside pictures today. First one is of the truck starting to look like a truck. I still want to paint the flat areas that follow the radiator support black. Once the grill is in place I only want black behind it.
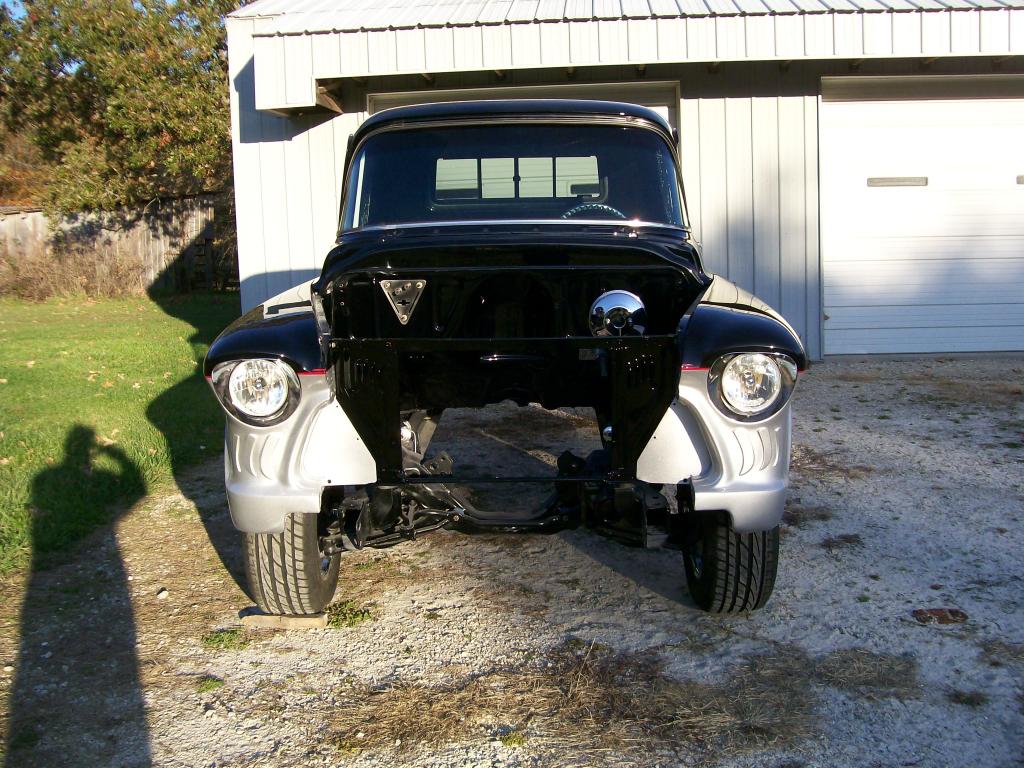
Admittedly, I did do a lot of block sanding during the primer stage as 91AzXJ mentioned working with old sheet metal can be a pain getting straight. I worked out most of the imperfections especially since I was going to use black.
Here is where all the hard work pays off.
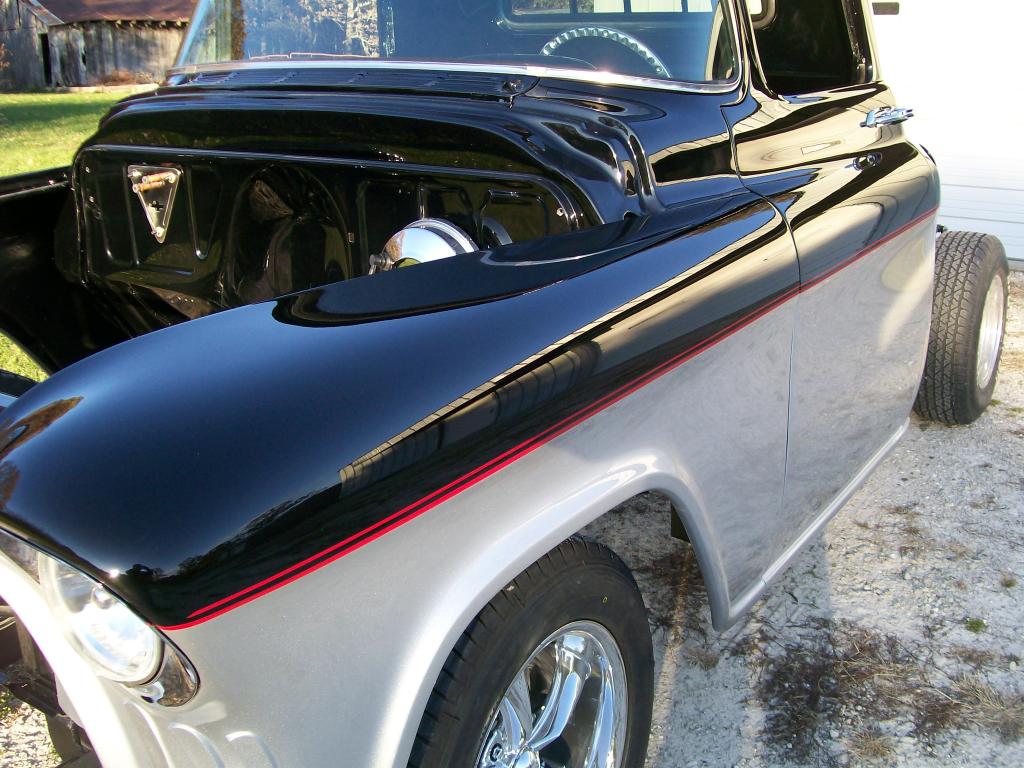
Here is one of a reflection of an old barn on my property. I took the picture but didn't realize how cool it was going to look til I loaded it on to the computer.

It's looks like the weather is getting too cold for me to paint til spring, I think I've painted most of the pieces I need to get most of the drive train and interior together over the winter time. Works for me, I've about had enough painting and sanding and buffing for a while.


11-20-2014
Progress has slowed due to other things needing attention but I have gotten some stuff done.
After two years of sitting on the engine stand the engine goes back into it's home again.
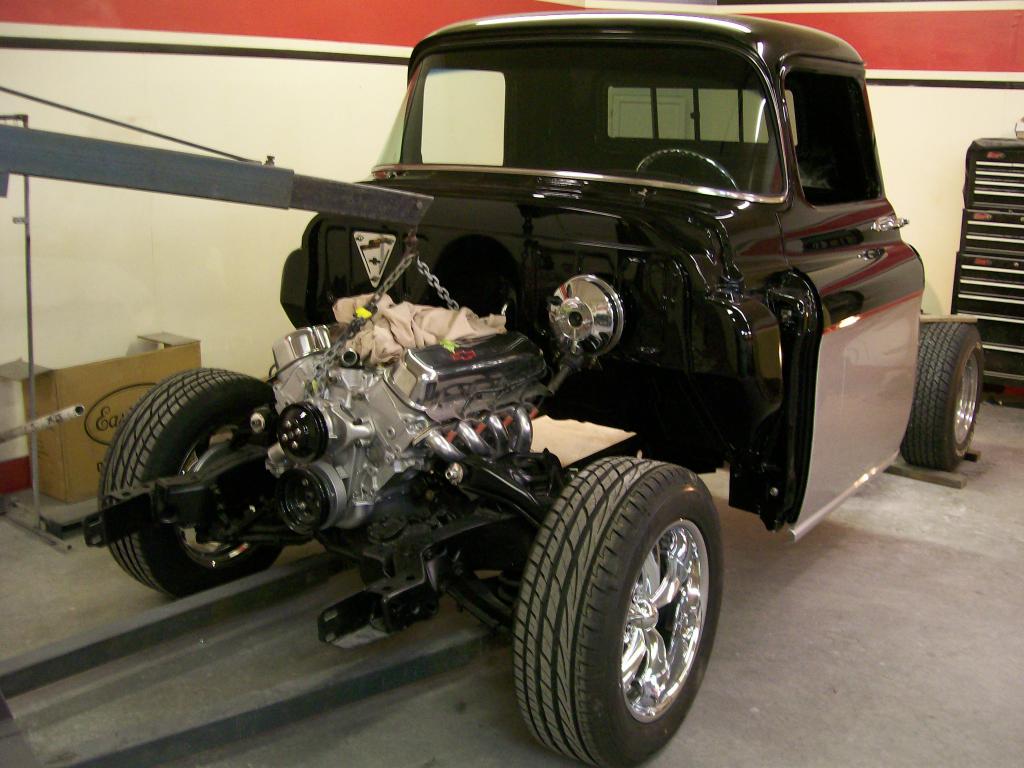
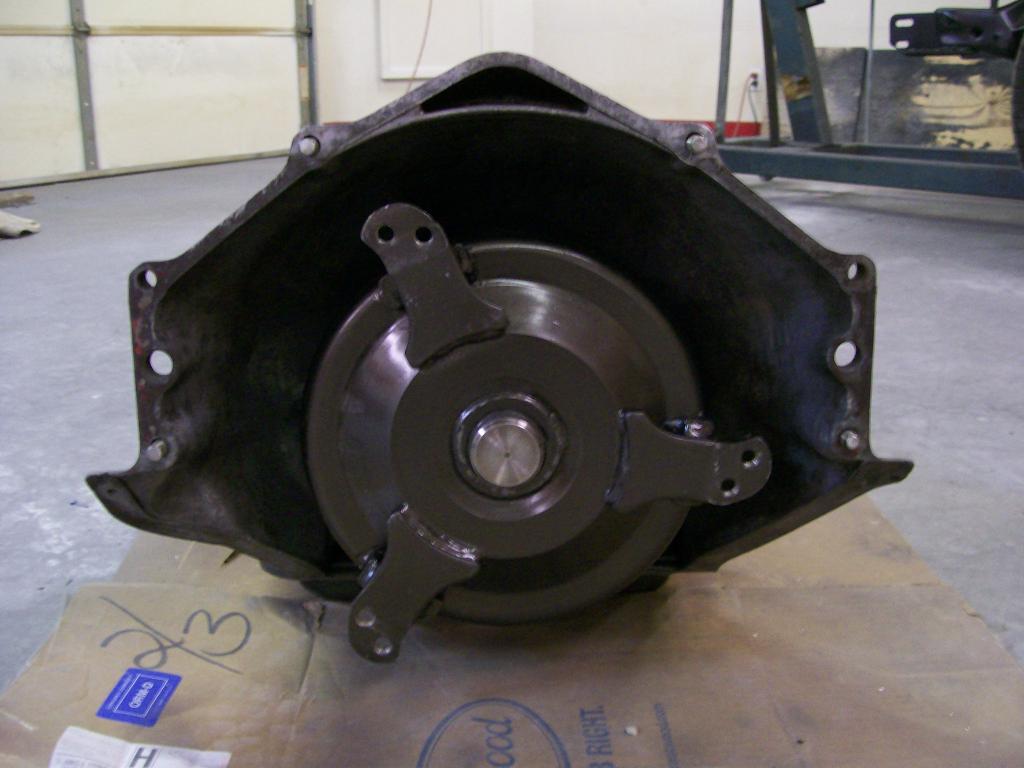
The 3000 rpm 10" stall converter sure looks small.
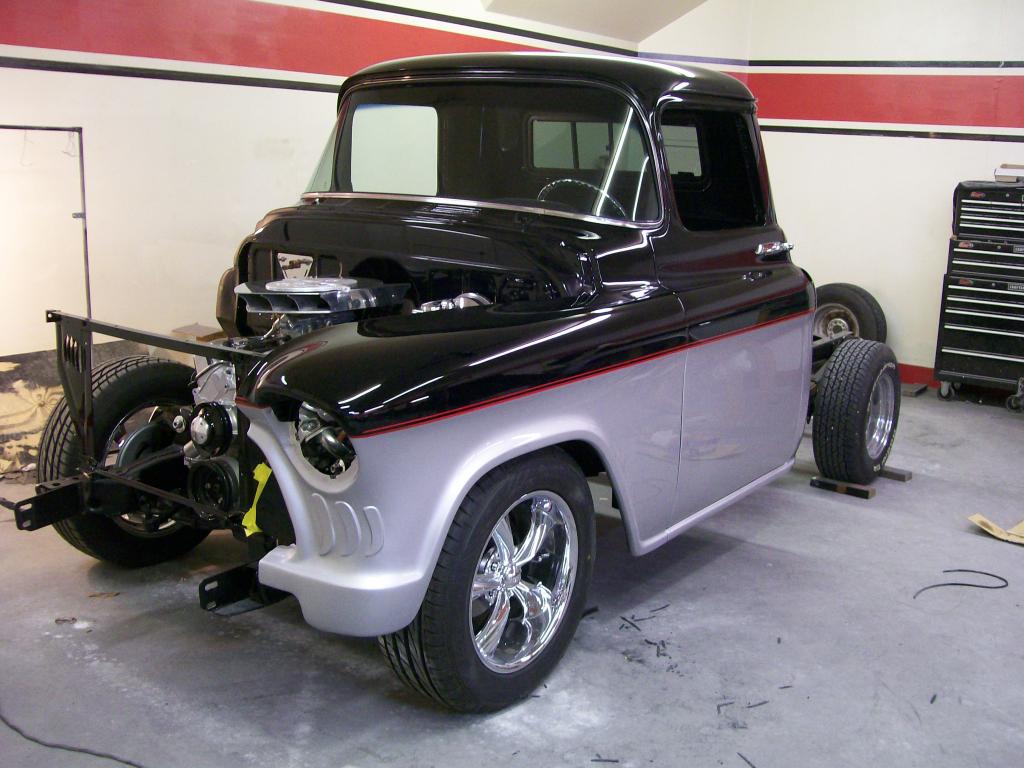
Ahhhh, that settles the front down pretty good.
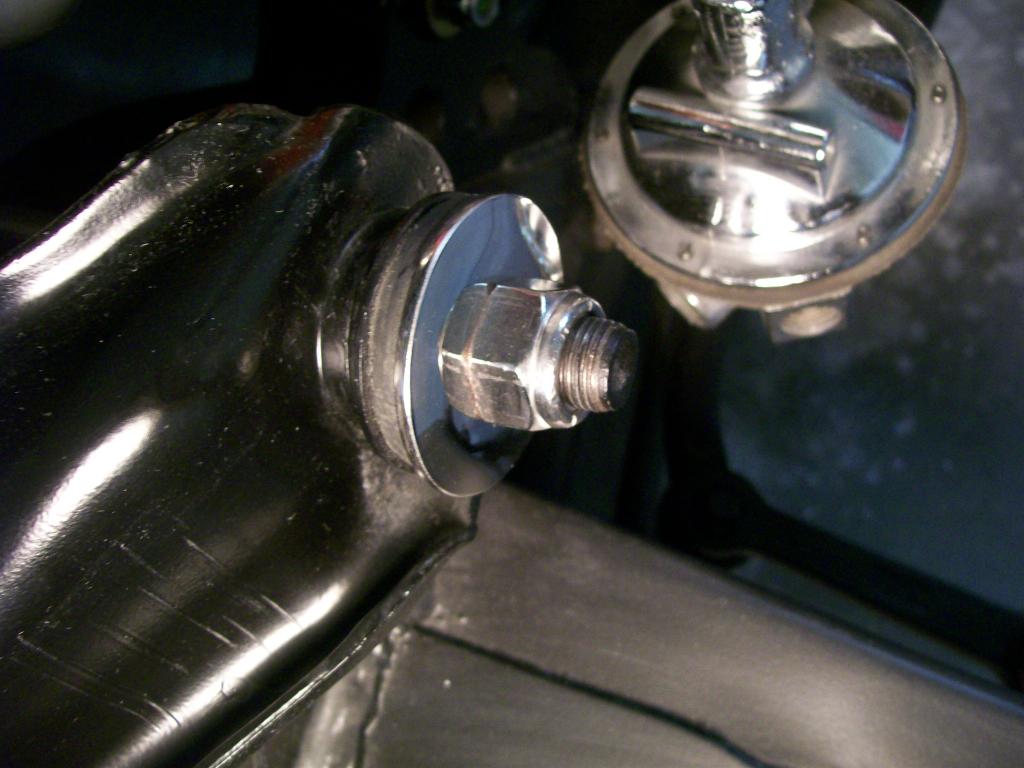
A while back I made my own control arm bushing washers from stainless steel. I ordered up some stainless nylon lock nuts, then had to turn them on the lathe, they were too long as compared to the original nuts, now looking good.
Although slow going on progress, everything I do now really stands out. I have to step into the shop every morning and stare for a couple of minutes before going to work.

11-27-2014
I'm just about ready to start the wiring. It's gonna take some real focus once I start and it's not gonna change the look of the truck. So for motivational purposes I've done a quick assembly so I have something to sit back and enjoy the view once in a while.
Putting the bed back on the truck also helps keep it out of harms way through out the winter also.
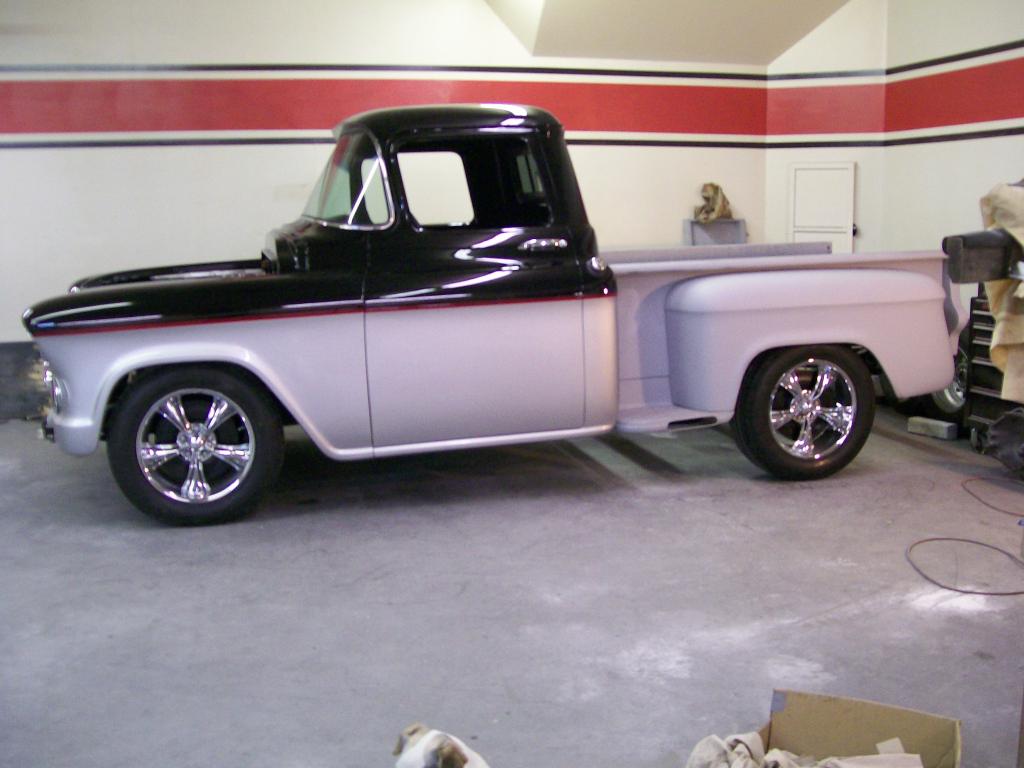
I still want to get the hood and front bumper on it yet but this pic shows the personality that the truck is taking on at this point.
Soon I need to start adding more of the before pics, it's always fun to see before and after shots together.
