You must be logged in to rate content!
8 minute(s) of a 97 minute read
9-14-2015
I seem to recall that the early rotaries (twin distributor style through '73) had a cross flow arrangement with side radiator tanks and a pressurized overflow tank. The later, single distributor style (starting in '74), and certainly the first generation RX7, had top and bottom radiator tanks, and a non-pressurized overflow. I will need to go into storage and pull out my old radiator stash to confirm.
So I think you are onto something.
I figure that Mazda threw a lot of effort into engineering things the way they did, and I am just a person mixing and matching things. They would have known a lot more than I do.
The high point of the cooling system in the Midget is actually right by the thermostat above the water pump, unlike the stock application, where the radiator was mounted so the upper tank was just as high. I may need to think about that and perhaps do a re-do, moving the cap and adapter up closer to the engine and higher up, and away from the radiator.
The overflow outlet on the radiator itself, right above the upper hose outlet, is turned up in such a way to draw any air to it. It does not just go horizontally out to the side. Another clue.
Paxton, the video is fun, especially with the sound turned way up (we rotarheads are kind of weird that way). Love the bridgeport lope. I have had good luck, sound wise, with a straight through presilencer, followed by a Flowmaster type muffler. But that was with stock porting. There is not really room for something Flowmasterish, unless I do something like Kevin did in his build. I will go there if the results make me do so.
I like the current look, because it says there is something more going on there than just a stock Midget, seen from the back. A bit of noise is not necessarily a bad thing. I want the SUV drivers to know where I am. Also, rotary sounds can be highly directional, and I am hoping the turn-down makes a difference.
7-12-2016
Wow, it has been 10 months! Work has been progressing. Wiring!
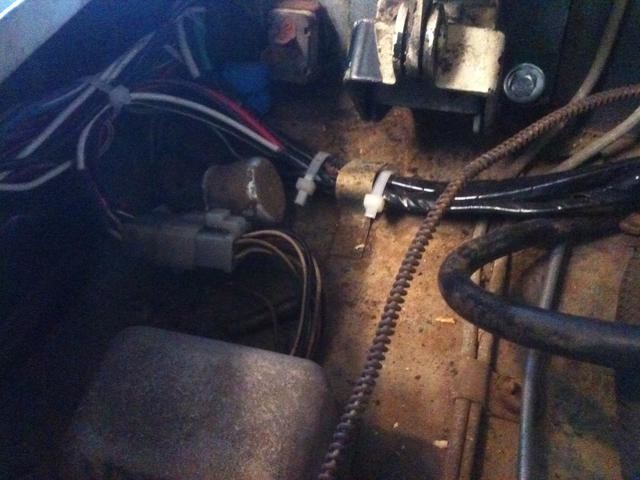
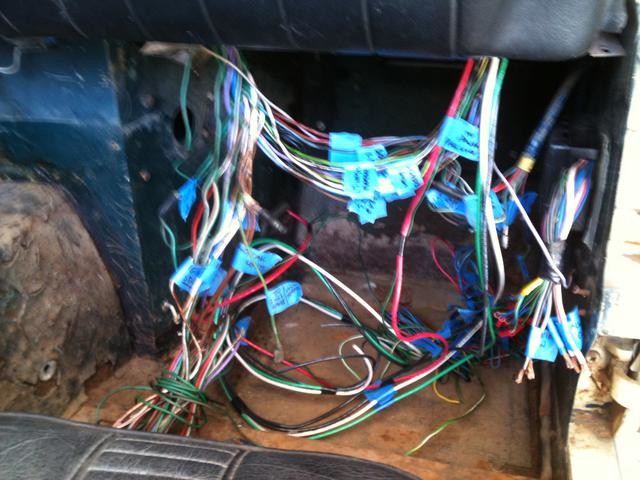
Spliced in the 1979 Mazda fuse box (old style tubular glass fuses) on the right side footwell, along with a bevy of relays. I cut the MG loom behind the passenger side of the dashboard, leaving the driver's side and all of the lighting wires alone. Basically ran new wire to the various Mazda plugs, so the relay wires and the engine room are from scratch. The main comes from the trunk mounted battery up the right side (along the MG loom). The heavy duty starter cable runs under the floor from the rear bulkhead to the starter, parallel to the hydraulic lines.
To actually do the wiring, everything existing, MG and Mazda, was identified and labelled. The wiring diagrams from each were merged into a new diagram that actually represents the car. The basic thinking is that the power goes to the fuse box, from the fuse box to the switch, from the switch to the relay--the actuation circuit in the relay. Meanwhile, power goes from the main to the fuse box, then to the relay, and out to the application. Everything gets a fuse and a relay, unlike a stock Midget.
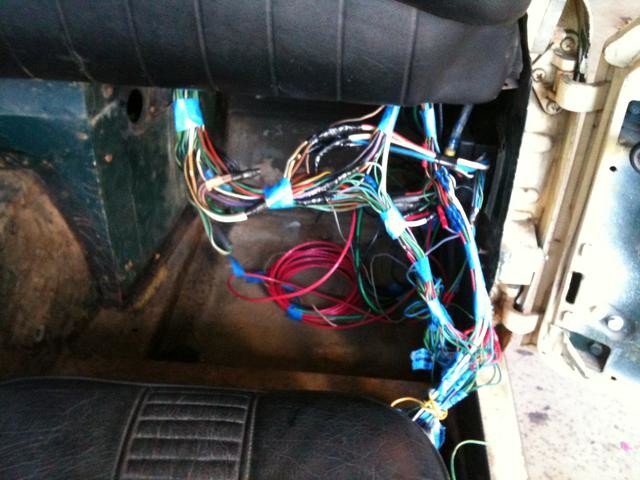
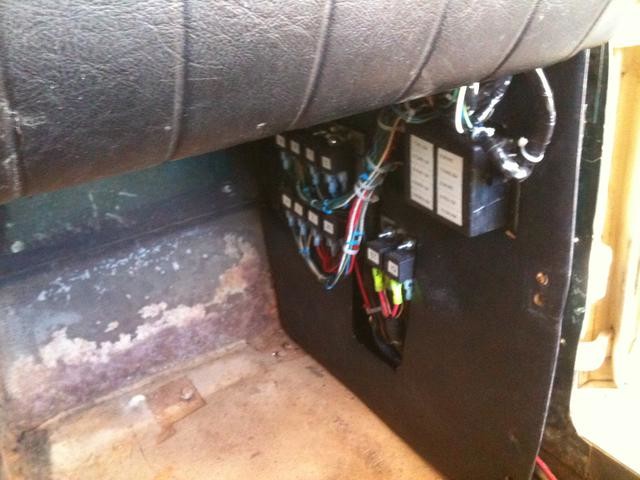
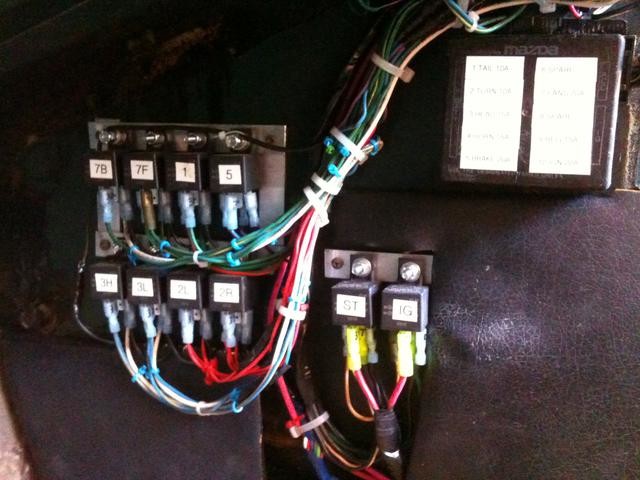
First photo, everything gets labeled and then cut, second photo things start getting tied up into looms, third photo is showing from a short distance where the fuses and relays live (everything prominently labeled), and the fourth is a close up of the fuse box and the relays.
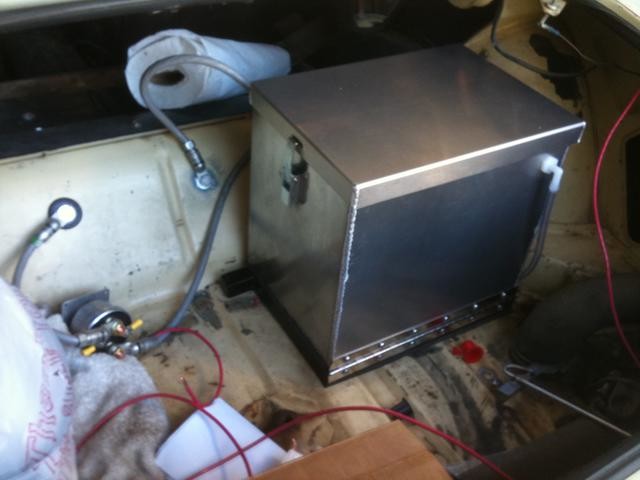
The battery box in the trunk. It just fits, and the spare tire will fit just right if it is elevated and scooted left, and allowed to sit on the left side frame rail. On the left side of the bulkhead, the junction that goes to the starter. To its right, the ground from the battery. The unmounted master switch is laying in the trunk. The red #10 wire, the main output to the car, will have a main fuse in the trunk, mounted between the junction for the starter and the ground wire.
The battery box itself is mounted to a frame, which frame will be bolted through the floor, and the box is hinged so it can tip rearward. This is so the battery can be loaded or unloaded into the box. If the box is immovably mounted, the battery will be blocked by the area above the trunk lid. The extension on the left side of the black frame will hold a pin to lock the battery box in place. If anyone has interest, I will go into more detail and photos on this later on as it gets finished up.
Engine room updates.
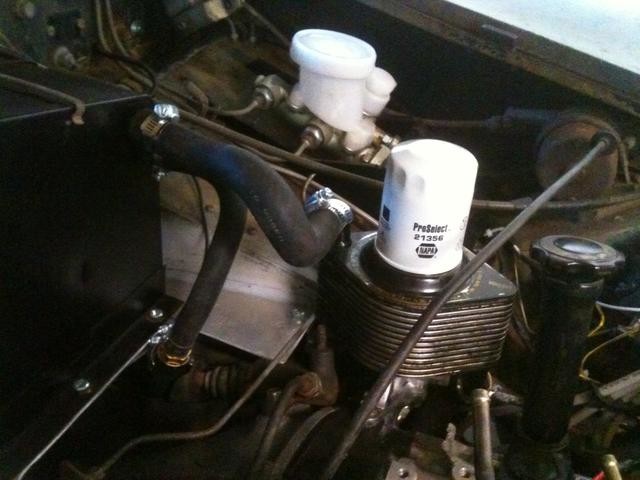
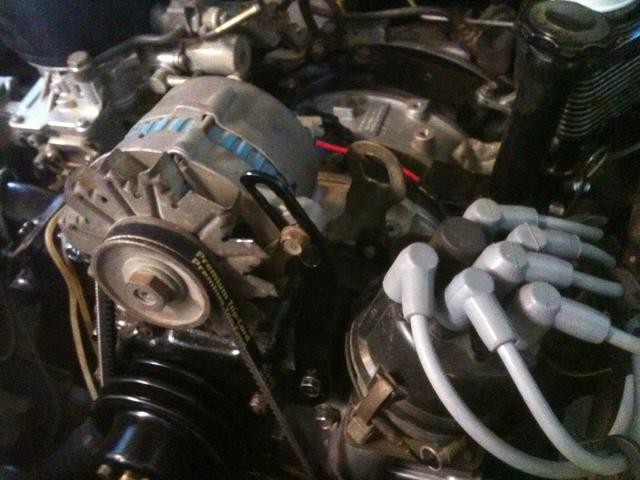
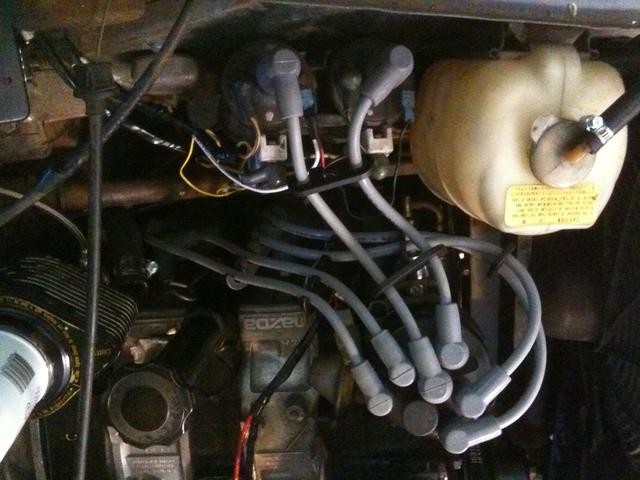
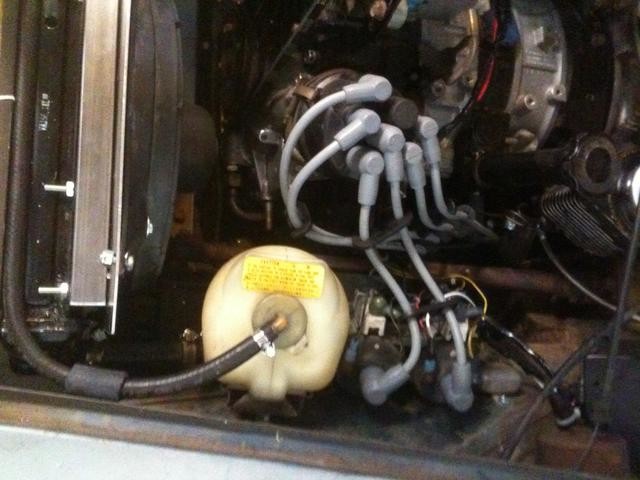
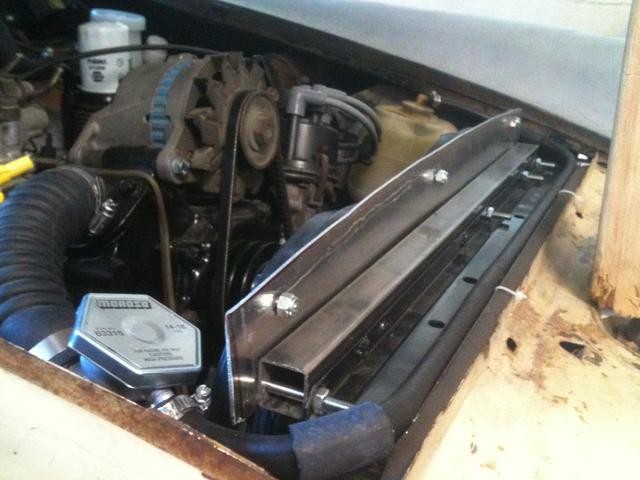
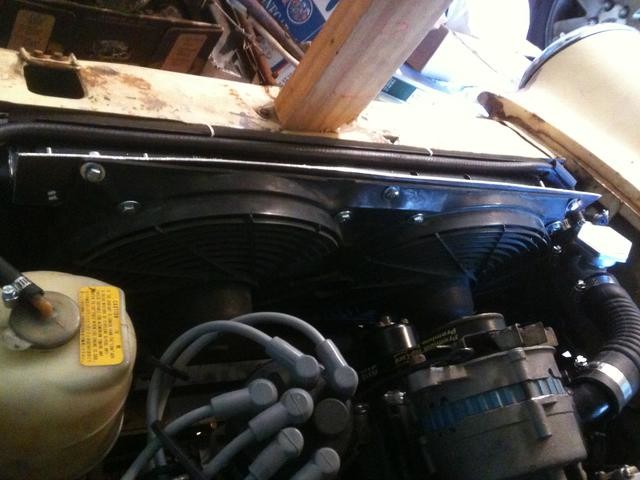
The (from rear to front, left side fenderwell) ignition relay, coils, and (Mazda) radiator overflow tank. The spark plug wires are modular "build it yourself" deals from Summit, so the lengths are a custom fit in a tight place. You can see the overflow line comes across the top of the radiator from the cap on the right side to the overflow tank on the left side. An aluminum bulkhead was added, shaped to the curve of the bonnet and giving a mounting place for the fans. The bolts holding that bulkhead will be swapped for shorter ones, the next time the bulkhead is disassembled. The fans are twin Mercedes Benz "pushers" from a full size older sedan, being adapted to "pullers" in this application.
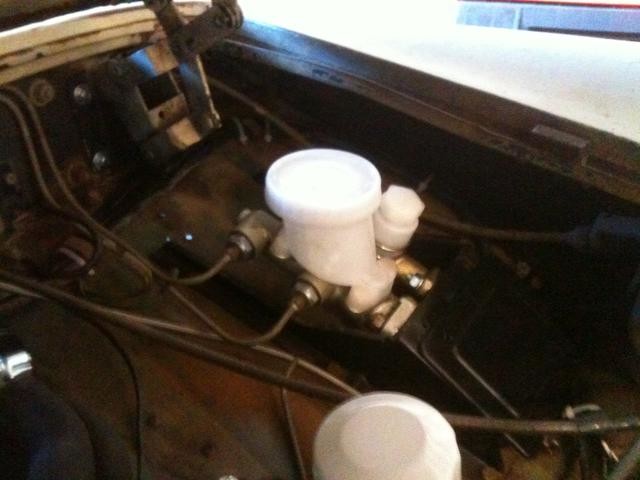
The engine room wiring enters on the stock location high up on the passenger side of the firewall. Some goes straight forward, and the rest turns left and cuts across the back of the engine room, all the way to the left, curves around the clutch and brake cylinders, and out to the coils, distributor, and alternator. The Mazda voltage regulator is tucked up in the right side corner
The engine water heater line goes to the oil cooler mounted under the oil filter, from there to the MG heater core (the inlet hose is internally sleeved down to the MG size, and the outlet from the MG heater core goes to a brass piece that steps up the size, and then under the steering shaft, coils, and overflow tank to the radiator. So the radiator water goes to the engine, then part goes to the oil cooler (oil/water intercooler), then to the MG heater core to help dissipate the heat, then back to the radiator. From a packaging standpoint, this should be very acceptable and workable for a street car.
I am using a smaller than stock alternator for hood clearance, a short fan belt, and I have shortened the adjustable alternator mounting bracket.
I am also using the old-school 1979 points-and-condenser Mazda distributor (what is an MG if you don't need to mess with points now and again?), in part because the distributor is shorter and will more easily clear the bonnet. In using this set-up, the wiring is different and more traditionally laid out than what the electronic distributor would offer. Figured I would start with this and see where we go.
The car should be running within a couple of weeks, driving in a month or two, and hopefully be buttoned up for the San Diego British Car Day in October.