You must be logged in to rate content!
20 minute(s) of a 461 minute read
9-7-2011
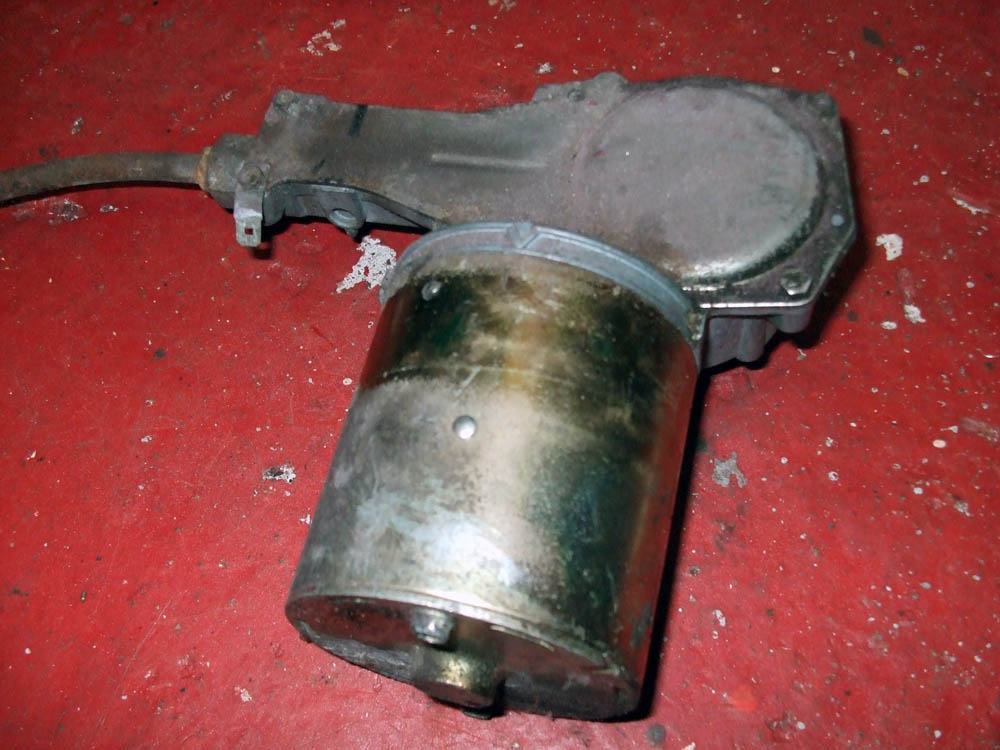
Dont know exactly what this is or what it does...but it was dirty so needed taken out, cleaned and painted up! 

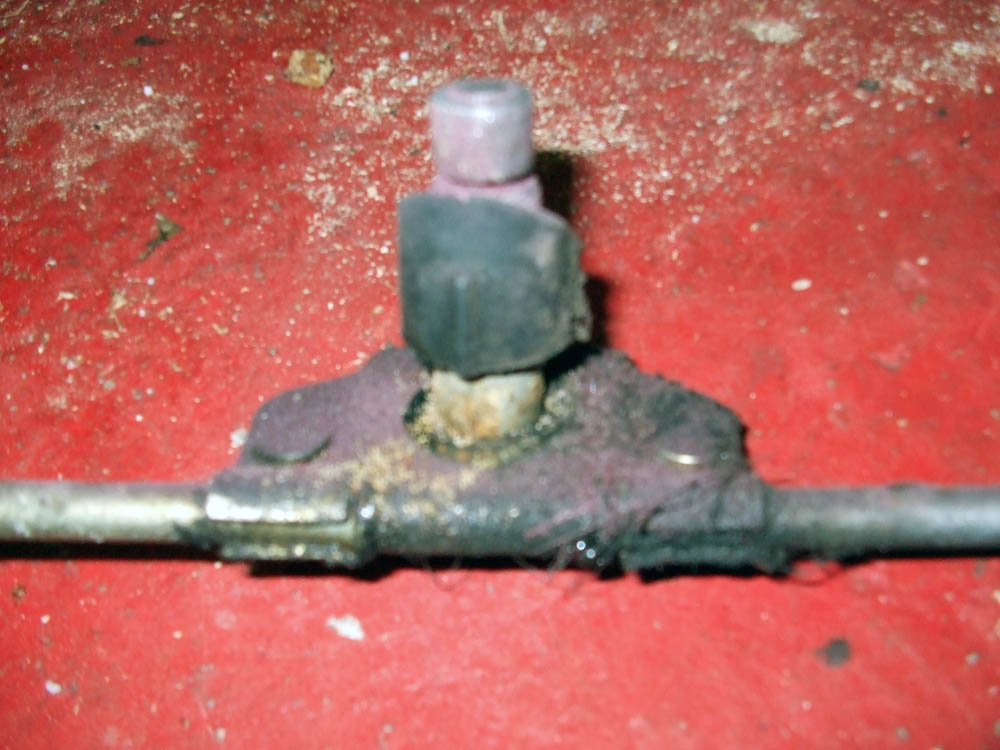
removed wiper motor and stalks...badly corroded and dirty!
Stalks were covered in dust, grease and general muck from 18yrs worth of driving.
And then cleaned up and painted. I would have polished it up but it was too far gone to do that and it works so not shelling out for a new one...
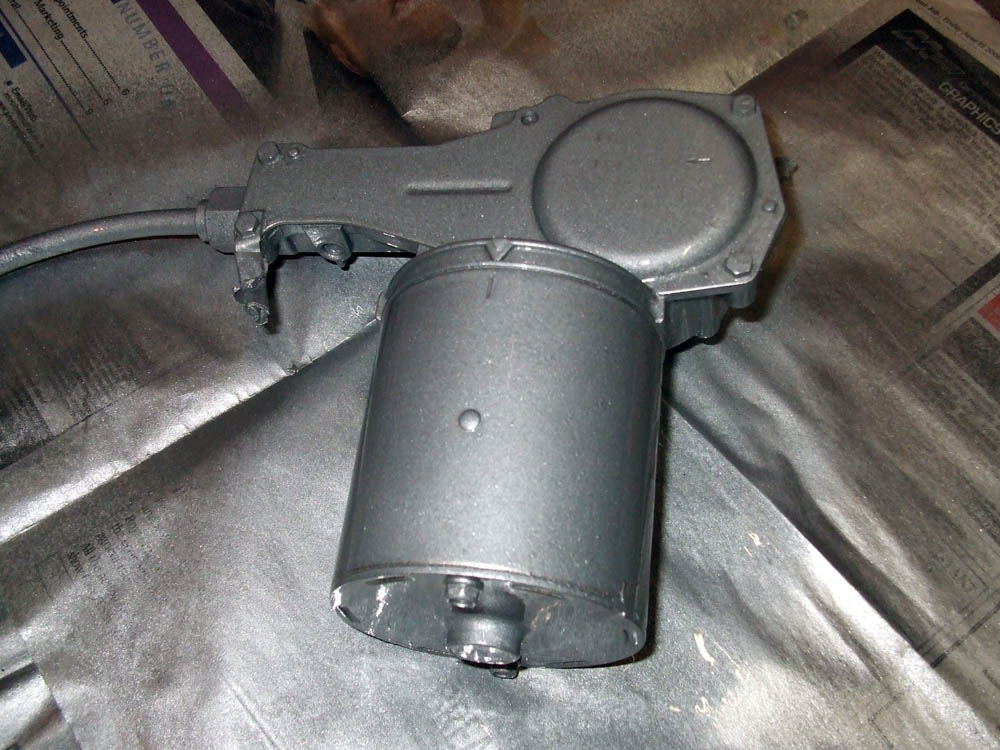
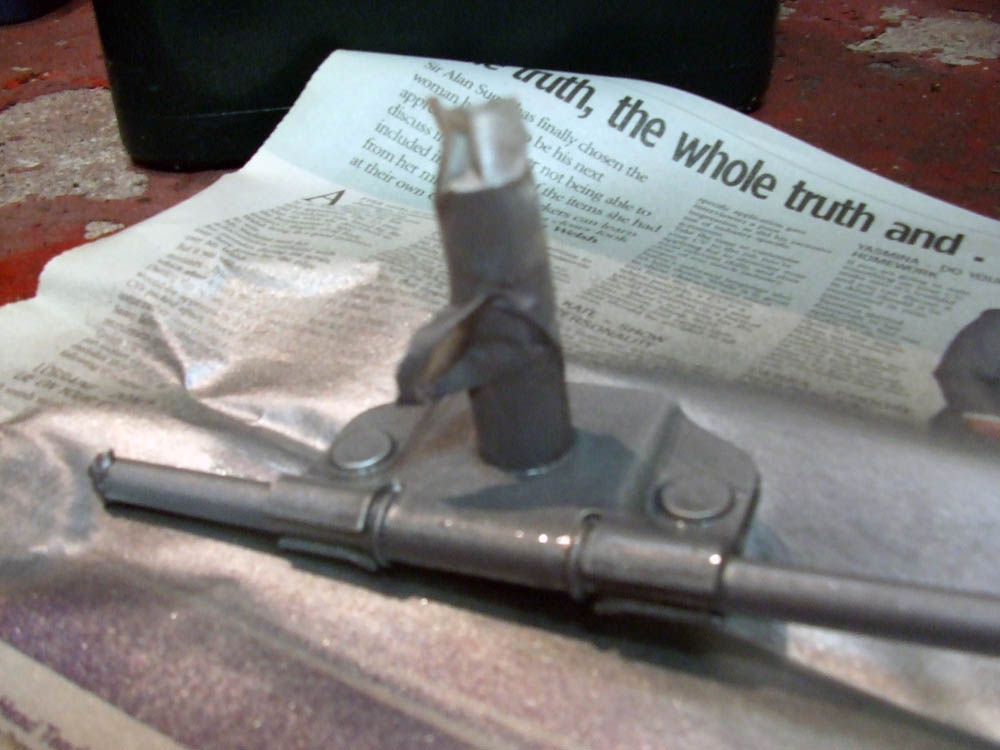
I know they wont be on show but a coat of paint wont hurt them. Full regreased after they dried out.
With the wiper motor removed I thought it would reveal rust but thankfully it was fine!
So thats your lot for just now. Started getting dam cold and need more time to tackle electrics next. Lots of labelling and pictures to take to remember where everything goes for rebuild!
Been having a look at the wiring....a lot of it is a complete mess and looks old, cracked and tatty. So Im thinking get a new loom so its all new and clean but also to prevent wiring failures later on. Problem is theres loads on MiniSpares to choose from 
Was in my room so thought I would dig some of the parts Ive got so far for rebuild time. 

Internal bonnet release
Custom made TRIG show plates 
Chrome internal release grille
Chrome strip for grille and grille ends
Red anodised grille buttons
Unidentified make quickshift
Head gasket
Chrome rear mirror
Couple of window seals (got whole set lying in a box in the loft)
Also got engine and gearbox gaskets ready to go on
BUT theres still lots to get
Interior
Polished alloy Door handles (With Trig emblem)
Carpet for rear seat
Upholster rear seats same as fronts
Miscellaneous/Mechanicals
LED bolts for rear number plate
Smooth off Sportspack arches so repeater is above
Relocate fog light into rear cluster
Headlamp bowls
Truck Horn (Get out of my mutha****a loud )
Boot Seal
Paint job
Internal fill fuel tank
Smooth off steel bootlid
Fitting of front panels
Modify tank for internal hinges
Internal release solenoid powered boot catch (and emergency catch incase battery dies.....)
Stainless exhaust centre pipe
GAZ Lowered ride height fully adjustable front shock absorbers
GAZ Lowered ride height fully adjustable rear shock absorbers
UNC Stainless Steel Bolts for gearbox
And thats just bits I know of! Bound to be much more to get but Ive pretty much got the money together now to get the above list which is always a good thing!
No real progress at the mo as its far too cold in the garage to work without going blue. 
Well I came home from Uni today and we need transparent things for creating images like these....photograms...
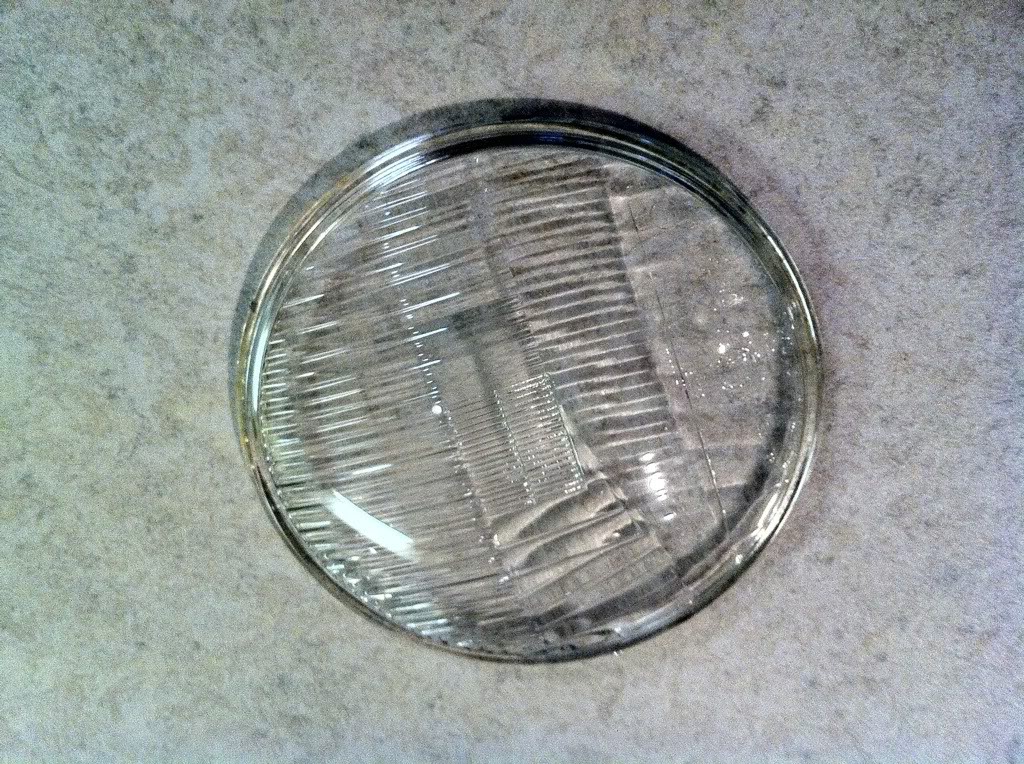
So I didnt have a clue what to use but I did have spare headlights kicking around. They have surface rusted rims so arent going back on the car....unless my plans work out....
To get the glass off for this project thing I took my mums hairdryer on max heat setting and melted the sealer that bonds the front piece to the back piece. Revealing just the glass on its own!
Before...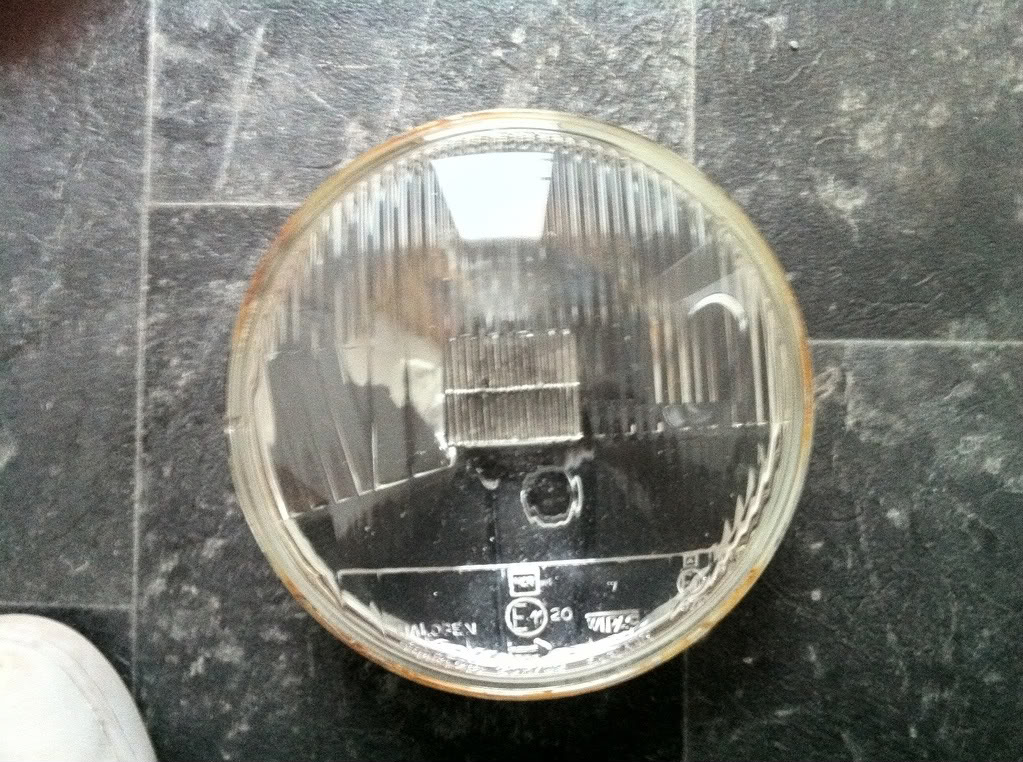
After!
Now my plan is to do this......
Image removed by Deathrow.
Crosshair headlights Will see how it goes though....using these lamps as test beds before I ruin a brand new set
So final should look like these...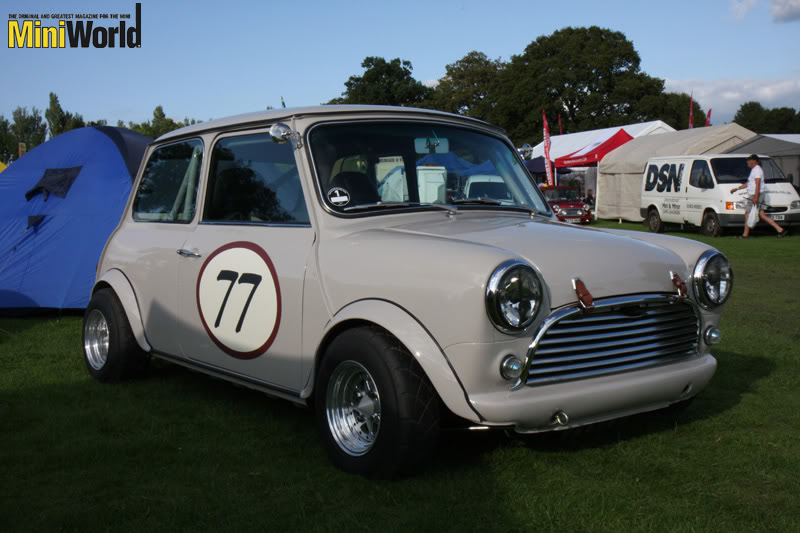
Marmite Im sure but I love it! These ones are actually MK2 Golf aftermarket ones with some modifications done to make them fit. I cant be bothered paying over £100 for them so going to make my own!
PROGRESS!!!!!
This afternoon I decided to finally take a break for uni work (first time in a month I decided to have some free time....)
So I took out the dash and started feeding everything into the car from the engine bay so it can be welded/painted.
So dash in....and anyone want a bootlid? I have accumulated three somehow....
As it sits at the mo... (ok Im just testing my new lens really  )
)
When i took out the dash found a few bits of surface rust but thankfully nothing major! The sound deadening was a bit fushty so its been binned. This is a weekend car afteral so being quiet isn't the overall plan
Took some time to label up as many wires as I could so when the new loom comes its much easier to work out where everything goes.
More pics to come once its daylight again.  Fel really good to have some ME time for a change and to have progress on the Mini felt awesome too.
edit: Screw daylight heres some pics 
They bite when they know you are ridding them of their dashboard.....
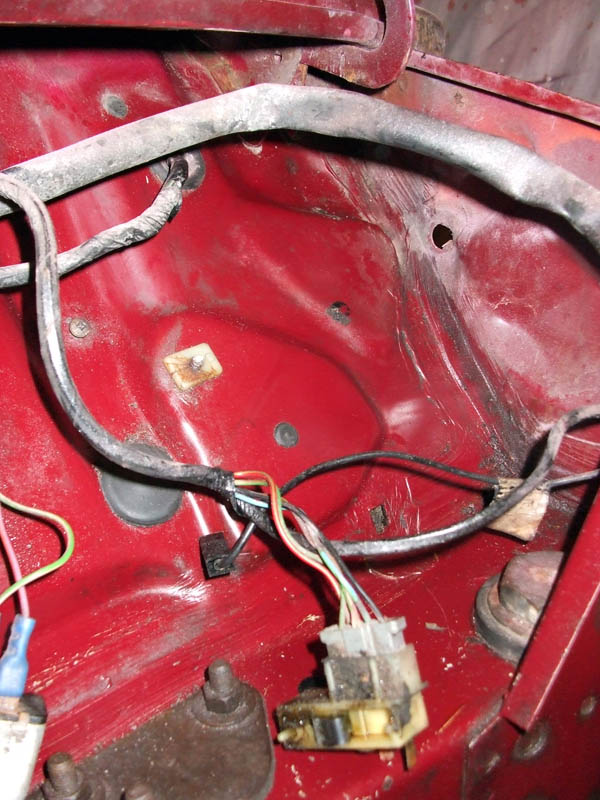
aaaand removed. Meet wiring hell. So many bits going to so many location and it all needs replaced 

Progress again! Pics are to follow!
Did some uni work in the morning and thought seeing as it was a fine day I would go out to the garage for a couple hours. As it turned out I spent 5 hours working on the car.... Love it when you dont realise how long you have been working for. 
So I tackled the wiring. Labelled everything up that I could. Im labelling it so putting in the new loom is an easier afair rather than trial and error. Found far too many wires that Im sure went somewhere at one time or another but now....they go nowhere  So Im pretty glad I decided to go down the new loom route! Dont want my hard work goin up in flames!!!
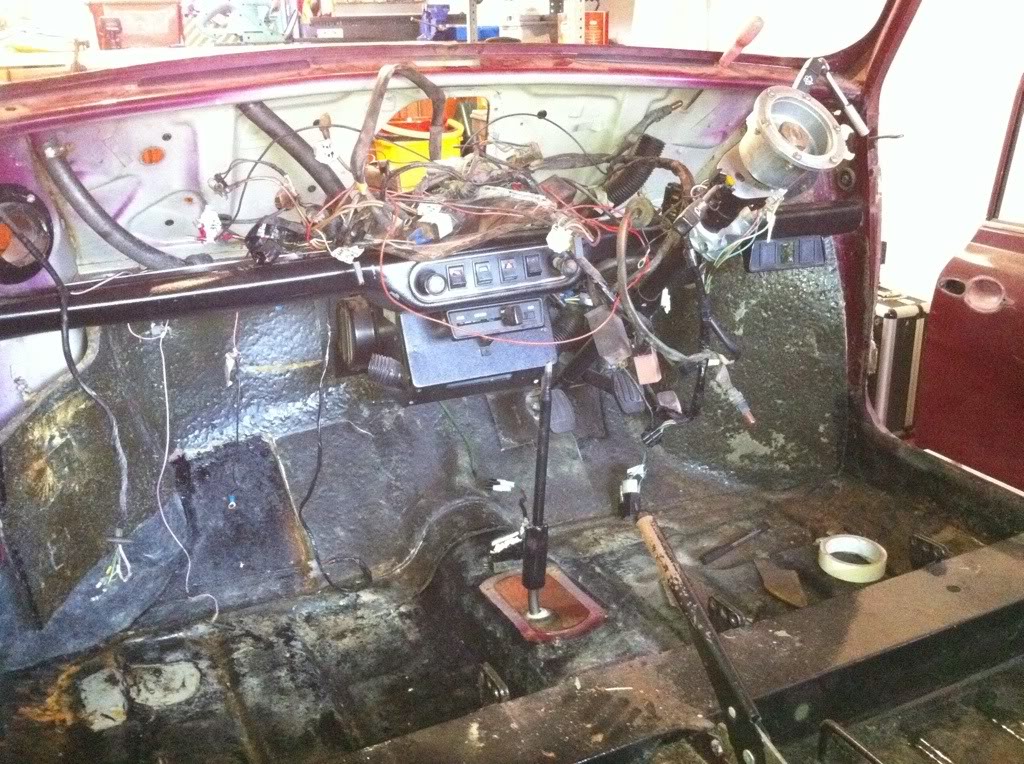
So the engine bay has no wiring now and everything has been fed into the interior for now. Once that was done got to work getting the carpes and sound deadening out. This was a bit rushed when we put it in and always let the car down as the carpets were stuck down squint....so time to remove and redo!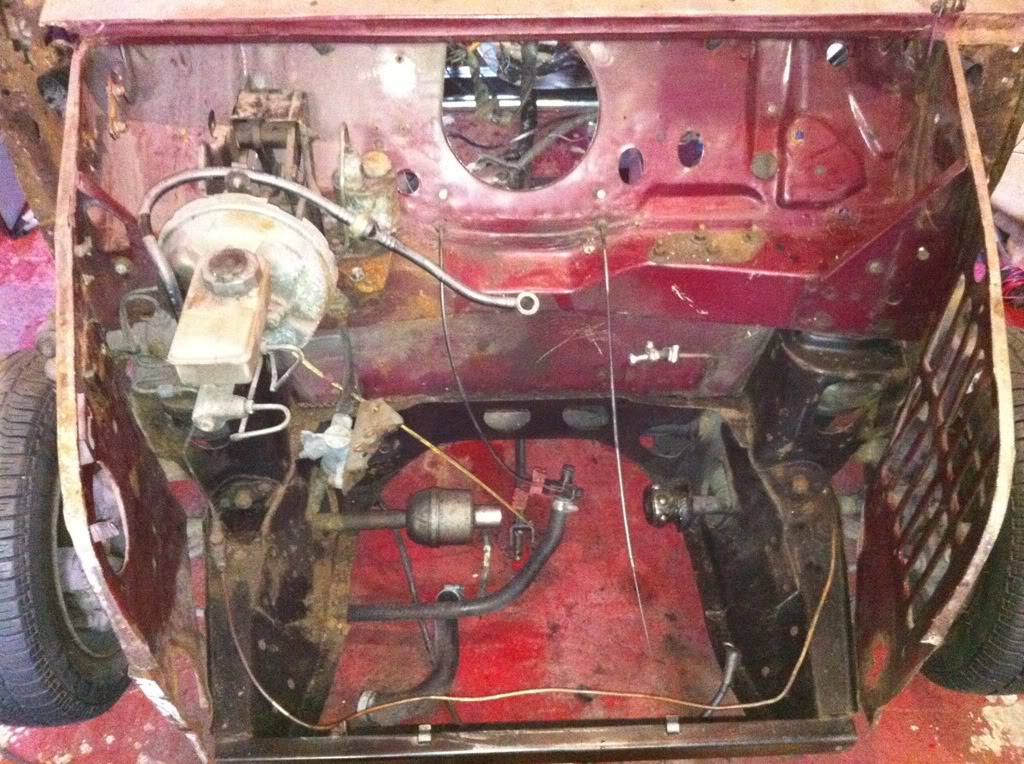
On removal I found I have some rust issues around the sills. I was expecting it to be honest as its a Mini after all but not on the passenger side! The sill was replaced with a genuine panel (NOT an oversill before someone gets all high and mighty....) a few years back and the inner sill is rotten! Bit disappointing really as the other side has an oversill and its got minimal rust......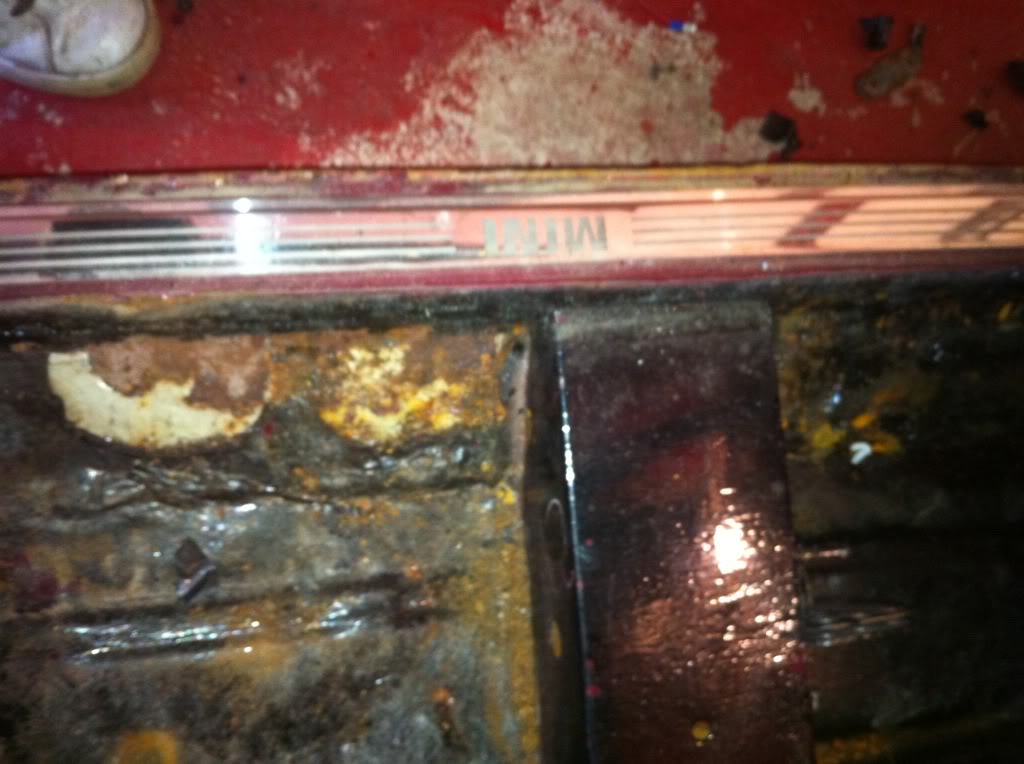
And this is the drivers side with the oversill.....its nae fair!!!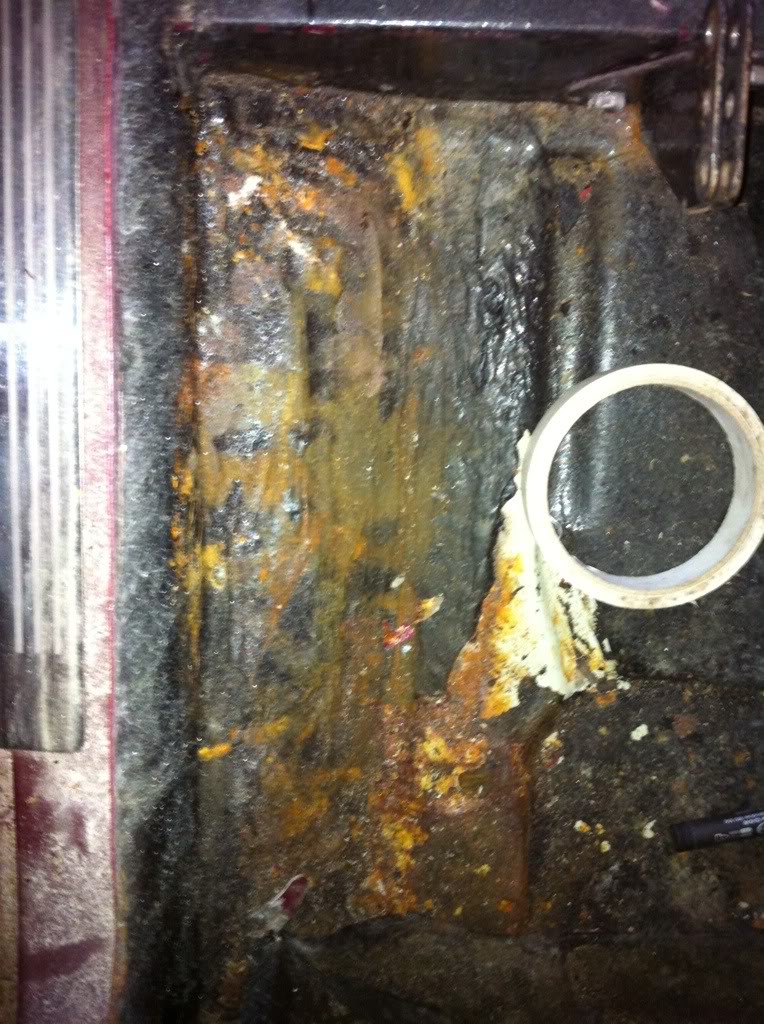
Then just to be on the safe side to try and reveal more rust problems I started chipping away at the bitumen type stuff used by rover for sound deadening. Plan is to fit decent quality sound deadening (possibly Dynamat if funds allow....) and do it properly!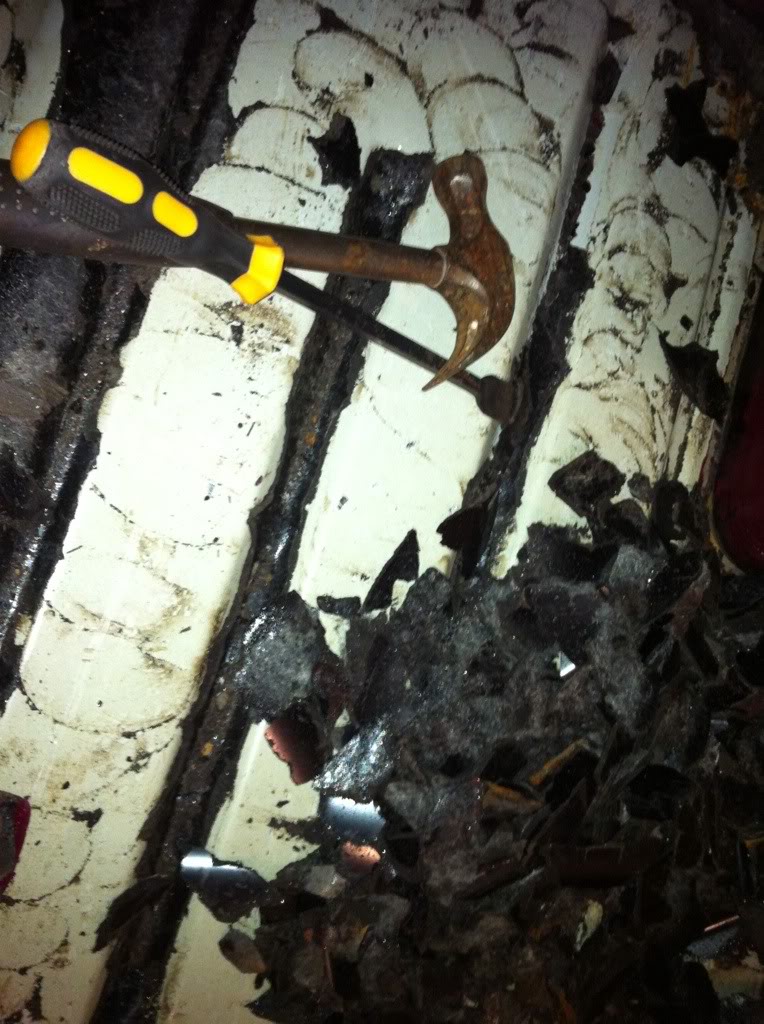
Found that a gasket scraper tool is brilliant for this job! Cost me 85p after discount when i worked at Halfords  Just the right size to get at all the little bits.
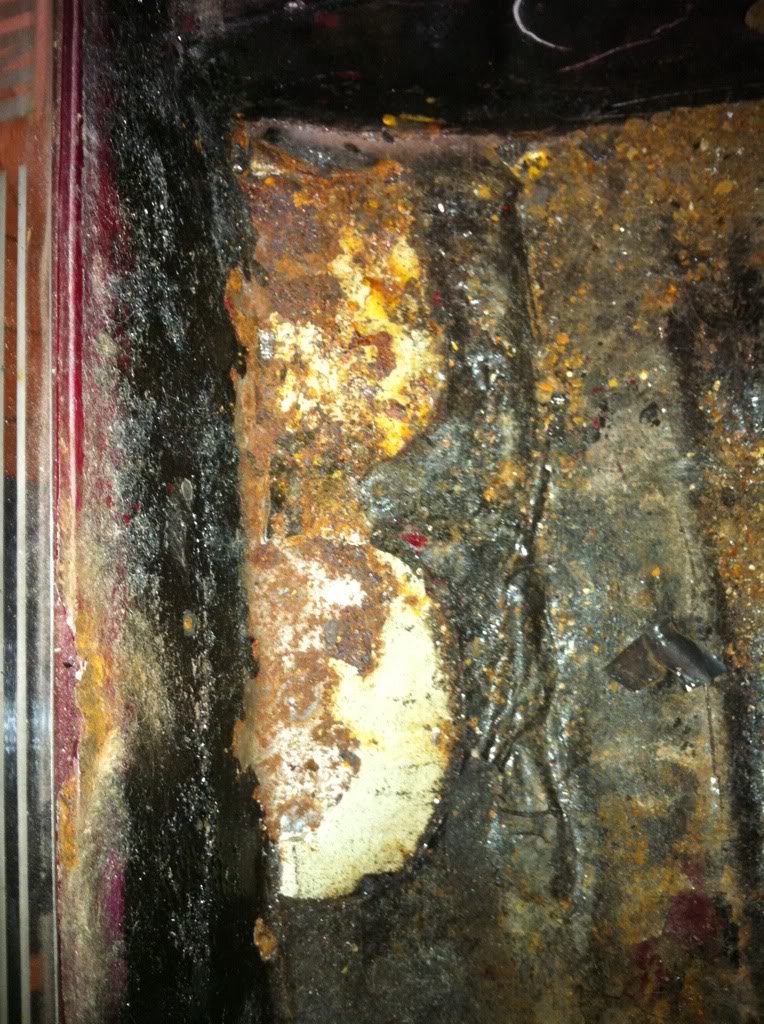
Also reveals more clearly how some of the floor needs replaced due to some idiot jacking the car up in the wrong place numerous times.......
Then finished the day with a indian takeaway  So its getting there!
Took more pics but they are mainly for my own reference for reassembly.
Went oot to the garage again tonight Been too long!
Plan was to finish getting rid of all the bitumen, take out the heater and get the remaining loom out along with padded dash rails. Thought I was mad taking out the loom but when its laid out on the floor its not that bad....guess it was just the small confined area being filled with it that scared me
So the much needed pics!
The bitumen was pretty thick so the weight was astonishing. Filled the bin and fairly added weight. Do I replace it or do I go lightweight and noisy?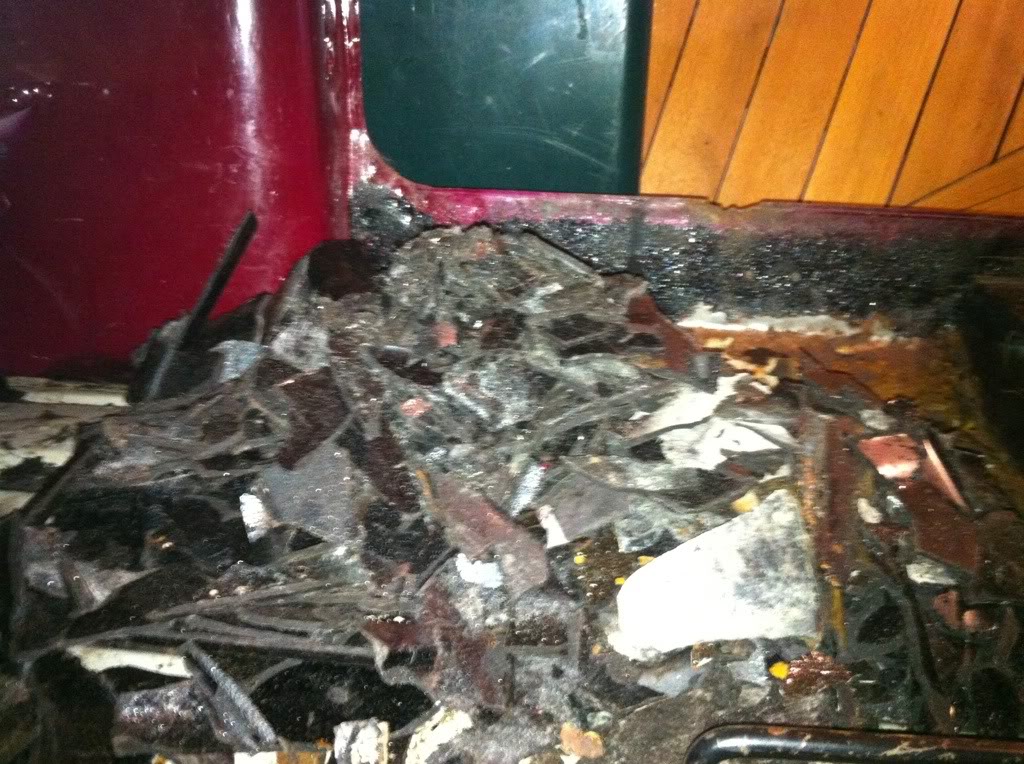
One bitumenless floor. Needing replaced!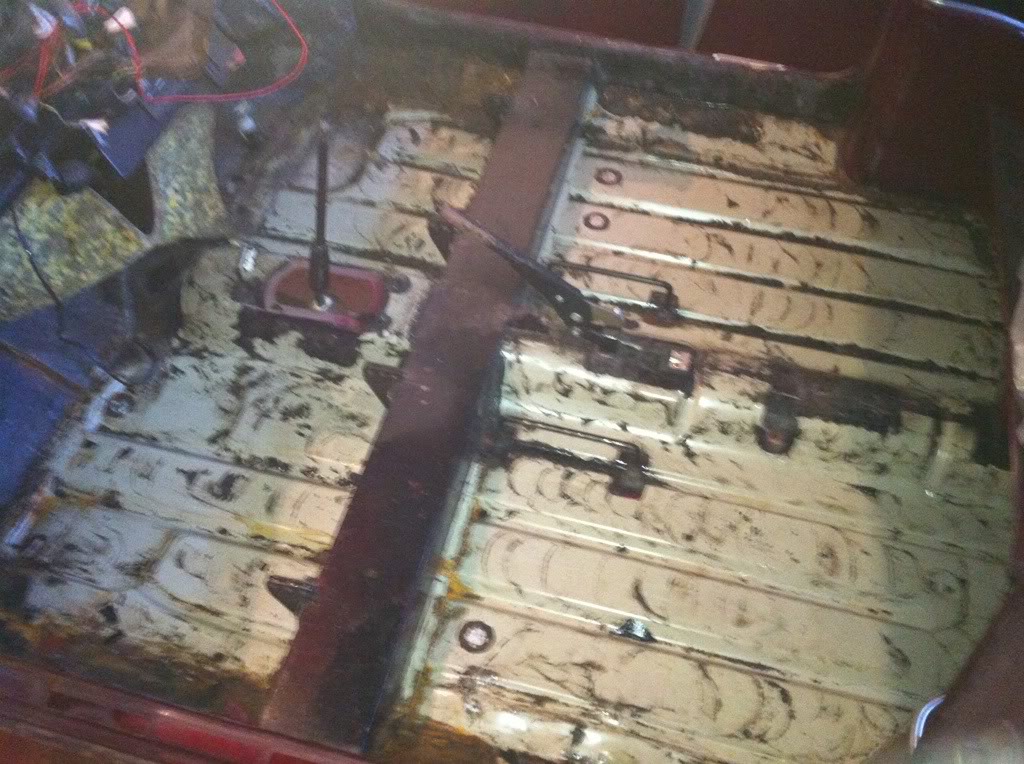
Found a hole under the rear seat on drivers side. Pain in the hoop but hey ho.....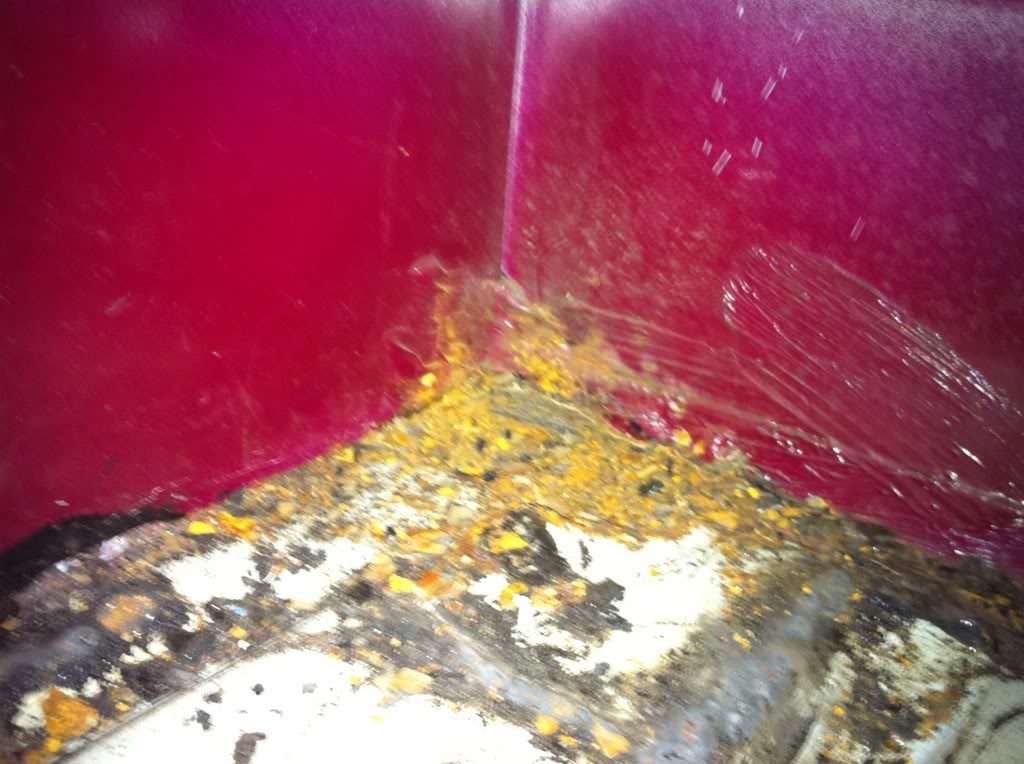
Everything oot!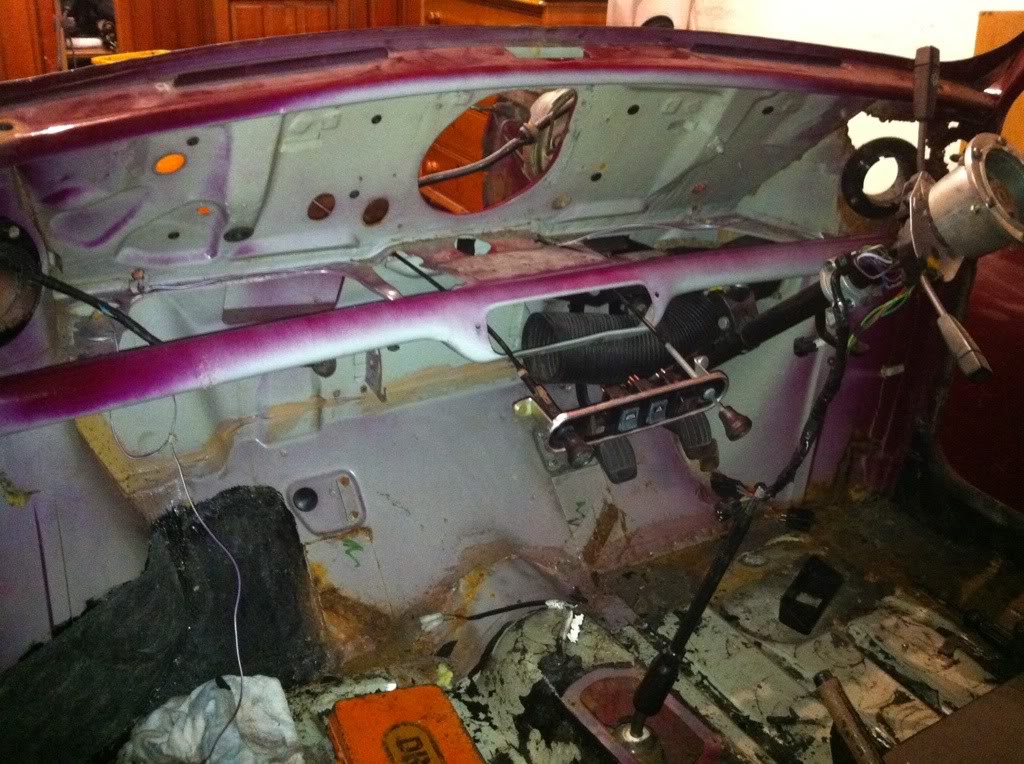
The loom all labelled up for reference on new loom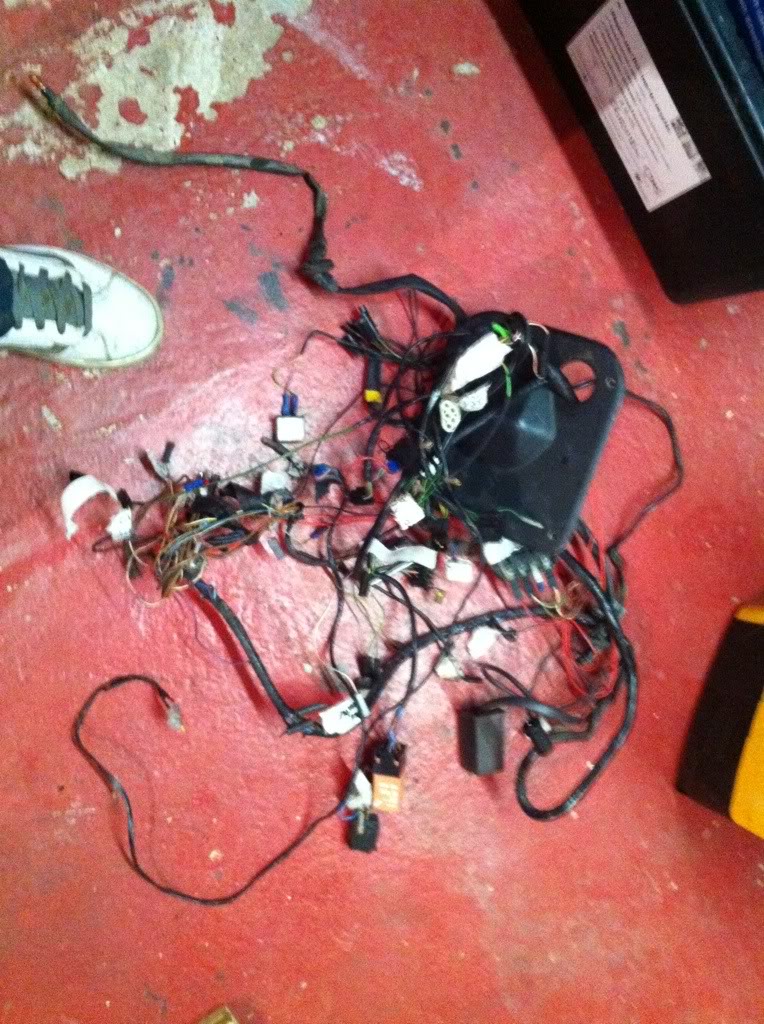
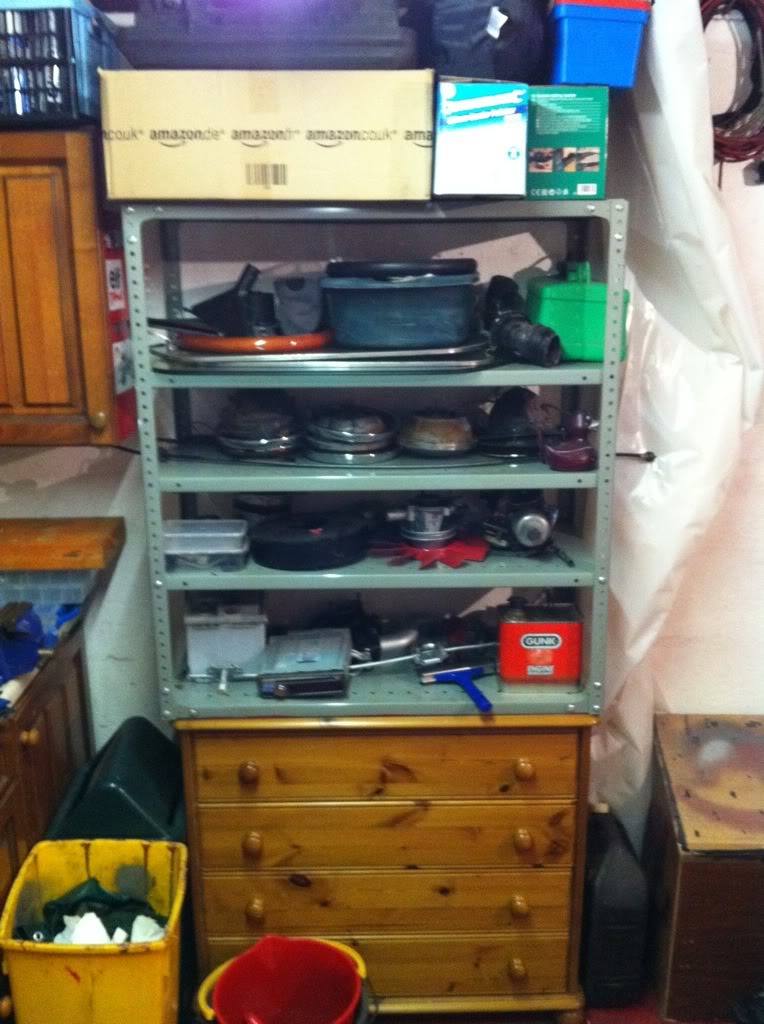
And where do all the bits go? On the dexion shelving and chest of drawers of course! 
Bitumen, sound deadening, loom, heater and dash rails out. Not much but good to be working on it again.
Next up Im not sure but temped to remove subframes to reveal more rust....
MUST. BE. MAD!
So some stuff arrived today! Many thanks to Mr Dodgy Weedgie for these even after some epic failures of the royal mail! Ended up having to pay twice after Royal Fail lost me money!
But thats neither here nor there as Im afa chuffed with these 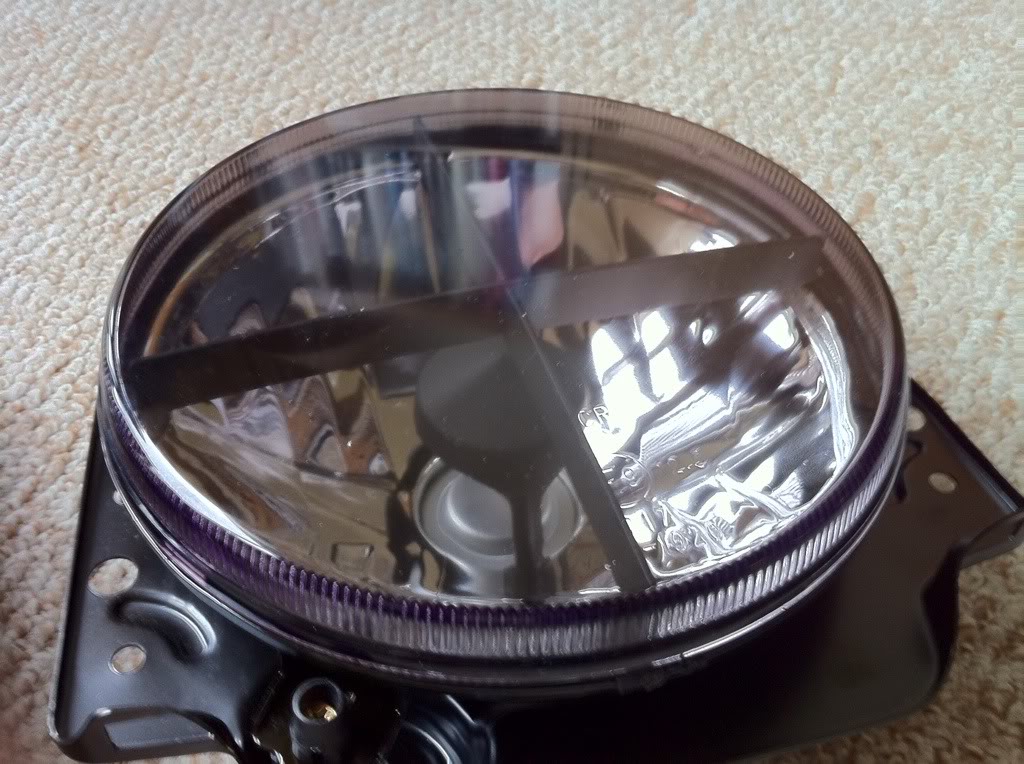
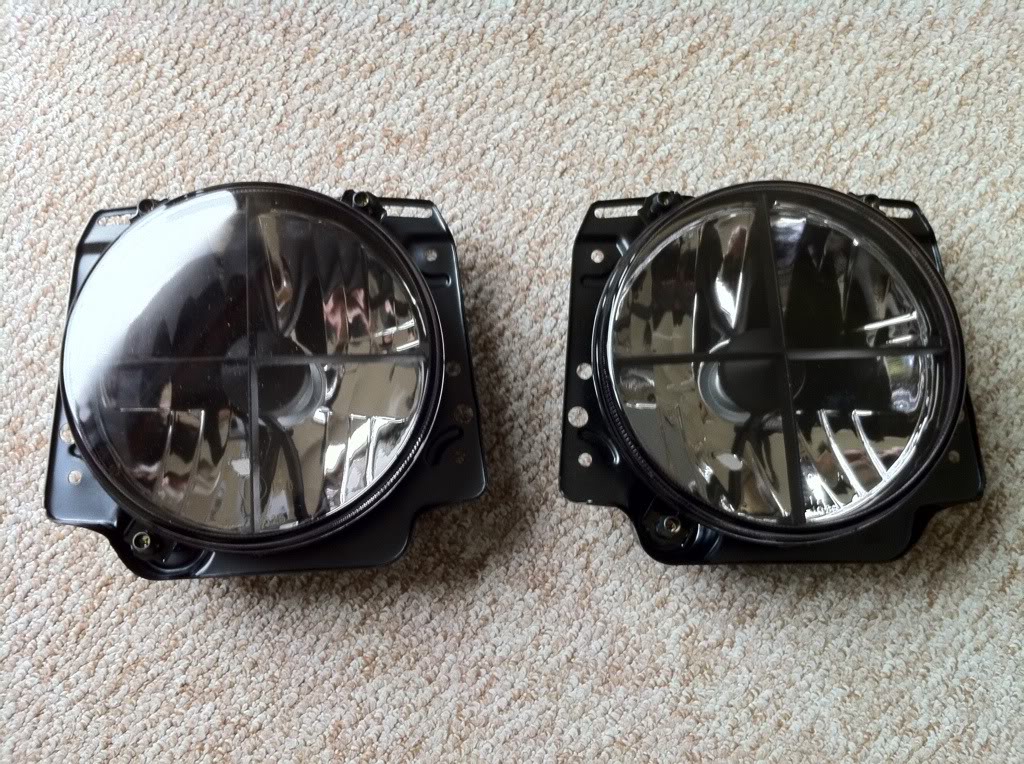
VW Golf MK2 Crosshair headlights. E marked so legal to use. All the need is a bit of adapting to fit the Minis headlamp rings and bowls and they will be perfect.
Something a bit different from the norm but I like em. Slightly tinted too so an even more aggressive look
Snowed under with Uni work again so work has halted on the Mini (again... :sad:) but it shall commence as soon as Ive got it oot the road! Desperate to get some decent progress on it!!!
THE PICS!!!
Didnt do much looking at these but as I say some things were rather more difficult than others.....stainless bolts being used at rebuild time....
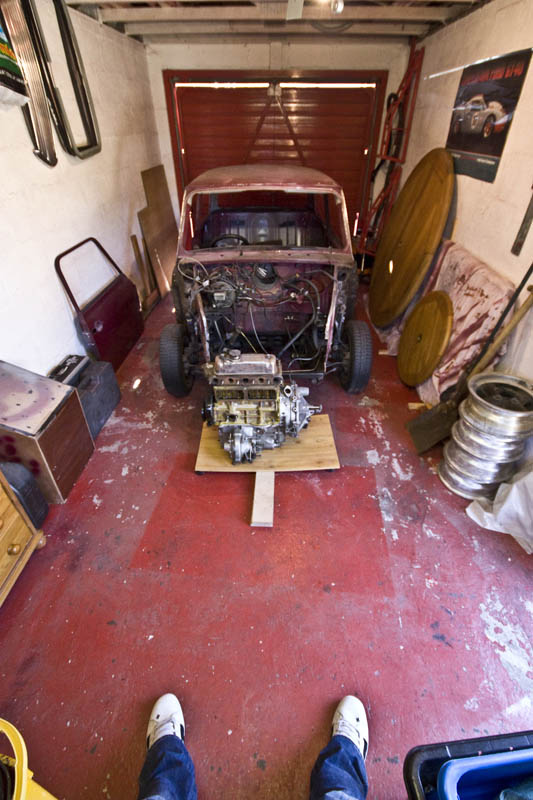
So heres a pic of the donor mini as it stands at the mo....not much left! Just need someone to come take the engine away now.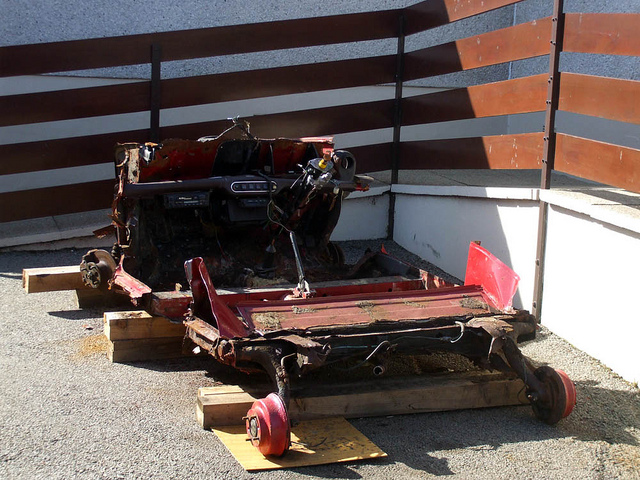
Most of the pics as for my own reference for putting it all back together again but heres some anyway...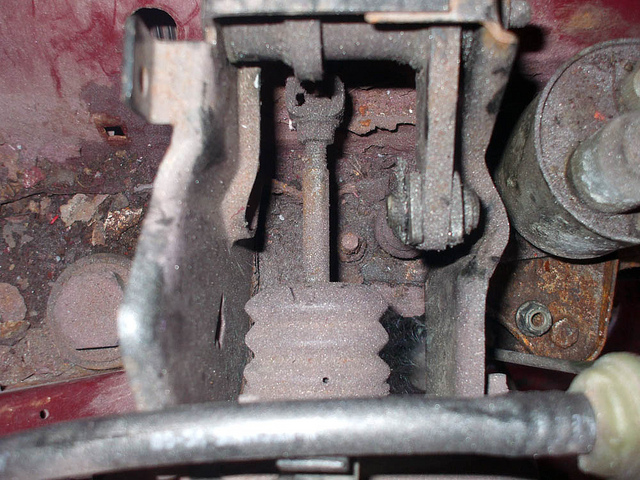
Some minor prepwork required for welding and painting now but not too much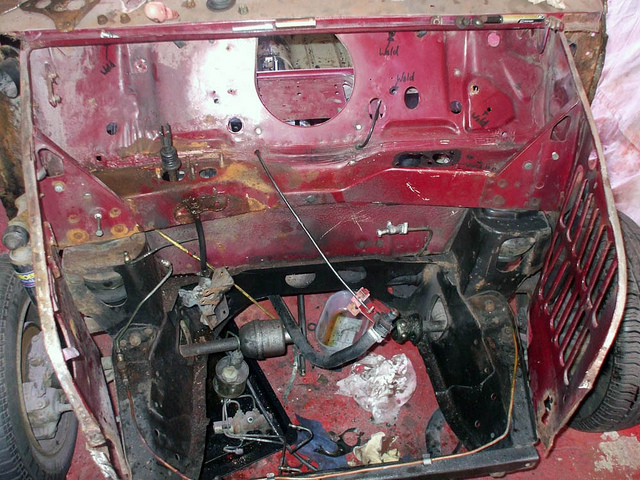
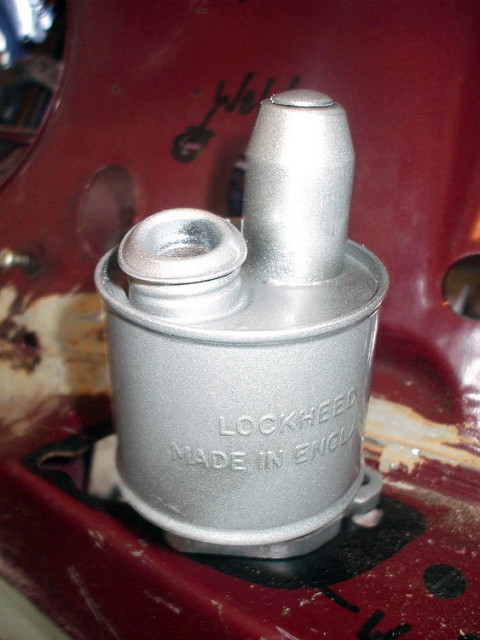
Brake servo painted up much nicer than before. Tried to polish it up but it was too pitted for that and would look awful. Didnt want it corroding more so hammerited it 

Then the servo bracket painted in black as well.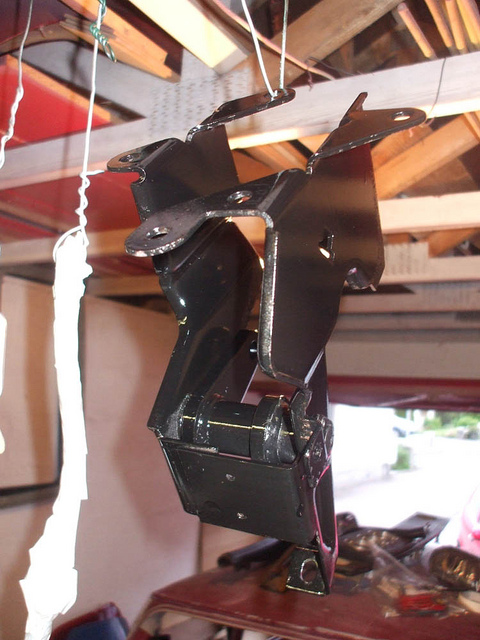
So not much exciting pics but some progress being made  Loving having some time to work on the car again!
MOAR PICS!
More work done! Love the Deox gel. Did exactly what it said on the tin, works a treat at getting rid of rust. So once I cleaned all the sludge off that it creates, I was left with a clean block ready for paint.
So I got to it with the Hammerite Red primer that acts as a blocker to prevent reaction. Put it on with a brush but final coat of red will be sprayed for a smoother finish. All important holes covered with grommets so crap doesnt get inside the engine as Im not taking it apart due to it running perfectly well before resto.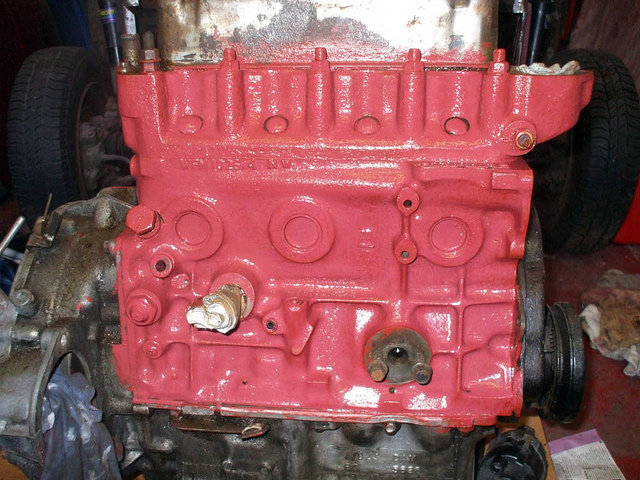
Then when that was drying I noticed some of the factory sealer on the bulkhead was bubbling a bit so I poked away at it and it fell off revealing yet more rust! Amazing rust preventative from BL/Rover......
The roooost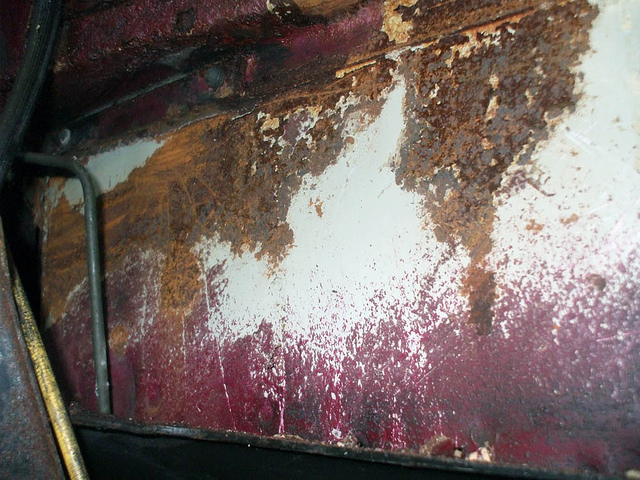
The sealer off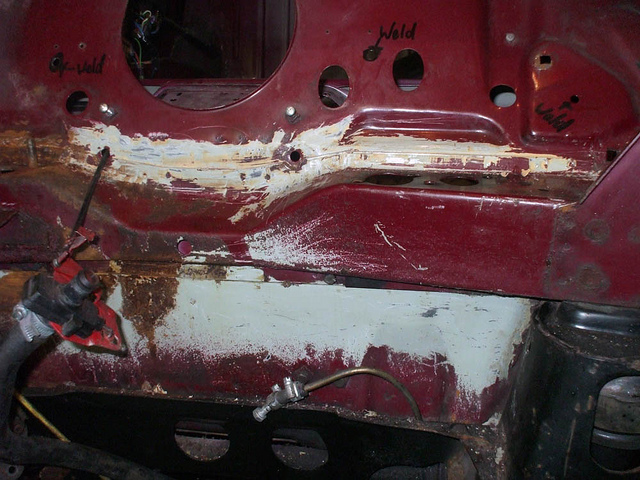
Then the stuff at the top of the bulkhead was all lumpy and bumpy, not smooth like Im needing the bay to be so its coming out too. Fan heater on it then a multi faceted scraper are a perfect combo for this.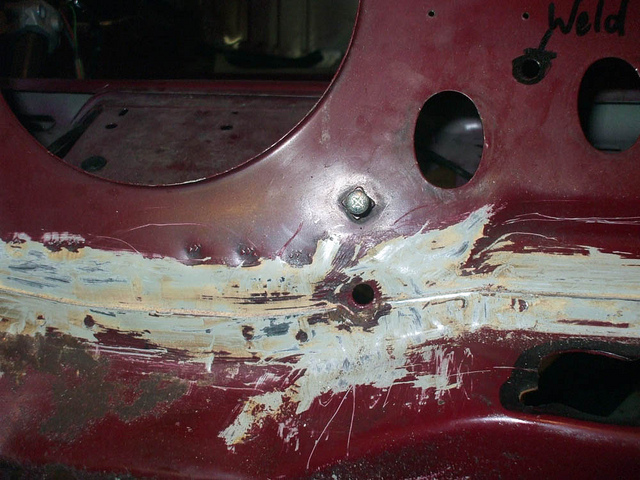
So tomorrow its more primer on the block before top coat and more sealer off. Cant get all of it off as is but once its back from welding I will take the subframe off to get at the rest of it.
Fun fun 
MOAR PICS!
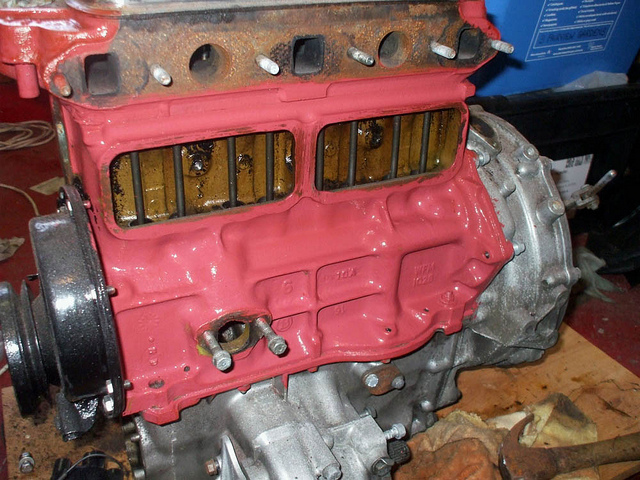
NOt a huge amount done today but still steady progress. Wheeked the bell housing off for easier access to painting. I initially planned on mirror polishing it and then doing the same to all the other cast parts on the engine. Buuuuut after an hour of sanding I got bored so into paint it went  Probably a good idea really as once its back in the car it will be near impossible to clean properly so it would ruin the look in no time. Could laquer it but it flakes too easy.
Again this will be getting put back on with stainless nuts and bolts to keep it all shiney!
So onto das piccies
Forgot to take a proper before pic so heres a 50/50 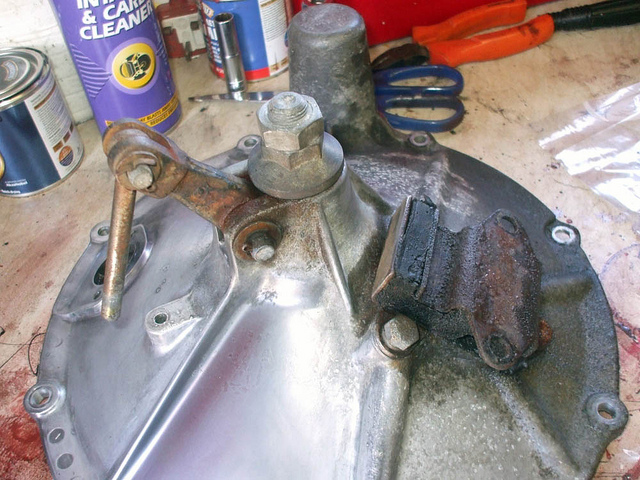
Inside of the housing looks good enough to me! Question though. Would I be best to replace the clutch now to sve having to do it later on? Total ball ache to do it with the engine in the car so want to save myself the hassle.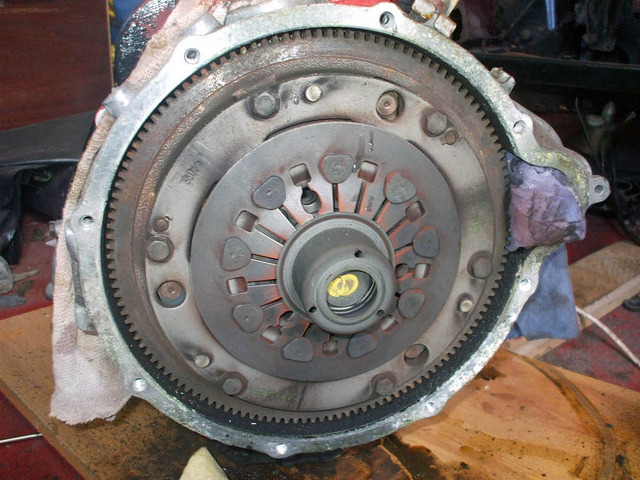
This was after an hour of sanding and polishing. Not good enough so stuff it!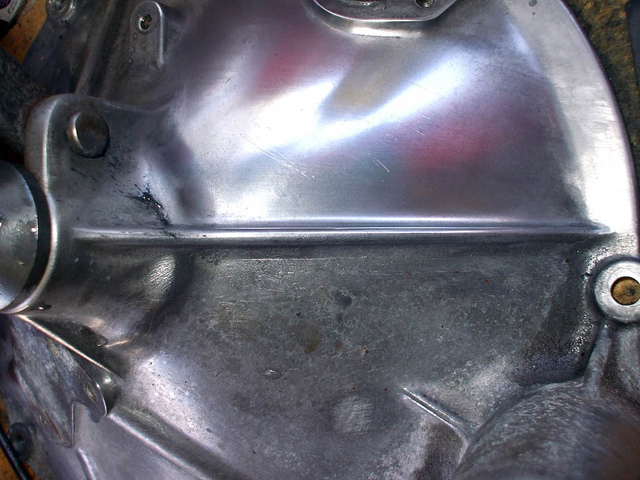
Also got the brake servo back together again. Reservoir looks sh!te now but will get a chrome cover for it when it goes back in.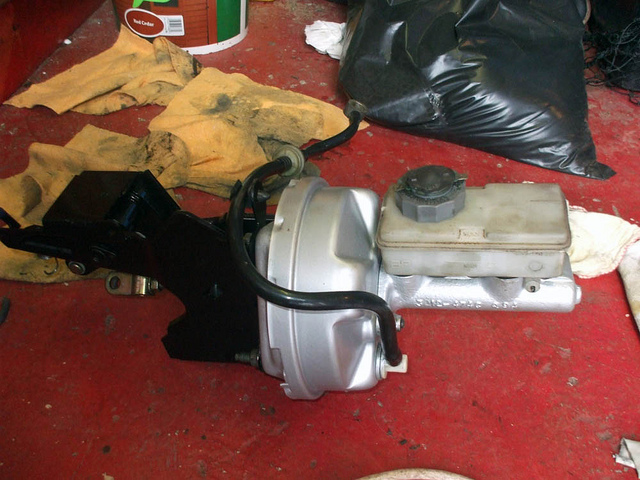
Housing all painted up along with the clutch master cylinder
So more done also put a second coat of primer on the block as some bits were patchy. Hopefully I get time tomorrow to get the red onto it but will wait and see as the burden that is the Polo is throwing a hissy fit and needs its throttle body cleaned out......:rant:
All thats the engine painted minus the block. Silver Hammerite ftw! 
Pics to follow!
Heres the brake slave cylinder looking lovely and caked in grime and oil!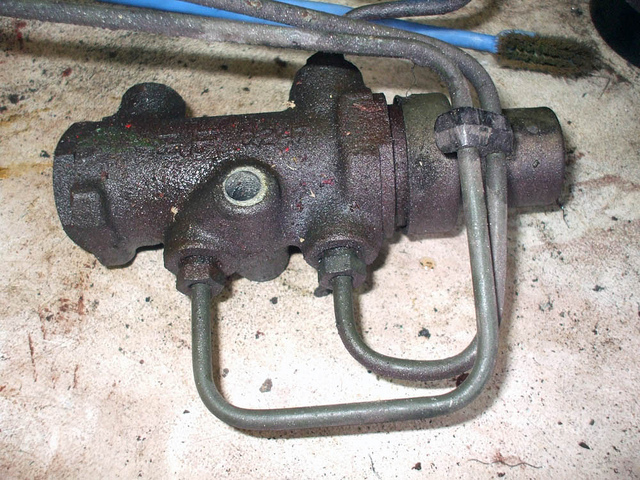
Then that all painted up again looking much better.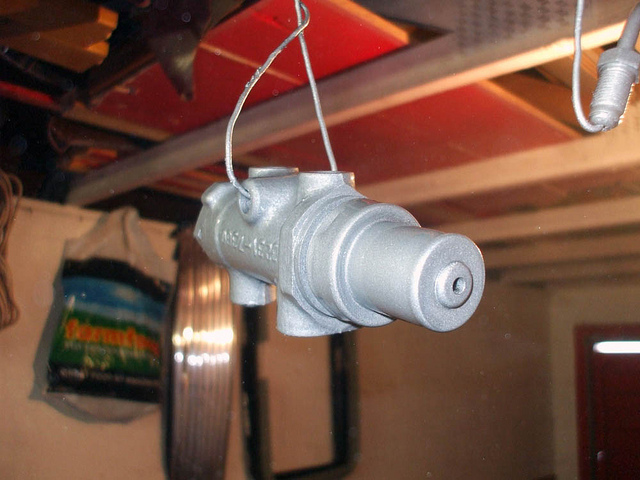
This gives you an idea of the gearbox before I gave it a final once over with cleaning stuff before paint.
Comments

I LOVE Mini Coopers. Wow fantastic detail / photos here!
Posted by Diggymart on 1/22/19 @ 4:17:19 PM
Congrats BOTW what a beauty!
Posted by Diggymart on 2/6/19 @ 3:15:15 PM