You must be logged in to rate content!
14 minute(s) of a 461 minute read
9-11-2011
Bit more progress today. Spent most of the day filming for a project Im working on but got some time to work on the car too.
So I thought I would try and smarten up the calipers. Ideally I want new ones but will tart these up and get new ones another time. Money needs to go towards the body and these work fine.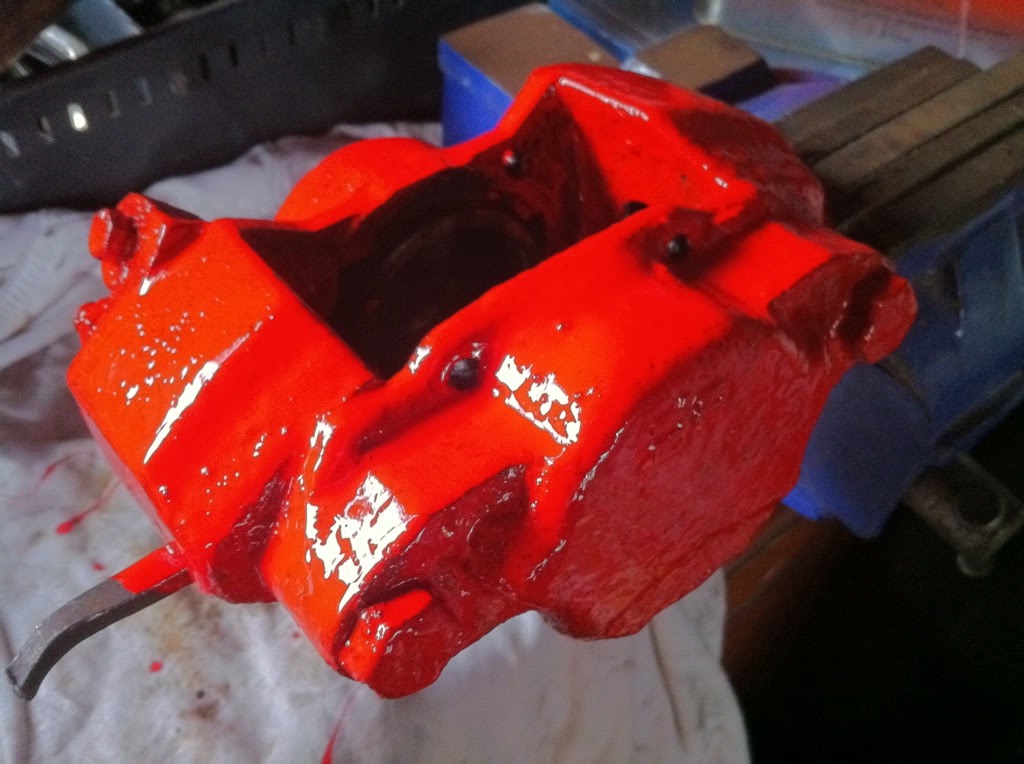
This is just one coat so will require more work.
2 Days till welding work commences!
9-12-2011
Bit more progress today before I ran out of room for parts. once the Mini goes off tomorrow things will be a LOT easier!
Cleaned up and painted my Hi-Los (adjustable height suspension for those who dont know....) Genuine Ripspeed goodness. Ripspeed used to be a stand alone company in the 70s-90s before Hellfrauds bought them over and ruined it by making chrome plastic tat for your corsa miiiiiin! So these are rally/race tested and quality parts!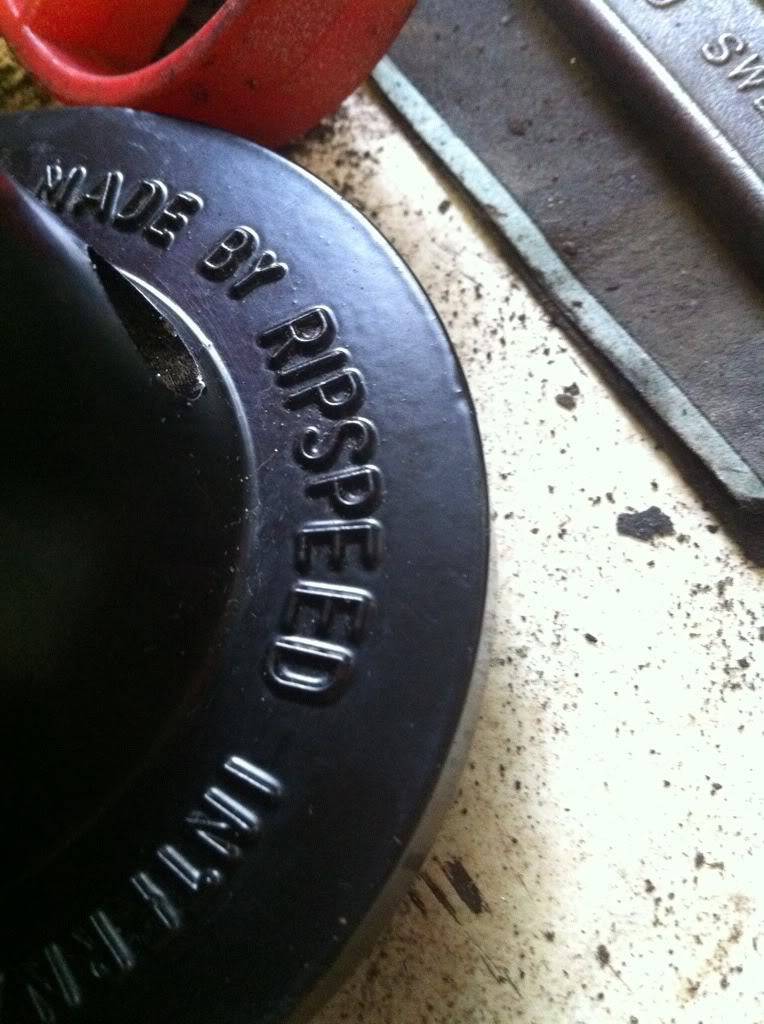
Then I set to work on the front suspension bits and pieces. All of these parts were heavily covered in surface rust. So I threw on some Deox Gel and left them for about and hour. Then wire brushed it off and rinsed to leave a perfectly clean, rust free part. This stuff is worth its weight in gold! Saves so much money on blasting! Not to mention powder coating as I sprayed them in gloss black hammerite. 5 coats should be enough I hope.....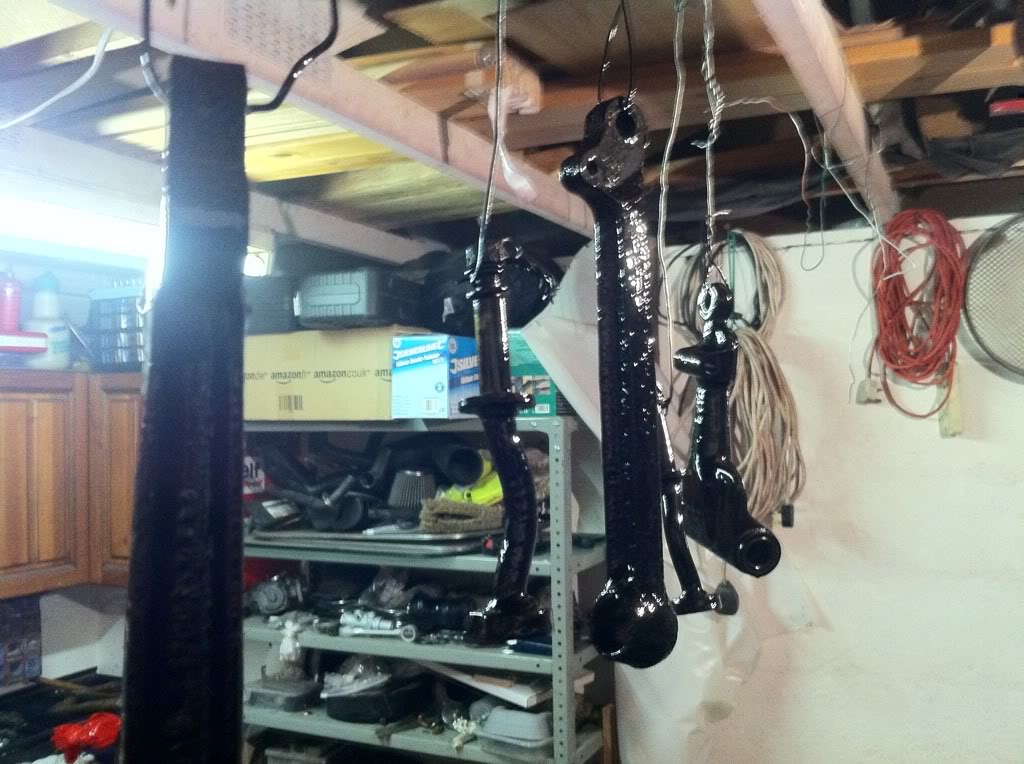
Also cleaned up and painted the Hi-Lo bars silver. Just need to go and get clear laquer to toughen up the finish a bit.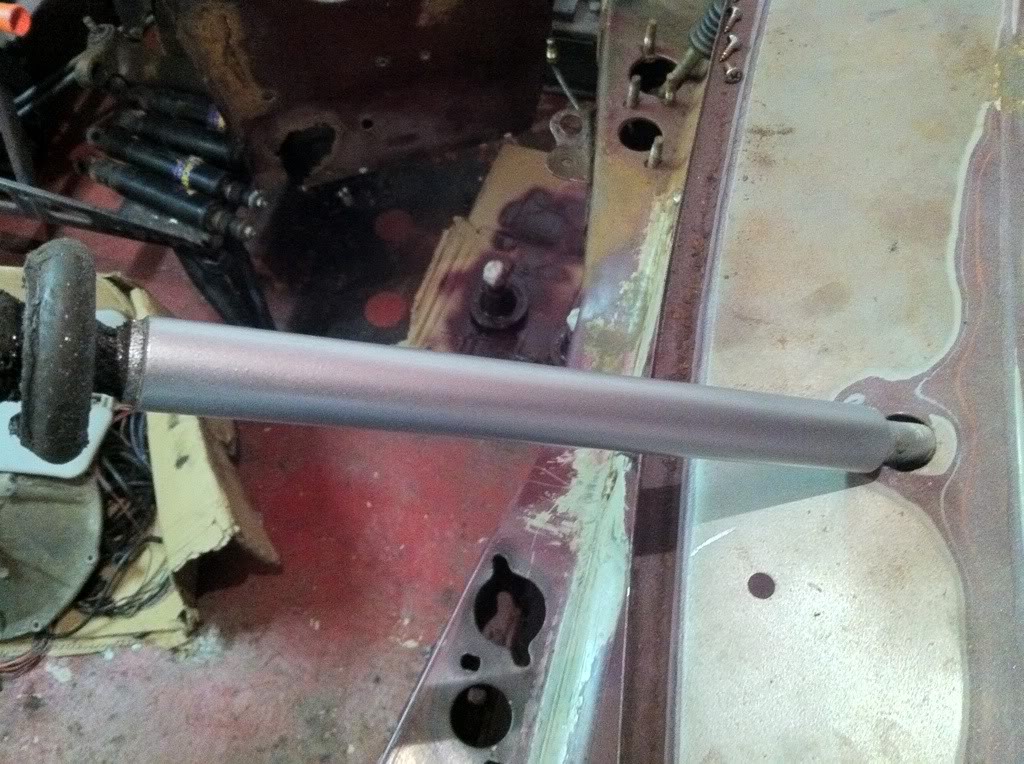
and also Deox'd the brake drums and painted them in smooth red Hammerite to match the front calipers. Not convinced on the colour myslef but will see what they look like on the frame/car. If I dont like they will be going back to black.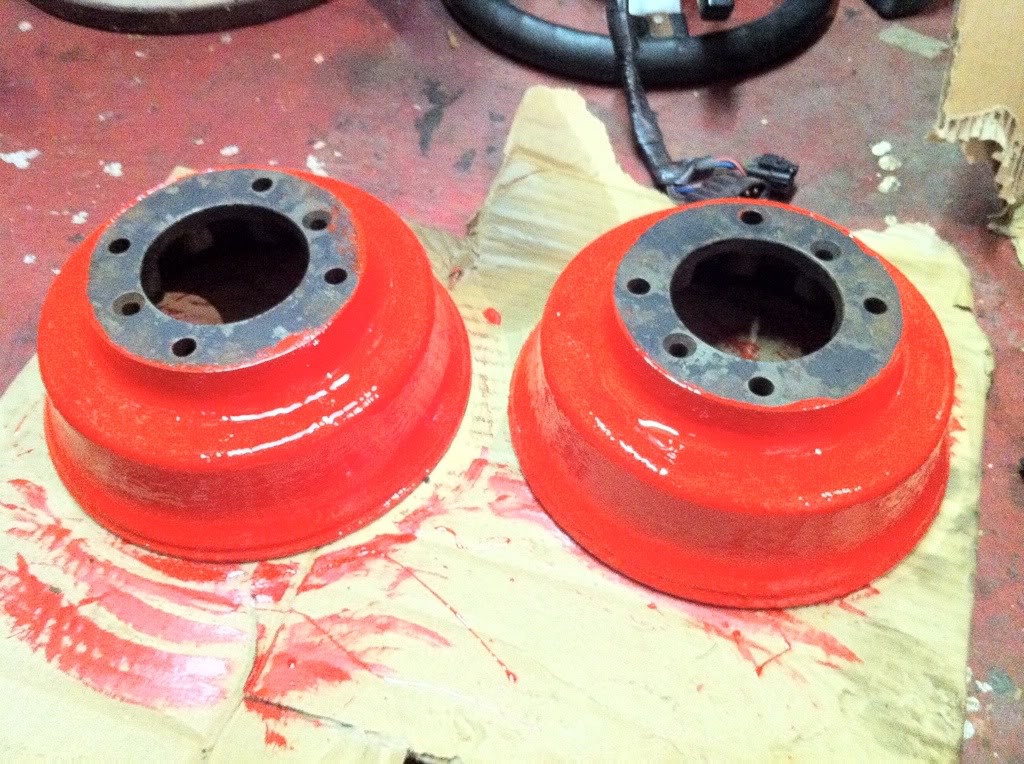
Also ordered a full car set of Polyurethane bushes from flo-Flex for £40. Cheaper than a set of rubber bushes.......weird considering ruber ones perish and get destroyed by oil in no time and these dont....... So they should arrive soon which means I can get to work on reassembling the subframes once they are back from blasting and coating.
And thus covers todays work. Tomorrow is Mini shifting day so work on the actual car should mount up pretty quickly from now on. Cant wait 
9-13-2011
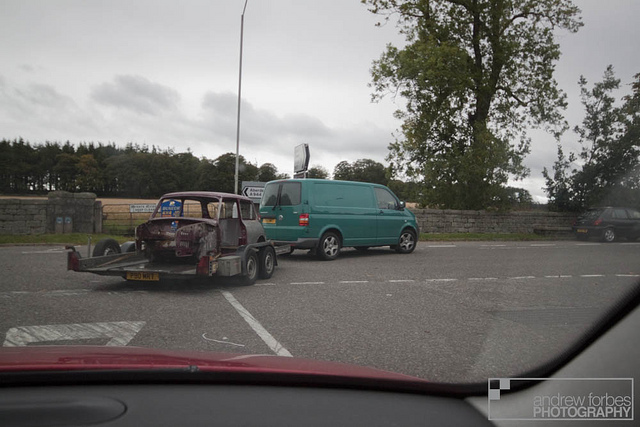
So today was the day of mini shifting. Out to Banchory to Kirkton autobody for welding and paint. As of tomorrow Im working there from 8-late to try and reduce my impending bill as much as possible!
So called in a guy I know through a friend who has a trailer. Couple folk soon saw it on the trailer. 20 minutes drive and at Banchory. Got dumped into the corner of the workshop for the fun to begin. Tomorrow Im taking over my sills and inner wings to see what we can do with them. So progress ahoy!
Anyway the pics....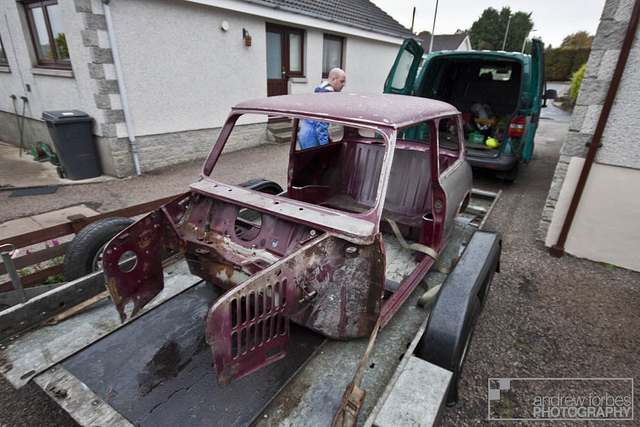
En route 
Aaaand dumped, ready for working on.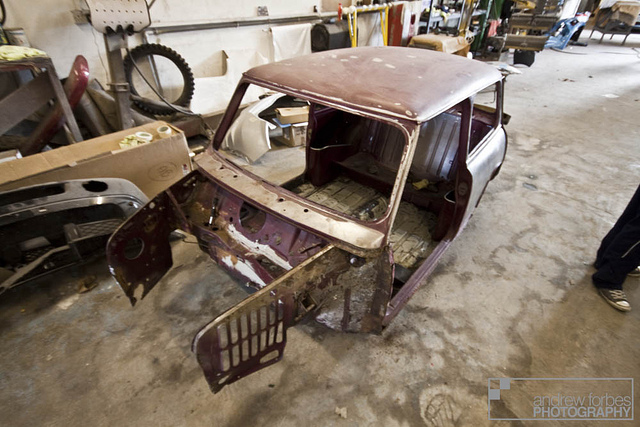
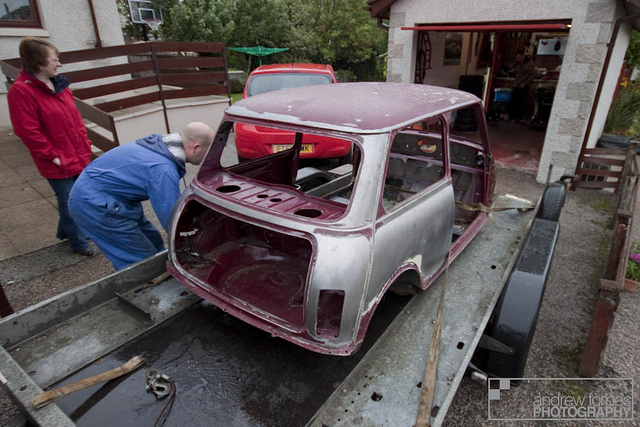
Doesnt take up much room so will busy myself away in the corner while customer cars are worked on by the guys
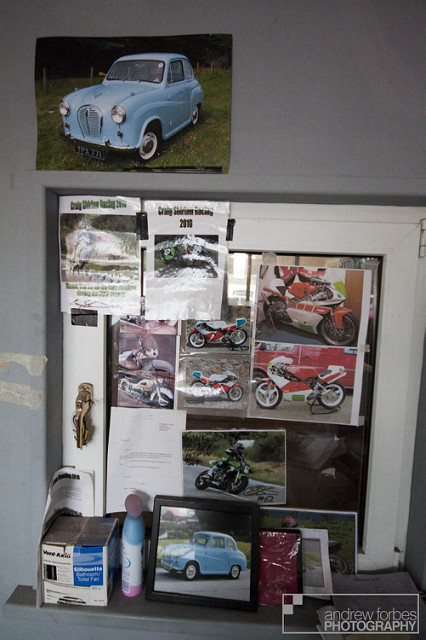
And where the car will end up in the end, the wall of fame 
Let the games begin and the bill mount up. In it for the long haul now!
9-14-2011
Day one of works at Banchory today! Started at 8 through till about 4.30. Had my whole 10 minutes for lunch then tore back into it!
By time I'd arrived Phil had already put 3 hours on it the night before after they closed! So it was minus a passenger outer sill and passenger inner wing Lad doesnt hang about!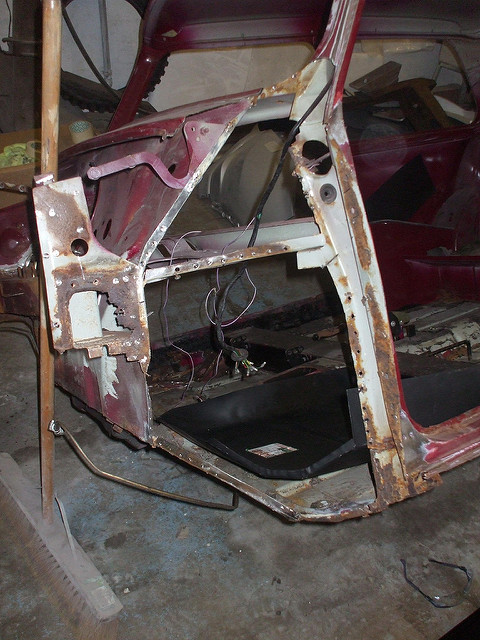
We offered up the new inner wing and it fits like a glove. Everything just matches up! He just finished another Mini and had a hell of a time fitting the Hadrian stuff he was provided with. So its good to keep the man your paying in a good mood!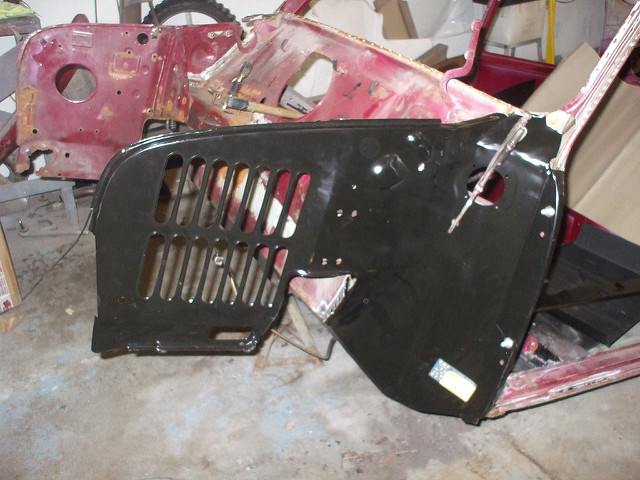
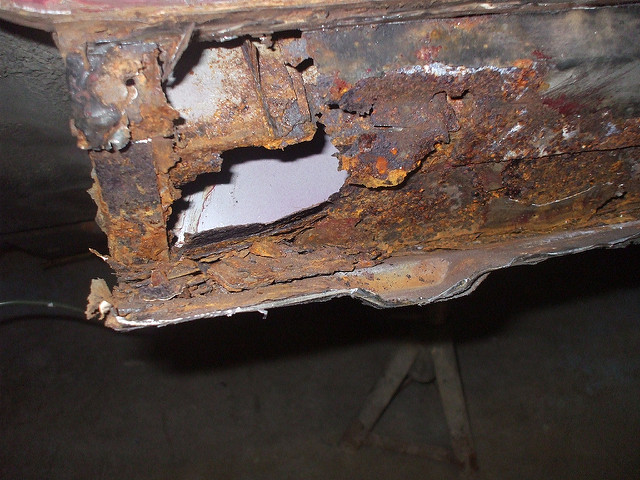
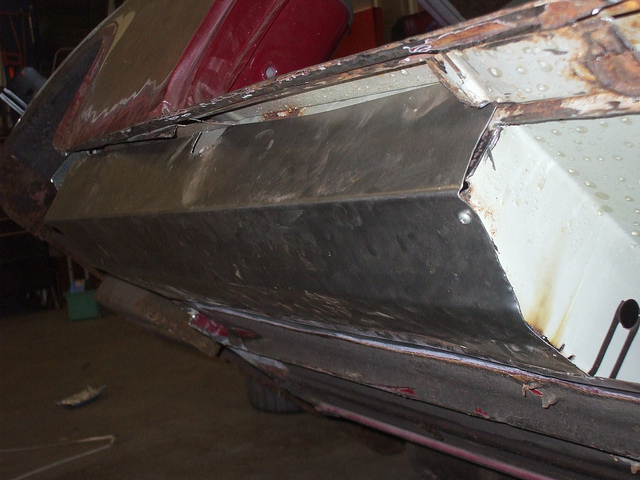
So he set to work panelling up the floor and reinforcing the crossmember. We took out the 'jacking point' as its useless and not strong enough to jack up the car....just warps and its also a massive rust trap! Not what I want! (the pic shows it before being dressed/tidied up)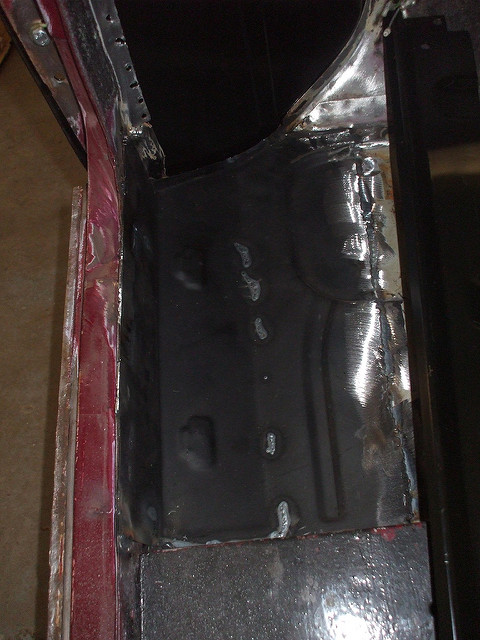

And while he was doing that I took off the scuttle and drivers inner wing. He would leave me with the rusty one where you couldnt see the spot welds wouldnt he.....took me most of the day to remove in the end but got there eventually, with lots of cuts, bruises and many many sweary words......:whistle: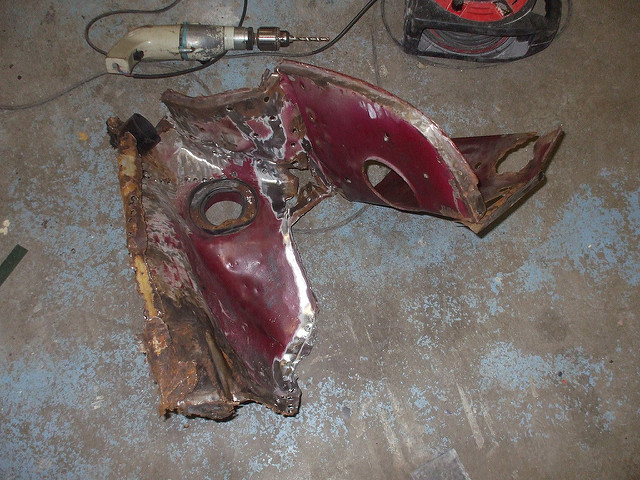
So hes going to put a couple more hours on it tonight then tomorrow we should get the inner wings on with the other floor pan and possibly sills too. Speed he works at is insane and its all top work! Very impressed thus far!
Roll on tomorrow!
9-15-2011
So the update from todays work!
When i got to Banchory Phil had worked on at night again and had got off the start of the sill and part of the front and rear floor on the drivers side. Said it was a total pain to get off but he couldnt understand why. So I left him to get on with his other jobs and got stuck in removing the sill.
This is part of the floor/sill combo.....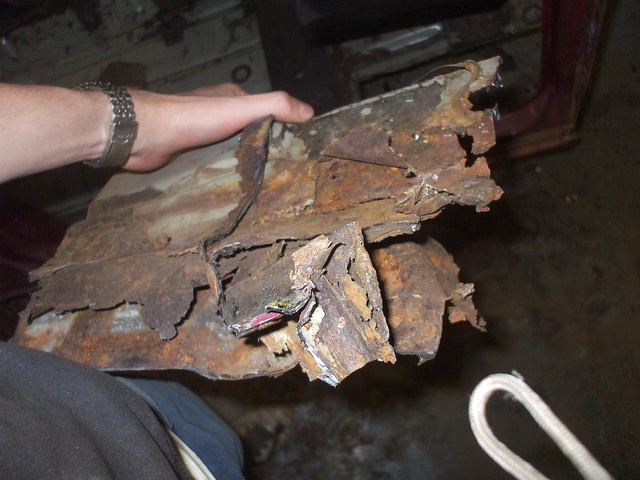
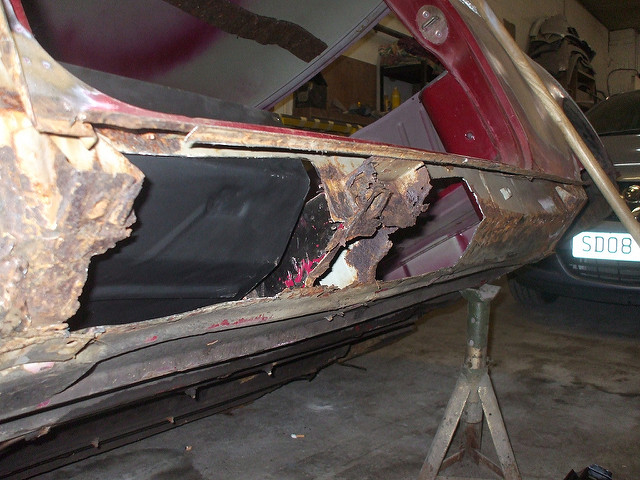
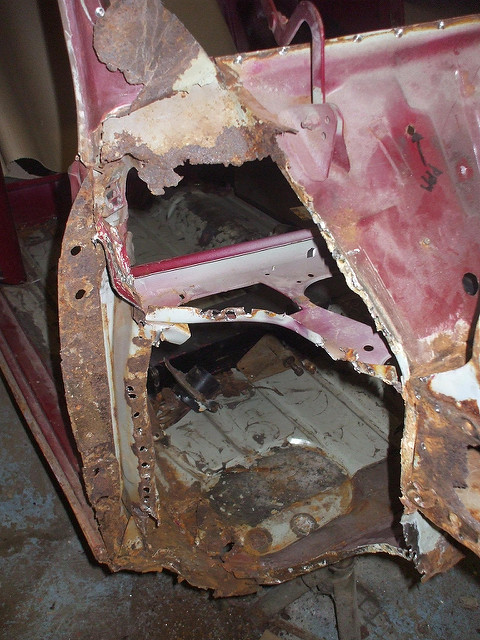
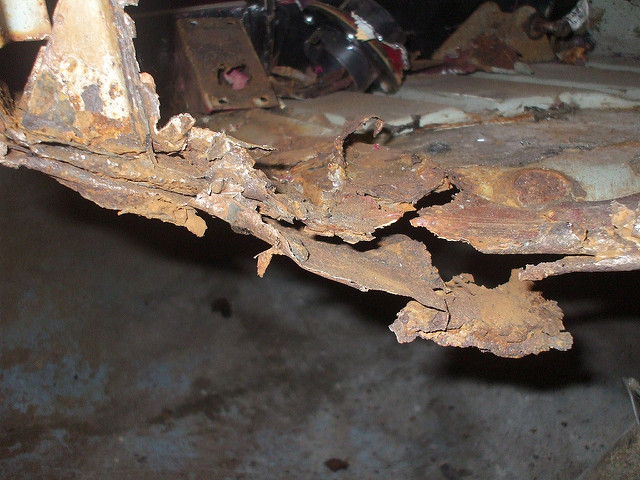
To my horror when i sliced open the top seam and bent the sill down, I found........another sill........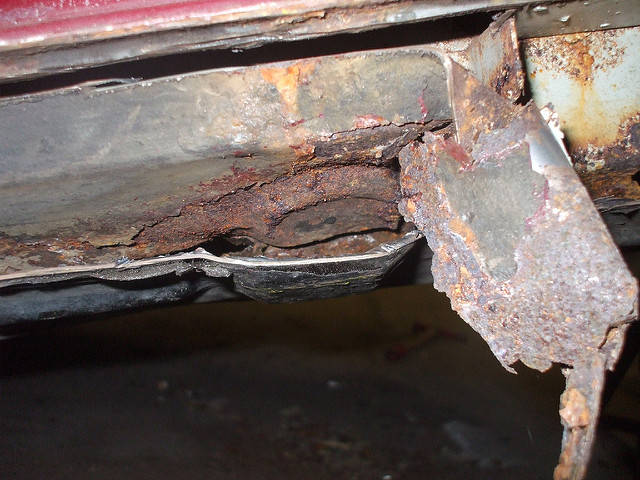
SO! This sill was an oversill (as I had known since I got the car. It looked totally fine from the outside and not too bad from the inside. I was determined to take it off for this very reason. Whoever put on the oversill clearly did it as a quick fix and left the original, rusted sill in place and the oversill covered it up completely. Clever but so dam stupid at the same time!
So it took some time to remove.....total mangled mess with filler and even pop rivets all over the place!
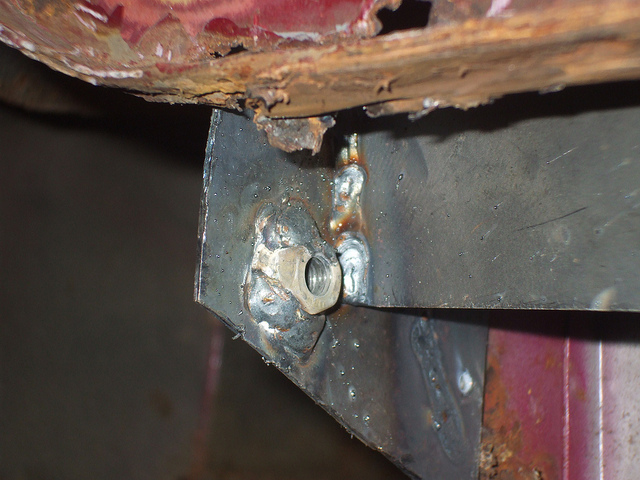
Then we set out to fix the subframe bolt captive nuts. The metal around these was gone and needed replaced. Problem being, the location of those nuts has to be dead on. So after much measuring, testing and offering up we got a plate made with nuts on and fitted it. Its thicker gauge steel than original so its a very sturdy mount for the subframe. A good thing!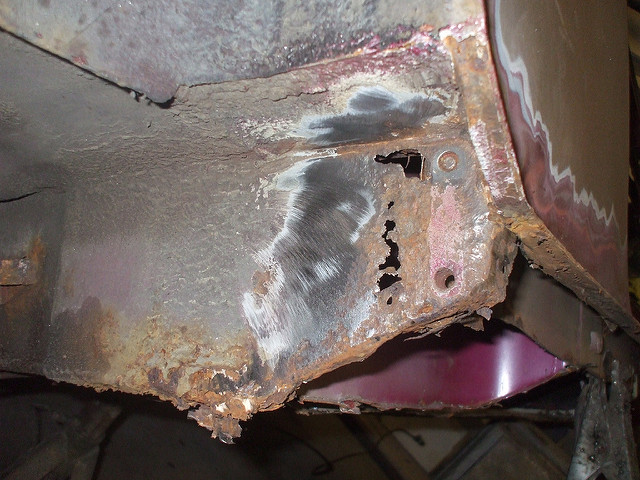
Then we set about fixing the rear floor. We don't have a panel for it and after looking at it, its just a piece with two long bends in it so we made a panel up ourselves. Again using the thicker gauge of steel we measured up some sheet, nipped down to the garage down the road to use their sheet metal bender (epicly old machine but still works perfectly well) and that was that. Just got it screwed into place at the moment and still needs a bit of tweaking/trimming but its more or less there. Should be done first thing tomorrow morning all going well  Then the outer sill can go on quickly after!
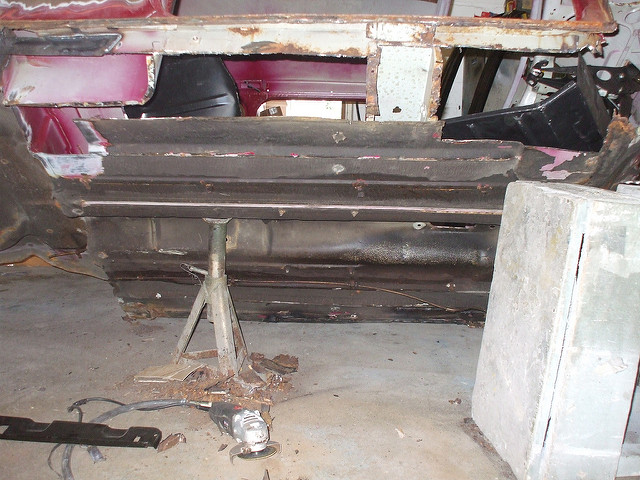
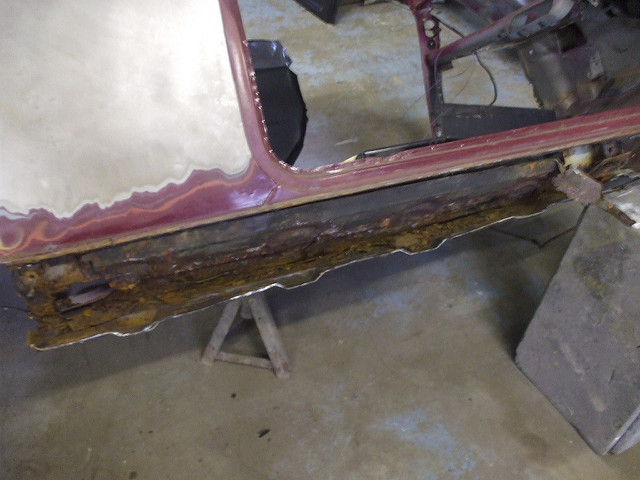
Sill clamped on to see the fit. Actually mm perfect. Chuffed!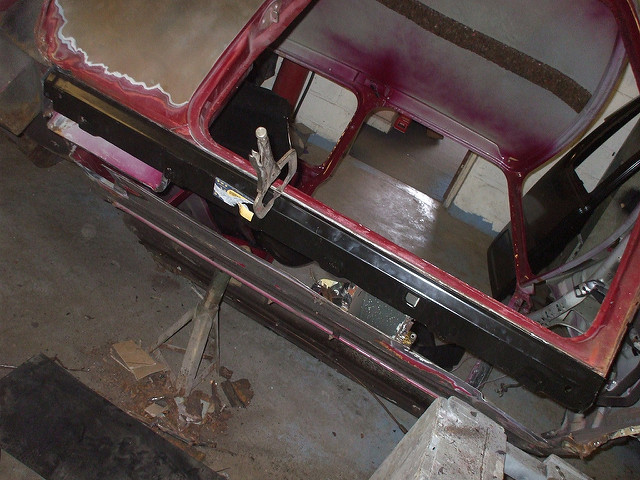
So that was todays doings! Should get the sill and possibly inner wings on tomorrow but we shall see how we get on with the sill first and take it from there.
9-15-2011
Forgot to mention......Poly Bush kit arrived 
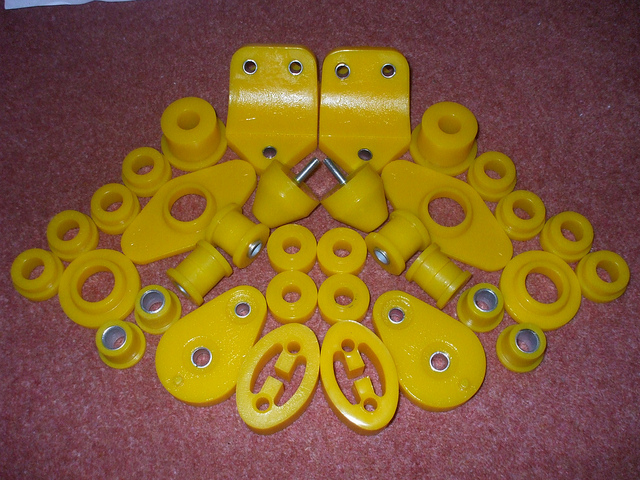
Just need subframes blasted and coated now 
9-16-2011
Progress progress......!
Another day down at Bunkry! Today it was mainly focus on the front drivers floor pan and rear floor/inner sill area. Needed a lot of work and lining up but we got there. Being a Hadrian floorpan (Heritage didnt have any when i ordered the other stuff) it didn't fit too well......We tried our best and got it all in place nicely in the end though. Could things of note on the pan. The sort of scoop where your feet go is a good 2-3" wider than the original, hence why mine has a sudden straight line to the left next to the trans tunnel.
Also the channels in it aren't as deep as original ones are so when these met the rear floor we had to pinch them up and in to meet the front. If this were a show winning/concourse car then this would matter, however its not so Im happy enough with it. The bottoms getting stone chipped in black anyway so will hardly notice, the inside is going to be covered in Dynamat and carpet so you really wont notice!
And thats not to mention the fact that it will be dam low so nobody will be able to see underneath it anyway  But now you all know....your all going to bloody well check.......
So this was the fruits of todays labour!
Car was tucked into the corner overnight....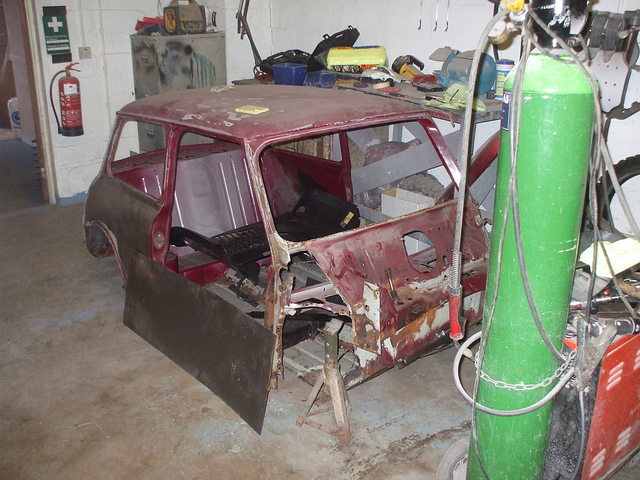
and it had gained a friend. Anything that can fit in the door can and will be worked on. This camper had been driven under something too low.......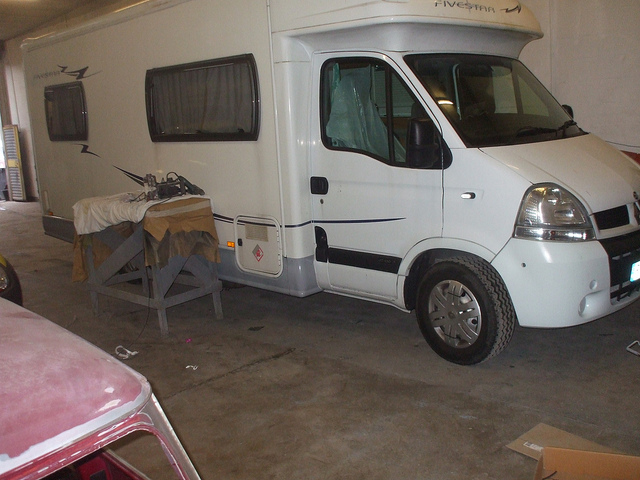
And we got to work on the floor pan.......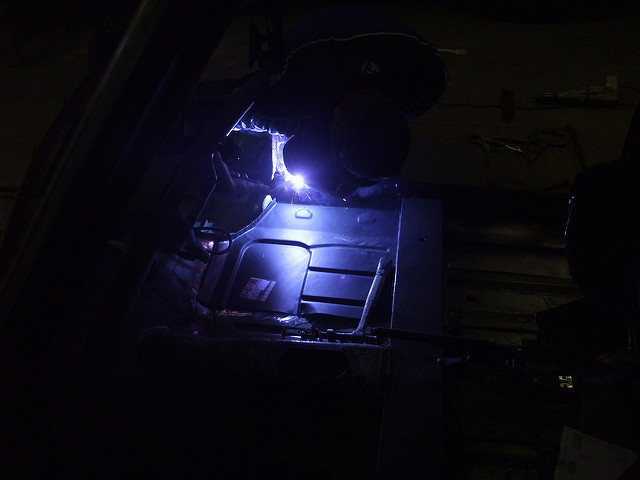
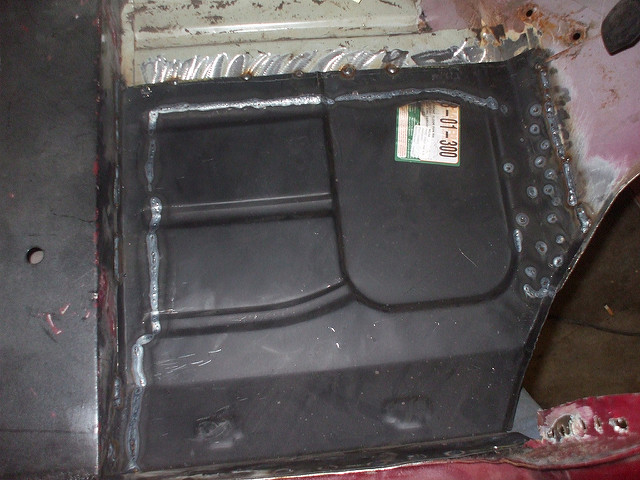
Still needs tidied up and final welding done but its in!
Then I made up a couple bits to repair the rest of the sill and Phil welded them in for me.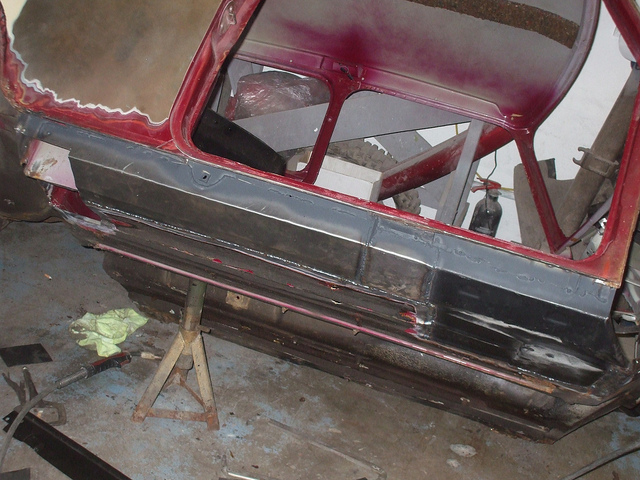
So the inner sill/floor is super tough and rust free now!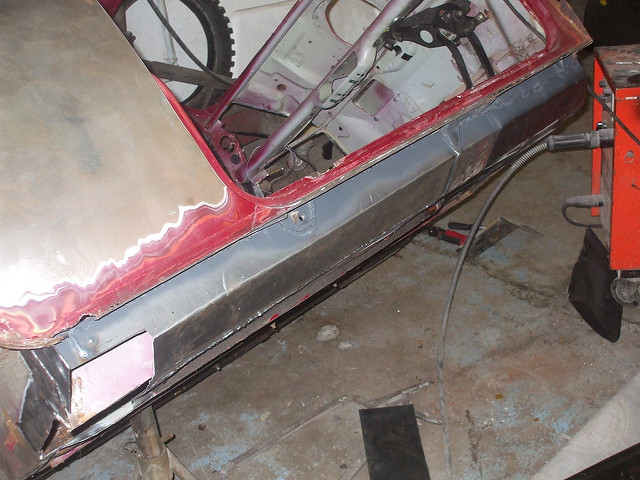
Floor pan was plug welded to the sill and then it was finally seam welded along the seam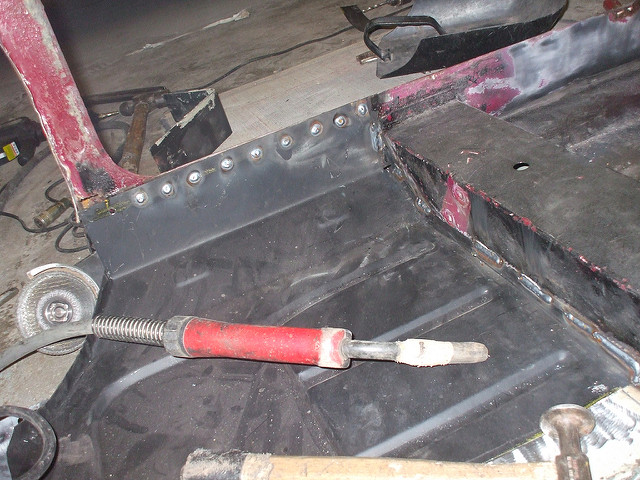
So heres the final drivers side floor, minus outer sill which will get put on tomorrow morning (aye we are working on a saturday!)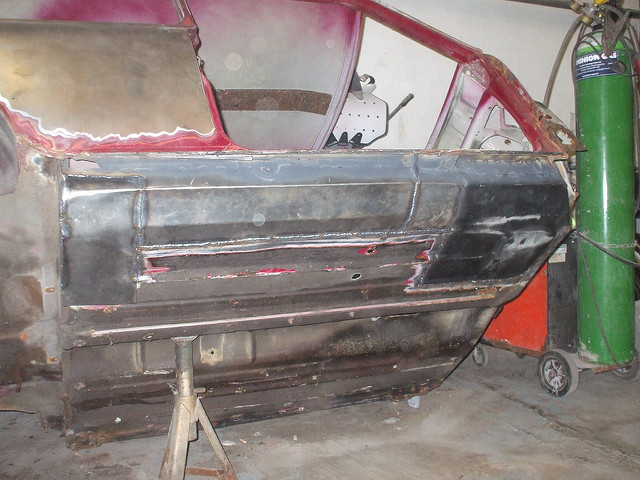
So tomorrow should be outer sill and then get started on the inner wings  Totally in my element working on it at the moment haha!
Also got a shot of welding. Such a skill! NEver done it before but my results werent too bad. He reset the welder to min settings and told me to get it right. Managed it after a couple failed attempts. Aim is to get some welding done by me actually onto the car by time its ready for paint.
Comments

I LOVE Mini Coopers. Wow fantastic detail / photos here!
Posted by Diggymart on 1/22/19 @ 4:17:19 PM
Congrats BOTW what a beauty!
Posted by Diggymart on 2/6/19 @ 3:15:15 PM