You must be logged in to rate content!
16 minute(s) of a 461 minute read
9-17-2011
Todays progress! Had to stop on the way there as the sunrise coming through the mist made for a tidy photo.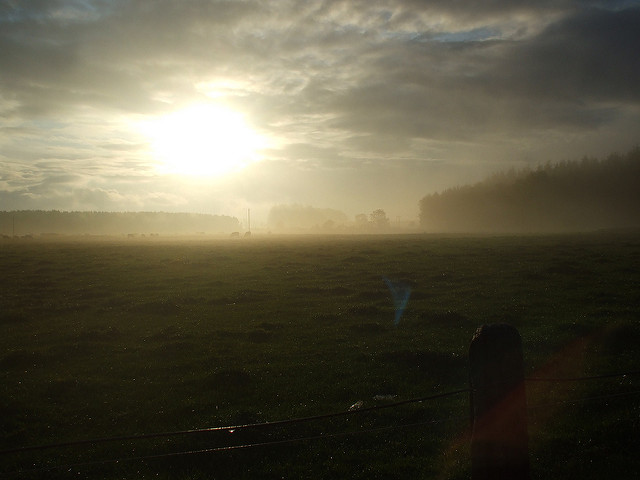
Again 8am start but i brought along some freshly baked Butteries so we were delayed a bit by the intensity of their amazing tastiness! But we soon got going. We finished off the inner sill fairly quickly and were going to move onto the inner wing. Then we remembered about tubbing the arches so got stuck in to the drivers side to do just that!
So no sooner said than done we cut along the mark I had made previously. He was very trusting and followed the line dead on what I had marked so no pressure on me then......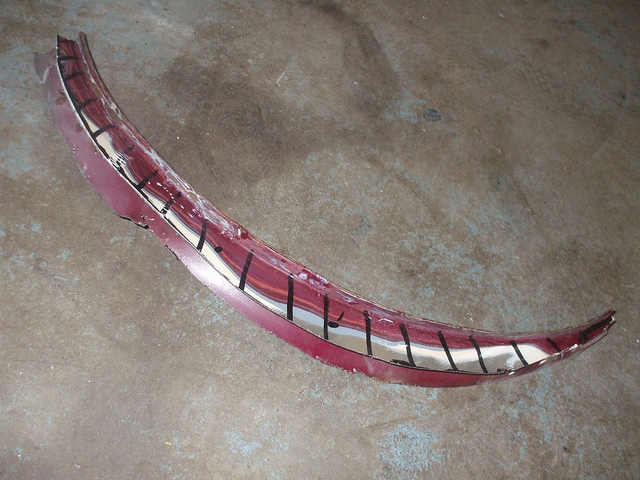
However! My marks made with my special tool worked a treat and were dead on! So with the hole cut we set about getting a panel to fill the gap. We had the perfect length of metal but it was a foot wide so down to the garage again, used their guillotine.....another epic machine.....and back again we had perfect size. Offered it up to the arch and was dead on. Tacked it on to form a lip. Really tricky not to warp the panel so we took it easy, coming back to it every 10 minutes or so. Worked our way round until it was done!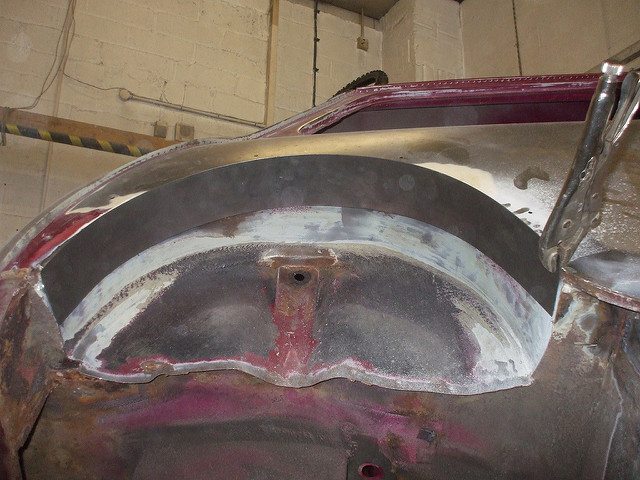
Then we got the inside welded up. To bring the lips together to weld we drilled a few holes, popped in a fee self tappers and brought them together. Welded up to the screw, removed and continued around until it was all done. Then did the inside lip too. Strong as hell as its (again) thicker steel than standard.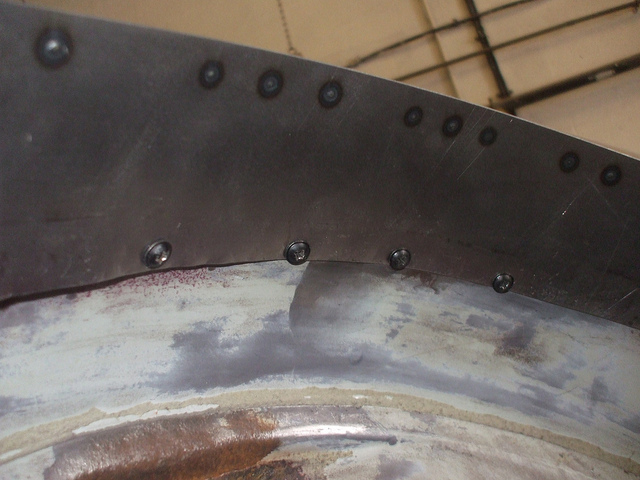
Also got rid of all the sound deadening/sealer/bitumen/horrible crud from the arch. Its getting stone chipped so needed stripped anyway. LOVE using this tool called an MBX. Strips off everything in no time at all. Really satisfying!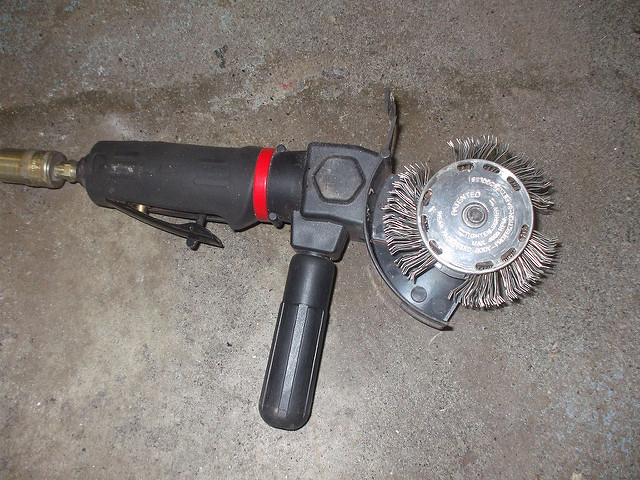
And we managed to get the sill on too but forgot to take photos of that. Passenger side and front to go!
Time taken today to do the above arch tubbing and sill? 4hrs......some quick work from him!
9-19-2011
SO it was MOT day for the Polo today and that meant no chance of getting to Banchory. It failed catastrophically so wont be able to put any funds towards the mini for a couple of months as a result.......fuming! Cant stand the car but cant afford to replace it with something worthwhile......
However! Seeing as I was stuck at home went to the garage and cleaned up more bits here and there. Mainly brackets and small parts but thought I would put some bushes into couple of bits to see what they are like. Look tidy to me!
Just the lower arms and steady at the moment. Rest will go on when the subframes are coated.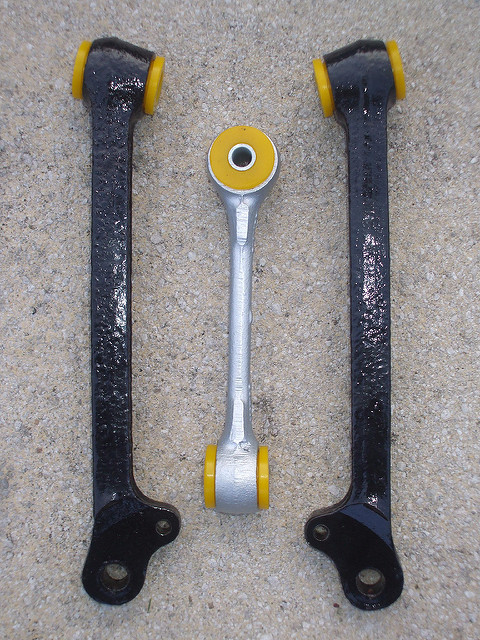
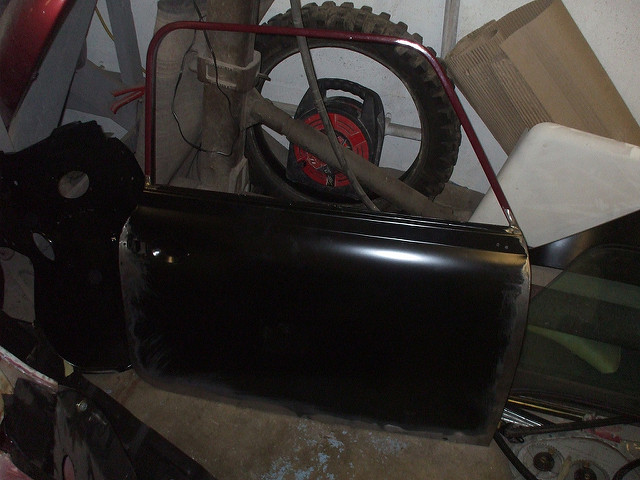
So not much progress really but did get to take out my frustration of the Polo failure on my door skins. Angle grinding is one hell of a tool 
9-20-2011
Another day bites the dust at Banchory!
Had the help of my mate Greig today too so got loads done. Not too many pics at the moment due to too much to be getting on with.
We arrived and needed to have the bonnet, doors and door skins.....so went back to Inver and threw what we needed into the boot. We forgot door hinges though so yeh....we couldnt mount them as we planned. Still amazed we fitted everything into the boot of the Lupo 
So no sooner said than done we were back to Banchory and within 45 minutes Phil had reskinned and finished an entire door. This included welding in a full length and corner repair on the bottom of the inner skin made from scratch and then the outer door skin body filed smooth. top effort and perfect finish. No filler in these doors!
Corner repair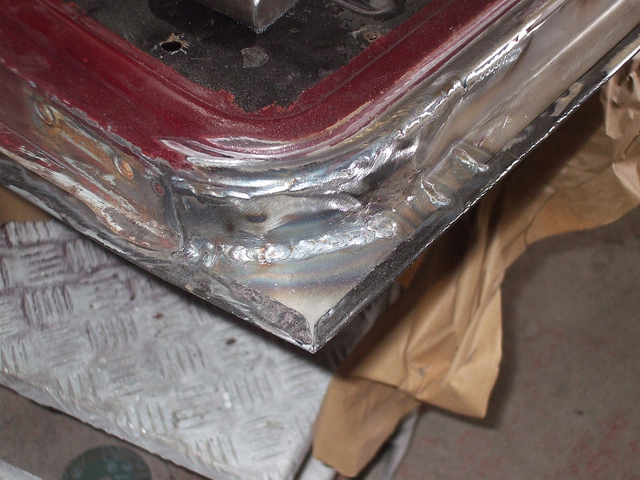
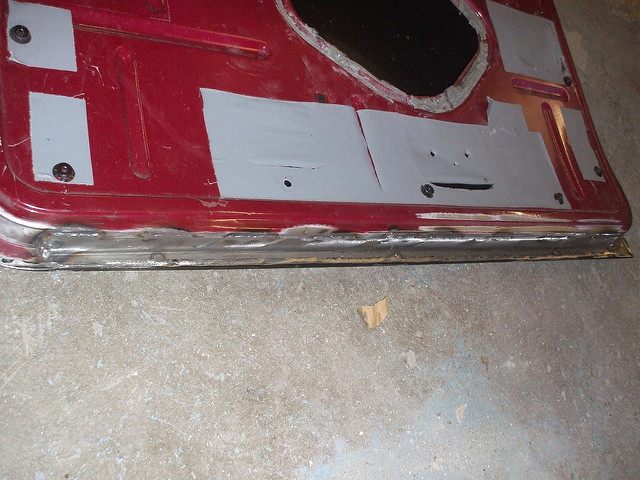
Bottom door repair plate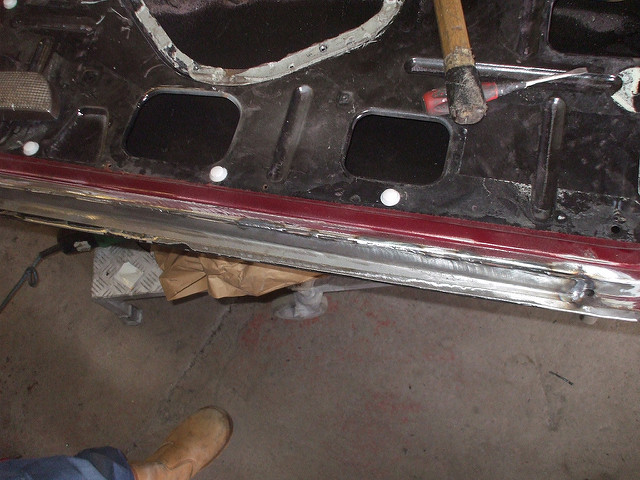
Skinned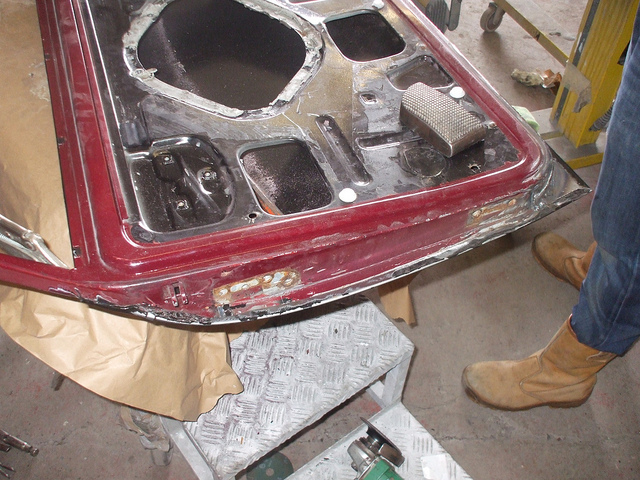
and body filed edges to perfection
Put into place
Then we decided to take off the jacking point hole seeing as this shouldn't be use as a jacking point.....quick spot weld drilling sesh then out with a plate Greig made up. Sorted!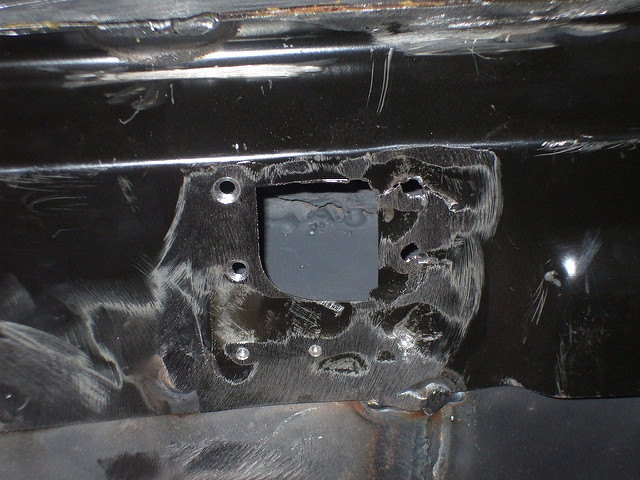
Then the box section behind the inner wing had a hole so again a quick Greig special plate was made up and welded in.
So tomorrow is door hanging then front panel positioning. So Im taking over the front subframe seeing as the front panel mounts to this at the front.
Progress, progress, progress.....
9-21-2011
SO! Another day down at Banchory today. Seeing as i remembered to take my hinges this time I cut off the original bolts, drilled out the remaining bit then took some new bolts, chamfered and edge of the head to then hammer into the hinge gap and weld in place.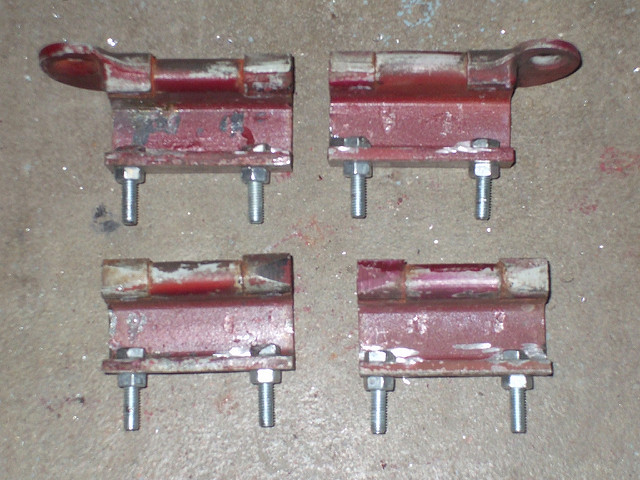
After this picture was taken the bolts were welded in place, bottom nuts removed and then heads ground down so as not to catch on the door skin when the door opens. Phil learnt from past mistakes regards the grinding down of the bolts........meant painting doors twice which I dont want to be doing!
And last night after I went home Phil went back to the shop and did the other door skin. Top loon!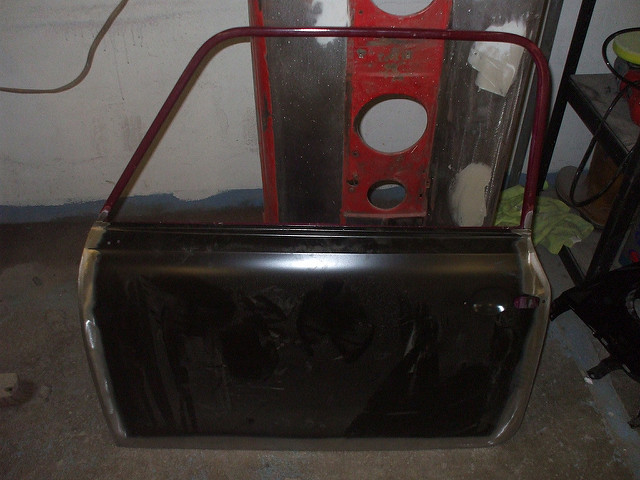
Spot the face! Got bored so he appeared.....
That all took some time due to the amount of bolts and crap drill bits bending/snapping at almost every bolts. Not to mention the strength of the bolts themselves.....
Then we thought we would mock up the front end  So it was on with inner wings and instantly we found a problem. The holes for the doors didnt line up, so they were drilled to match. Existing holes will be welded up before paint.
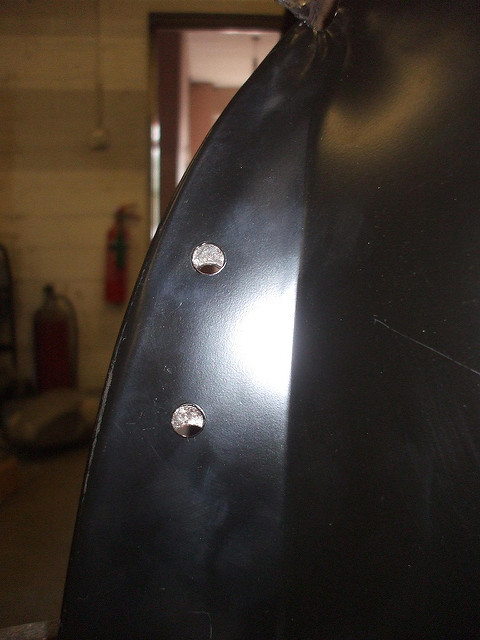
So the front mocked up...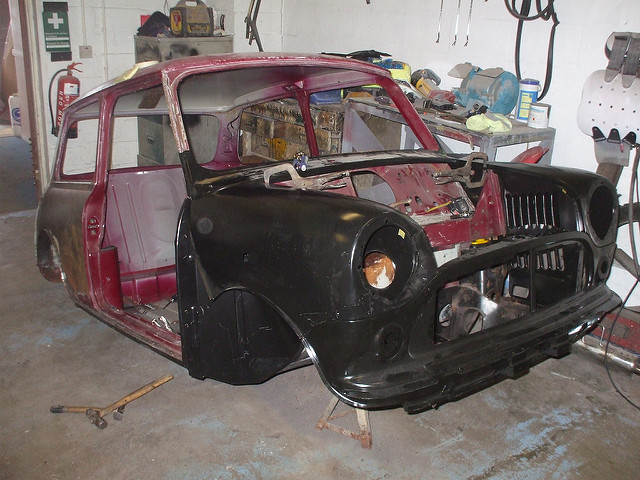
and then since we were mocking up the man panels we threw on the bonnet to get an accurate idea of the fit alongside the A panels too. Safe to say the fit is amazing. Thank god for Heritage panels! VERY little altering/fine changes to make. Might be more pricey to buy but saves loads in labour costs!
So we arent in tomorrow as the workshop is closed for reasons I wont disclose here and I wont be in till Saturday due to a Uni induction day on Friday taking up the whole dam day!
So not a huge amount of progress today but every little helps! Feels good having the panels in place though. Makes it seem that bit closer to being painted/done. 
9-23-2011
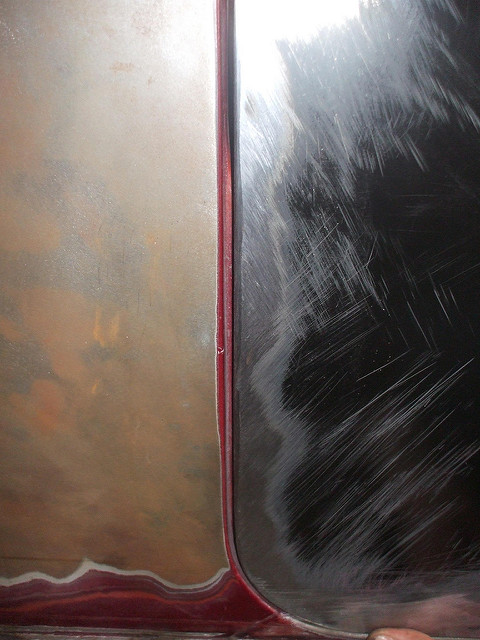
Well wasn't supposed to be at Banchory today but Uni finished 4.5hrs early so nipped out. Keep my stuff in the boot so was all prepped to go anyway. Not much done but got the doors sanded using a cool little Mirka orbital sander with vacuum feed to cut down on dust like one of these.....
Makes sanding a breeze! Just used it on bits that a scotchbrite pad didnt smooth off. Didnt want to risk using too many discs when Im paying for them! 
Once it was all smooth we popped some high build primer on the bare metal bits around the edge of the skin and the door bottom. Then we put some seam sealer on to protect it from rusting any more! Plan is to get the bottom of the doors stone chipped to again prevent rust as much as possible. this can be painted over too so will hardly be able to notice it!
So more work tomorrow morning which will mainly be alignment and possibly welding of the front panels! Should be good to see!
9-25-2011
Well a half day down on the mini today. We decided to get the drivers side door lined up along with the inner wing and a panel. Even though its all Heritage panels they still needed a fair amount of lining up to meet my expectations I dont want the typical mini door syndrome where the bottom rear is sticking out a bit which looks terrible.....
So eventually with a bit of playing with the door hinge holes we got it mm perfect with no spacers/shims. Chuffed!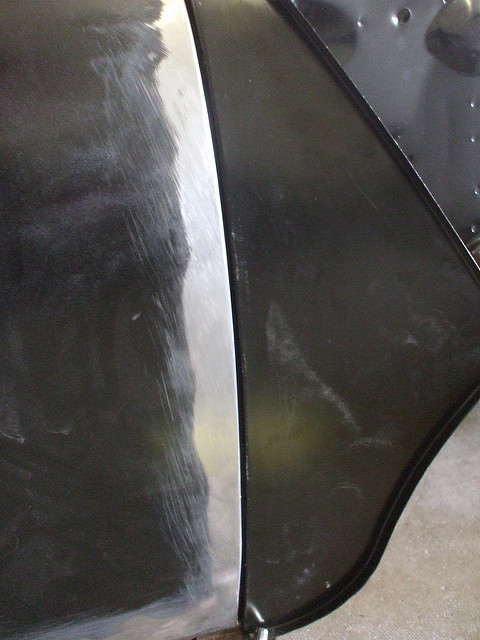
The door skin had warped/been bent a bit with positioning as you can see below......but a quick sesh with the hammer and dolly soon sorted that out. Sits flush now.
So here we have it. One door in perfect position. Hope the other side works out as easy as this one....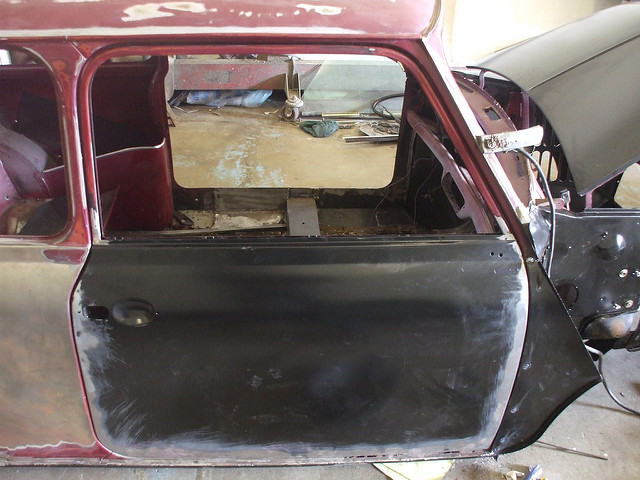
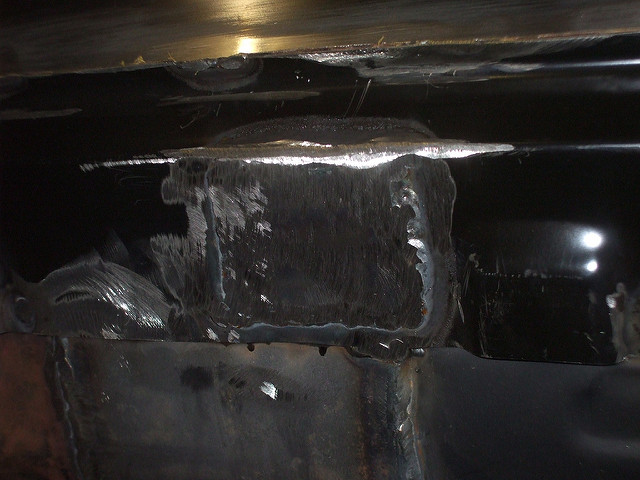
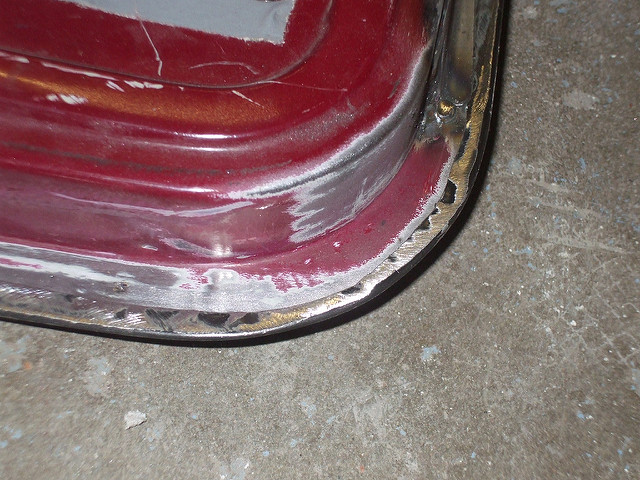
Then once we got that done the A panel quickly followed on and then we went onto the inner wing. These were spot welded everywhere at the factory but we have seam welded them as they have loads of points of contact so it should be a lot lot stronger. Plug welded it where it meets the door frame.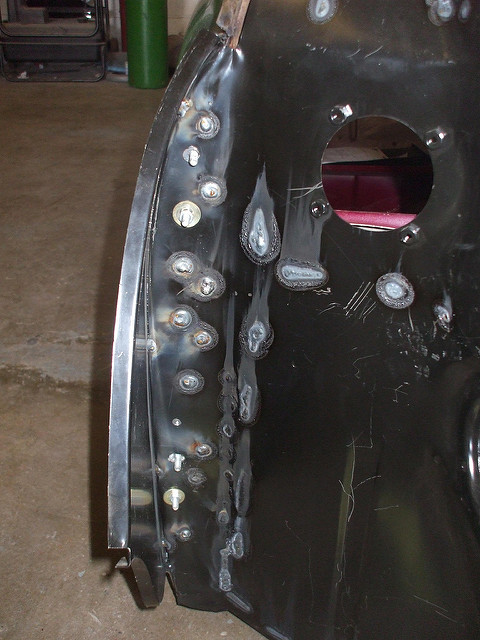
This was all welded from the inside of the bay so hence the burn through marks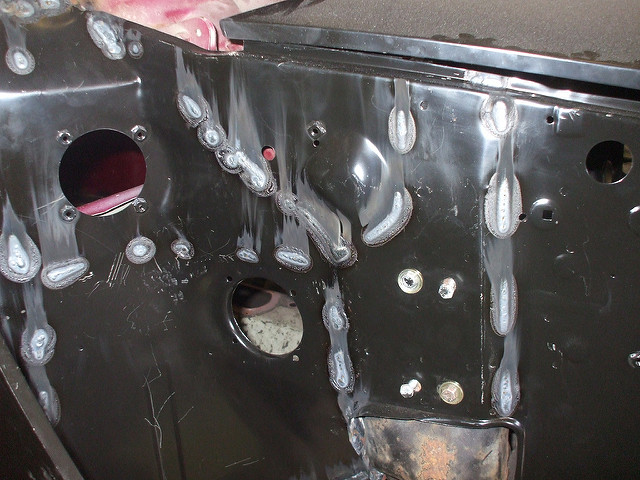
and one from the inside. Looks a bit rough and ready but still needs cleaned up and then will be covered in paint, sound deadening and carpets. So you will never know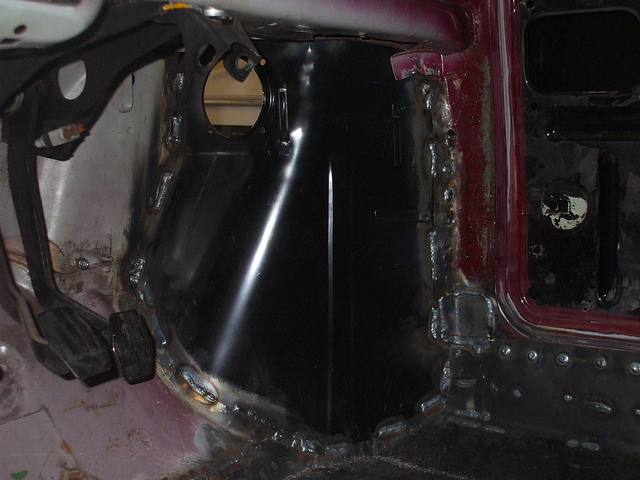
And this is the cars company for this week.....an SL63 AMG needing some boot paintwork. Sounds amazing!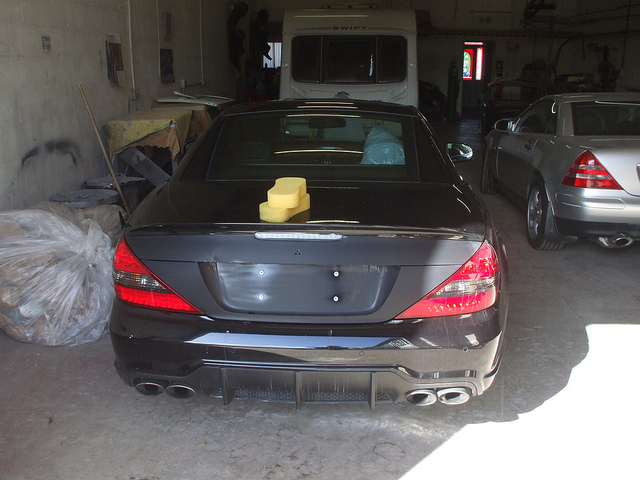
So it may not seem like much progress but perfection takes time as they say....next out on tuesday morning/early afternoon before work in the evening. So should get more done then along the lines of the other door/inner wing/scuttle and possibly even outer wings as the front panel is perfectly in place.
Back to work after 2 weeks off tomorrow so now
9-27-2011
Didnt start work till 4 today so was up early to go out to Banchory and work on the car for a few hours!
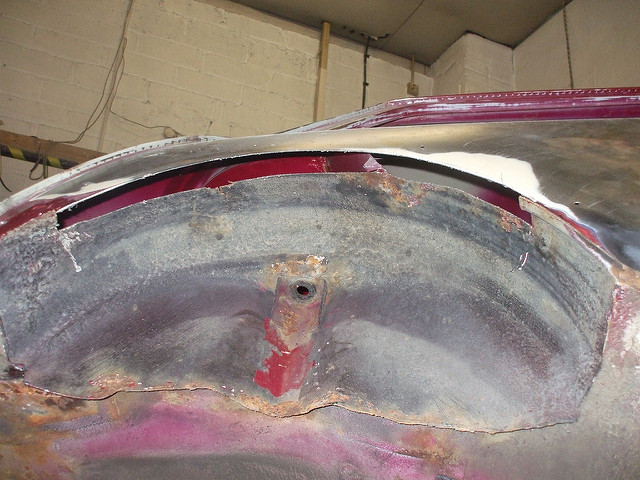
Got stuck into boot repairs/prep. This is the boot as was....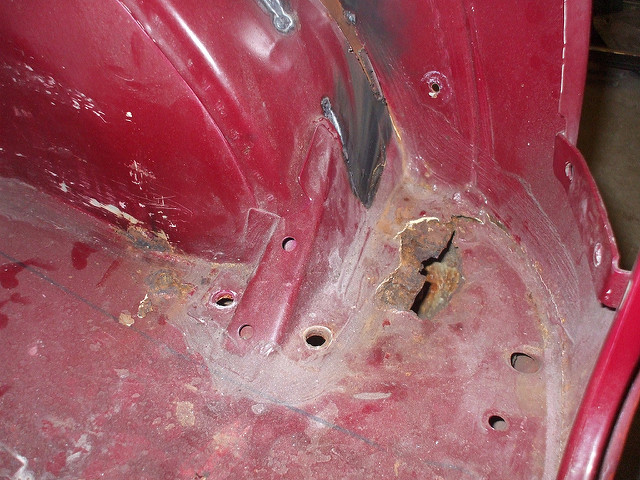
Not too bad but holes nonetheless so poked away at them and they got bigger....so out with the airsaw (epic tool!) and I was left with this.....
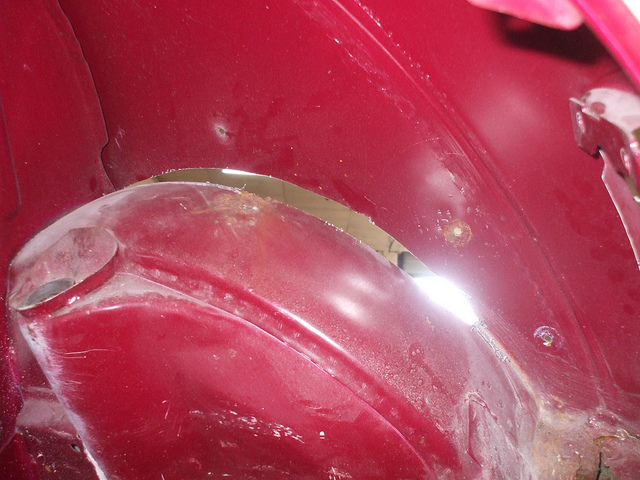
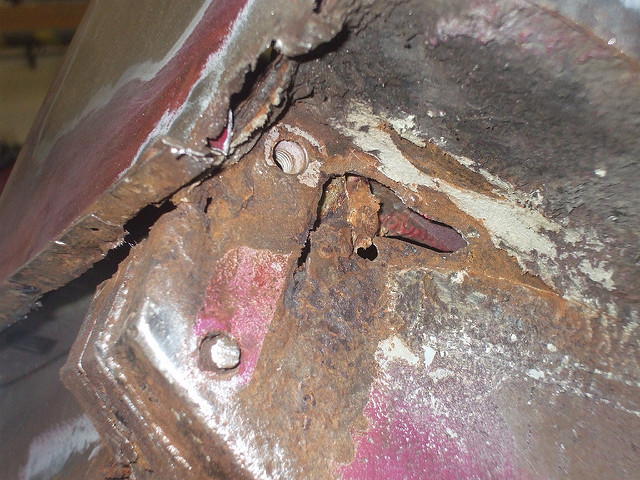
Was good to check the state of the valence closing panel. Thankfully it was fine so will get filled with Waxoyl so it stays that way! I made up a carboard template to plate up the hole and then set about a spare bit of metal, left over from the floorpan repair panel, with the tin snips.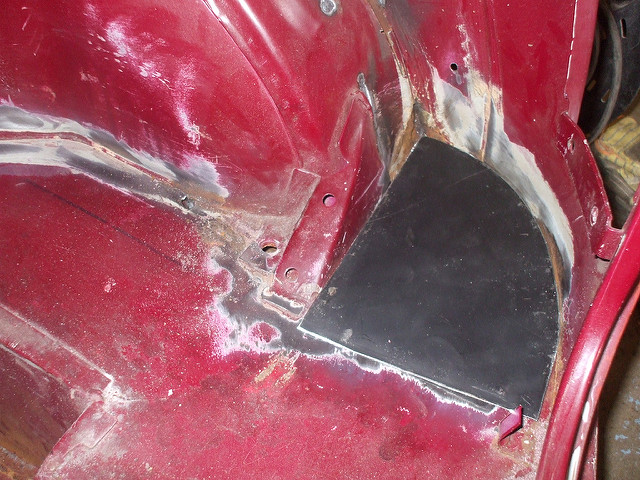
Then made up another curved plate to match the contour of the inner arch to fix the other hole which also grew.....
Then made some holes in the other side and plate them up too. Just need welded up and the boots done. Glad thats the worst of the holes!
So progress again. Not much but still satisfying work. Love doing little bits like this  Saved me some money doing it myself too!
Not sure when i will next be working on it due to Uni being useless and not giving me my timetable yet even though Im now back at Uni........so watch this space!
10-1-2011
Update time! Bit late as this was done yesterday but you can blame the crap BT internet connection for that.........
Managed to get a morning on the car today. As I had made up panels for the boot already, I just needed Phil to weld them in. Boot now done! Just needs welds dressed up for paint and some seam sealer on.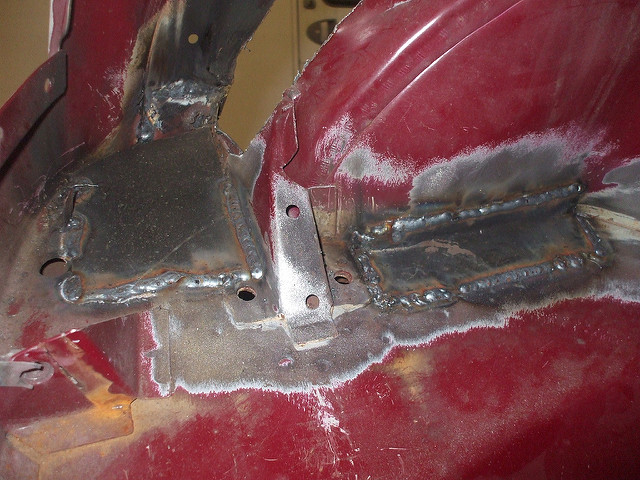
And some of his quality welding.....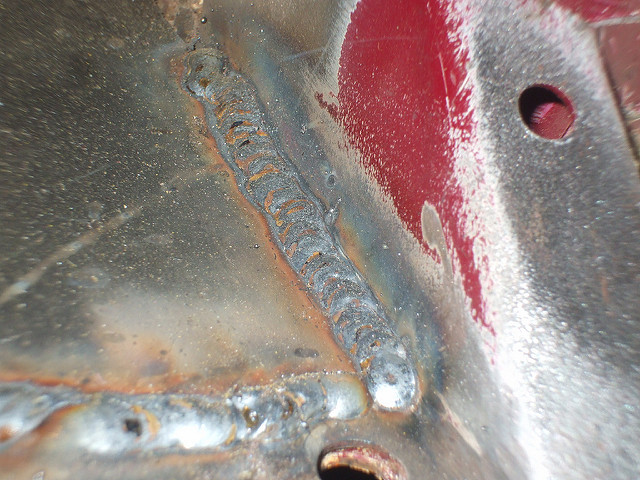
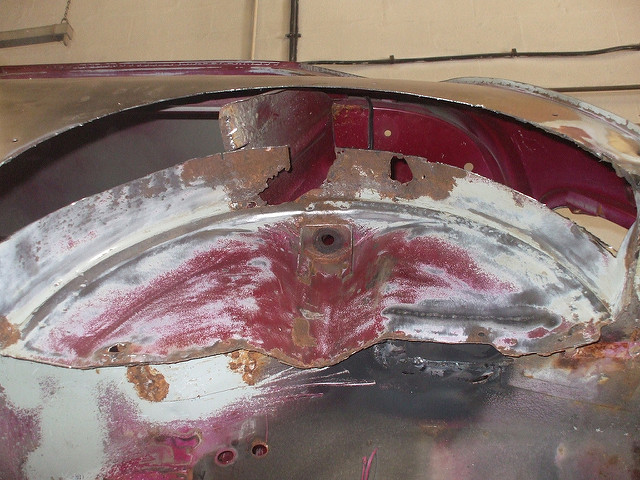
Since we still had a bit of time before I had to go to uni.....which was a waste of time anyway.....we got torn into tubbing the passenger side arch. First I stripped off the sealer/sound deadening/crap from underneath and then we cut out the lip and a larger section of the arch. Going to be doing it in one piece of steel again with another lip formed to get some strength back into it.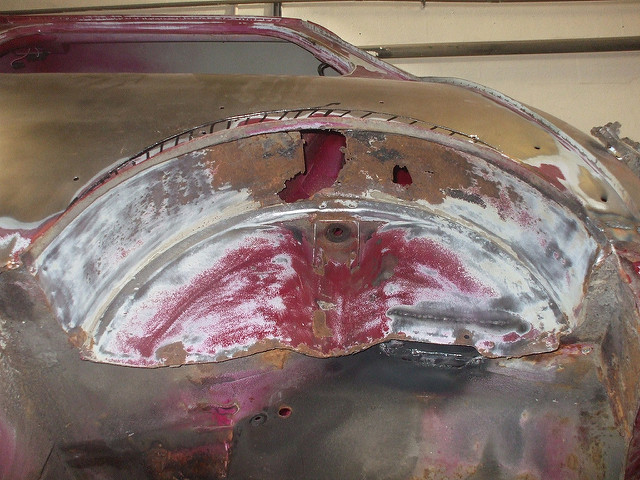
MBX'd..... I LOVE this tool!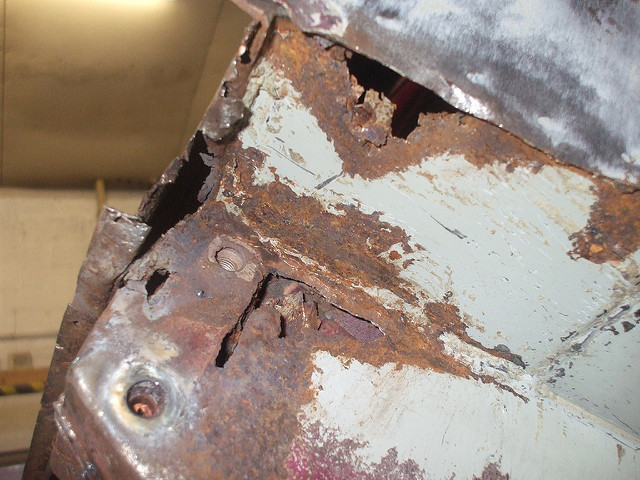
Rest of the sealer off just to make sure theres no other nasties hiding anywhere
The cut away piece of arch
Couple repair patches to go in where the subframe mounts as its badly rusted but I just got a text saying its been repaired! So thats almost all the rust gone, just the passenger outer sill to go which isn't a massive job! Then its just front end final welding and it will be onto paint prep and painting. Starting to see the light at the end of the tunnel......
Im next out on Monday morning so should get the arch finally tubbed then, that is if Phil hasn't finished it off tomorrow morning though.......he fairly works on!
Comments

I LOVE Mini Coopers. Wow fantastic detail / photos here!
Posted by Diggymart on 1/22/19 @ 4:17:19 PM
Congrats BOTW what a beauty!
Posted by Diggymart on 2/6/19 @ 3:15:15 PM