You must be logged in to rate content!
15 minute(s) of a 338 minute read
12-26-2014
12-26-2014
After that there will be 5 small phillips screws that help keep the back of the HD together. Remove thos and also remove the screw that will keep the HD harness in place. There will also be a rubber gasket on the back of the projector housing. Remove that and make sure all harness are removed from the back of the HD.

Next is to set the oven on 210-220 degrees and let the oven warm up. Once its warmed up place a towel on the rack and lay the HD on the towel.
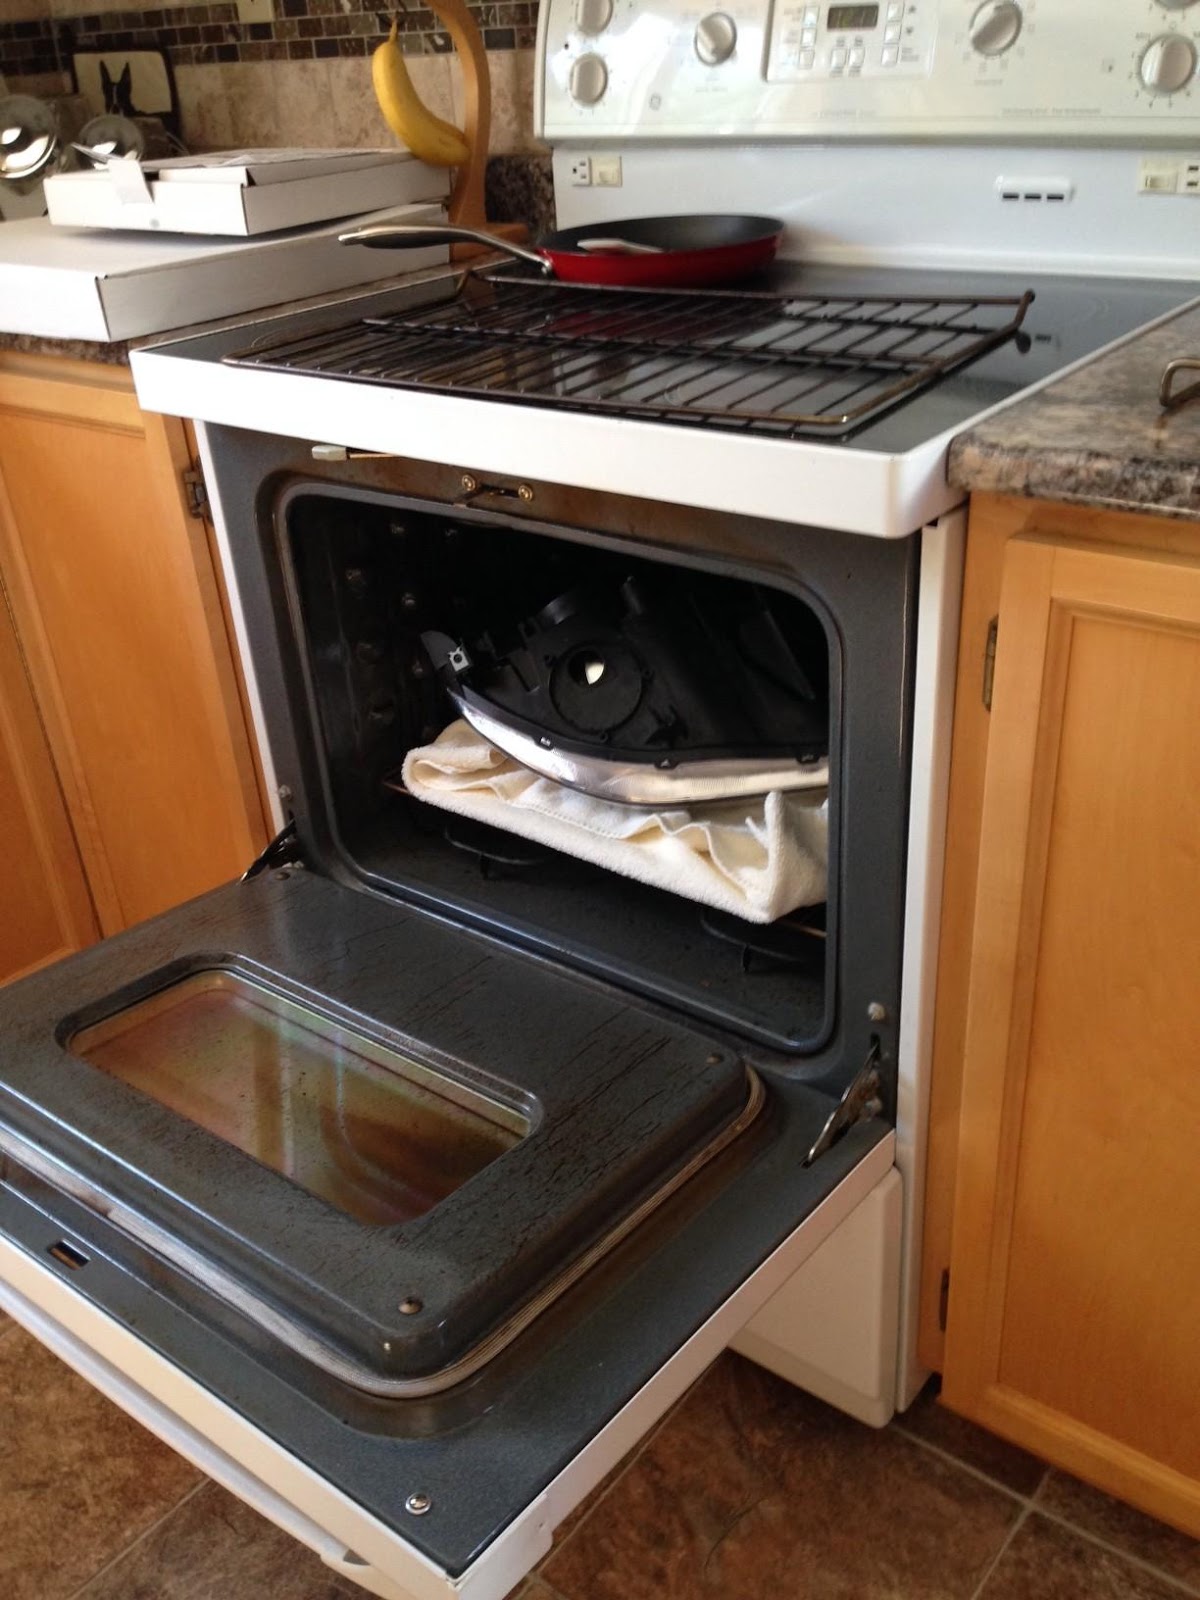
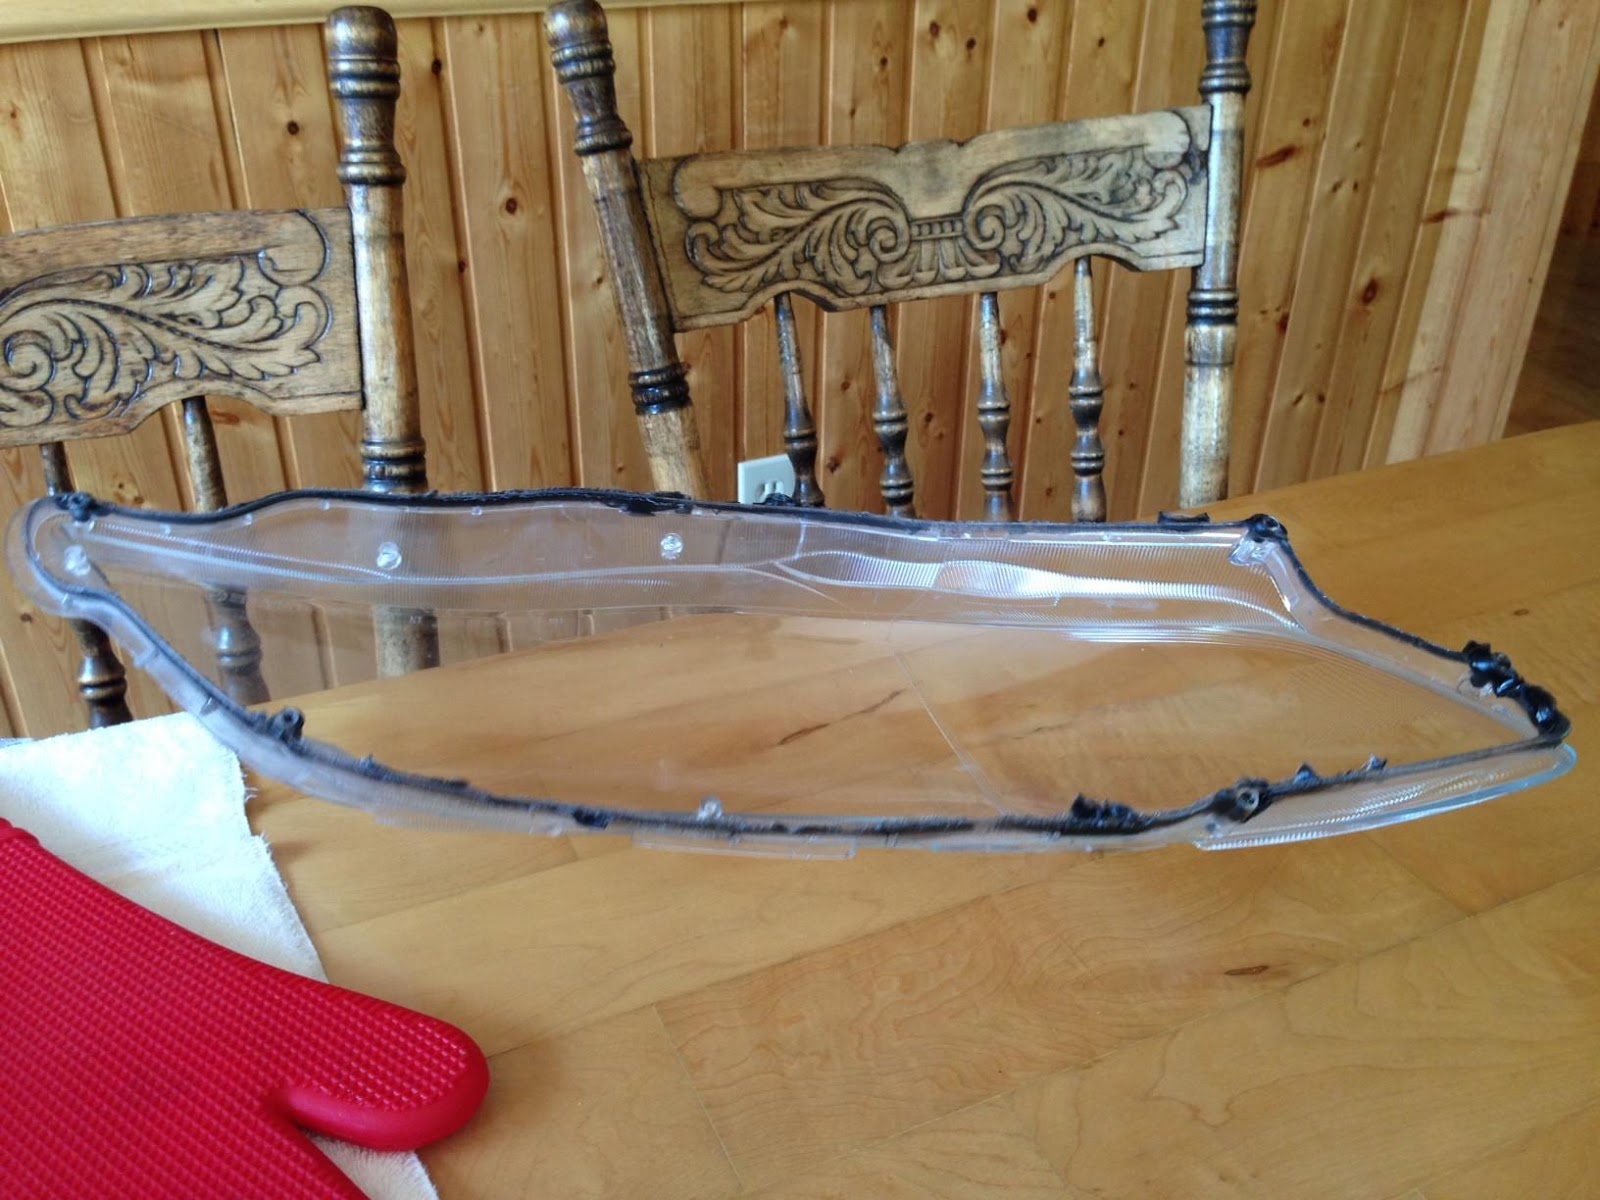
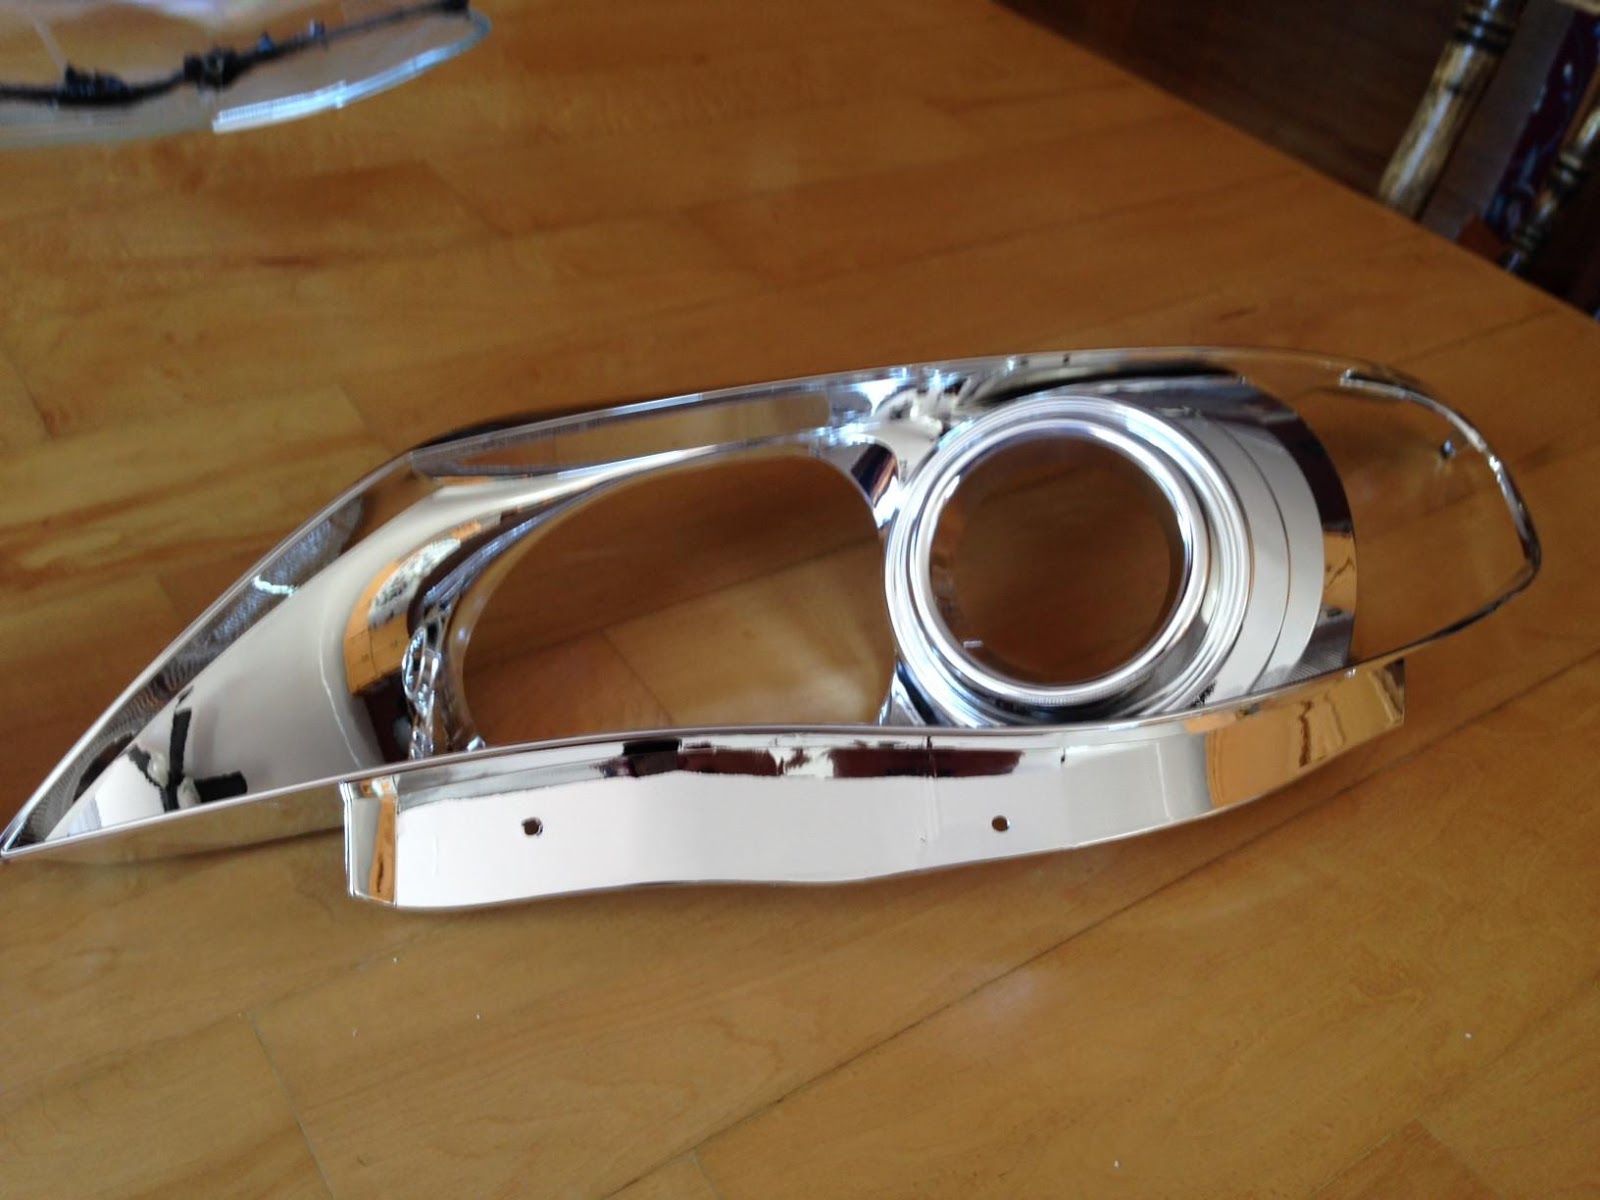
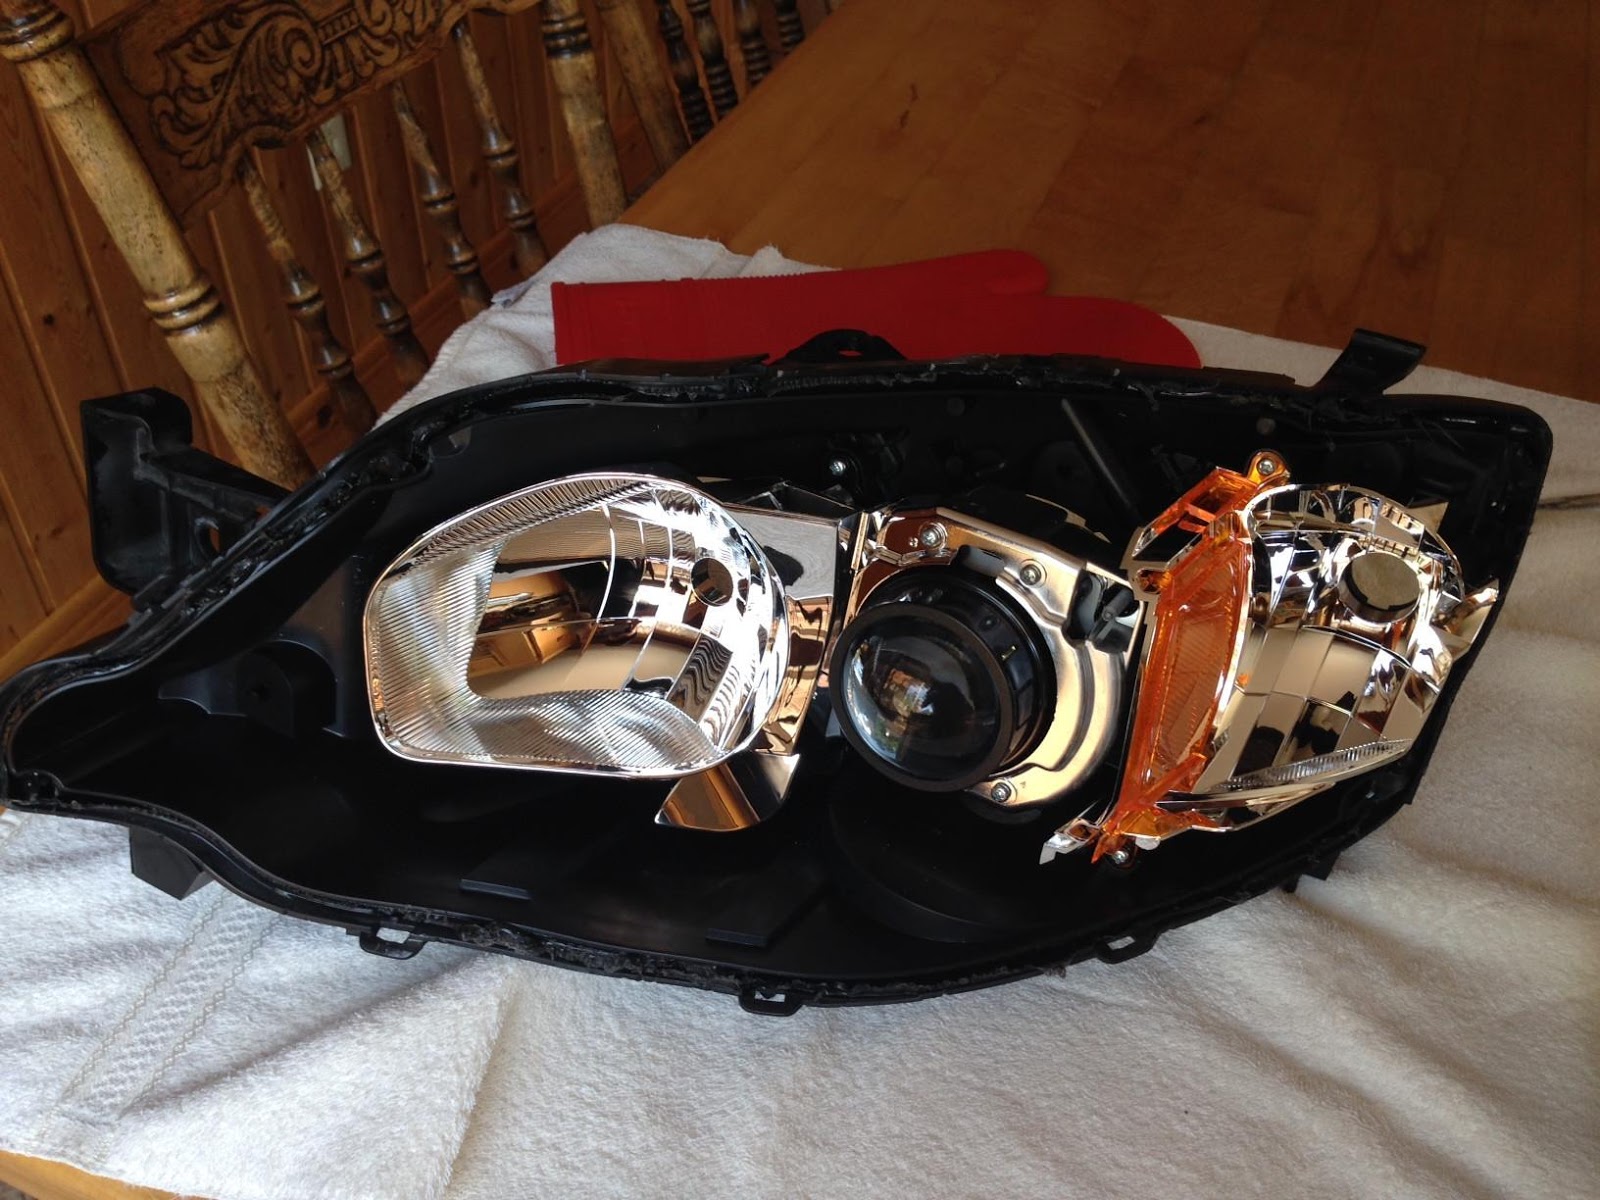
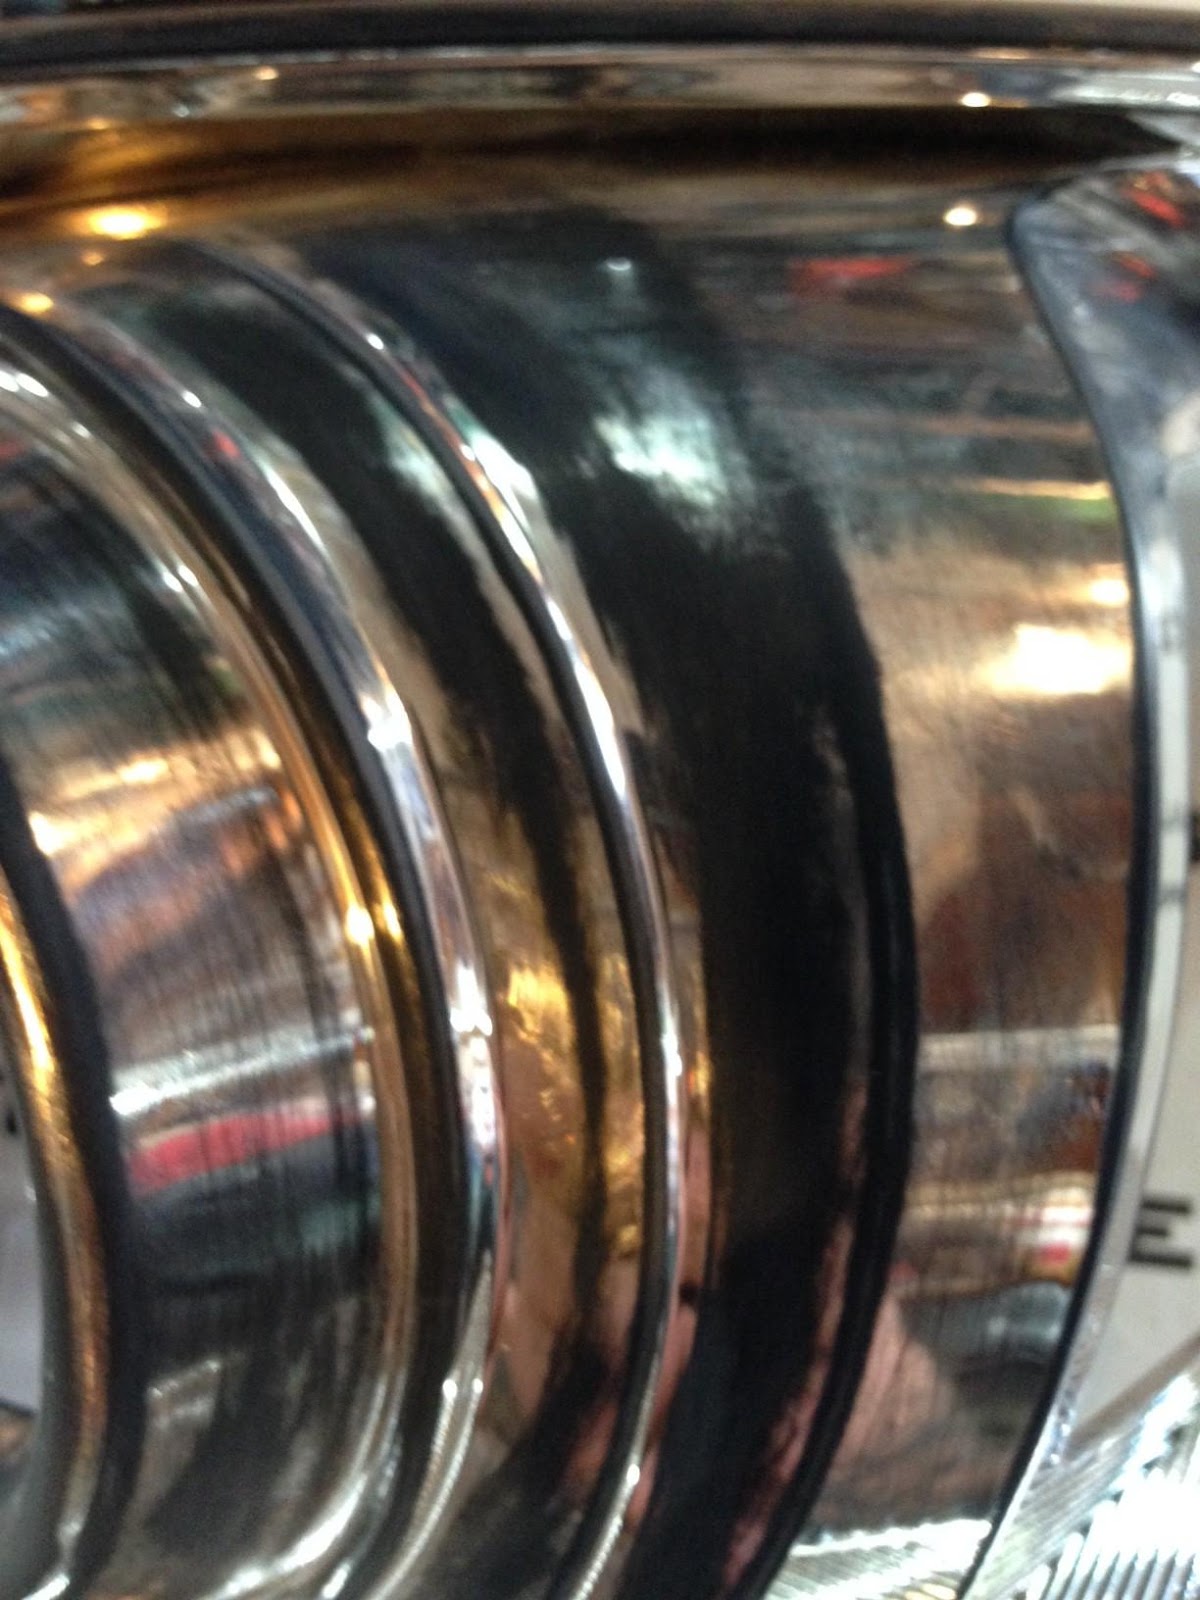
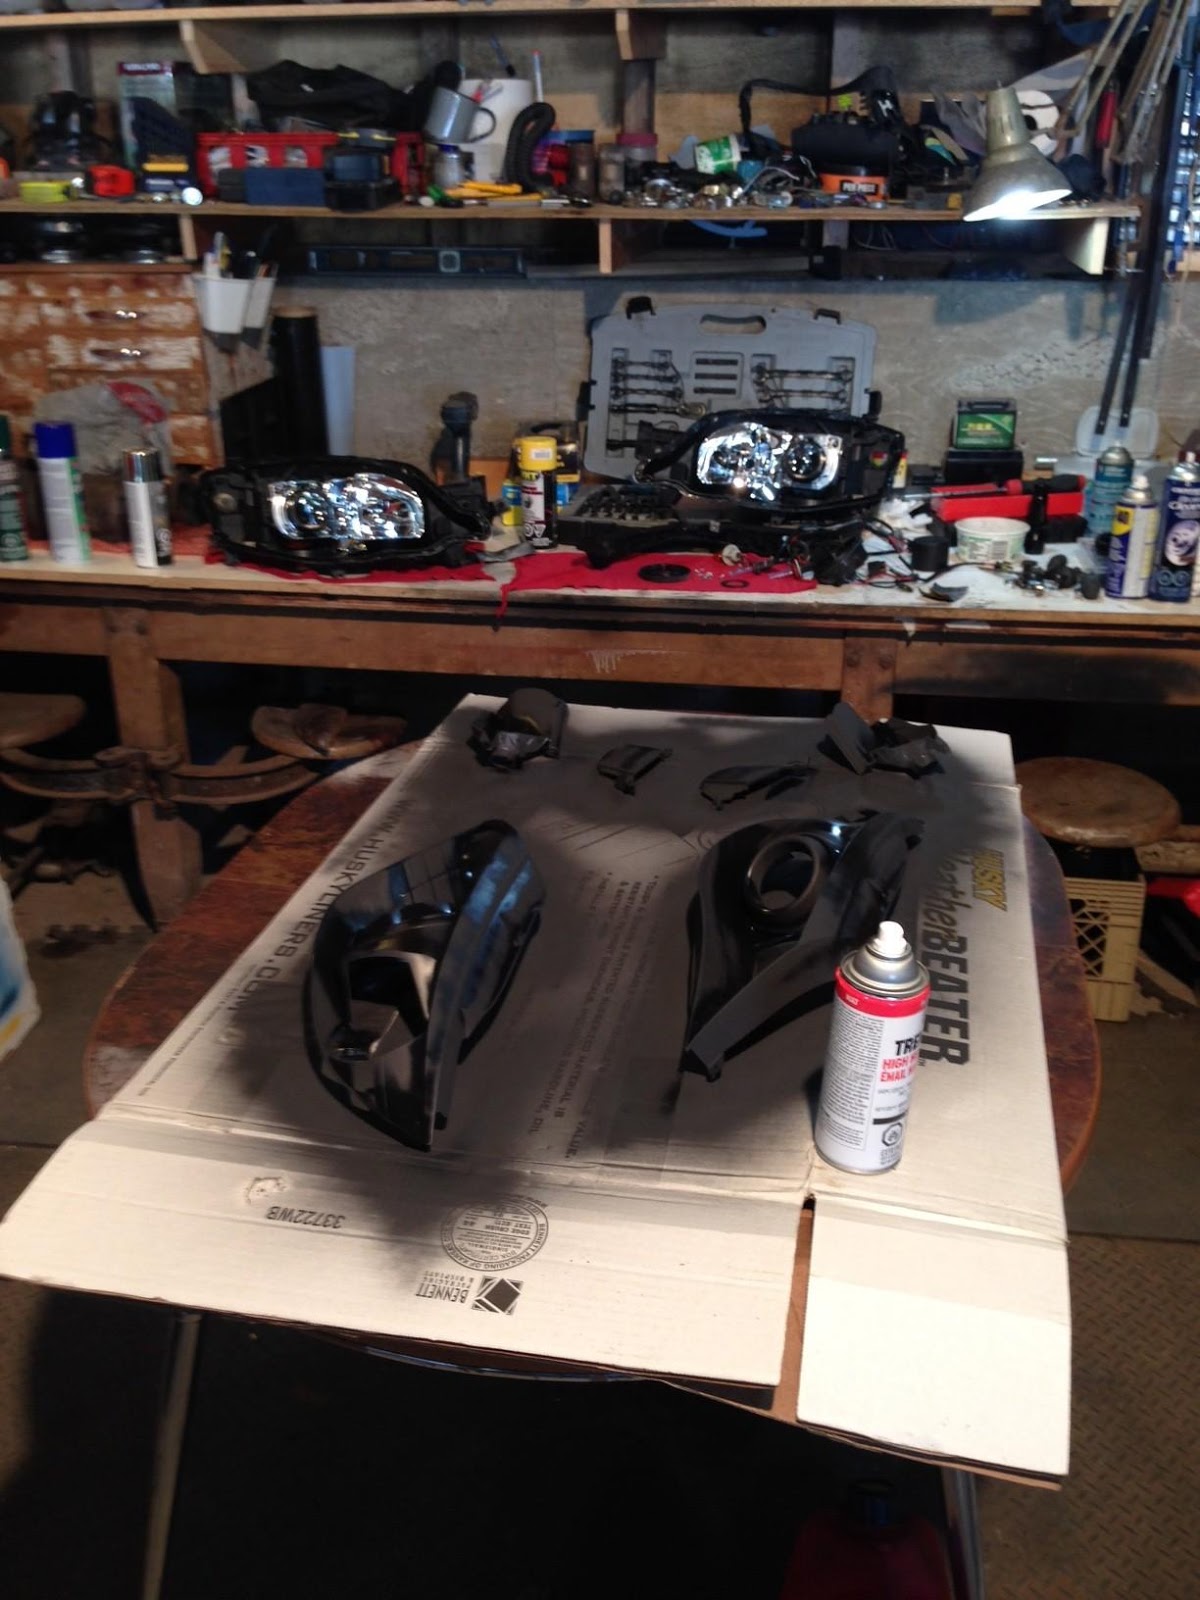
Leave in oven for 5 min and take the headlight out and pry on it slightly with a flat top. It wont come apart it will just loosen the glue. Place back in ove for another 5 min and take back out and the HD should come apart. Start on the corner where the plastic over laps and work your way around the HD. Should be left with this.
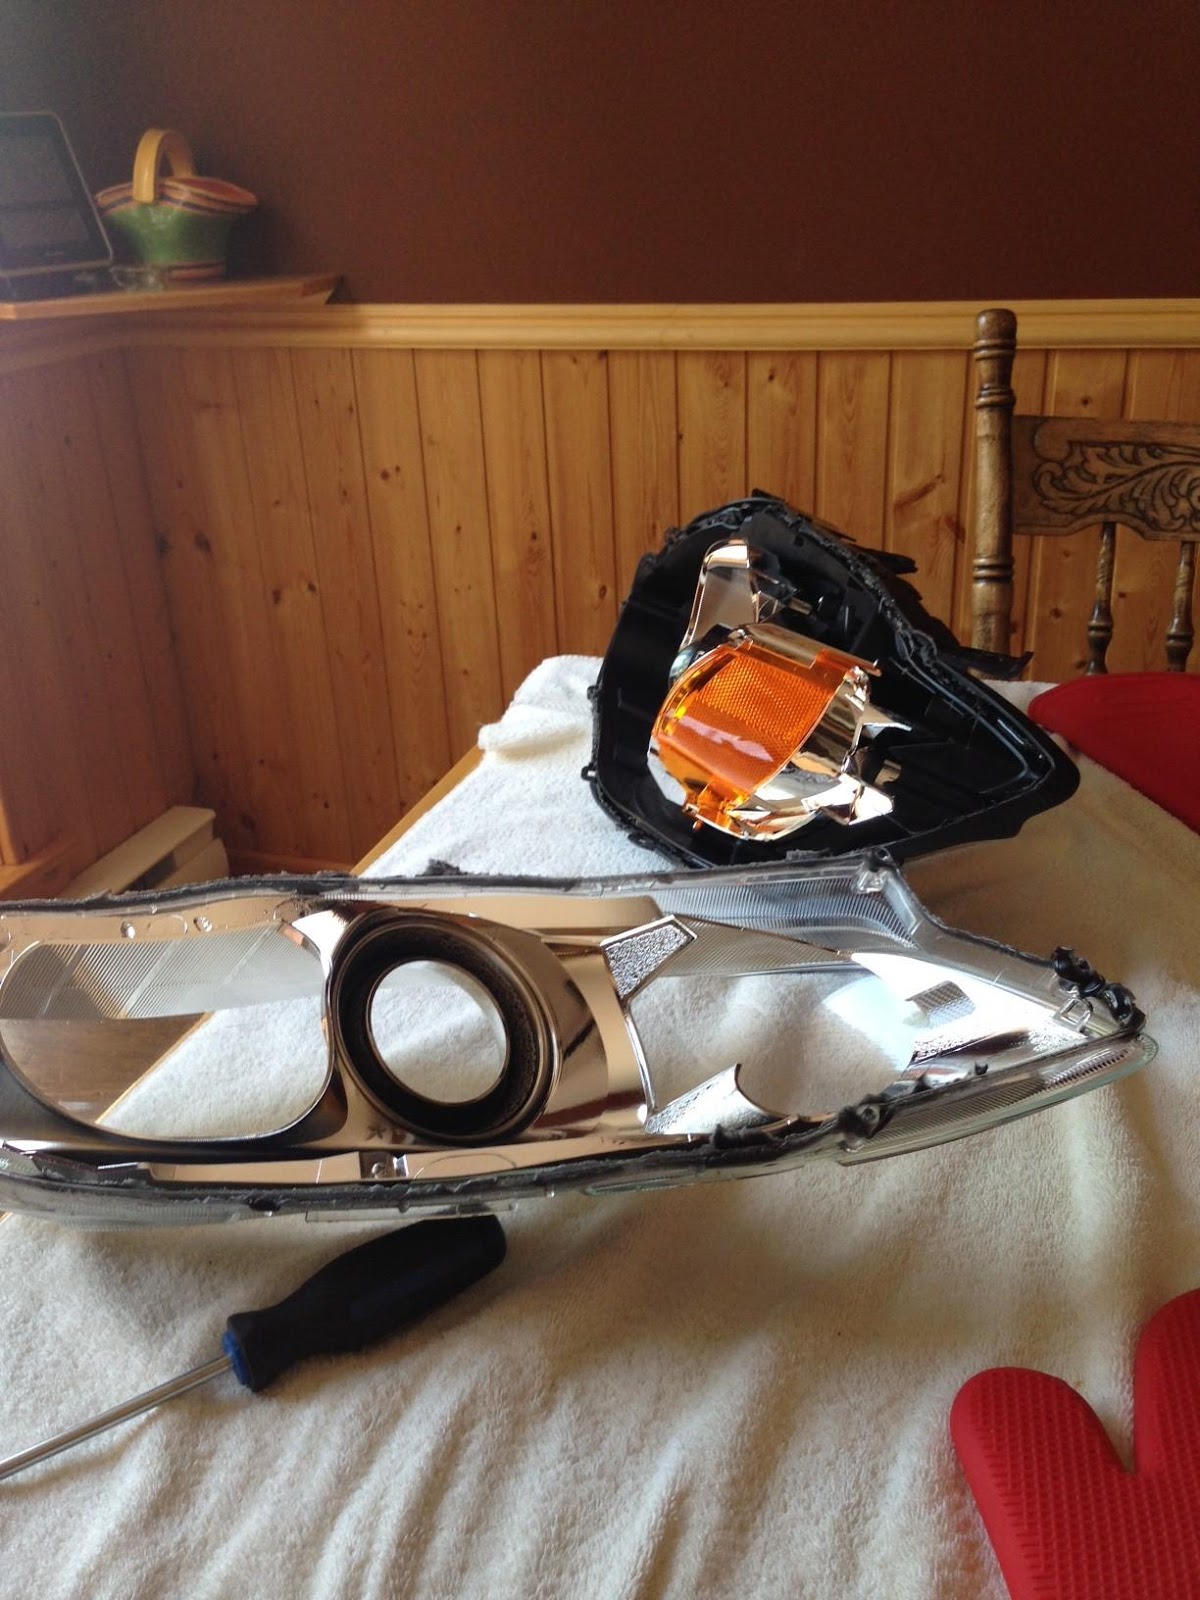
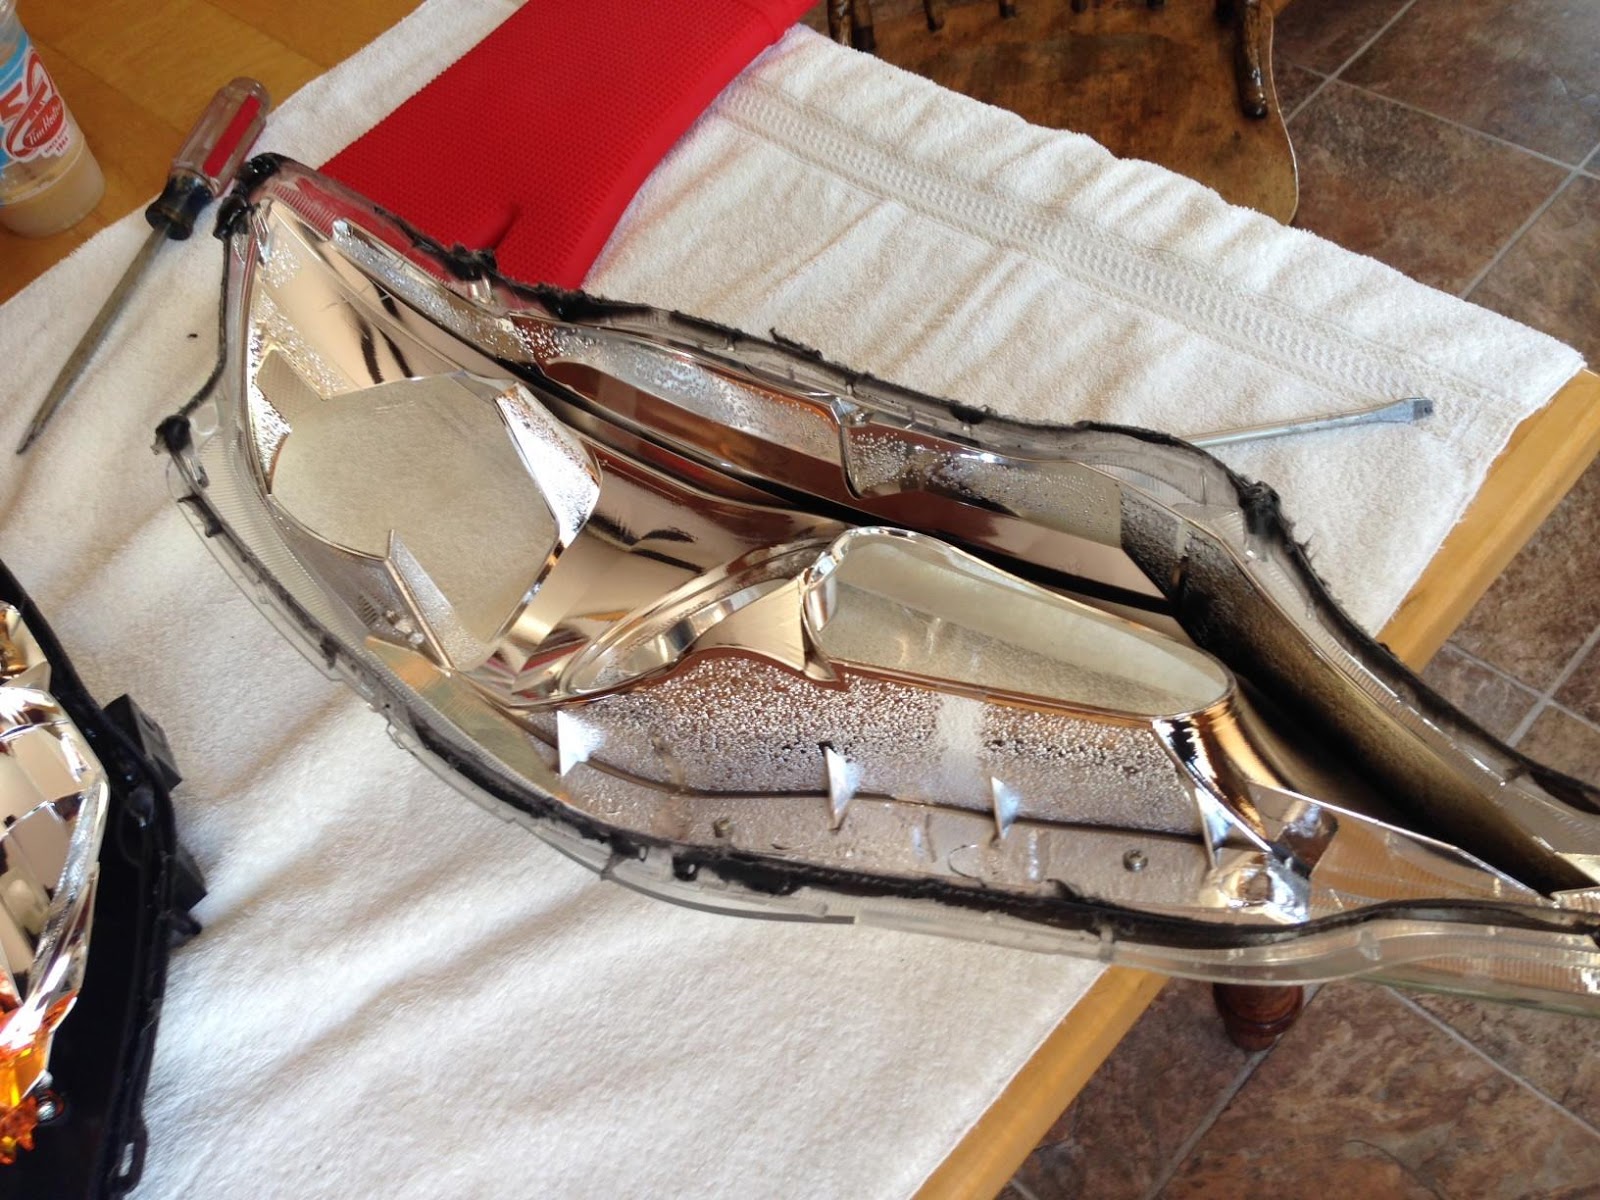
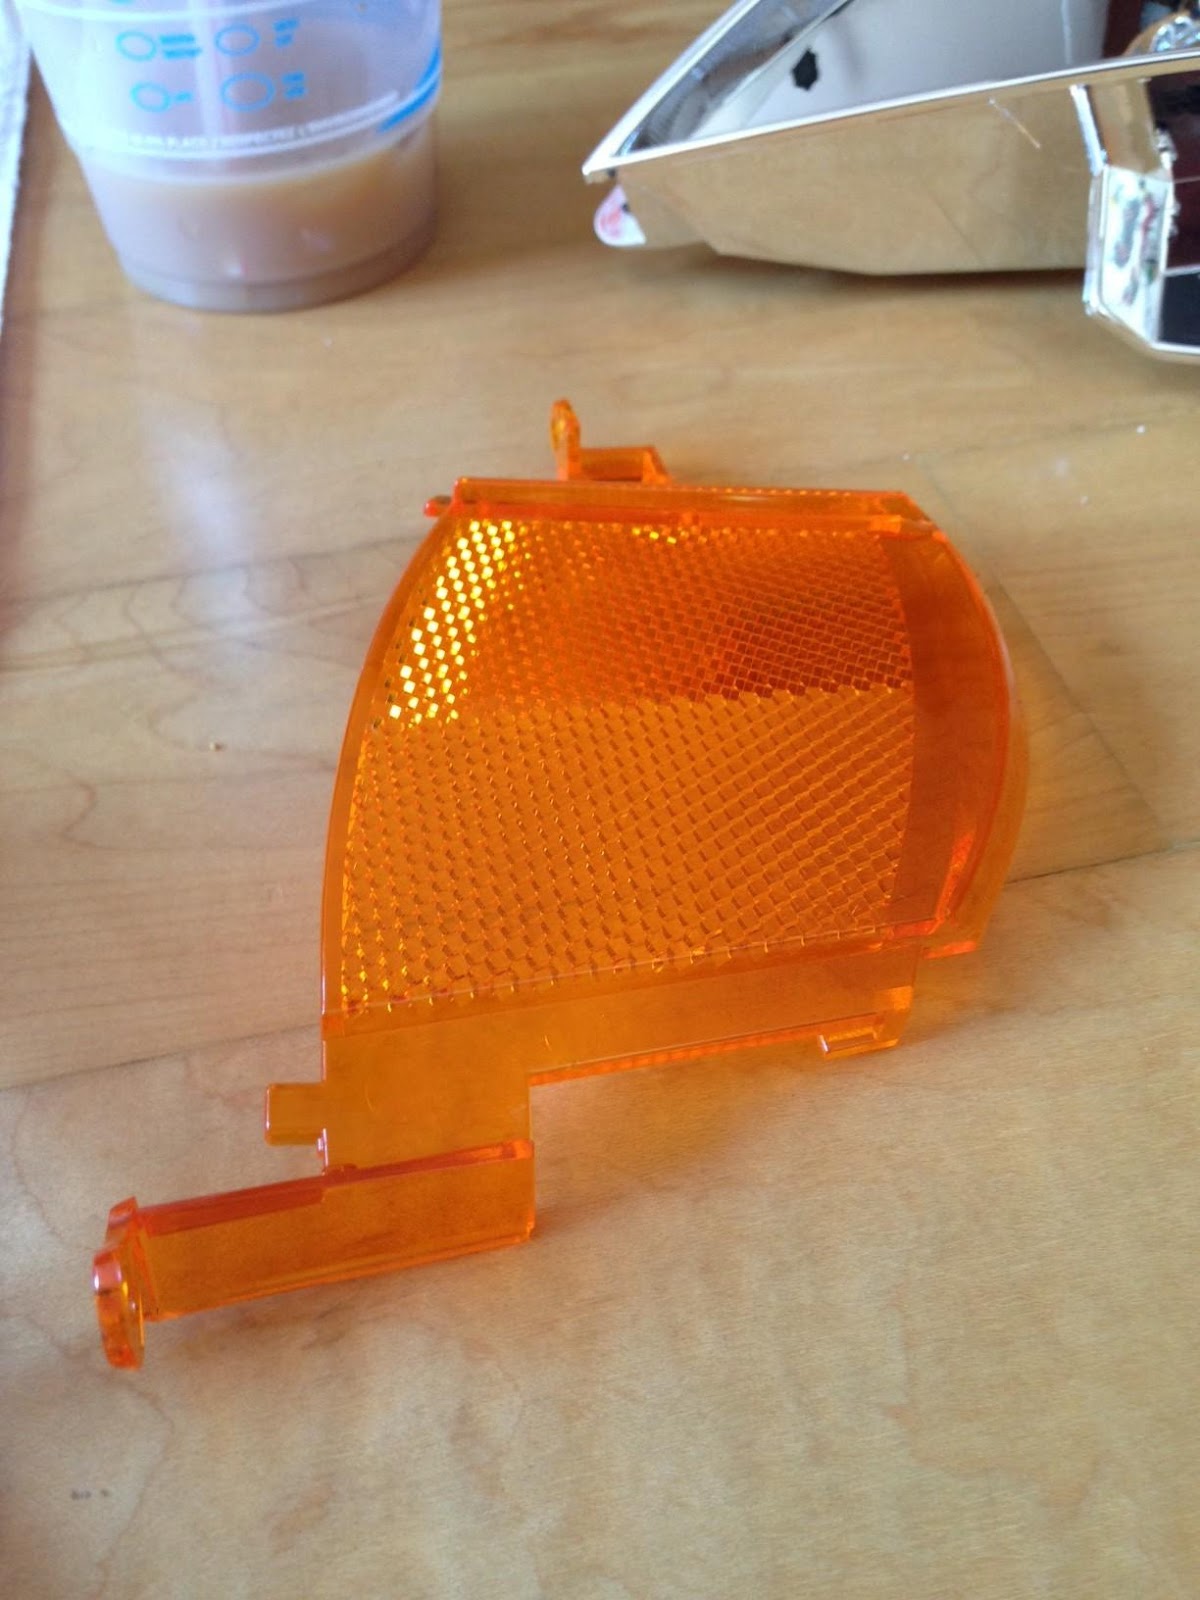
There will be 2 small screws keeping the blinker and reflector onto the housing. Undo those and be careful cause the plastic is not very strong.
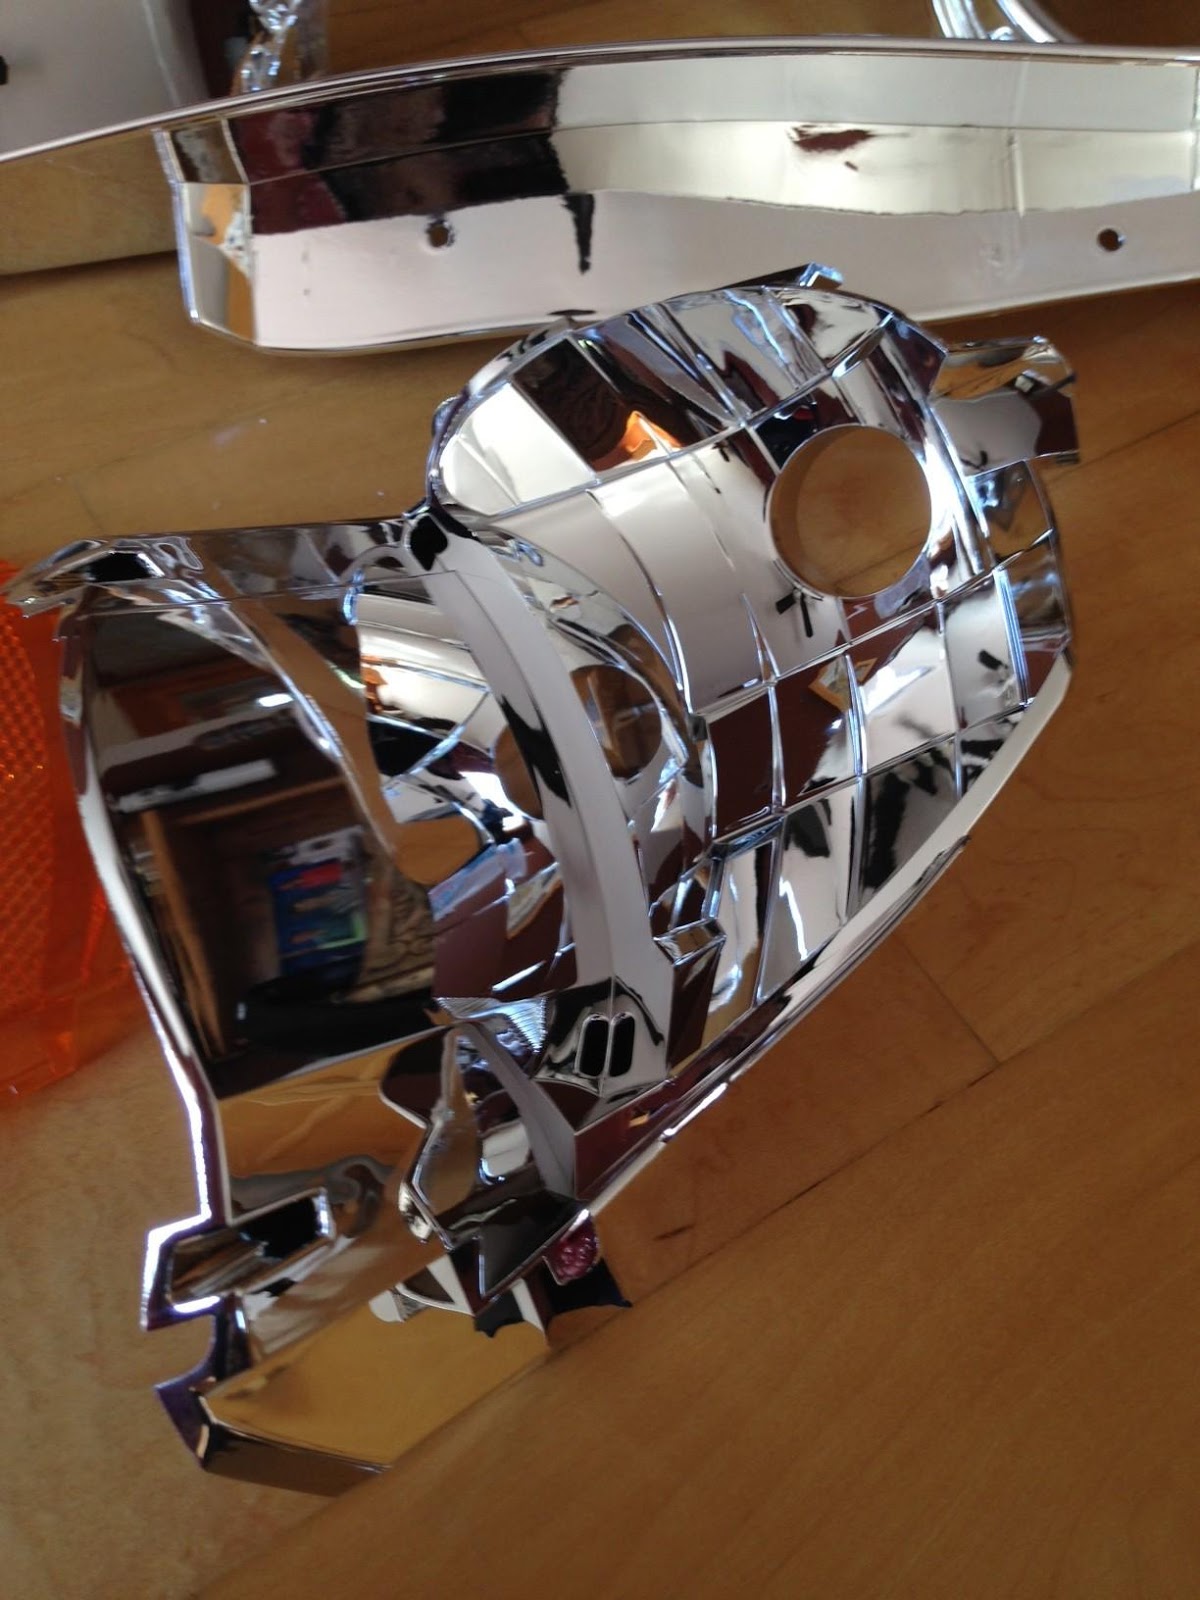
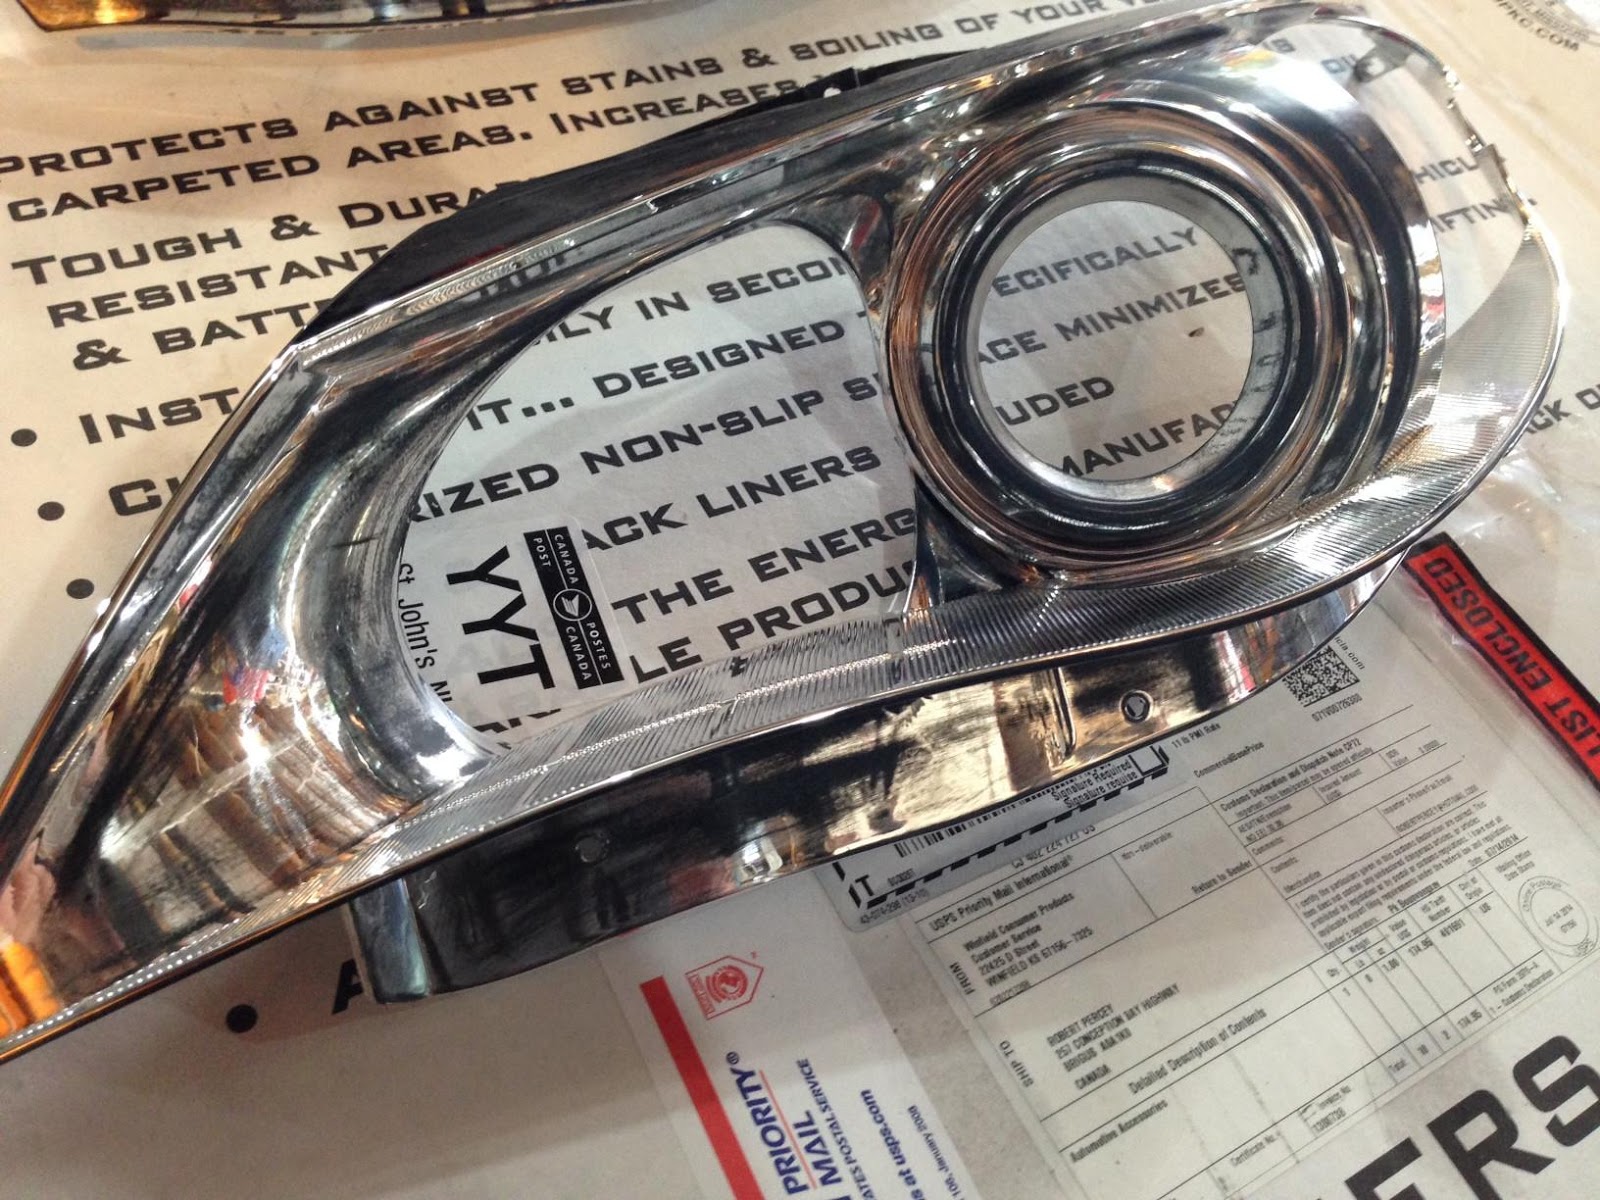
Next what I did was get a few sheets off sand paper. Grit lever 800 and sanded down the chrome pieces that I will be painting.
Should look something like this when sanded down a bit. Sanding it down makes the paint stick better.
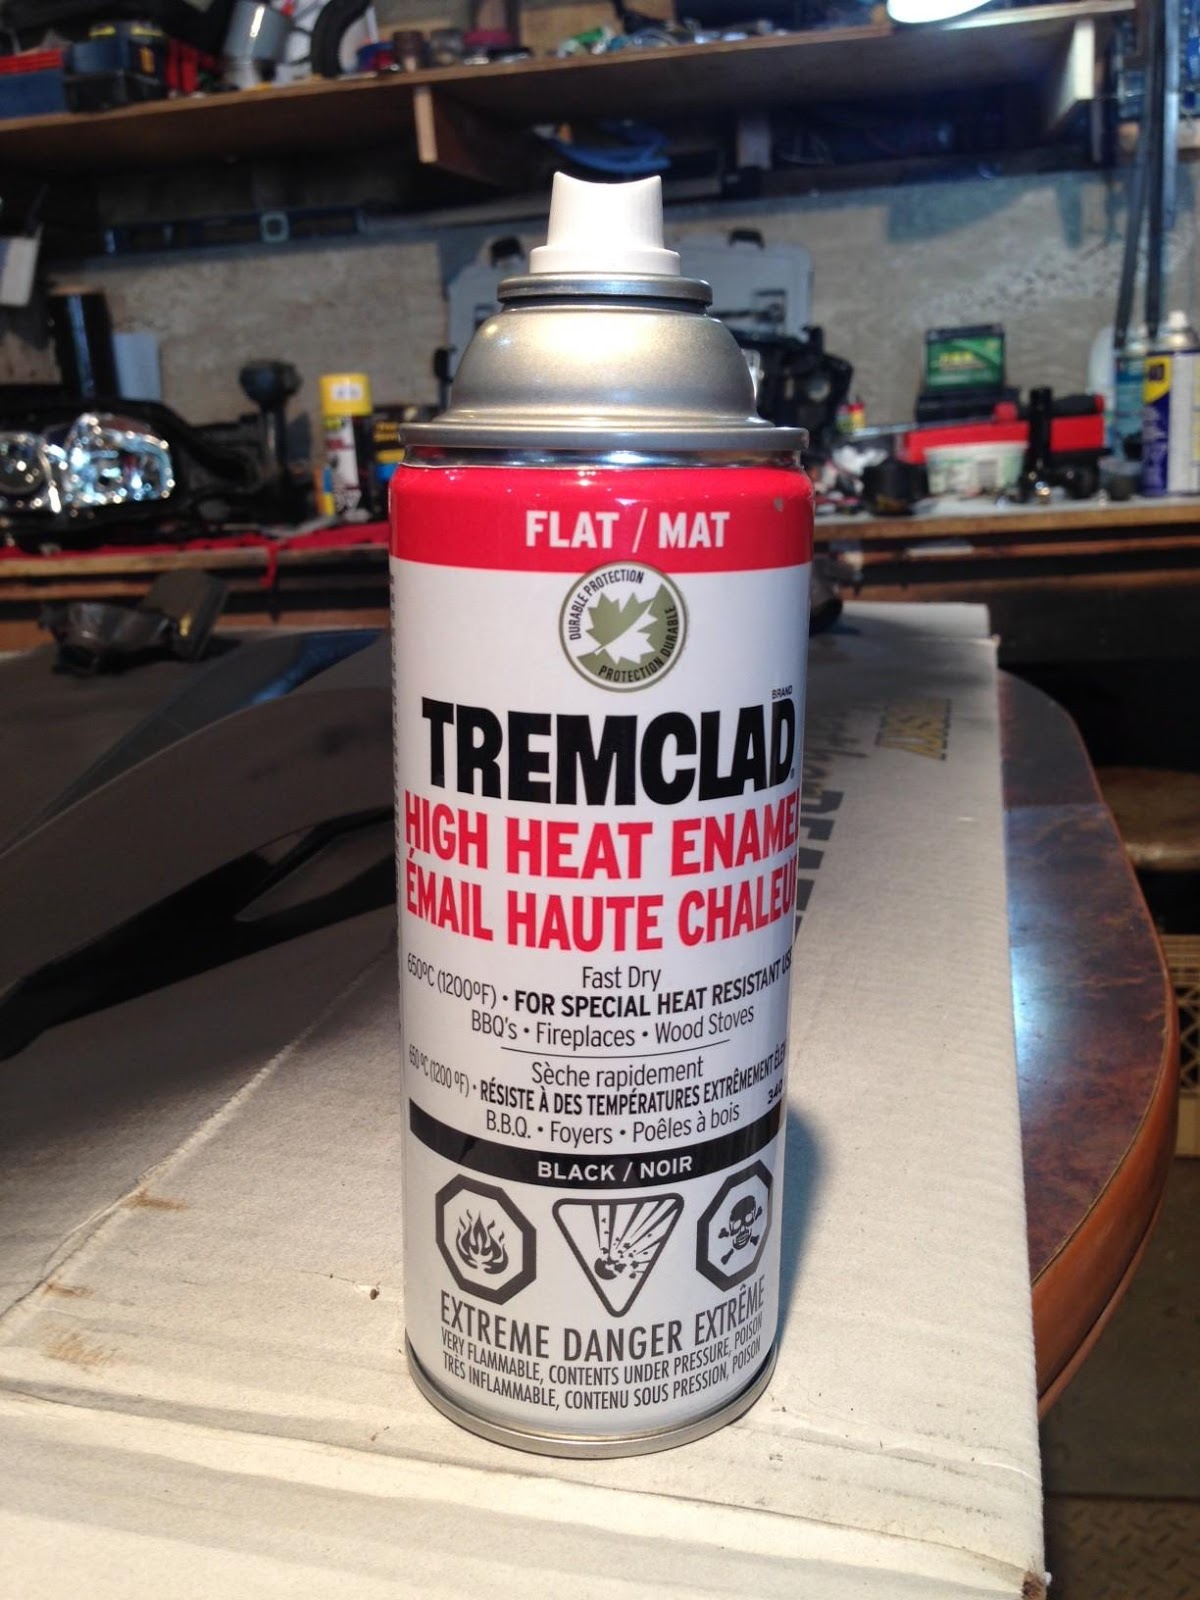
I used Tremclad High Heat paint in flat black.
First coat. Make sure to only use precious and light sprays so you dont get any paint running. First coat.
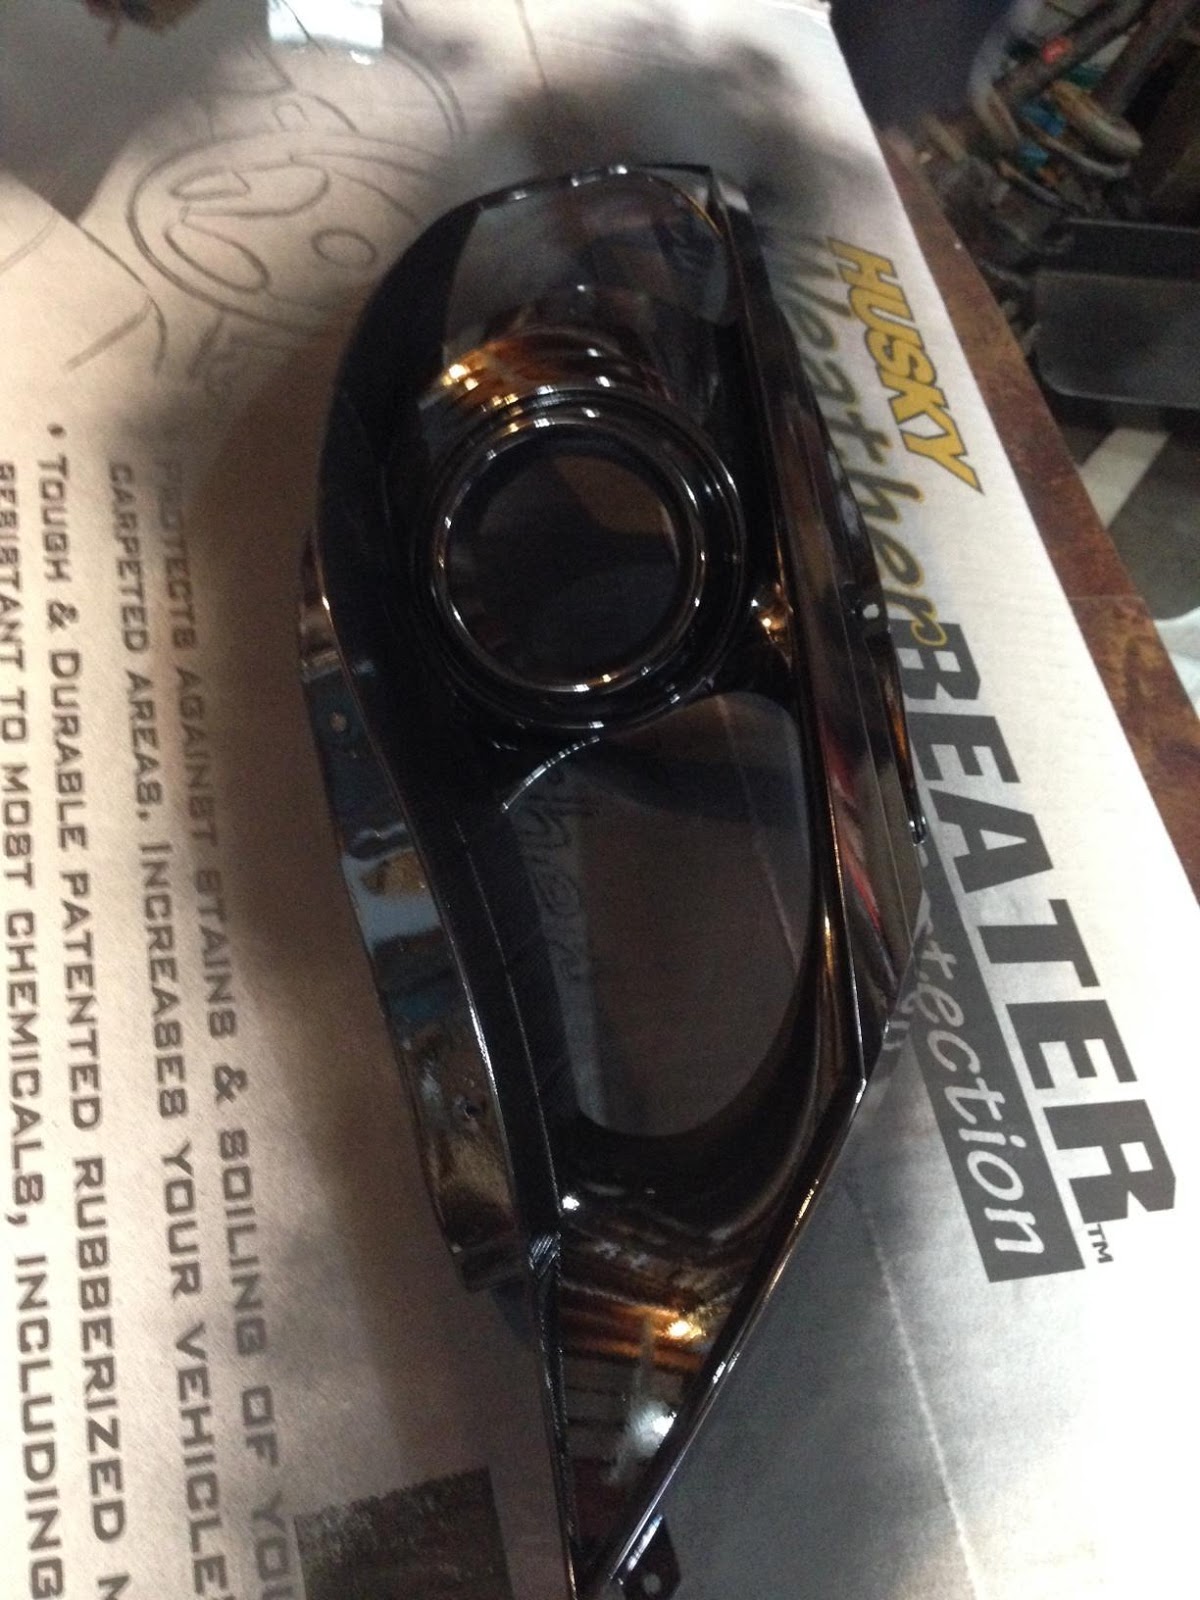
and after 3 coates.
I went about 20 min in between each coat or until you can see that its dried quite a bit. Left the final coat for about 2 hours.
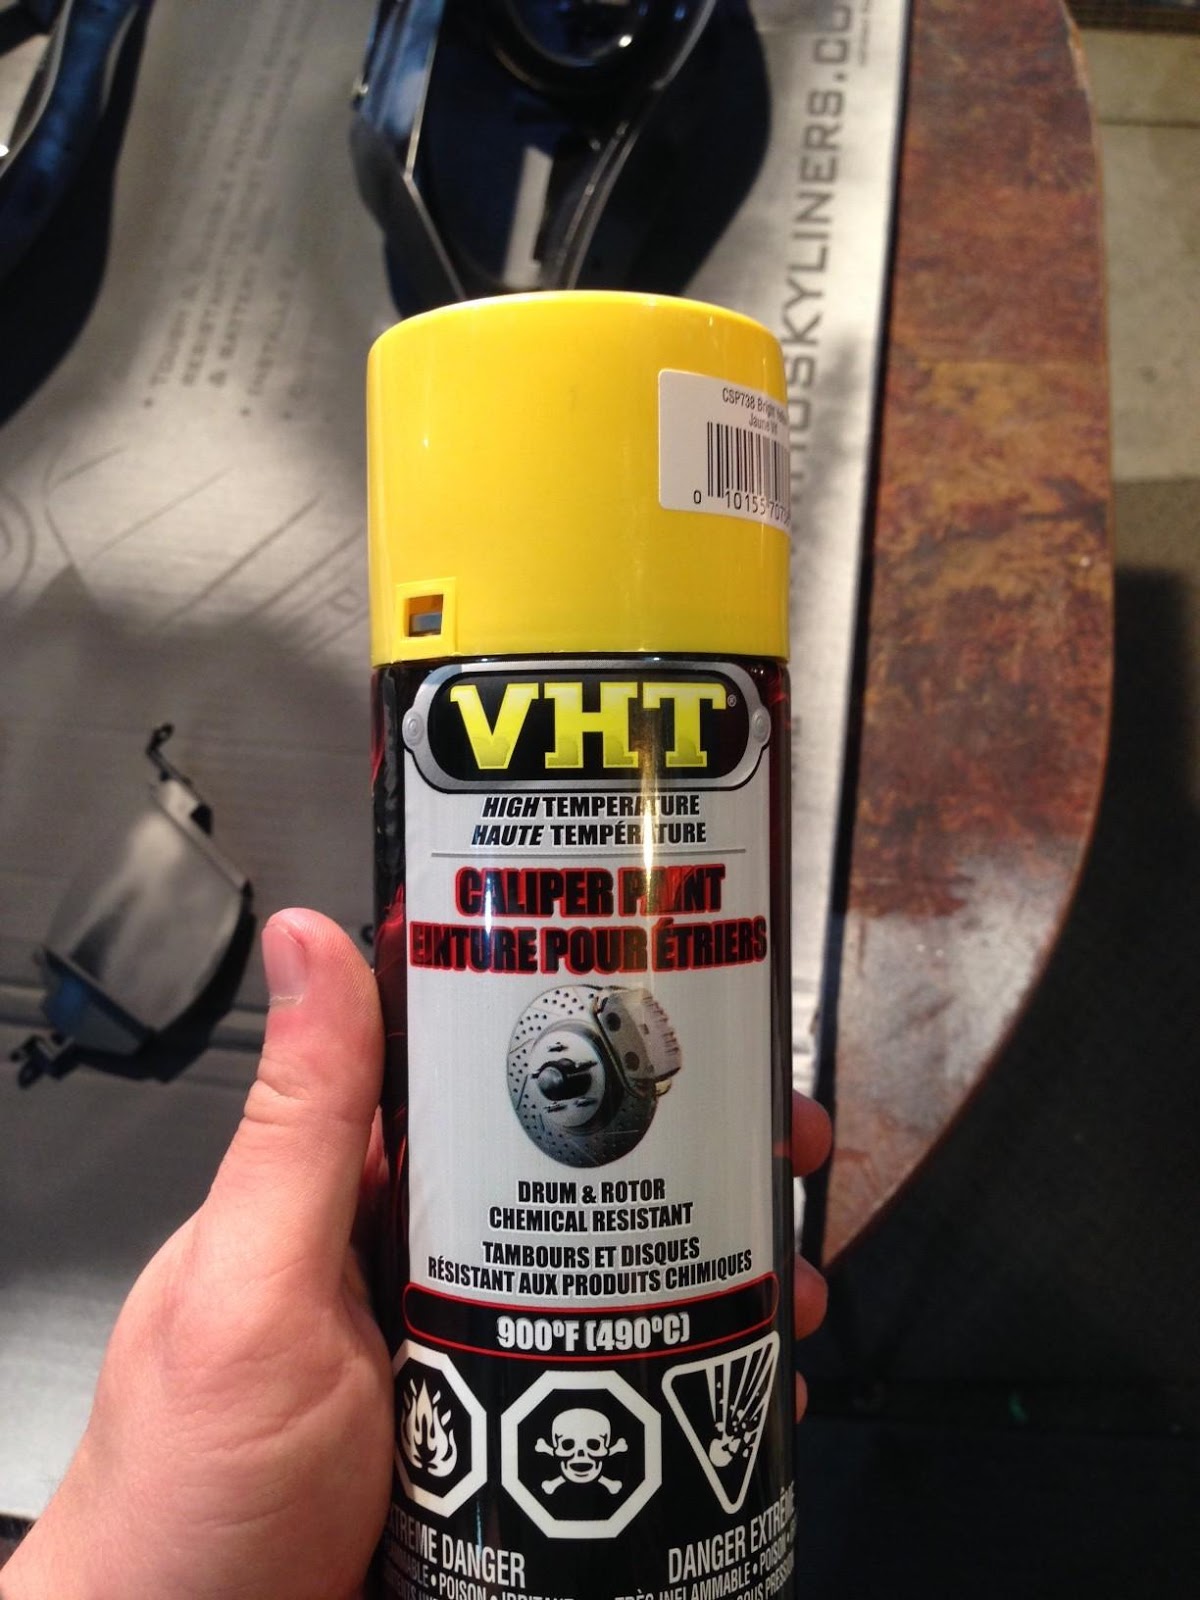
Once that was done I used calliper paint in yellow to do the High-beam section. I painted the highbeam because I dont do a lot of highway driving anymore and plan on doing a retrofit and making the high beam a projector.
The yellow paint I used.
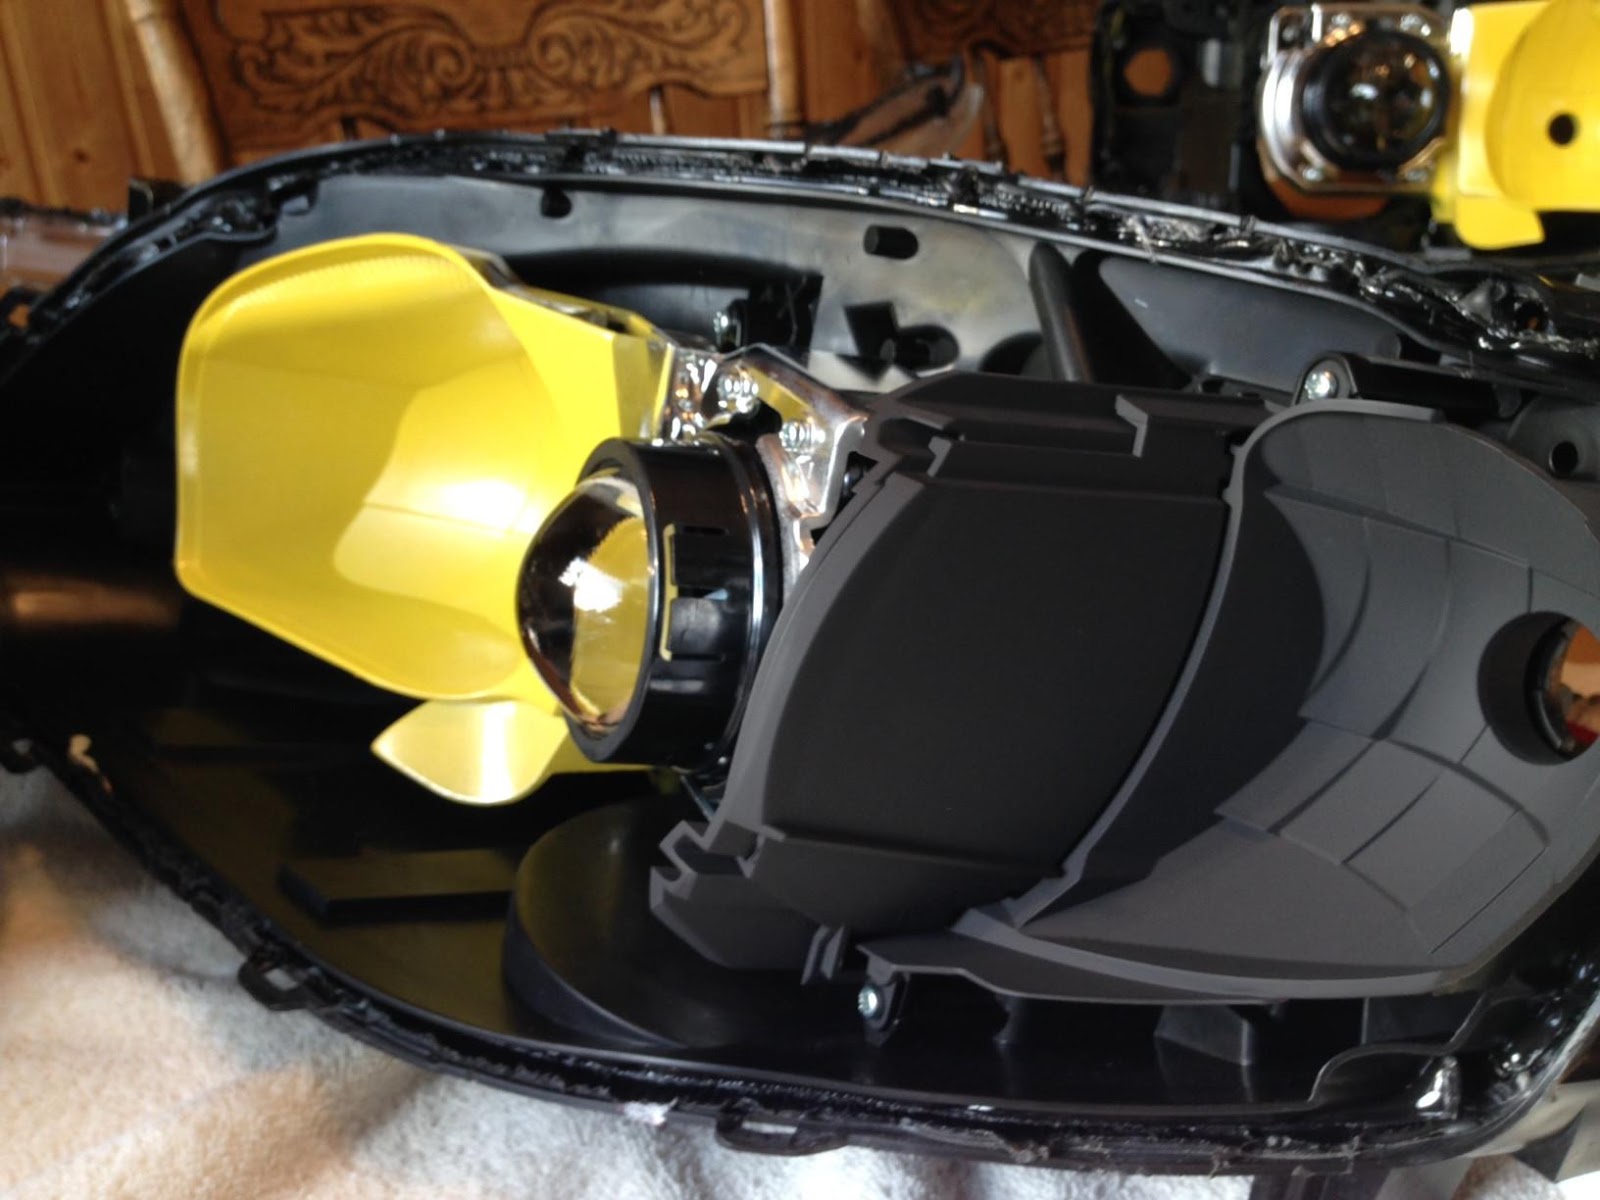
Putting newspaper and tape arounf the housing and projector. Make sure the projector is well covered.
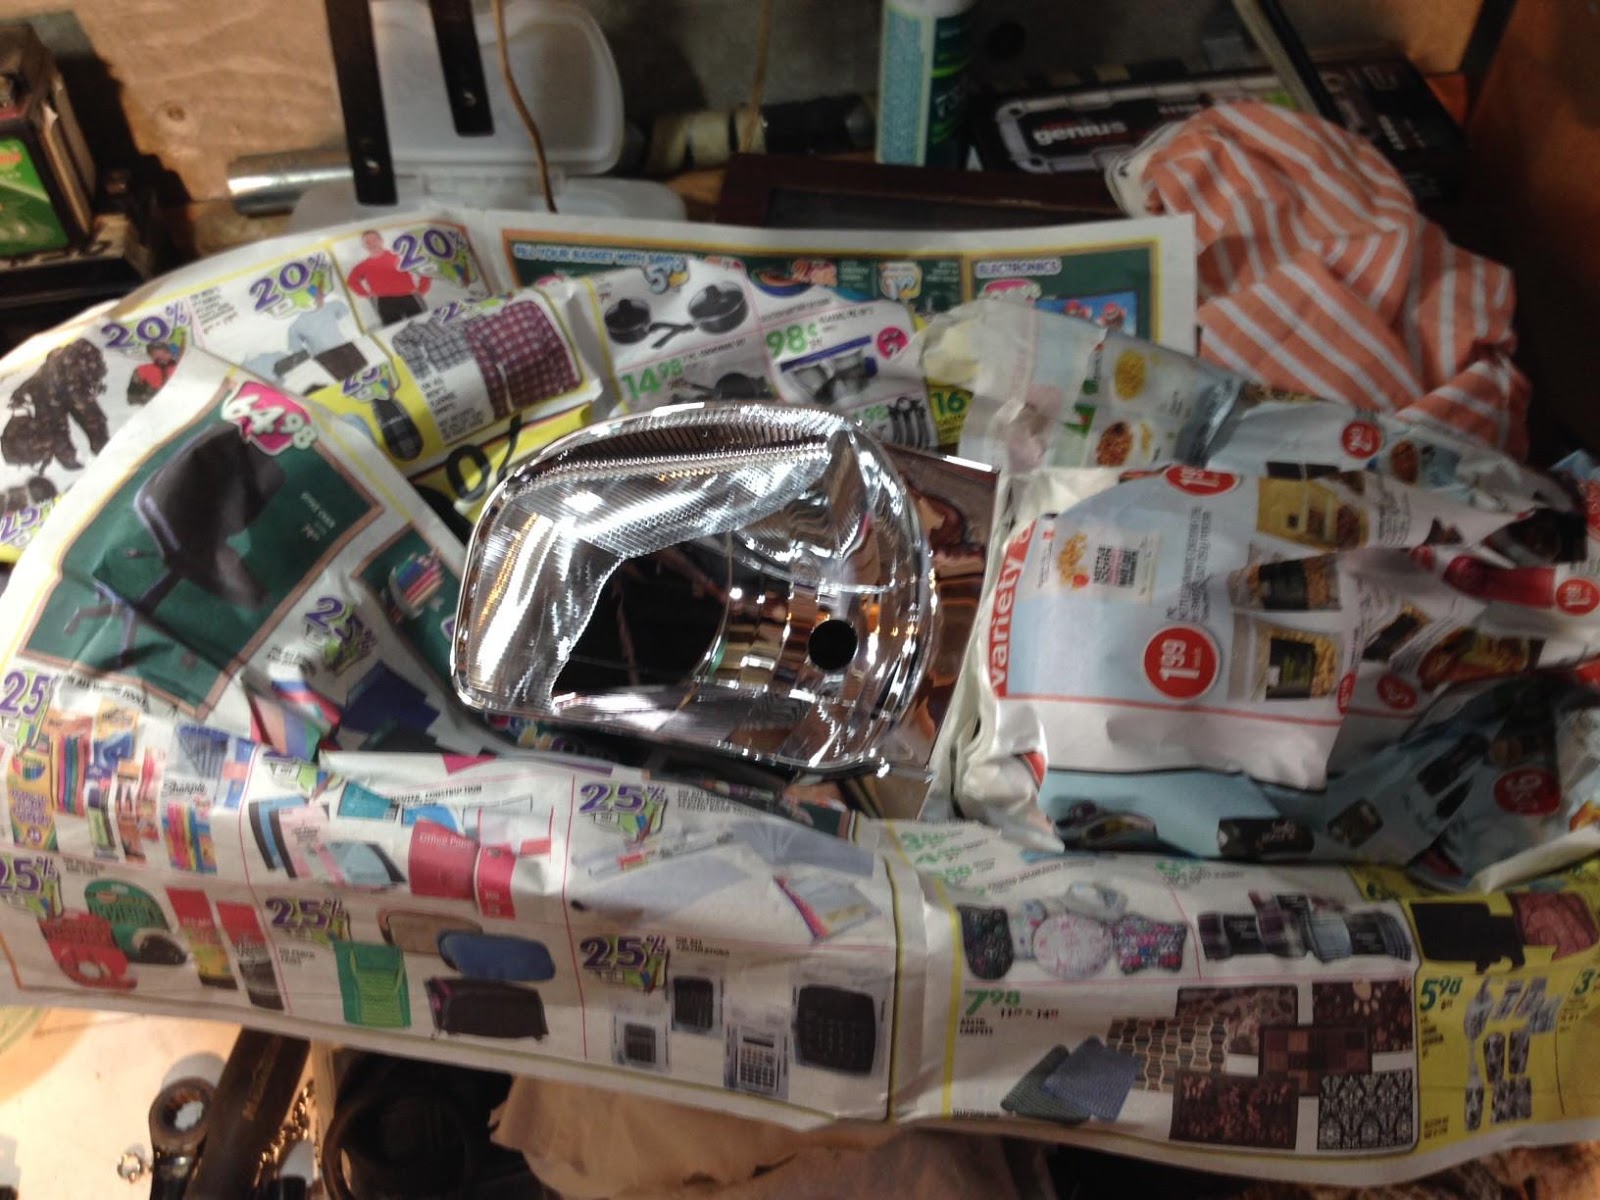
When we finished painting it.
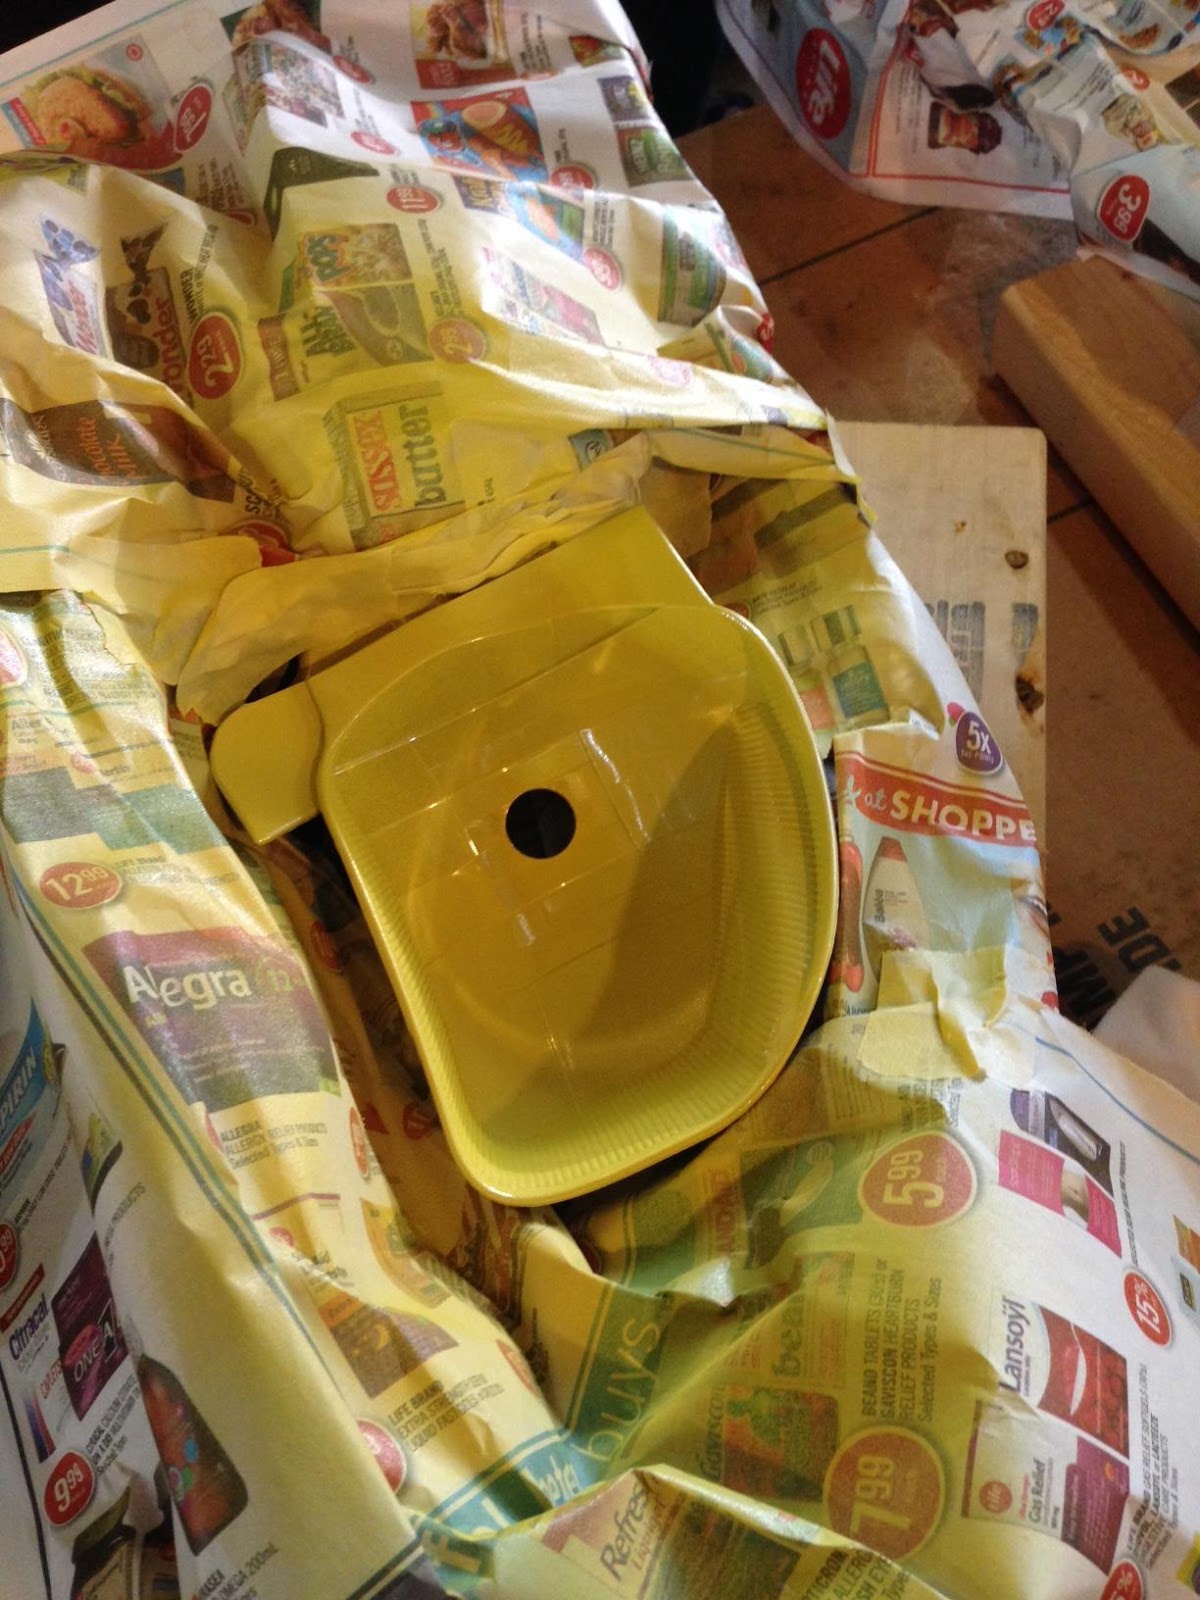
And done.

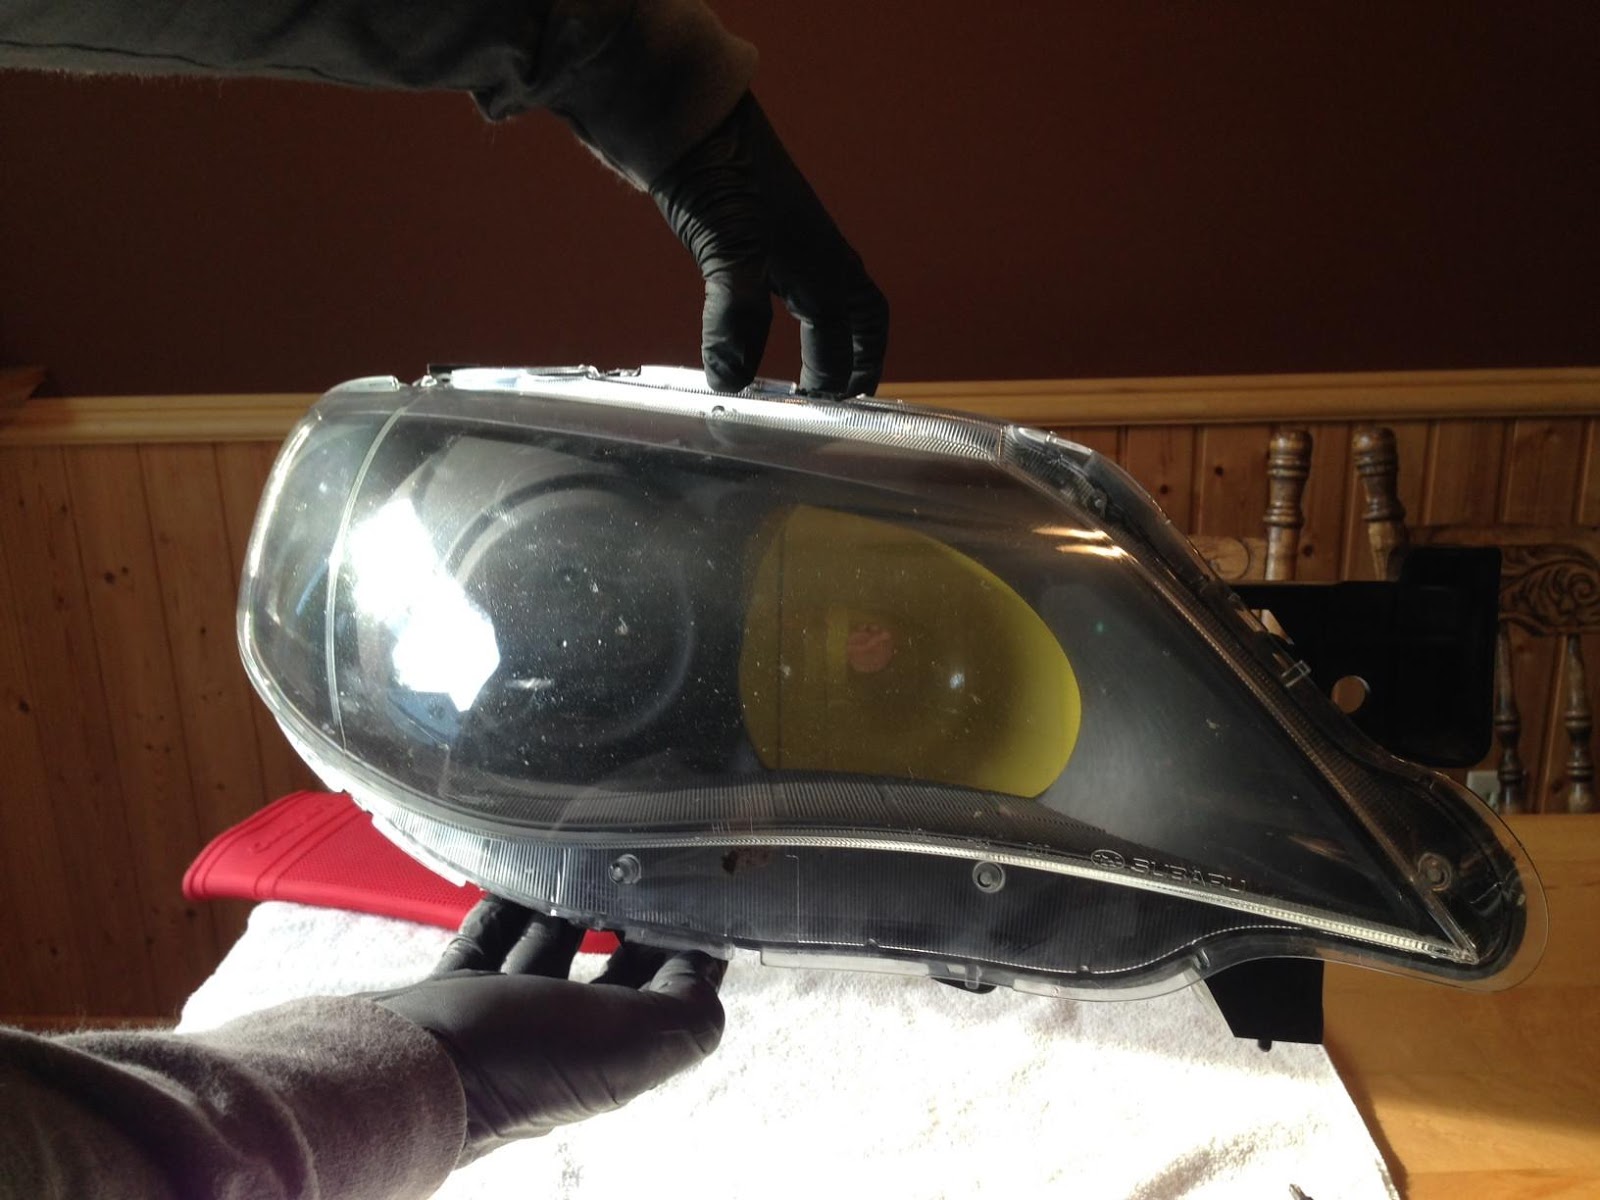
We only did a light paint over the headlight so it would still sparkle.
Putting the reflactor and blinker back in the headlight and getting ready to bake back together.

Put the clear plastic lens and position it right on the housing and place back in the over for 5 min. Take out and push back together making sure all clips are clipped. Place the light back in the oven for 5 min and take back out. Inspect and make sure everything is clipped. Once the light is cooled down start putting everything back on to the back of the housing.
Finished product.
Once everything is back onto the HD place back in the car and hook everything up. Make sure you have the correct fitting together. To prevent any condensation leave the back of the projector housing cap open and turn your low and highbeam on for 2 min. It will heat up the inside and allow the moisture to leave the light.
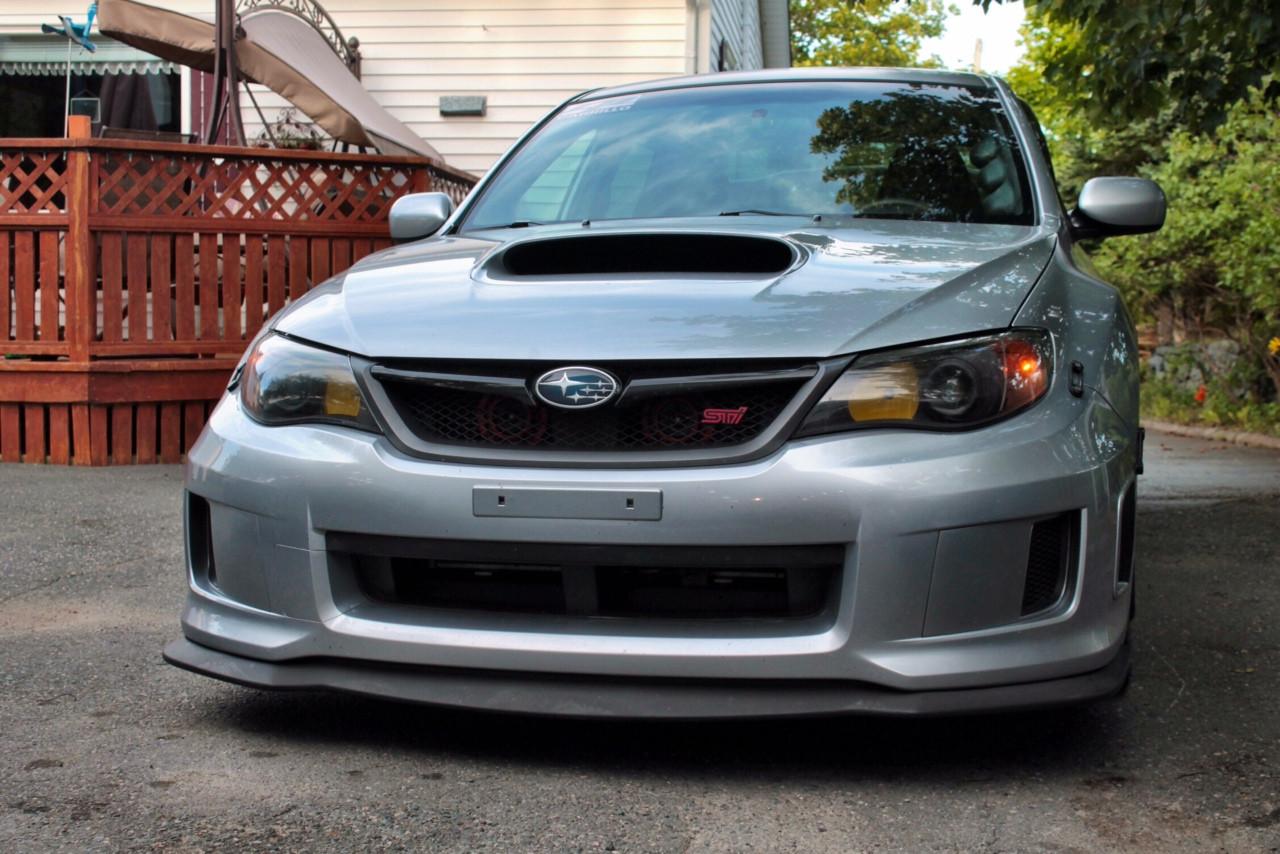
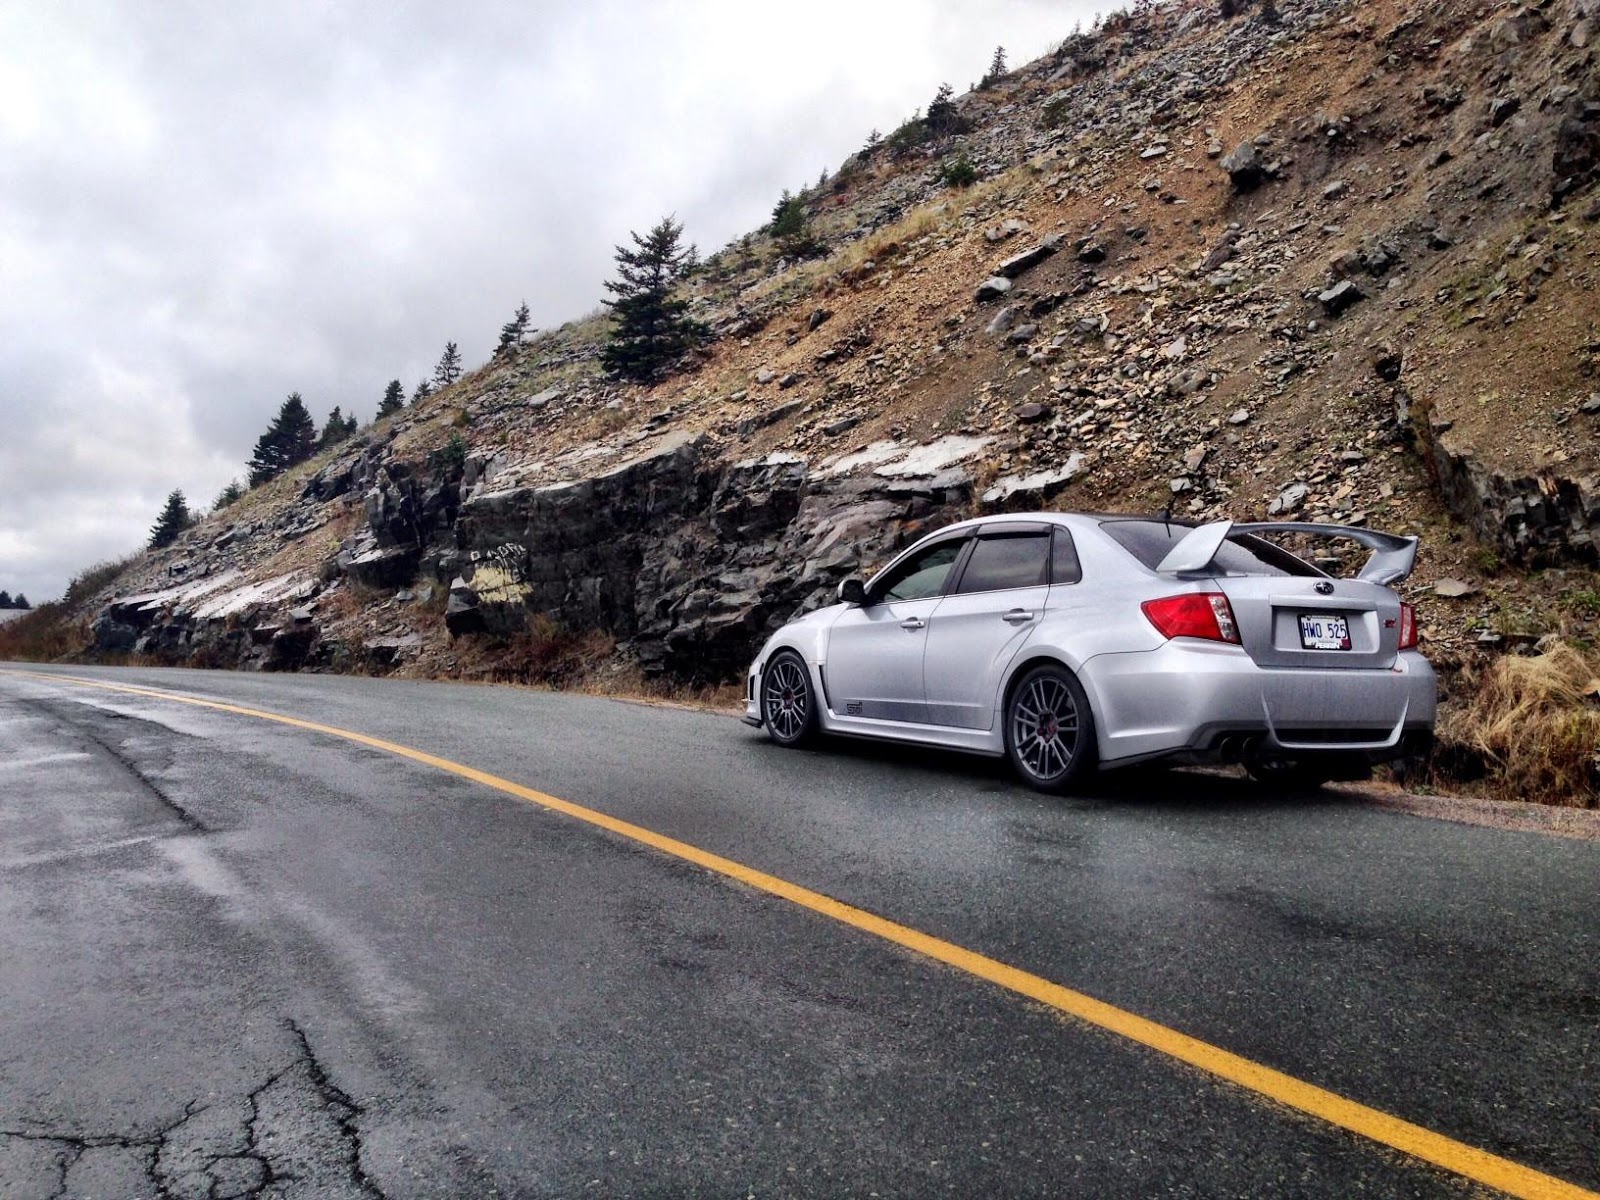
Back in the car.
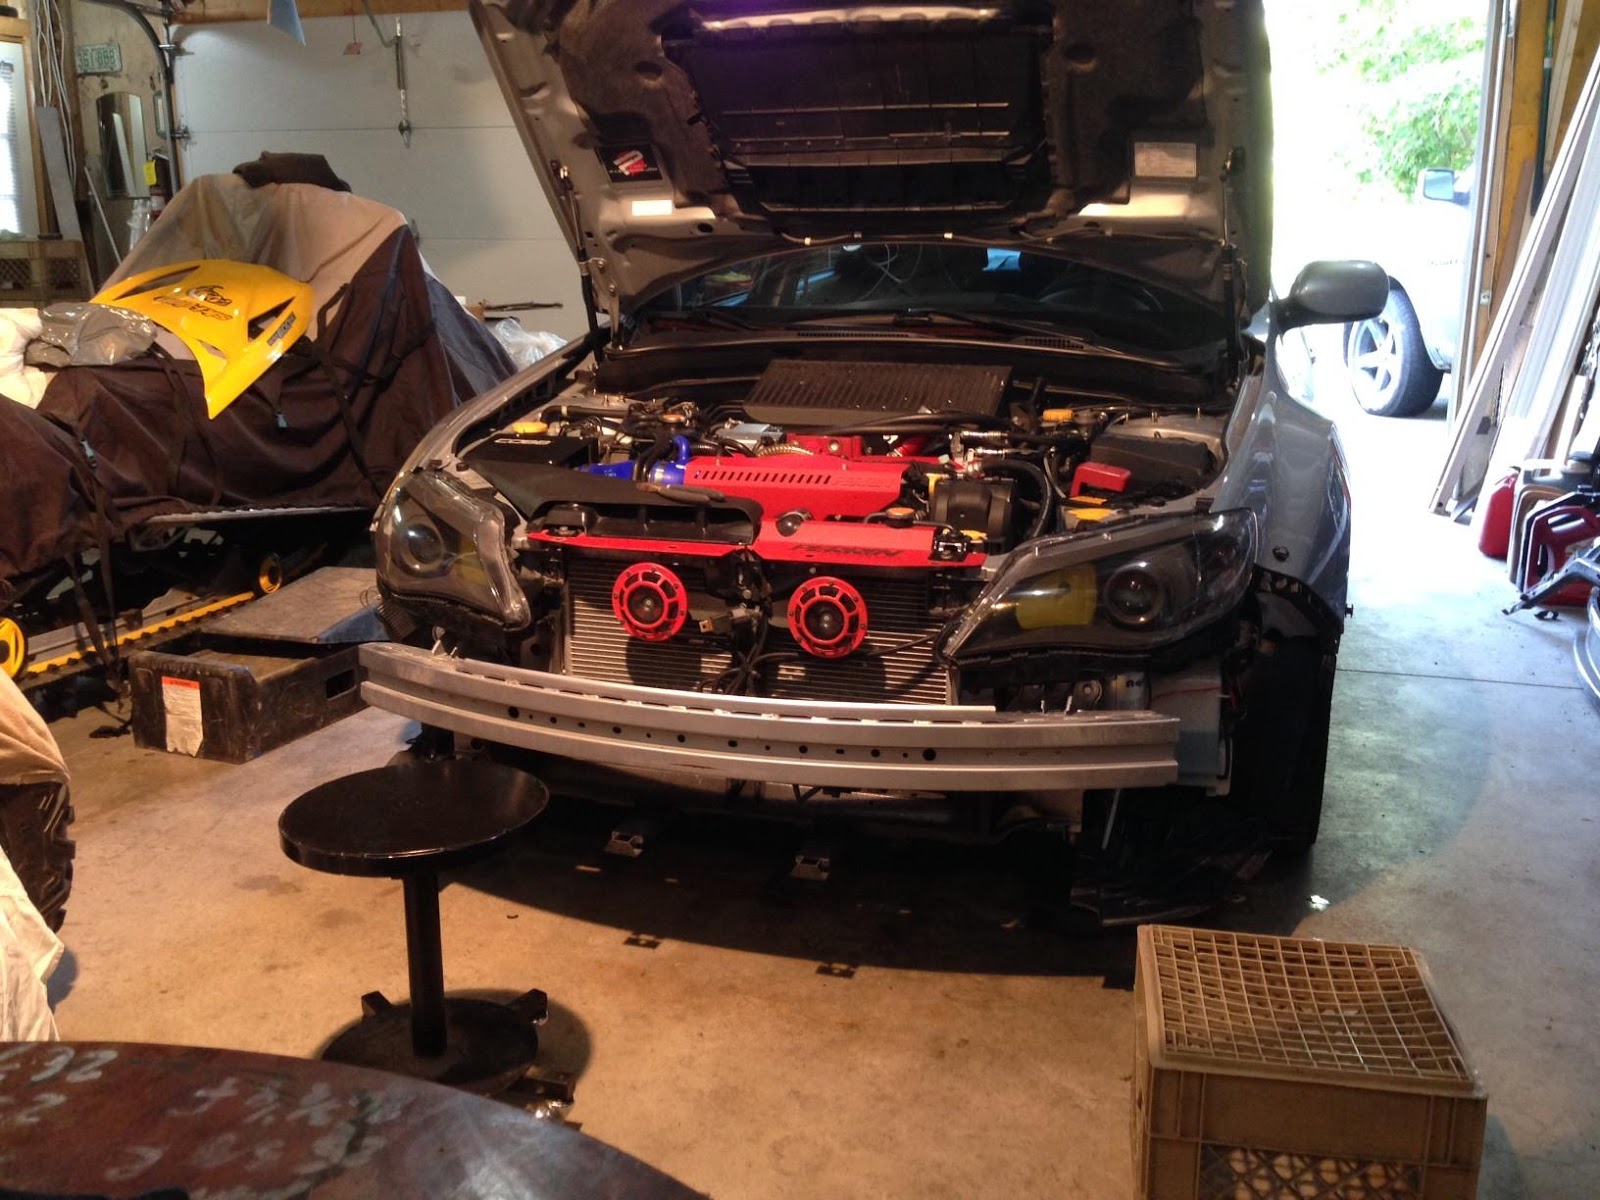
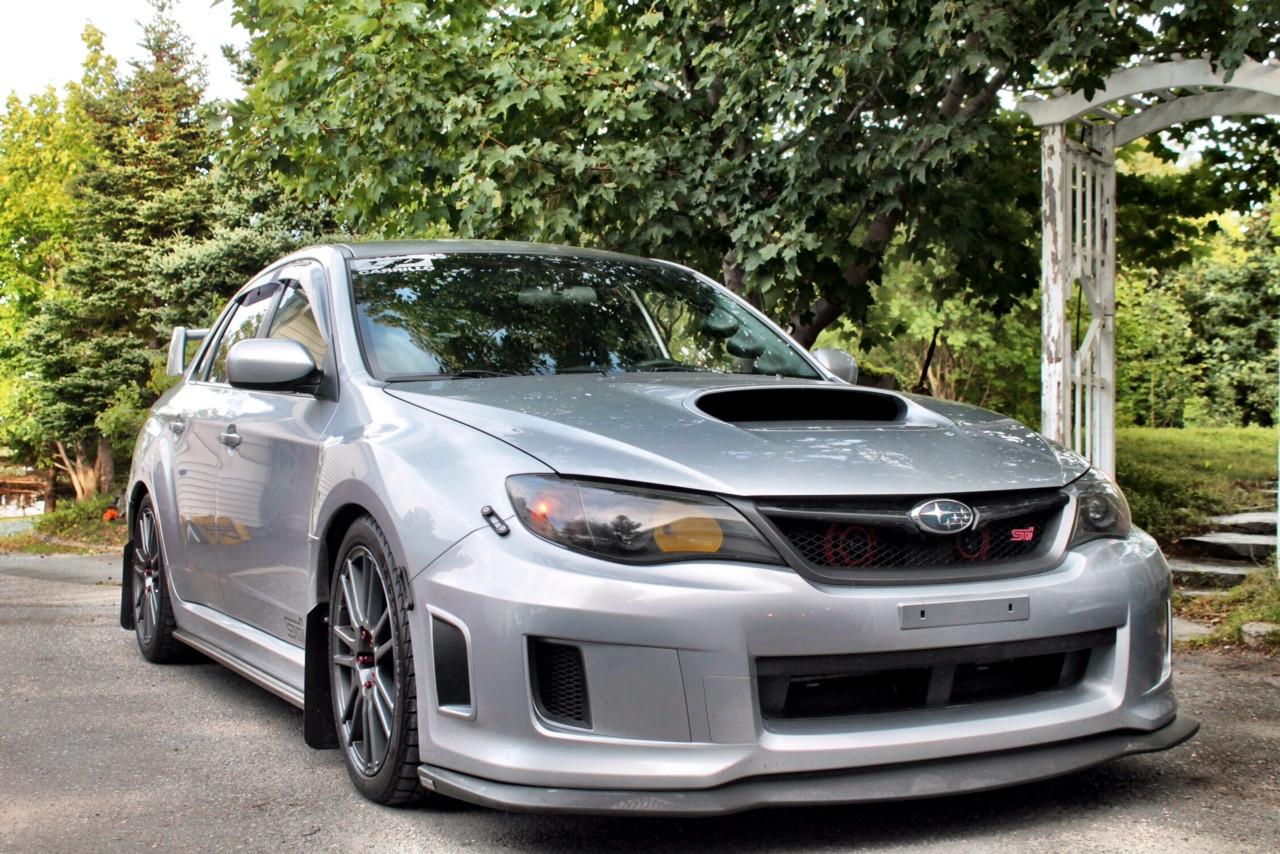
and some pictures of the finished product installed in the car.

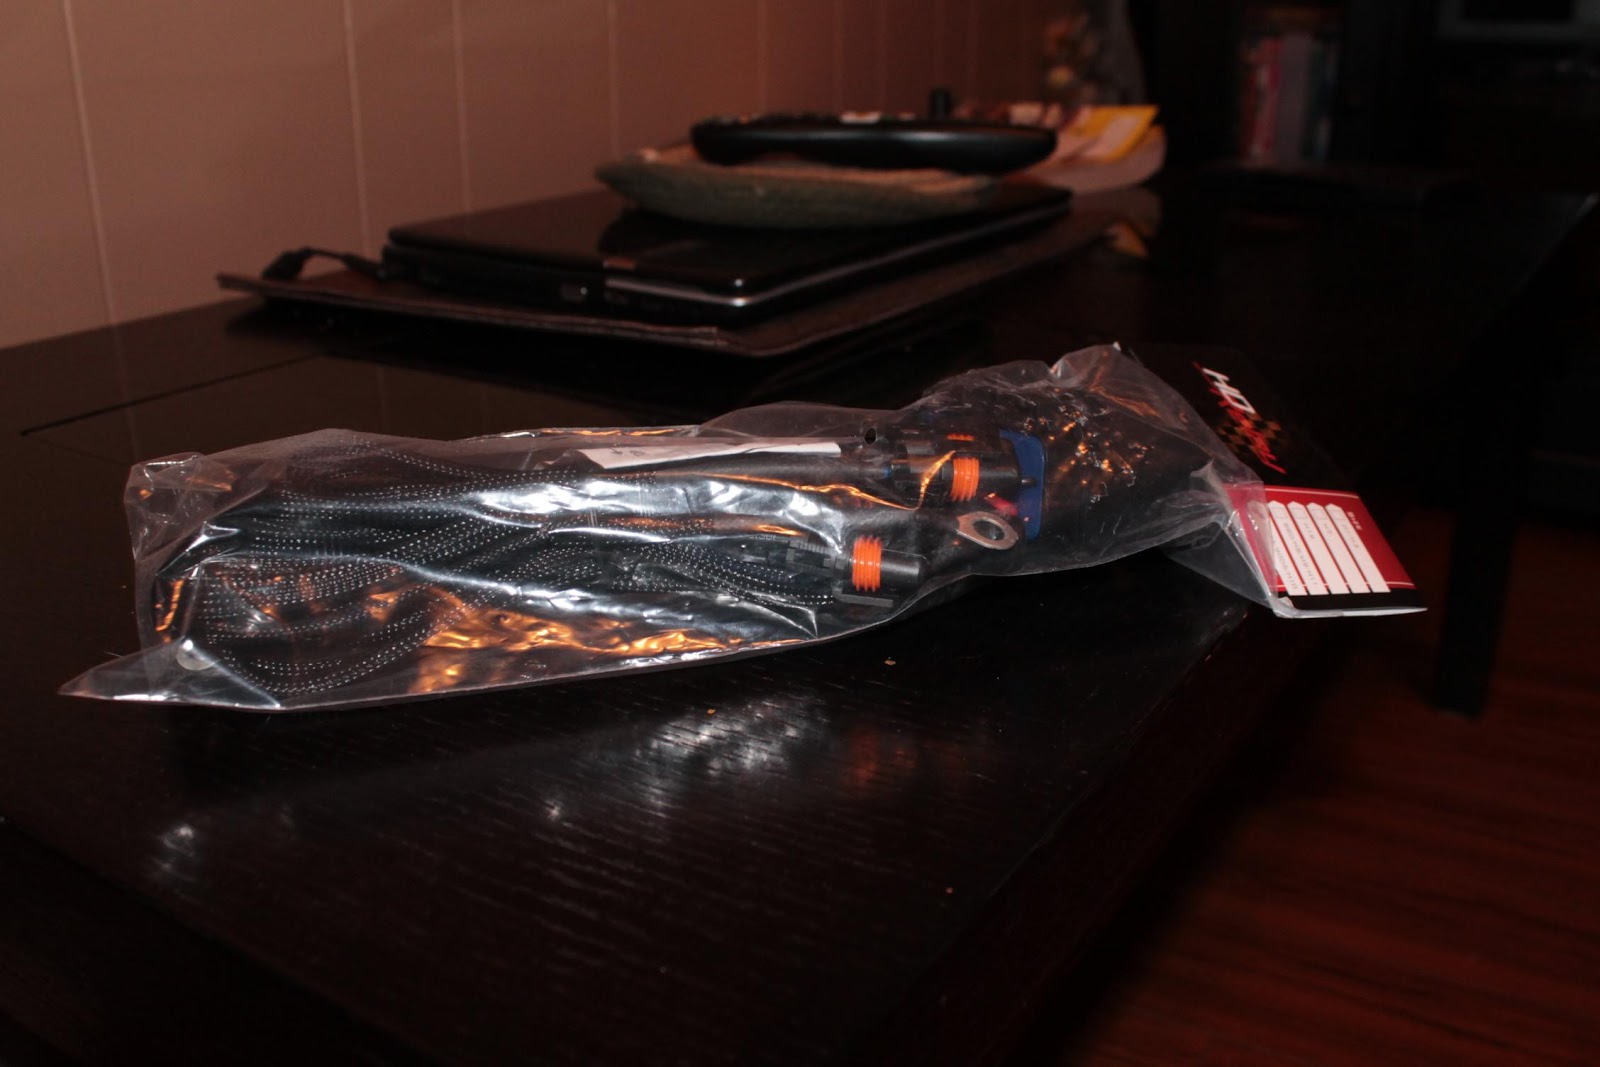
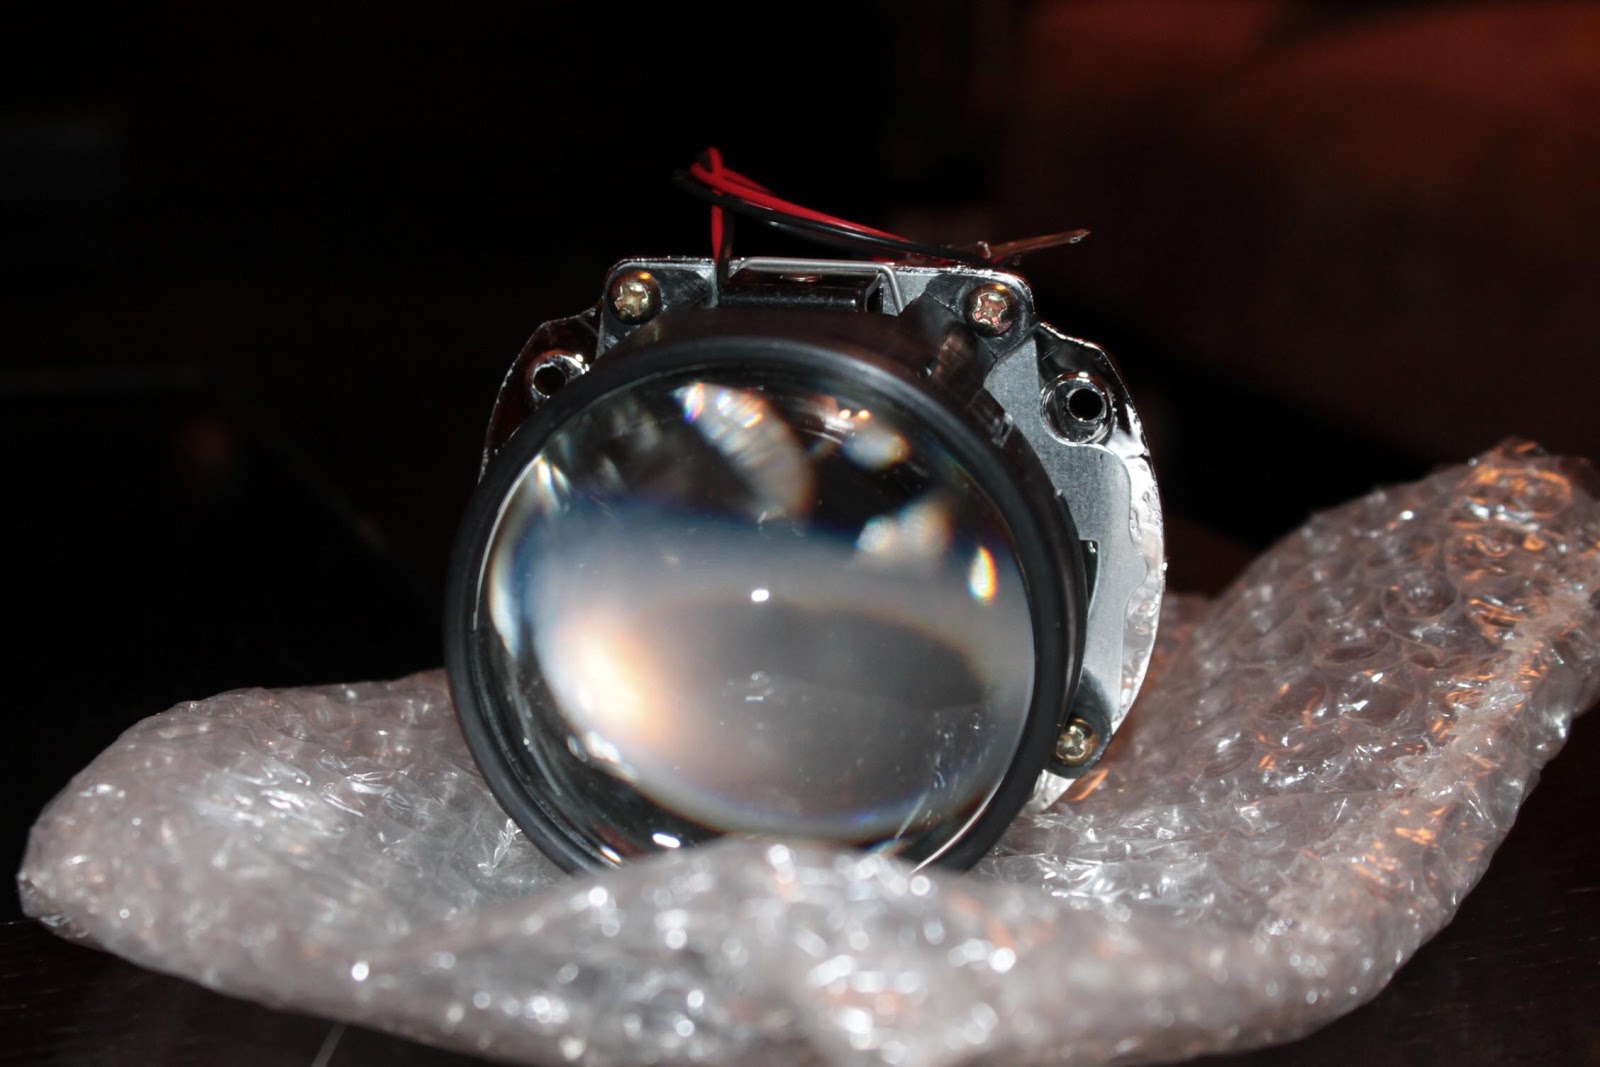
Then I ordered a complete Projector Retrofit for the highbeam. Here is some pics of the projectors, connections, ballasts, etc..
The box it came in.
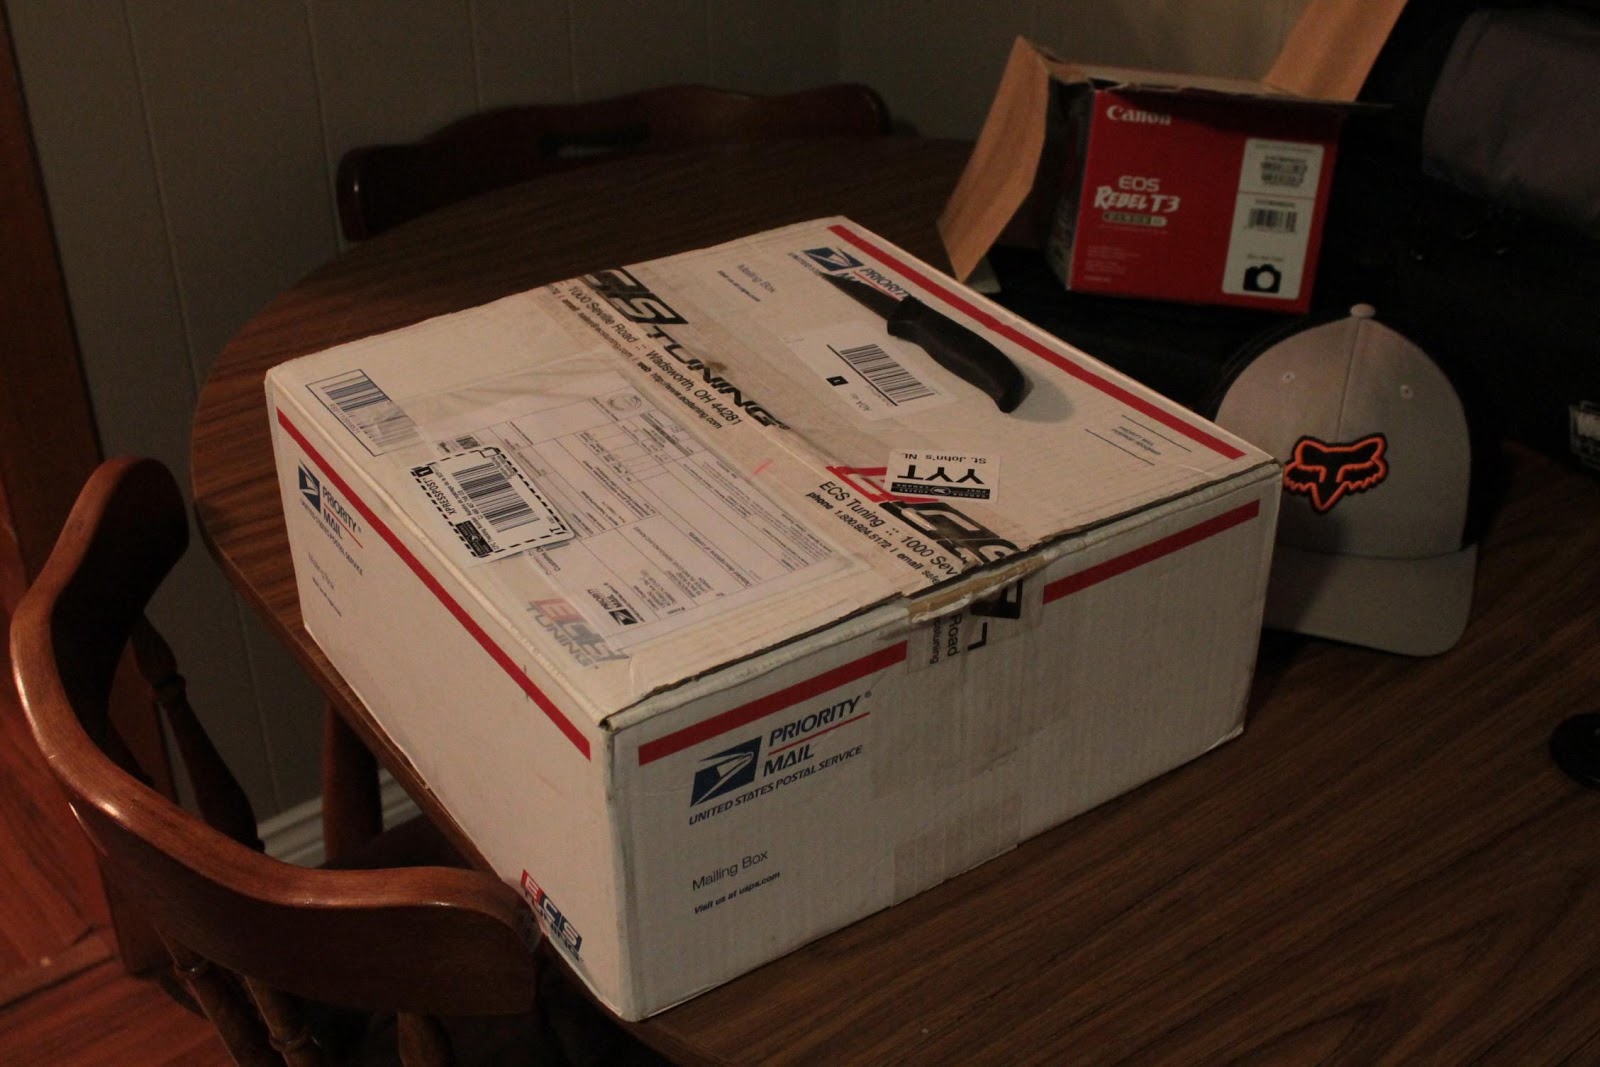
They had it packaged well.
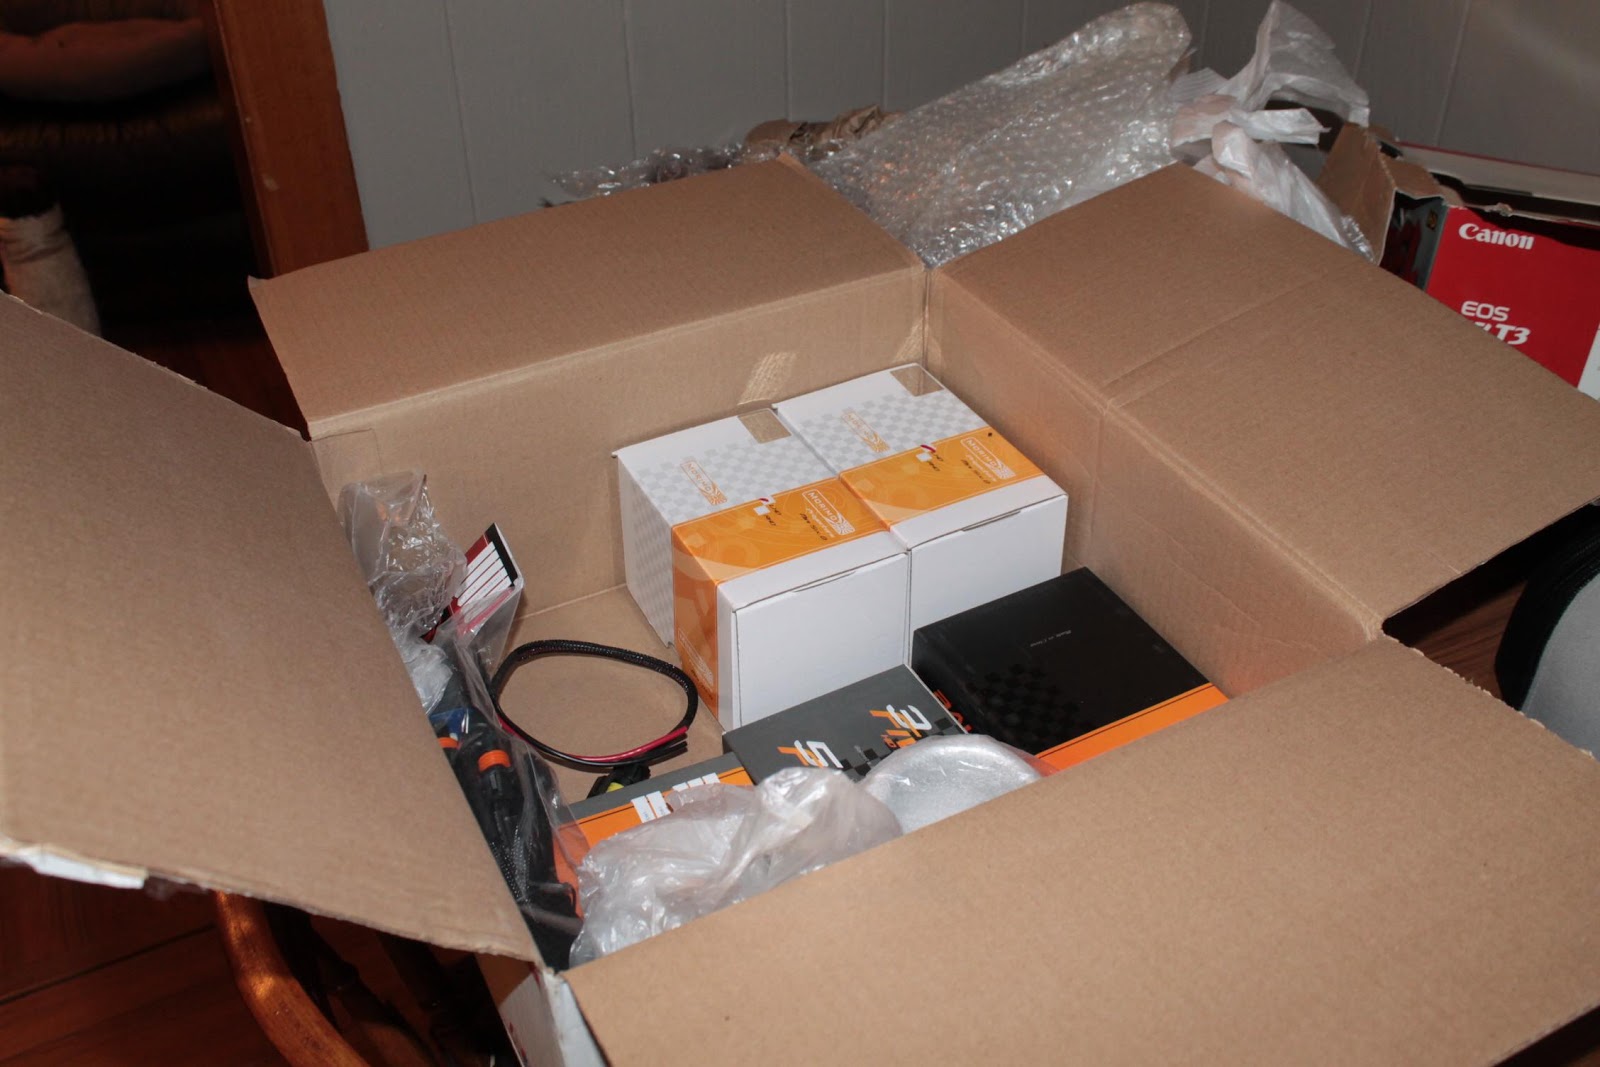
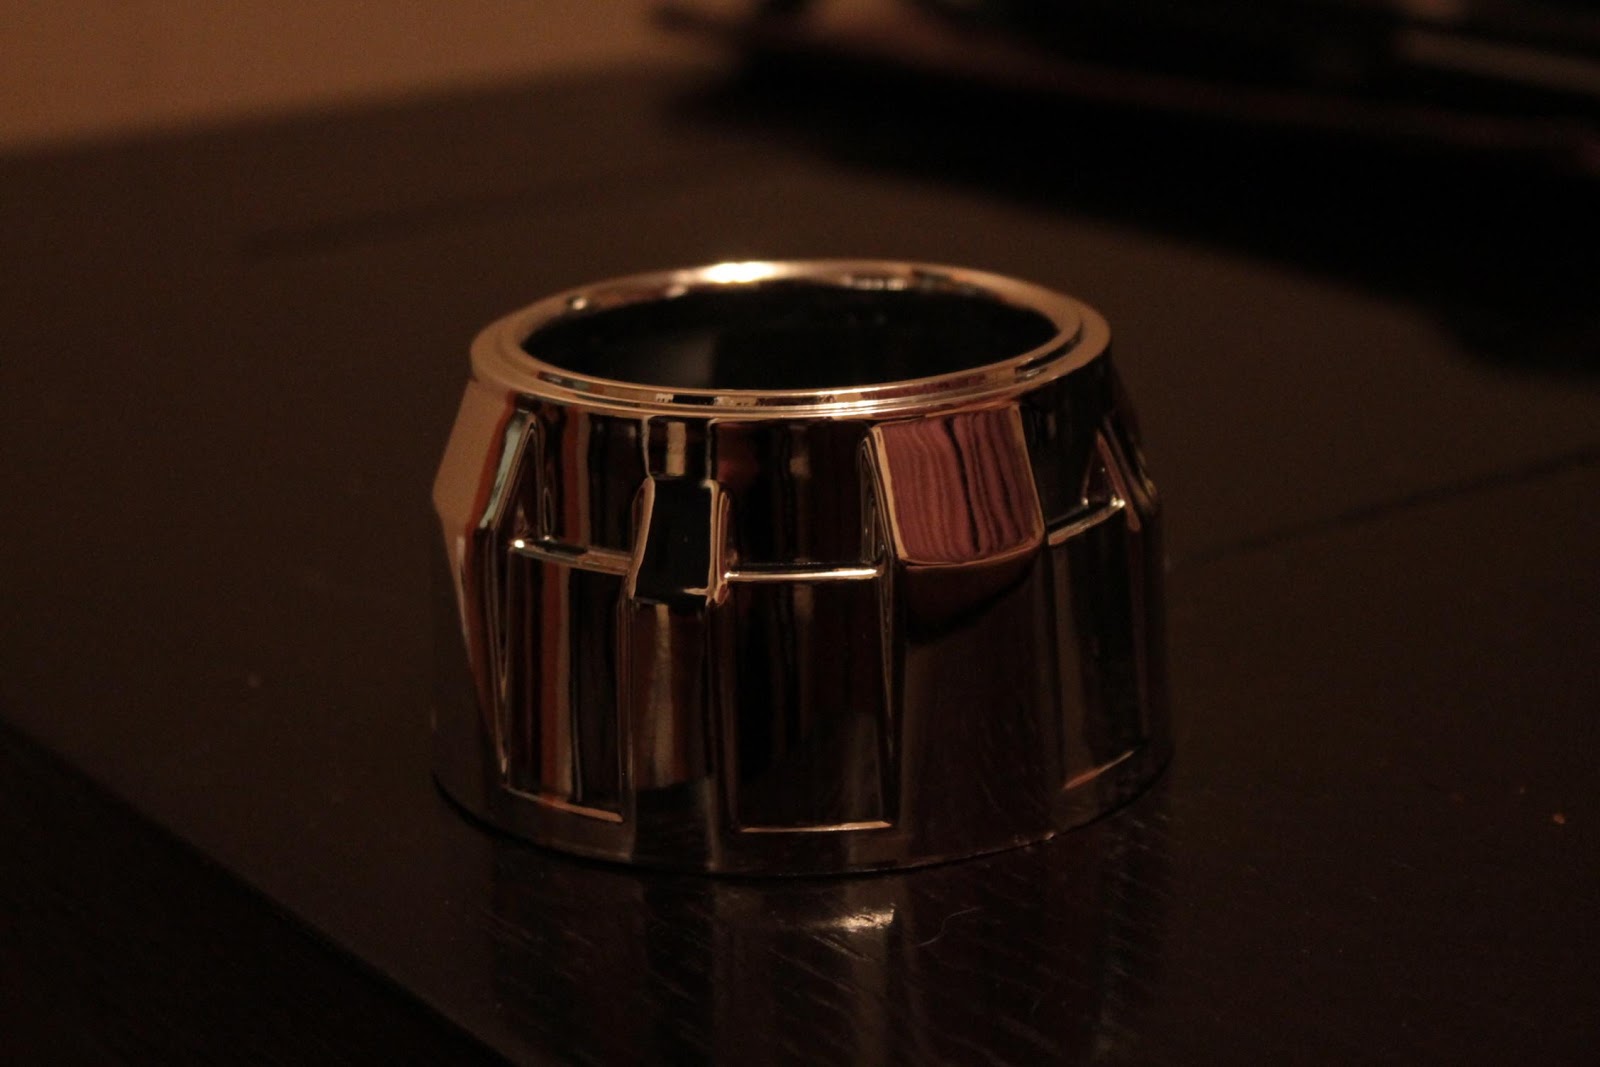
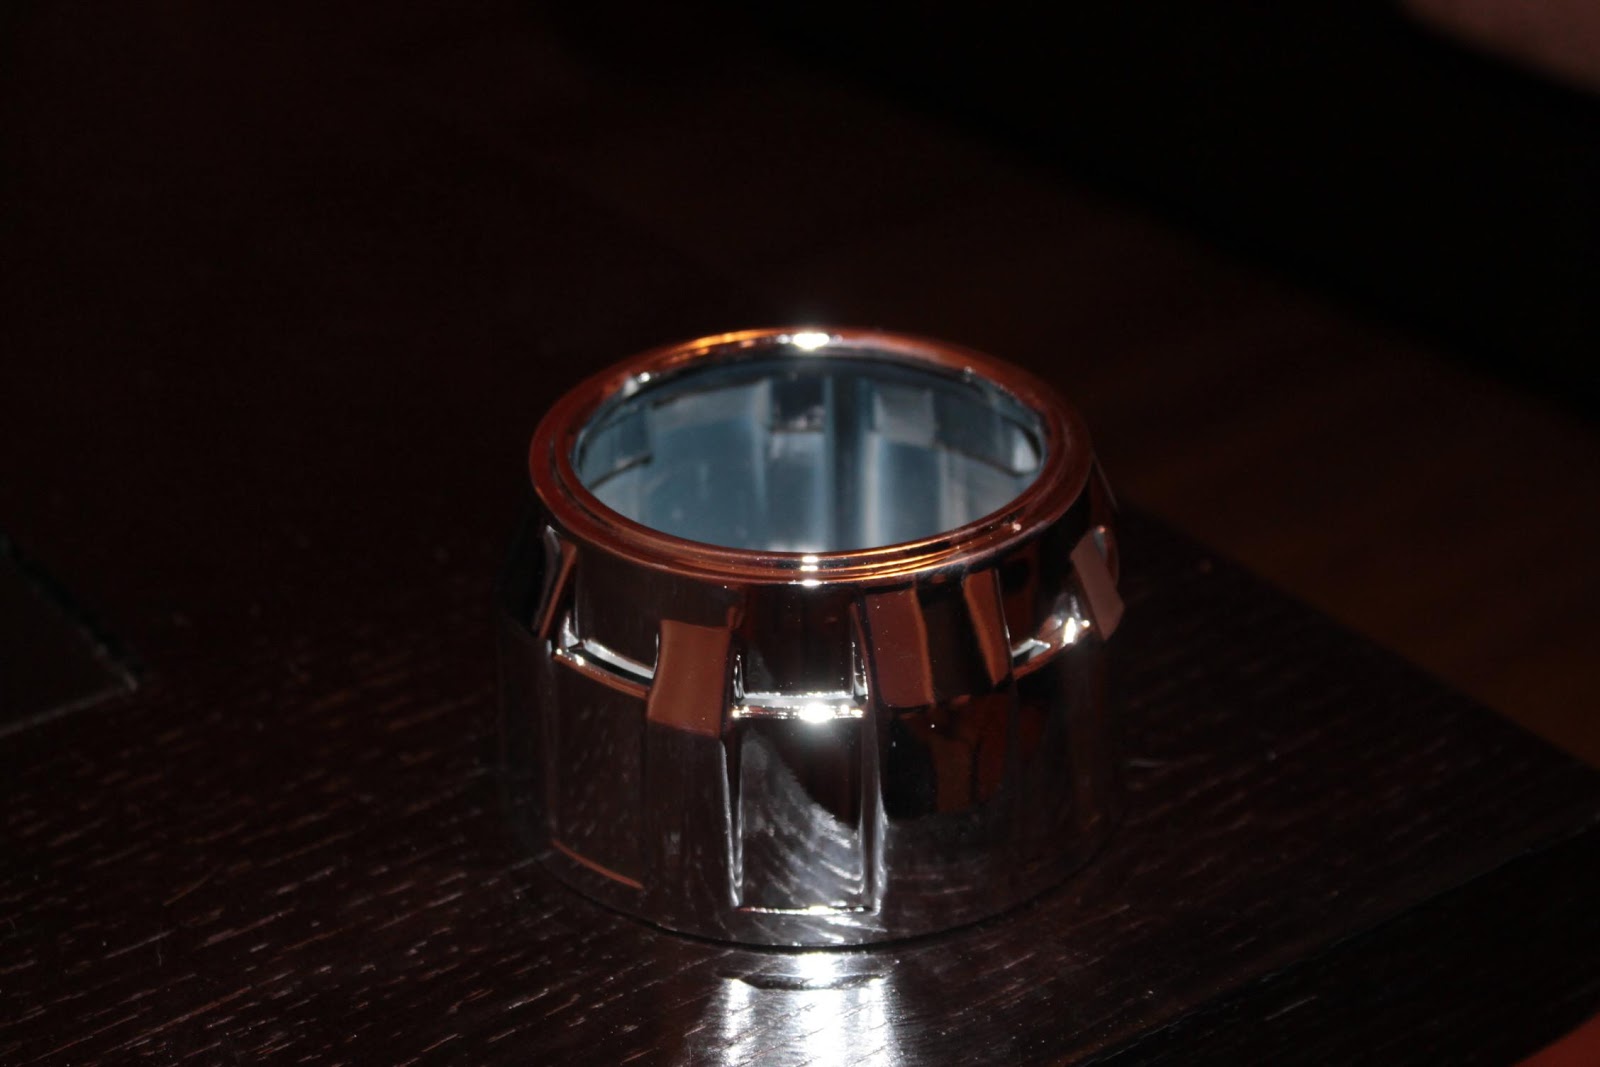
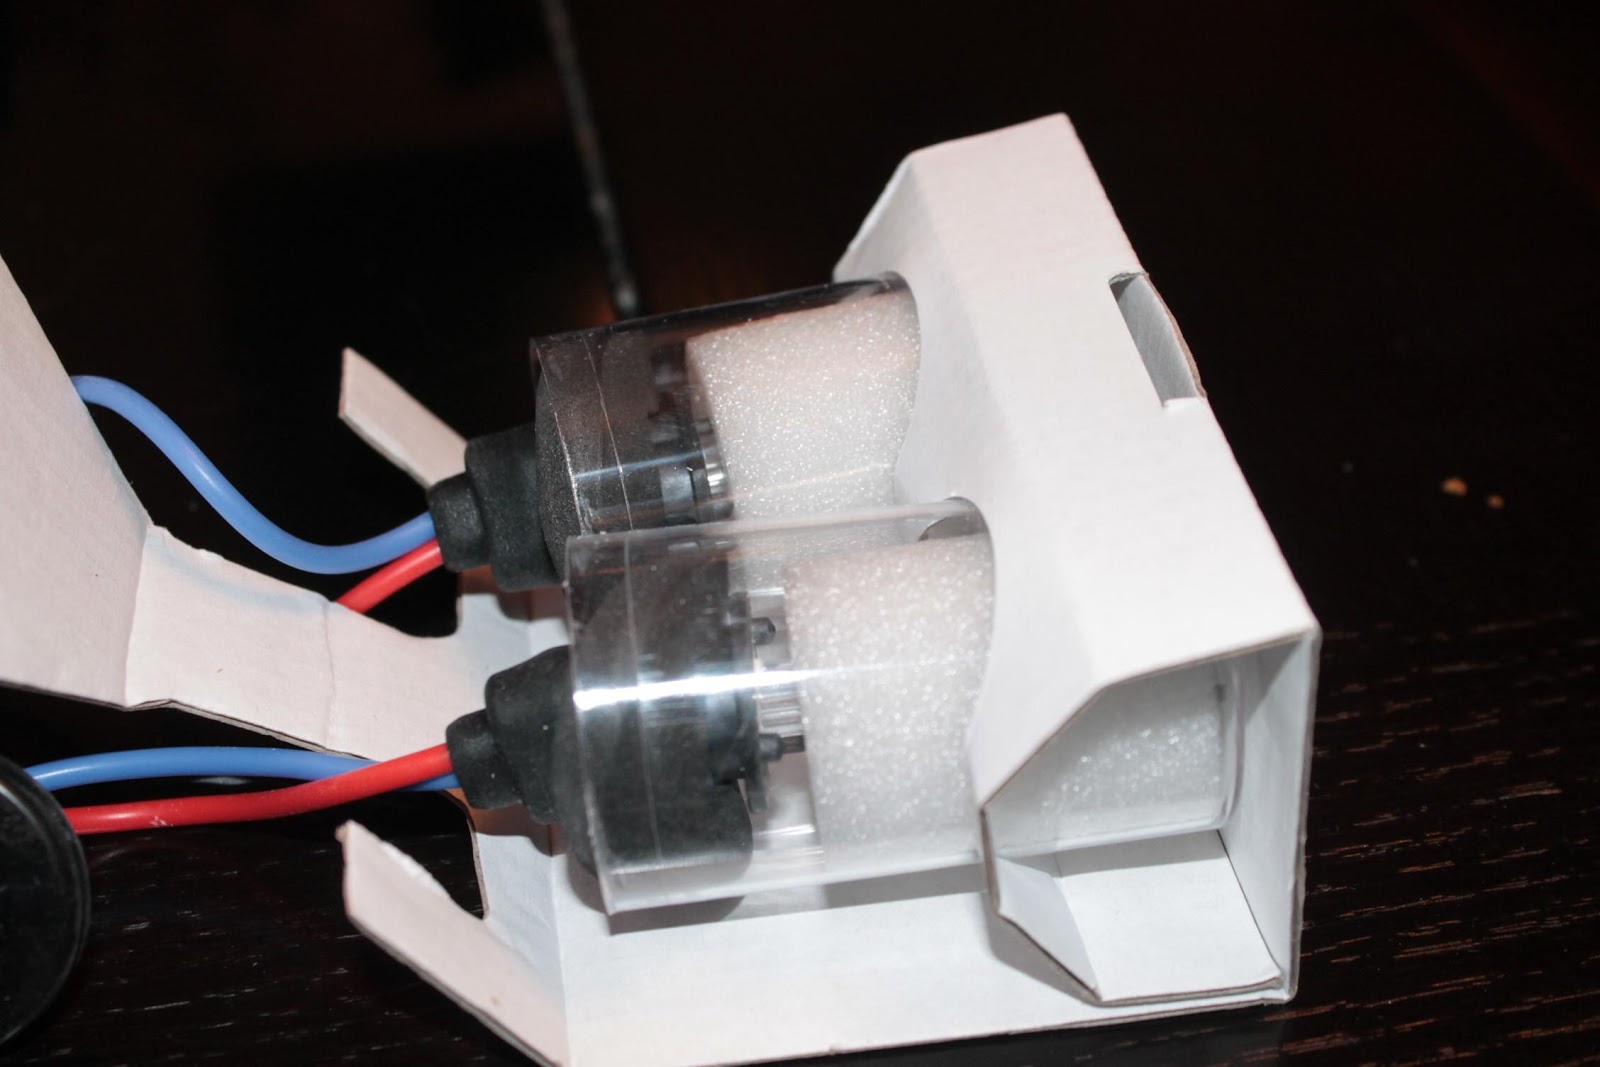
The mini Gatling gun projector shrouds
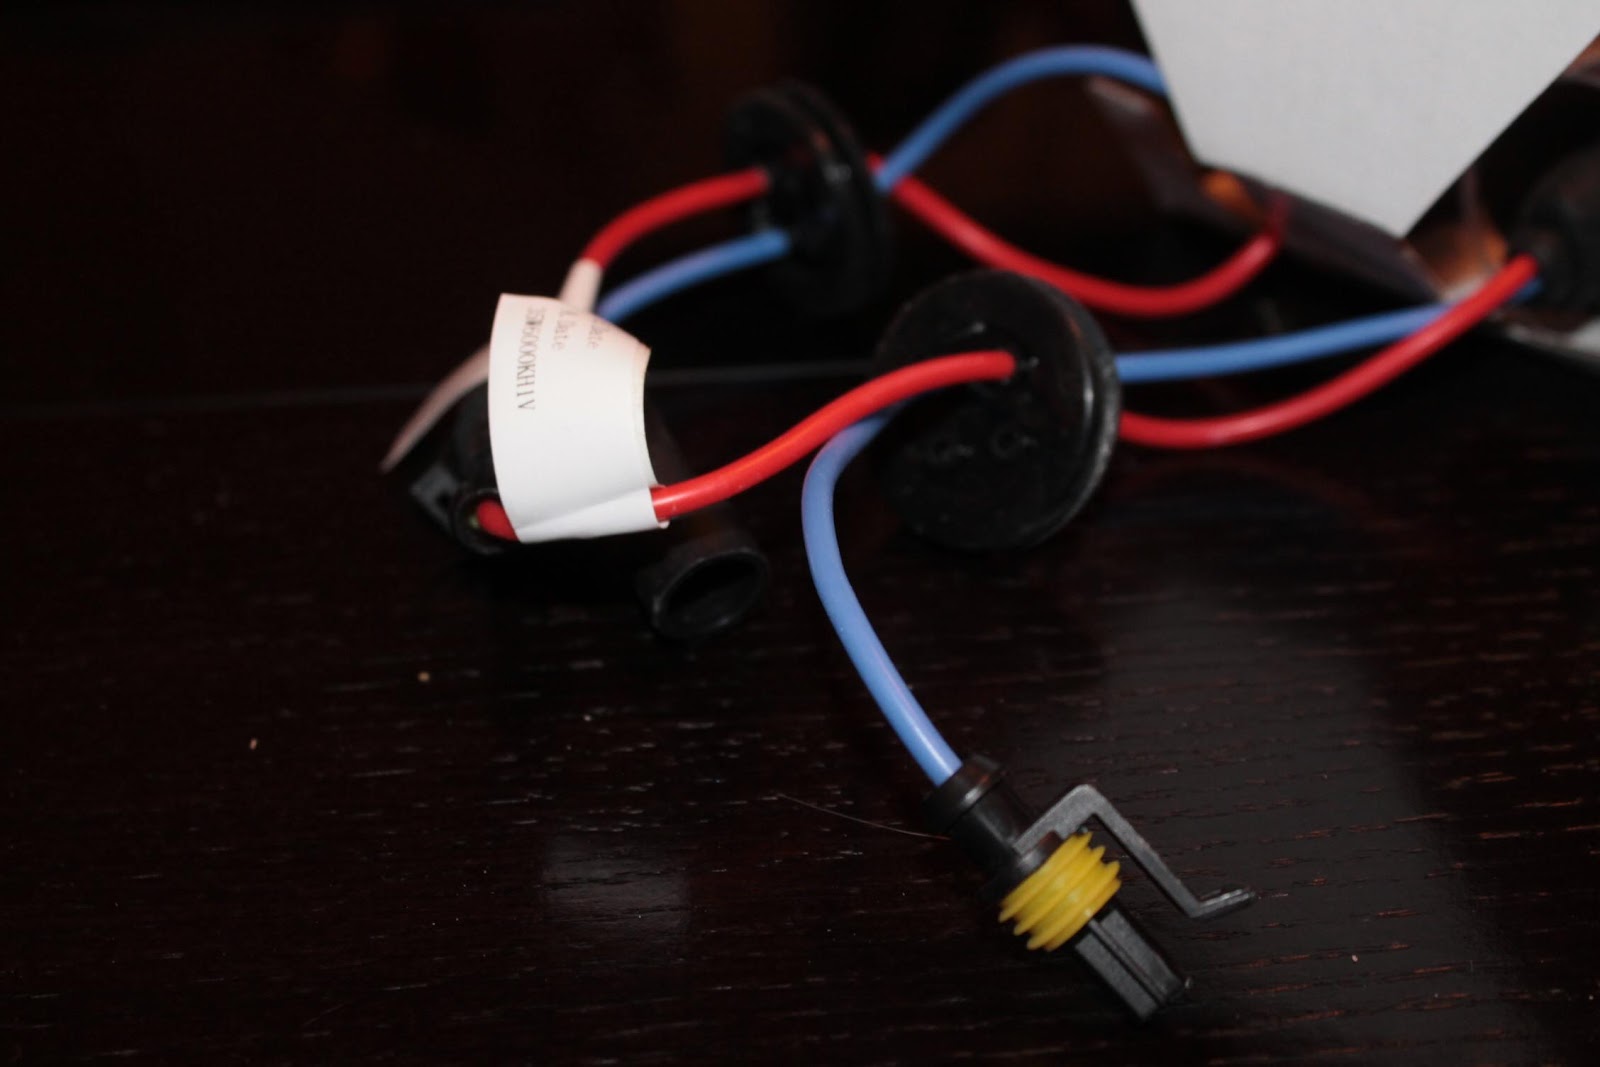
The wiring for the lights.
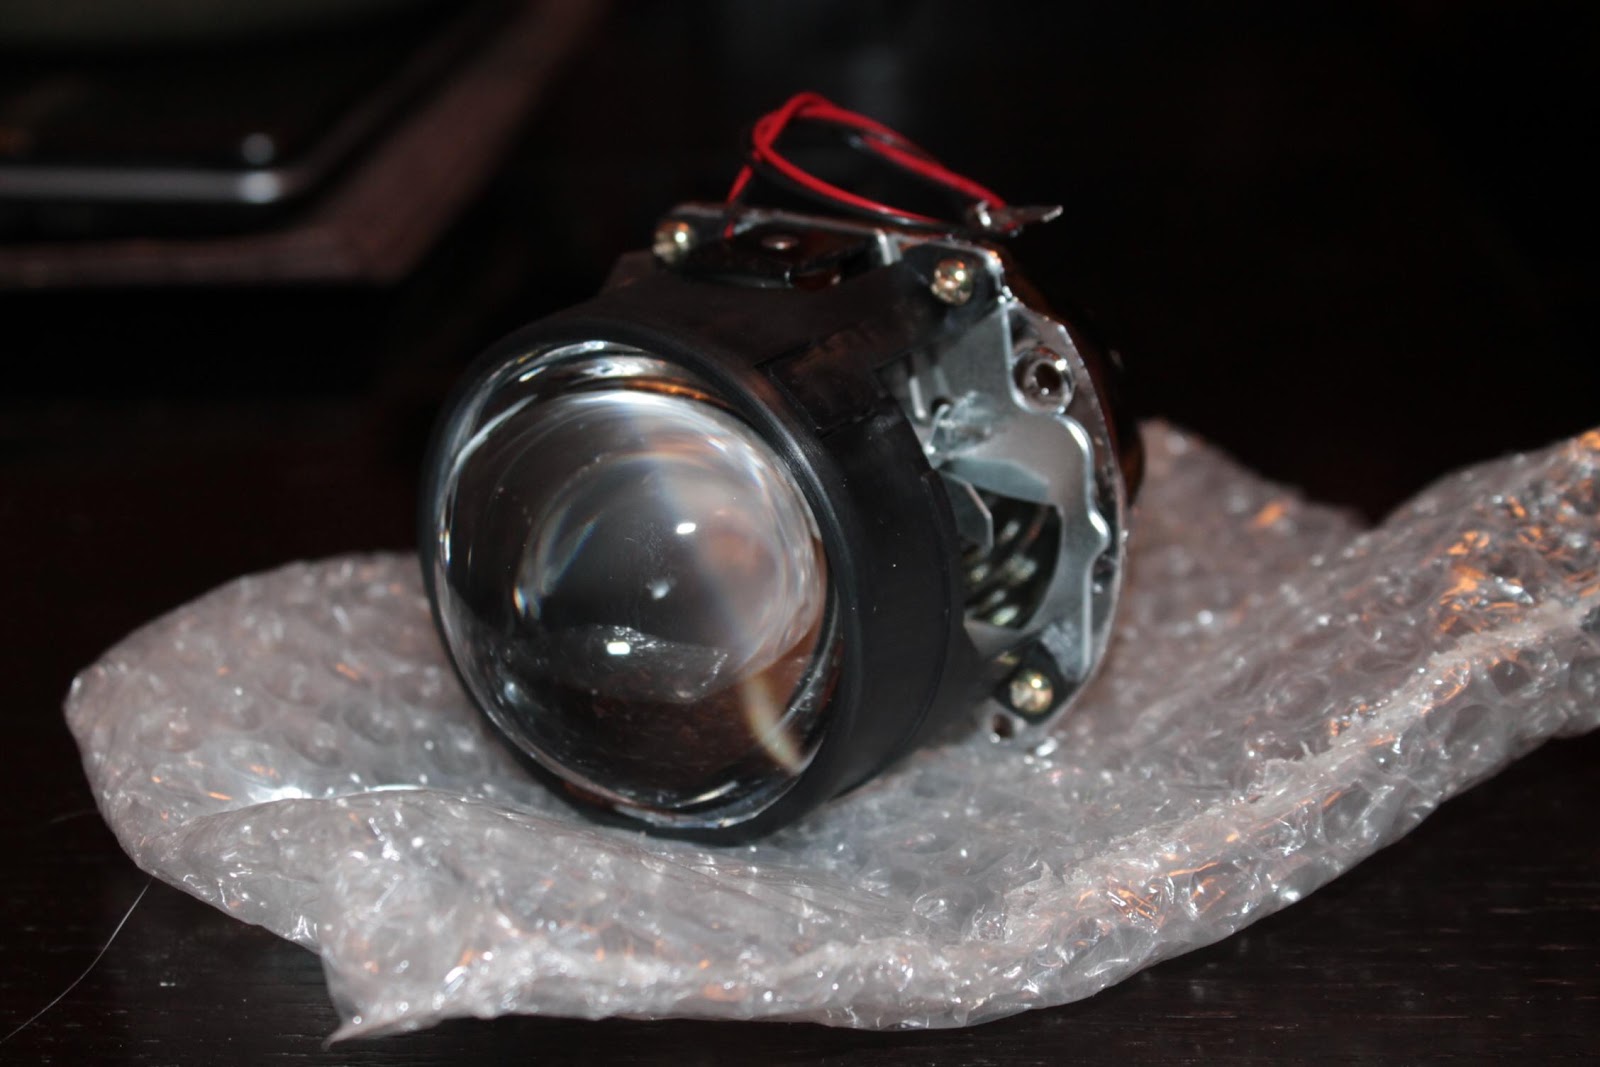
The projectors
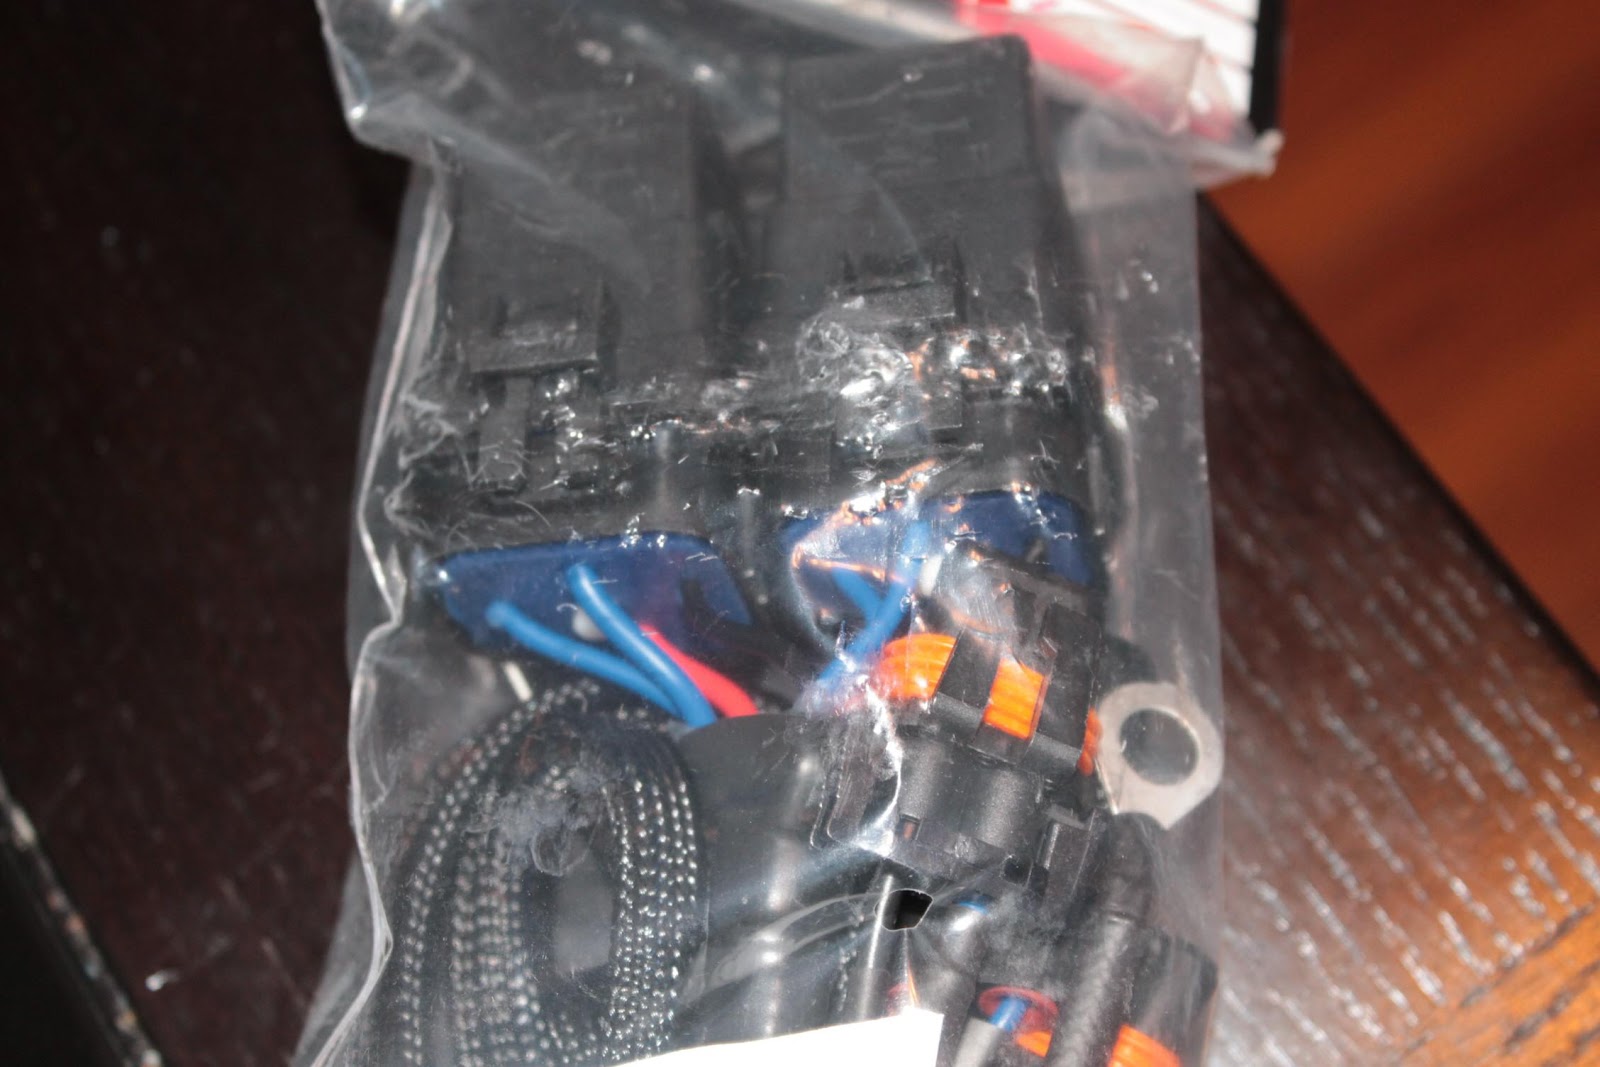
The HID and wiring connections
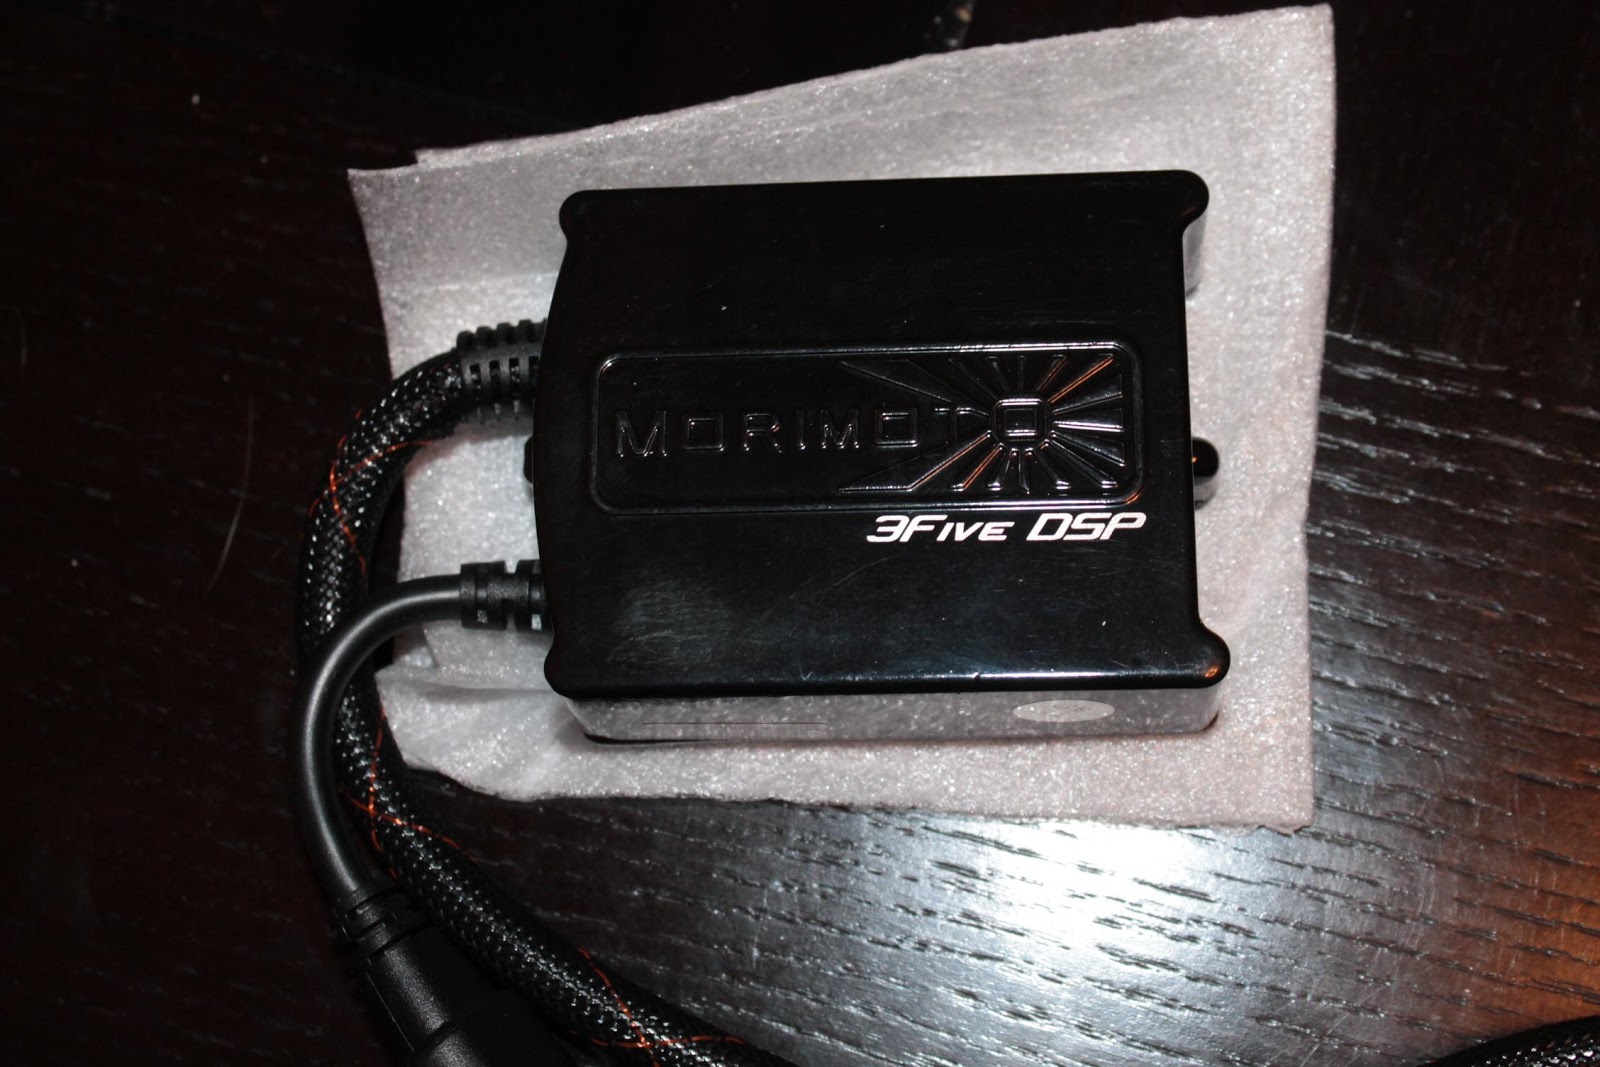
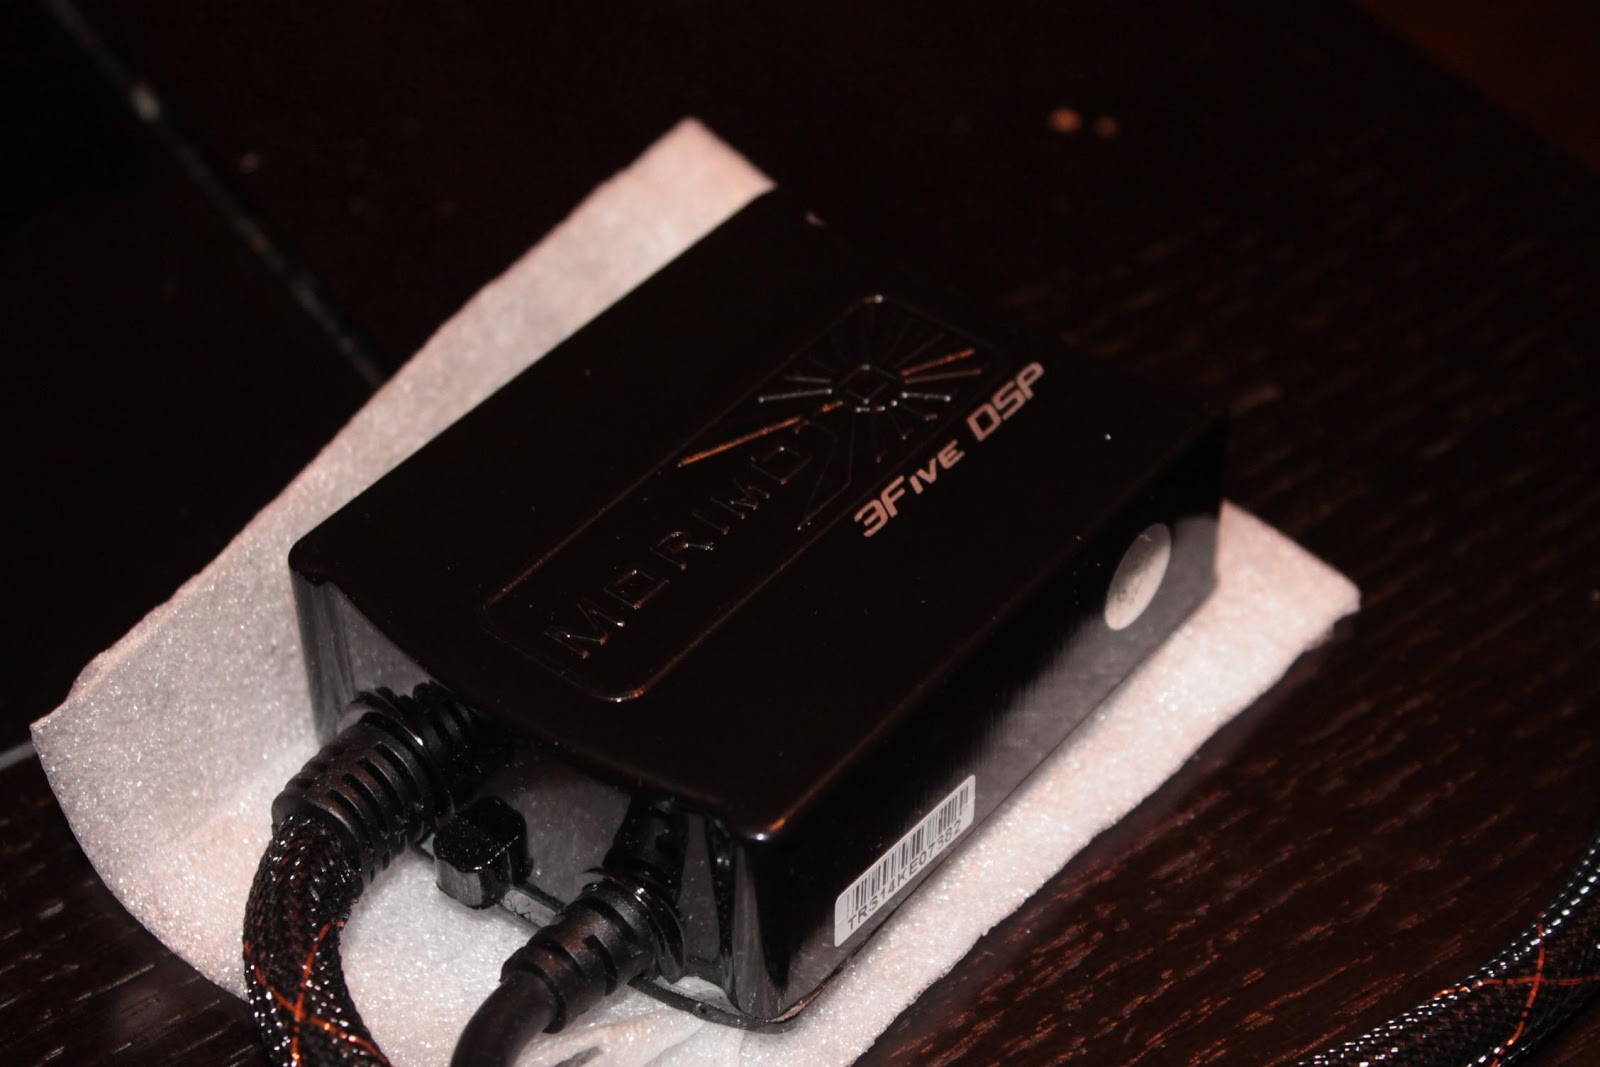
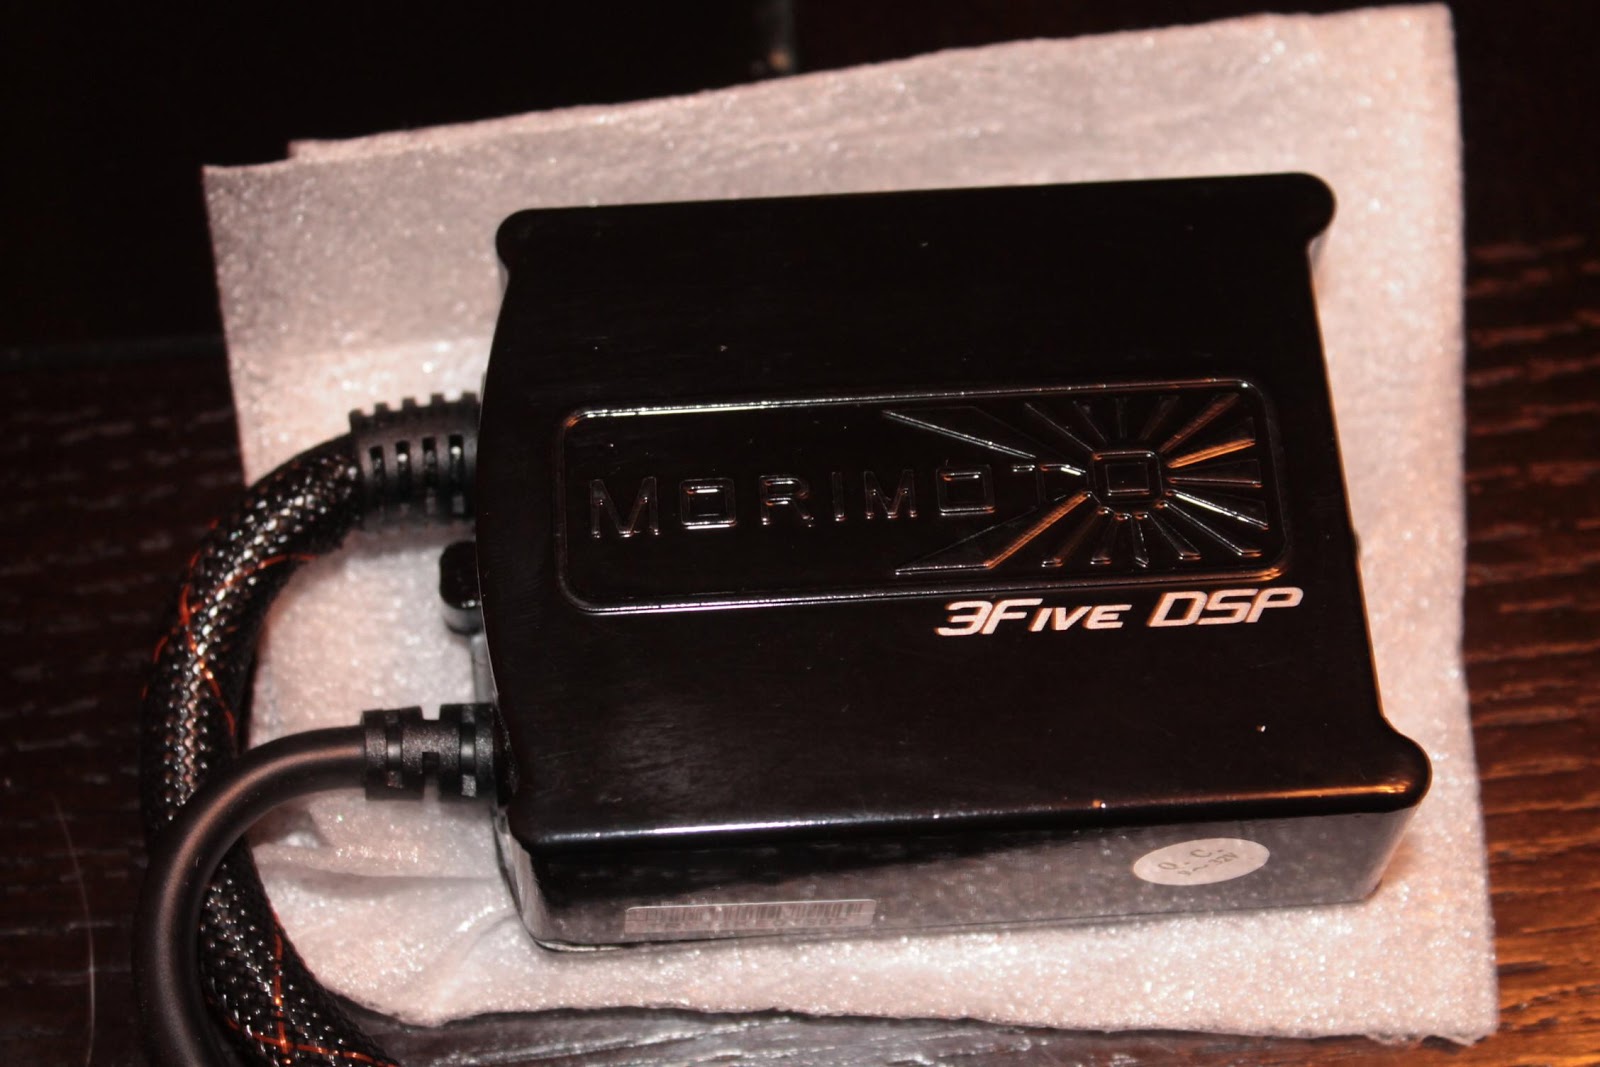
And the Morimoto ballasts
Here is the video from the go pro running the 1/8th mile.
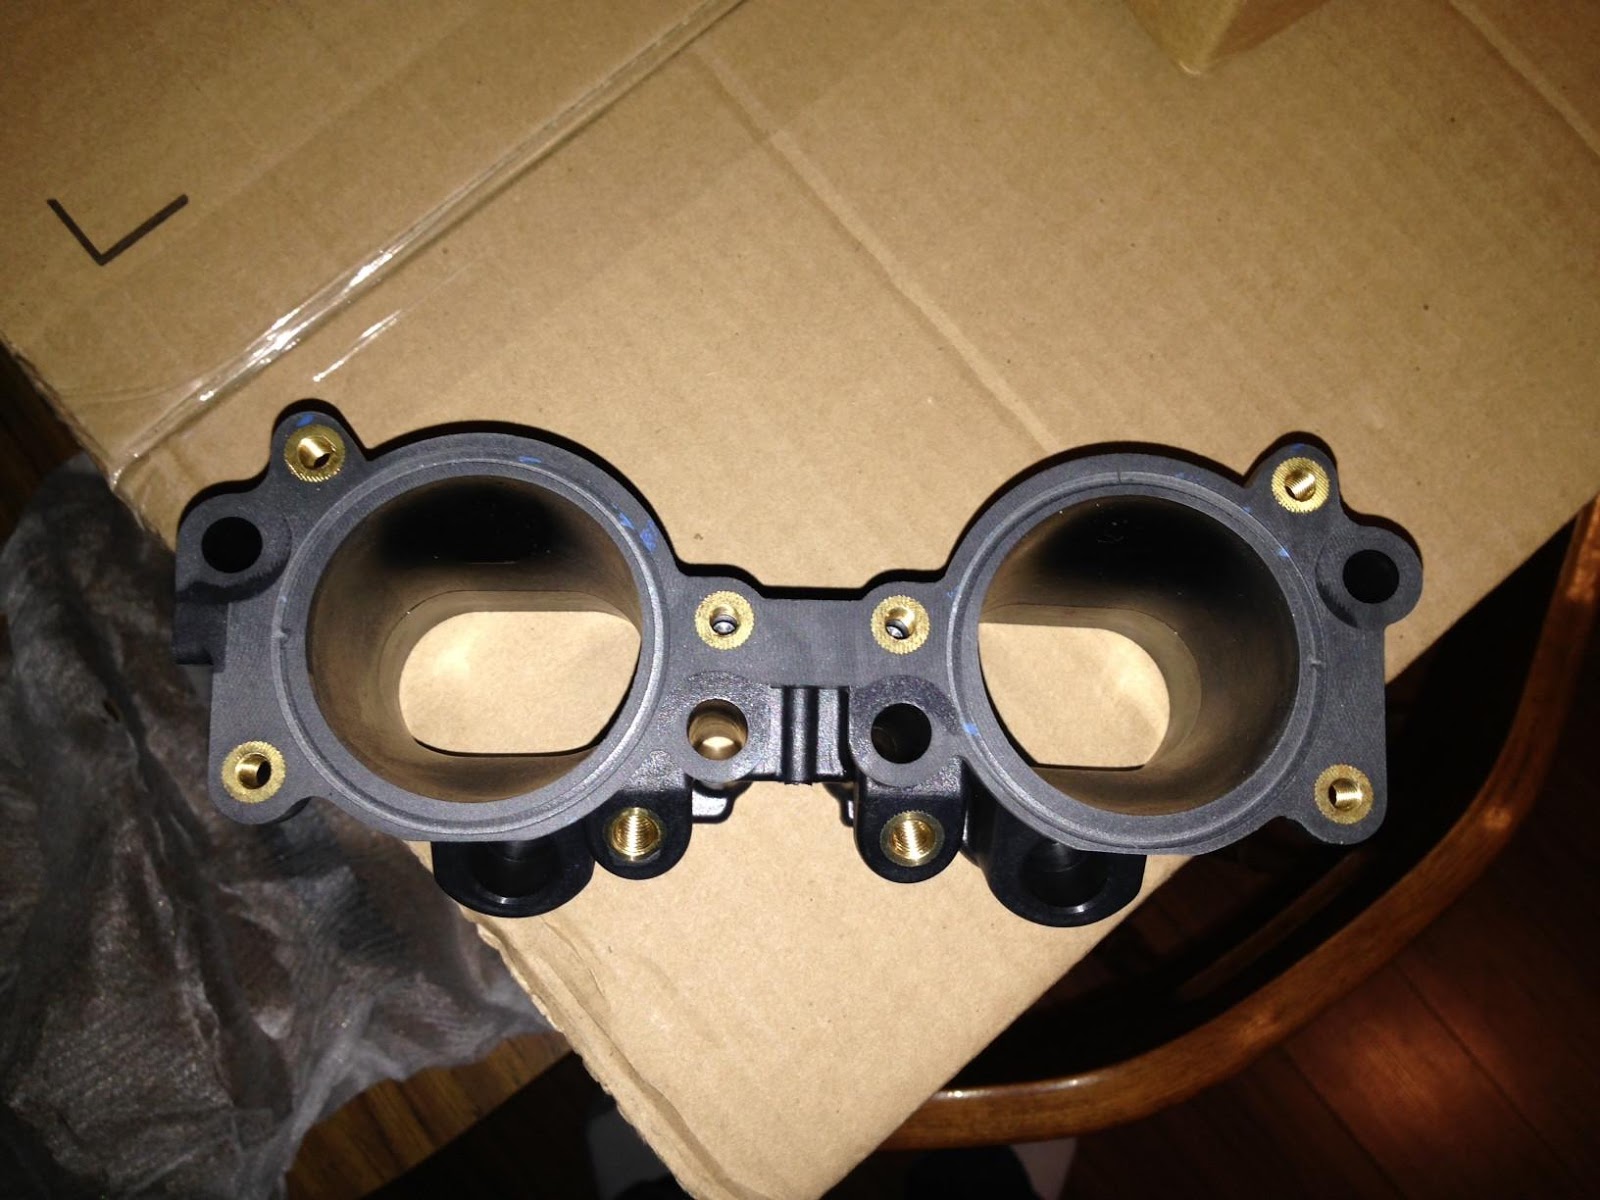
Then I ordered Zerolift TGV deletes.
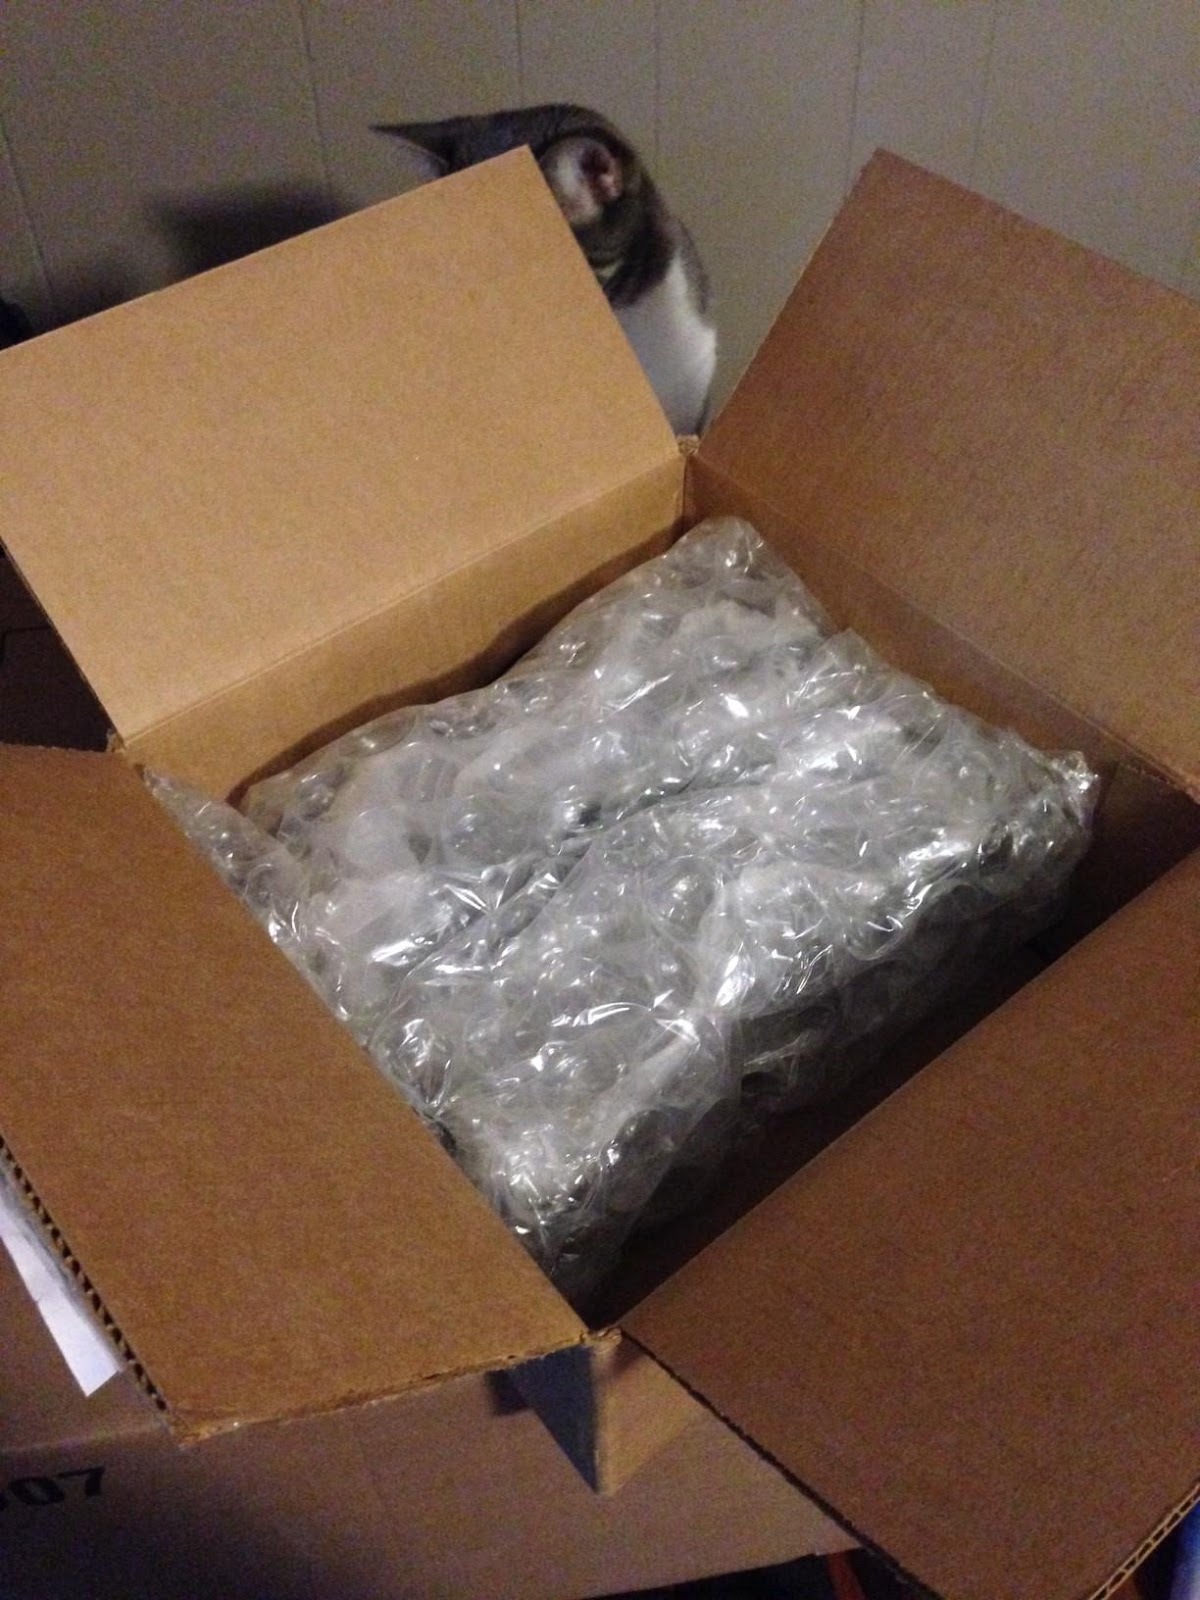
First opening
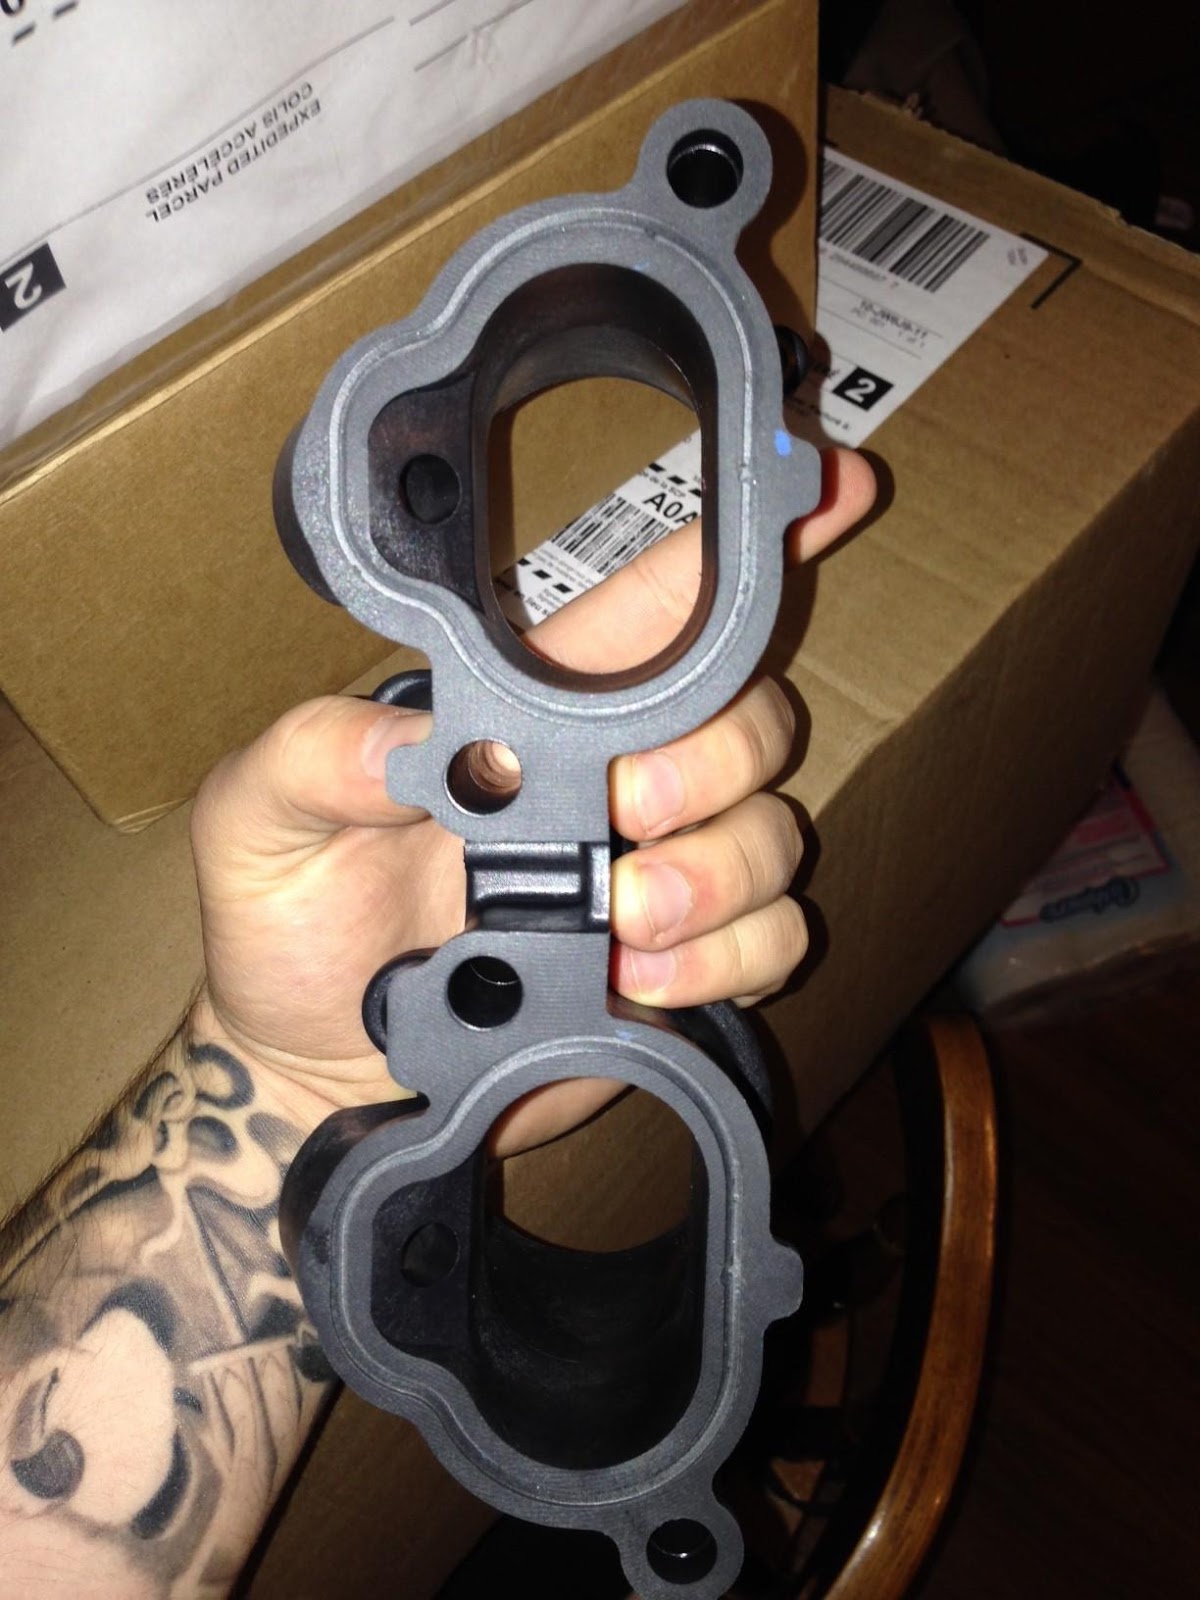
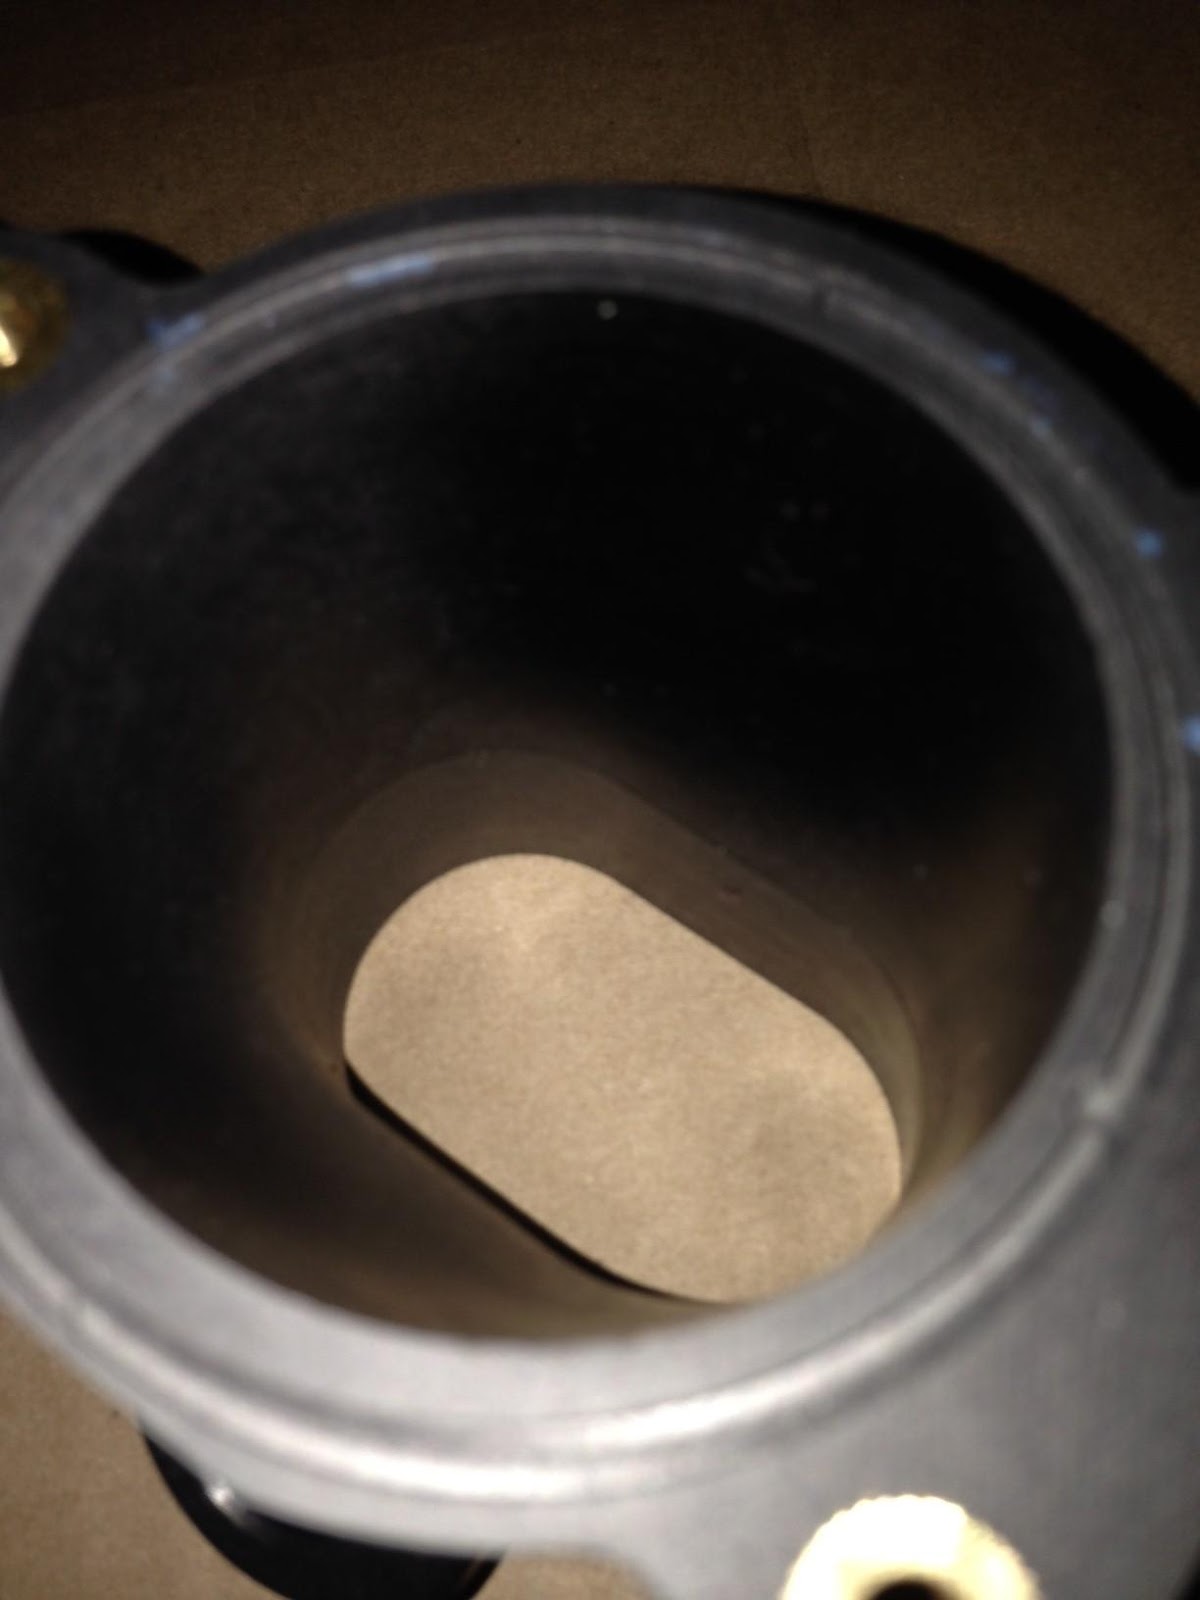
The TGV

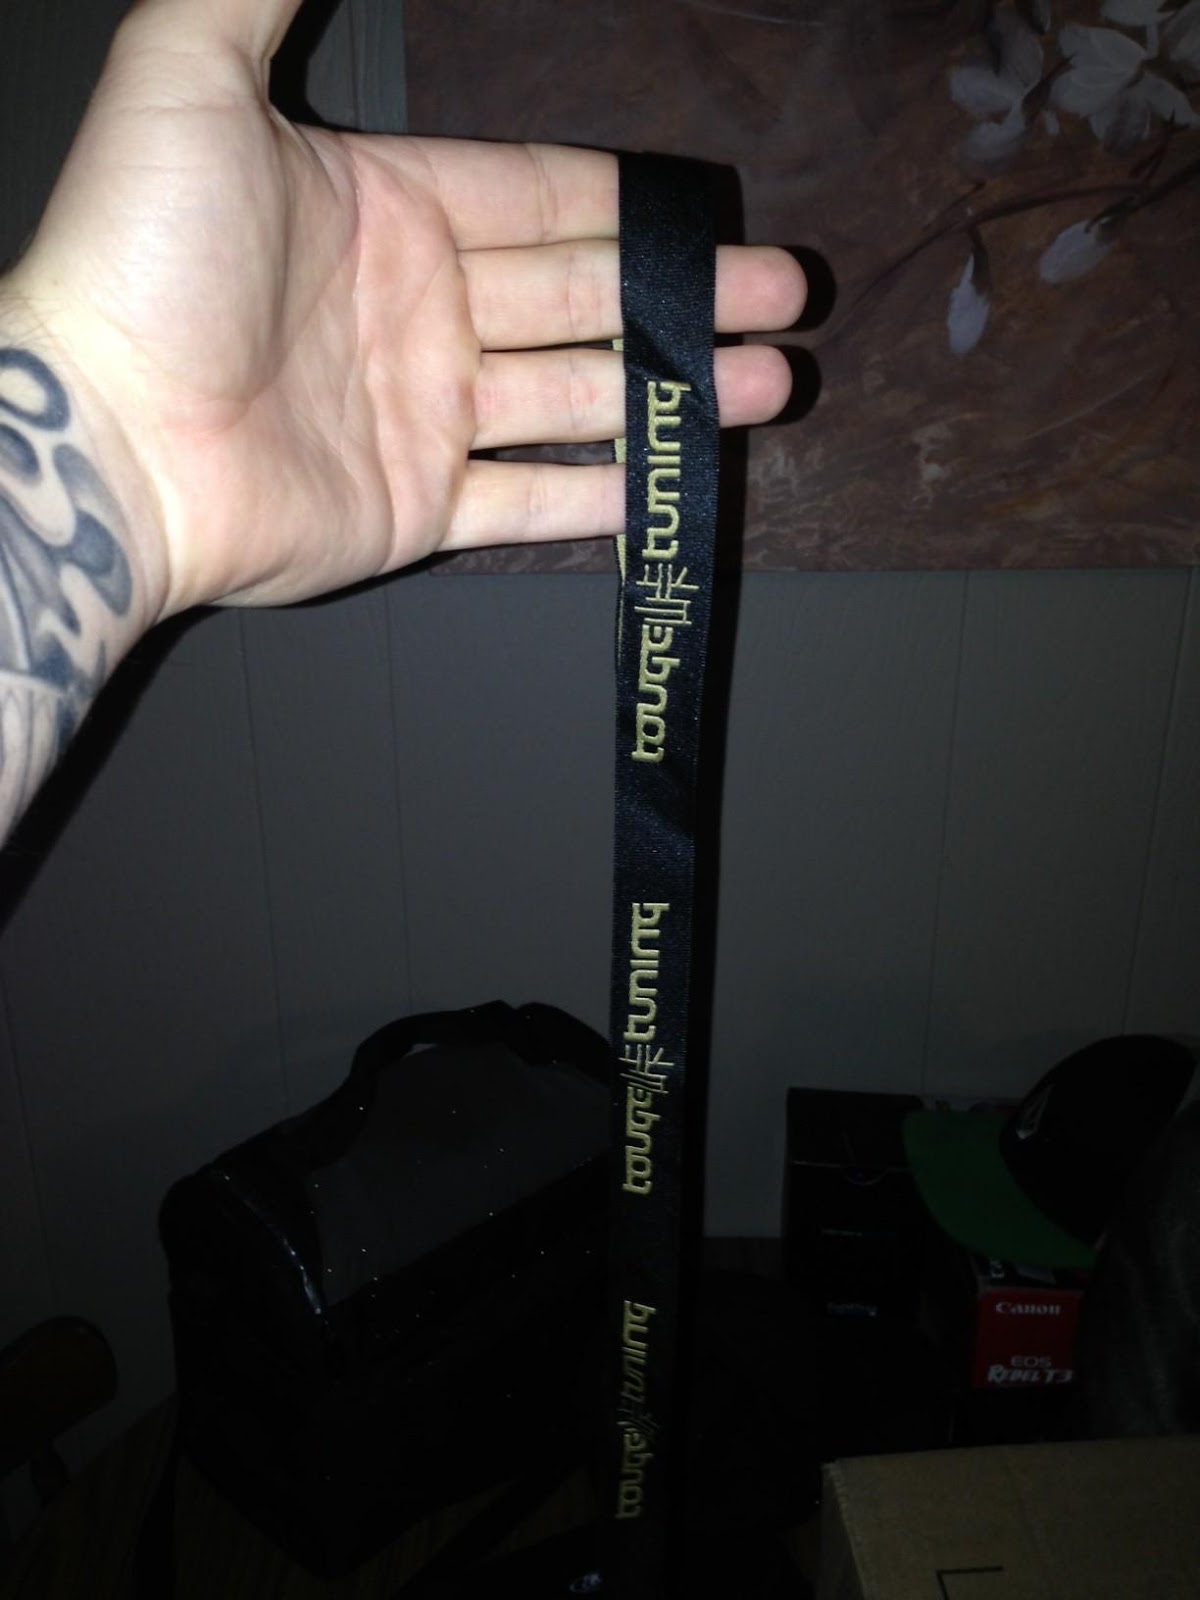
and a little gift from Touge Tuning ![]()
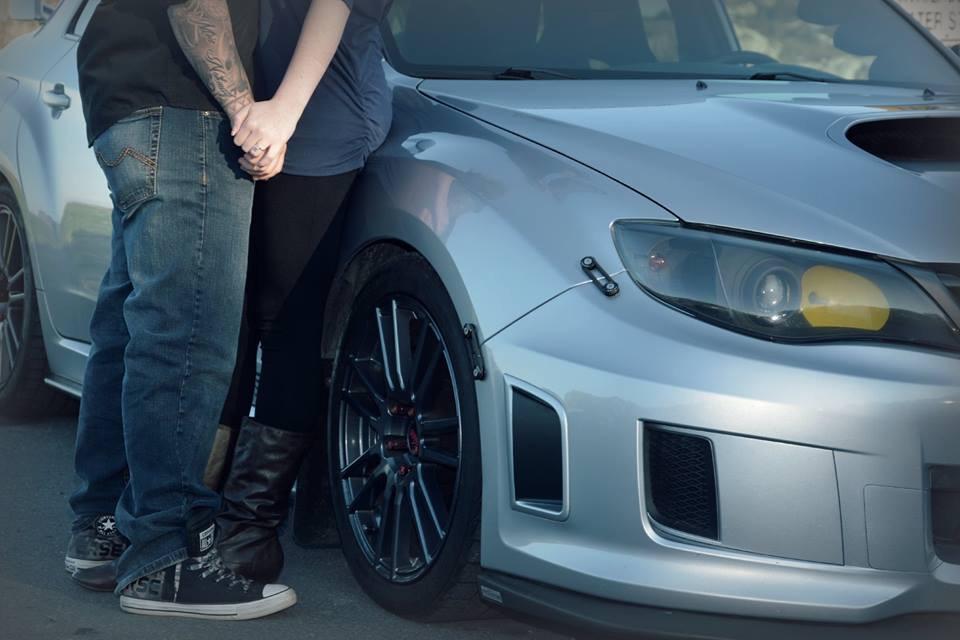
I forgot to mention that we also got Engaged! ![]()
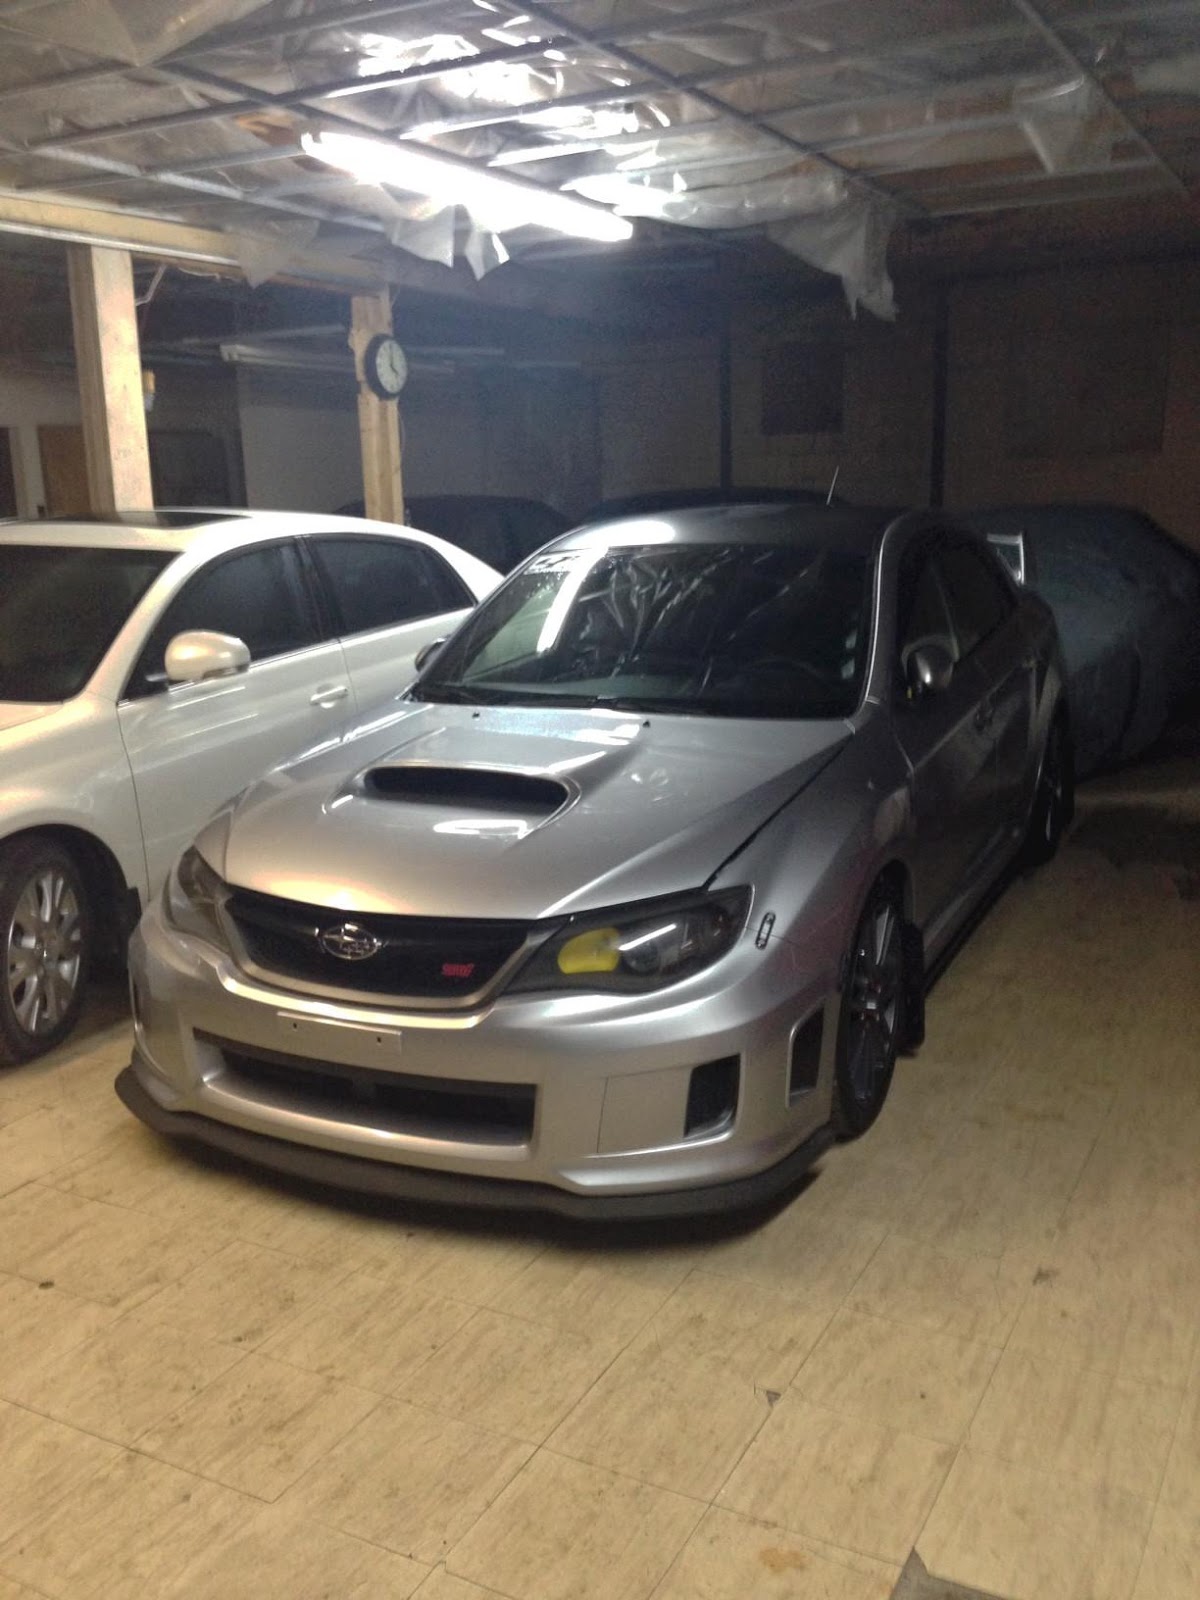
Some pics I took with my cell before I put her away.


and when I put her away..
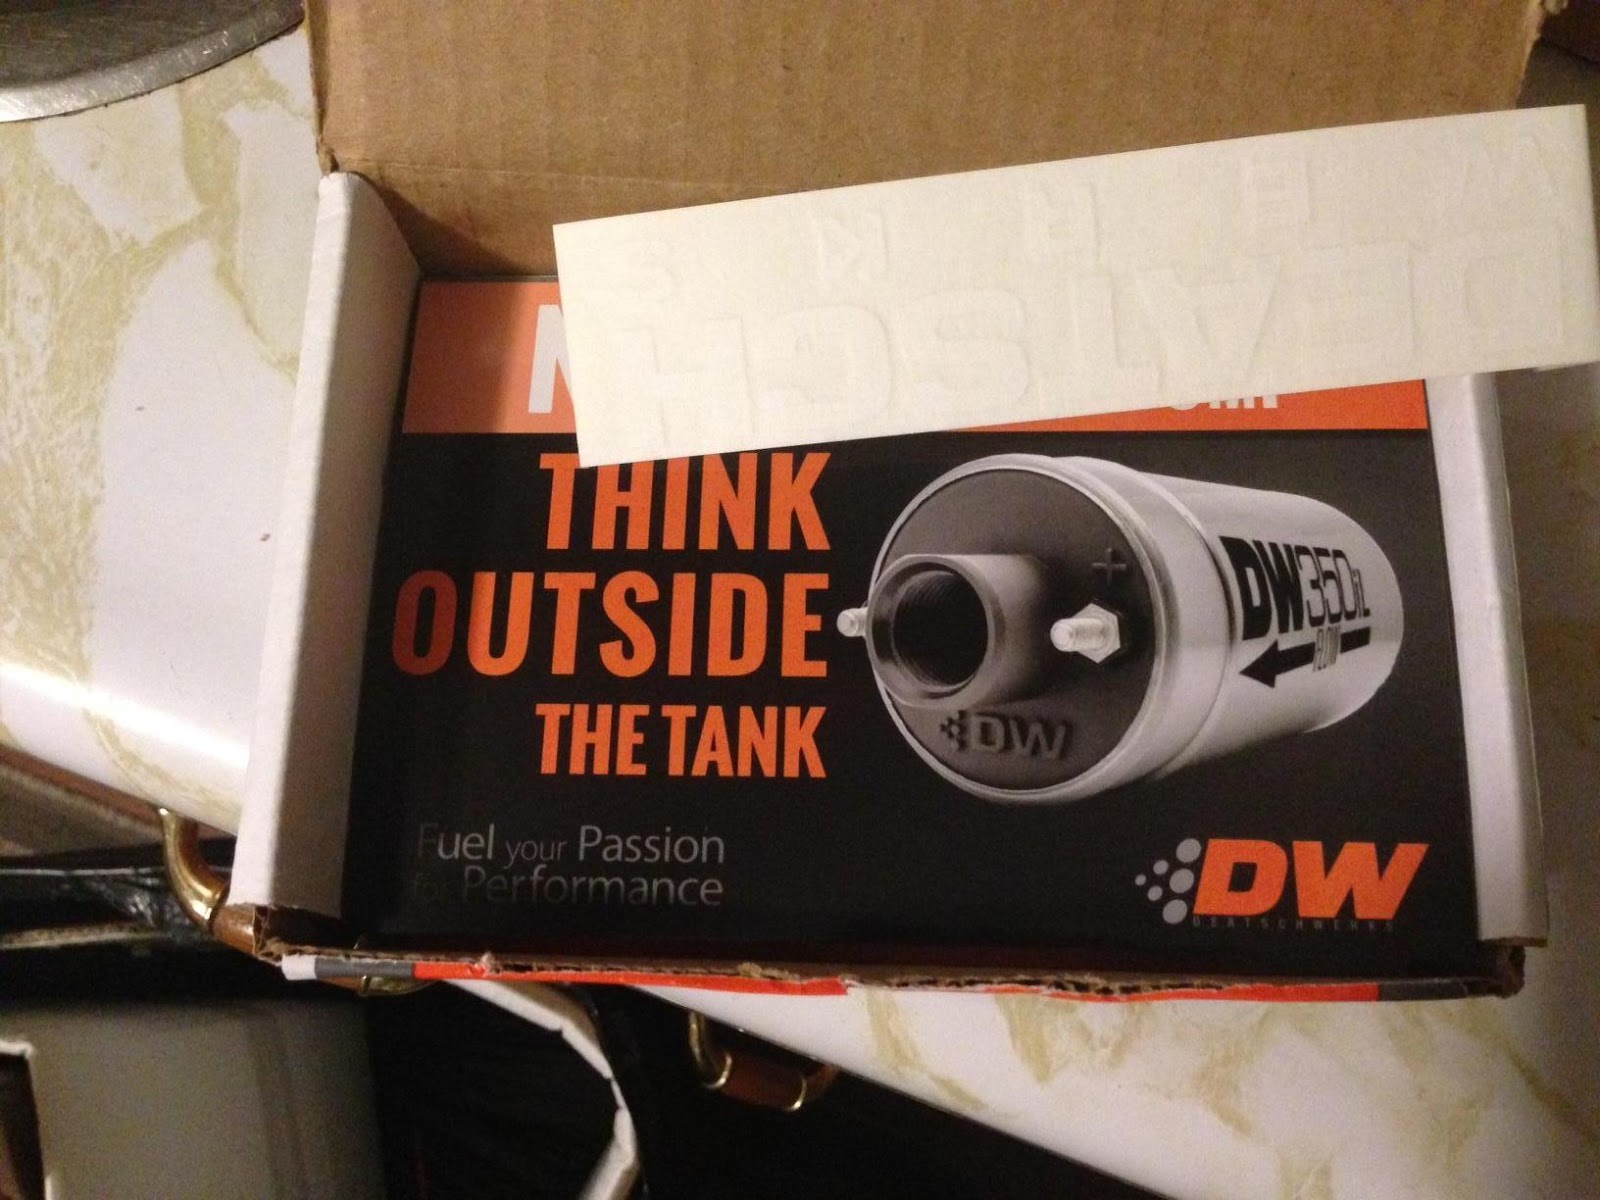
Then I order Deatschwerks 1000cc injectors with the EV14 cores.
Unwrapping it. Rallysport does excellent wrapping and fills the box with paper lol
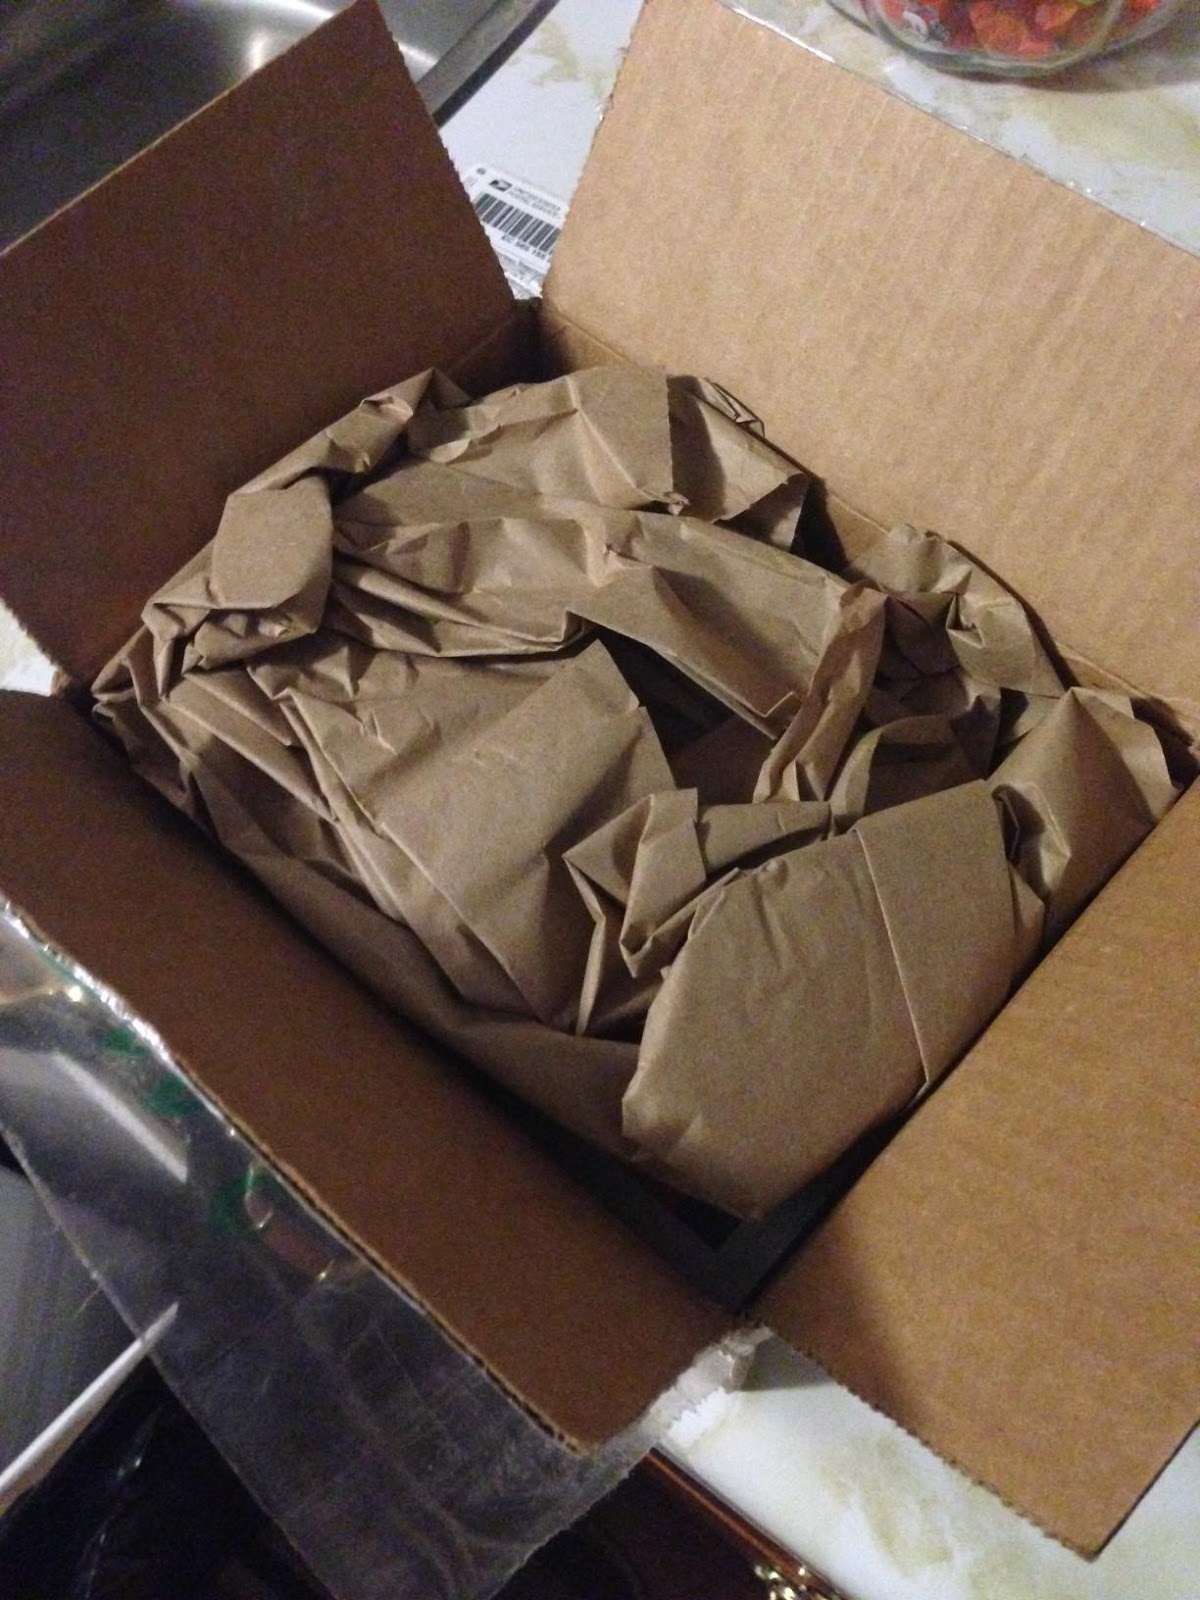
In the pretty box
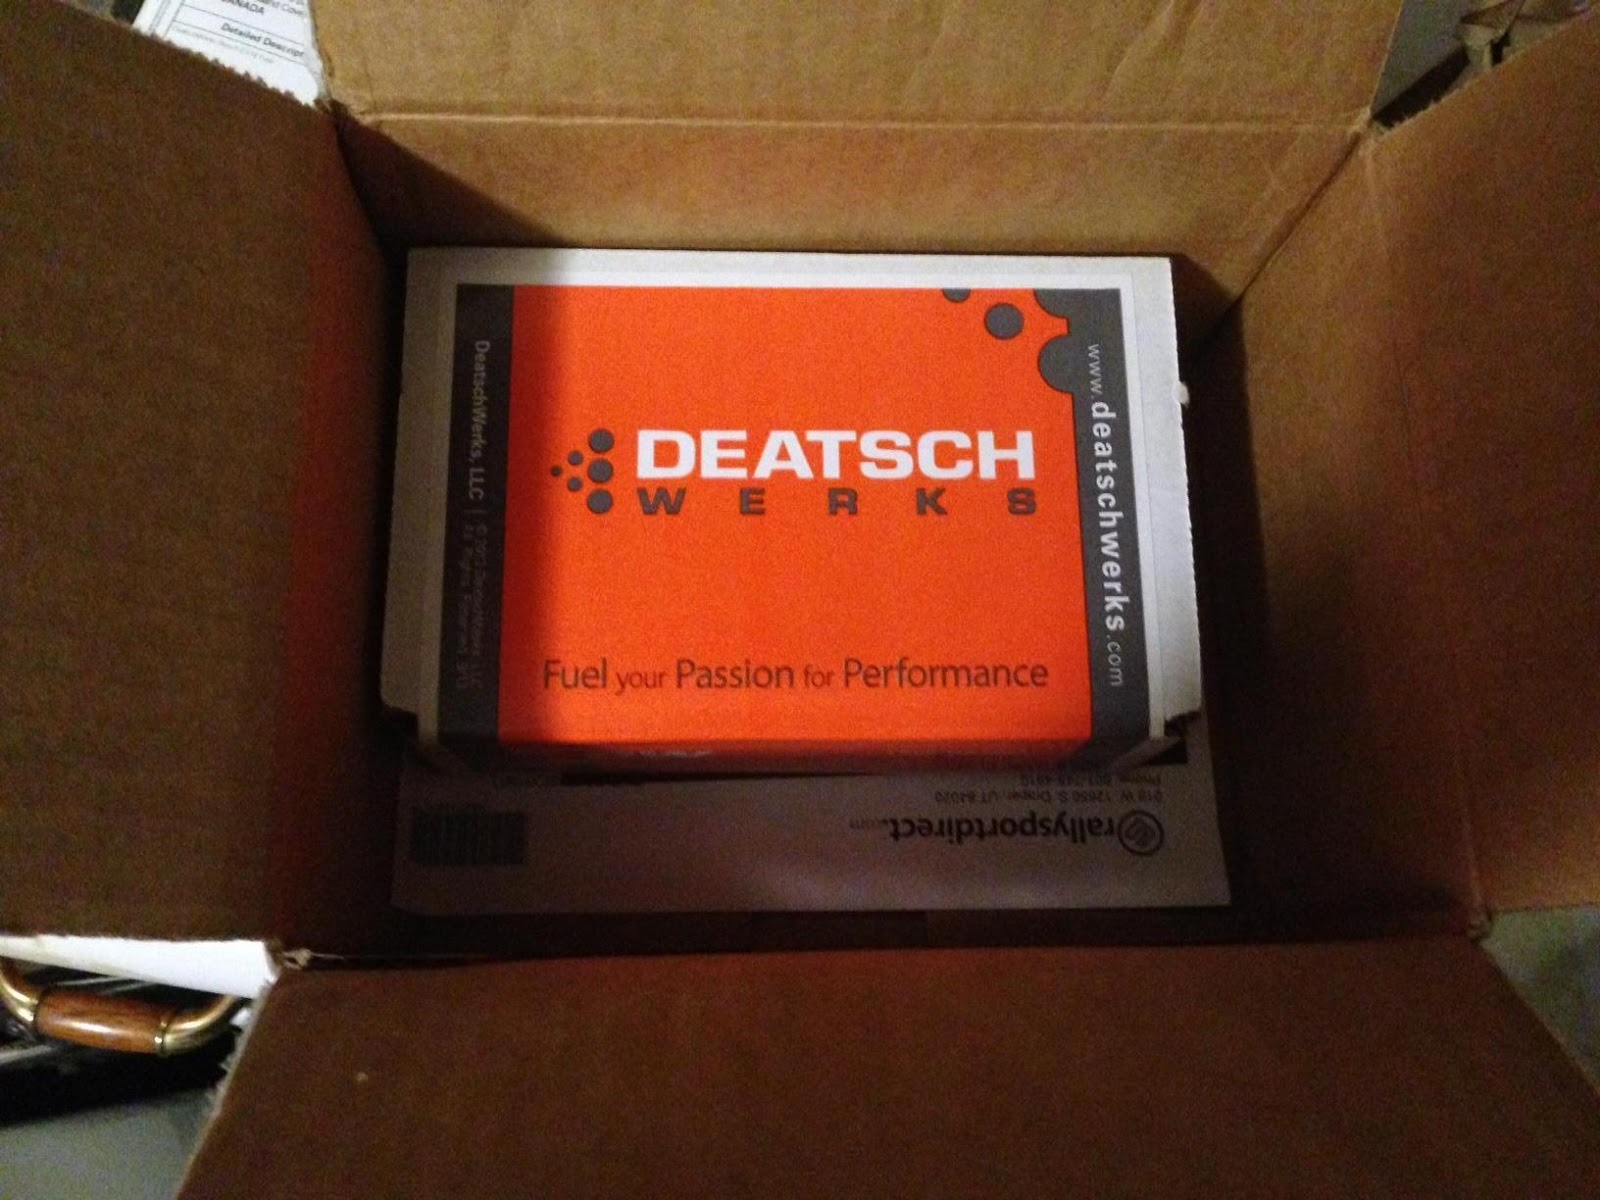
Deatschwerks advertising their in tank fuel pumps. No need ![]() already have one lol
already have one lol
Forgot all about this forum for returning stock/oem injectors for cash. Awesome!

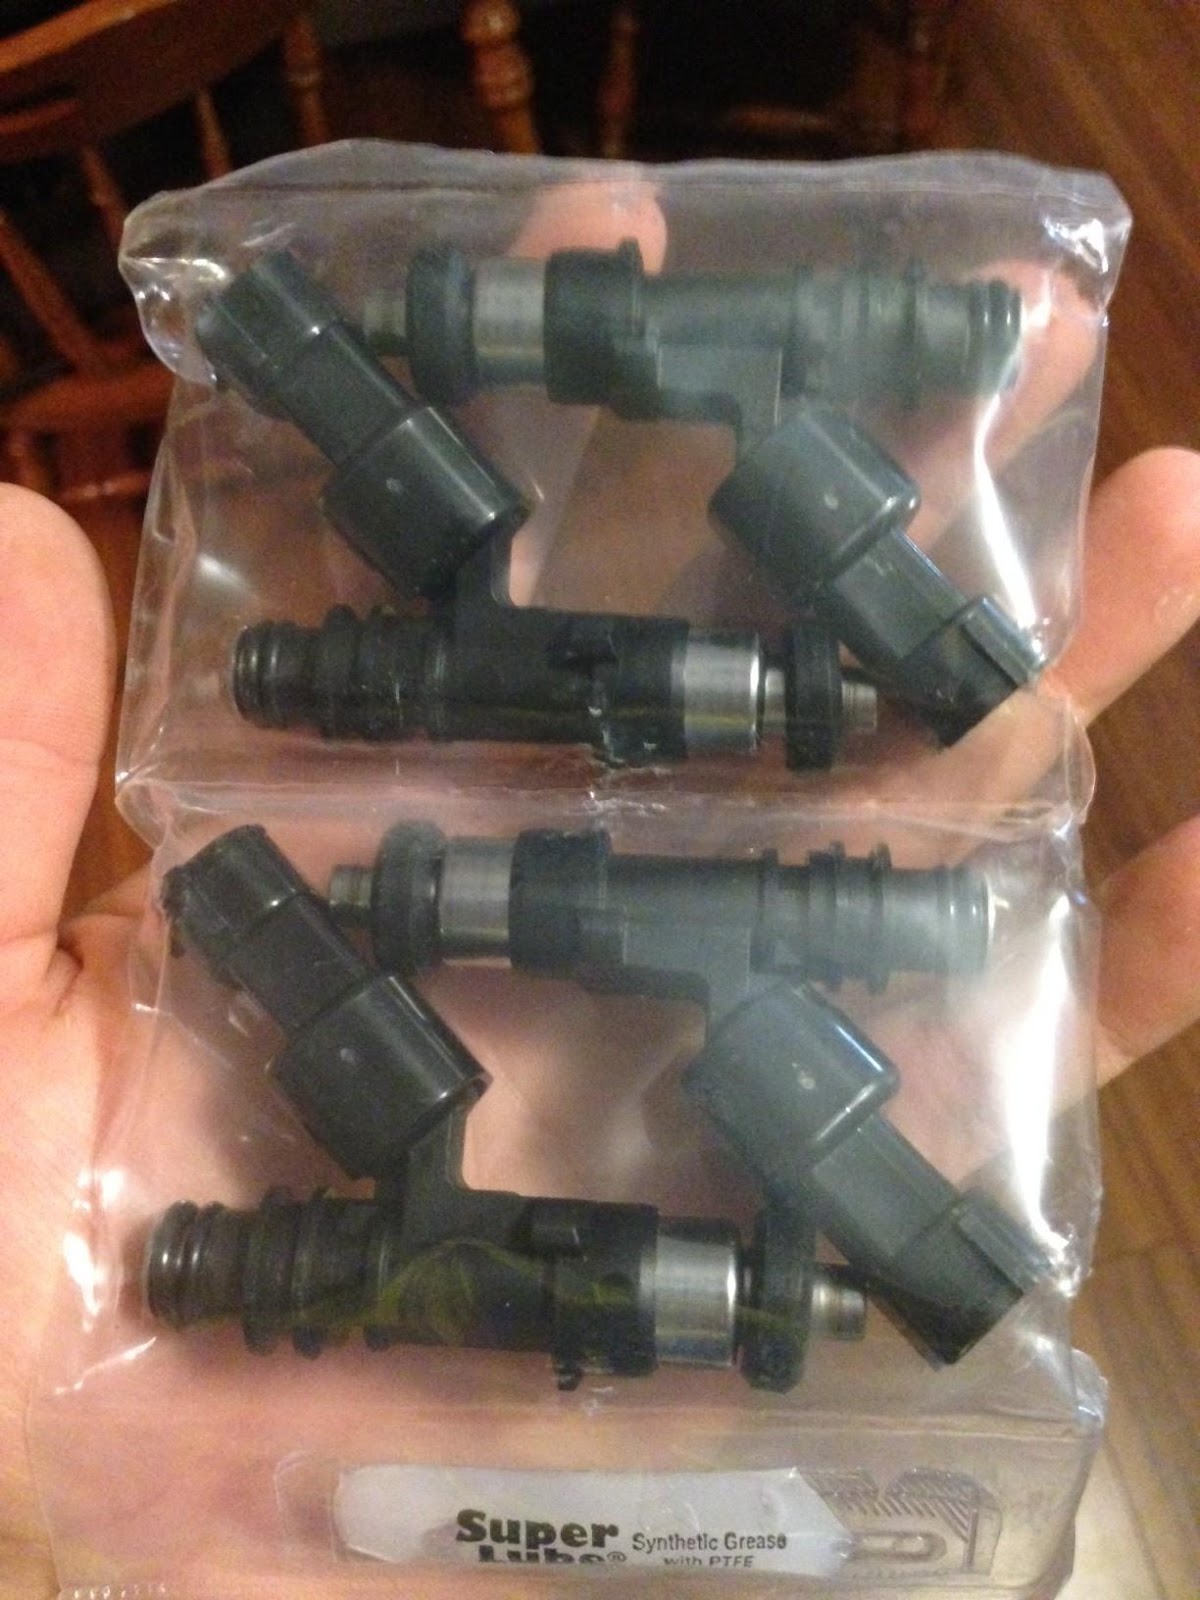
And the injectors with the Bosch core and adapters included.
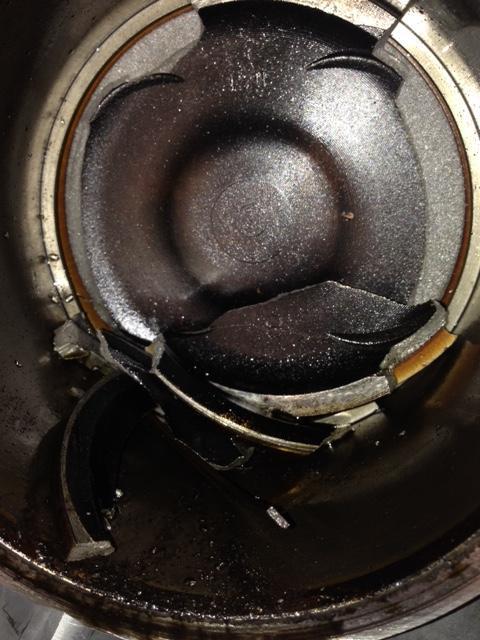
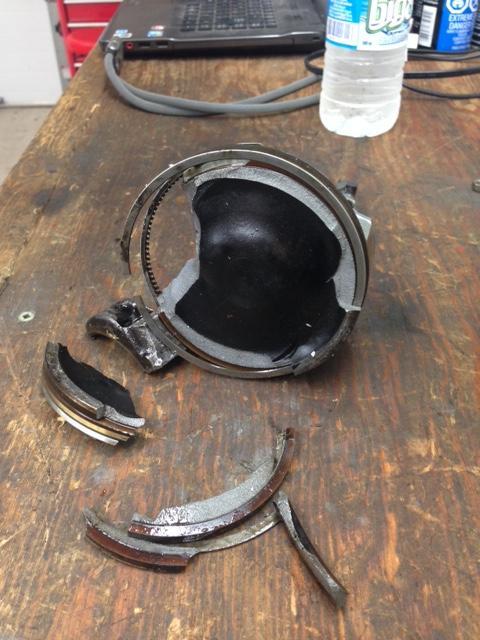
This was an engine my tuner was working on. I've never seen an engine blow so bad! She had a fully supported 20g setup. Brand new short block from subaru but it wasn't built in any way. Only thing we can figure is the bearing seized cause the rod to extremely heat up and let go.
Here is the rod up through the block
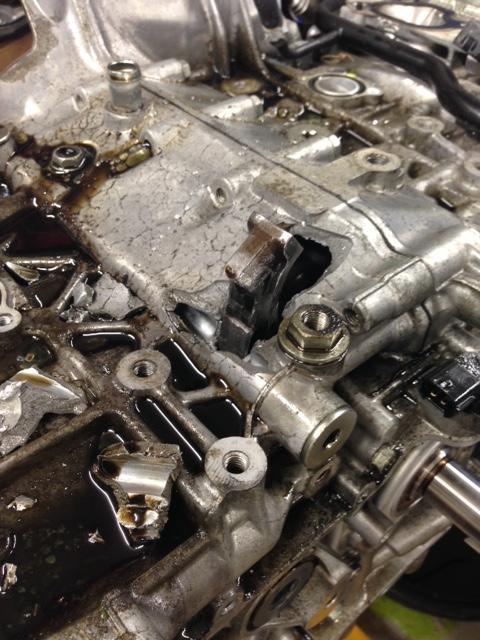
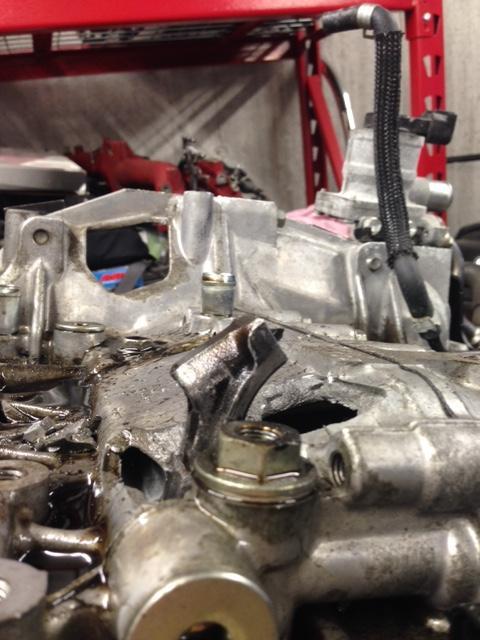
Next is pics of the top of the piston blown into about 8 big pieces and a lot of other small ones lol
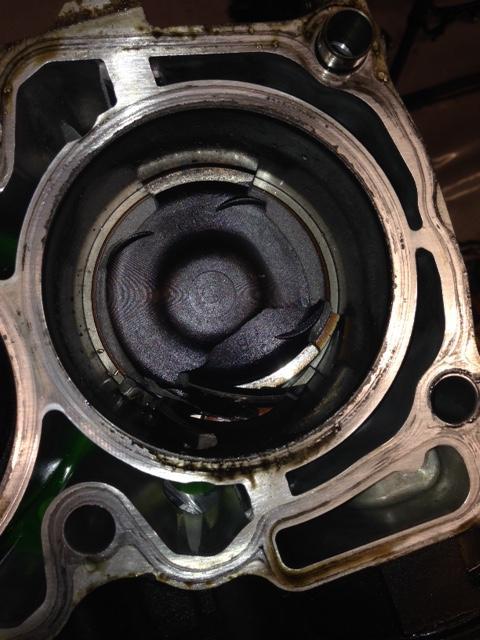
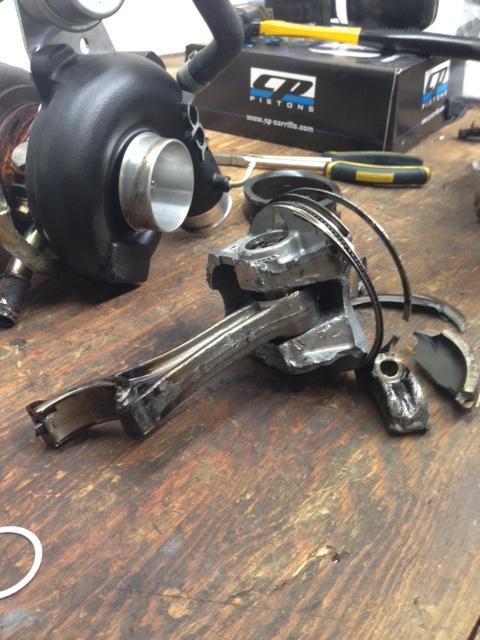
You can see the rod right up though the piston when we removed some of the pieces

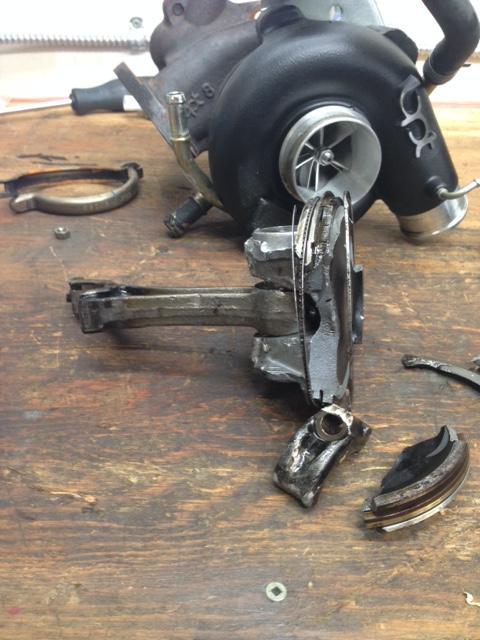
And then we took the piston out. Crazy lol
That's all right now. Prob won't be updated for a while other then to upload some pics of the ewg setup but who knows.
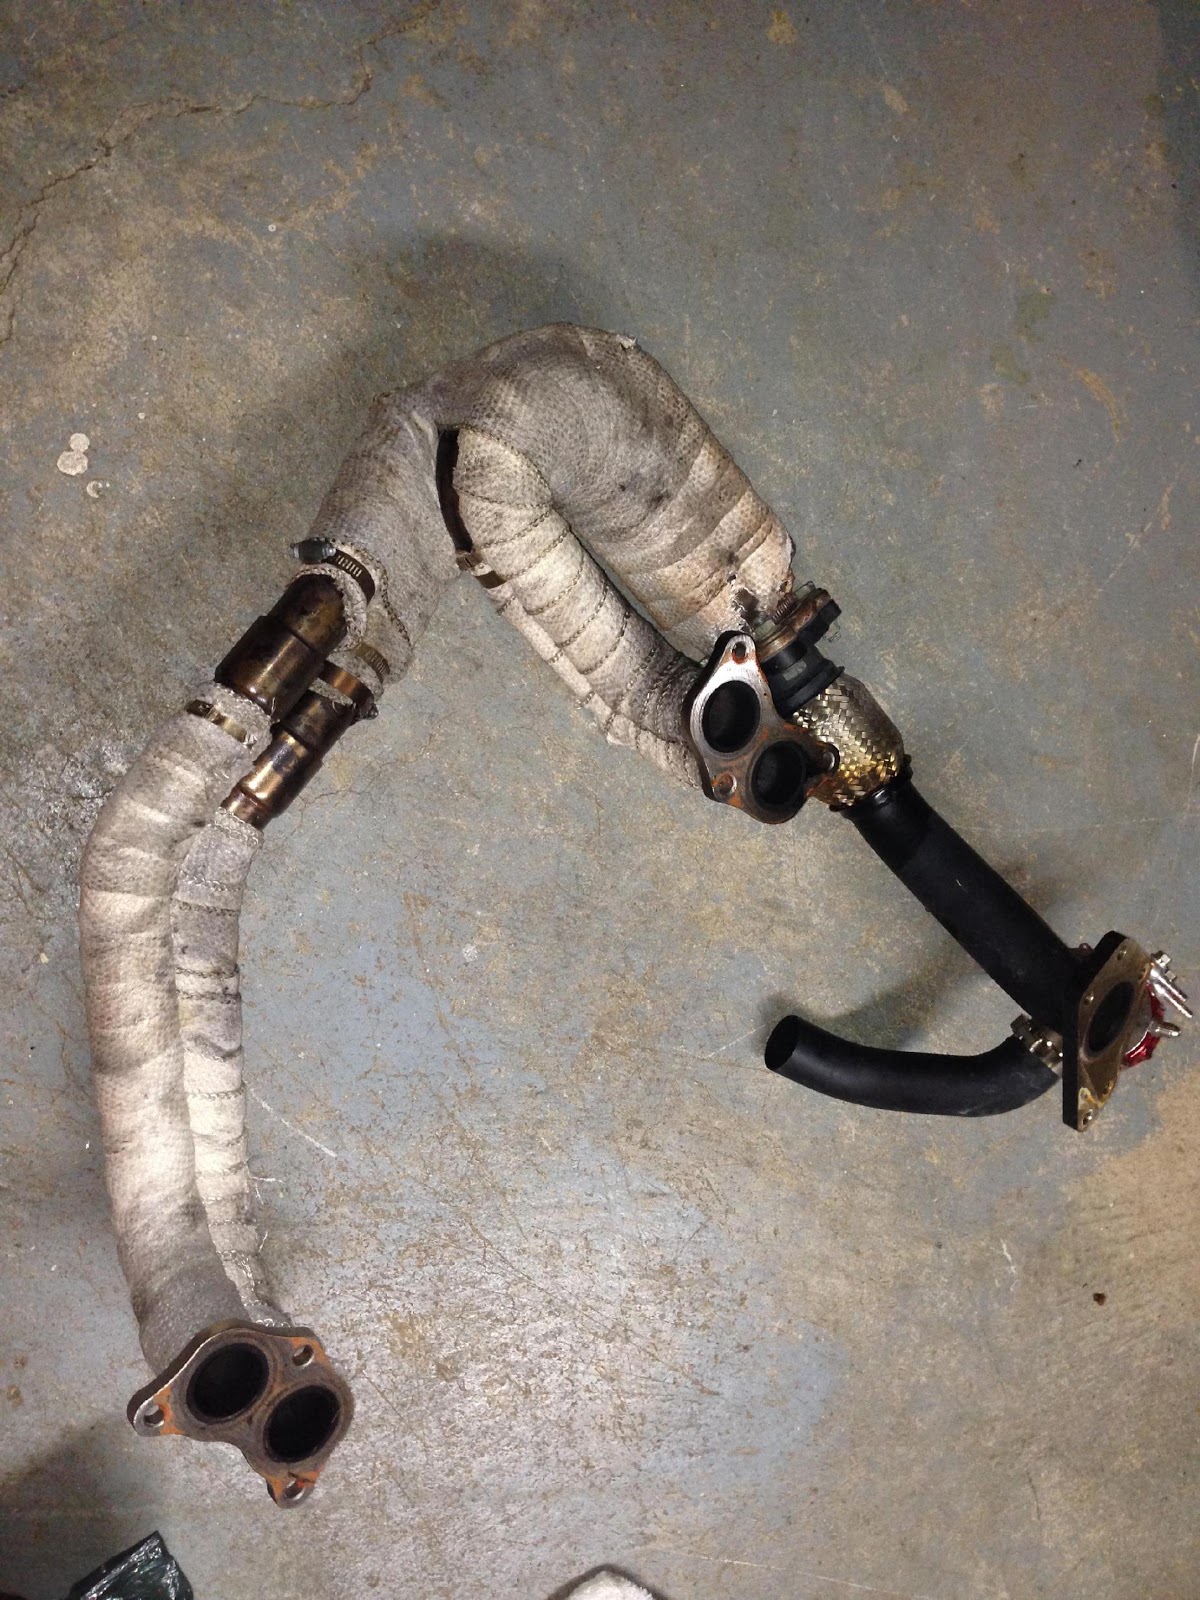
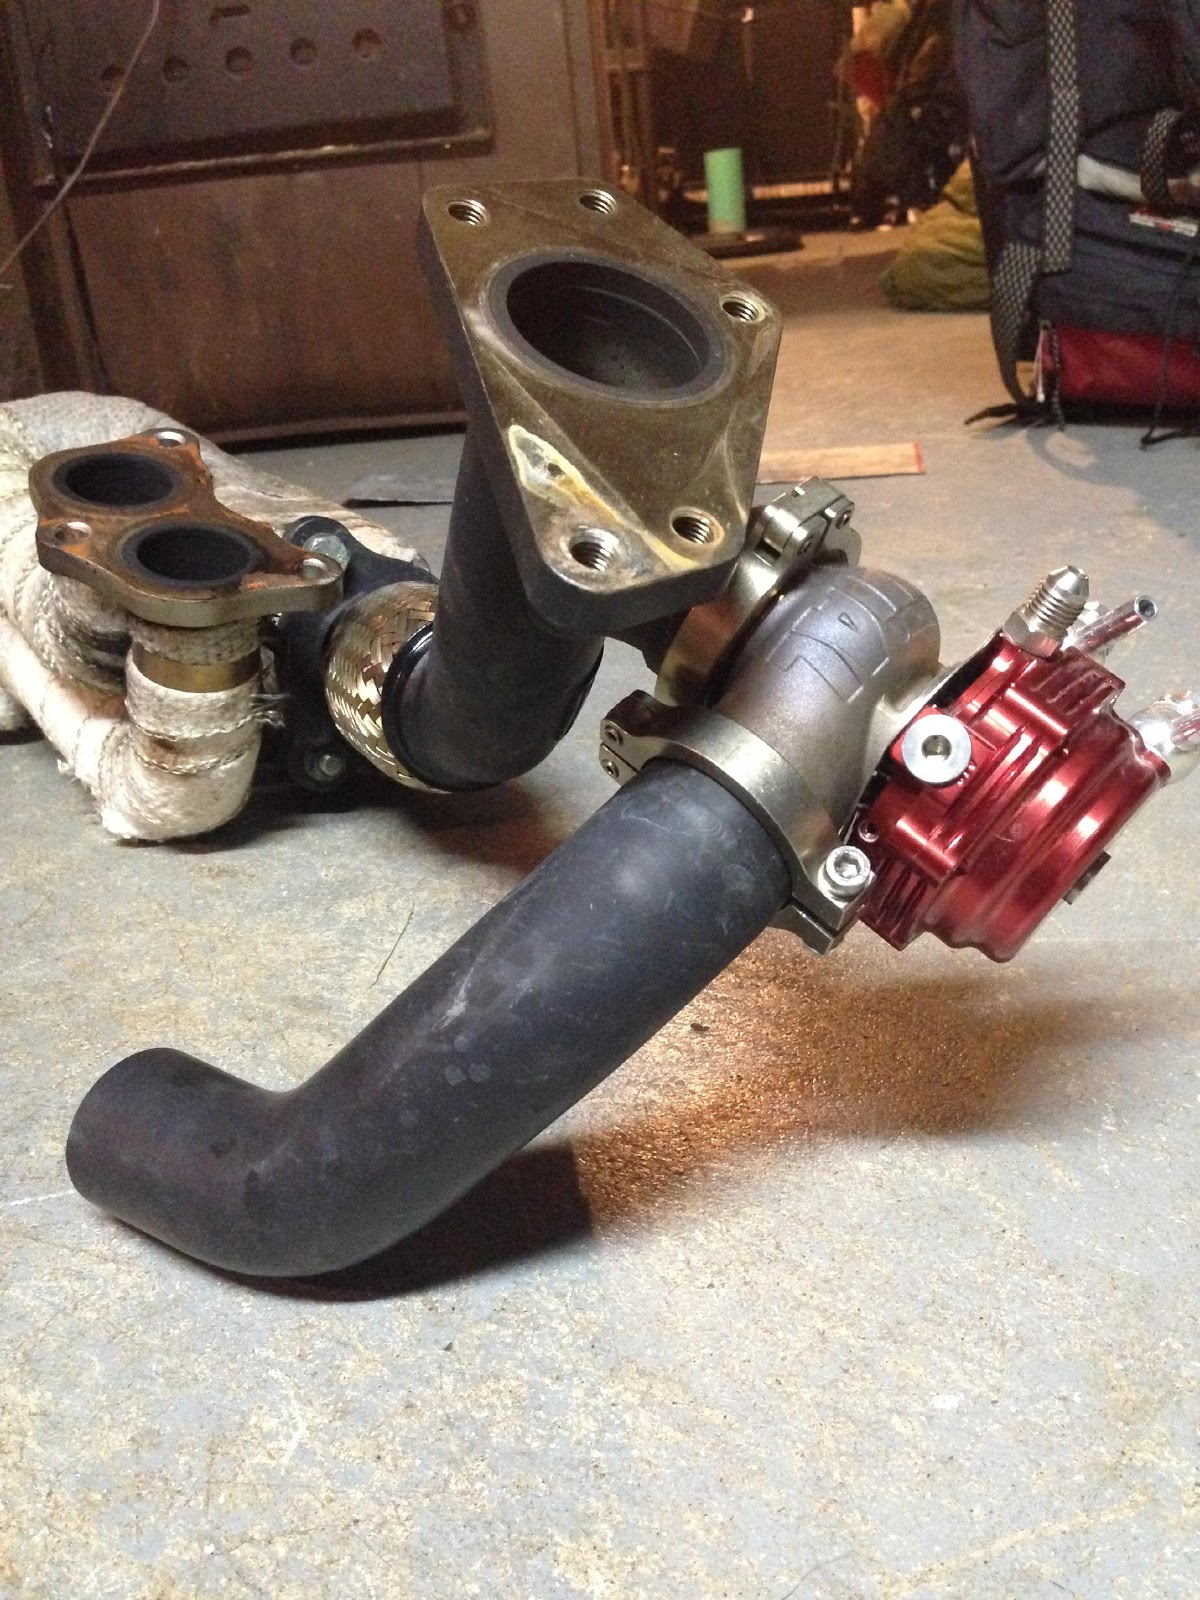
Here is the header and ewg that I picked up from that blown engine above for very cheap lol it was on the car 2 days!
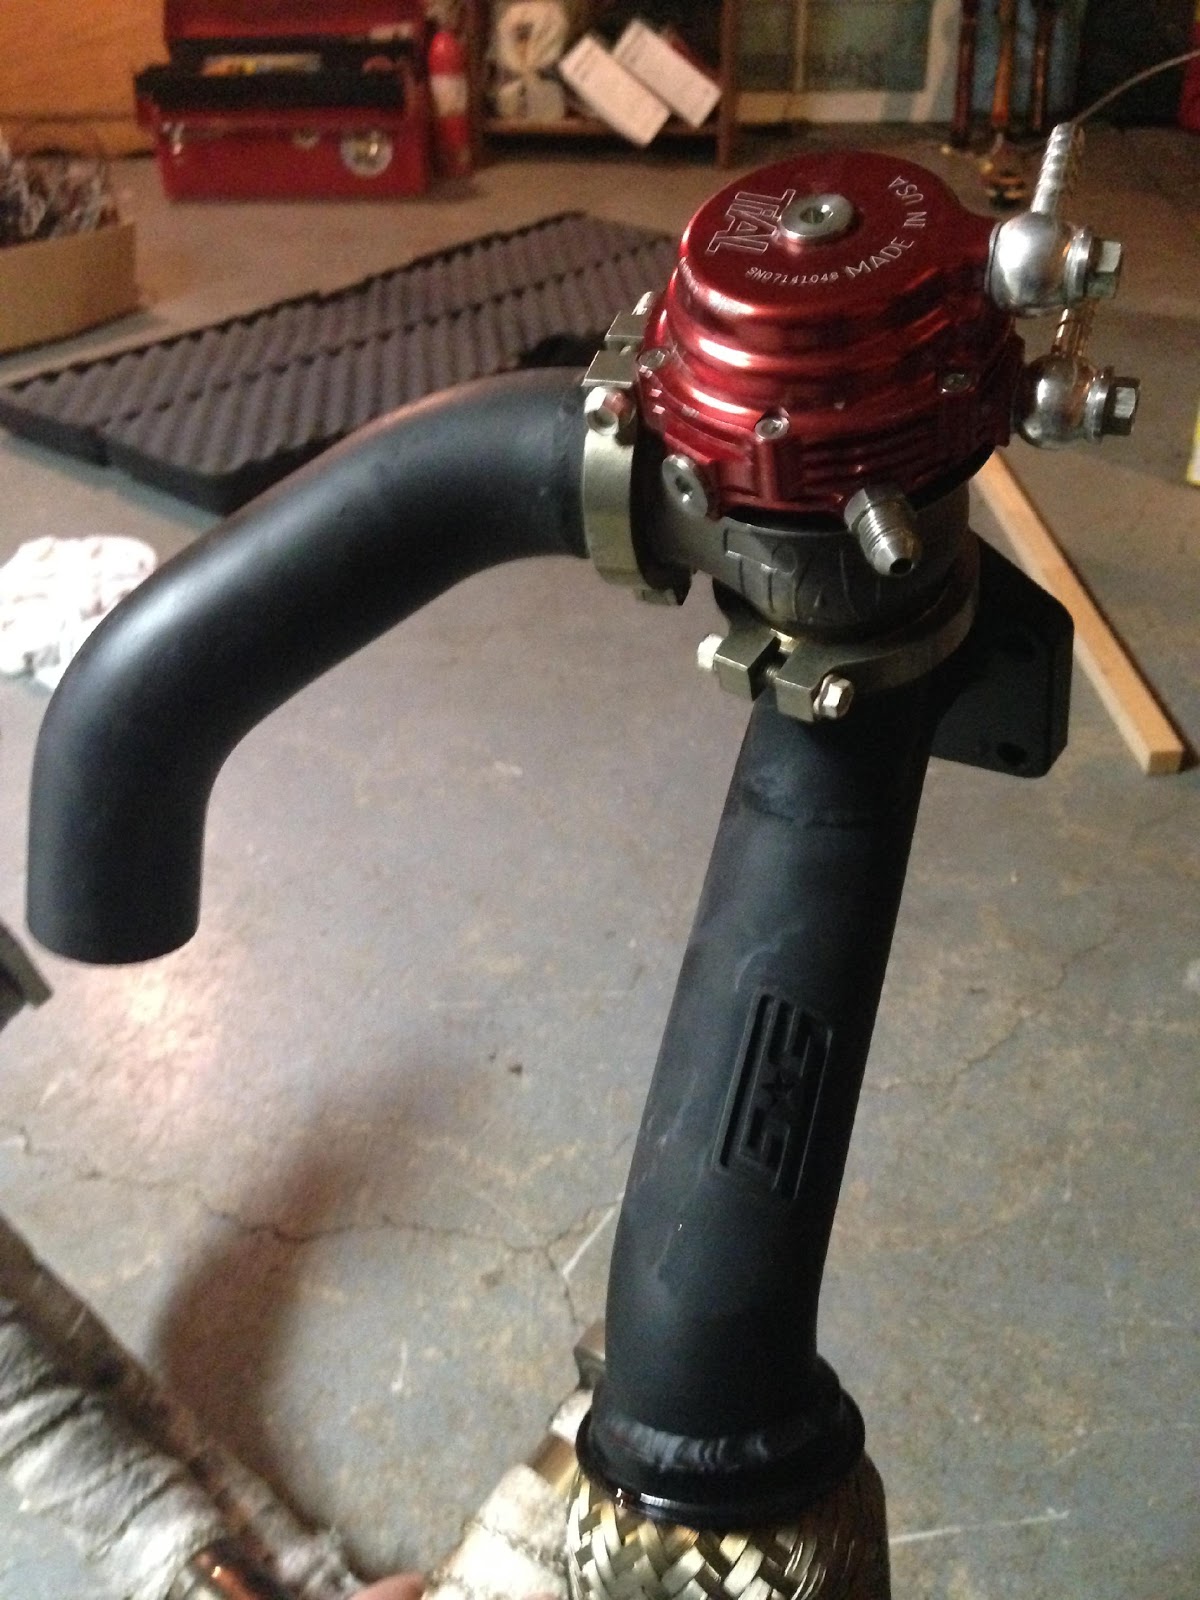
Heres the wrapped header and ewg
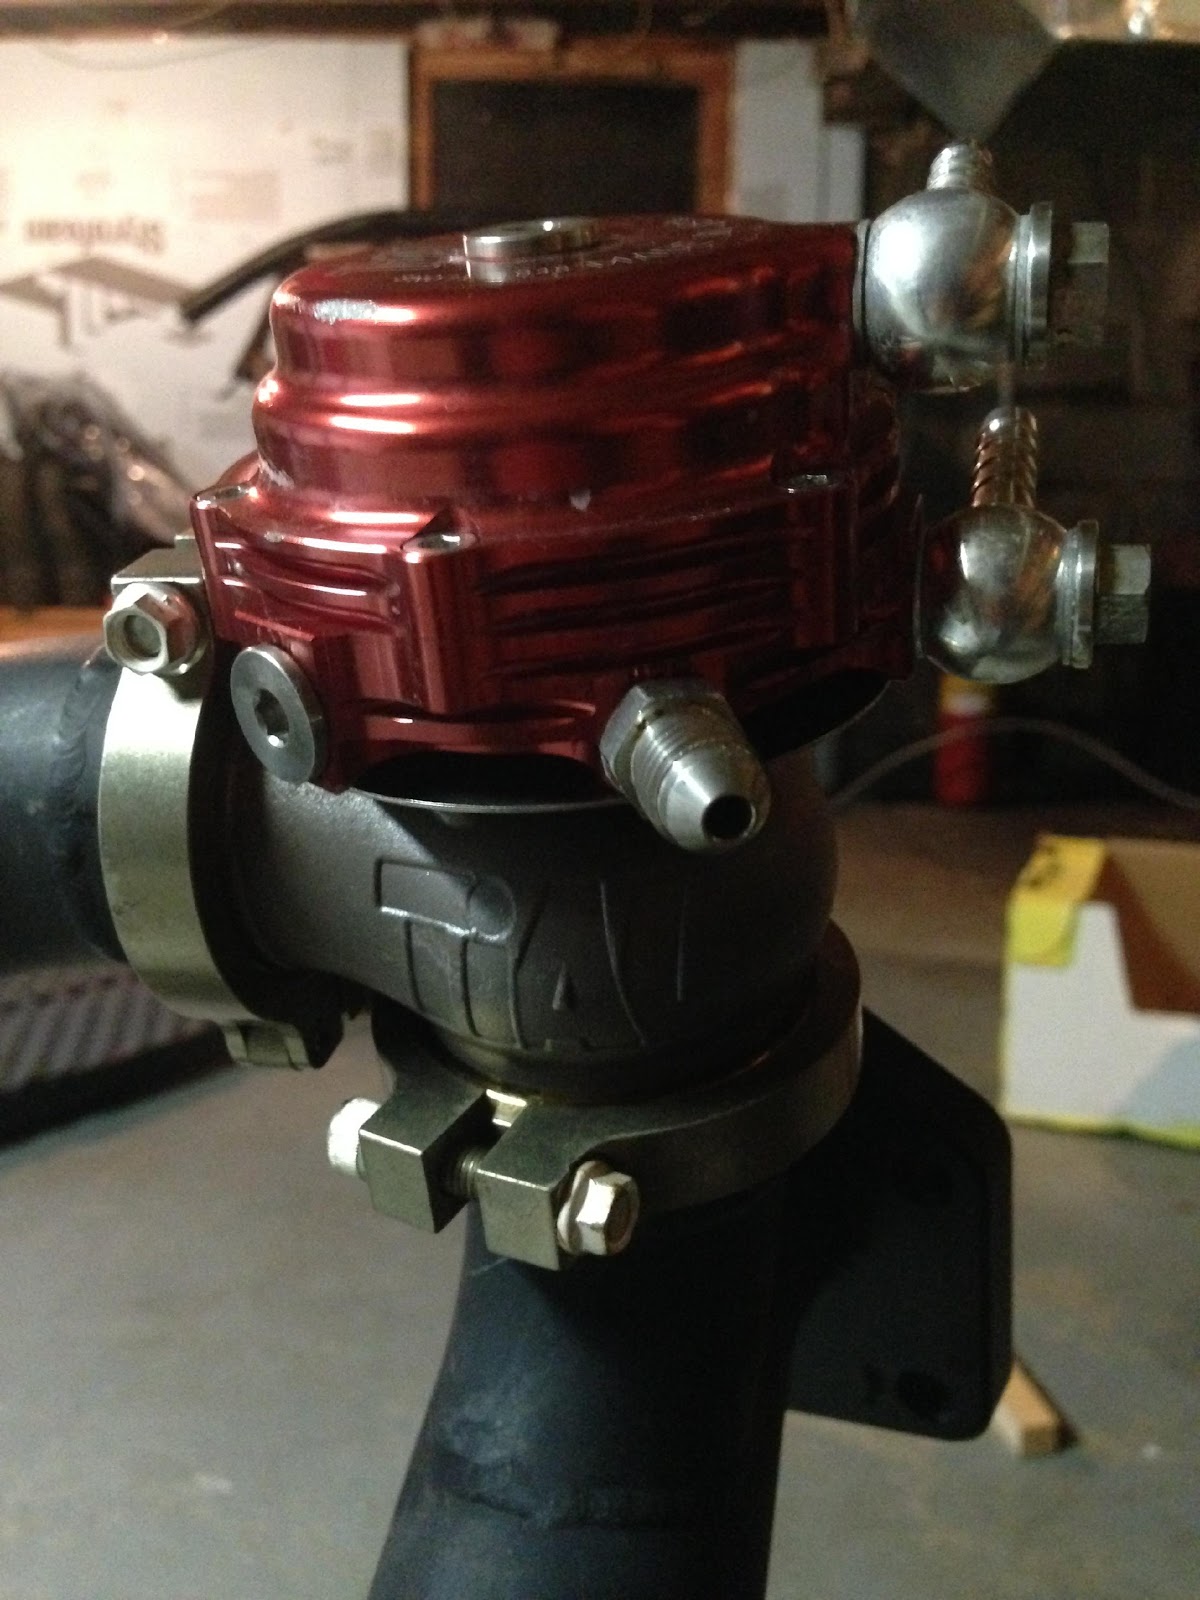
and the Tial EWG. Got a small scuff where it was laid down :/

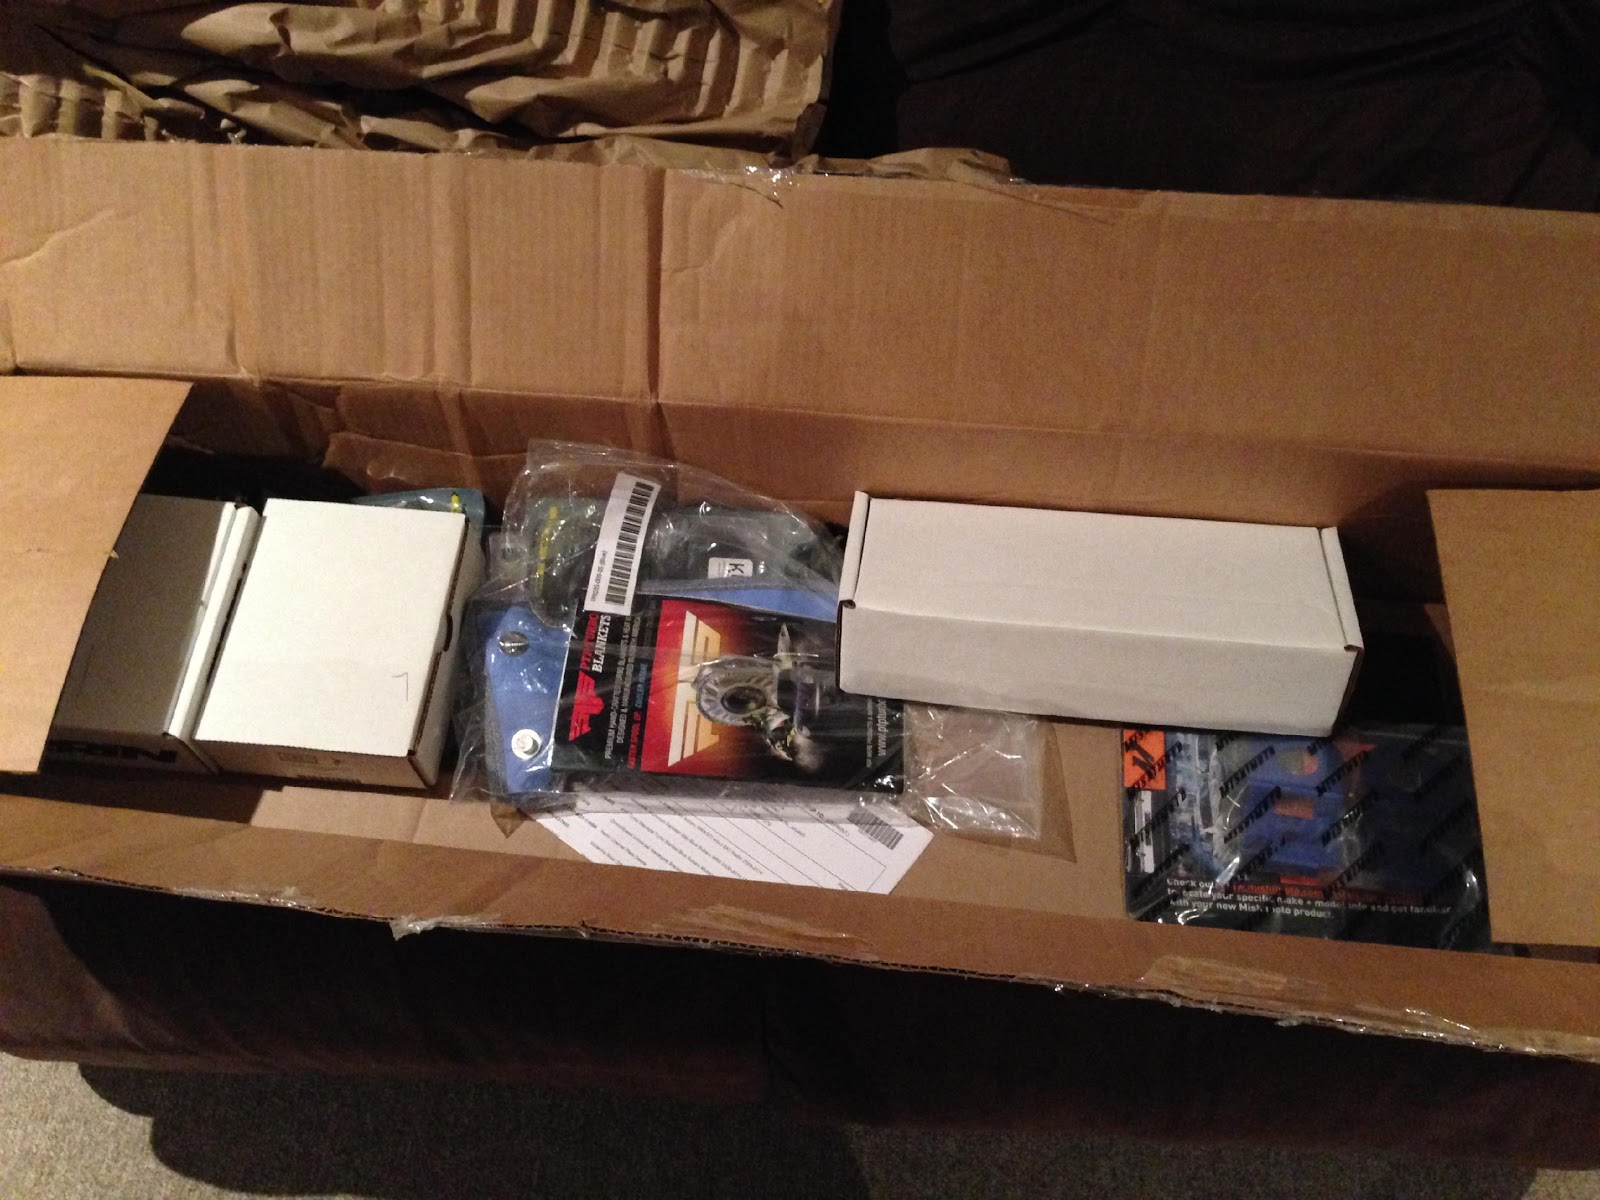
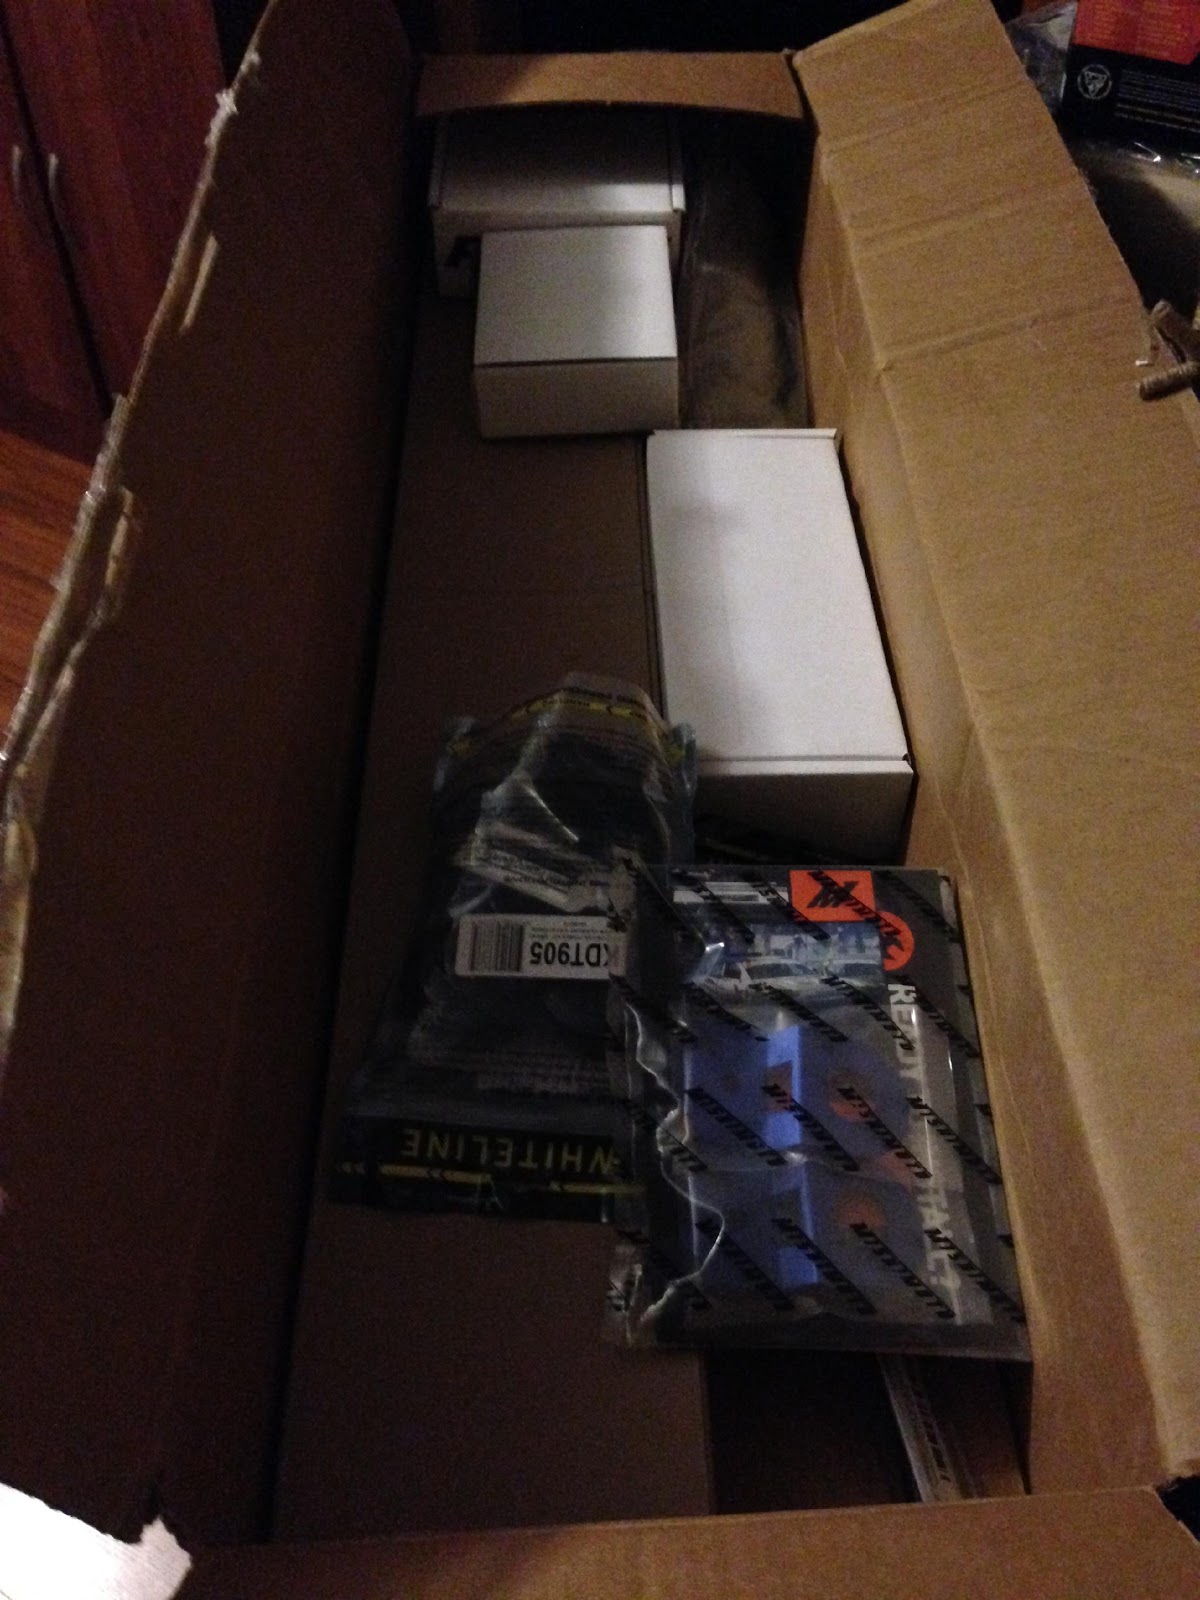
Then I ordered some more goodies to take advantage of the Black Friday Sale
Here is the box with everything neatly packed by Rallysportdirect
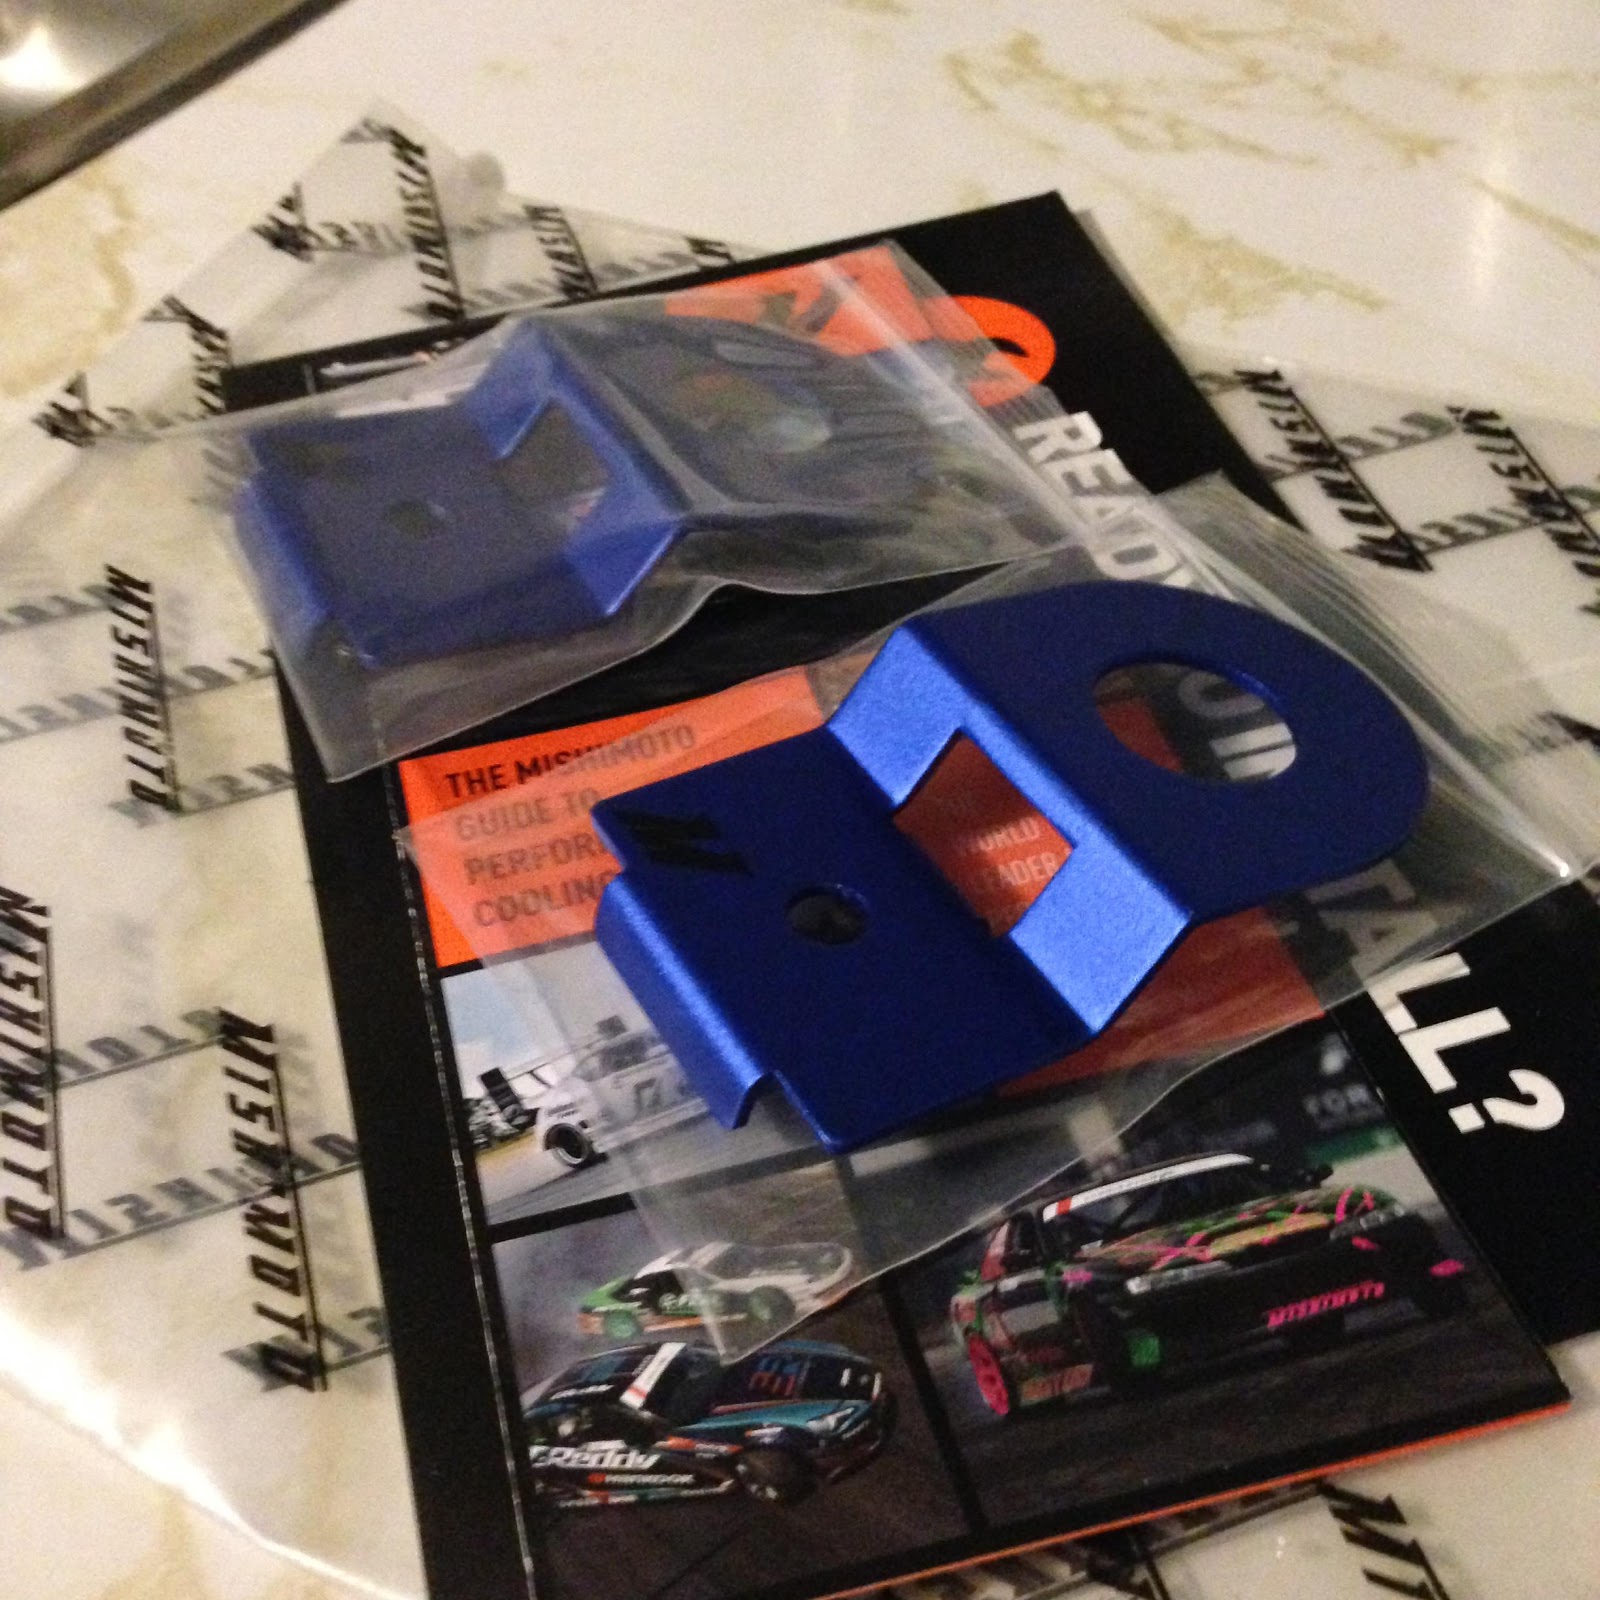
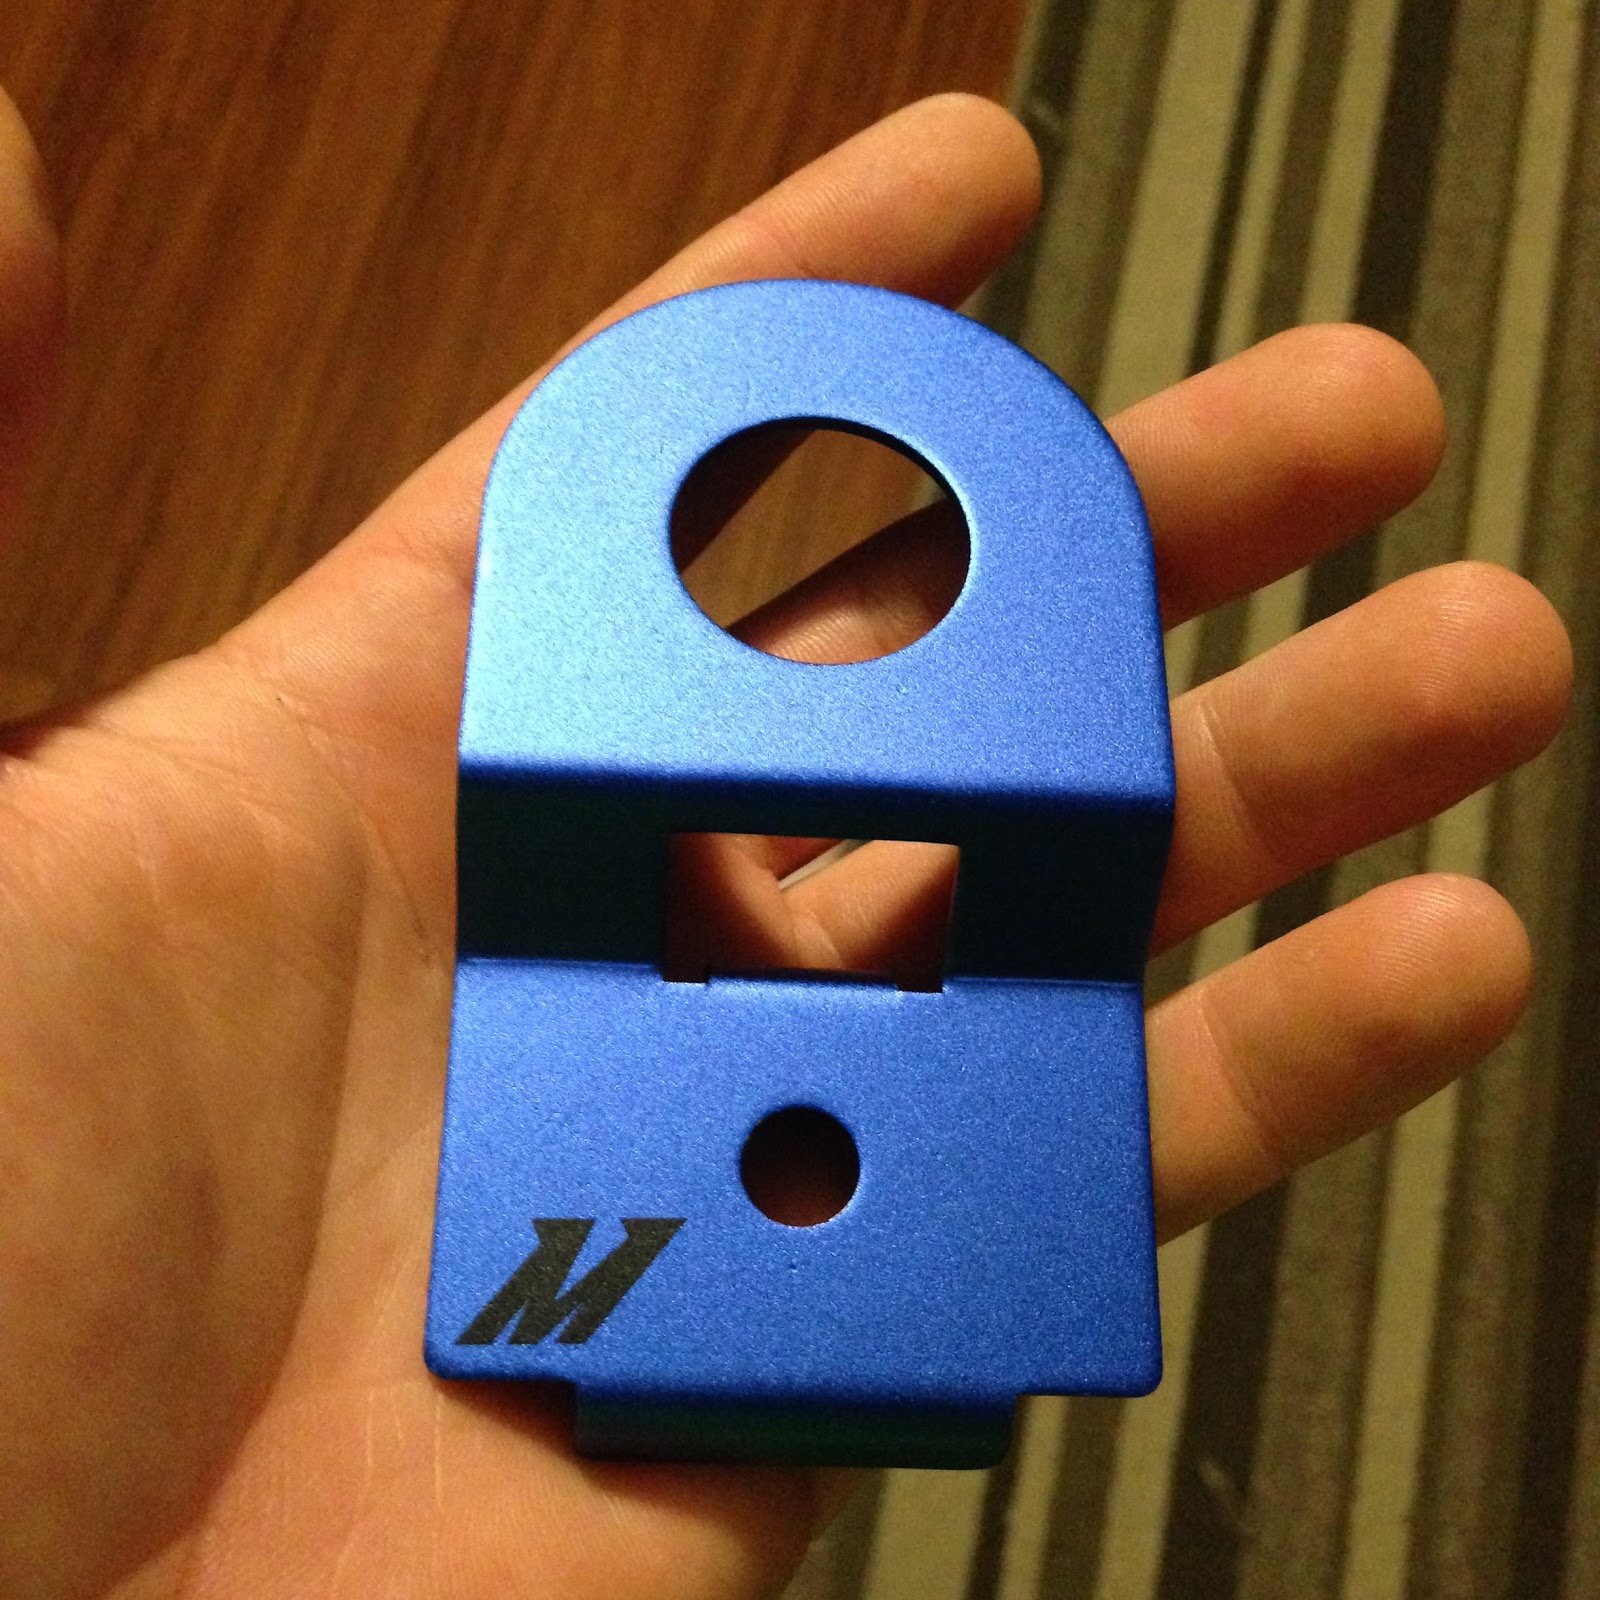
First up is the Mishimoto Rad Stays I ordered.
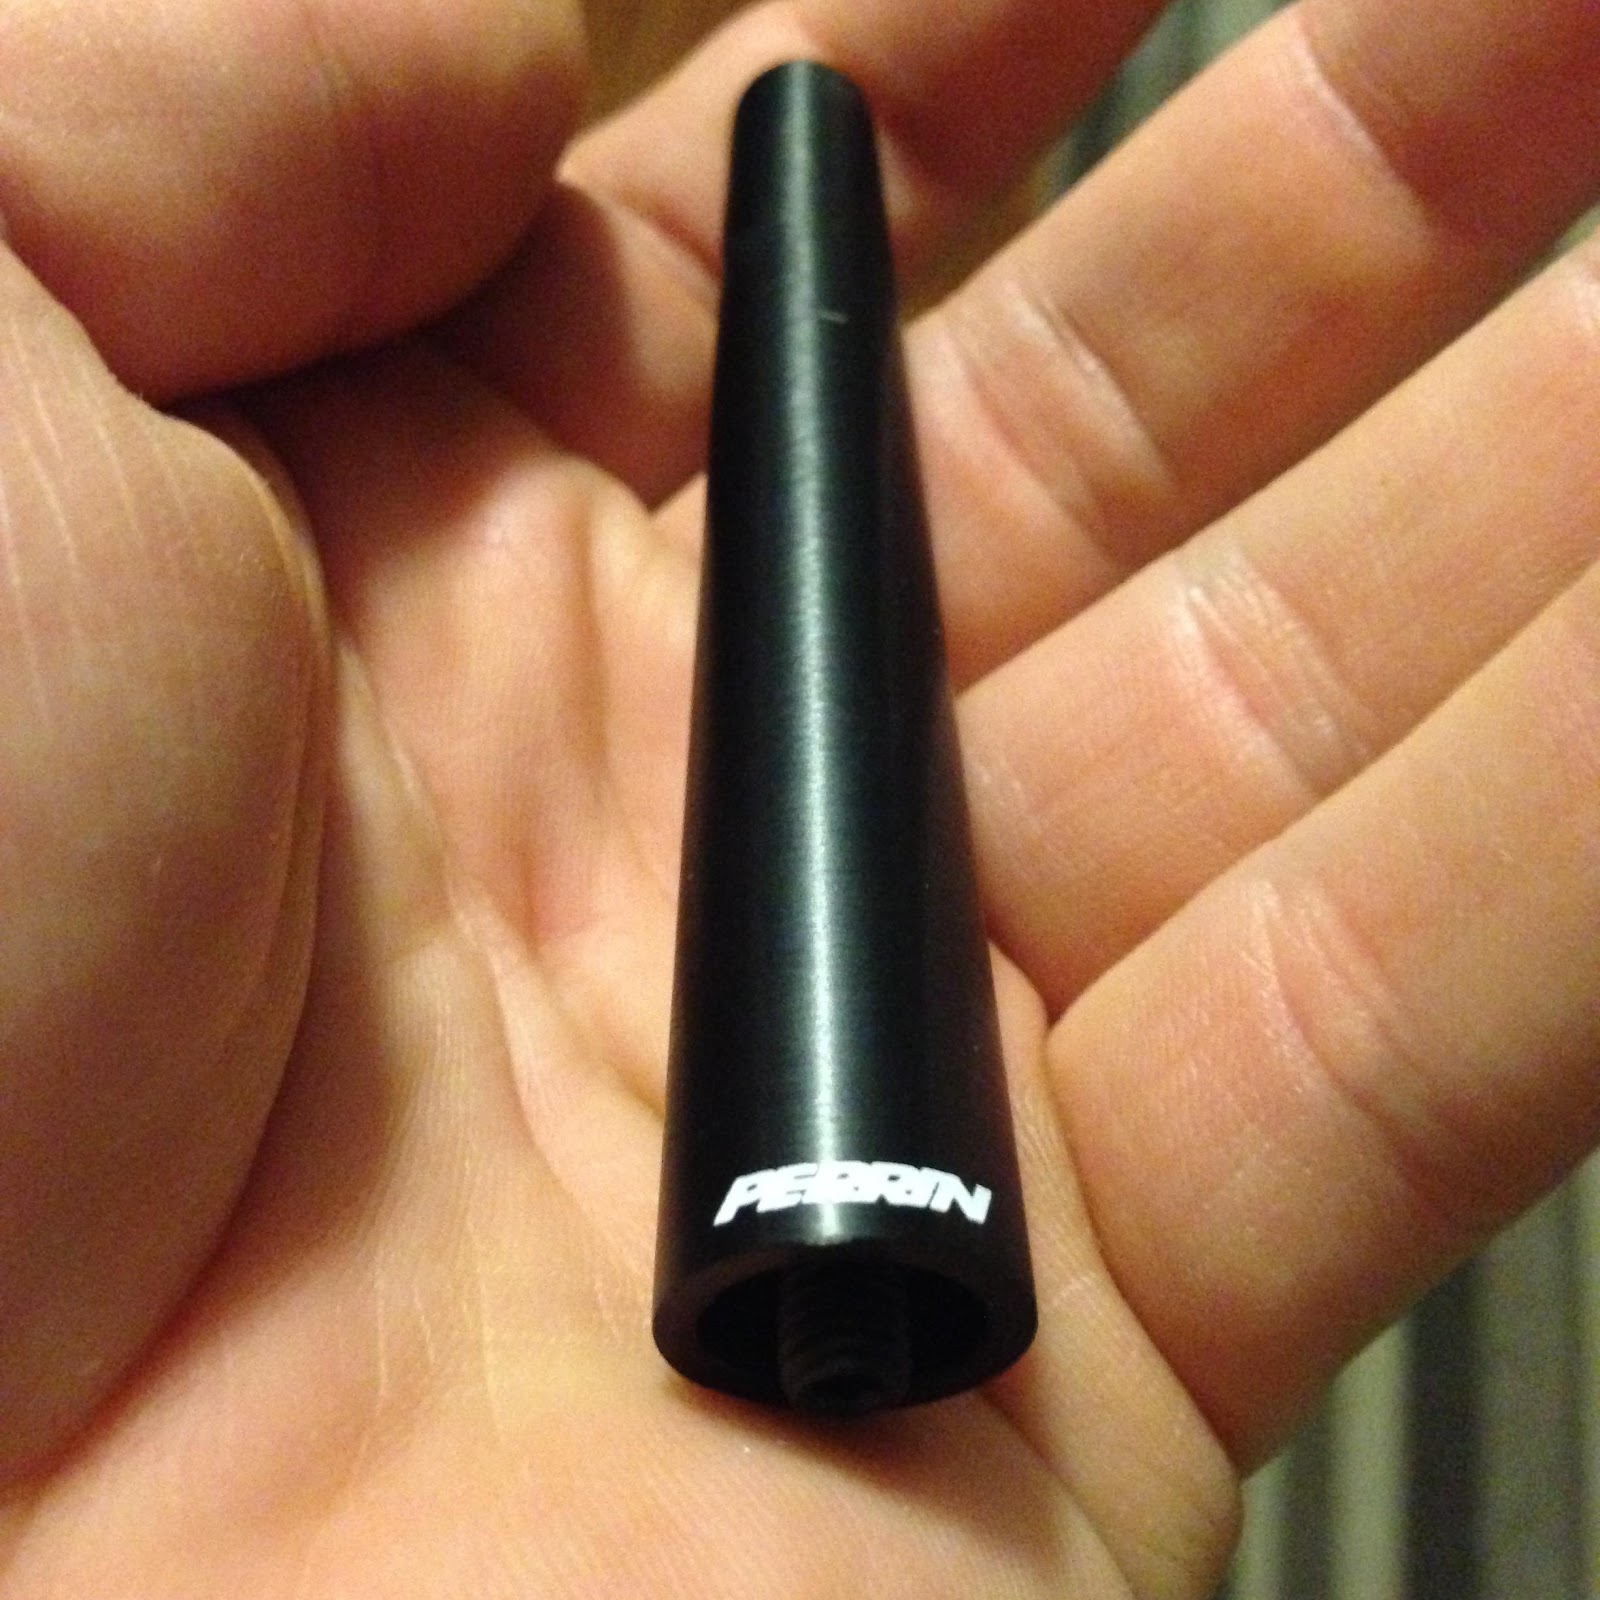
The Perrin shorty antenna. Prob wont even notice there is an antenna on it now hah so small
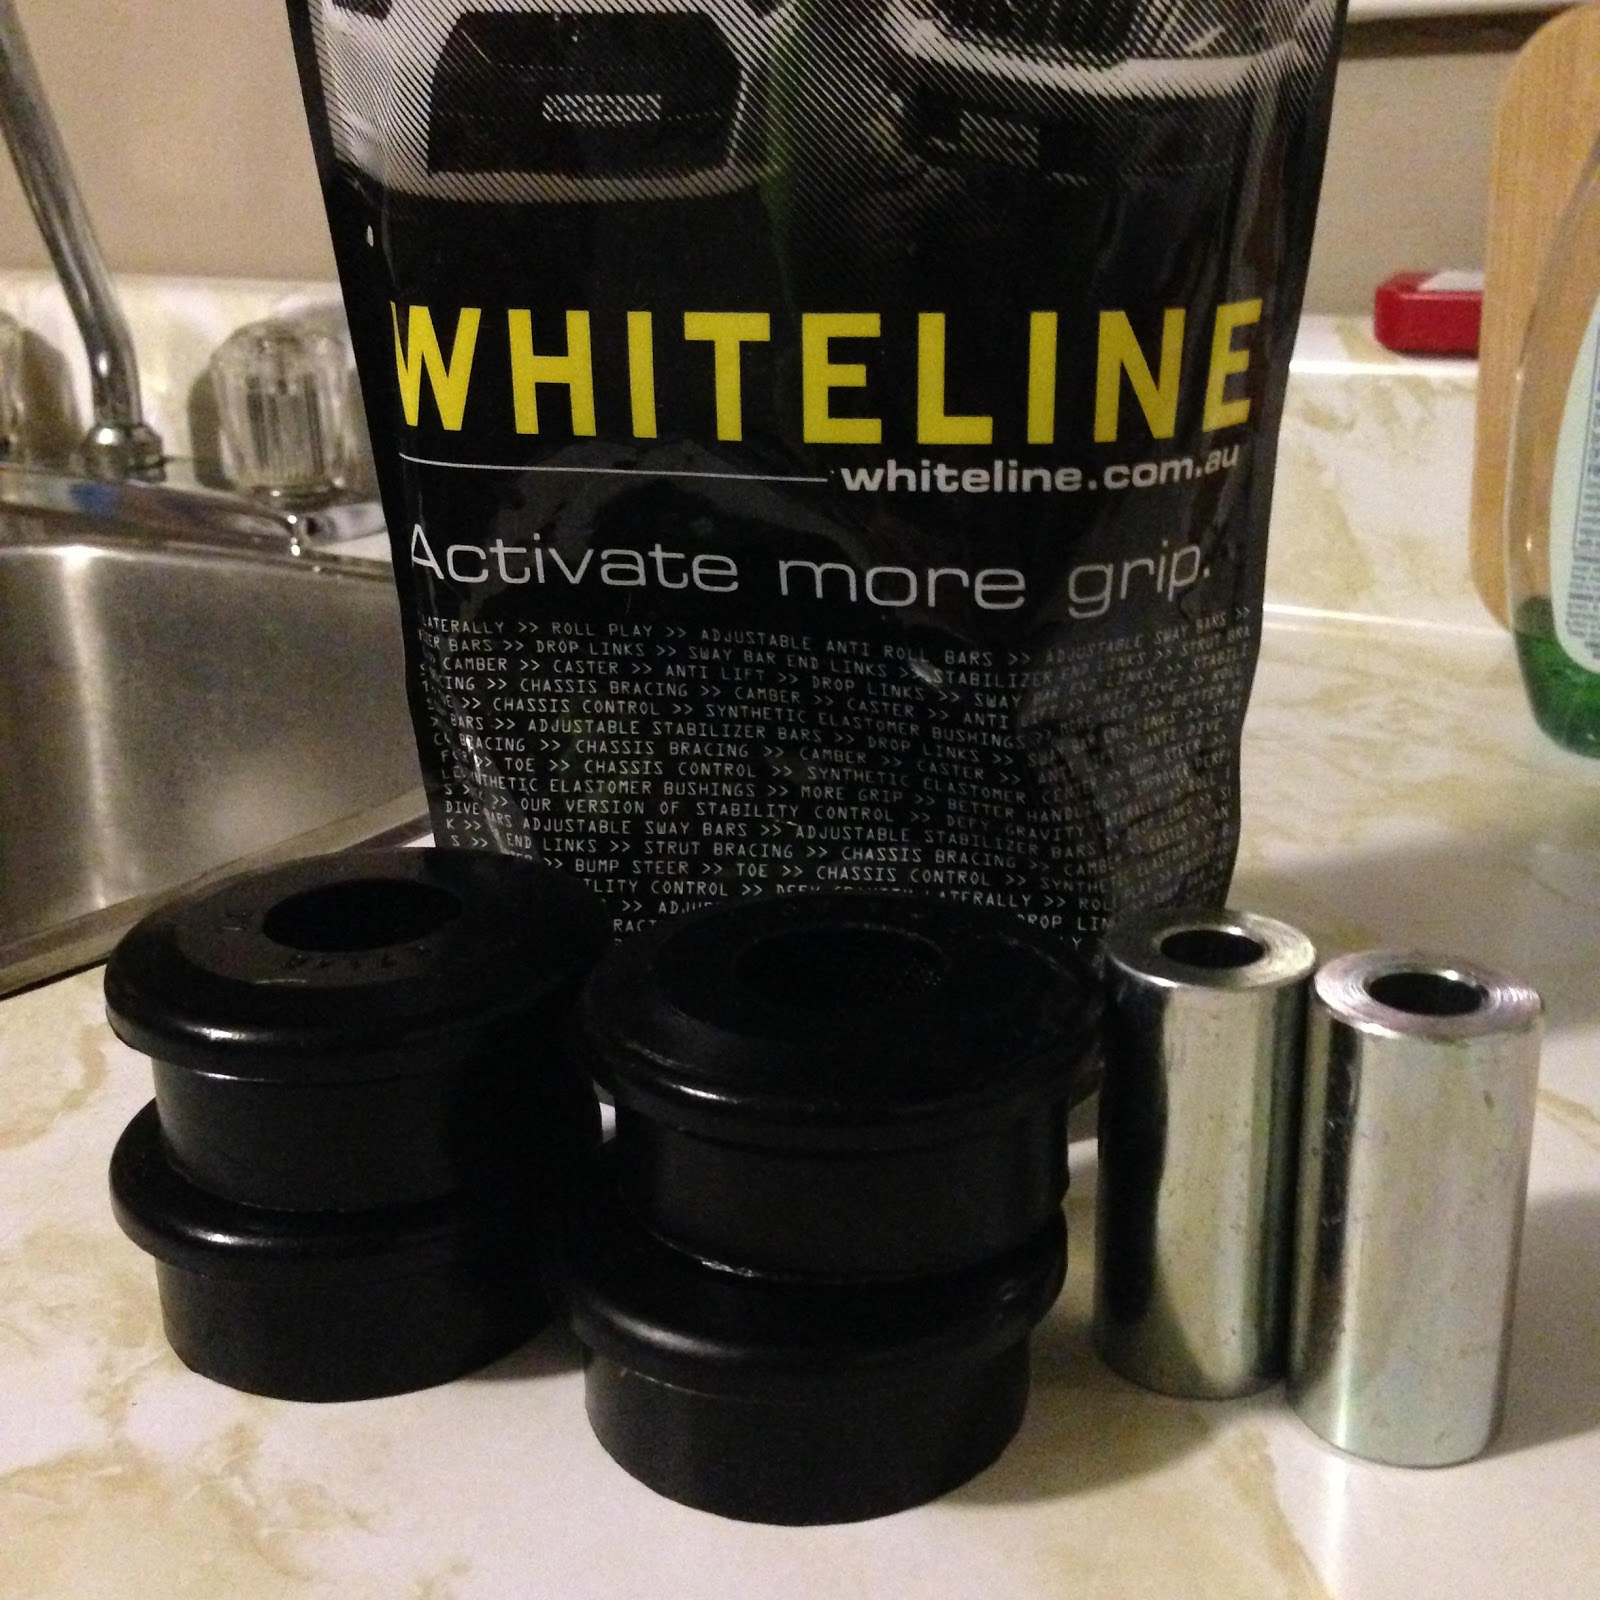
My Whiteline Steering Rack Bushings
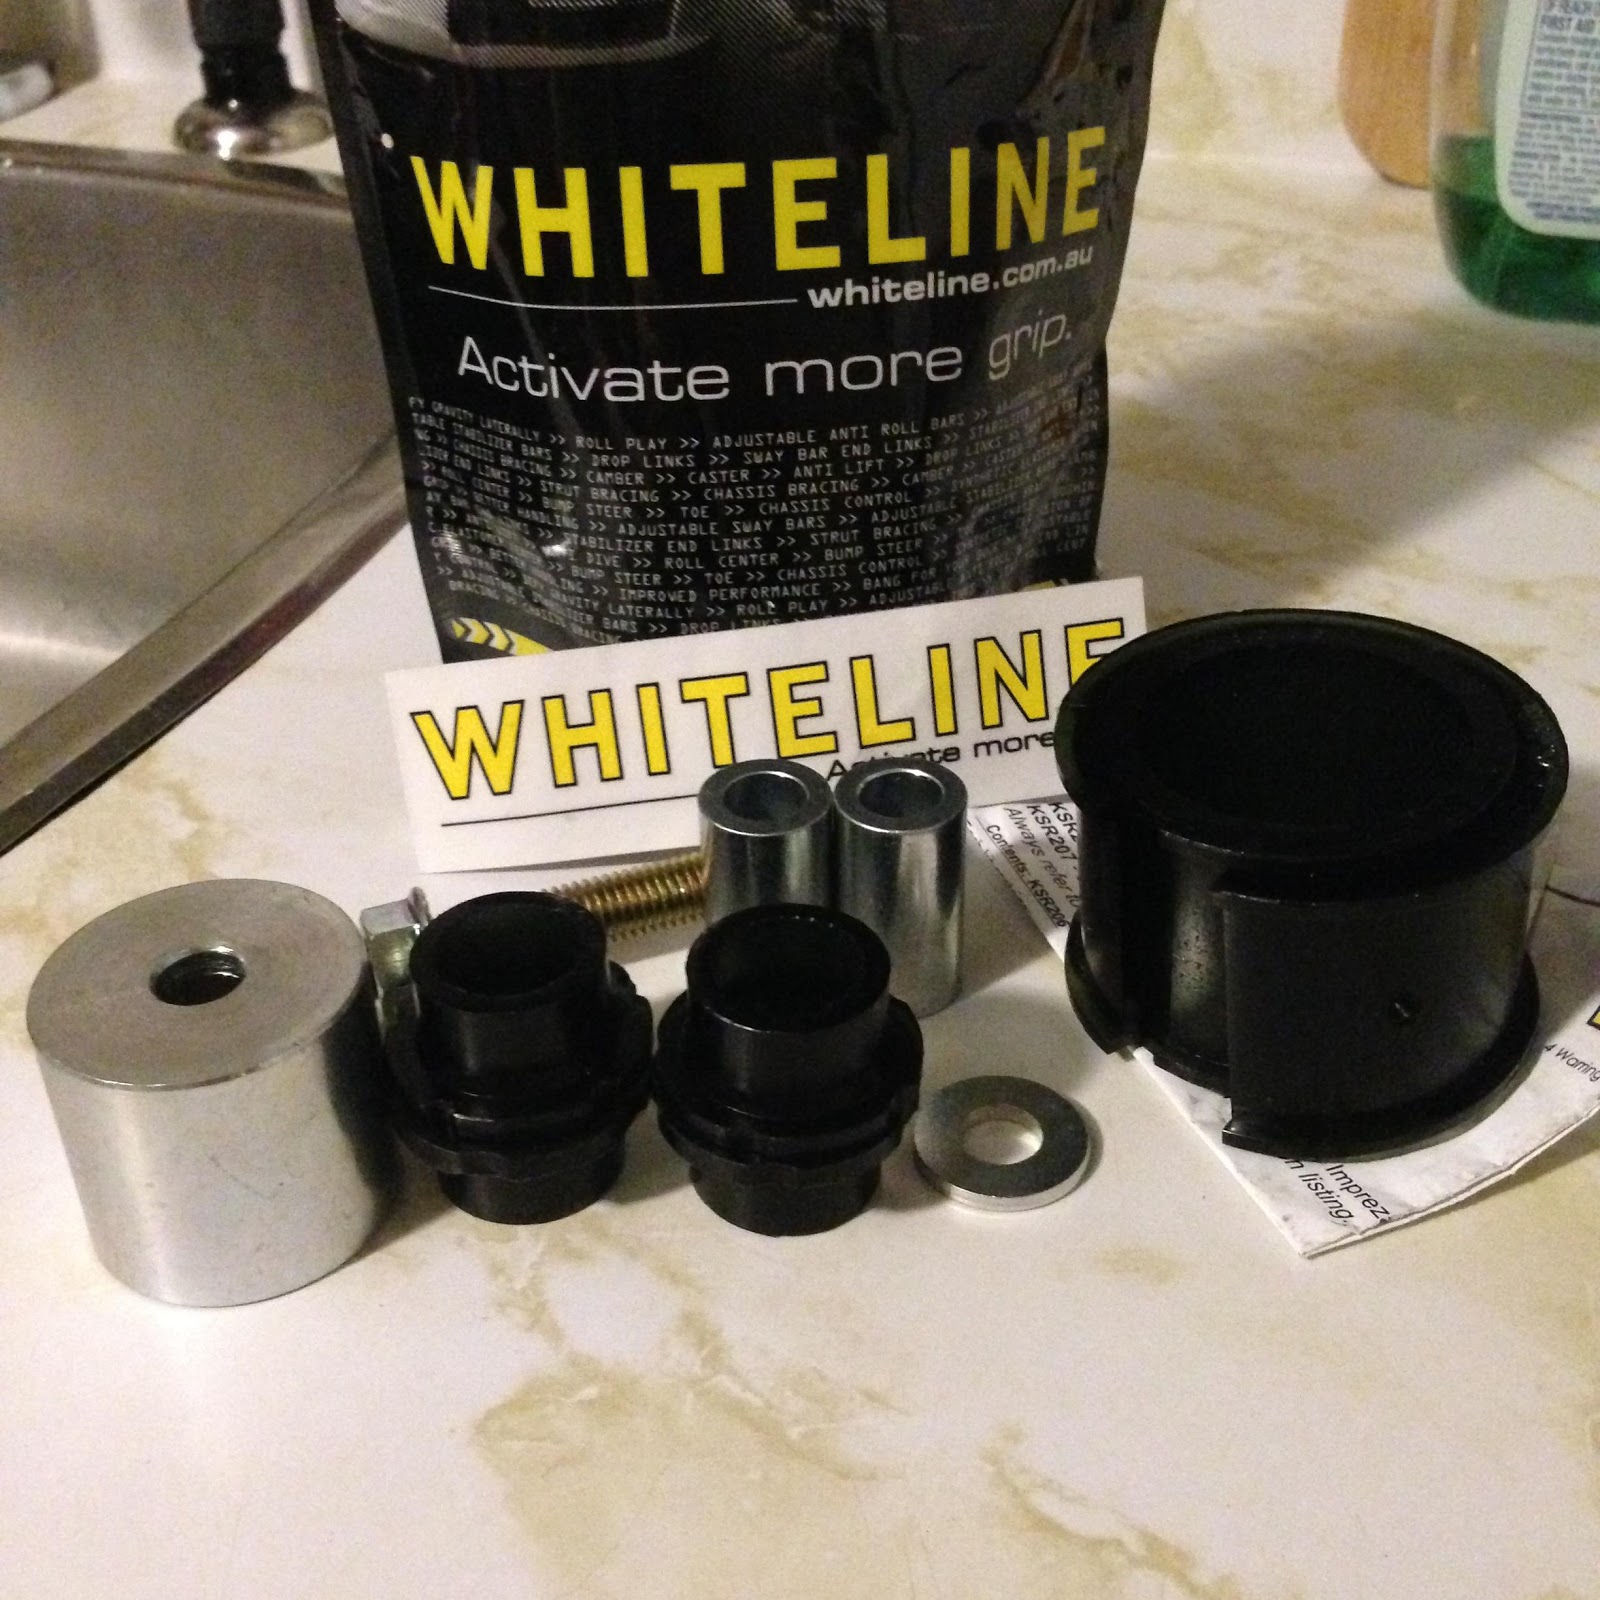
My Whiteline Rear Diff bushing kit.
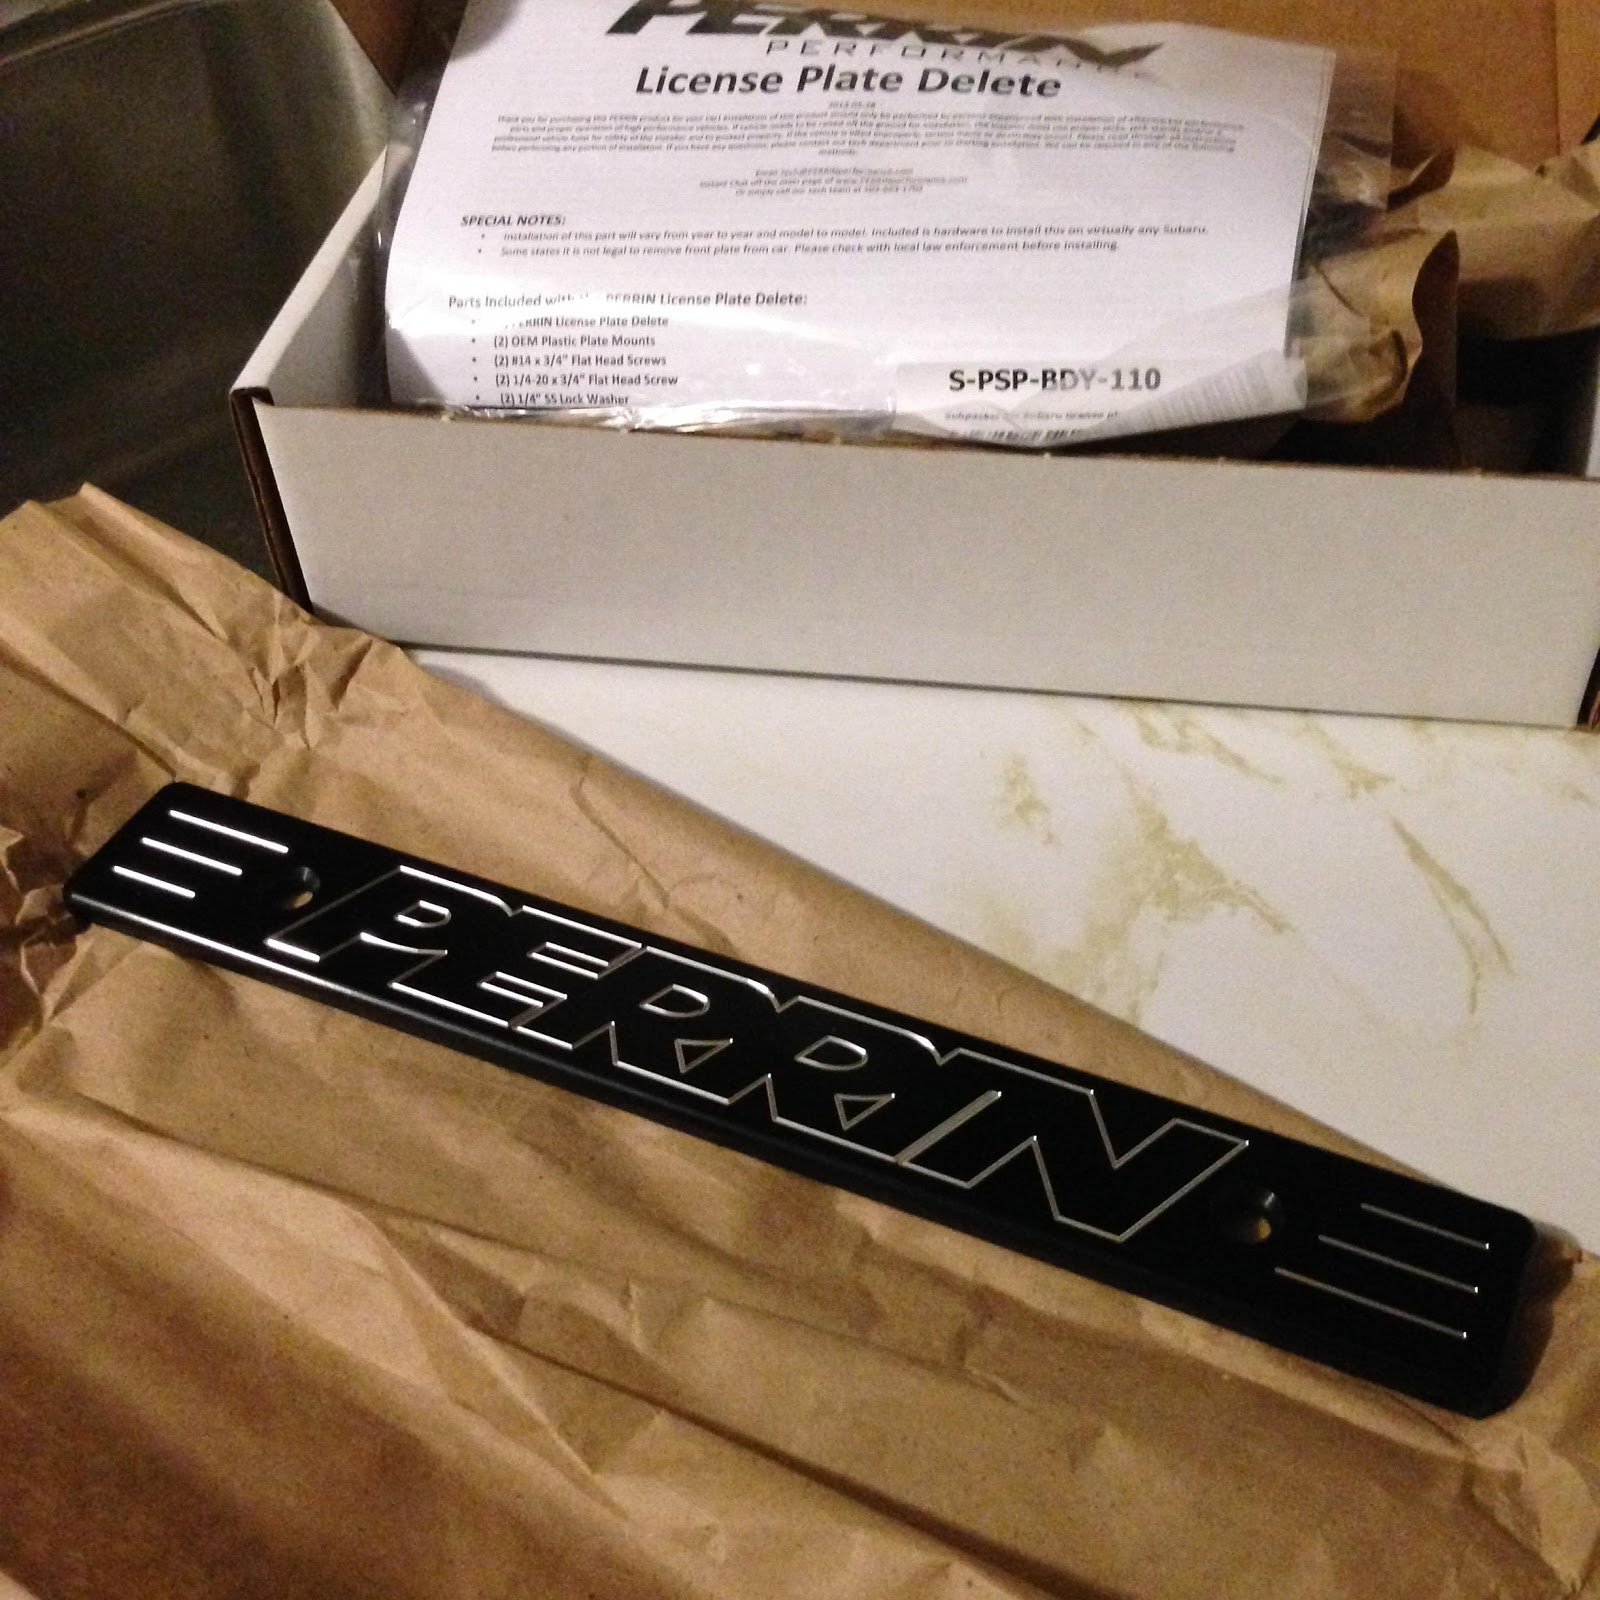
My Perrin License Plate Delete
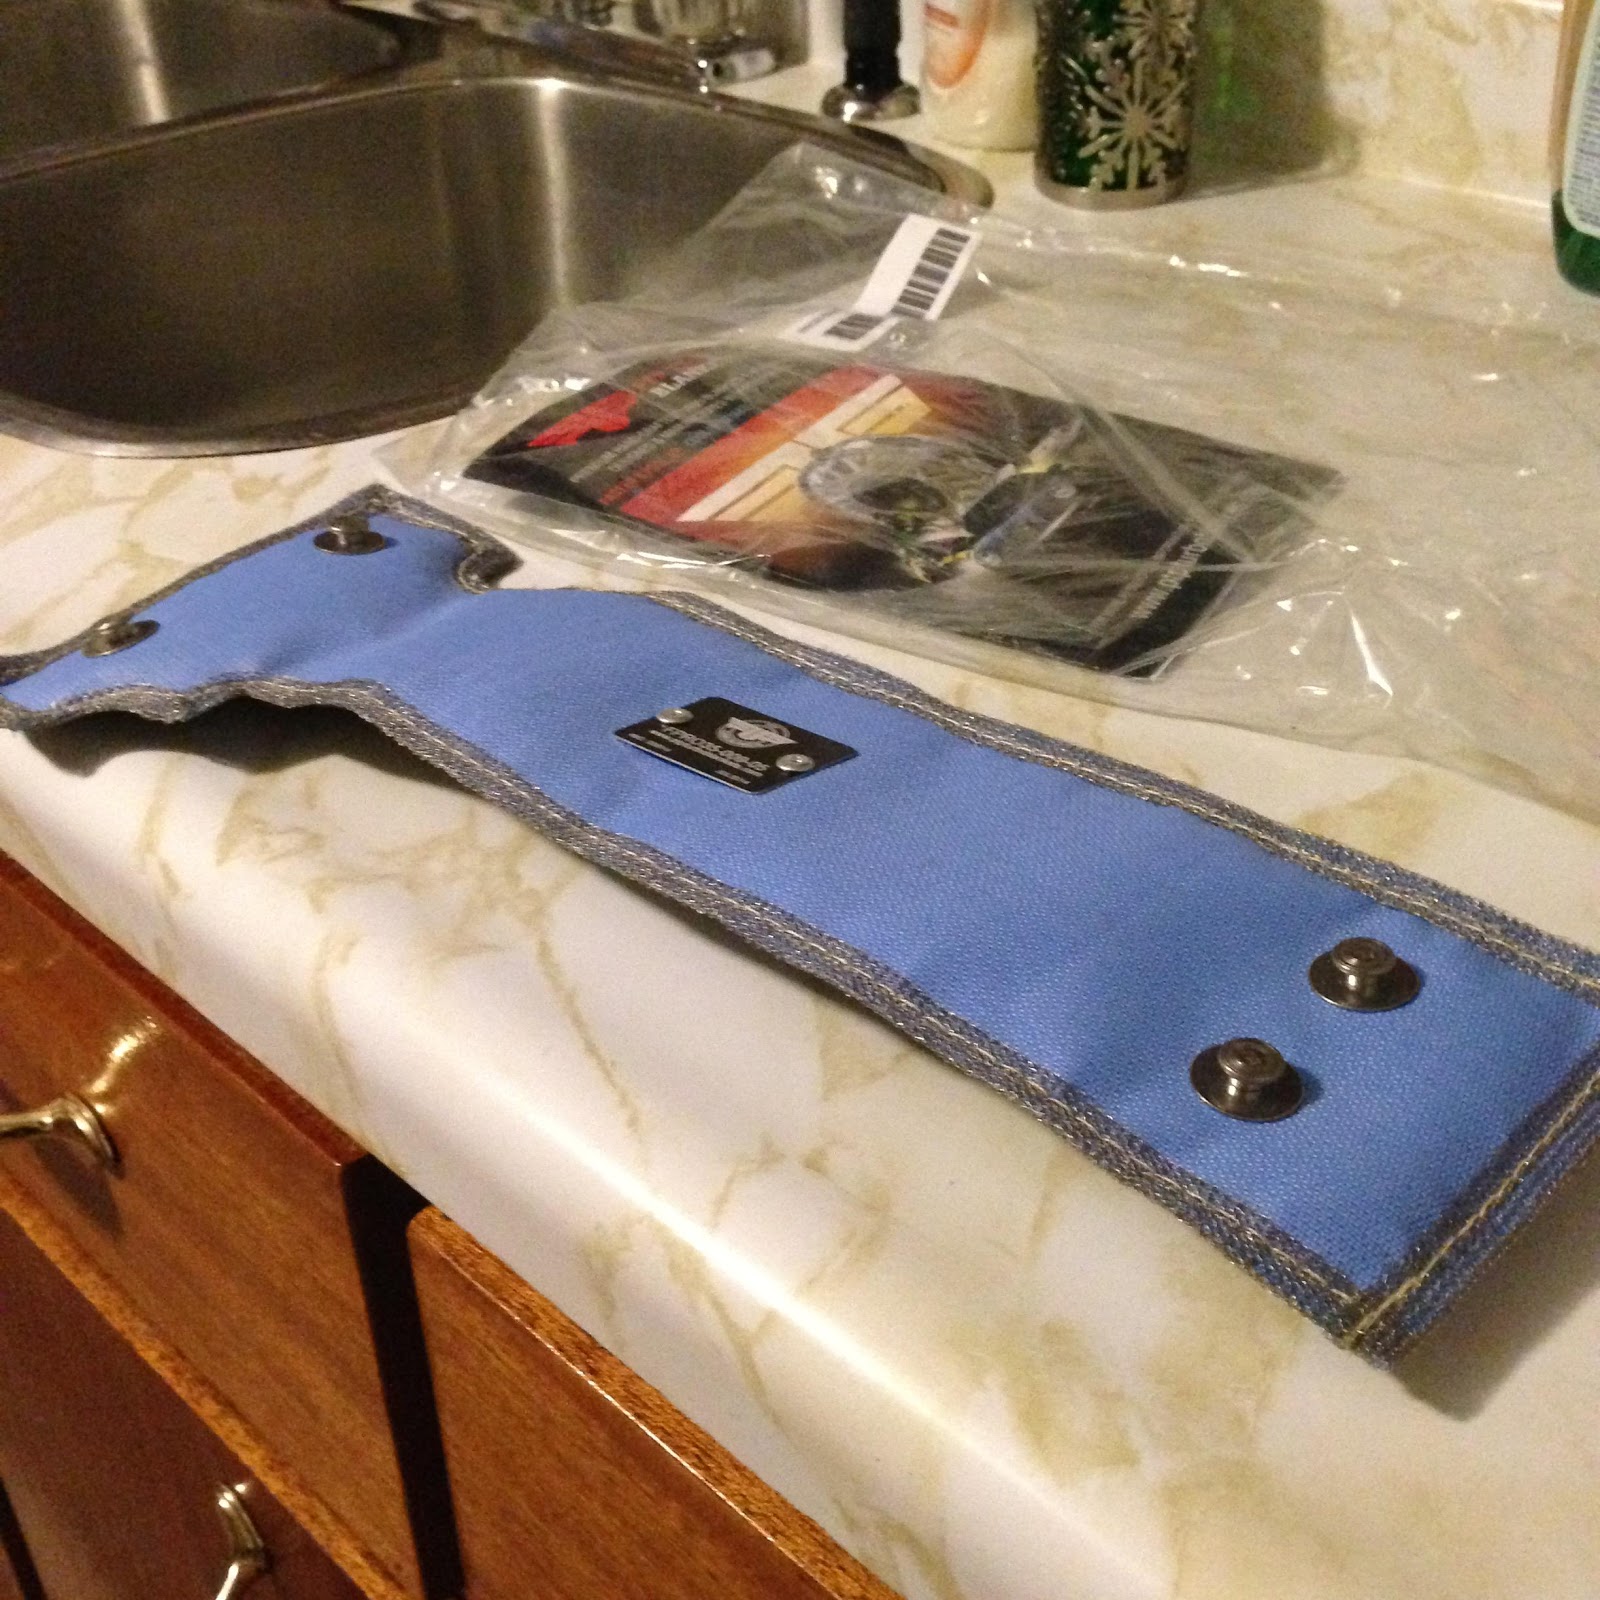
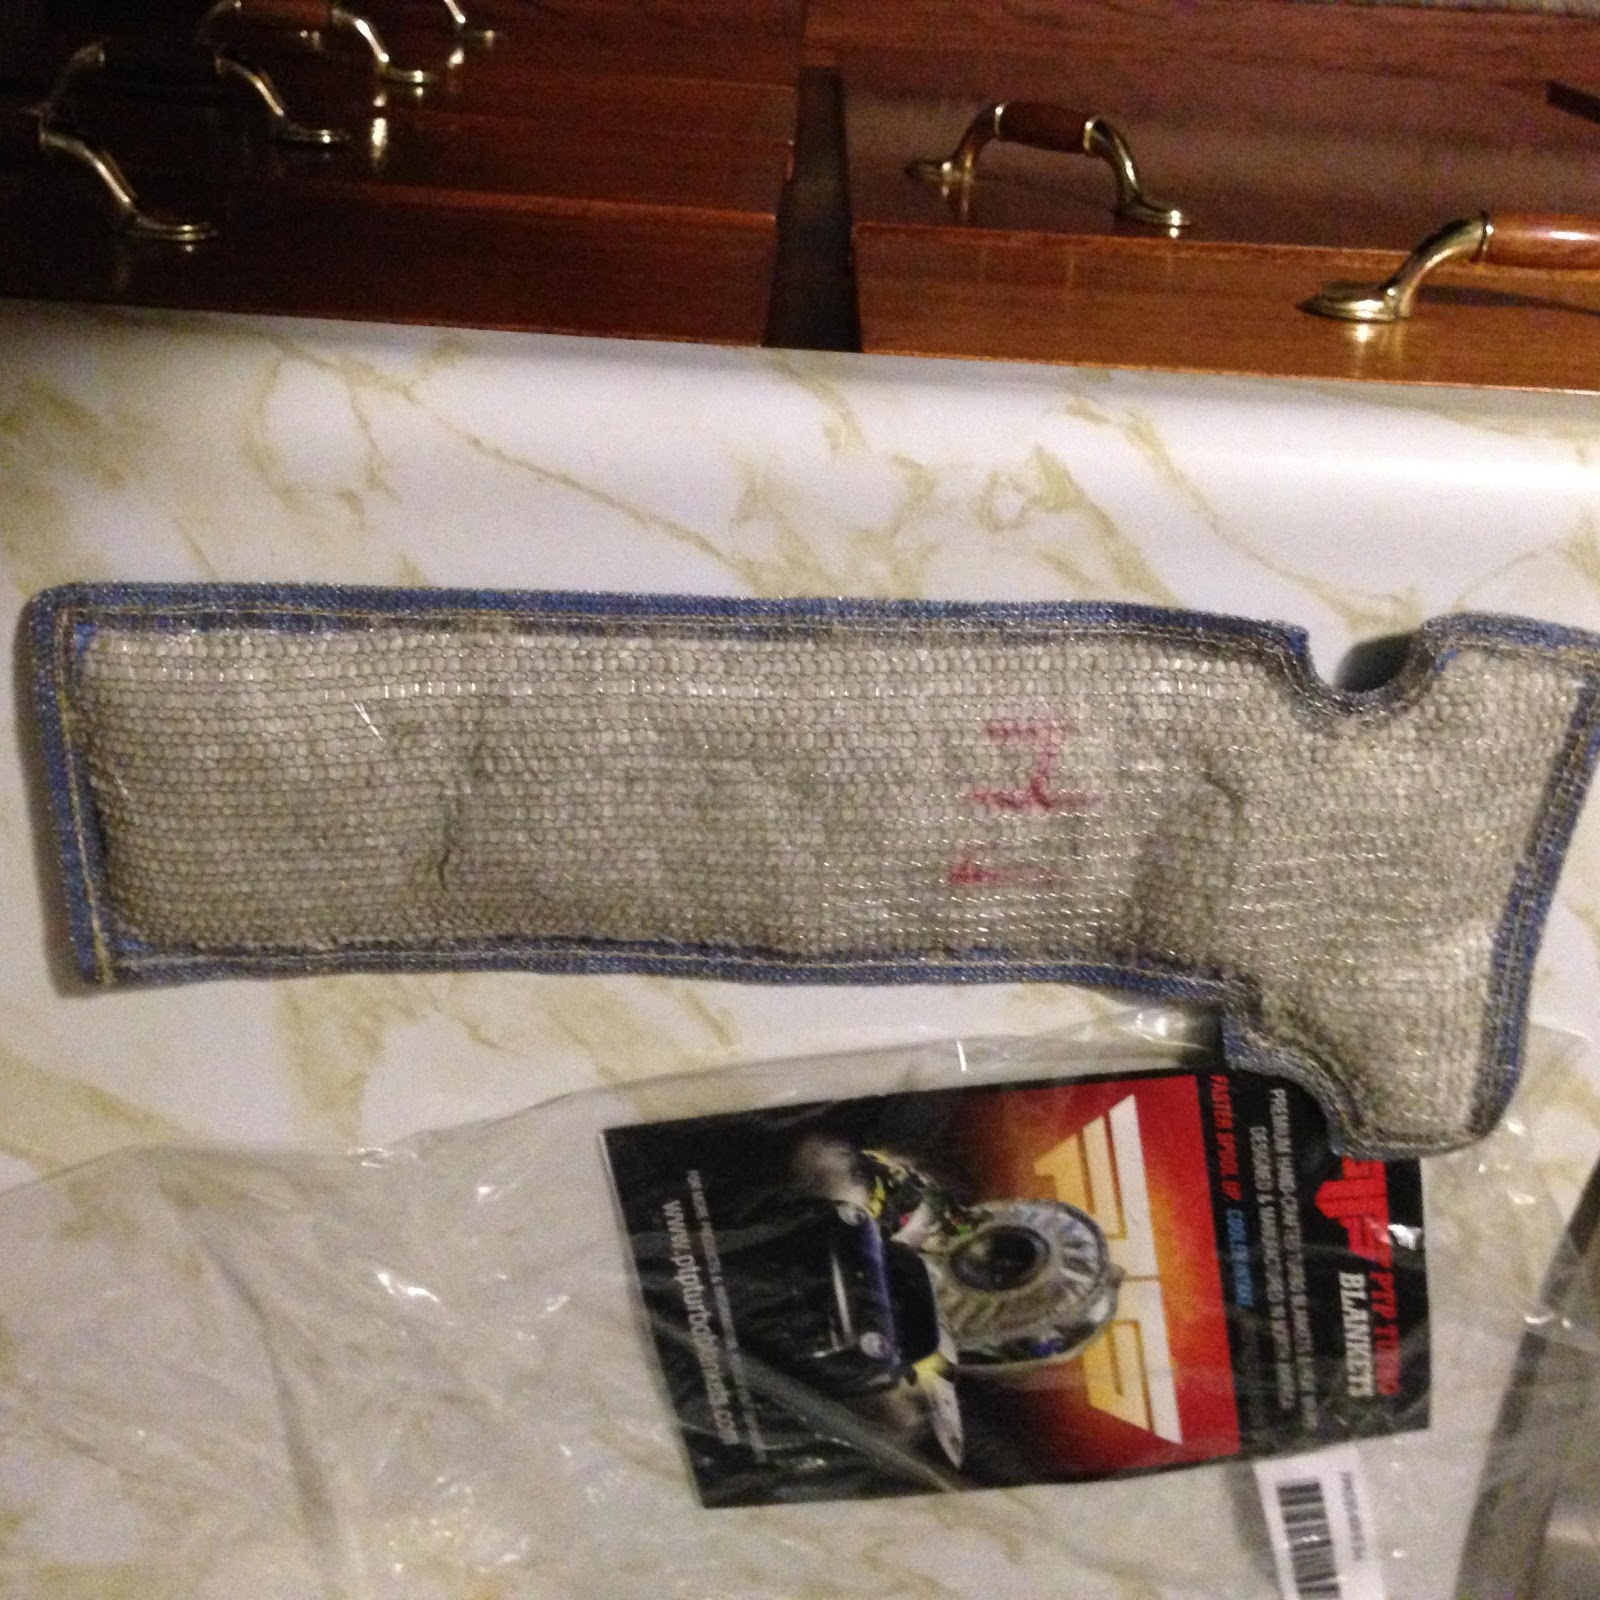
My PTP turbo blanket

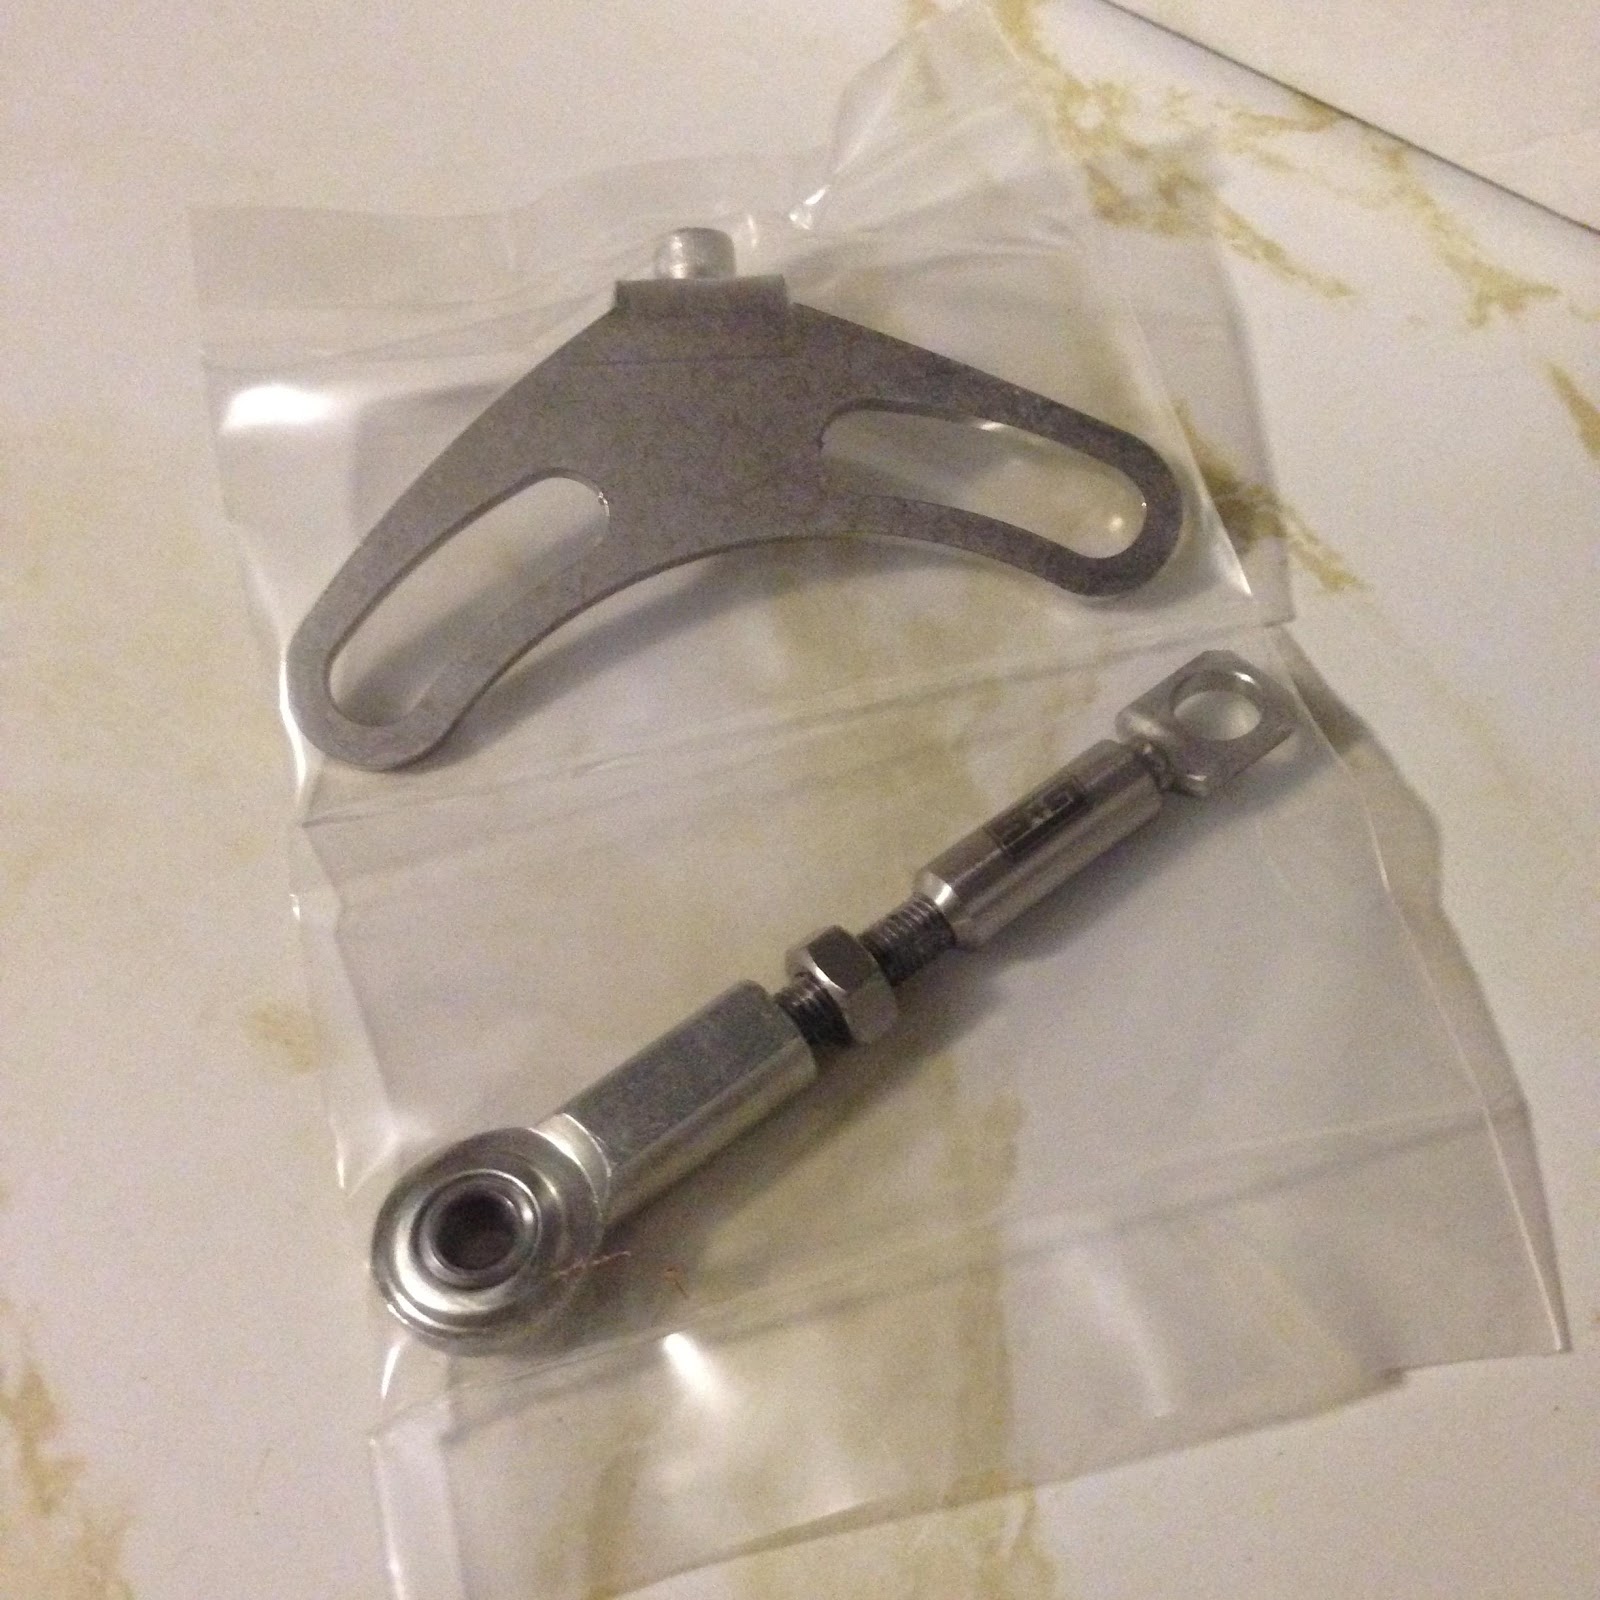
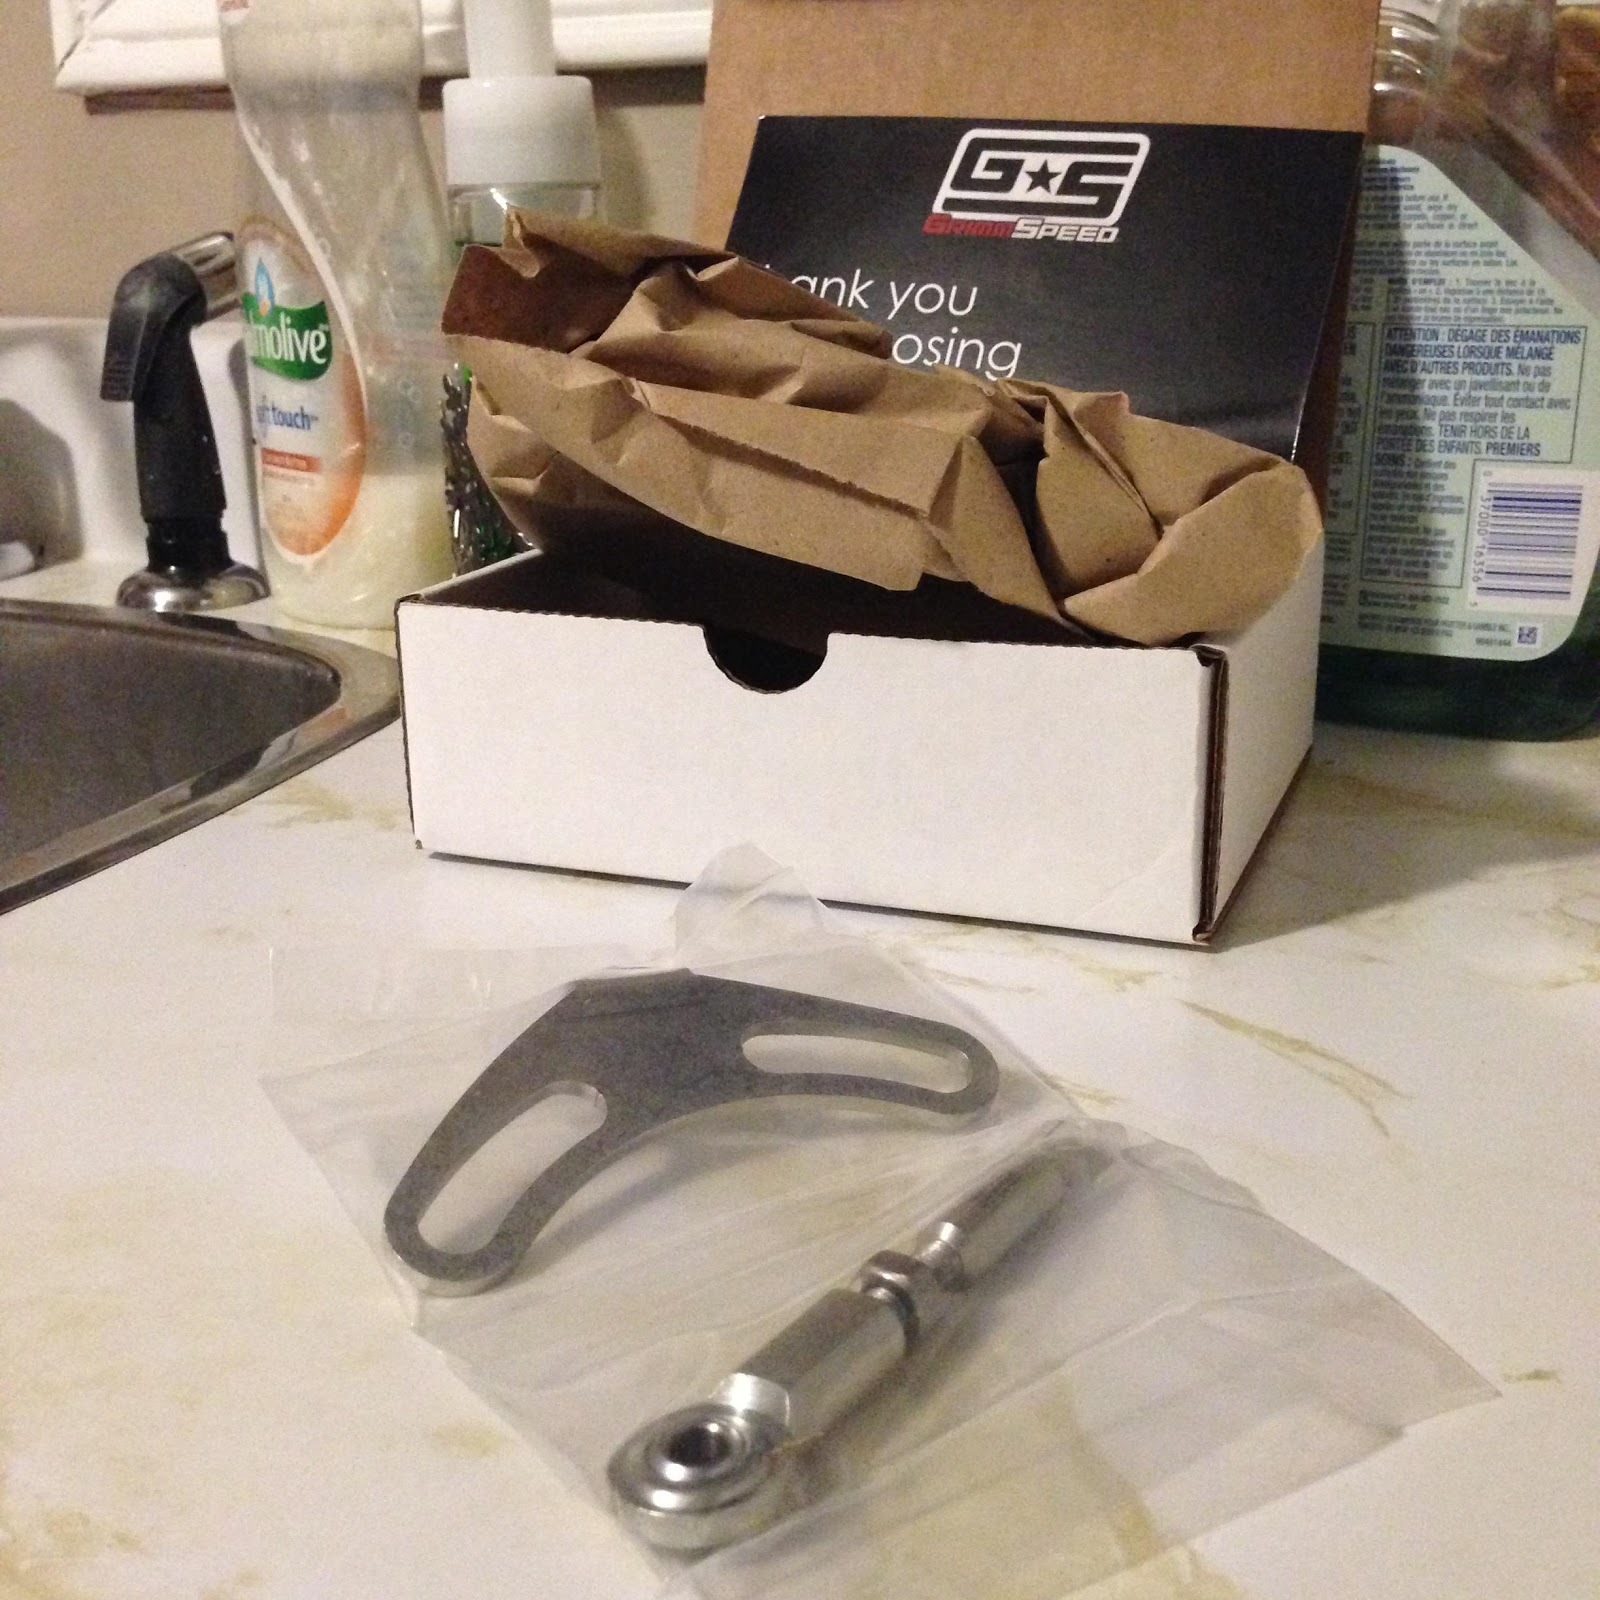
My Grimmspeed IWG Bracket
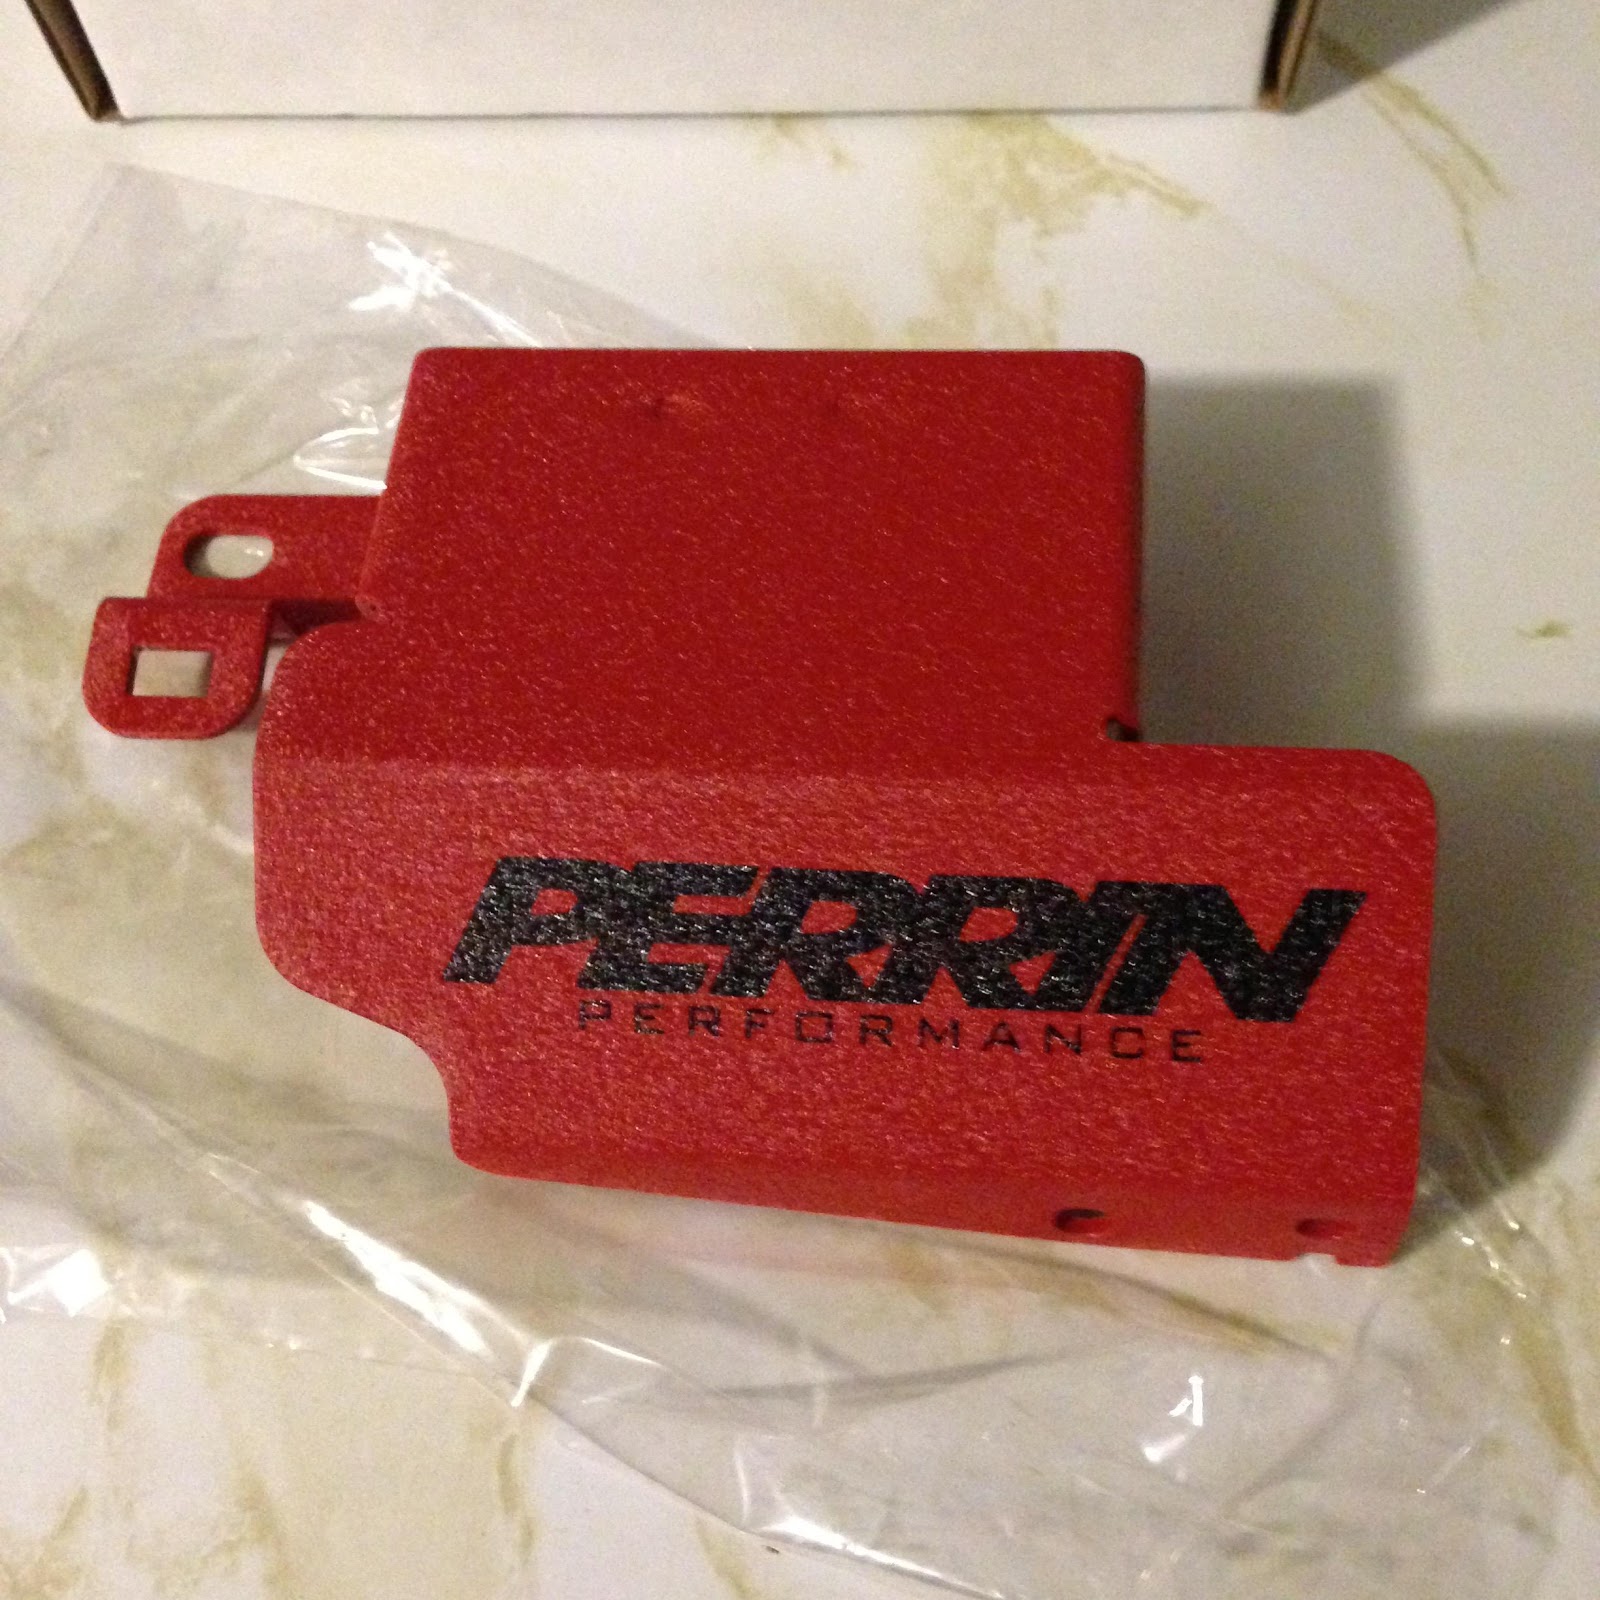
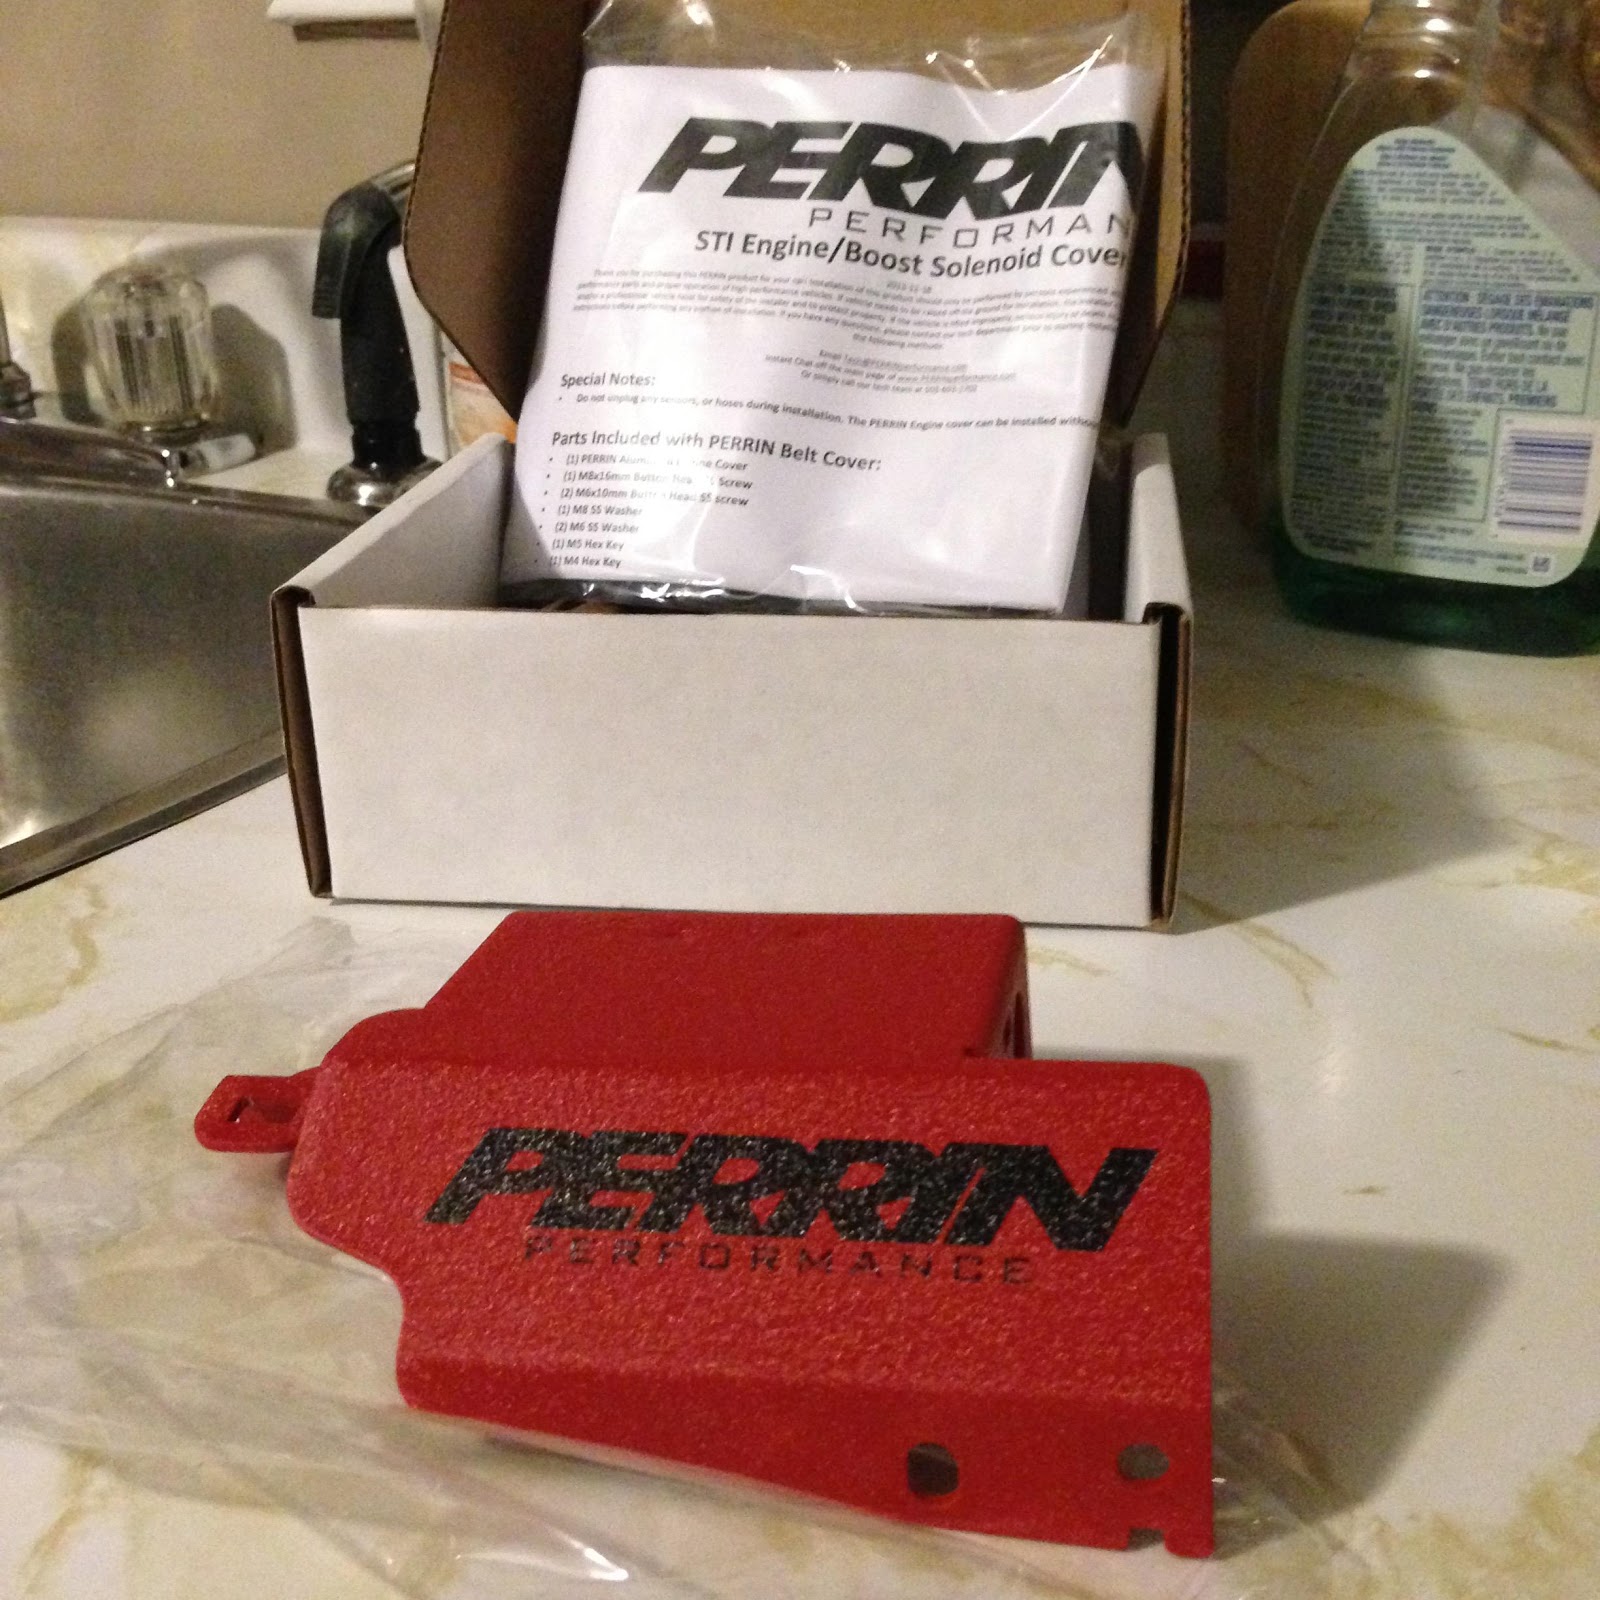
My Perrin EBCS Cover
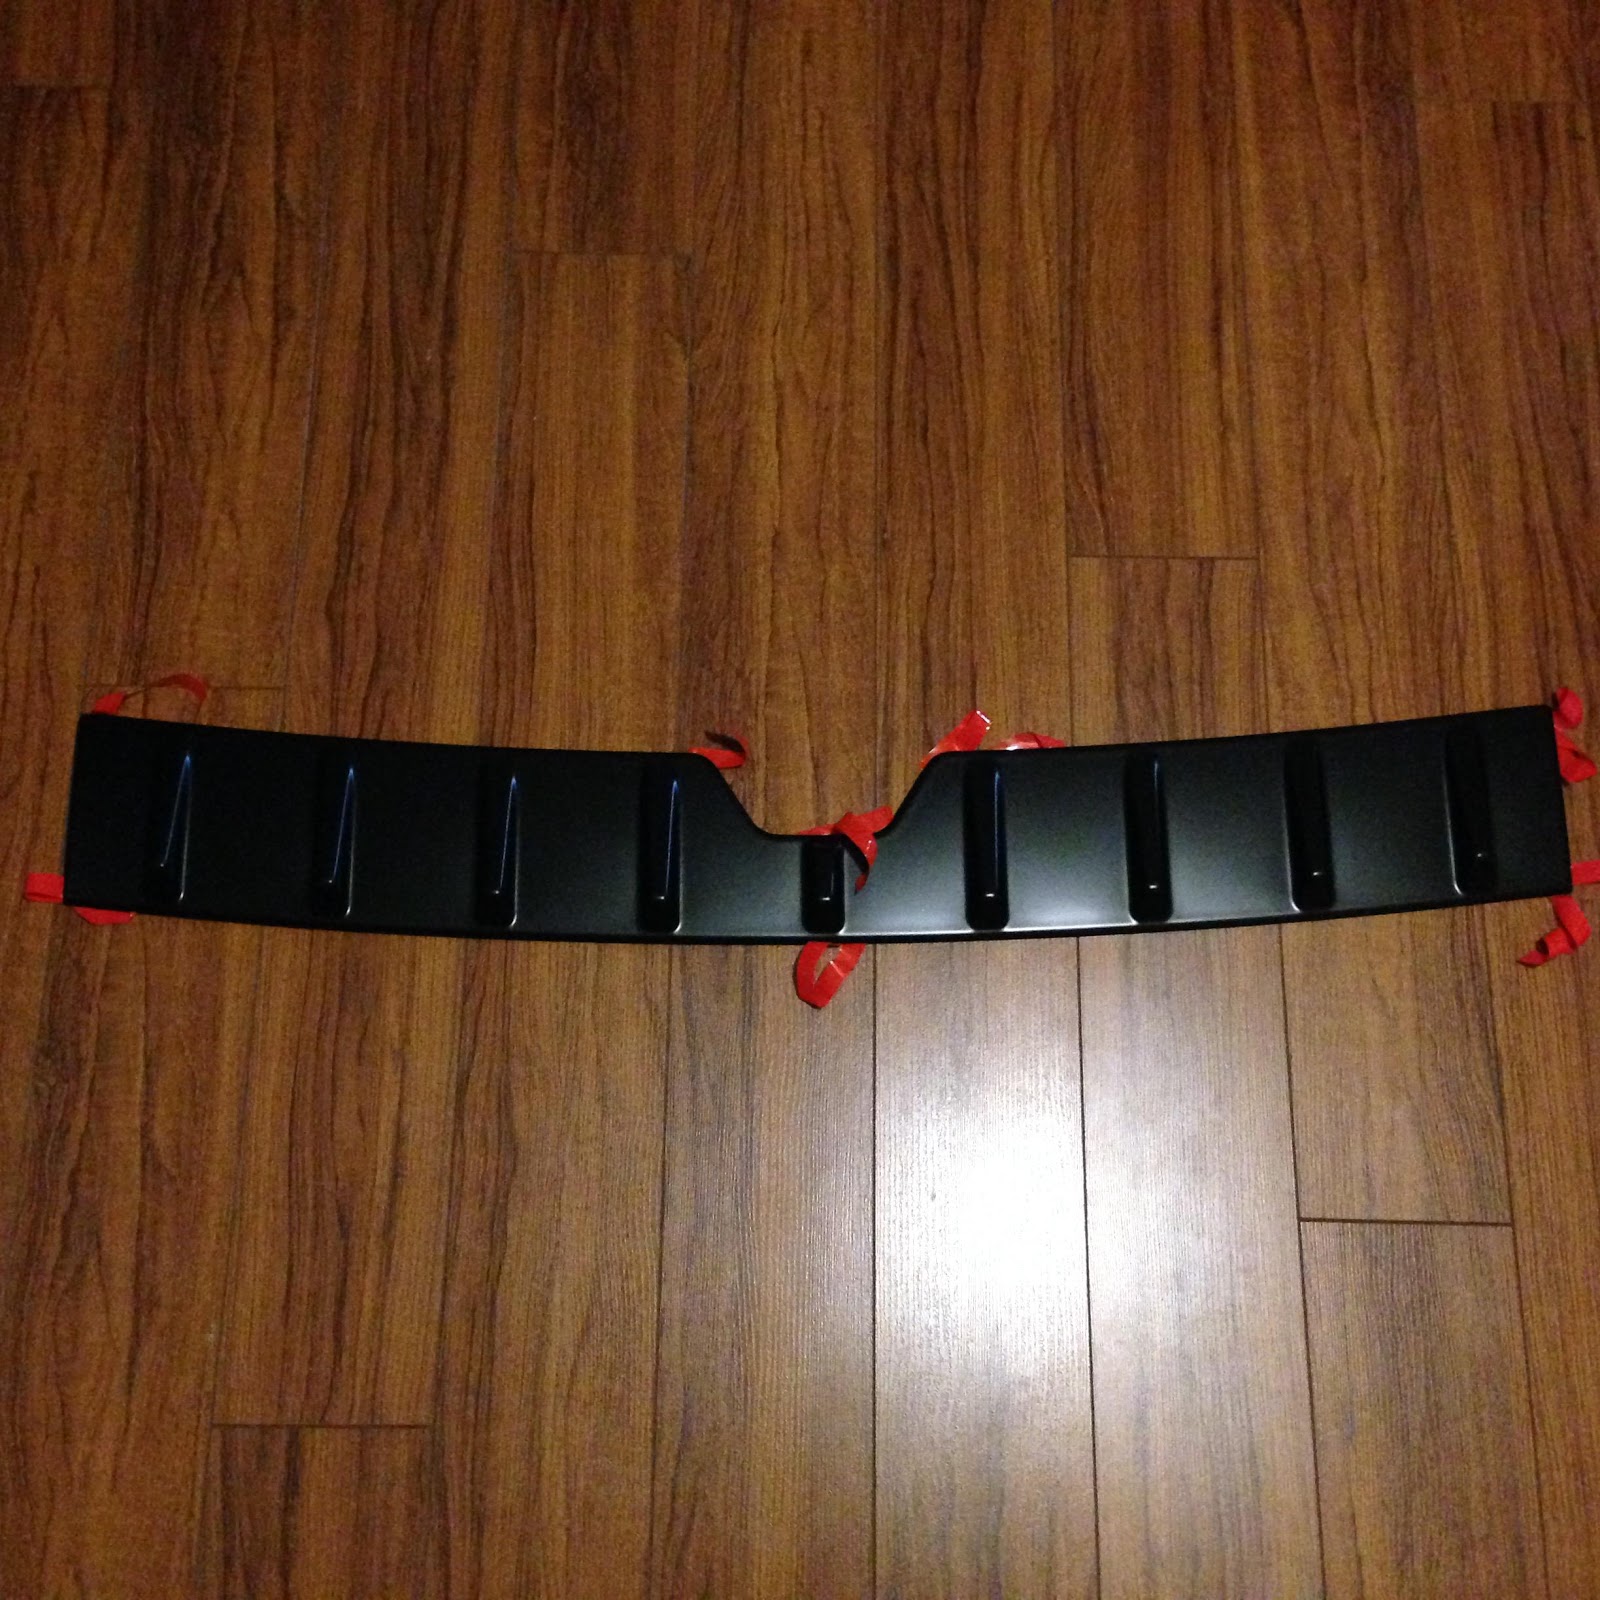
and Finally my OEM Rear Vortex Generator
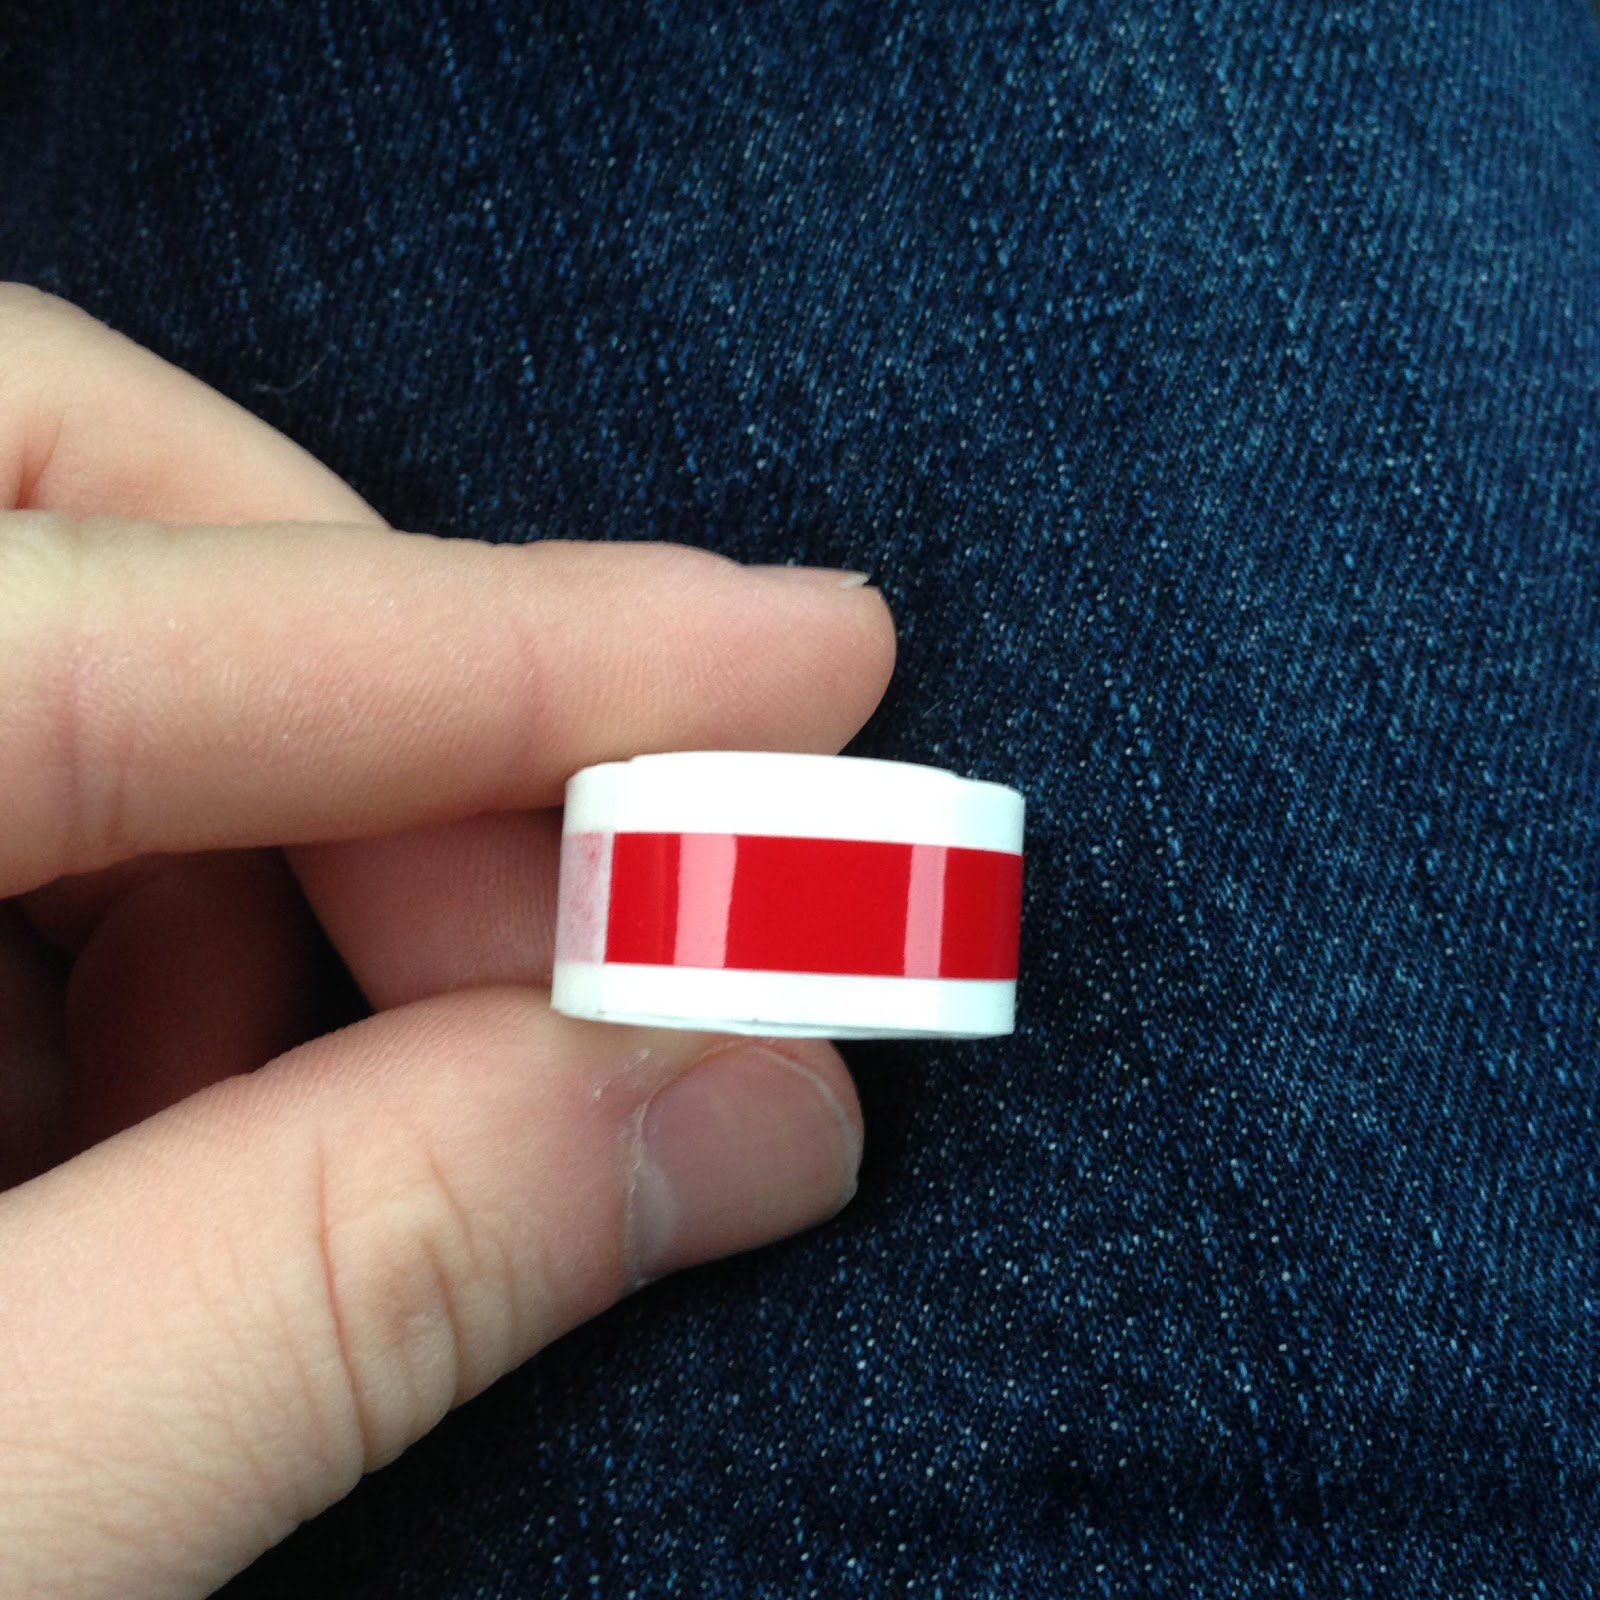
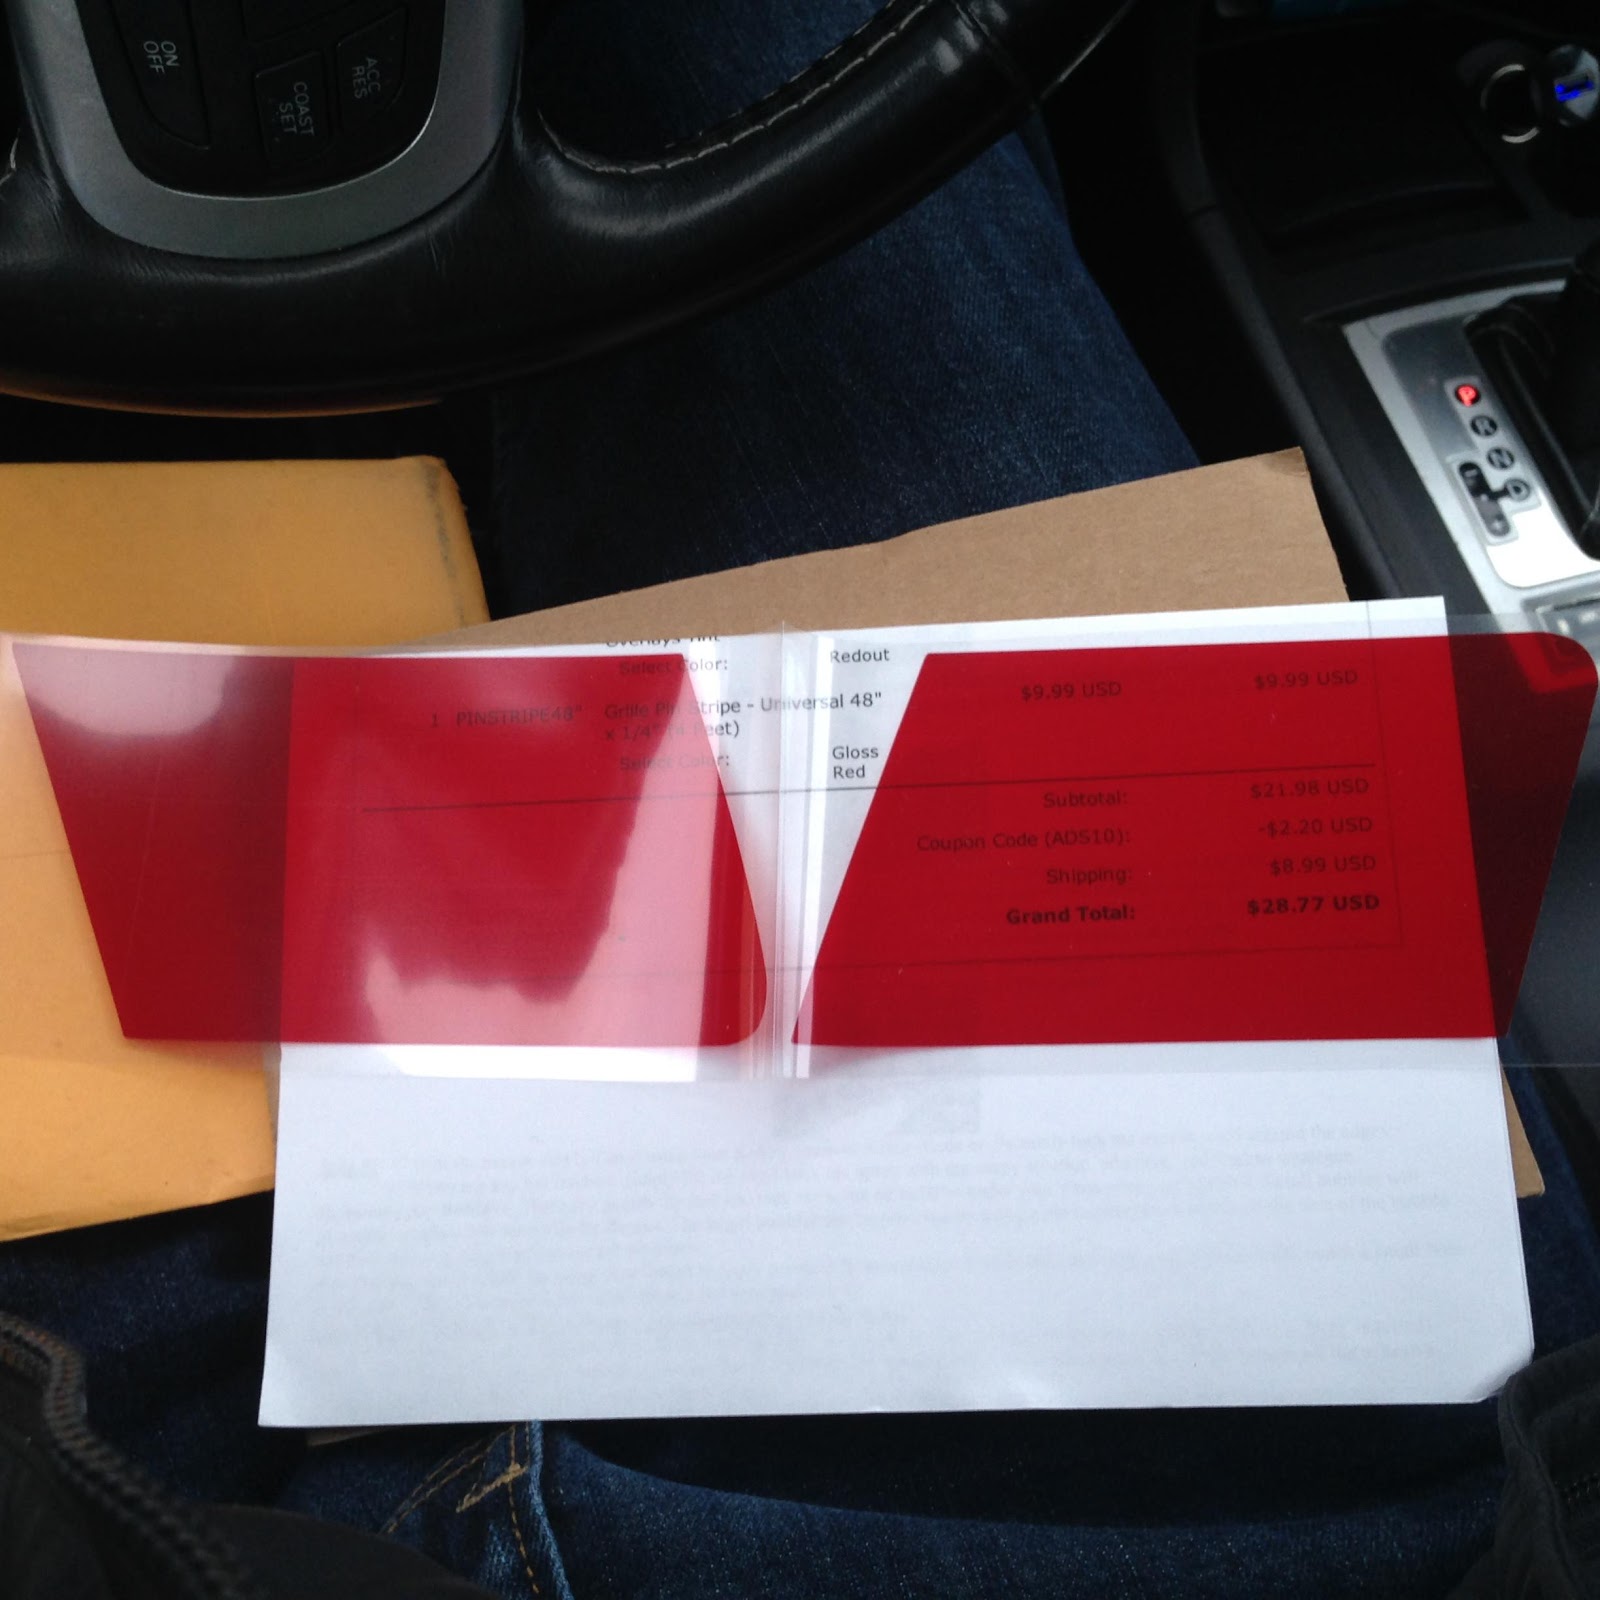
My vinyl strip and tail light over lays came in this week.
Vinyl strip
Tail light overlays
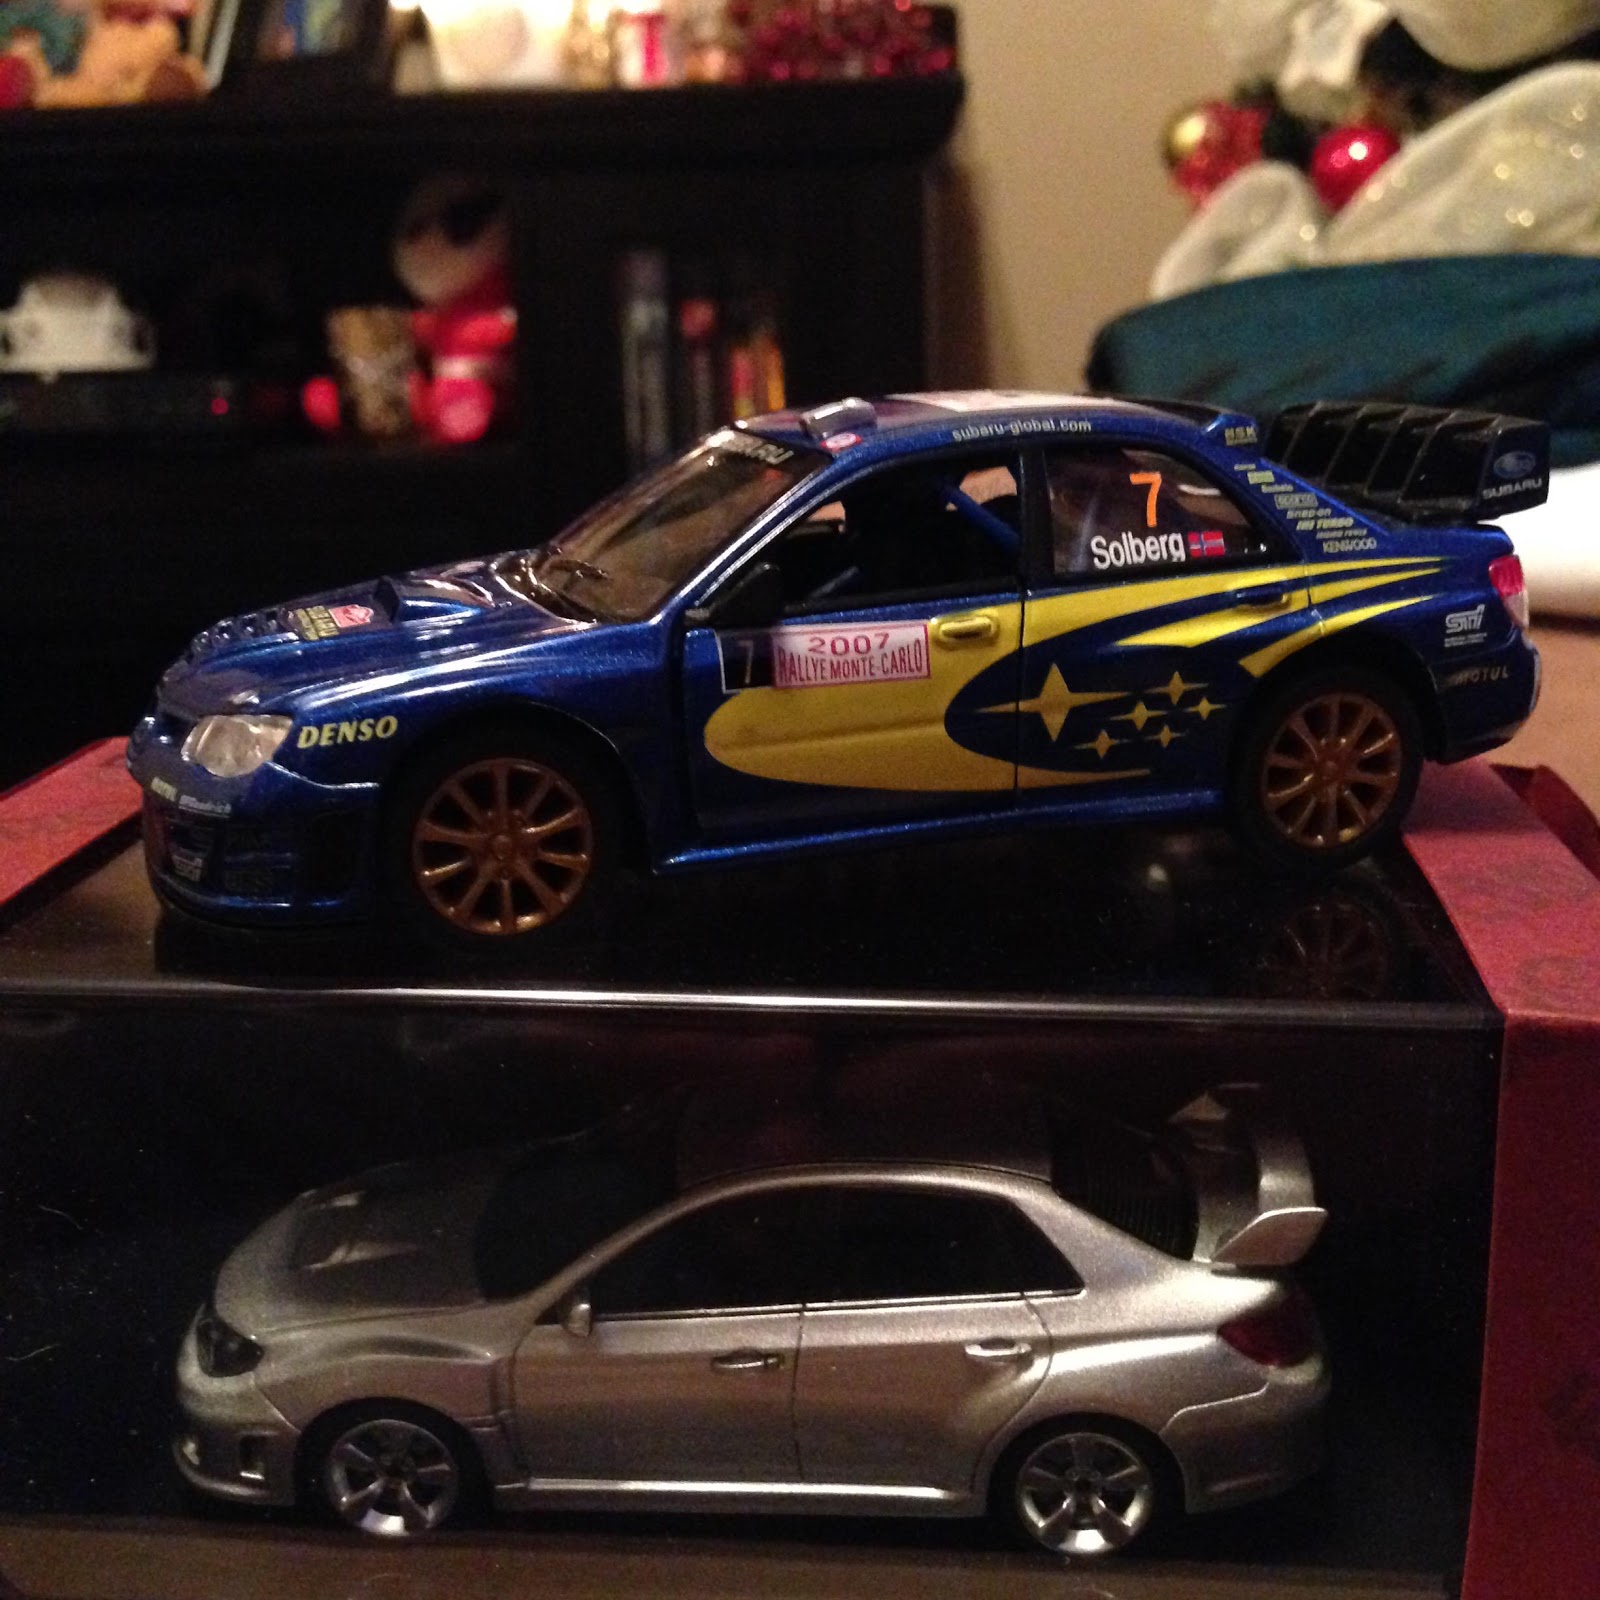
and my family know me all too well haha
And finally I ordered a FP Green HTA turbo yesterday. Has a flow rate of 59lb/min. 8cm hotside and a 60mm compressor wheel. Cant wait to get this bad boy on!!! Also ordered Oil lines for the AVCS system.